There are 4 .pdf files below the first one is an article with the instructions and the last three are the patterns for three different sizes. There are patterns for a 12″ box, a 20″ and the original 16+” box (all shown in the video on the left). The patterns look a little different but once you have read thru the instructions it should all make sense.
The first pattern and instructions for the 16″ octagon hat box came from an article I wrote for “Your Wardrobe Unlock’d” in 2013 now “Foundations Revealed”. If you subscribe you can get it there but if not I own the copyright so you have my permission to use it but do not distribute. Noelle from Costuming Drama made a video for making the 12″ hat box and you can find it here.
With this box the box is too short for grommets and a cord handle. A single tie across the box is best.
Examples and extra tricks
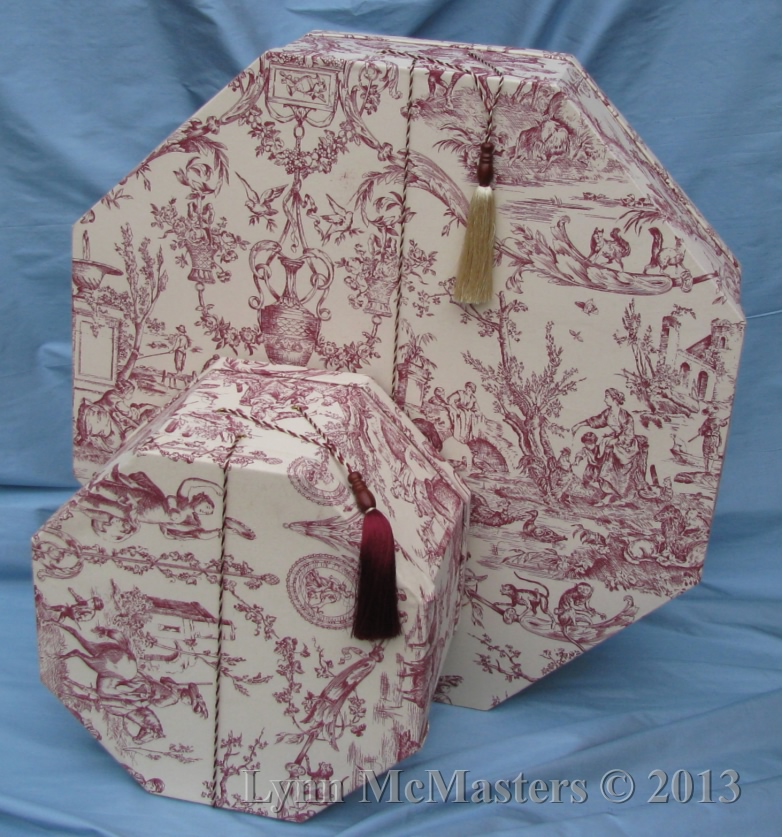
This is a photograph of two boxes I made the small one is the ~16″ box from the first pattern the larger one was me trying to make the very largest box I could make from a sheet of board. It took two sheets of board to make it. It keeps the hat below safe.
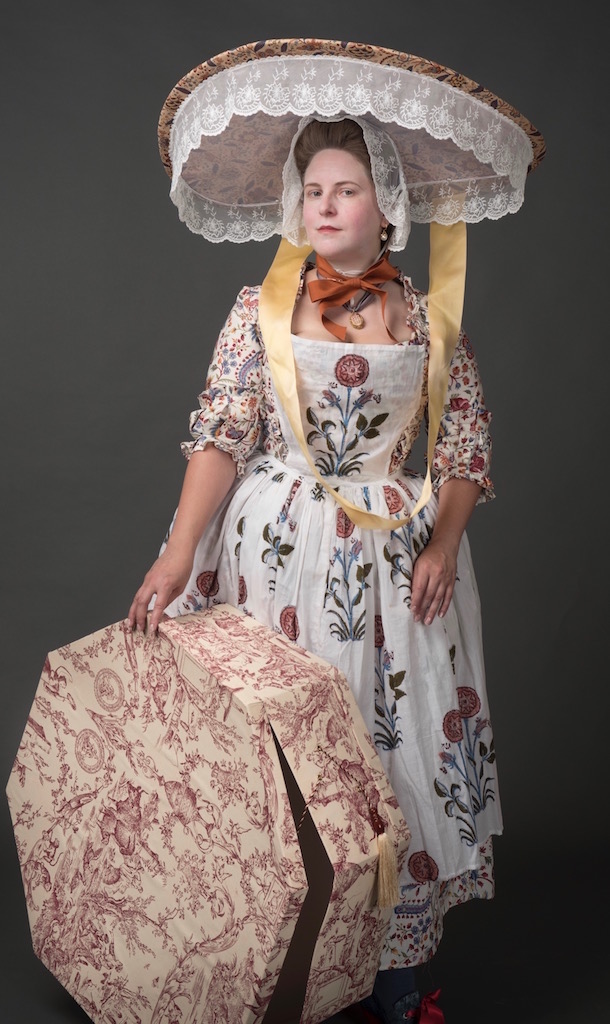
Laurie Tavan is modeling the hat, an 18th C straw hat in the Dutch style it is about 31″X21″. That is the large box so you can see how really big it is.
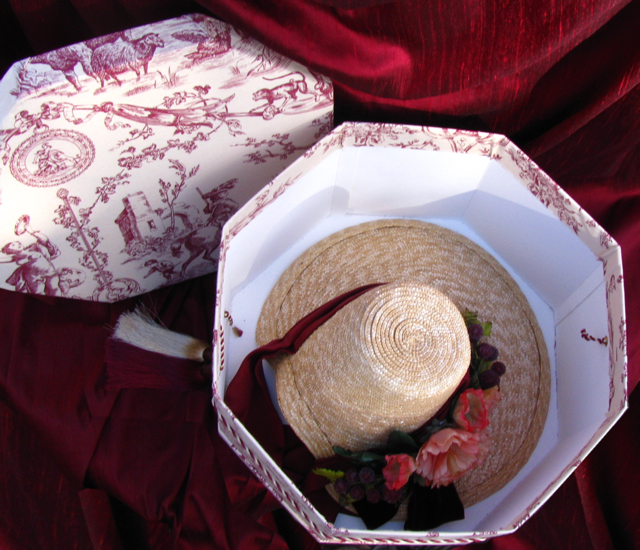
This is the inside of the smaller hatbox which was made to fit an 1820s Romantic Era straw hat.
This box is another example of a large but short box and it has a ribbon tie because the standard cord can not work on this short of a box.
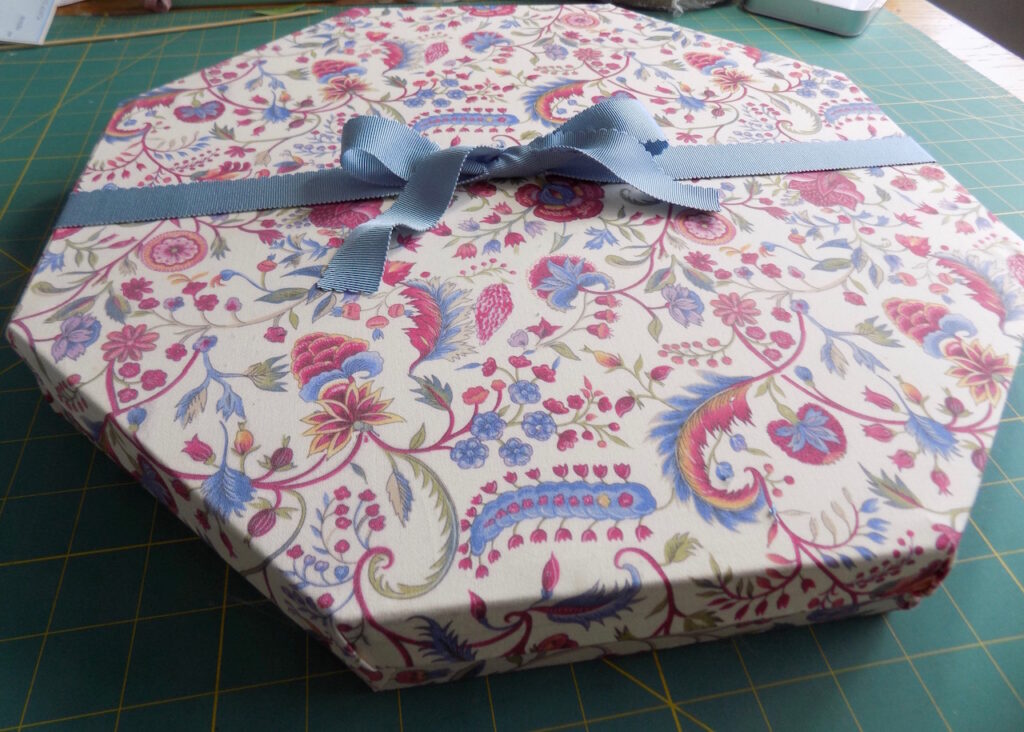
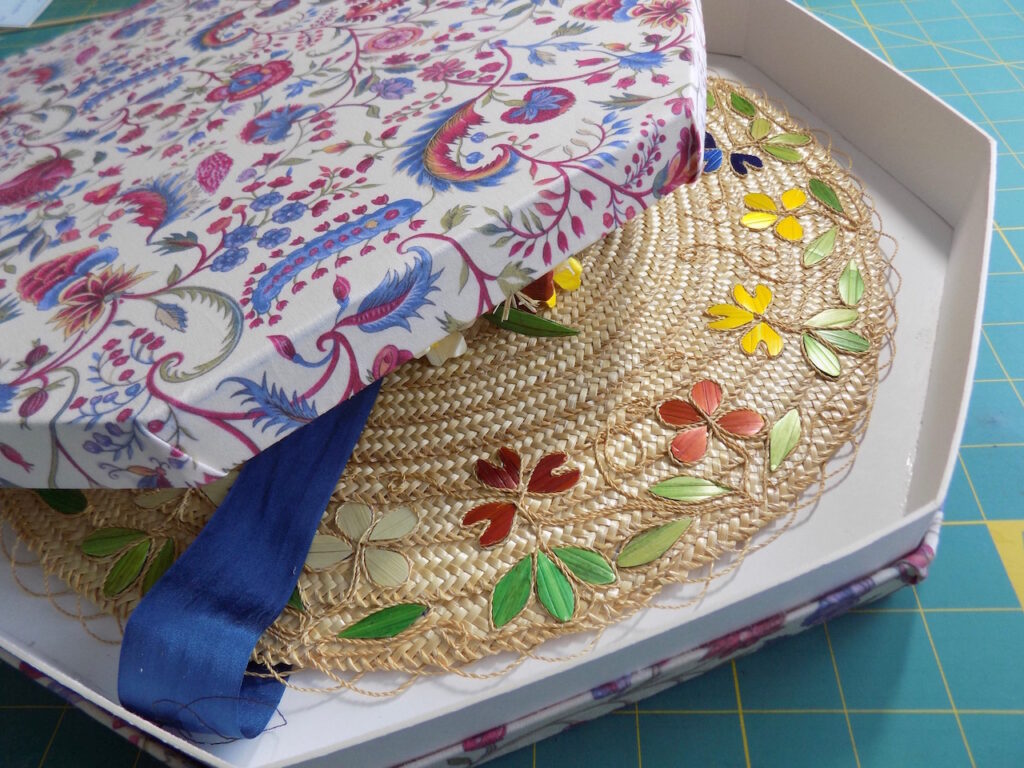
This is the inside of the box with the straw Bergere.
Laurie Tavan modeling the hat.
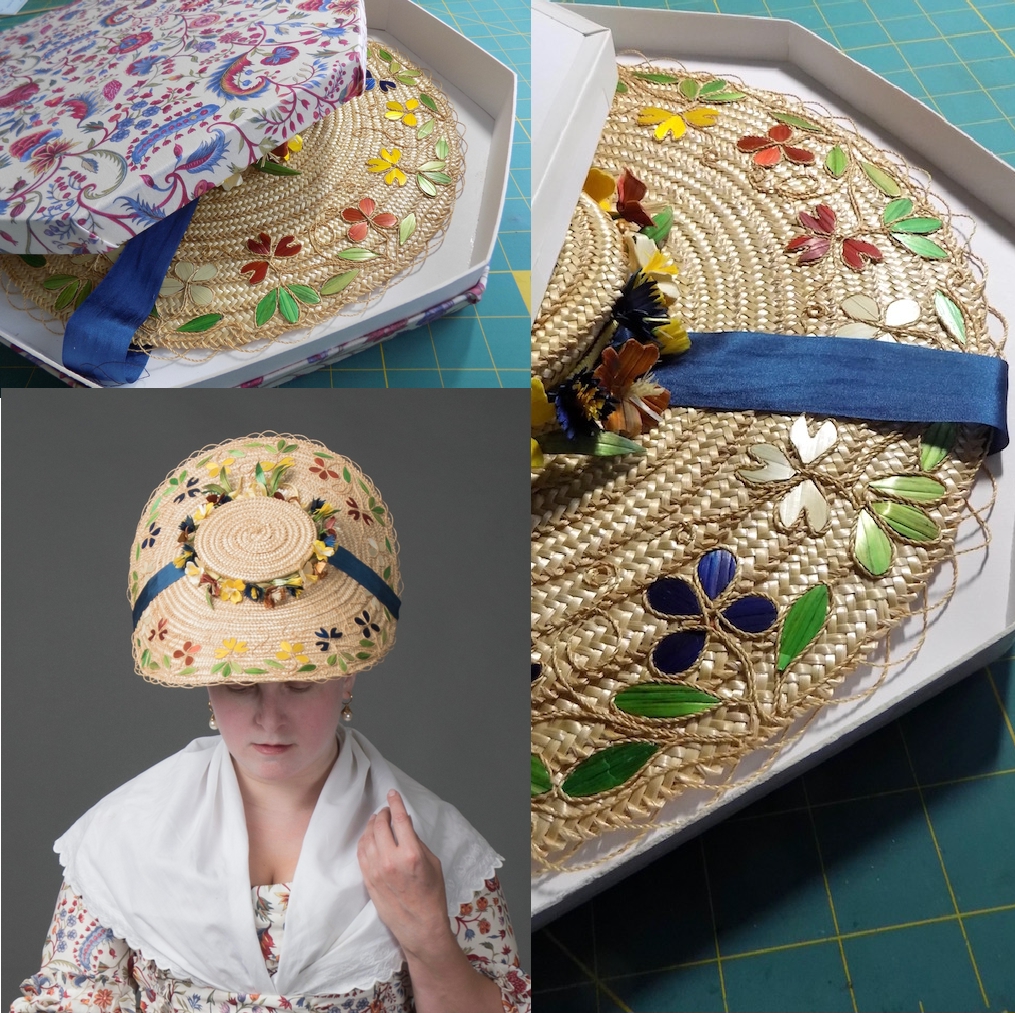
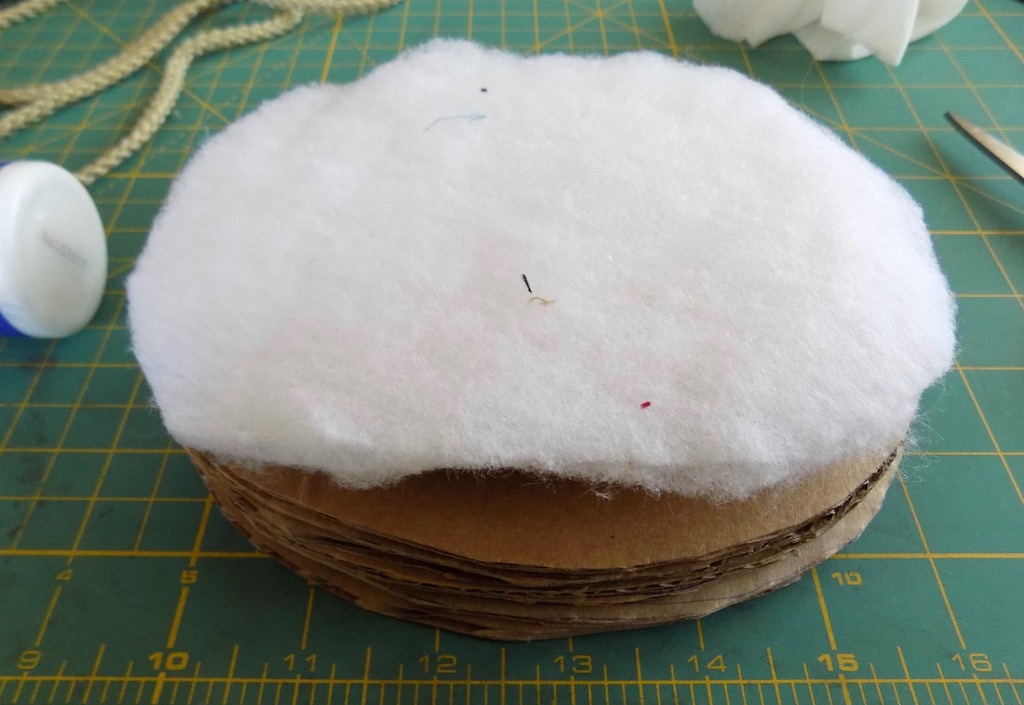
If your hat has a fragile edge and you want it to stay put when you carry the box on its side then you will want to make a form to add to the bottom of the box that will hold the brim in place. I cut a stack of boards the size of the head opening and cover it with ovals of batting.
I them add a larger piece of batting which I glue to the bottom.
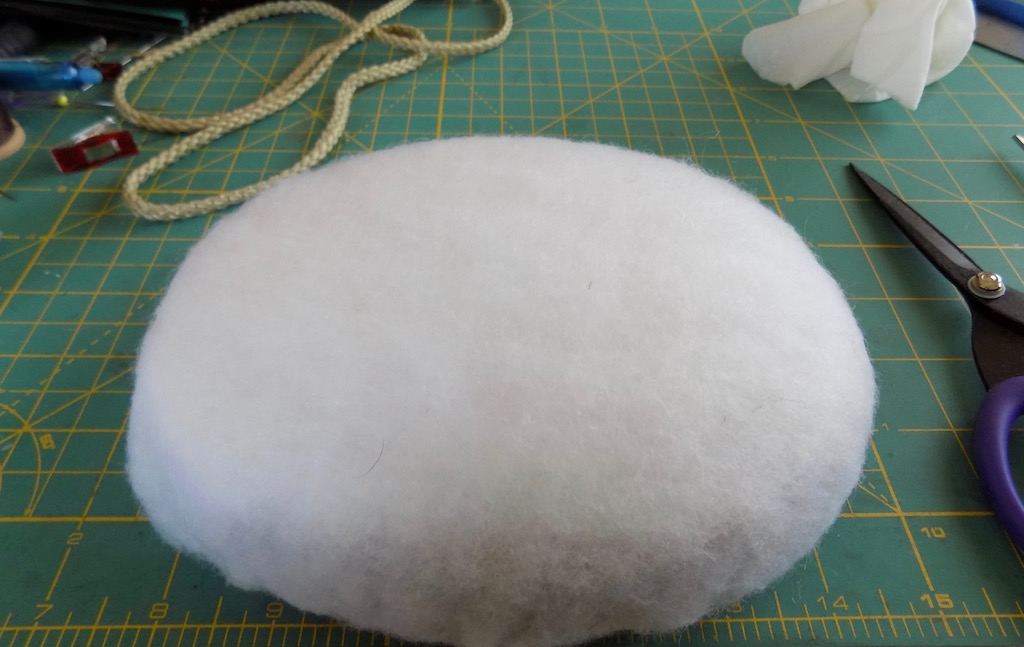
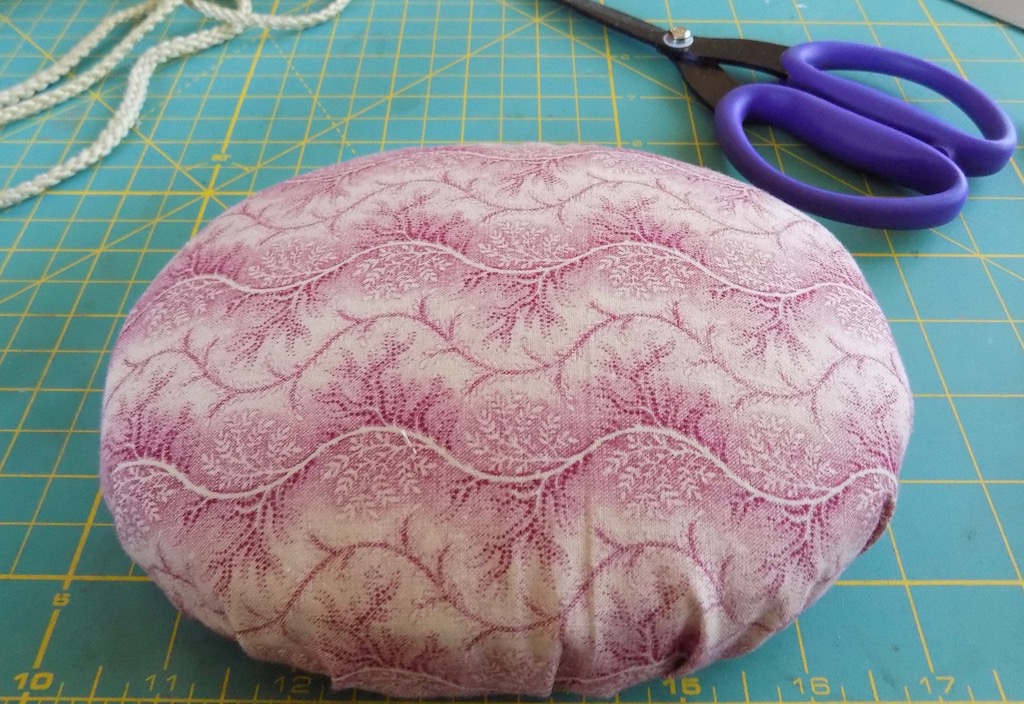
Then cover it with fabric which I also glue around to the bottom.
Then I glue that to the bottom of the hat box. That is not always in the center so you need to check where the head opening will be when the hat is in the center. Then if necessary you can use the hat pin from the hat to keep it in place so even if the box it turned over the hat will not move.
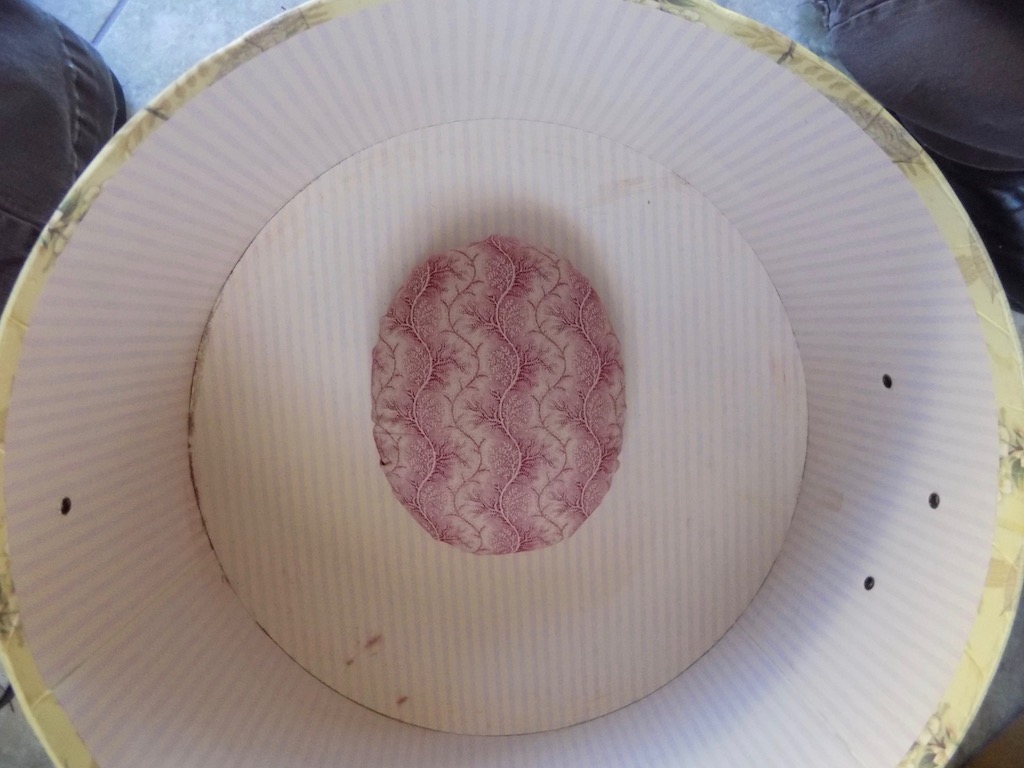
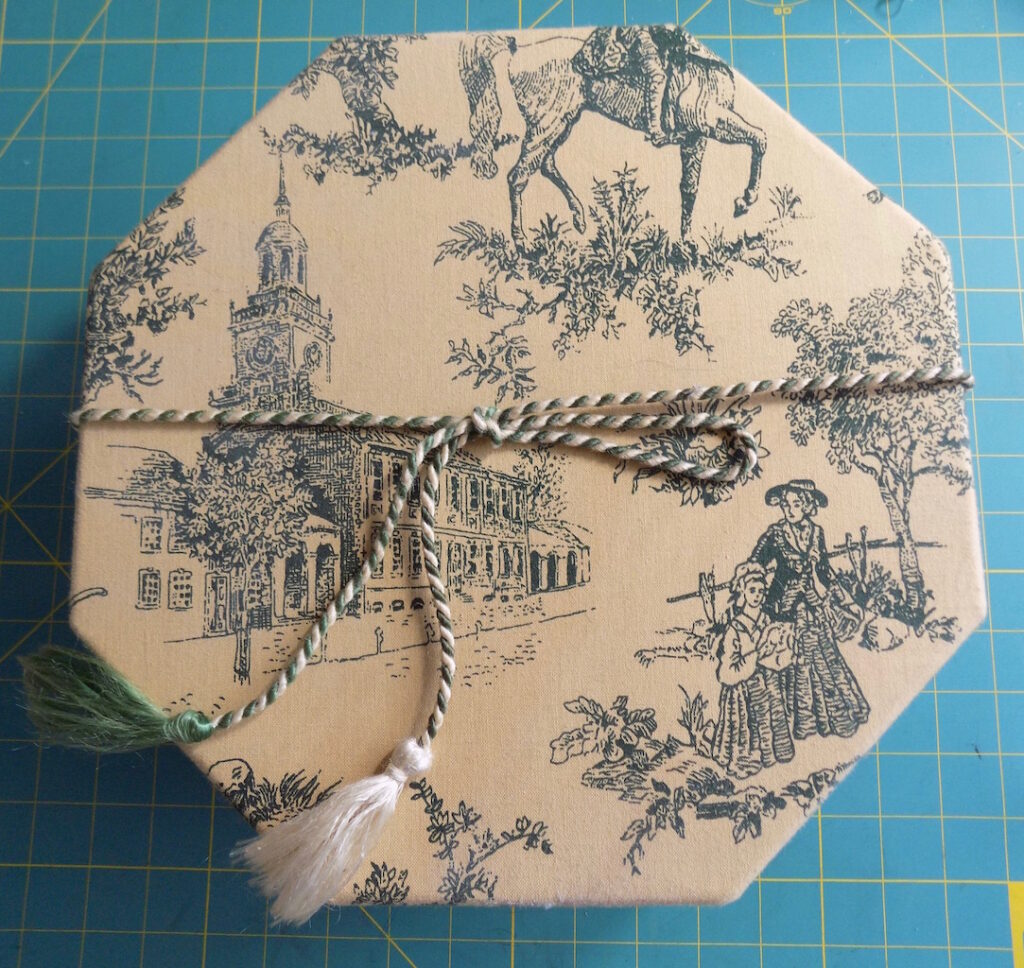
This box has a twist cord to keep it closed. The loop from the knot can be used to carry the box. The length of one of the ties needs to be a little longer than the other so you can get that loop. The twist cord is attached near the bottom of the box so it can’t be separated from the box.
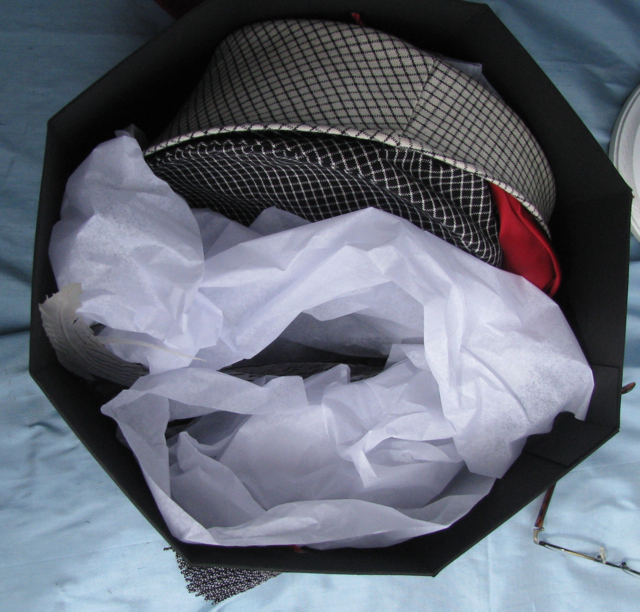
To store vintage hats like this one it’s a good idea to use acid free tissue paper to loosely nest the hat.
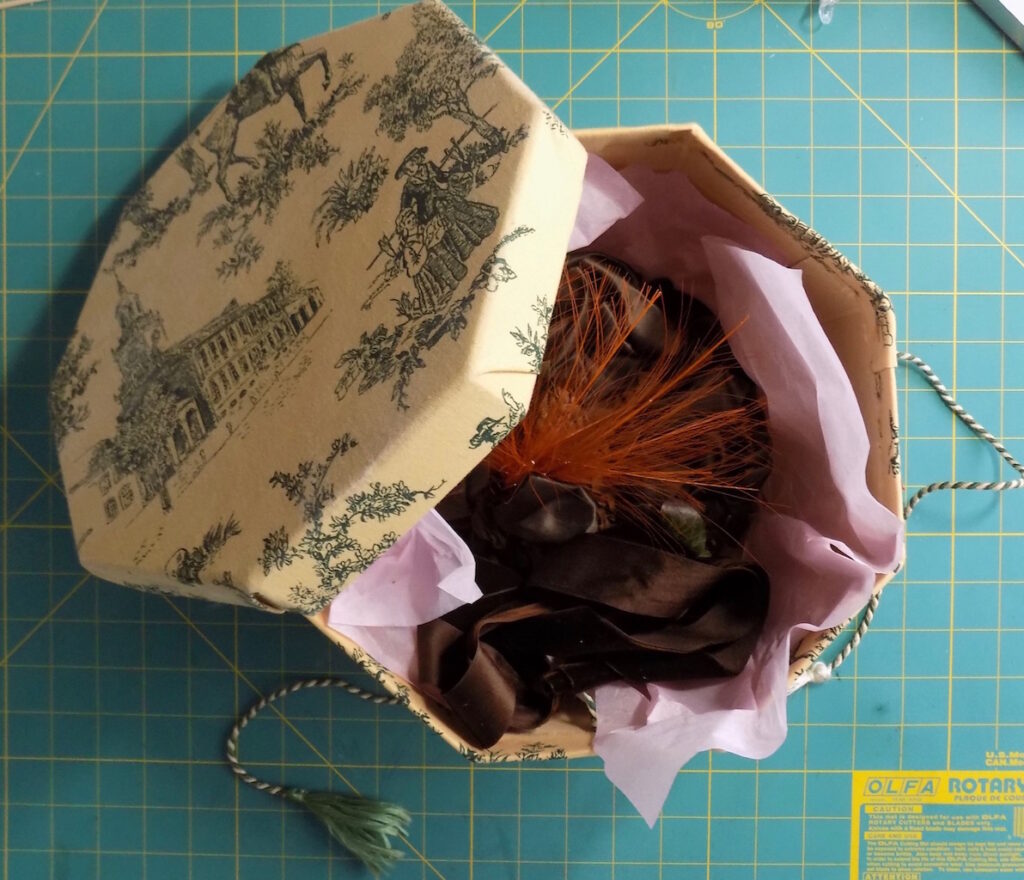
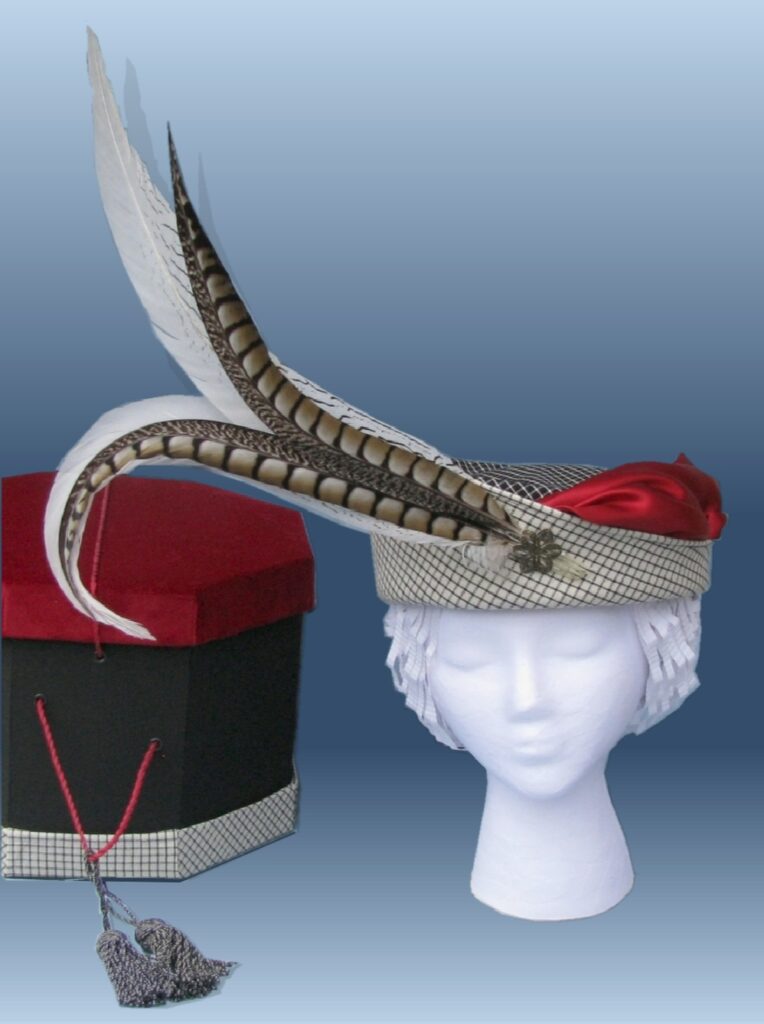
This is another box I made where it matches the hat. I only covered the top and the bottom with fabric but left the sides uncovered. Museum board comes in white and black.
Because a box that would be large enough for the hat and plume together would be really big with lots of empty space, I made the hat so that the plume could be easily removed and made a box just large enough to fit the hat and the plumes disassembled.
Definitely want/need to use this to house my hats. Thanks yet again.
Definitely want/need to use this to house my hats. Thanks yet again. Can’t get it to download.
Not sure why it not downloading for you. It works in all my test and no one else has had issues. Try again and if it does not work maybe I can e-mail it to you.