How to revive hinged metal frame purses to use with your period costumes.
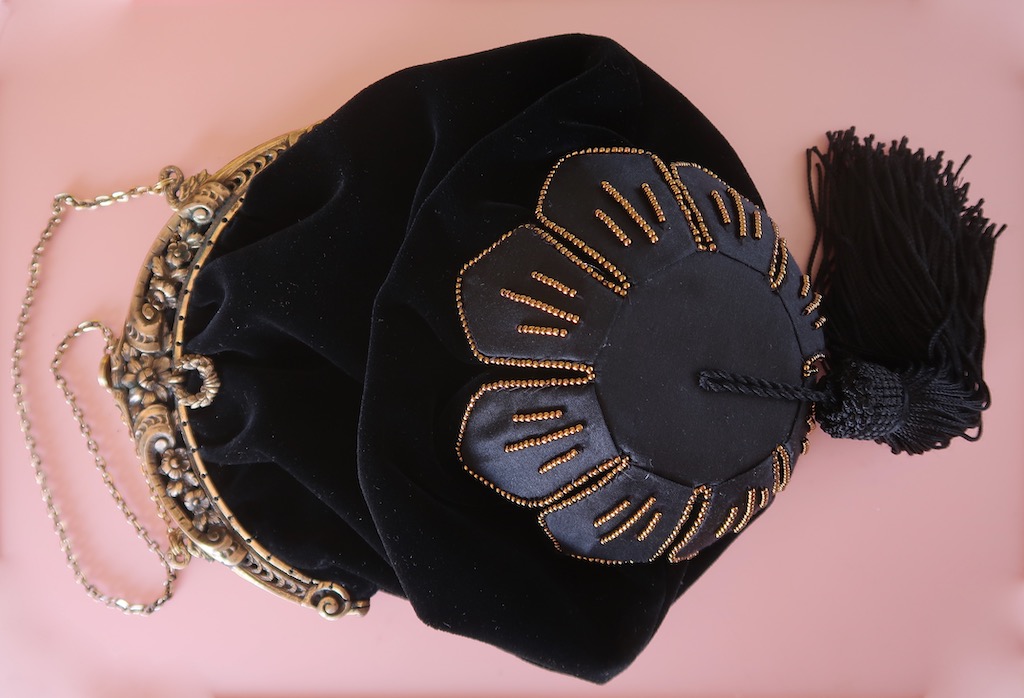
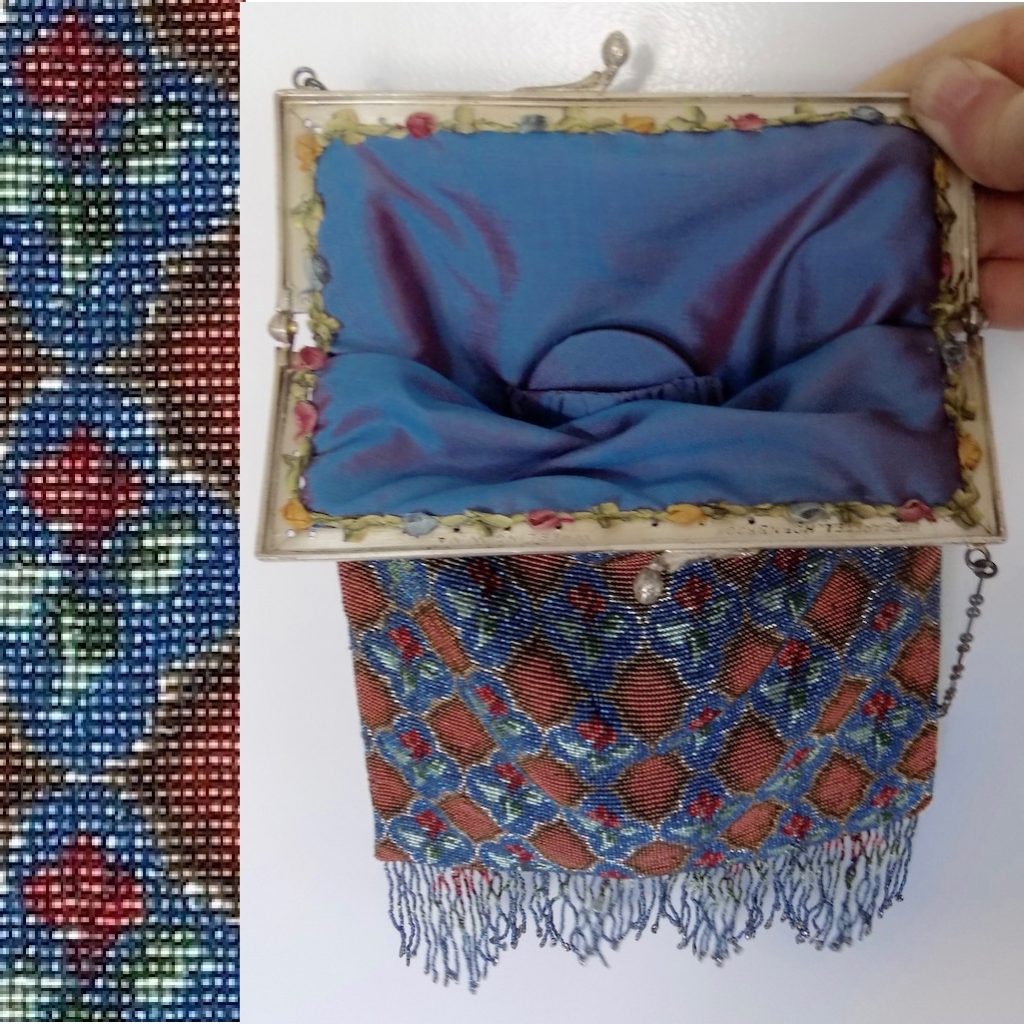
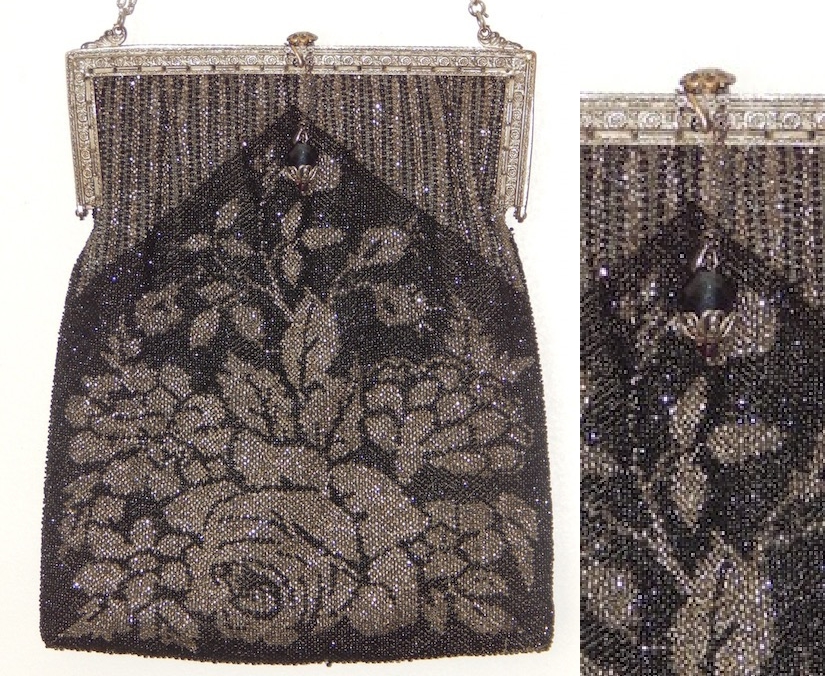
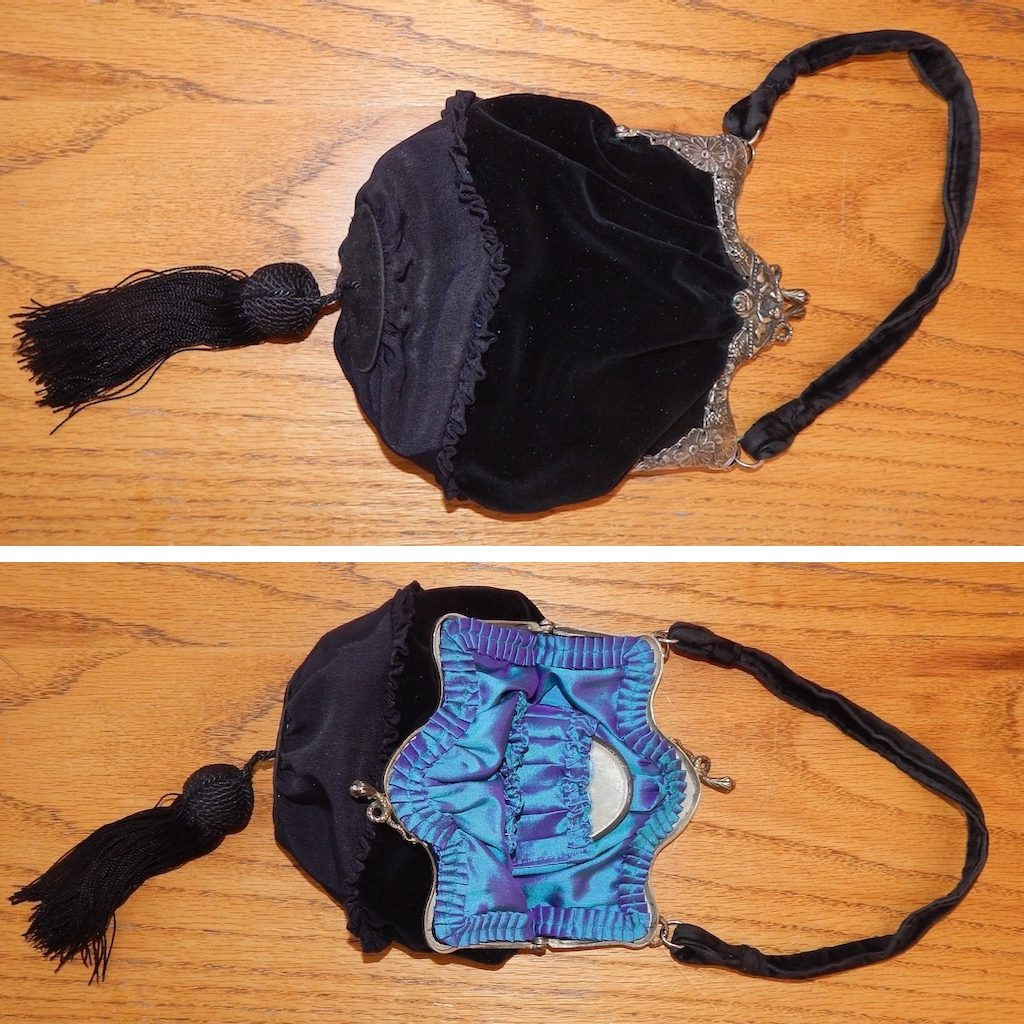
We have all been there. You find a gorgeous metal frame purse at a flea market, vintage store or on-line, but the fabric is shot and you would never risk using it. One time out of a thousand you might stumble on something museum quality but would never deconstruct something of such quality to make a purse to use with a costume. On that day, when you find a purse frame in good condition with fabric that is falling apart, adding new fabric is not as difficult as you might think. I have three examples to show you. First a 1920s era micro beaded purse that only needs new lining to be usable, an Edwardian purse that needs to have the majority of the fabric replaced to be usable, and a reproduction frame also early 1900s where I had to draft a pattern and sew all the parts.
I’m not an expert on period purses but from what I have read, most of the metal frame purses with fabric bags for women date from the 1860s. Metal frames on purses have been around for centuries. The Met has some gorgeous examples of late 15th Century purses, this one still has the fabric http://www.metmuseum.org/art/collection/search/471435 but it was an ecclesiastical purse for a man.
It is somewhat difficult to put a date on a purse just by the frame. When museum staff add dates of anywhere from 1700s to 1925, then you know that the frames do not change that much over time. My advice is, try to choose the time period you might use a frame for by looking at the motifs on the frame. If the frame is not too large (under 5” wide) but thick and has floral elements, I would use it for 1860-85. A wider frame with thinner metal having leaves, grapes and scrolls, then it could be 1871 to 1914. A frame with intricate linear designs and flowing curves based on natural forms, then it is Art Nouveau, 1890 to 1914. A lighter weight wider frame from around 7” with sharp corners and geometrical designs, it’s Art Deco and WWI to 1930s. The frames were often reused if they were still in good shape so the style might last for a long time. Just don’t use something that is of a later design period than your costume period.
Getting started:
If any part of your purse is still in good shape then it is important to take the purse apart step by step and take pictures along the way. I try to do this on a gridded mat, so that even if things fall apart, I can go back to the pictures and see details I might not have noticed and know the size of parts by counting the gridlines. You will need to decide if you want to remake the bag and replace part, or all, of the elements of the bag in the same size and shape. If so, you can use what is left to make a pattern either by tracing or scanning the good parts and/or measuring the dimensions. How I did this will be apparent as I go thru the first three bags. A couple important things to notice are: where the fabric rests, is it on the inside of the frame or on the outside, or is some of it on the inside and some on the outside; second, are the stitches that hold the fabric to the frame in a channel or do they go thru a hole and come to the back just below the hole?
Patterning a replacement bag:
If you have a frame with no existing frame then you need to create a pattern for it. Below is a handout I created for a class that should help. Once you have a pattern read thru the articles link to above to find the that covered the most like the one you want to make and use that as a guide to the steps you need to go thru to made a bag to go on your frame.


