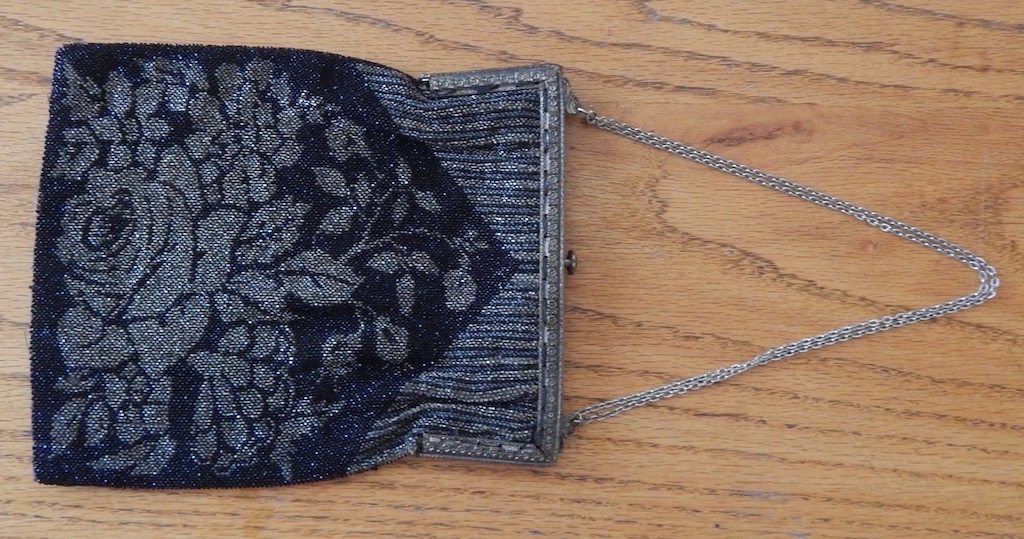
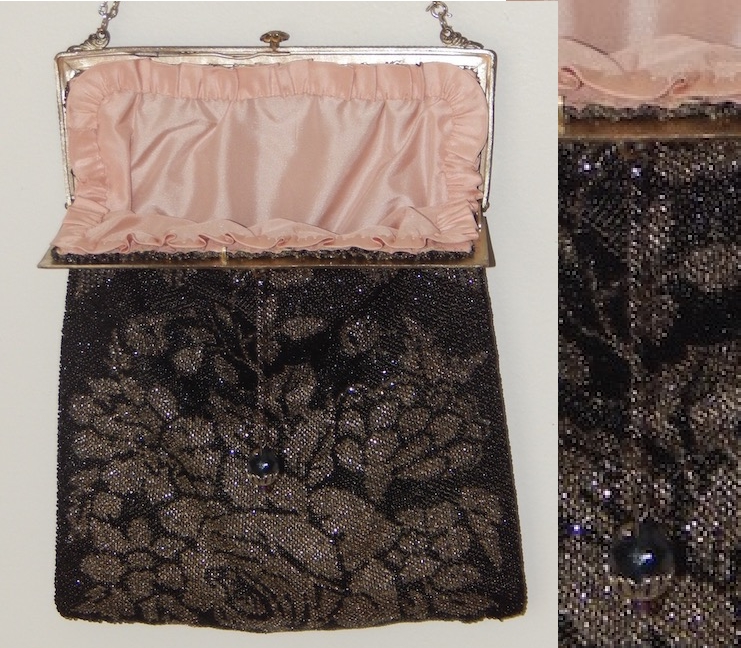
This is the purse that needed work. It’s a 1920s glass beaded hinge style.
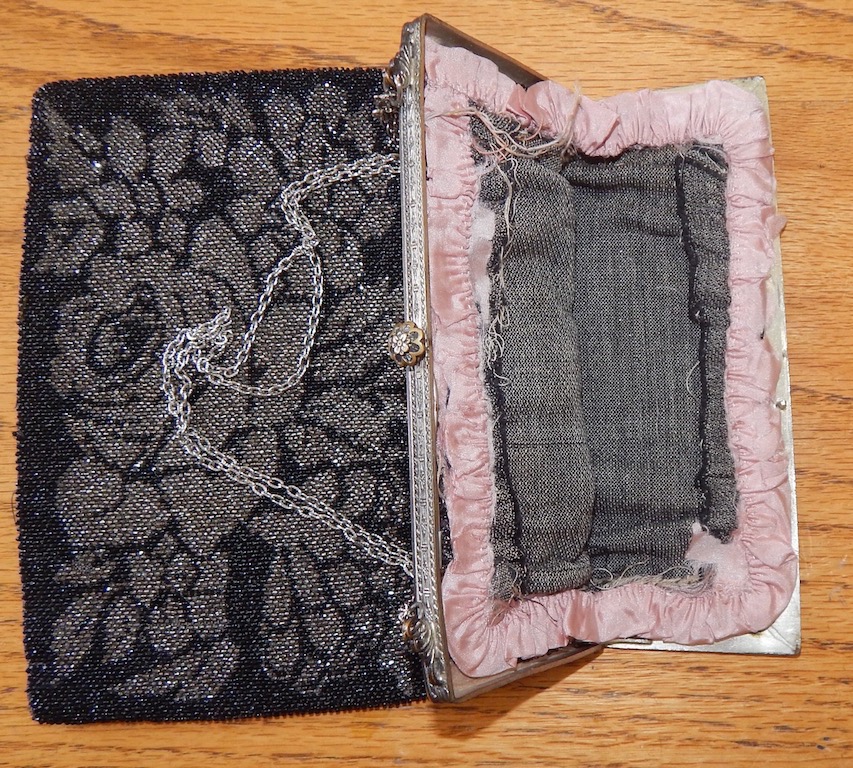
To look at it from the outside it looked in perfect shape but to be able to use it for costume events the inside tells the story. The lining was shot.
Deconstruction
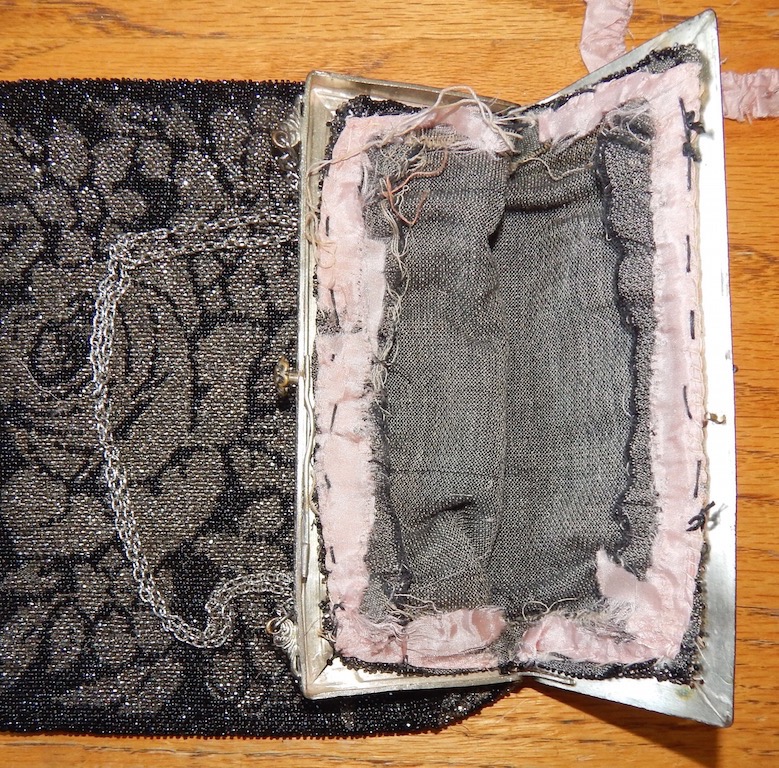
First step taking the ruffle off.
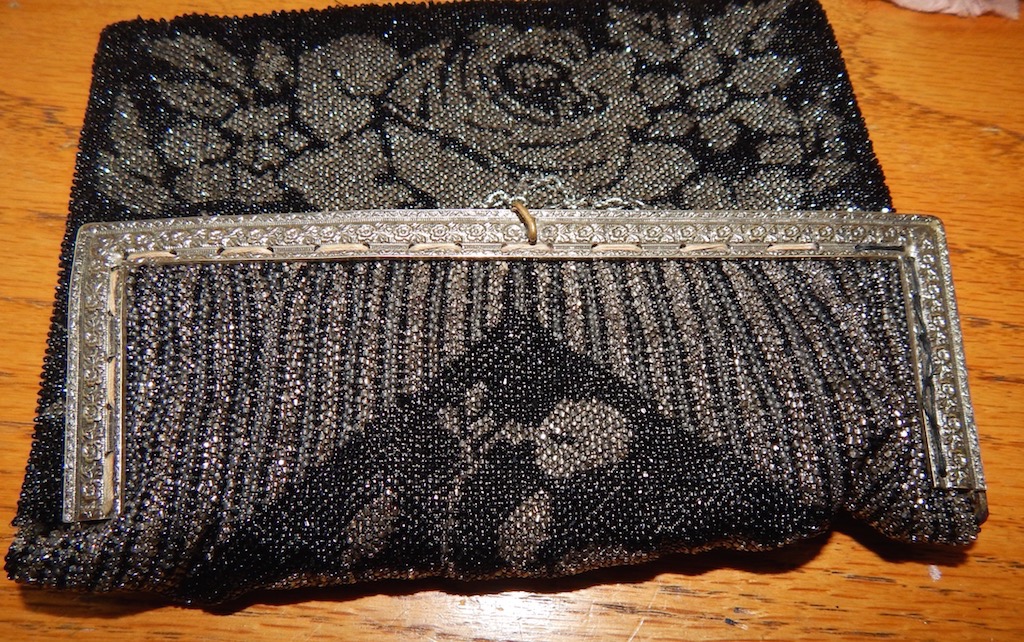
Then the stitching that held to bead bag from the frame. Note the repair that was done in black thread on the right.
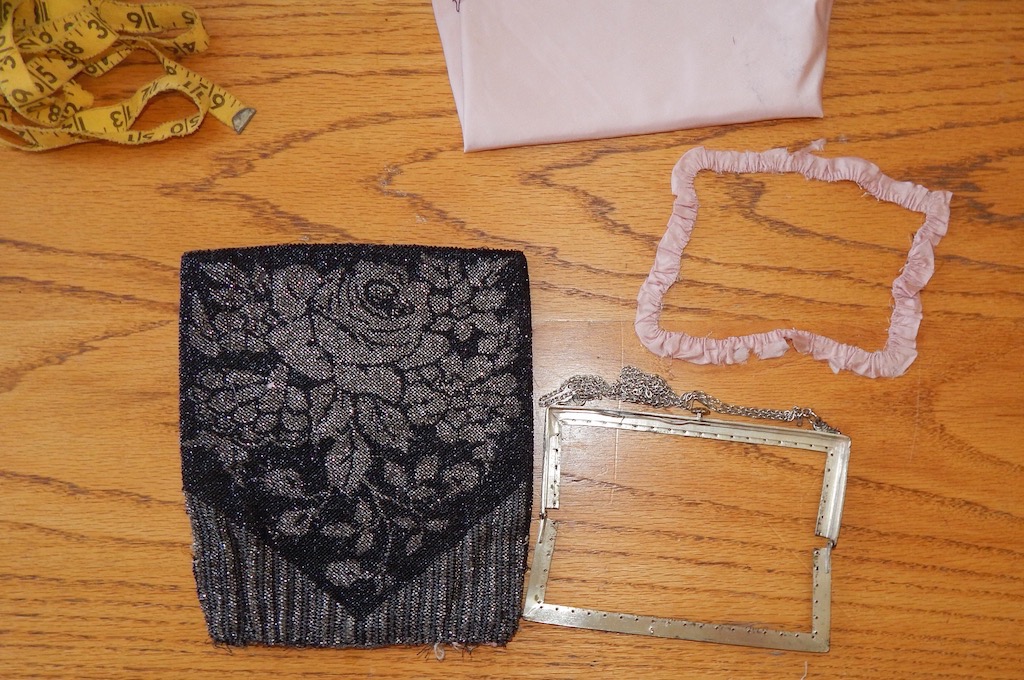
All the bits and the fabric I will use to make the lining. It’s a little thicker taffeta that the original but a good color match.
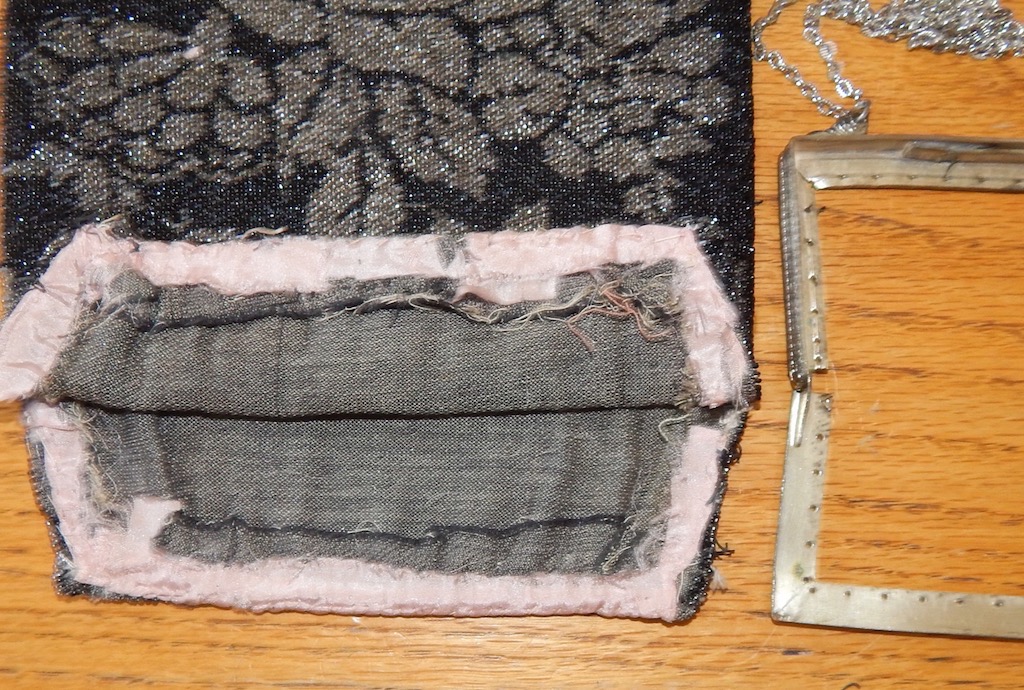
I still had to carefully remove the remains of the lining and its seam allowance.
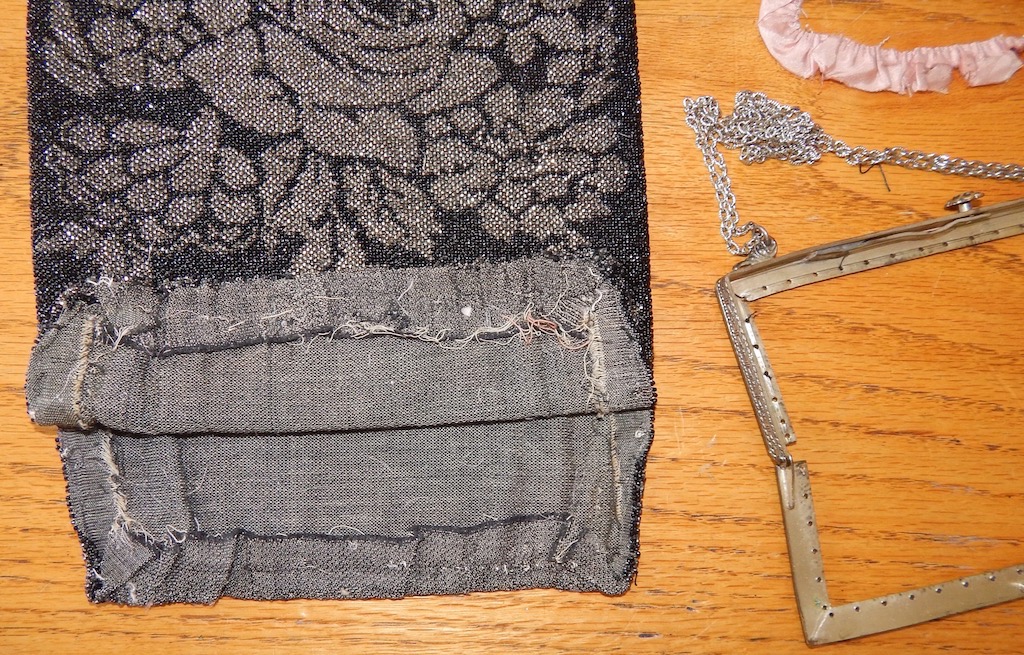
Lining gown. Now is a good time to look for any repairs that might need to be done.
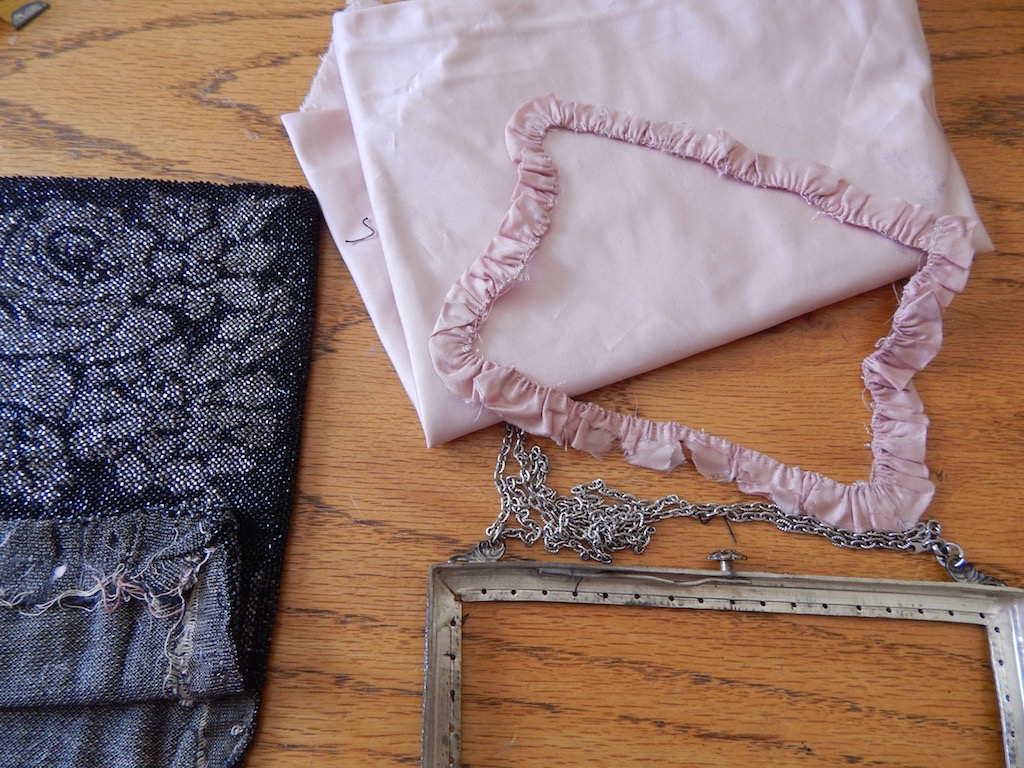
I did decide that I could not reuse the ruffle because it was a little fragile.
New Lining
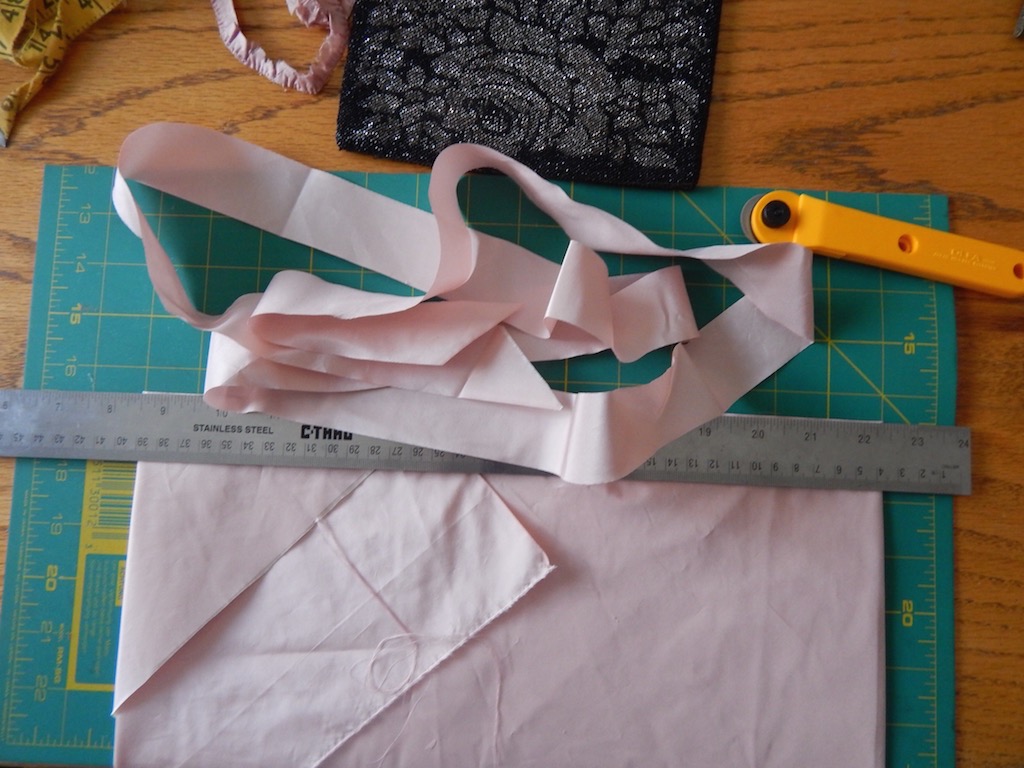
I cut some 1.5″ bias strips.
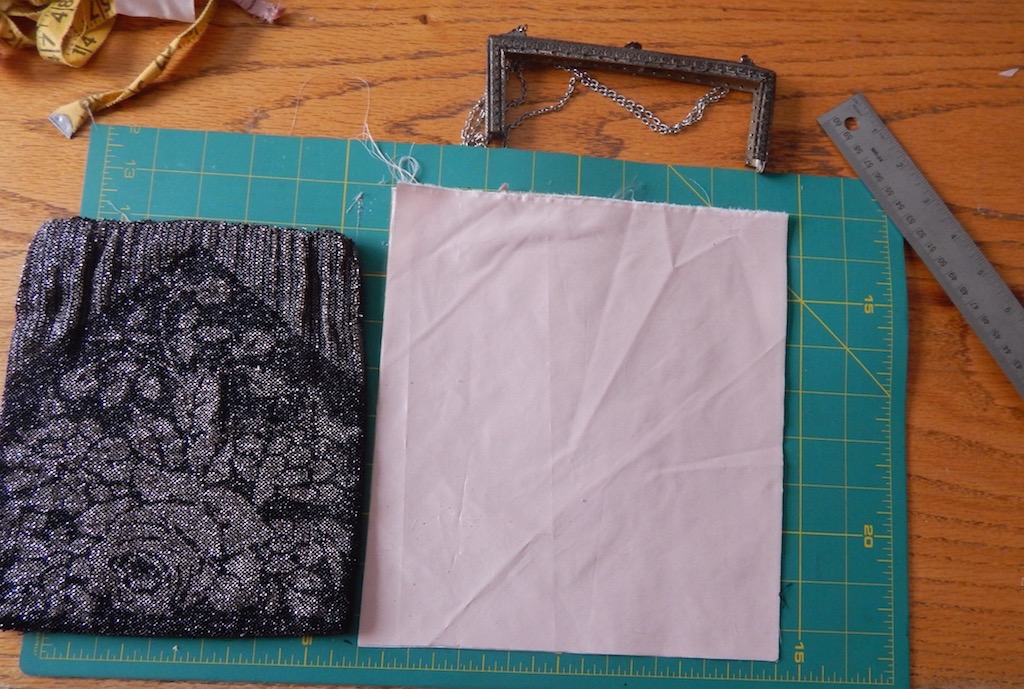
Then two pieces of lining the dimensions of the bag plus seam allowances all around.
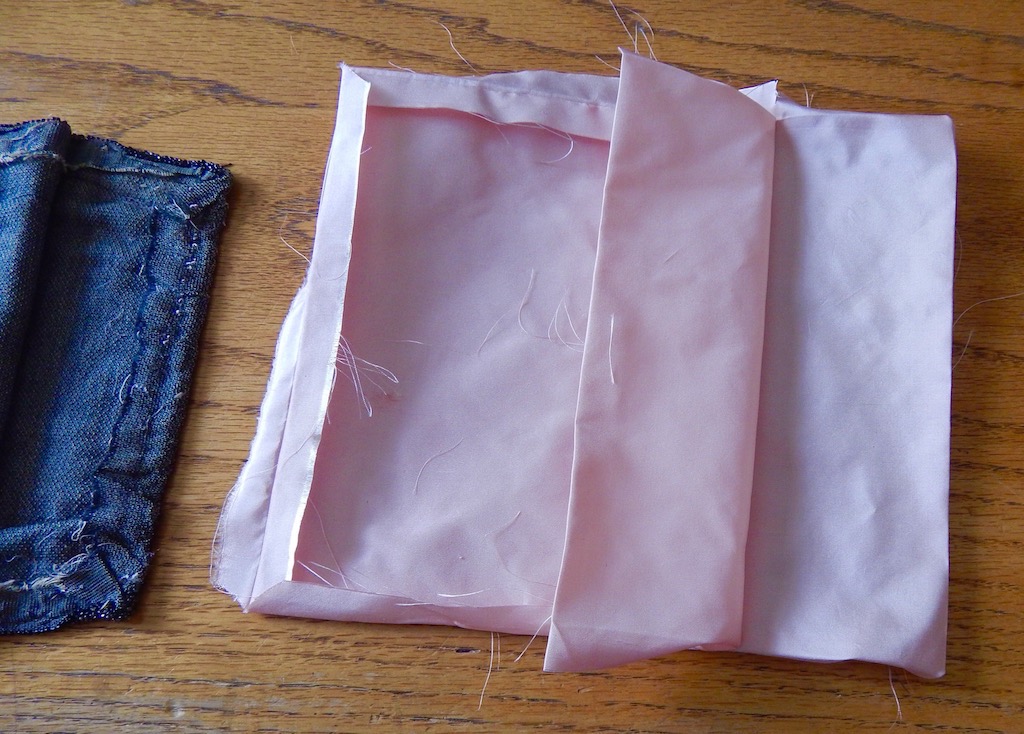
The lining gets sewn together below the hinge point and the seam allowances pressed open and back as well as the seam allowances above the seam.
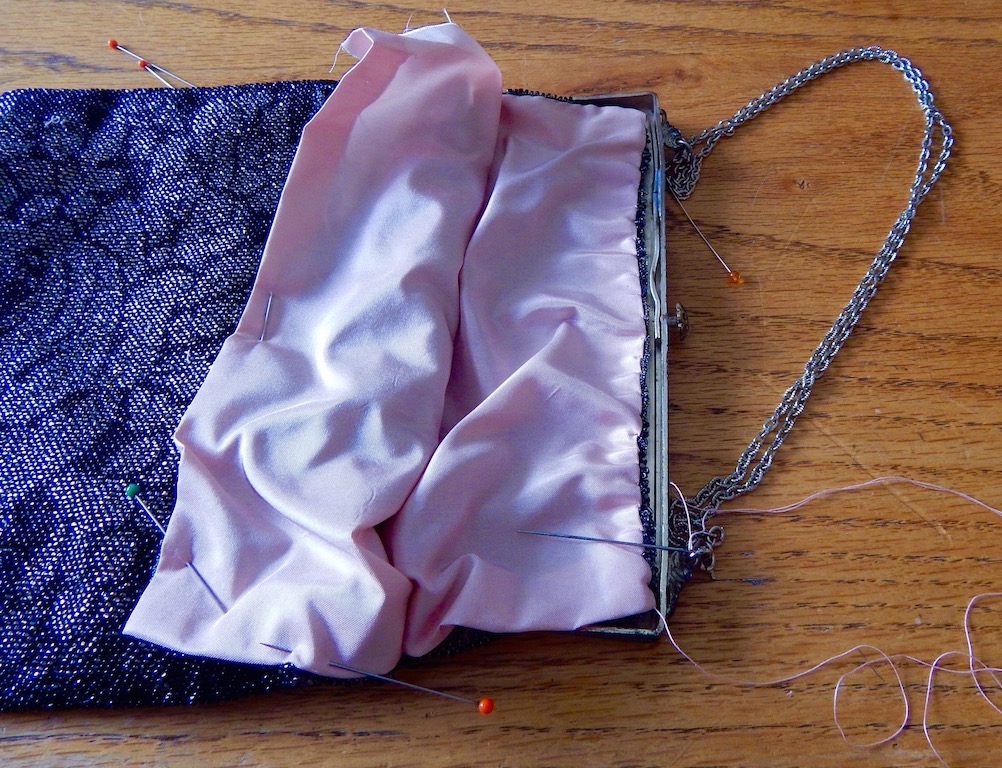
The lining slips inside the bead bag and the edge above the hinge point gets sewn to the bead bag but also gathered a little so it can fit the frame.
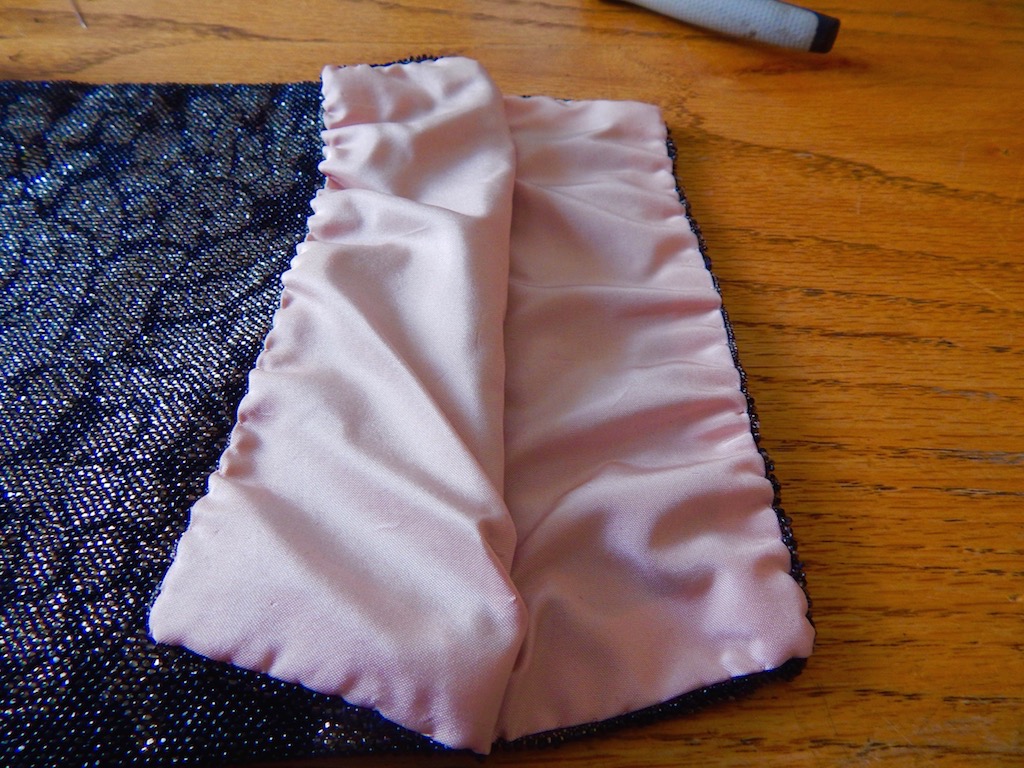
This is what it looks like when all sewn.
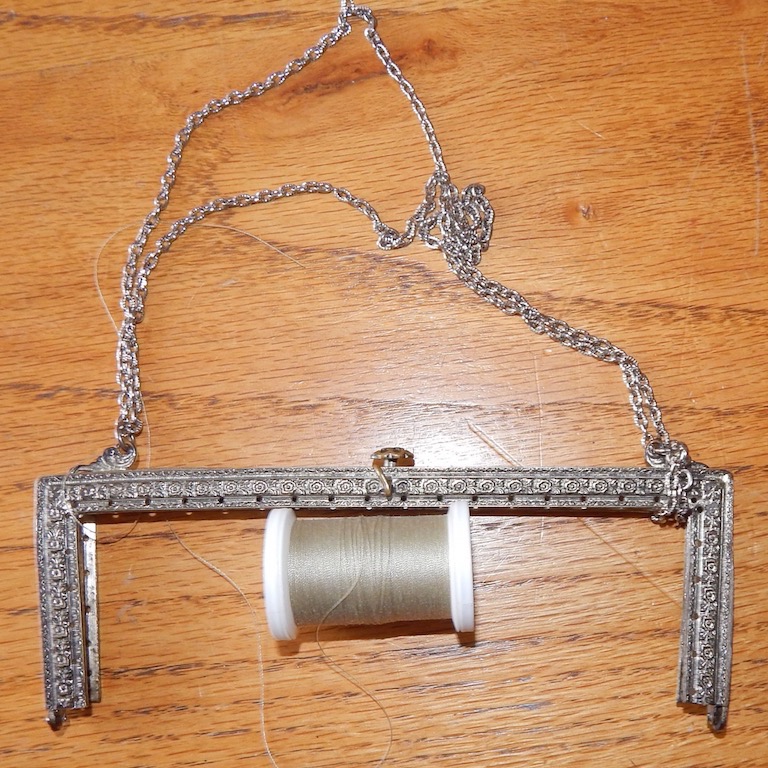
I looked for a strong thread that tends to disappear when held up to the frame.
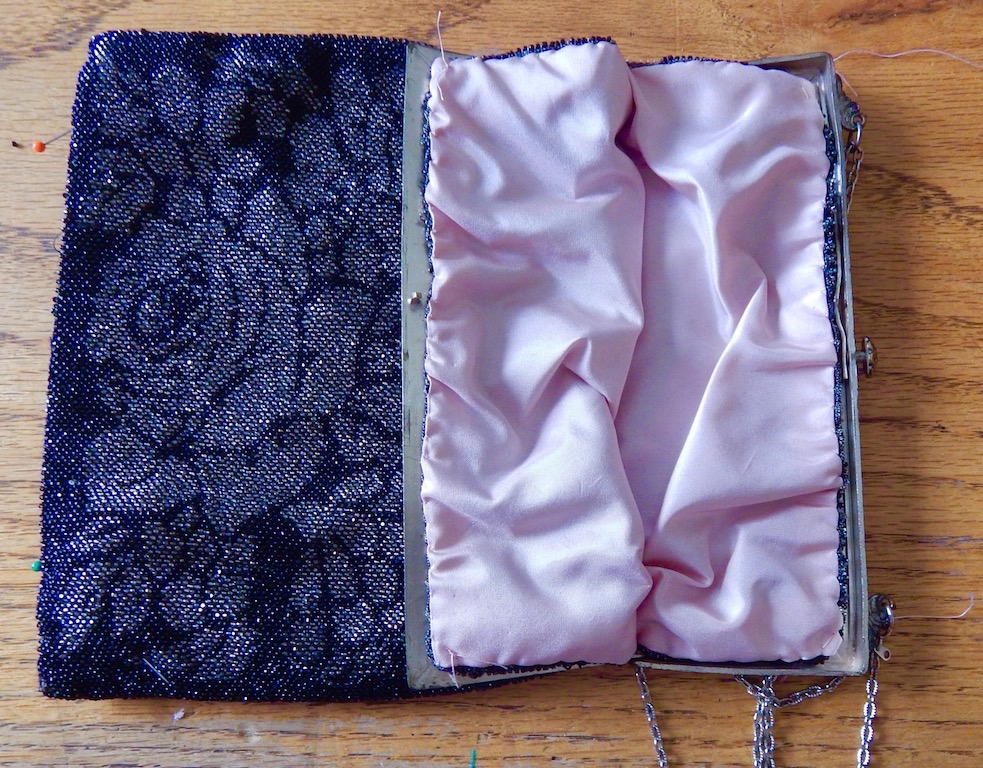
I use tailor tacks to hold the corners into place. Then sewed bag in place using the holes in the frame.
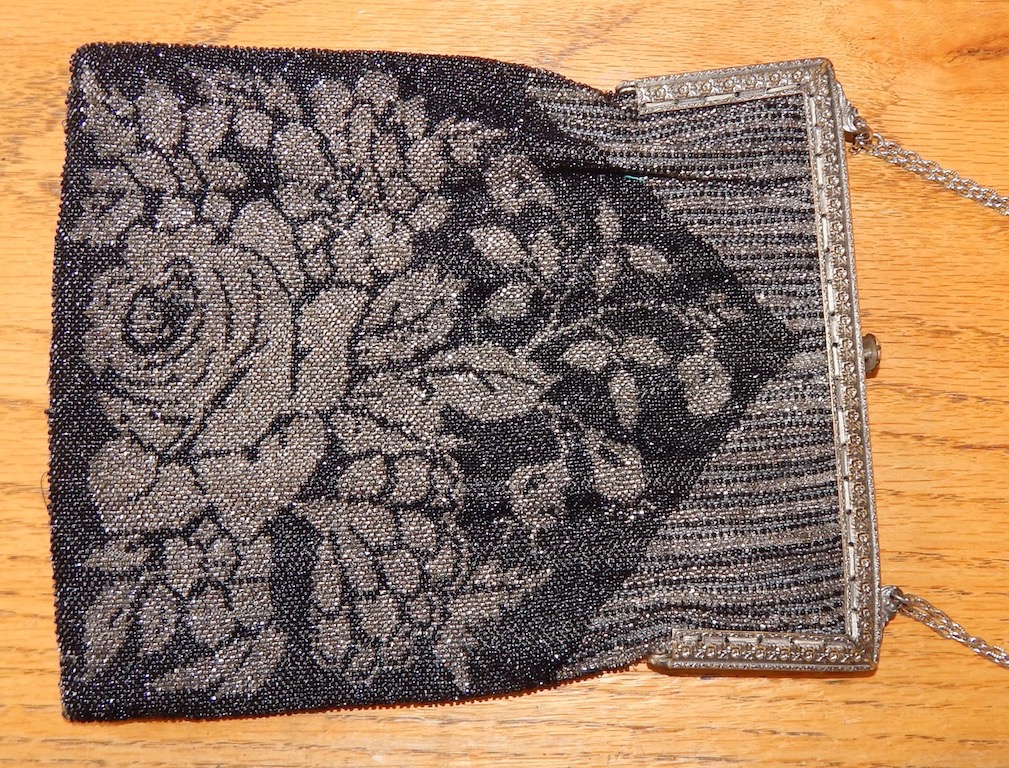
Sewn in.
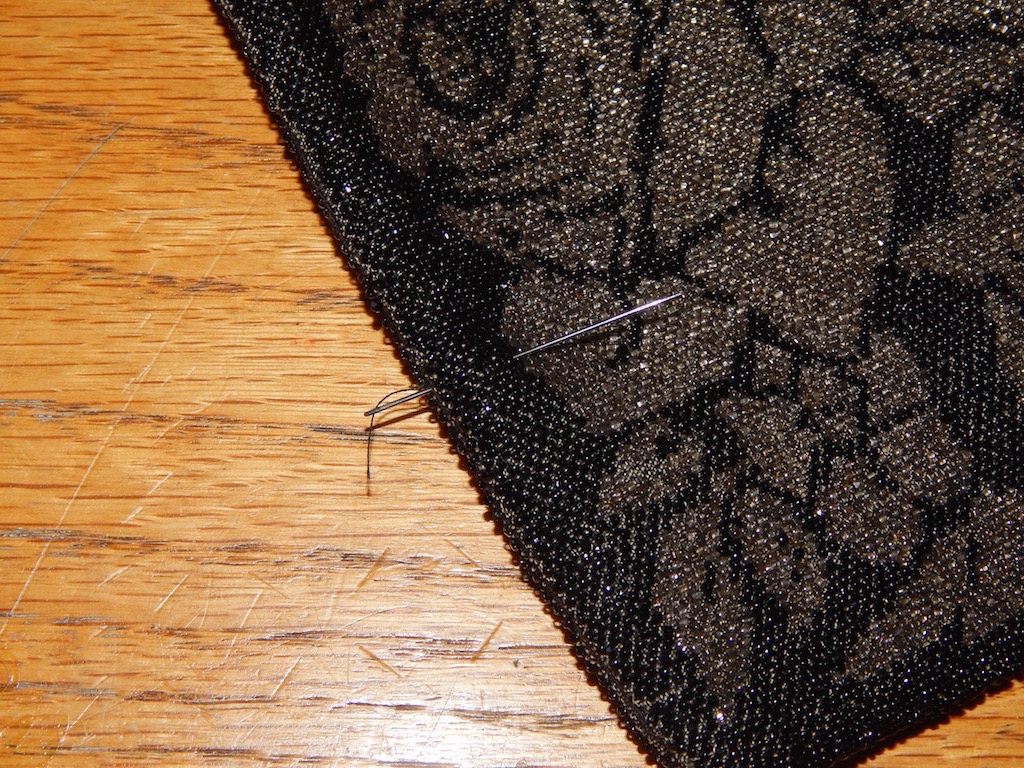
There were some loose beads and threads near the edge so I pulled the threads in and with a beading needle I fixed the beads.
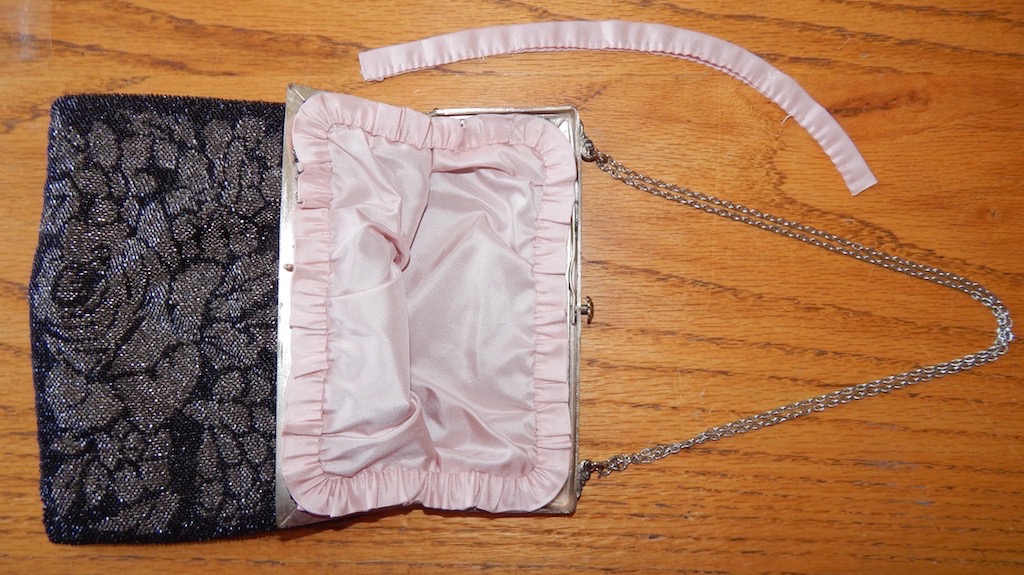
I use a bias maker to make double fold bias tape from my strips then ran a gathering stitch to gather the ruffle. Then sewed it in.
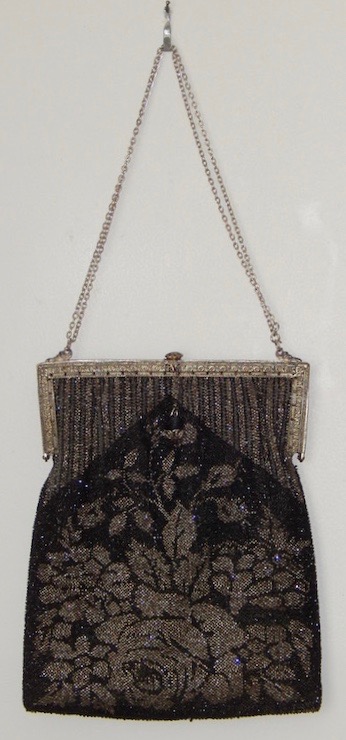
Finished bag!!
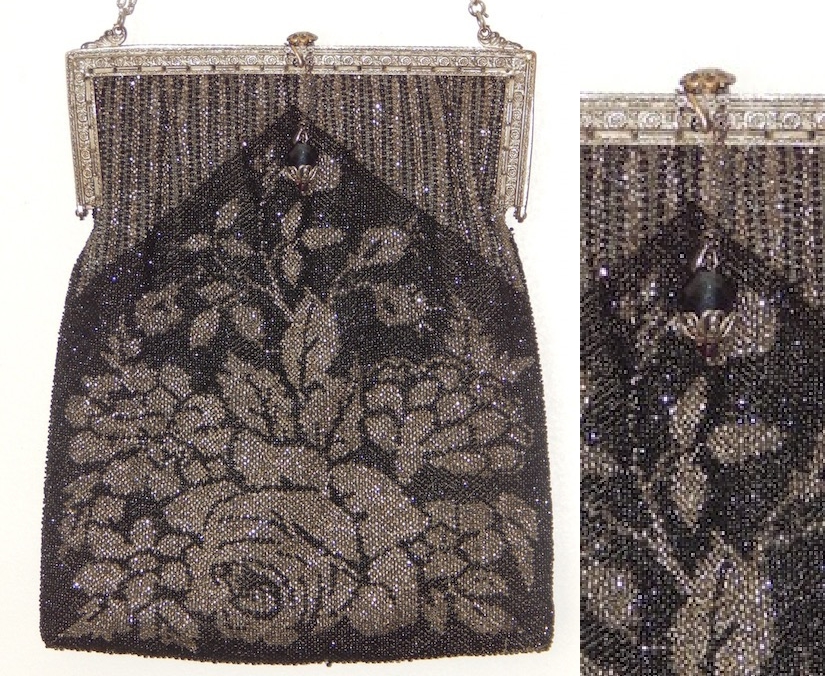
This purse clasp opens with a press on that button. It was a little touchy and there was a metal loop on the front so, I added a chain with a glass bead and bead cap at the end.
This can be wrapped around of the stem of the button and easily be unwrapped so you can push the button.