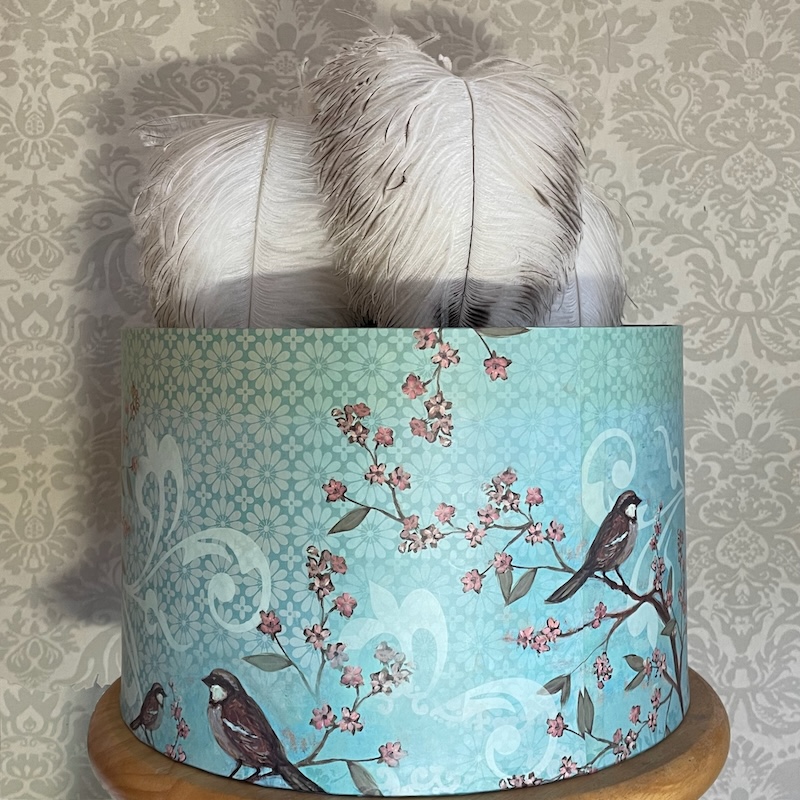
What can you do if you have a hat that is way too tall for the box you have? Extend it and make it just as tall as you need to protect the feathers.
Extending the box
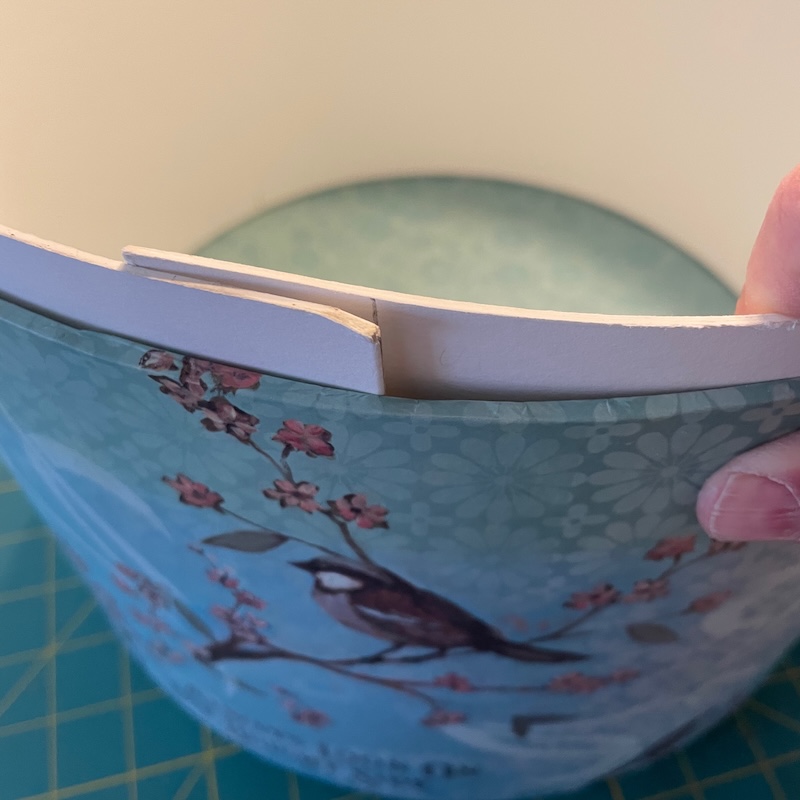
You will need two pieces of mat board or Museum board. They need to be longer than the diameter of your hat box and one needs to be as wide as the extra height you need and the second one needs to be an inch or two wider than that. The wider one will become the inside board and the second will become the outside.
If there is a picture framing store near you check to see if they sell damaged mat board cheep. Sometimes they see Mat board that does not have the top fancy color layer you can use this too.
Curl the taller piece on the inside of the box (picture above) and mark the overlap. Cut the overlap away. I did not think to do that but it is possible to create a half lap with this kind of board. If you know how to do that cut away 1/2 the thickness away from each end on opposite sides of the board.
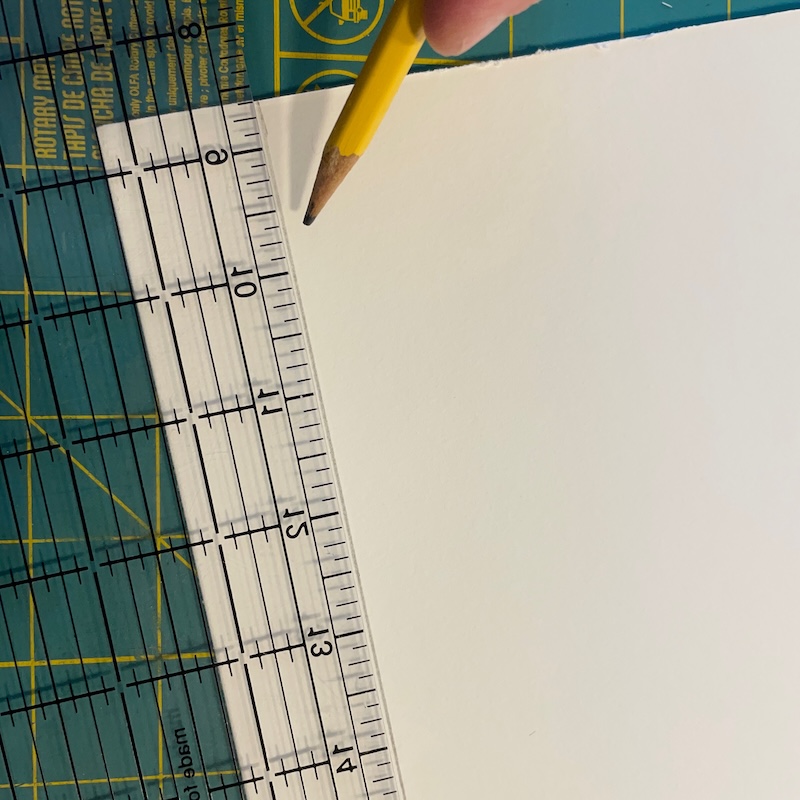
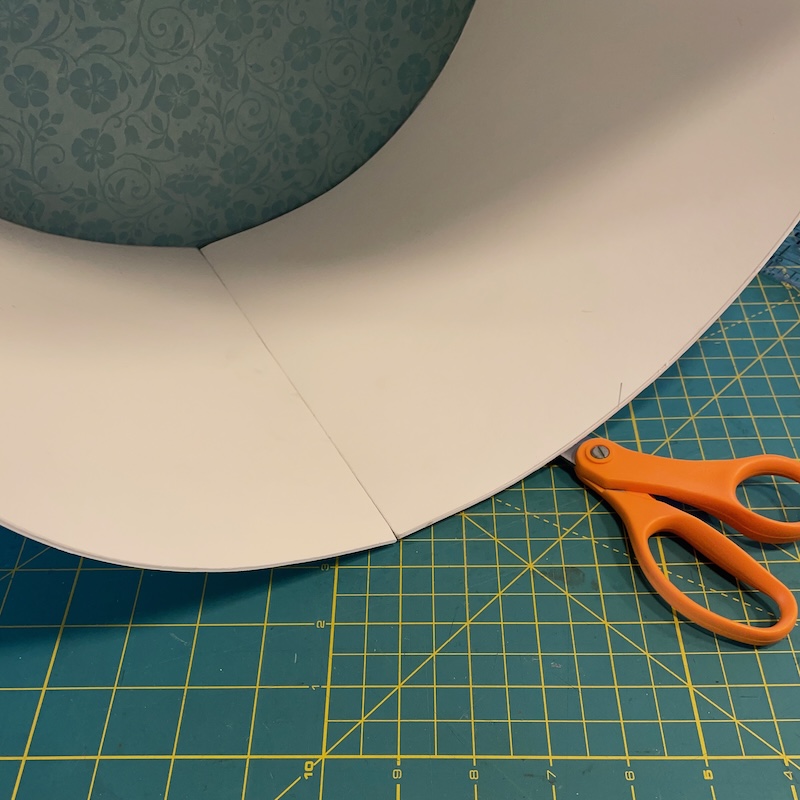
Slip your board back into the box to make sure it the right diameter.
Mark the mid point of the taller piece. You will be glueing the shorter piece to the longer piece starting at the mid point even at one end.
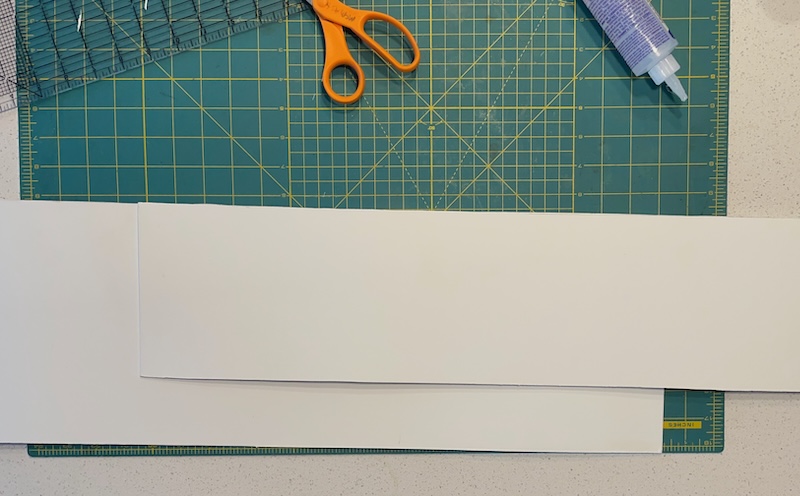
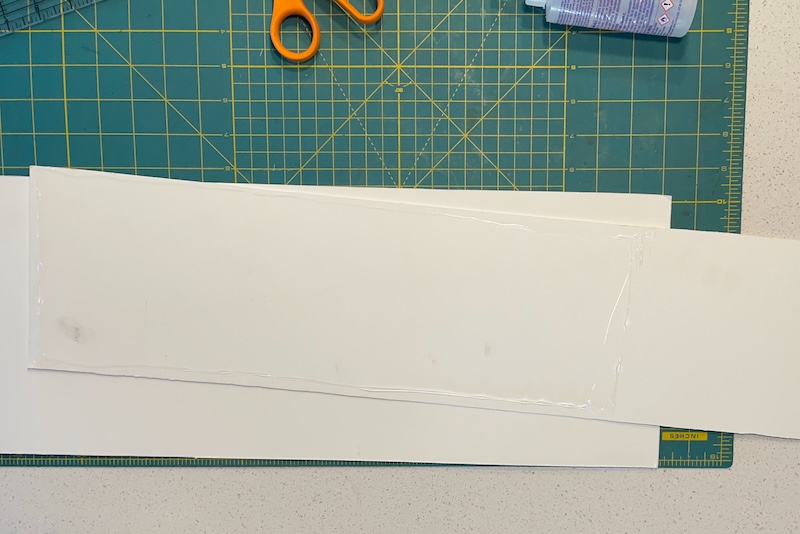
Add glue around the edges of the shorter side to the 1/2 way mark.
Add more glue to the inside edges of the second half of the shorter piece and bring it around to back to the other edge. Clamp the edge down until the glue dries.
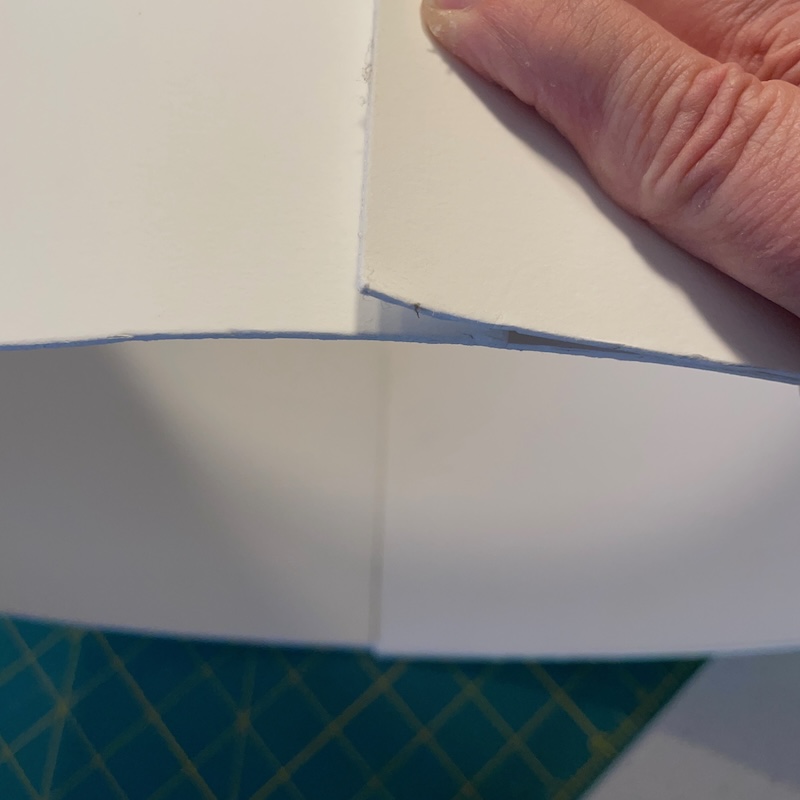
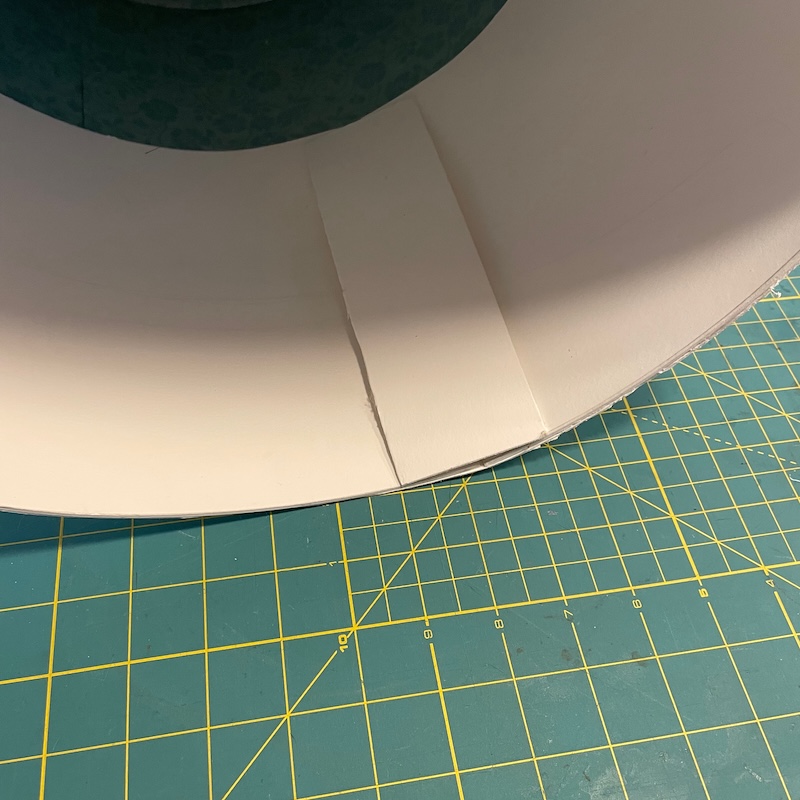
For extra support at the seam you can glue a scrap piece of board about 2″wide to the inside of your circle.
You can now slip the two layer board you just made inside the top of your hatbox. Do not slide it on all the way.
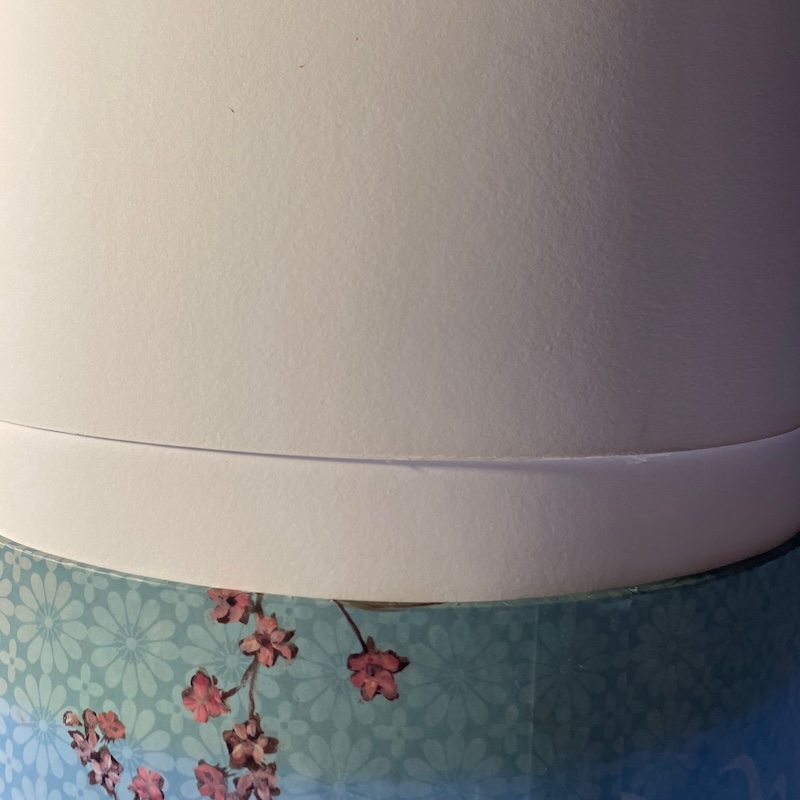
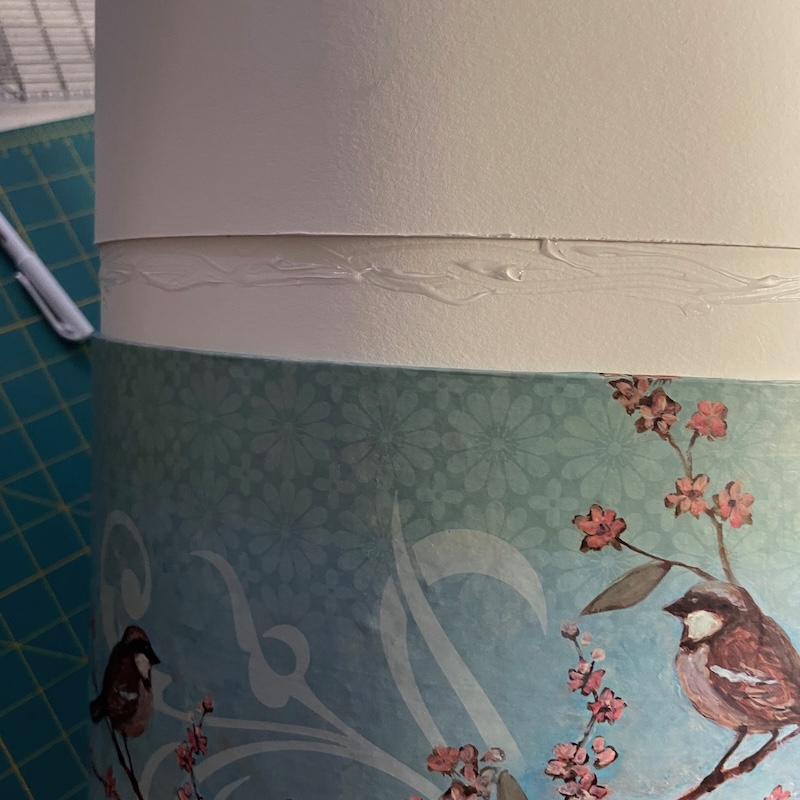
Add glue to the inside layer. Then slip it in.
If your glue is not quite dry using some 2″ wide elastic you had make sure that the two layers of the board are will glued together.
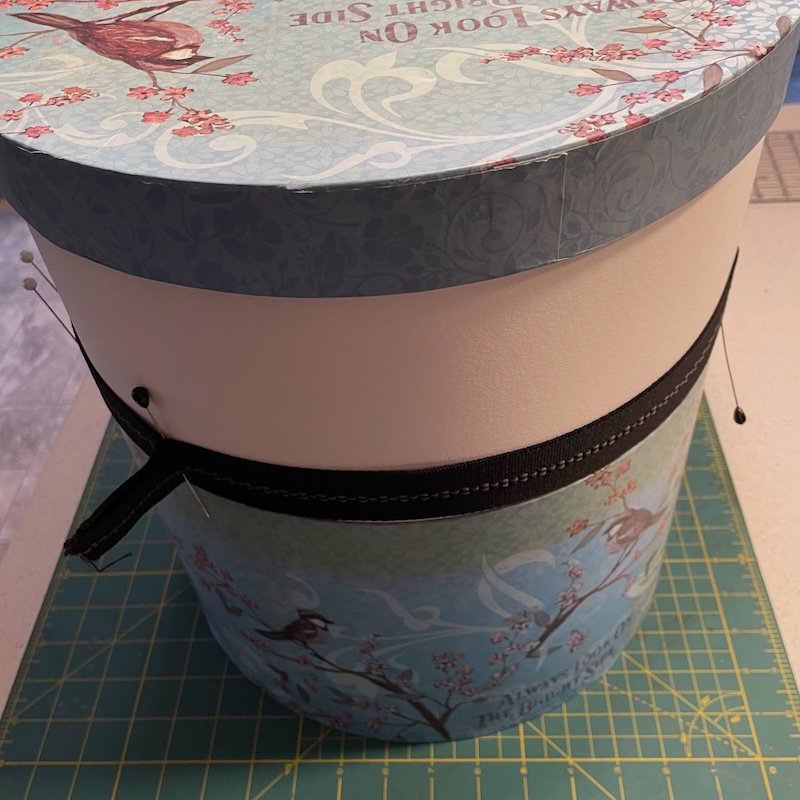
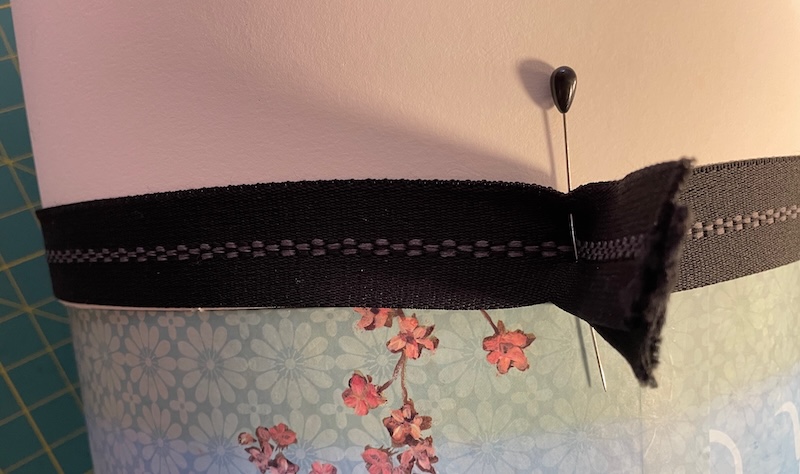
Pulling it as tight as possible and using a pin to keep it together works well.
You can add some tape across the seam between the top and the bottom to help hide the join.
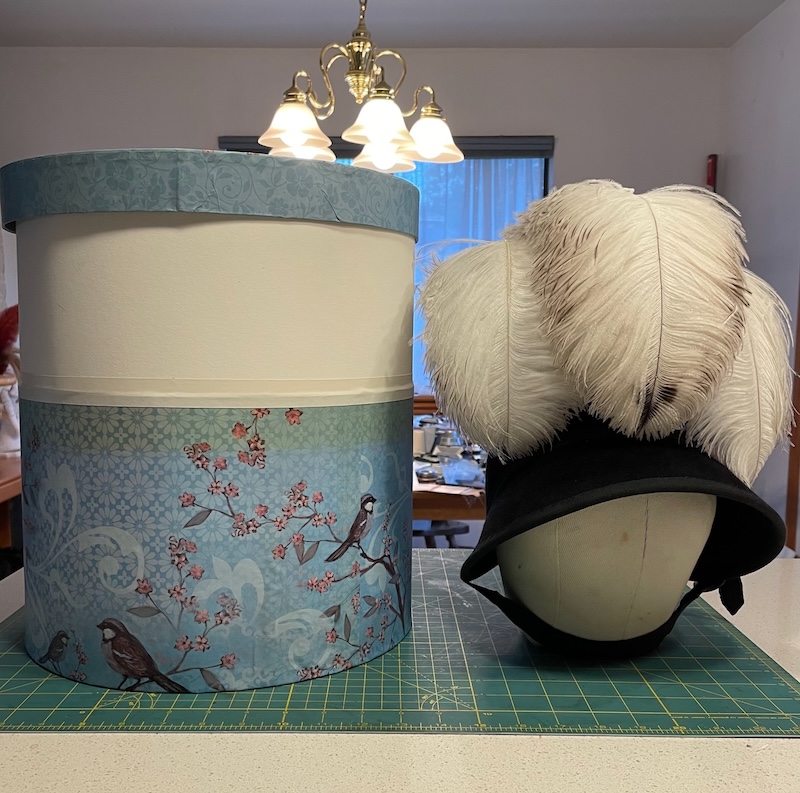
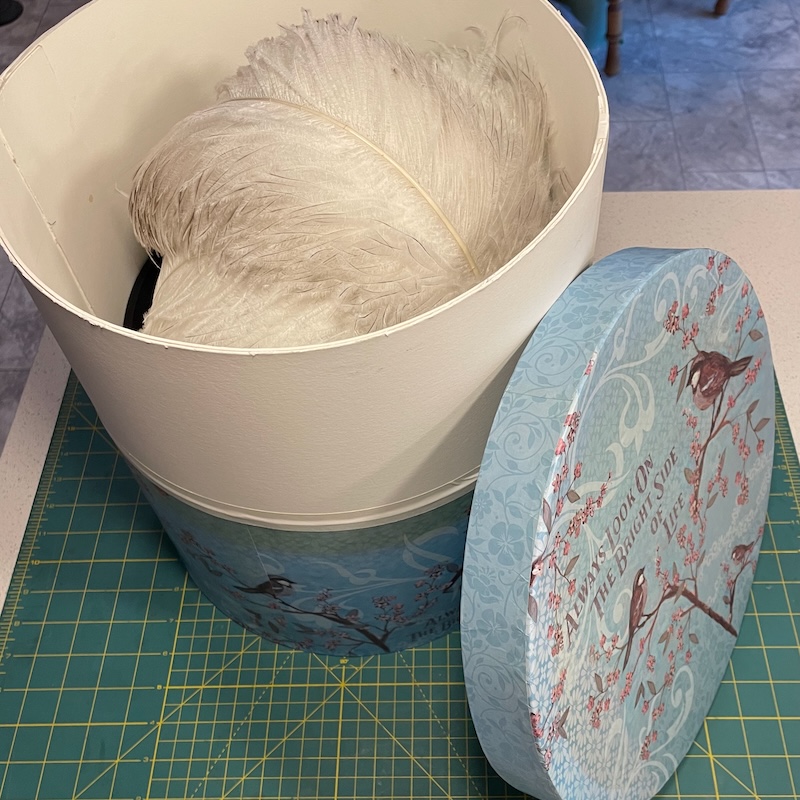
You could stop now you have a fully functional, sturdy hat box. But if you want it as a travel box then continue.
Covering and adding handles
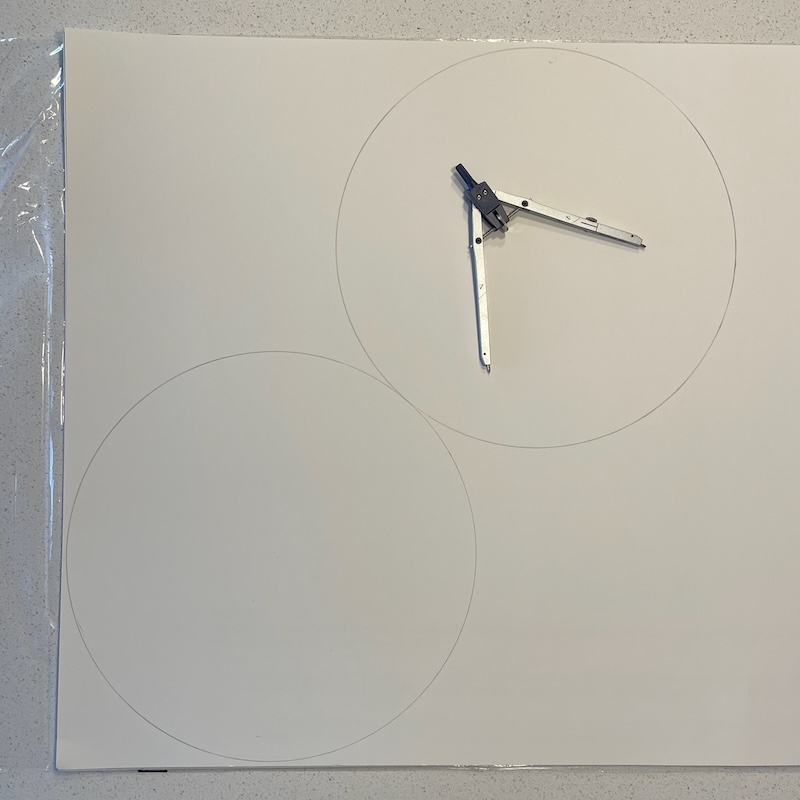
Mark and cut two circles of light weight poster board. One 3/8″ less that the outside diameter of the lid and one 3/8″ less bottom of the box. Set those aside.
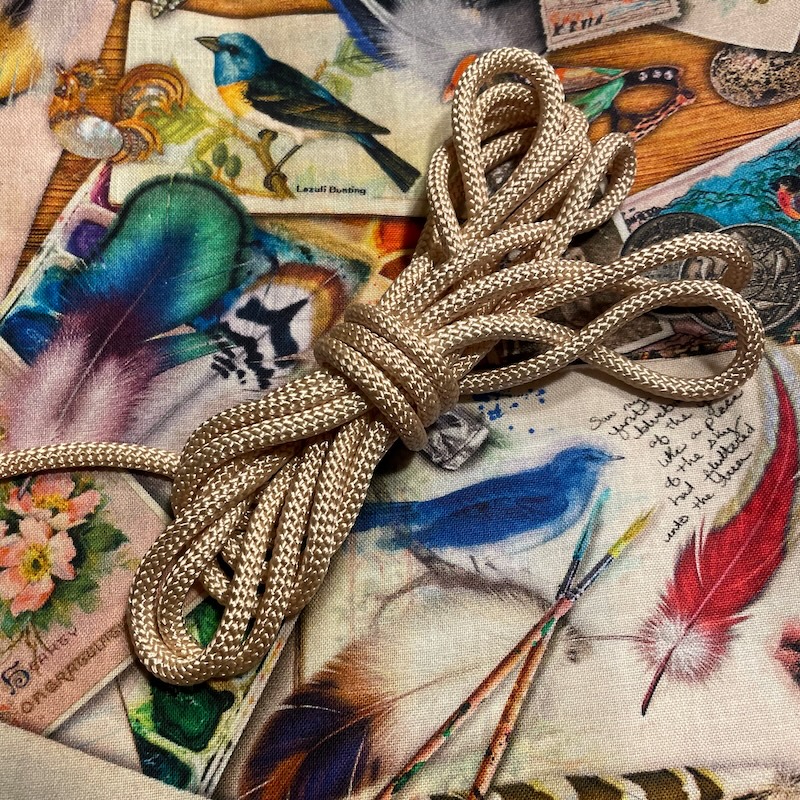
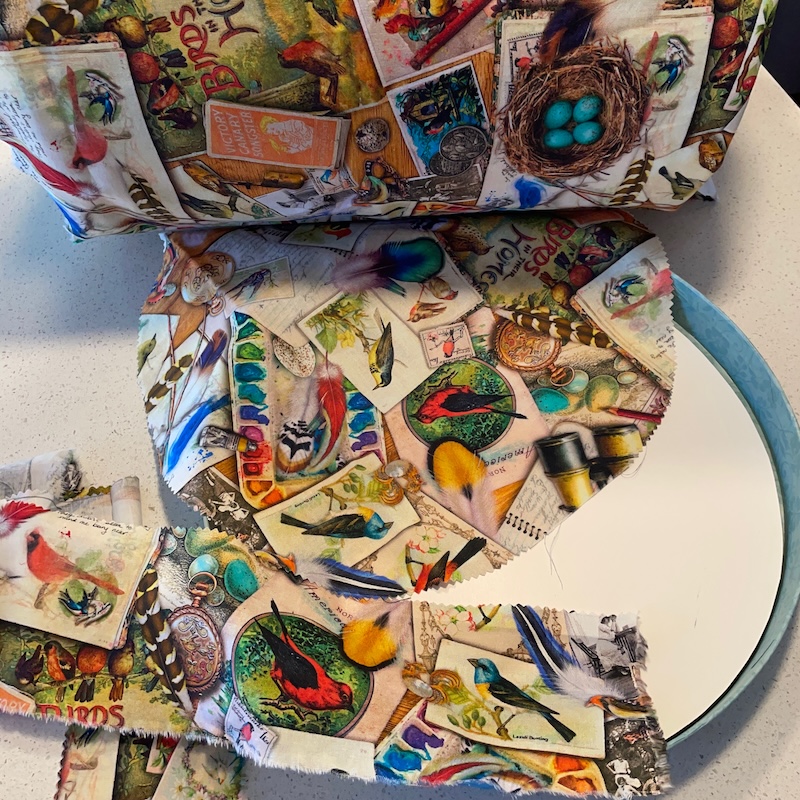
Cotton is a good choice but make sure it is fairly thick quilting cotton and will not show the old design thru. For the size box I made I needed a yard. Also about 1 yard of a cord that is about 3/16-1/4″ diameter/
Mark and cut a piece for the lid that is ~1/2″ wider all around than the lid.
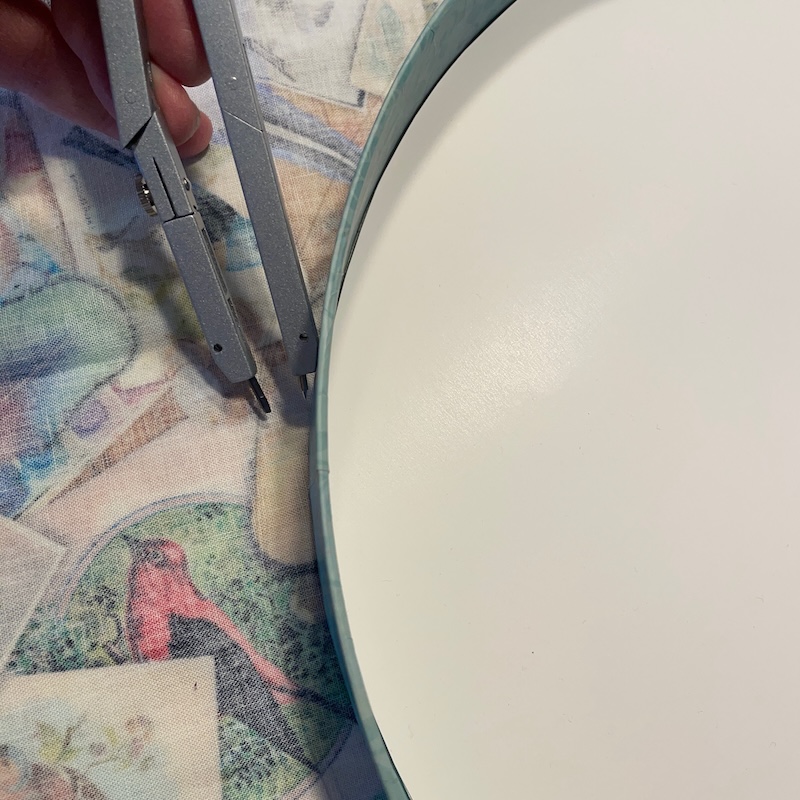
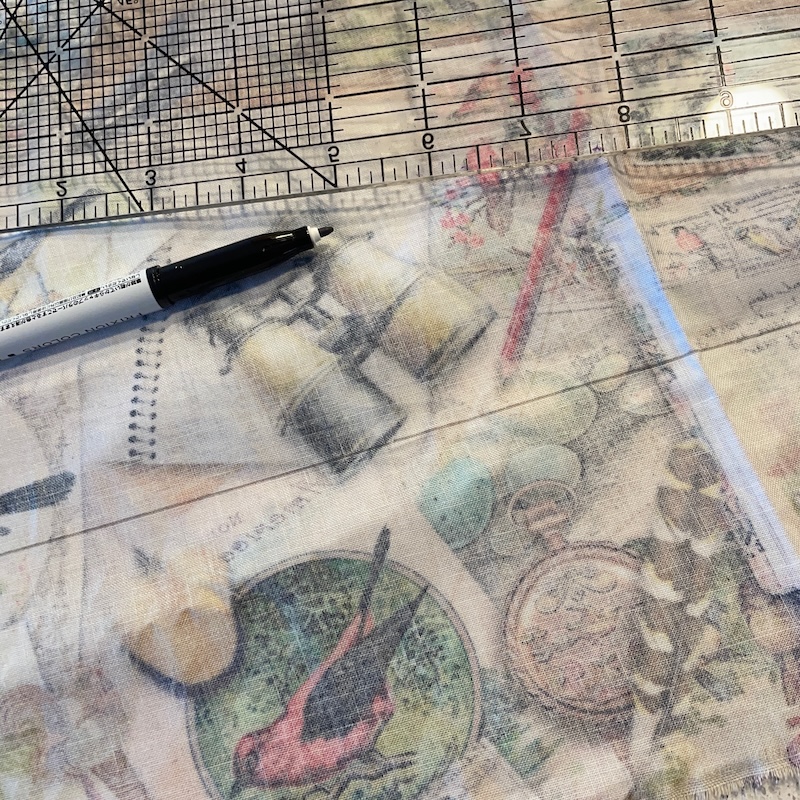
Mark a long straight piece that is 2X the hight of the lid collar plus ~1″. And it was all the way across the fabric from finished edge to finished edge. My box was a 12″ diameter box if your box is wider you might have to splice or use more than one yard of fabric.
Wrap the fabric around the box. I did not trim mine I just cut away the wide finished edge which left a 2″ overlap.
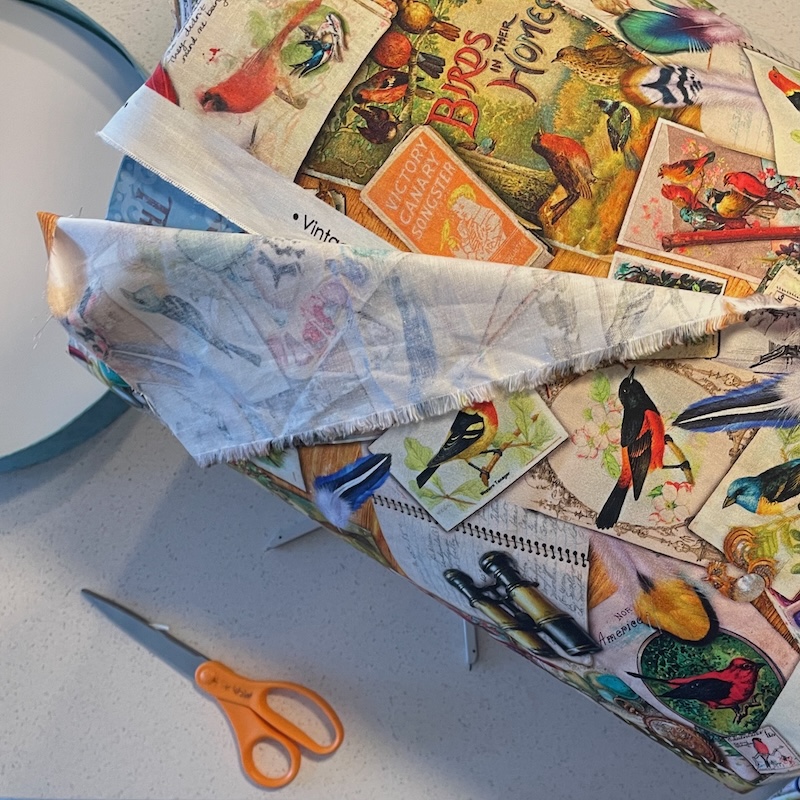
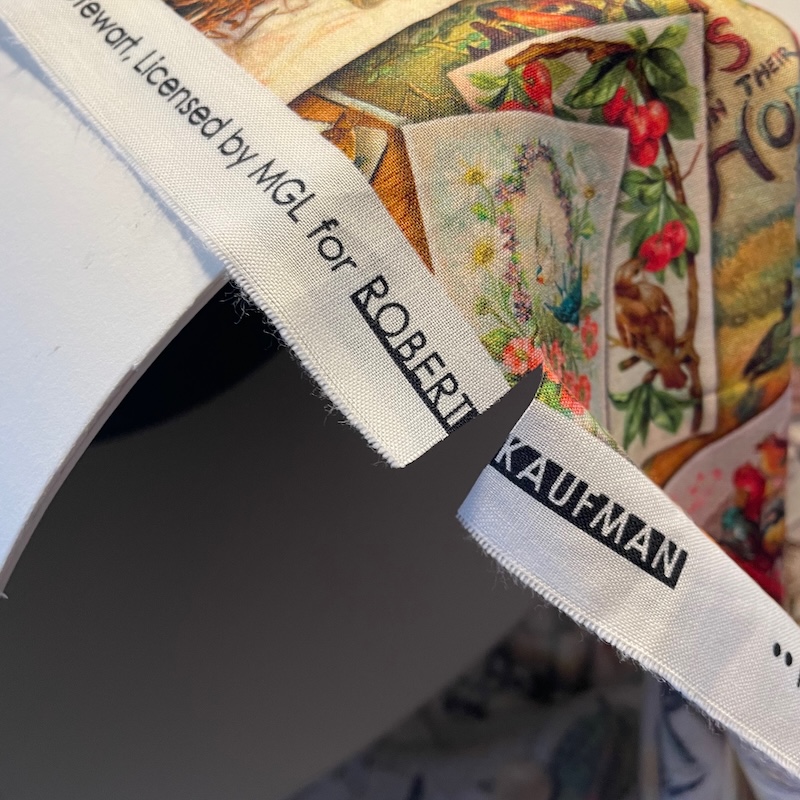
Trim your fabric to length. You will want about 1″ to wrap to the bottom of the outside box and you can choose the amount you want to wrap to the inside of the box. I did not have enough fabric to bring the fabric down to the start of the inside of the old box but I would have chosen that option if I had had enough.
Now that all the fabric pieces are cut they need to be pressed.
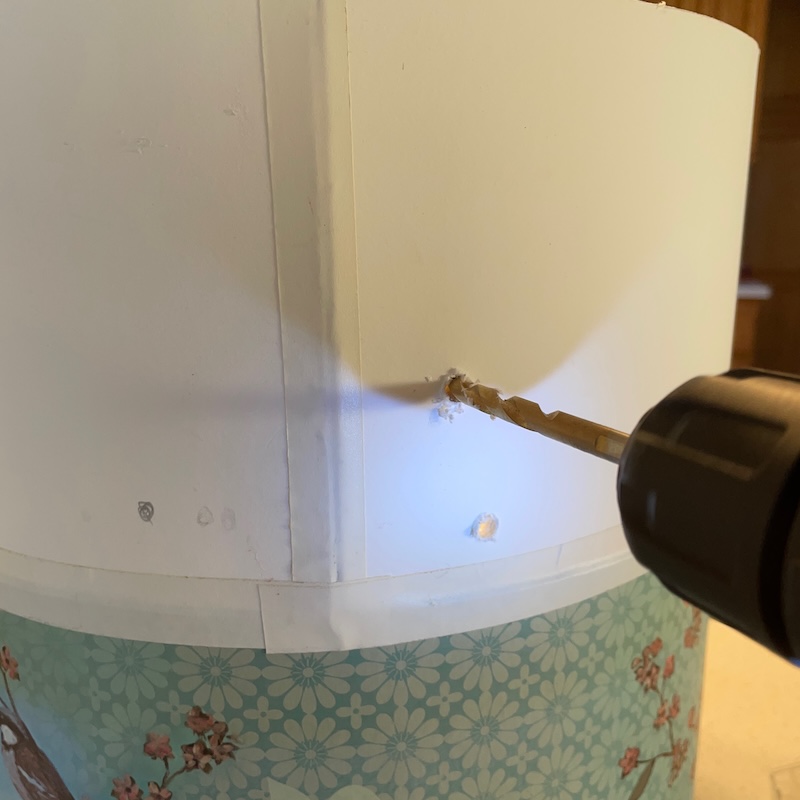
I chose to drill the holes for my cord grommets. But if you have a 1/4″ hole punch that is even better. But a bit difficult because you have to do that inside a box.
Look here to see a layout for the holes. There is a single one on one side and three on the other. Check both the instructions and the pattern.
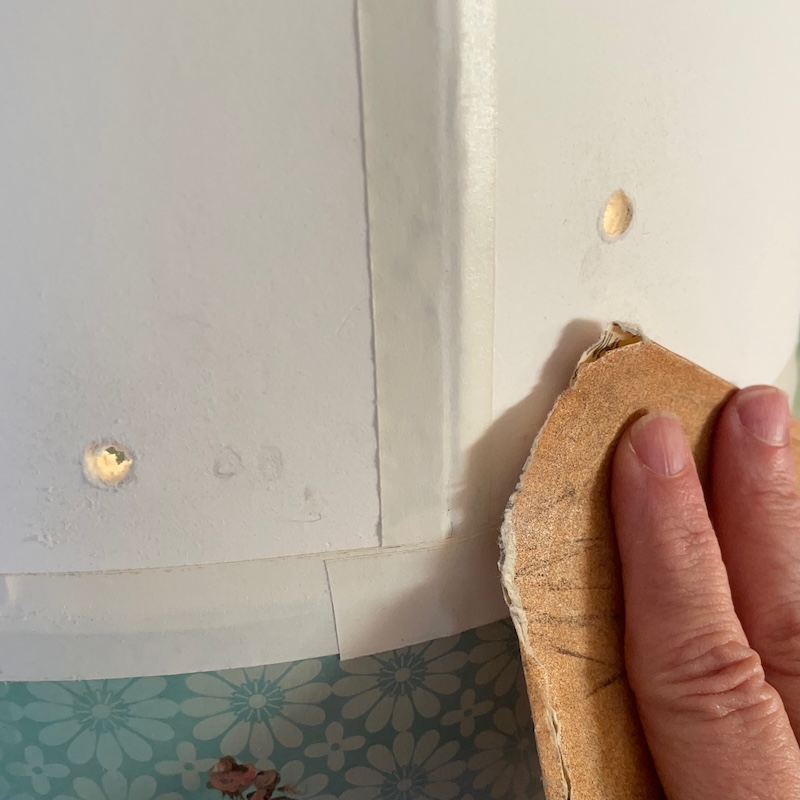
If you drill you will need to send any paper that comes out around the hole.
The top
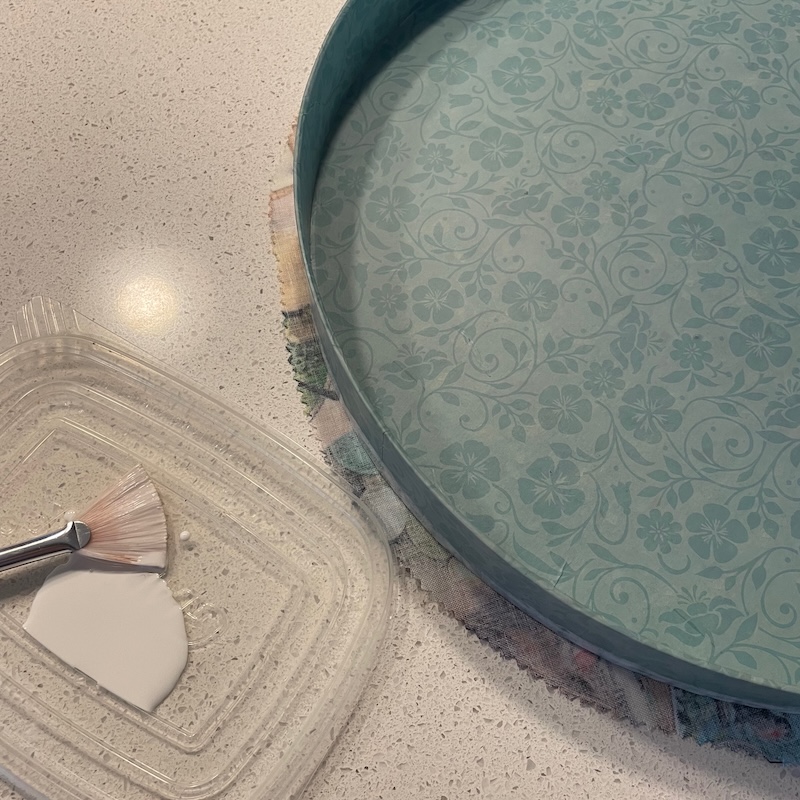
Lay the top fabric piece right side down with the seam allowance even all around and brush glue on the over hanging fabric.
Flip the lid and fabric over. Press one of the edges on the straight of grain over.
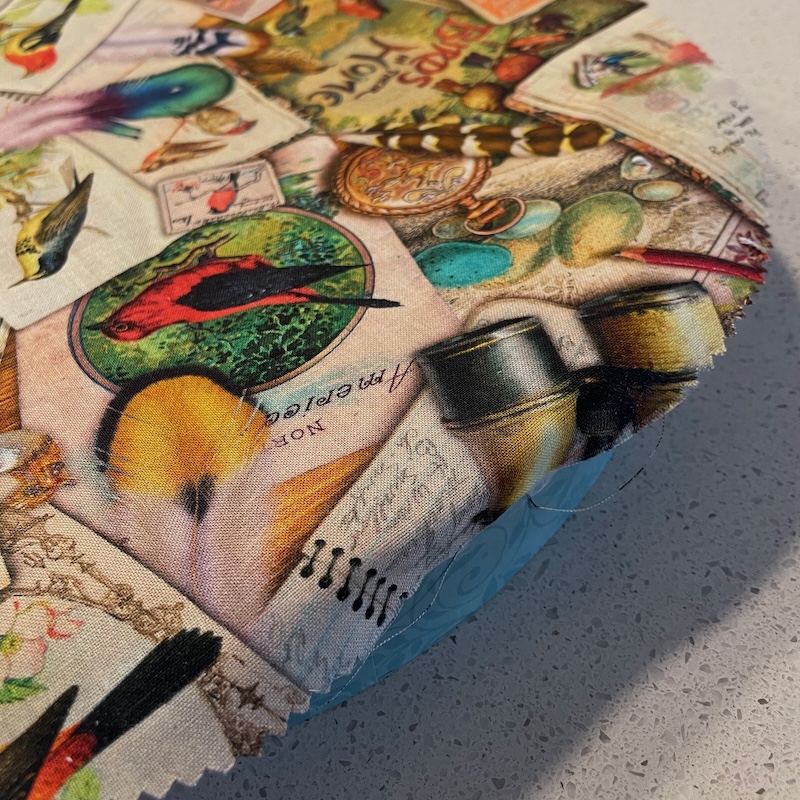
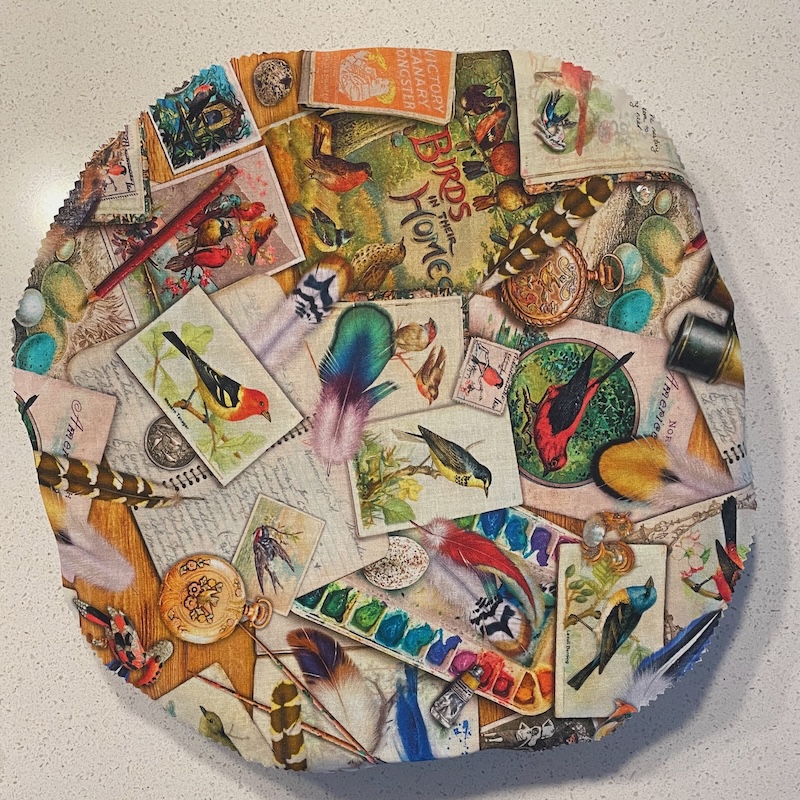
Rotate 180°, stretch the fabric and press that edge over. Rotate 90° and press another. Rotate 180° and stretch and press that edge over.
Move to the bias edges and repeat. You should have 8 places tacked to the edge. Go between each of these and fold those over then finish off by folding and sticking down the places between.
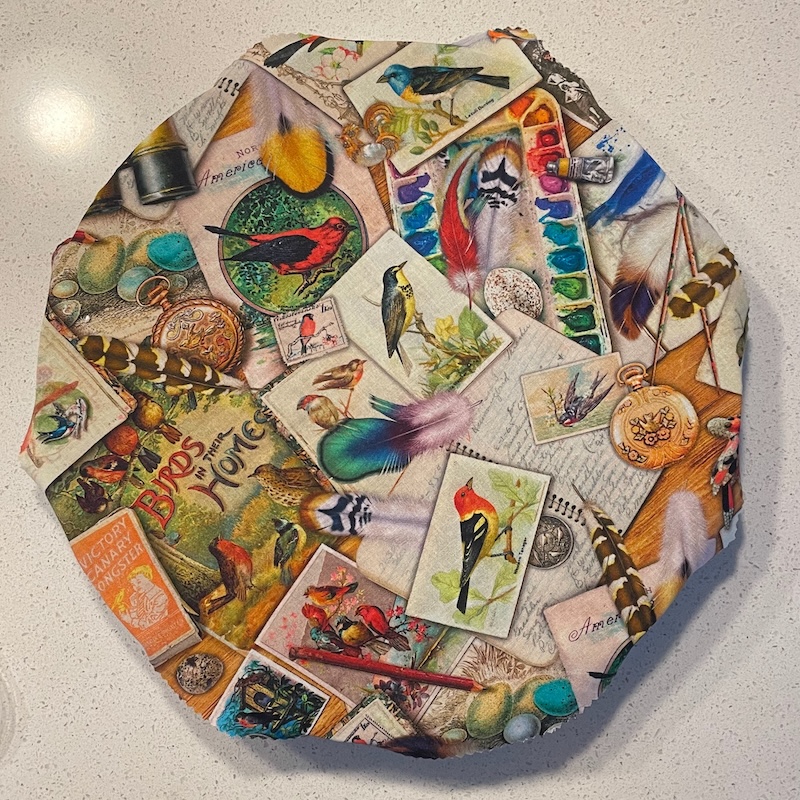
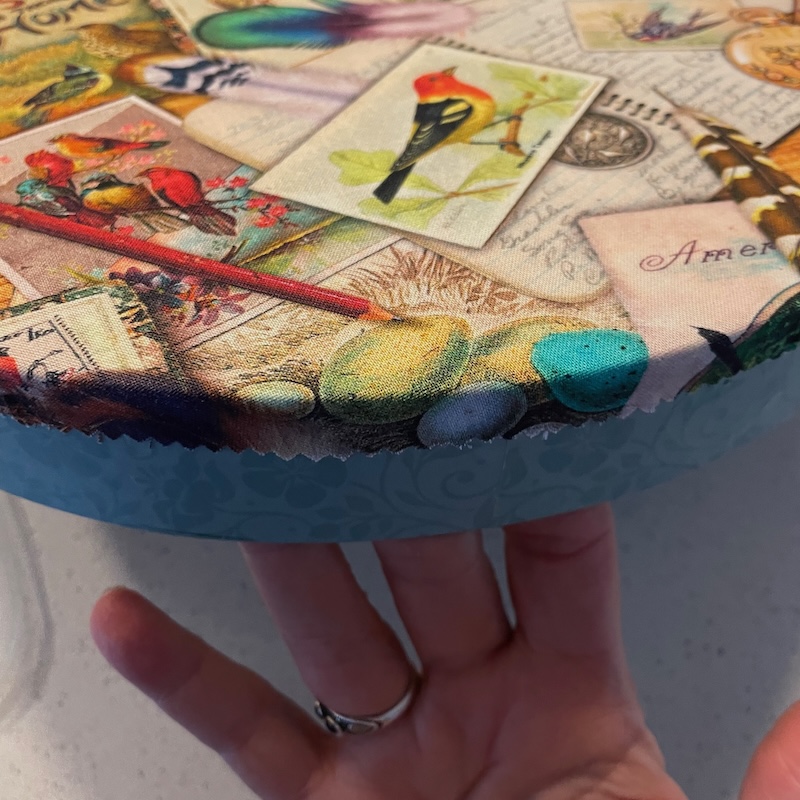
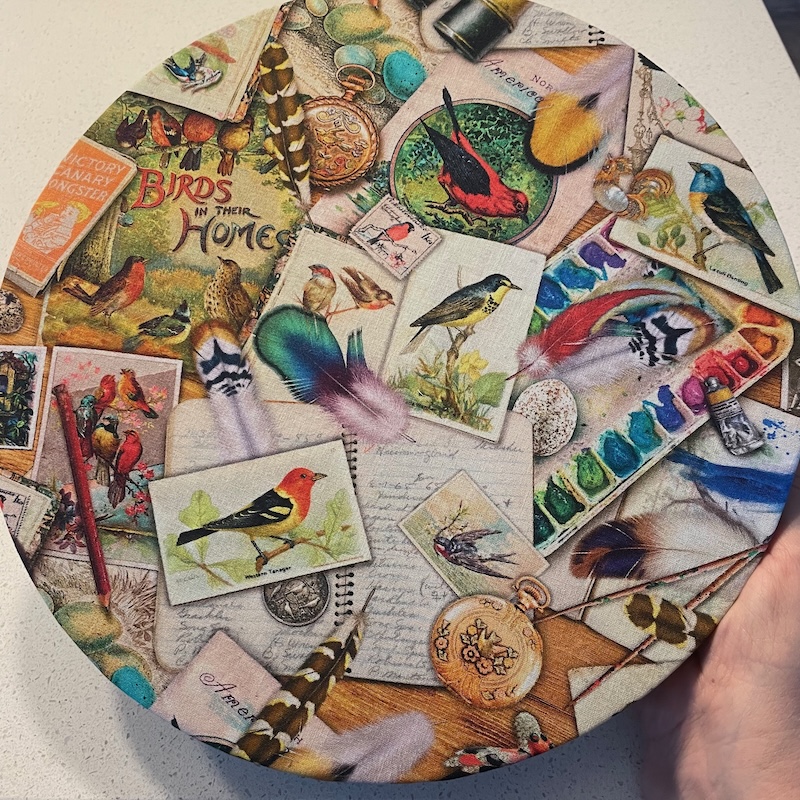
It should look like this and be smooth with only small wrinkles.
It looks like this from the top.
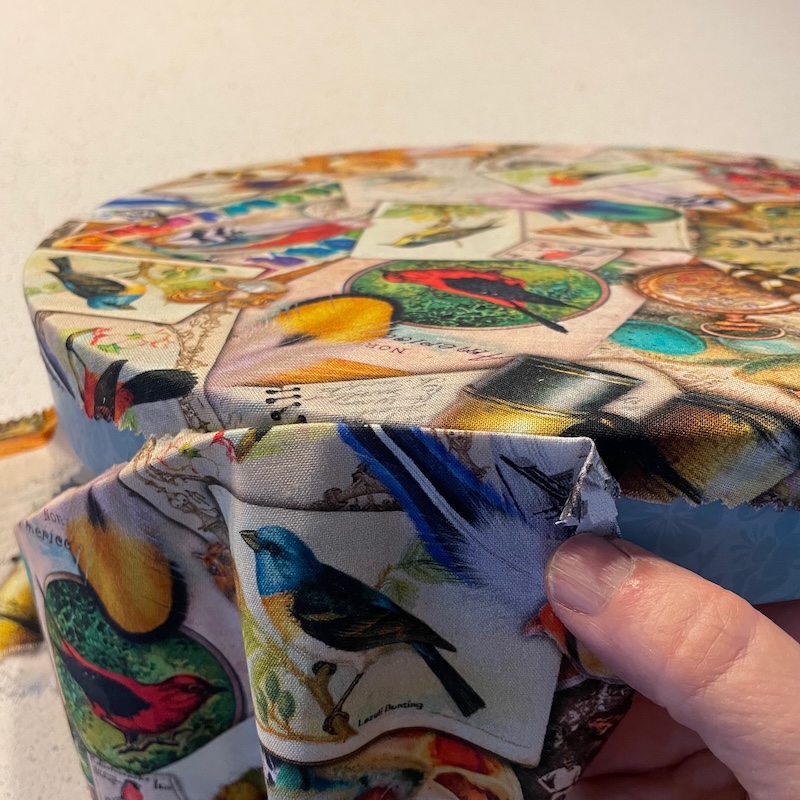
With the long narrow fabric for the lid side. Press over one long side 3/8″. Glue one end of the strip to the sides of box lid (just add glue to the fabric that comes over from the top not the entire width of the lid). But not right at the edge start about 1/2″ in and glue about 1″ of the strip to the lid. Make sure the ironed edge is even with the top of the lid.
Add glue to the box over the fabric (seam allowance) from the lid top. Stop about 3″ from the from the other end you have already tack glued. Stretching the fabric is very important so as you glue it down stretch it.
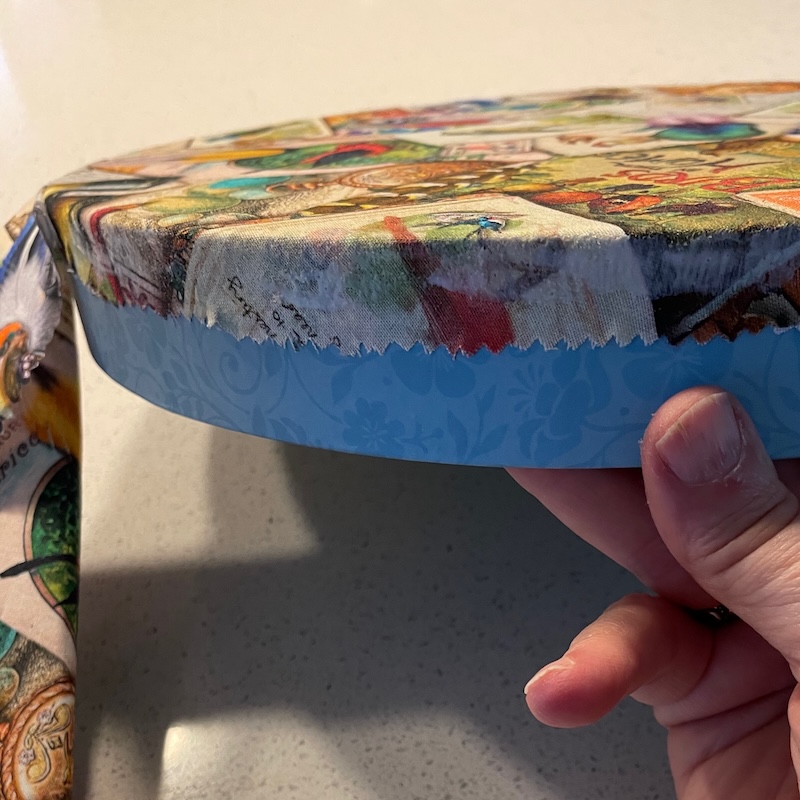
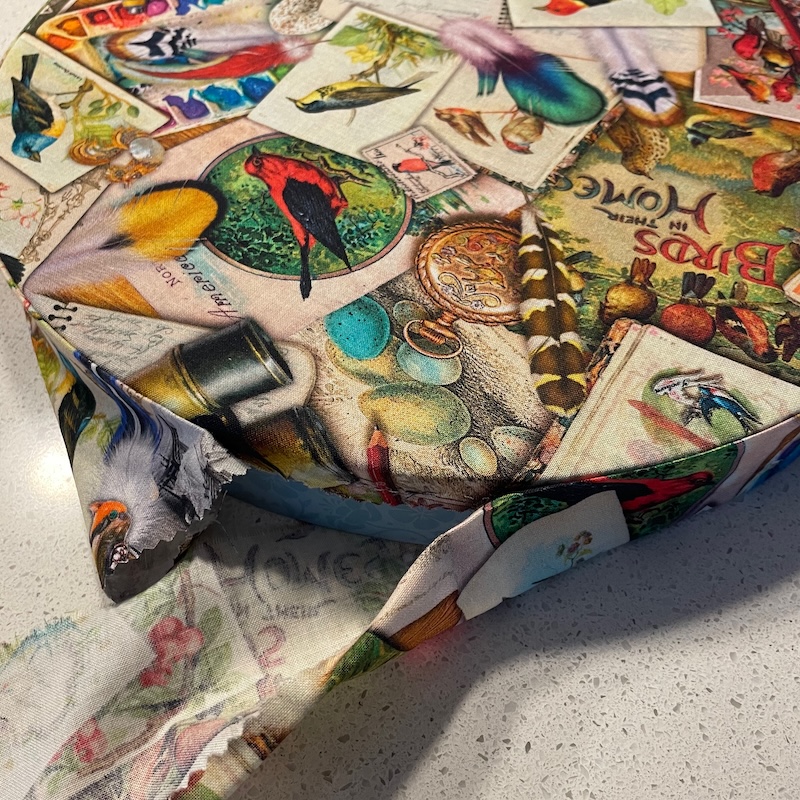
Stop about 3″ from the start.
When you get to the other end trim it to length +1″.
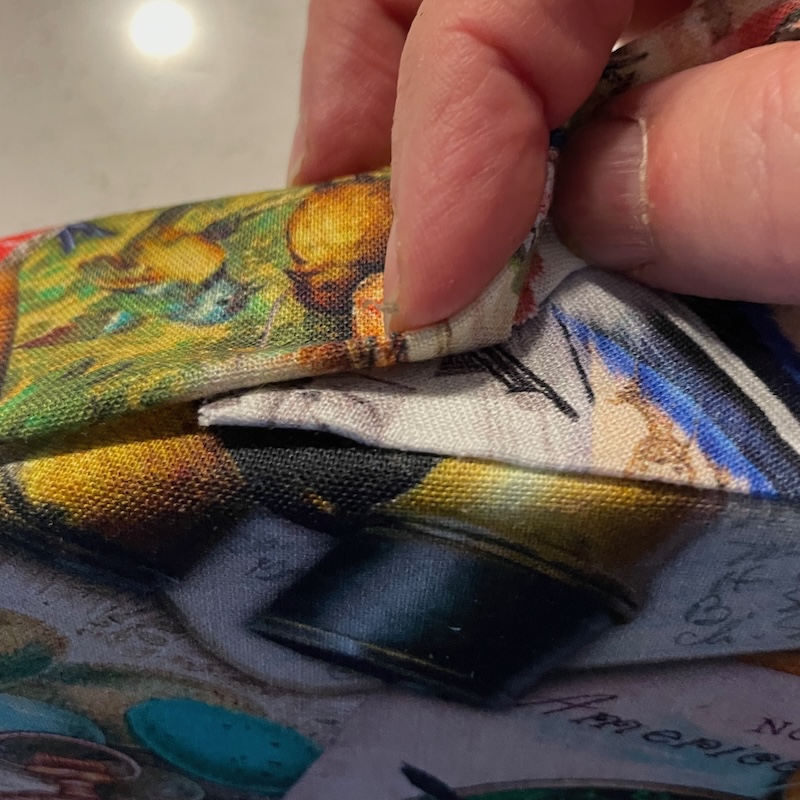
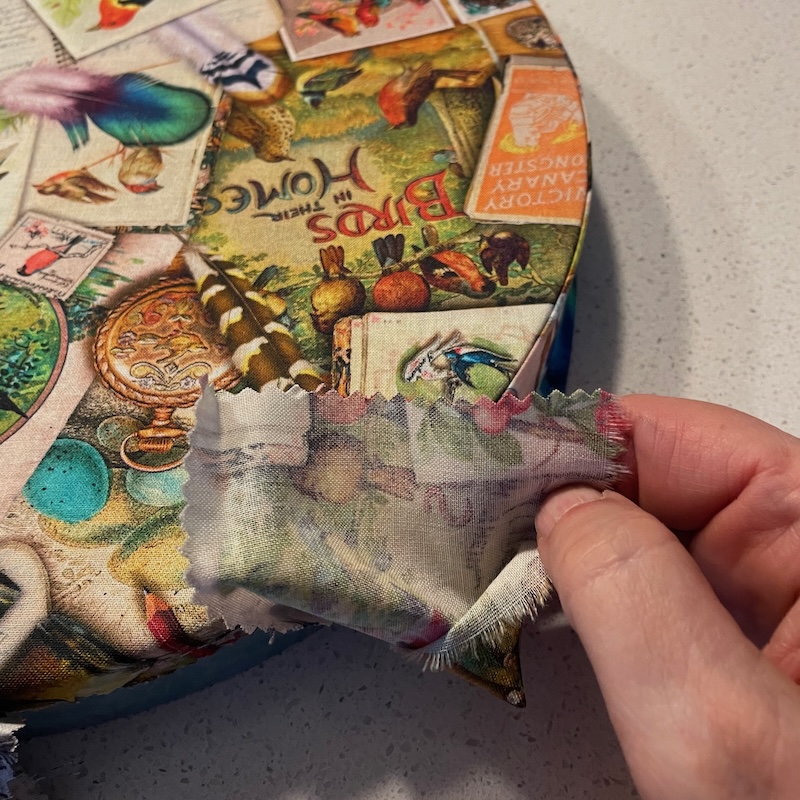
Fold back the unglued end.
Glue down the 3/8″ of the short end. To create a finished edge.
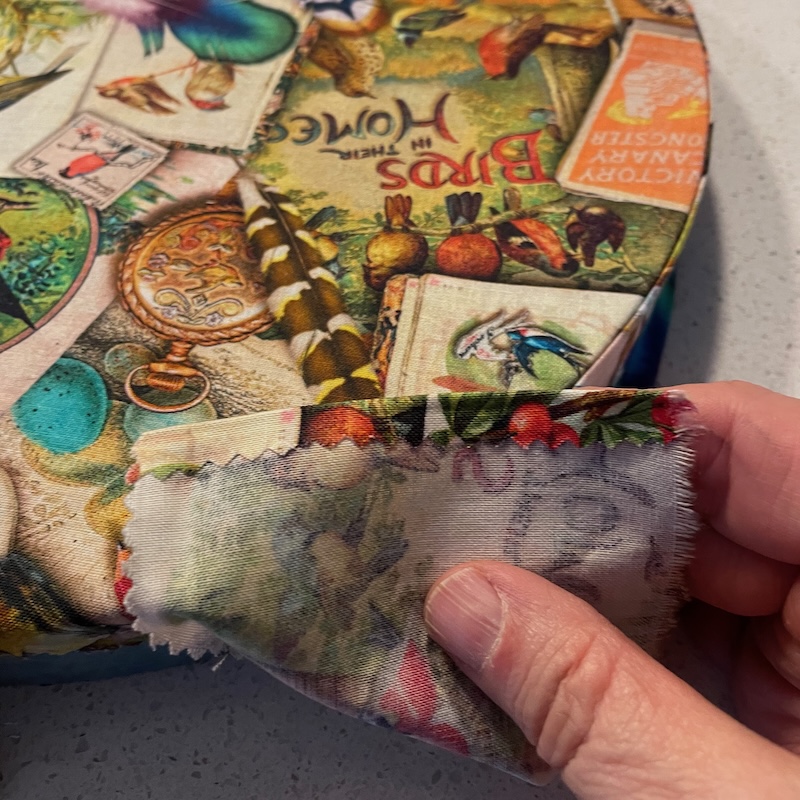
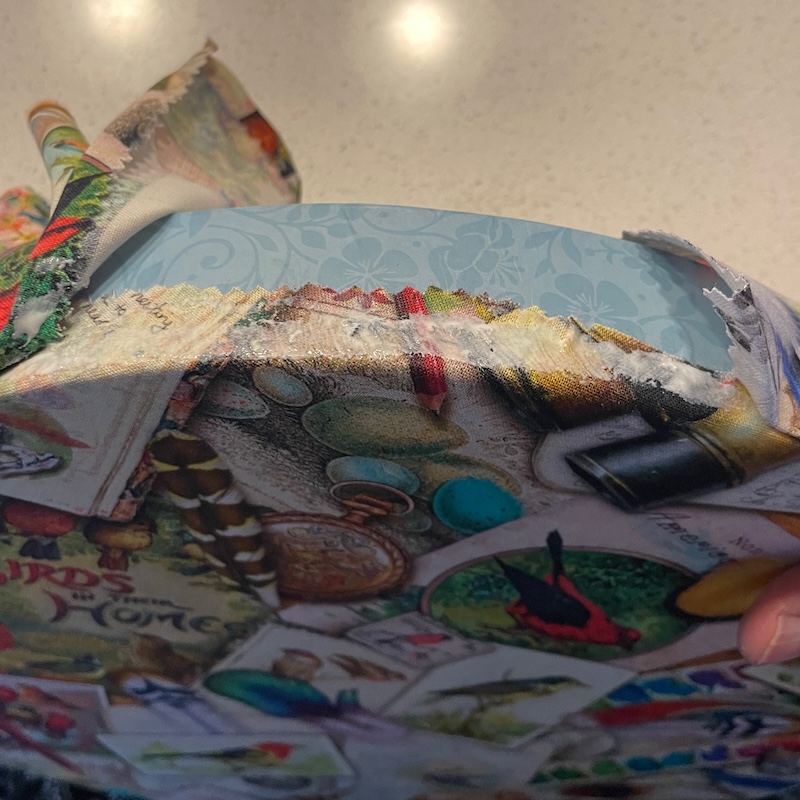
Add glue to the seam allowance from the top.
Press the two unglued sections into the glue but tuck the cut end of the start into the fold of the finished end. Glue down the folded edge. Make sure it stays at a 90° angle to the box. Let this dry before continuing.
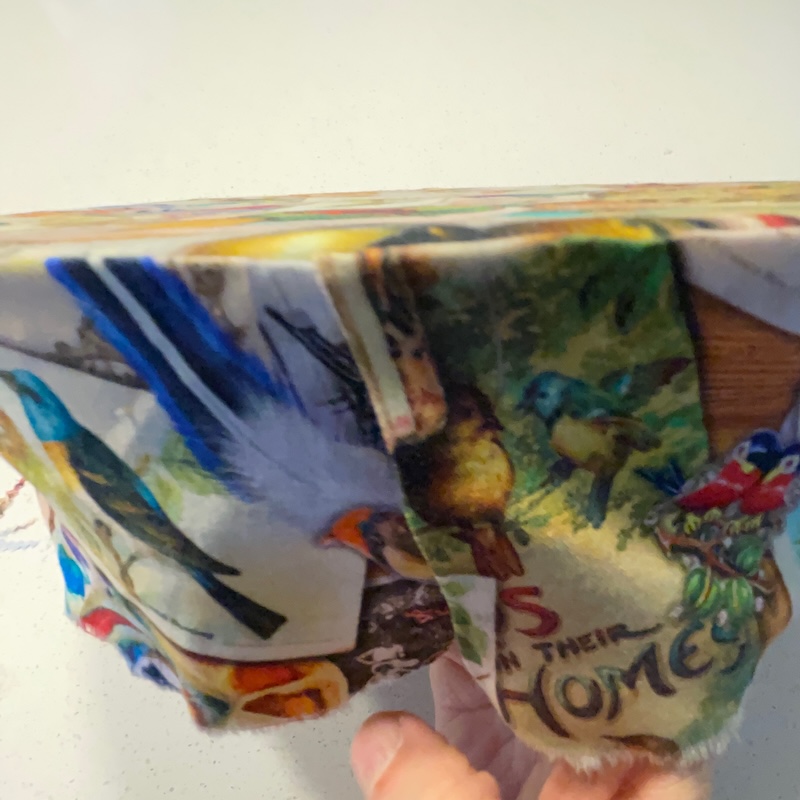
Add glue all around the inside of the box in the corners.
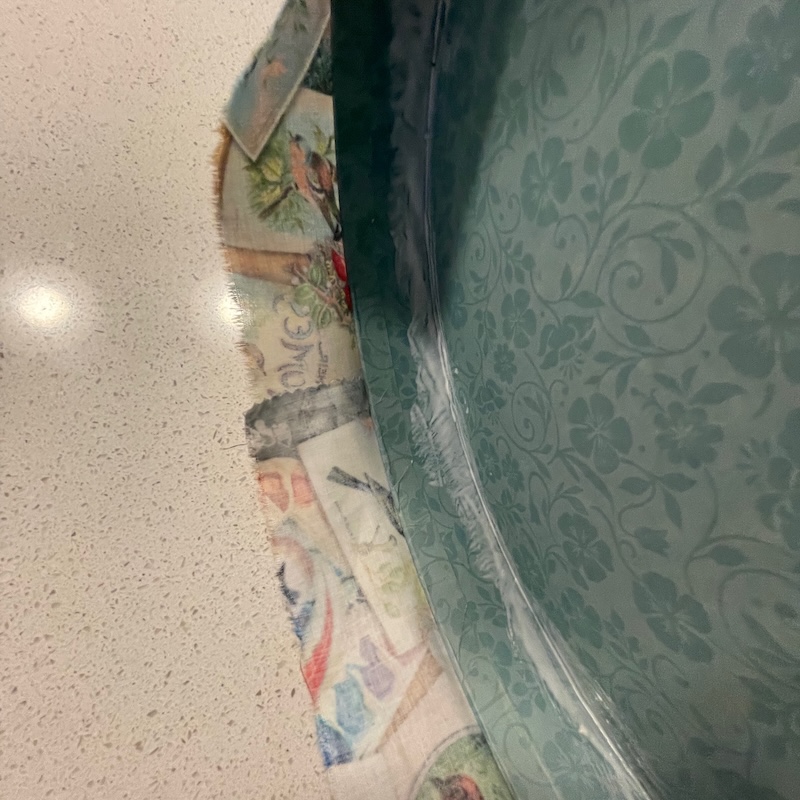
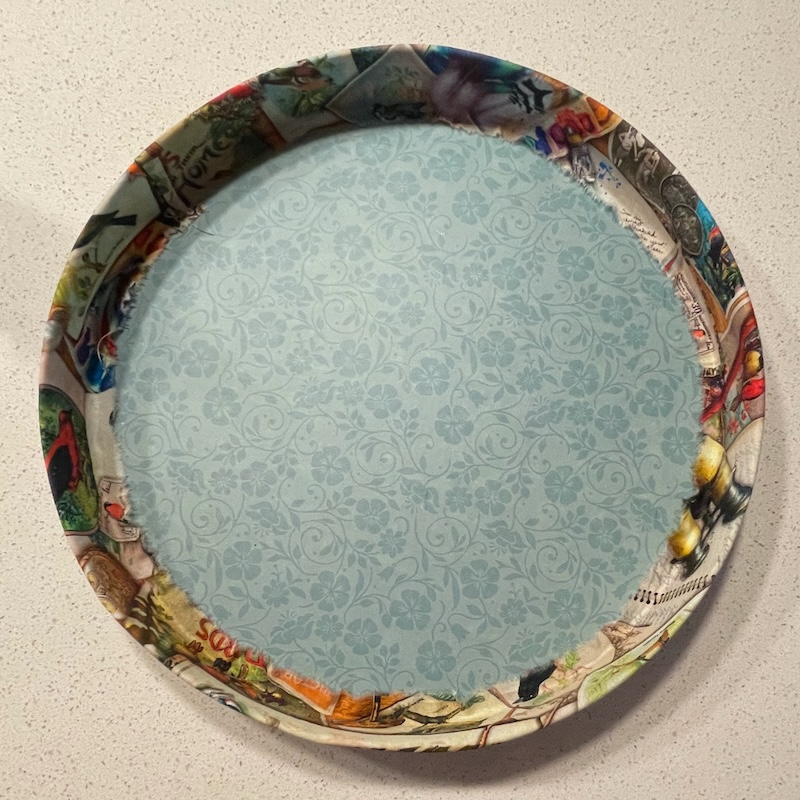
Stretch and press the fabric into the box.
The box sides and bottom
Draw a straight line down the side of the box. Brush about 1″ wide of glue.
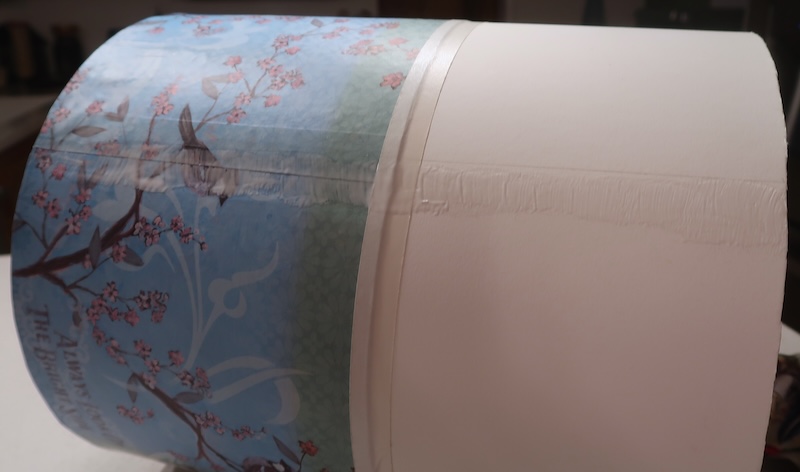
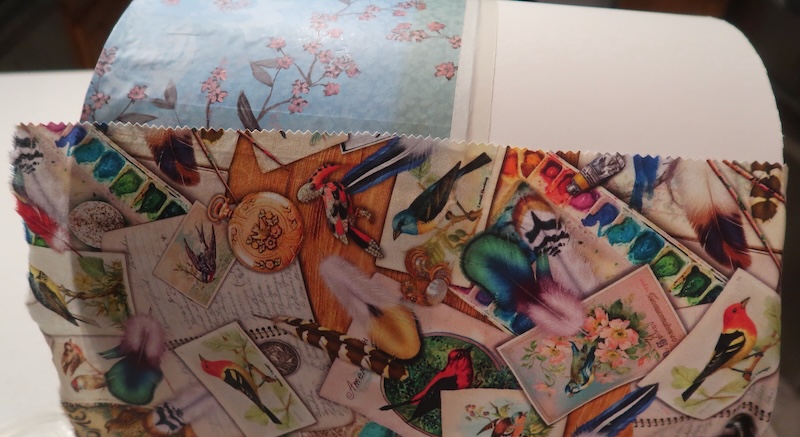
Press the fabric into the glue. Letting it hang over about 1-1 1/4″
Stretch it around the box. You could glue it down for the entire girth of the box but if you do a good job of stretching it you really don’t have to.
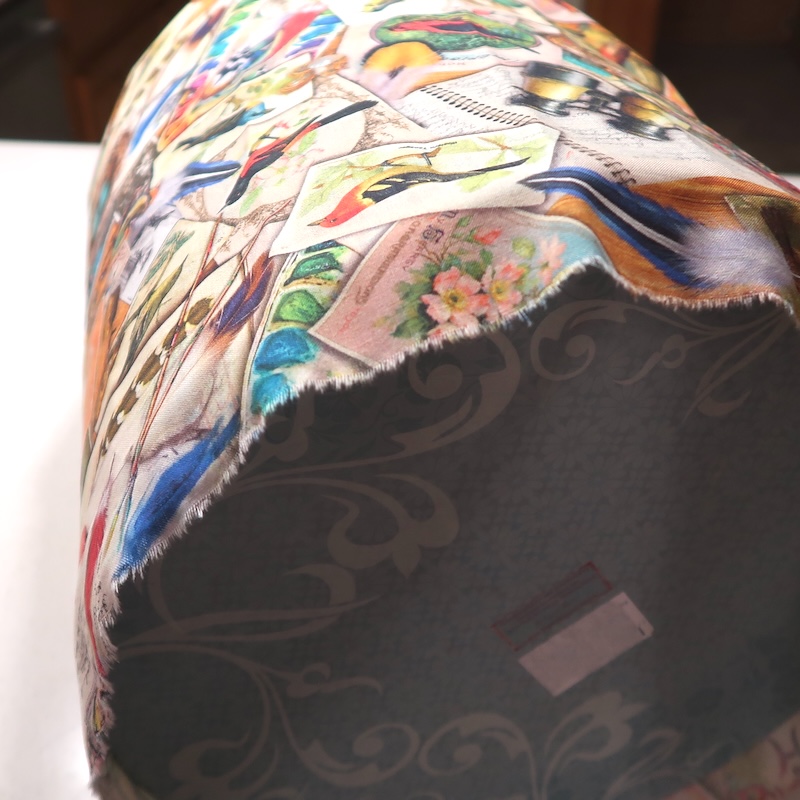
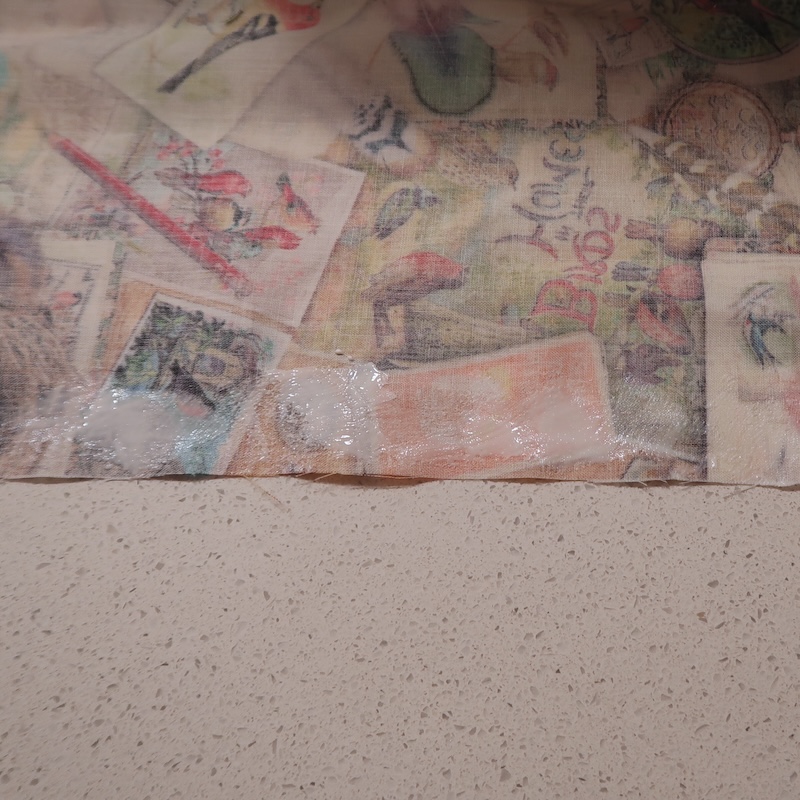
Brush glue onto the end of the fabric ~1″ wide.
Fold the edge up ~1/2″.
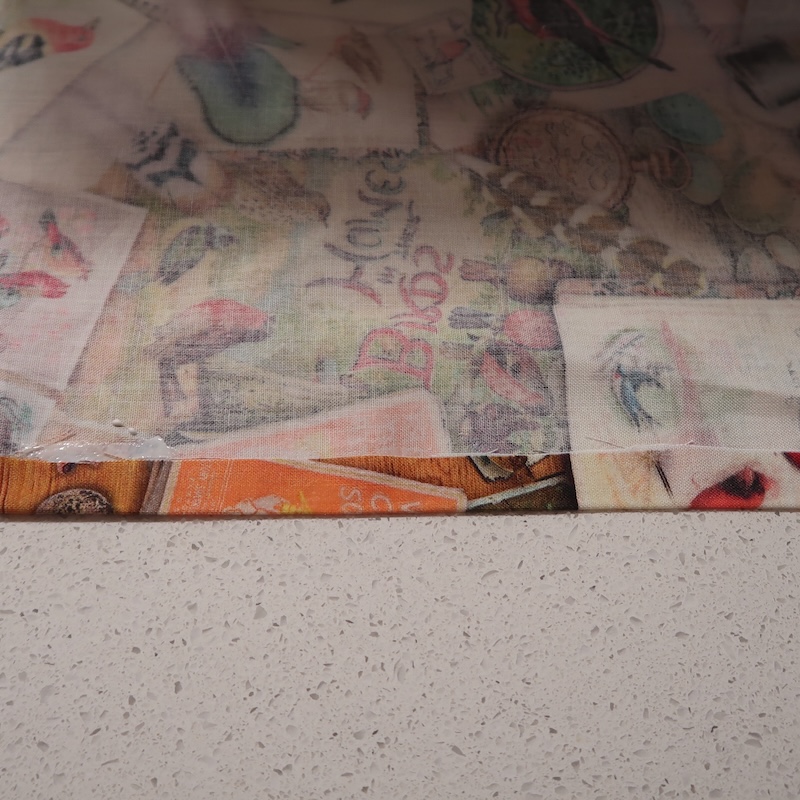
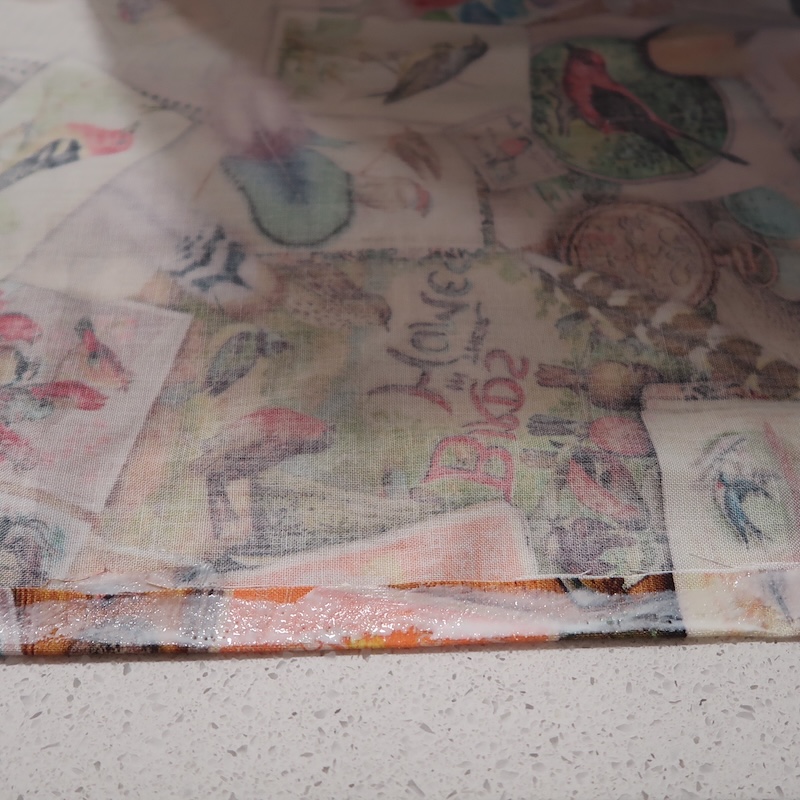
Brush glue on the folded up fabric.
Press the glue into the fabric. You should have a little time to make sure that the seam is straight and that you have stretched the fabric enough. You can do that by smooth the fabric around the box from the first glued edge to the this one if there is a bubble lift and move the seam. I might have moved the seam about 3/4 – 1″ from the first time I laid it down until I knew it was taught.
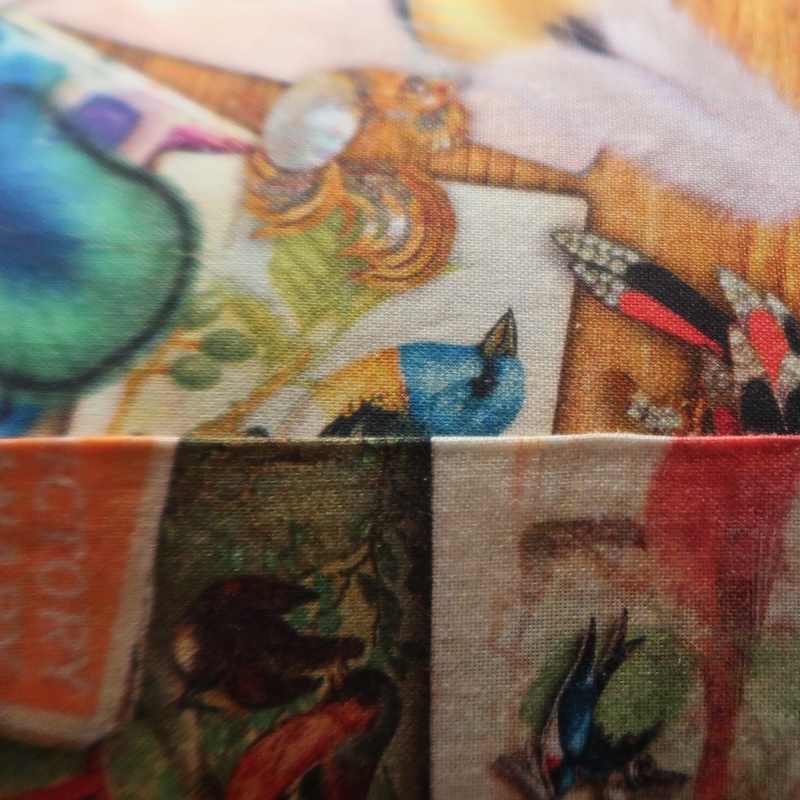
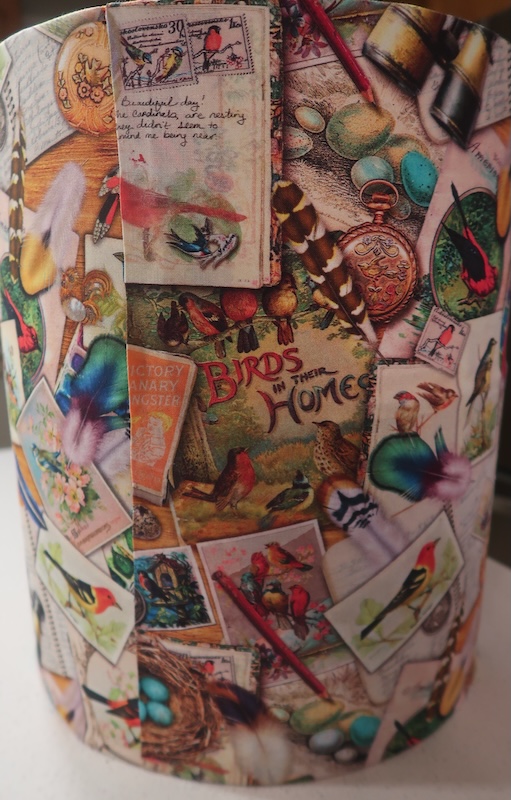
This is how it looks.
Make sure that the over hand of your bottom edge is the same around the entire box. Spread glue around the bottom outside edge the width of your over hang. Press the fabric into the glue. Trying for small tucks.
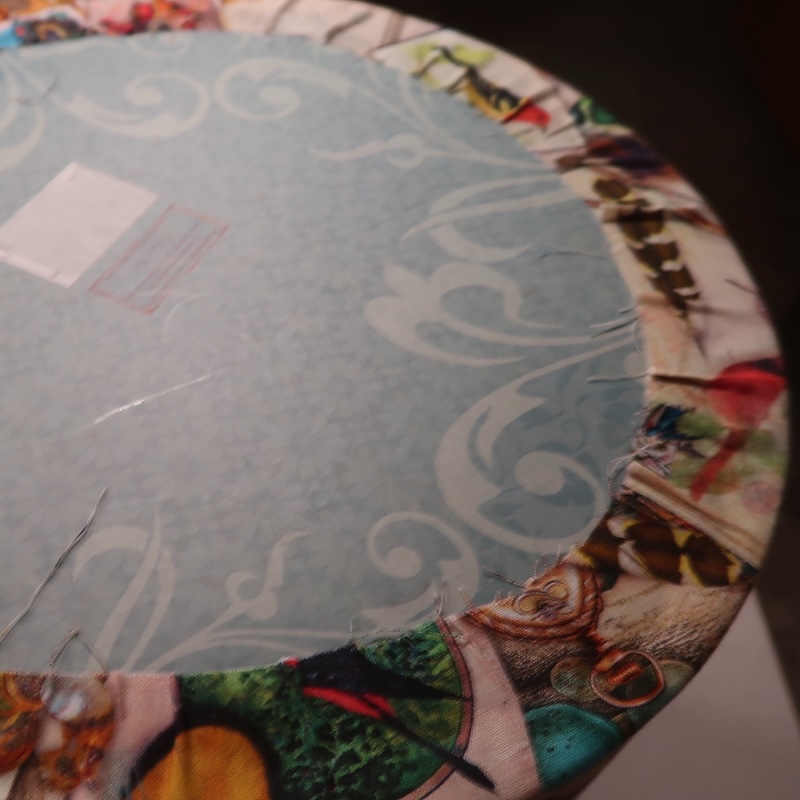
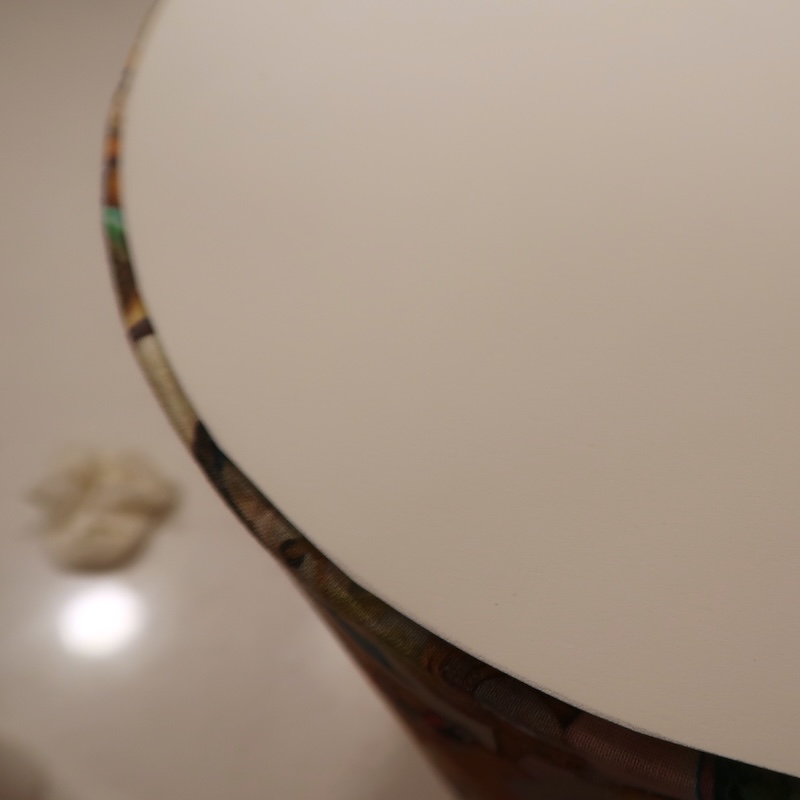
Add glue to the cardboard for the bottom around the edge about the width of you fabric overhang.
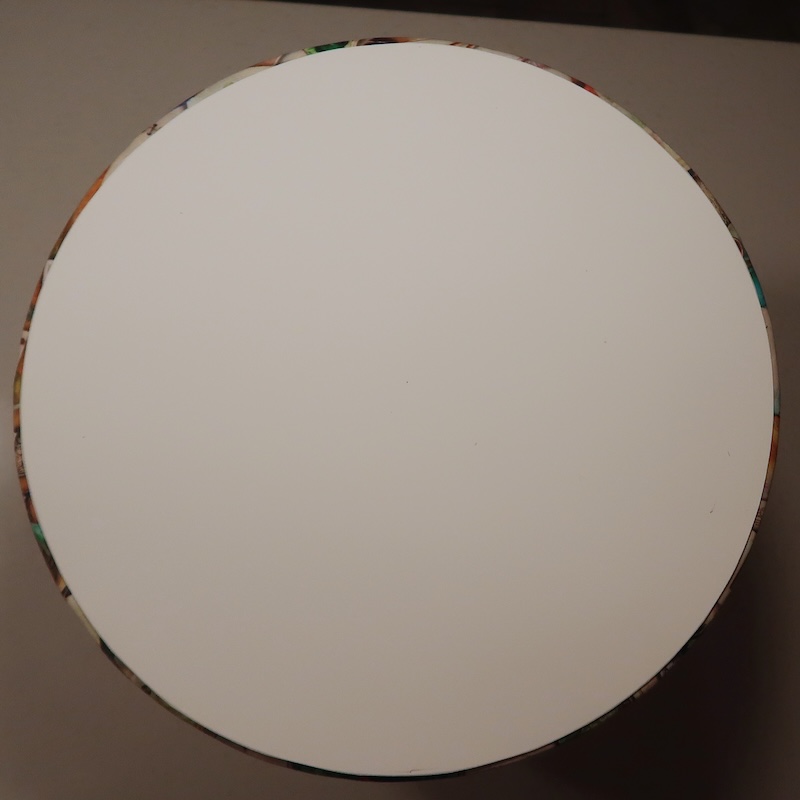
Press the cardboard into the glue and check to see it’s even all the way around.
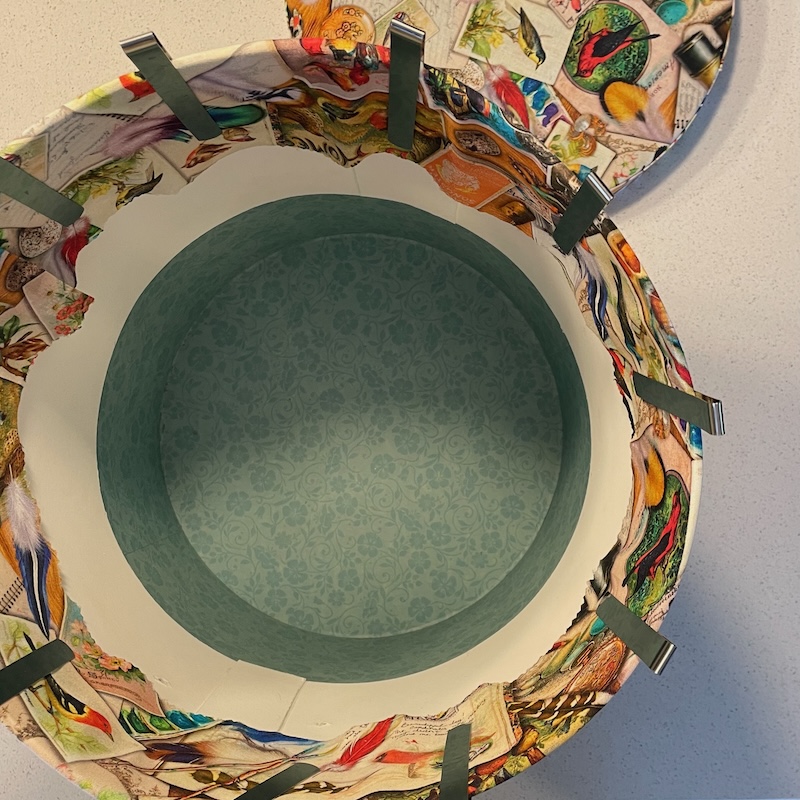
Stretch the fabric and fold it over into the box. You can clip it to maintain the stretch.
Starting from the seam fold over about the last 1″ and brush glue to about 1″ in from the cut edge. Smooth it down and continue around.
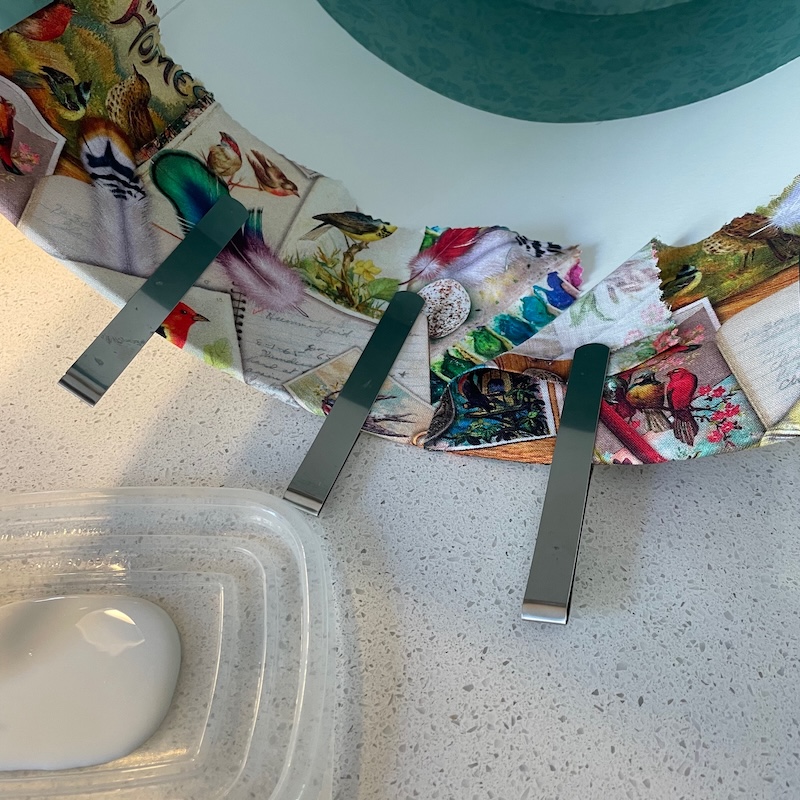
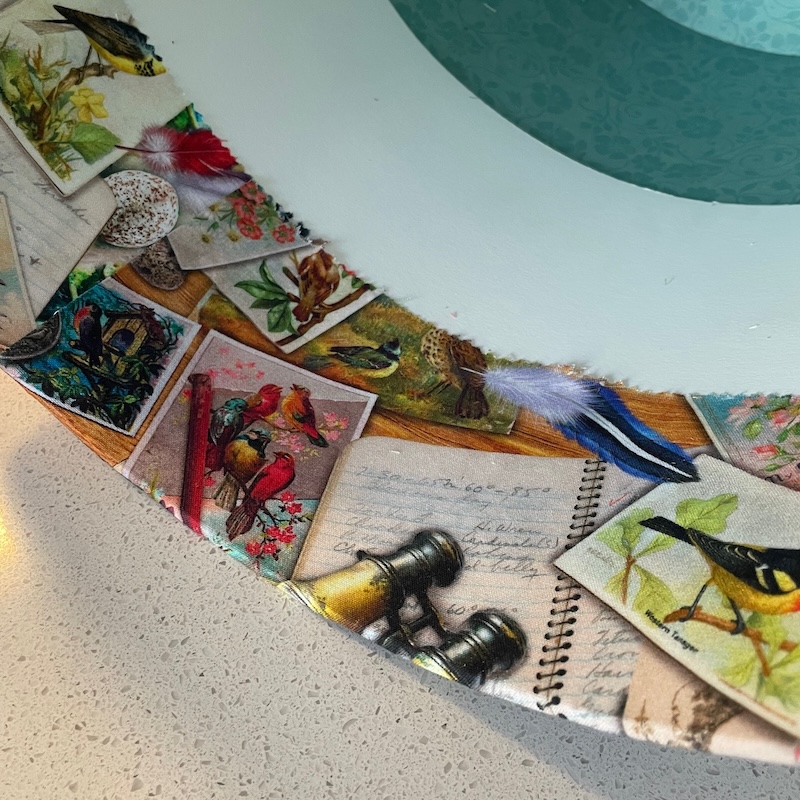
You should have only the smallest tucks in the fabric.
Finished covered box.
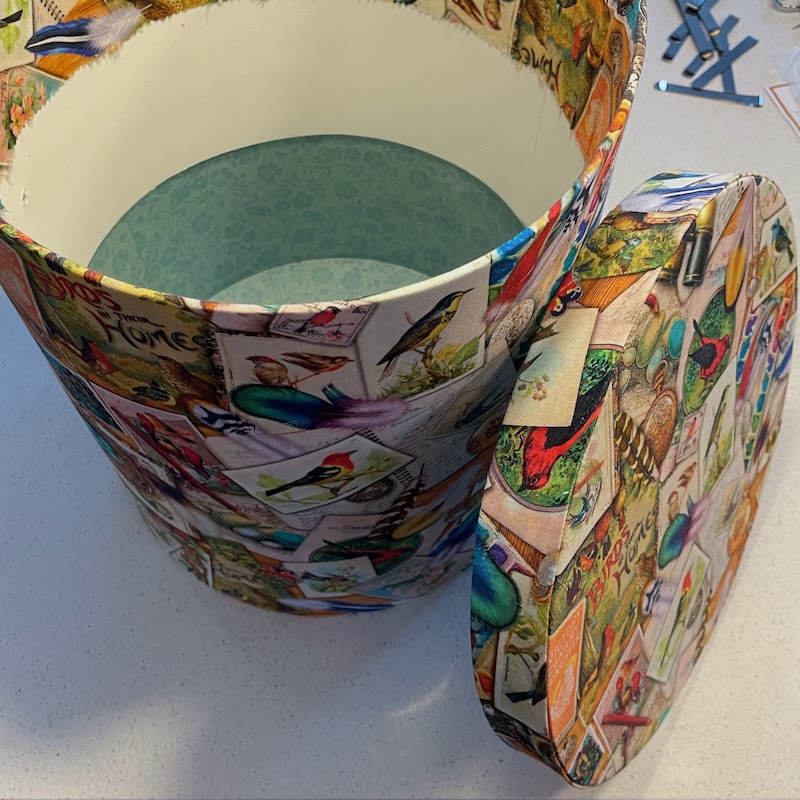
Adding the grommets & cord
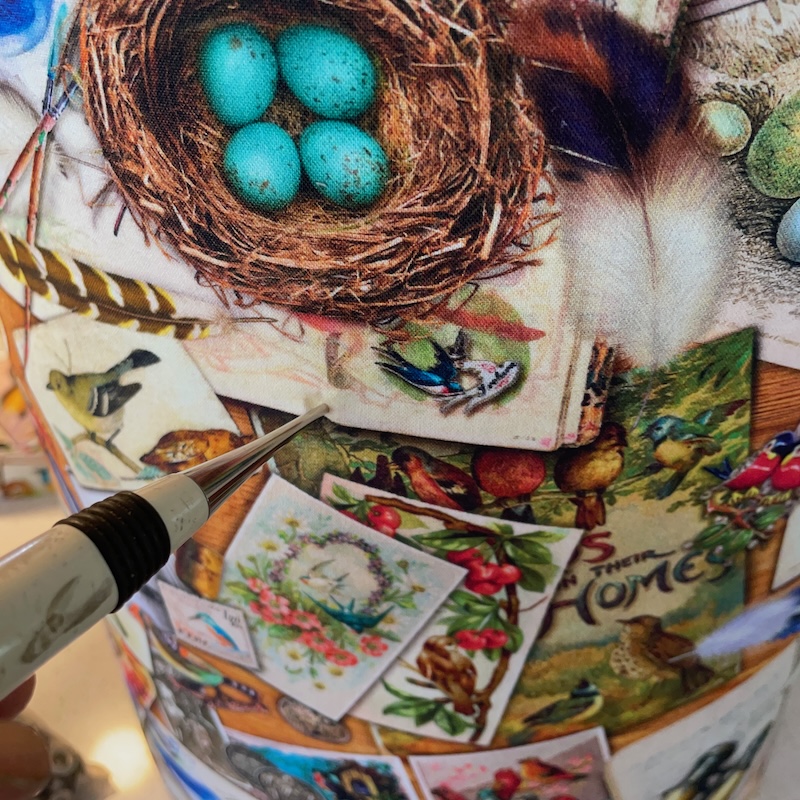
Use an awl to find the hole.
Trim the fabric even with the hole.
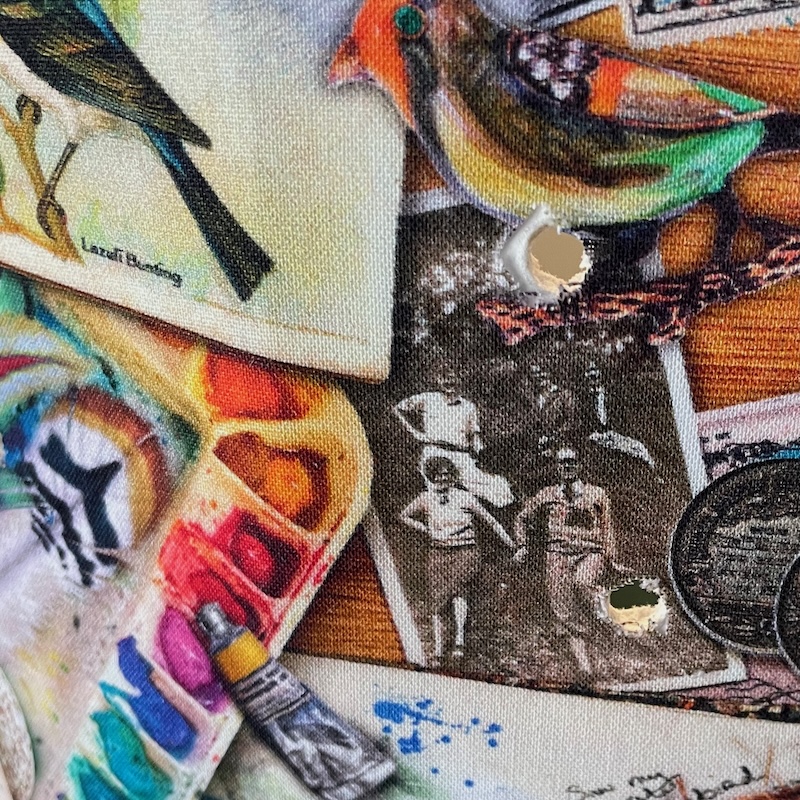
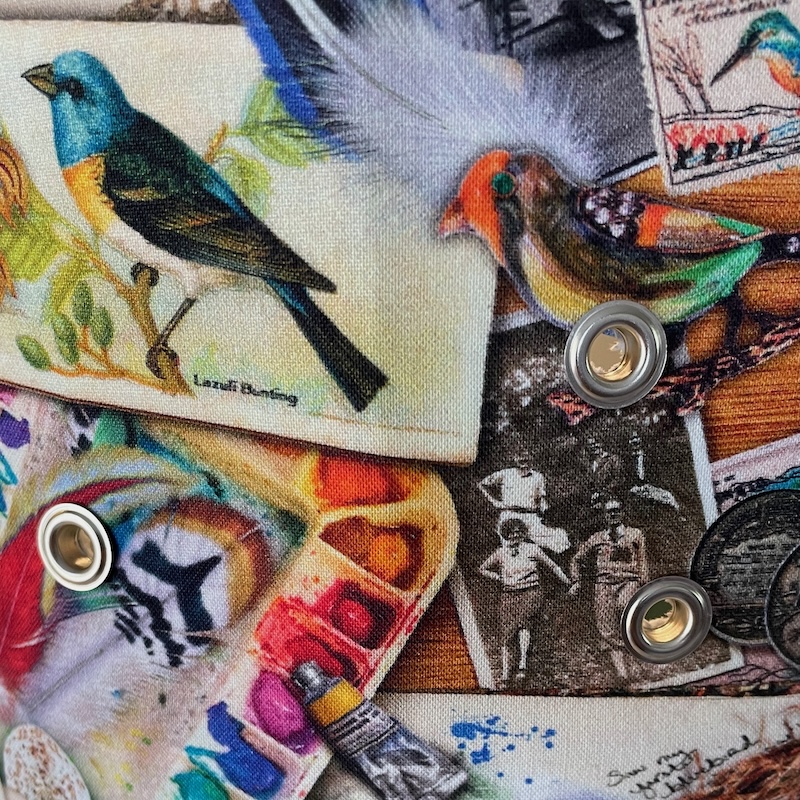
Push the mail parts of the grommets into the holes.
Turn your box on its side and add the washer half of the grommet.
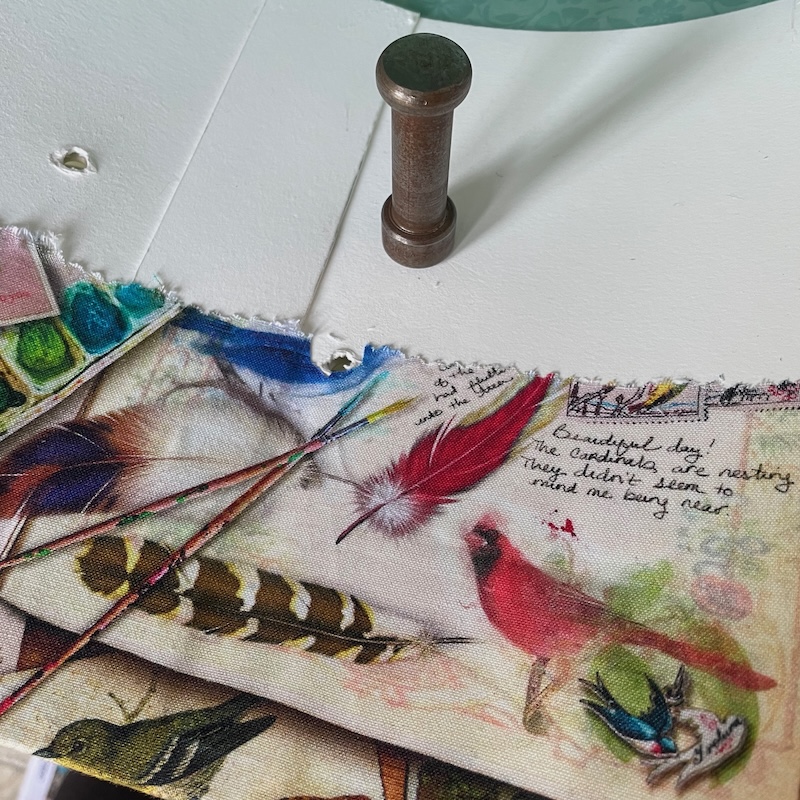
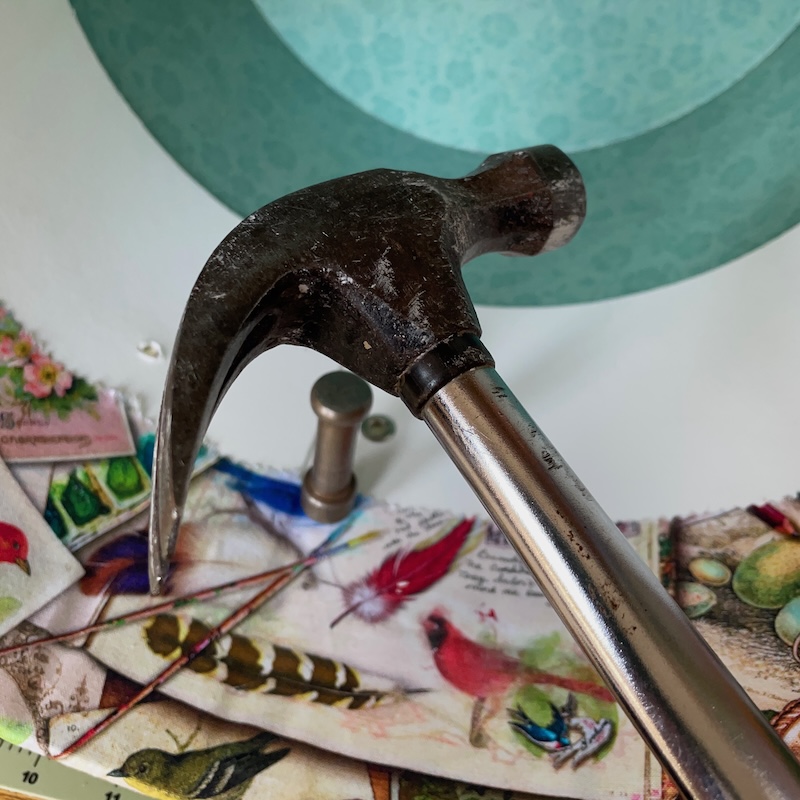
Set the grommet. You might have to turn your hammer to the side because you will be in the box and not be able to lift it enough to get a good hit.
Push your cord into the single hole.
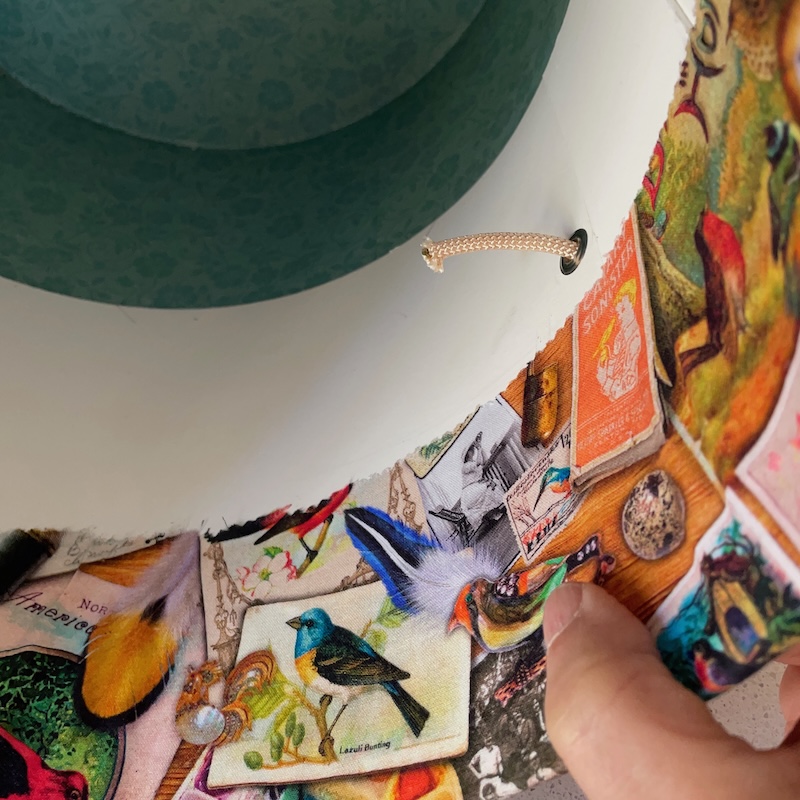
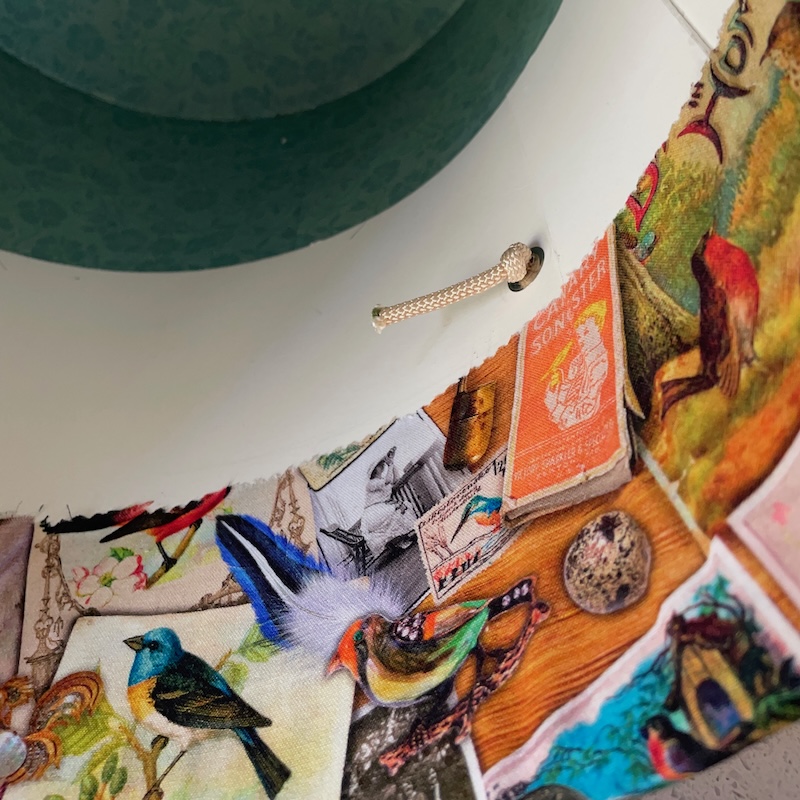
Make a knot. Check it to see if you can pull it back thru the grommet. If so you need a double knot.
Push to cord thru the opposite hole from the outside of the box to the inside.
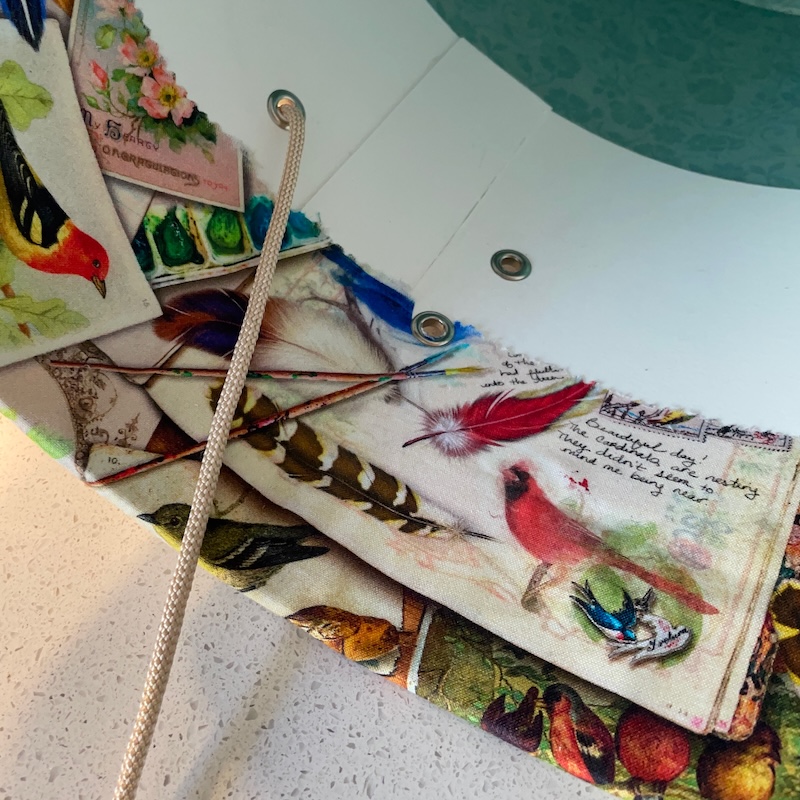
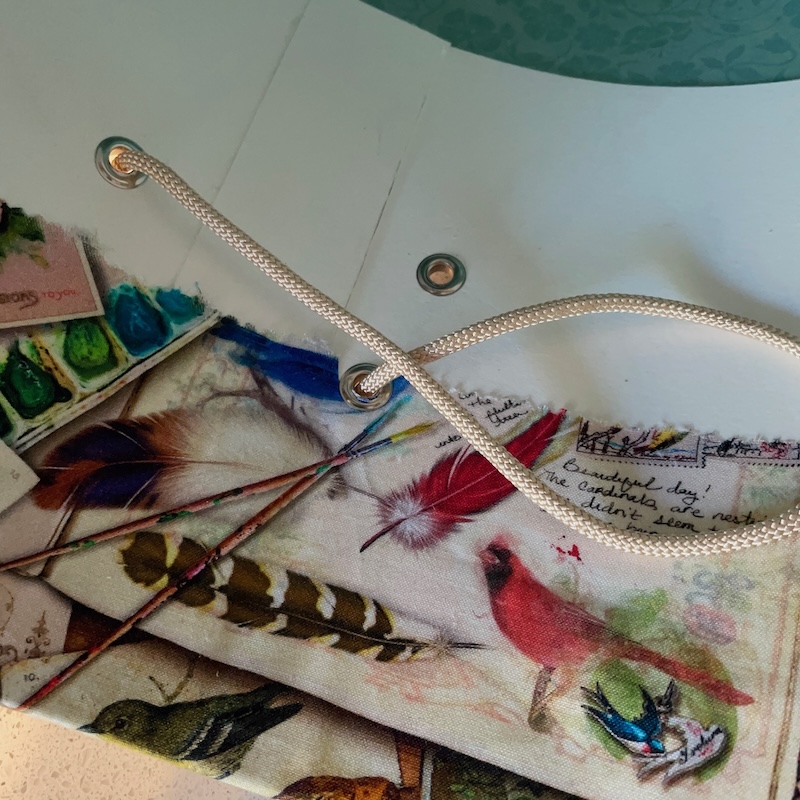
Push the cord down thru the upper of the two holes on the other side.
Then bring the cord back thru the lower of the two holes.
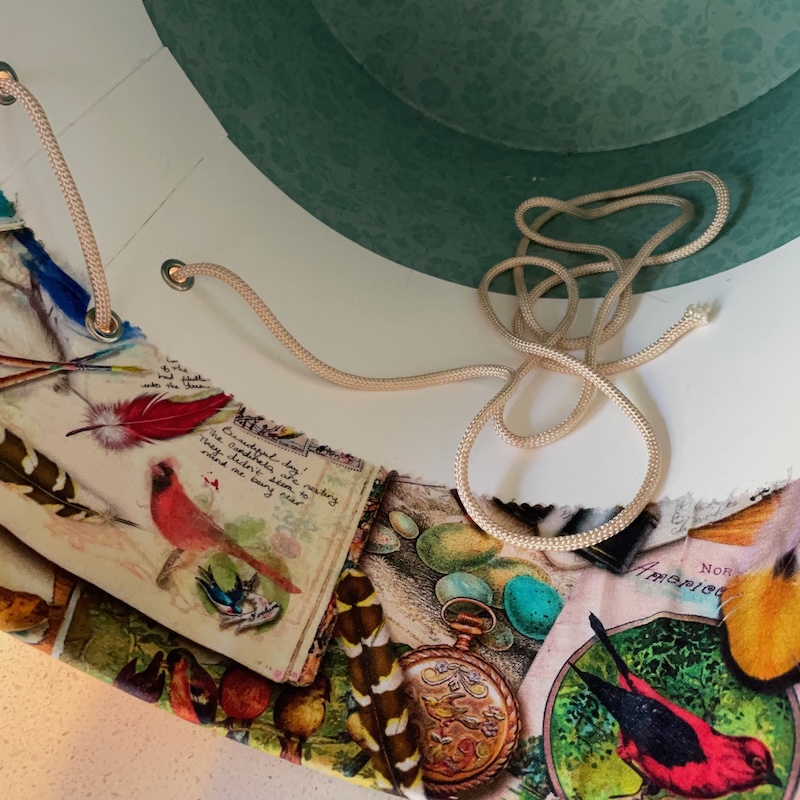
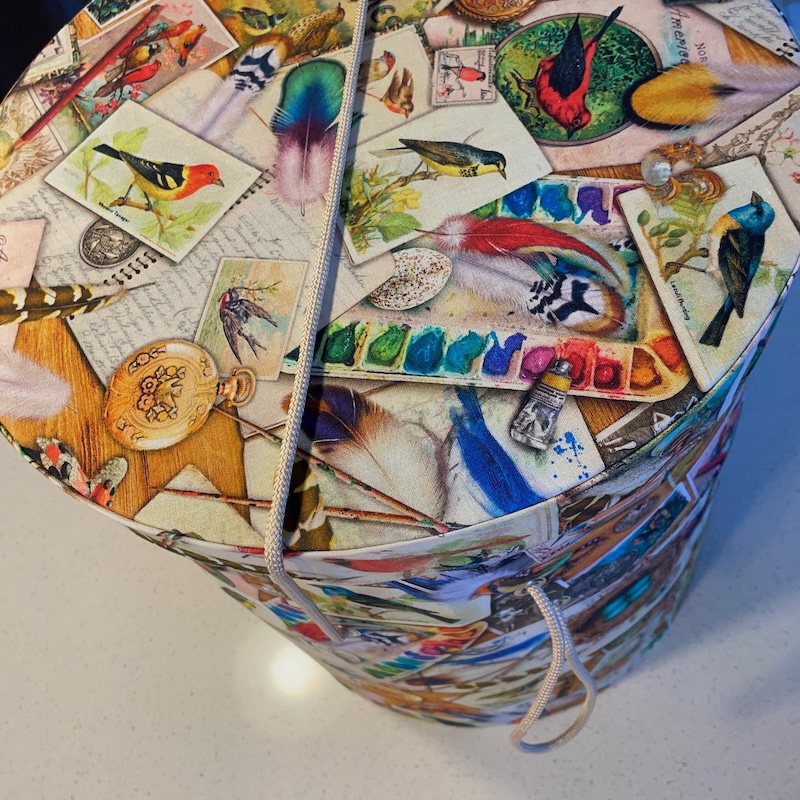
Slip the lid on the box and adjust to cord until the cord is tight across the top and has a 4″ loop thru the last two holes.
Pull on the cord until the loop is tight across the last two holes and has slack across the top.
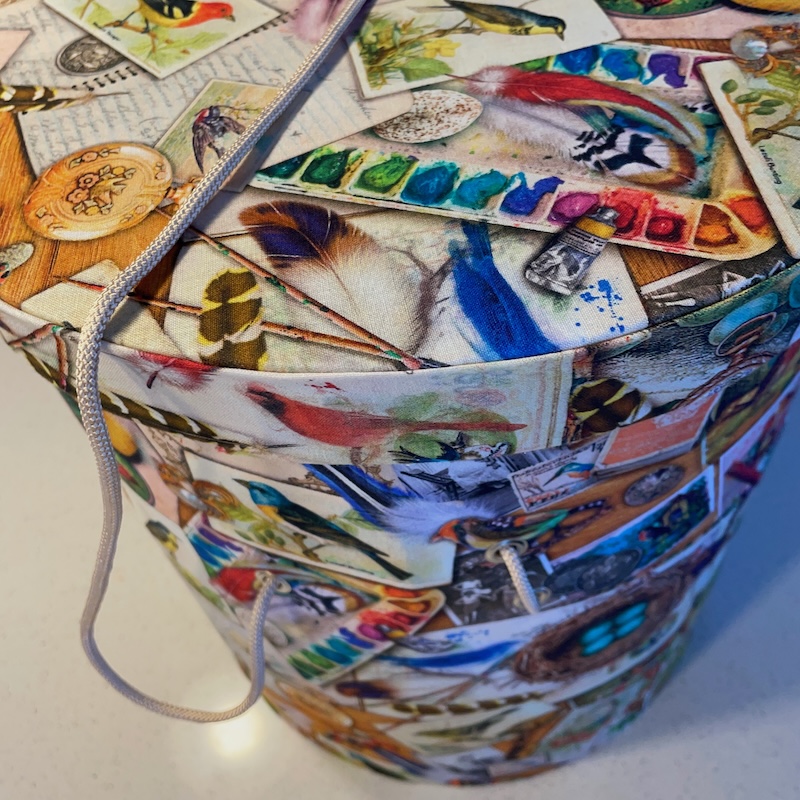
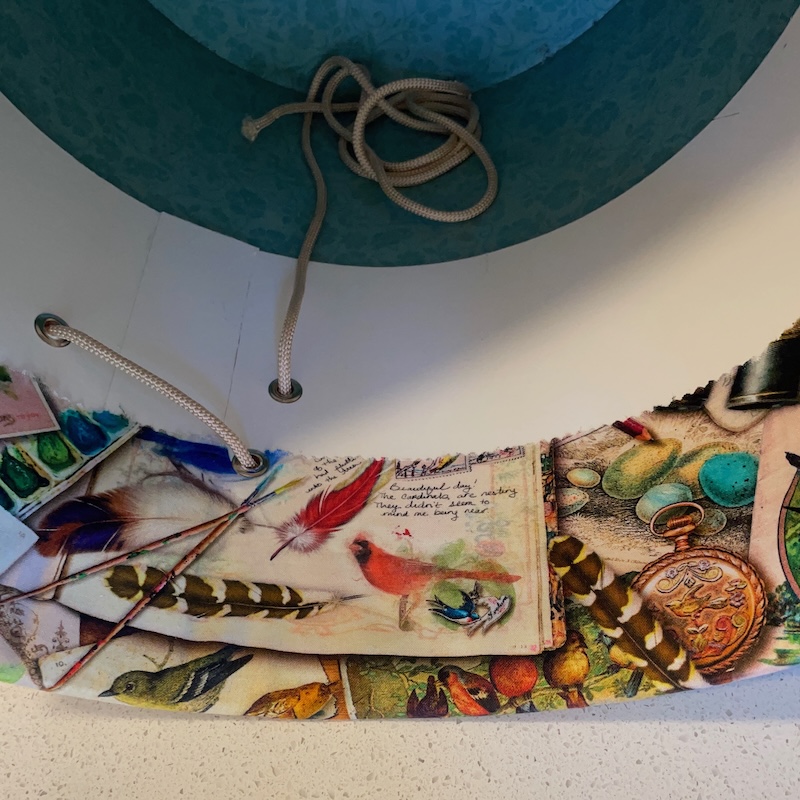
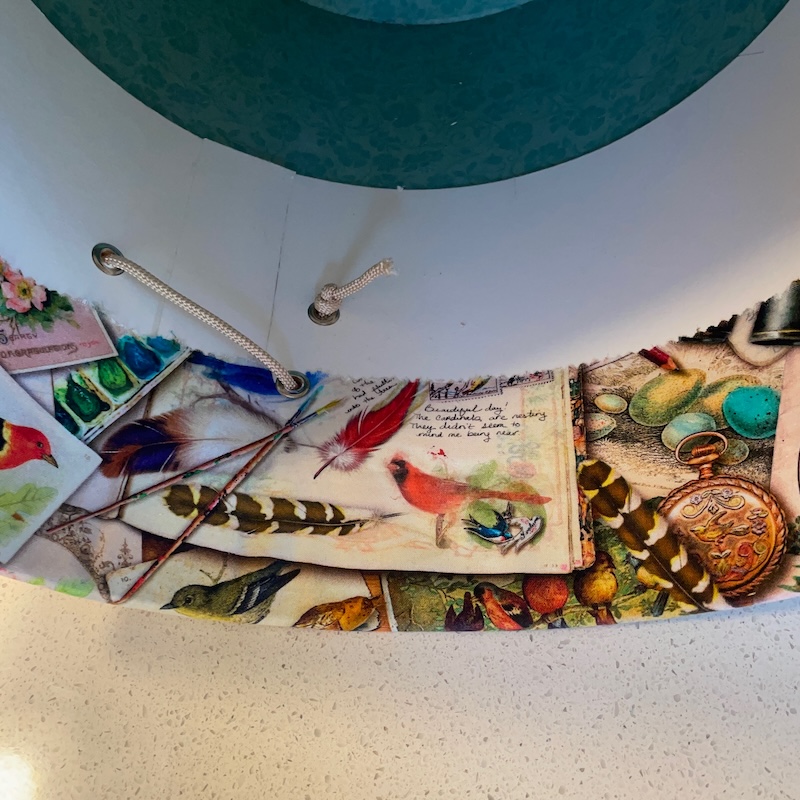
Slip the lid off the box and cut the cord about 2″ from the last hole.
Tie a knot in the cut end.
Optional padded inside top
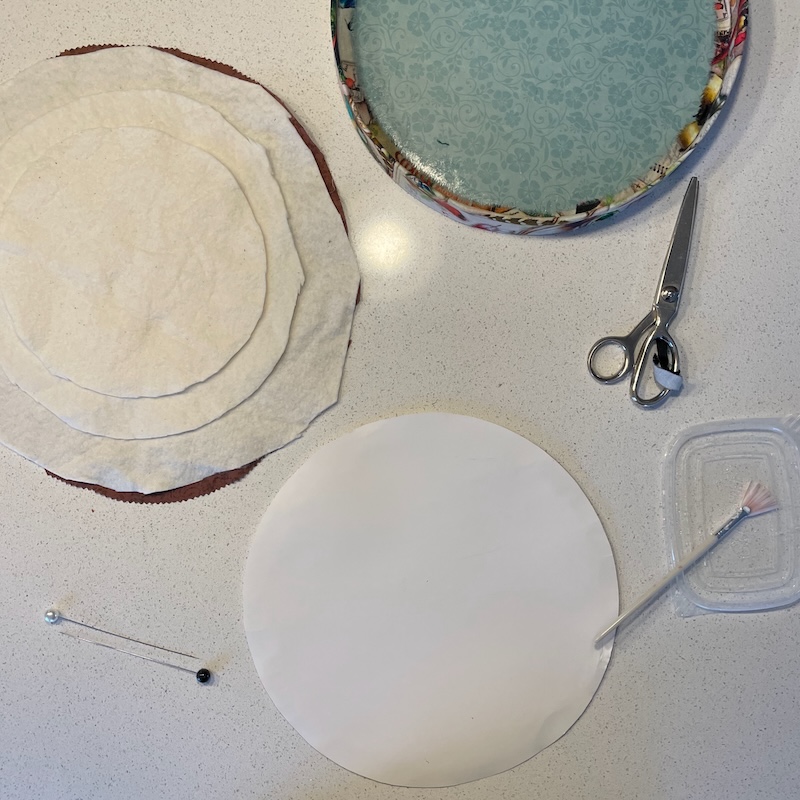
Now for the cardboard circle that fits inside the lid. You are going to cover that with 3 circles of cotton batting and covered with fabric. Cut three batting into rough circles and one fabric that is larger than the cardboard by 5/8″ all around.
After the smallest circle is glued in the center then glue is added to the cardboard ~1″ just around that.
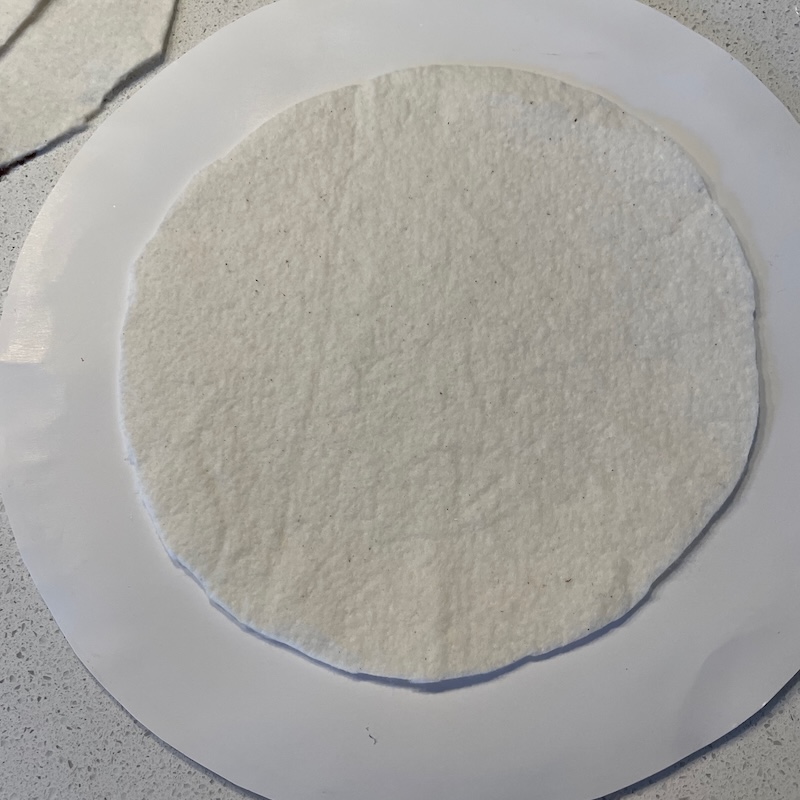
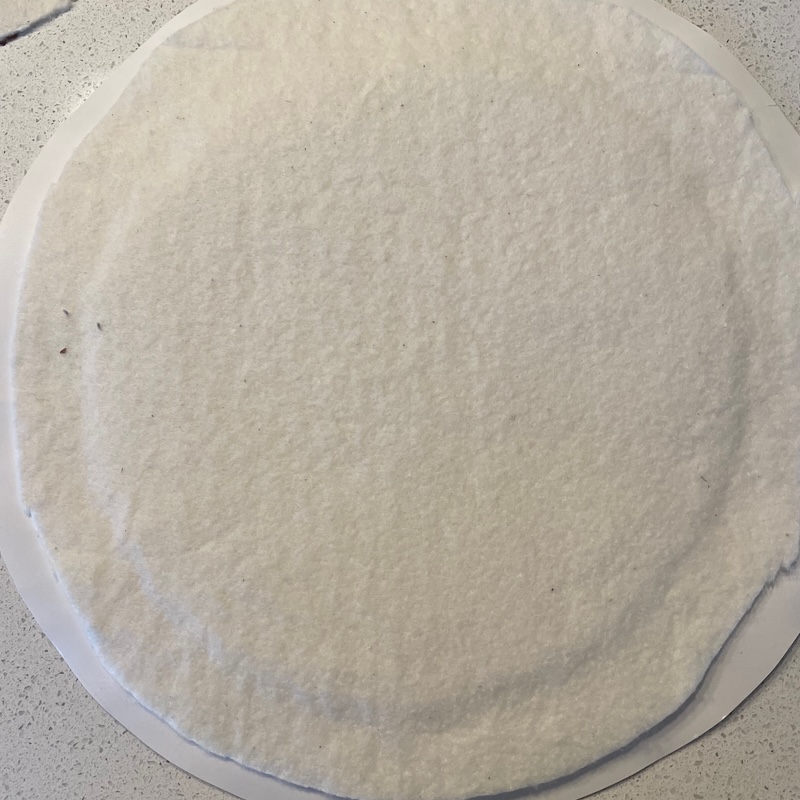
The next largest piece of batting is glued in place.
The insert is laid over the largest batting piece and glue is brushed around the edge.
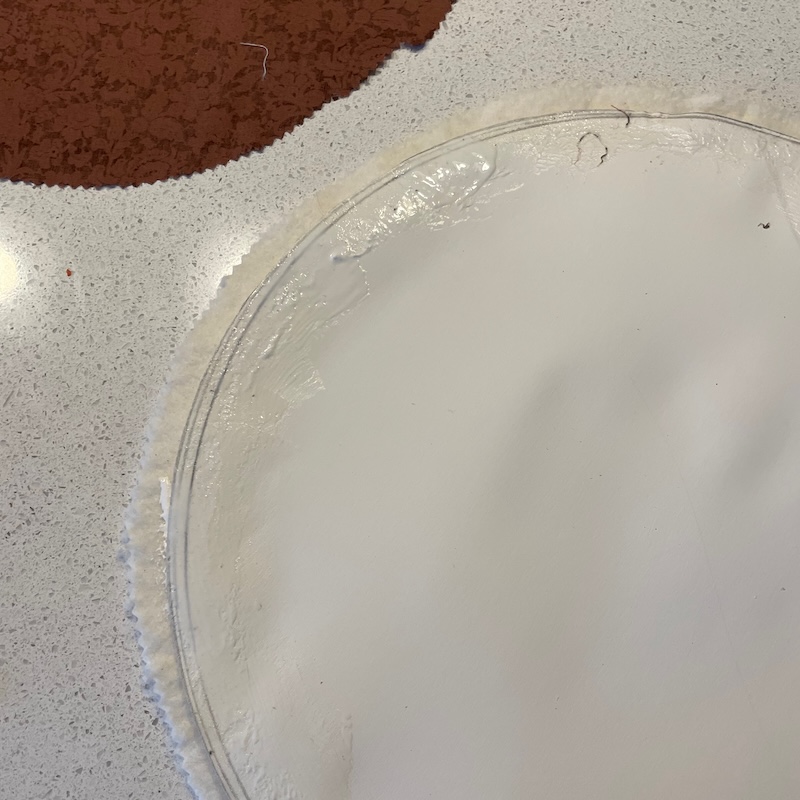
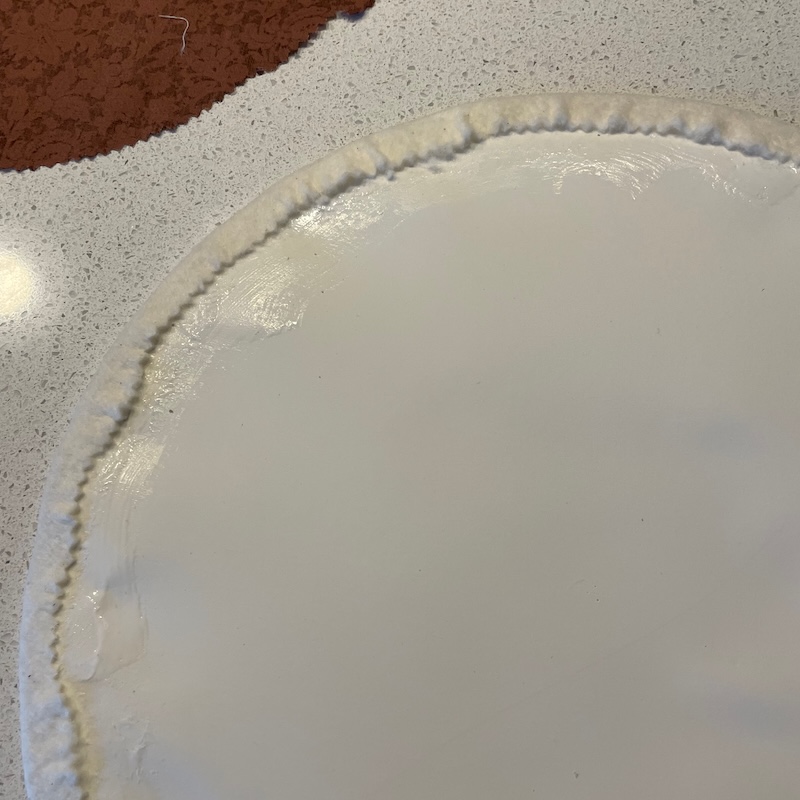
The batting is glued around the the back side.
The fabric to cover the insert is laid on the table wrong side up then, glue is brushed around the edge. Then the fabric is folded into the glue. Starting at the opposite straight of grain lines as with the lid. And then the bias and then in-between.
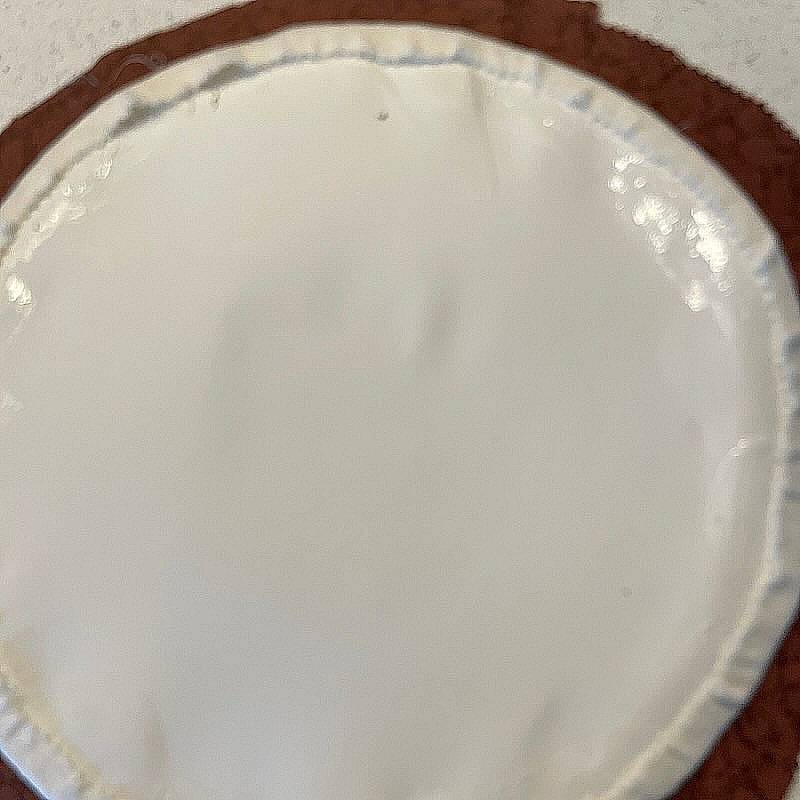
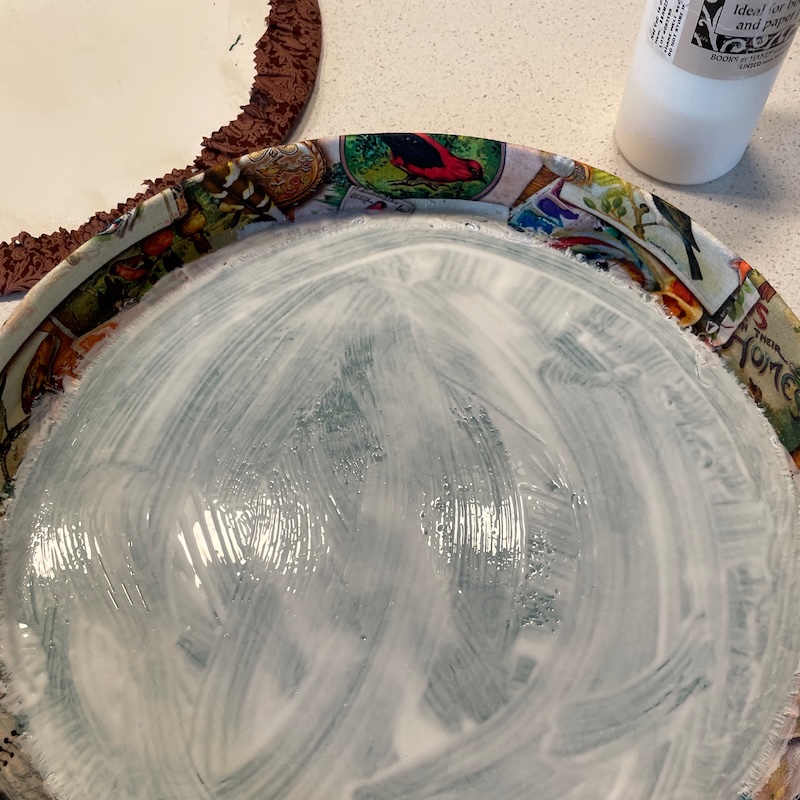
Glue spread across the entire surface but not the very edges.
With a padded top you can add things like hat pins or any pins you might wear with this costume.
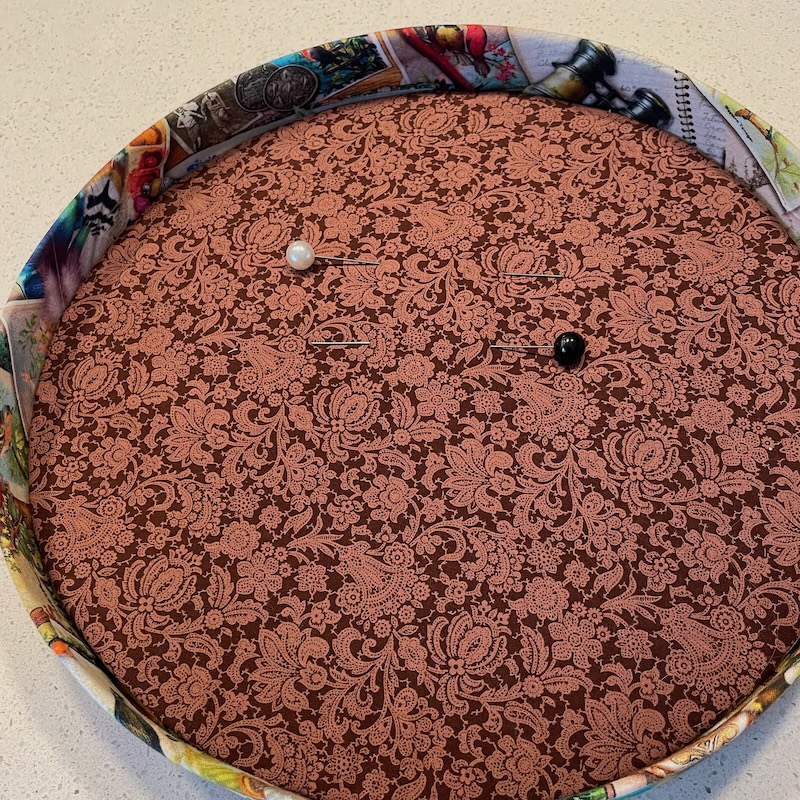
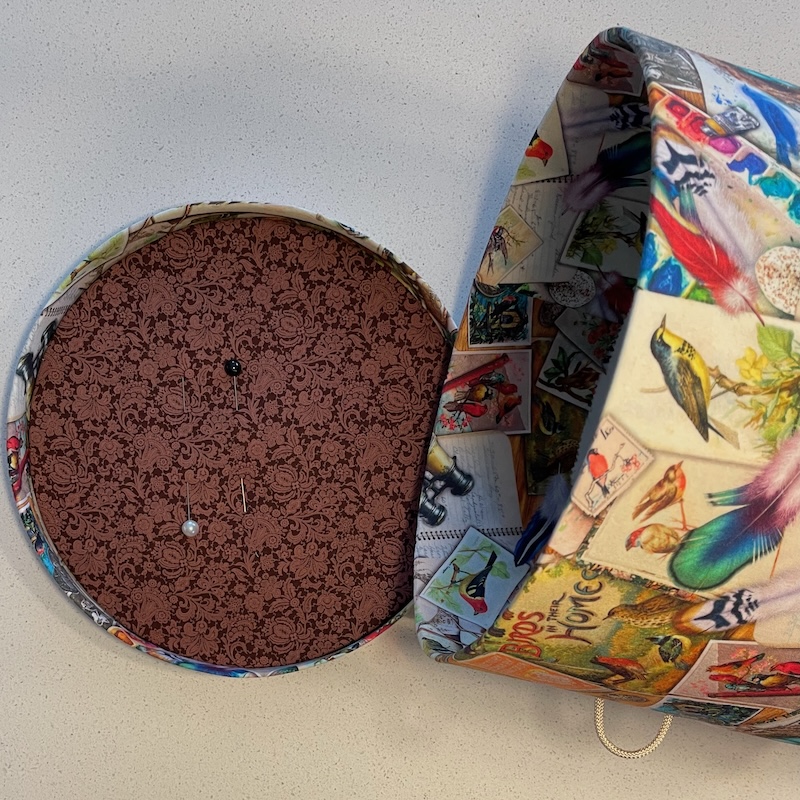
Finished box with lid.
The hat in the box and the plumes are not touching anything or being crushed, etc.
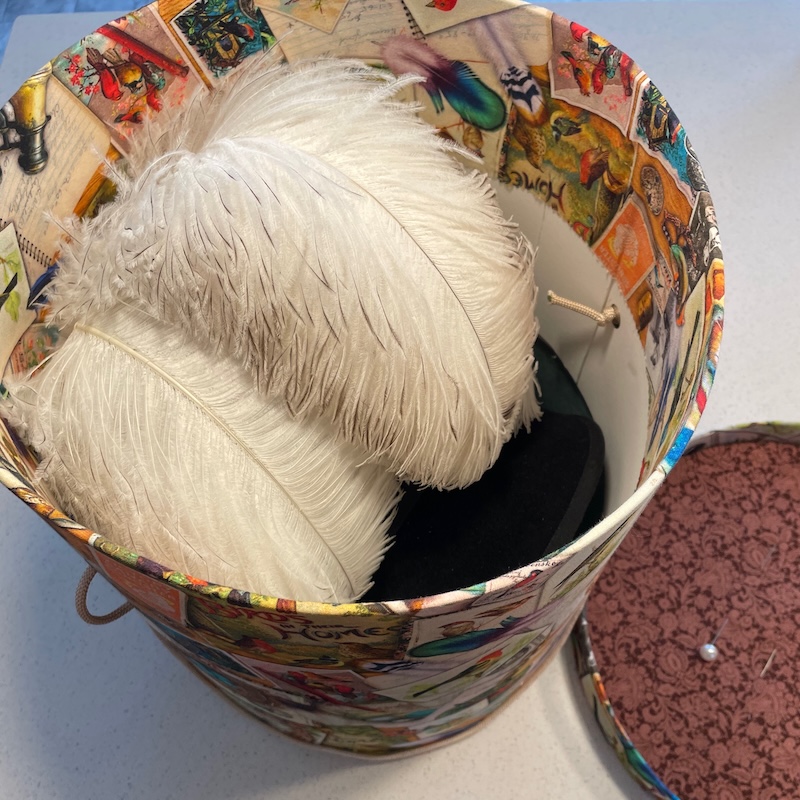
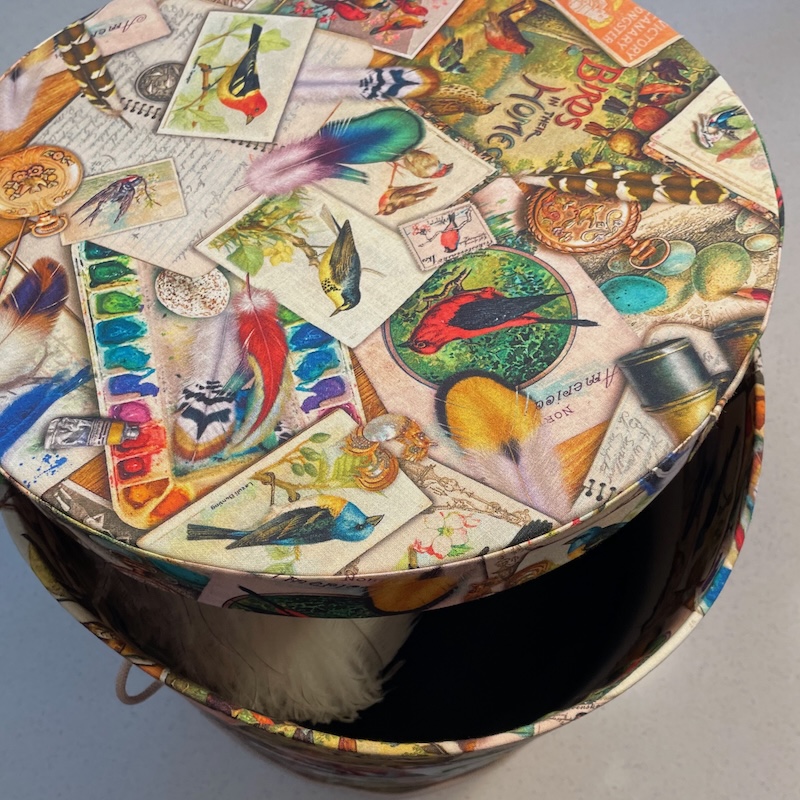
Last peek.
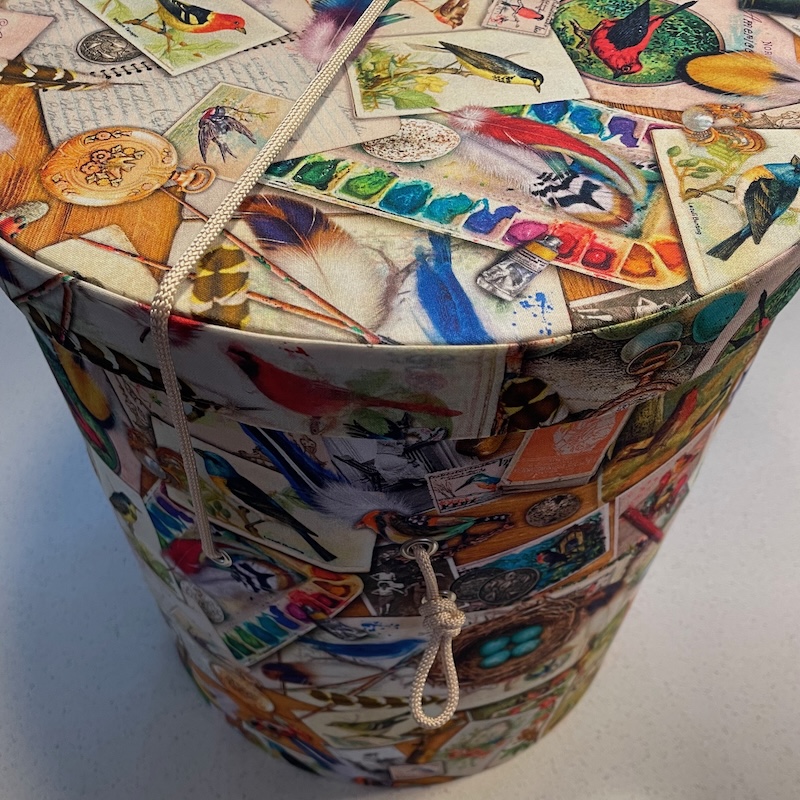
To keep the lid nice and tight you can tie a loop knot in the side handle cord.
Afterthoughts
I have a few. First you might not have a tall hat that needs a tall box but this size box 12 almost 13″ around and 15″ tall is the perfect size for nesting hats with acid free tissue in between. I can get 4 or five smaller hats in one of these size boxes.
Covering the box with fabric is a fair amount of work and not really necessary. You could do three other things that might make the altered box more attractive without covering it with fabric.
- If you get two hat boxes that match you can cut the bottom out of one of them and add an inner collar of 4″ wide board half way between the two and securely glue them to the collar. You could use the second lid glued to the bottom for extra strength. Done. You might glue some trim around the join of the two boxes just to hide it.
- The one thing about the hat box I started with, it was thick. That ment with one layer of board inside and one outside of that, I did not end up even on the outside. One layer of the board I added was not as thick as the original. But if I had added a 4″ collar inside the original box and then two layers outside that it might have been closer to the original box. In that case if my outside layer was nice looking mat board and I had ended up closer to the thickness of the original box, I might not have had to cover it. The lid to the box would have fit better as well.
- You could cover just the top half of the box with some wallpaper or printed paper that coordinated with the original box.