Early 20th C Curled Goose Feather Fan.
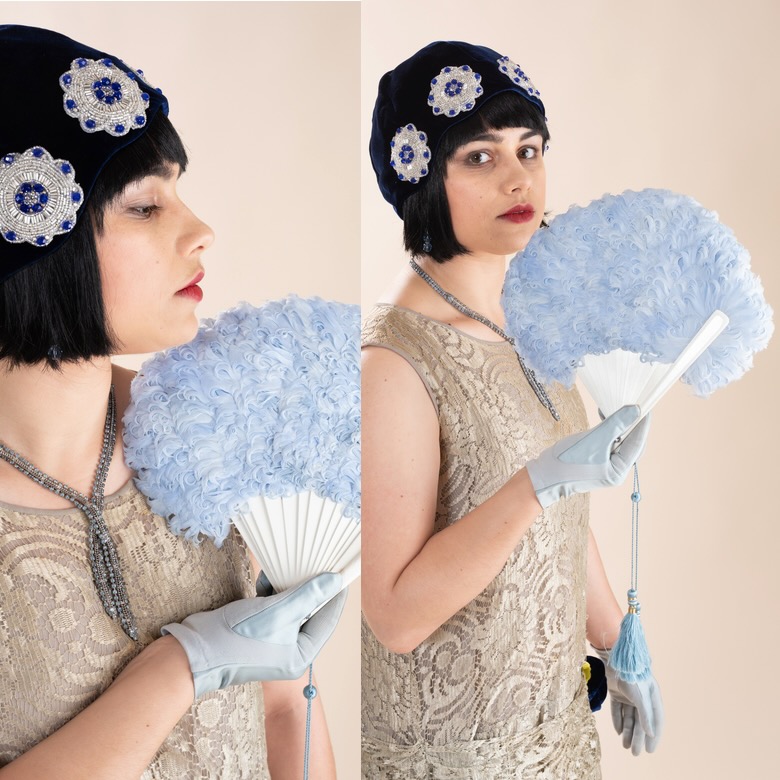
This is the fan it’s being modeled by Breanna Bayba. Below I will show you my inspiration/reference fans and step by step how I made it. This was a two person project I had help from Steph Flora. She taught me how feathers are traditionally sewn on to fabric and sewed more than half of them in place. She was taught by Hawaiian feather garment makers.
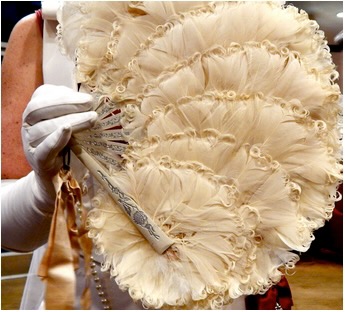
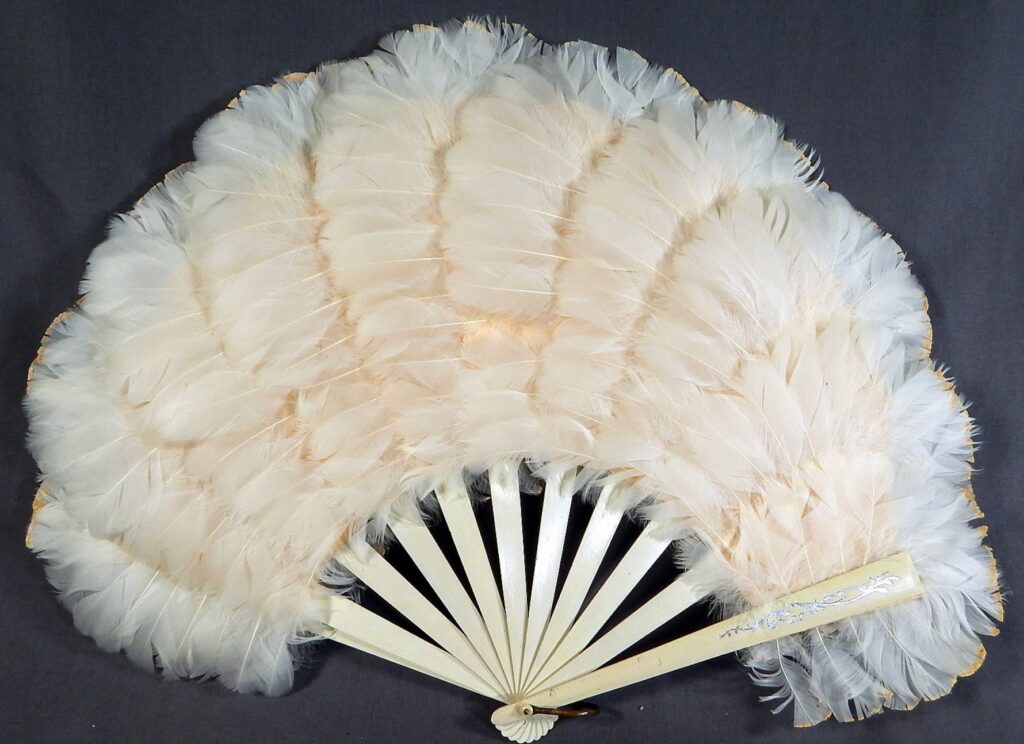
This is an Edwardian example of this type of fan. It has goose feathers attached to pads of various sizes. This one has curls only on the edges.
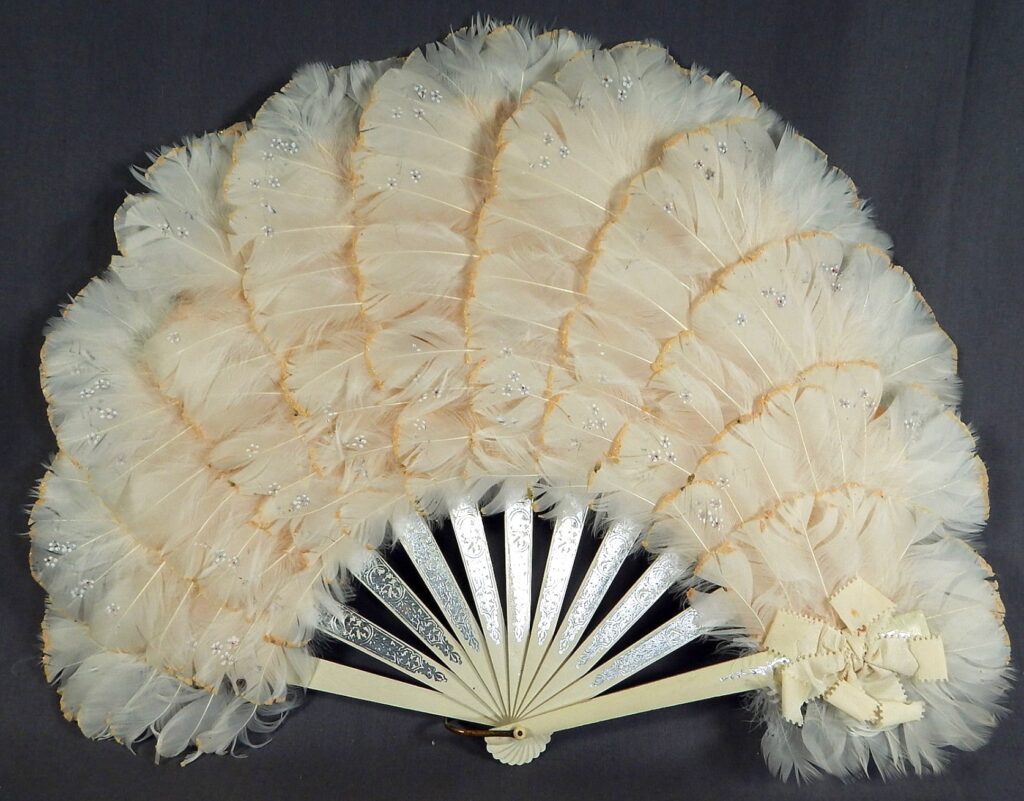
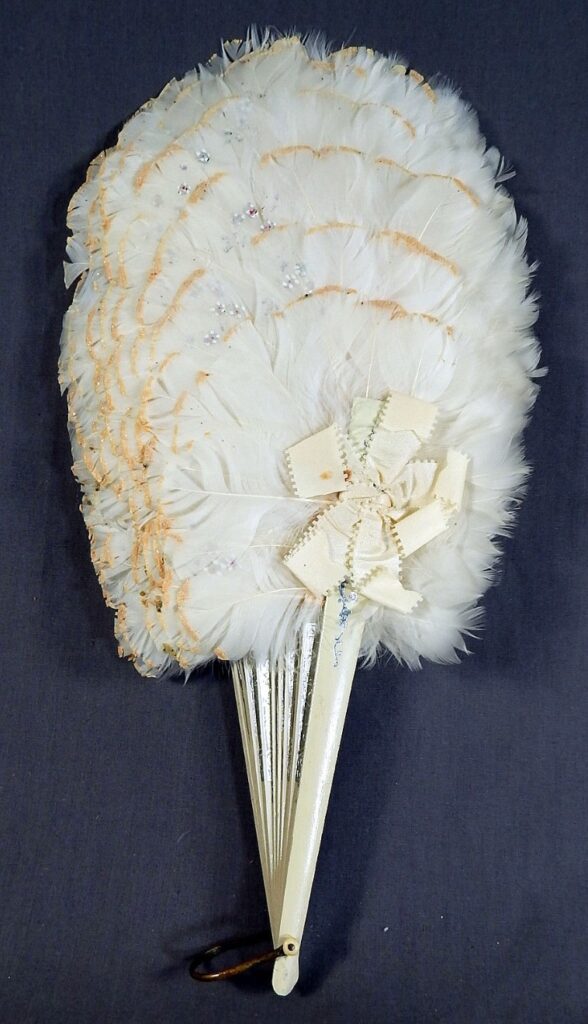
This is another Edwardian fan from which I took the size and shape of the pads that carry the feathers but I decided to curl all my feathers.
The fan, closed.
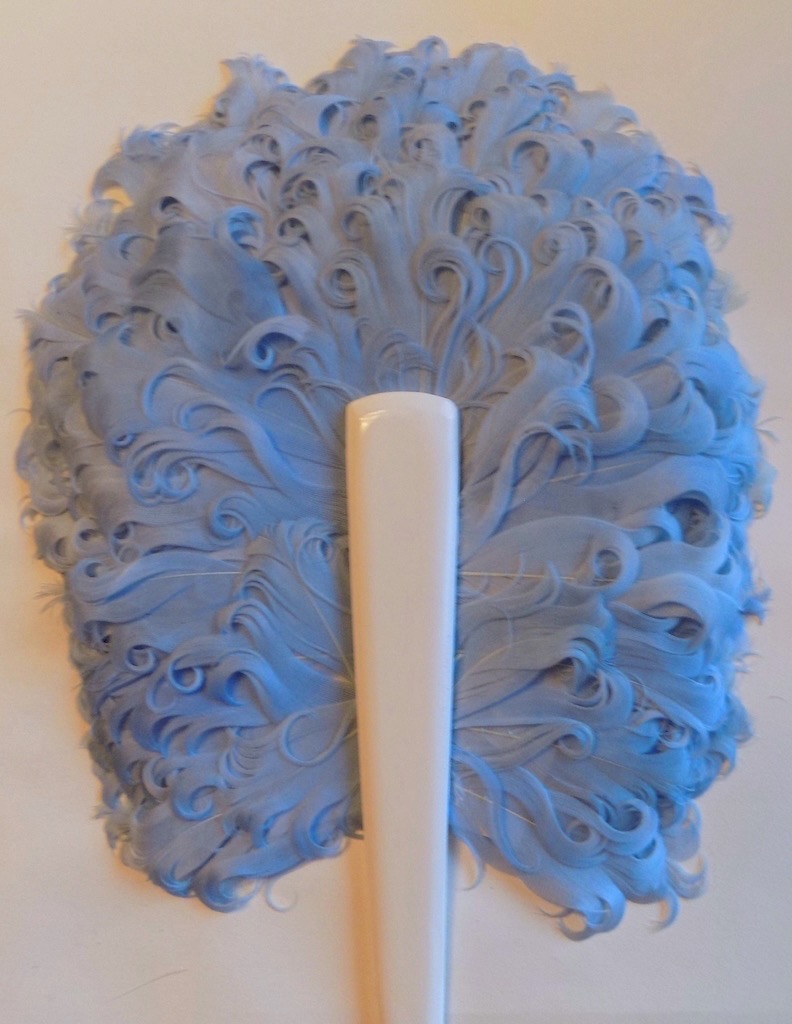
The fan from the back.
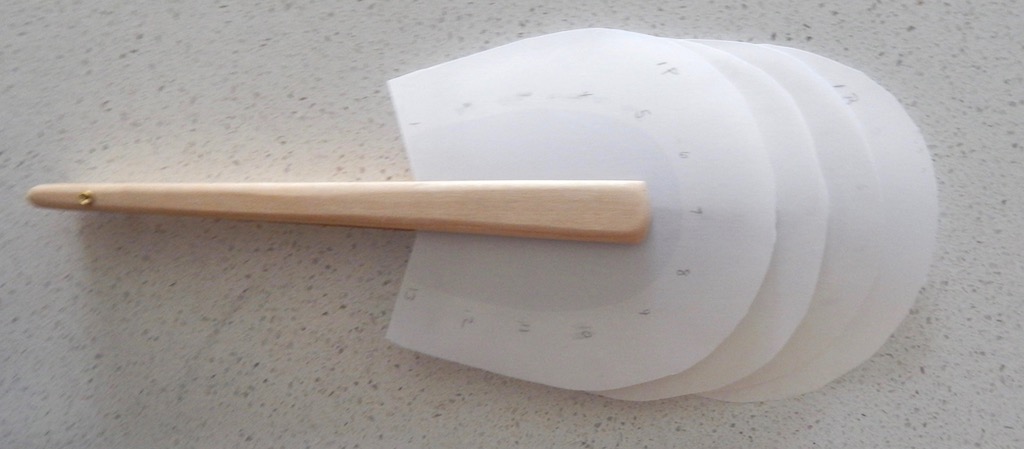
This was my starting point to see how the first pad might look. I’m just holding the feathers down with a wooden spoon handle. This was helpful cause it gave me the idea just how many feathers it might take to cover the pads.
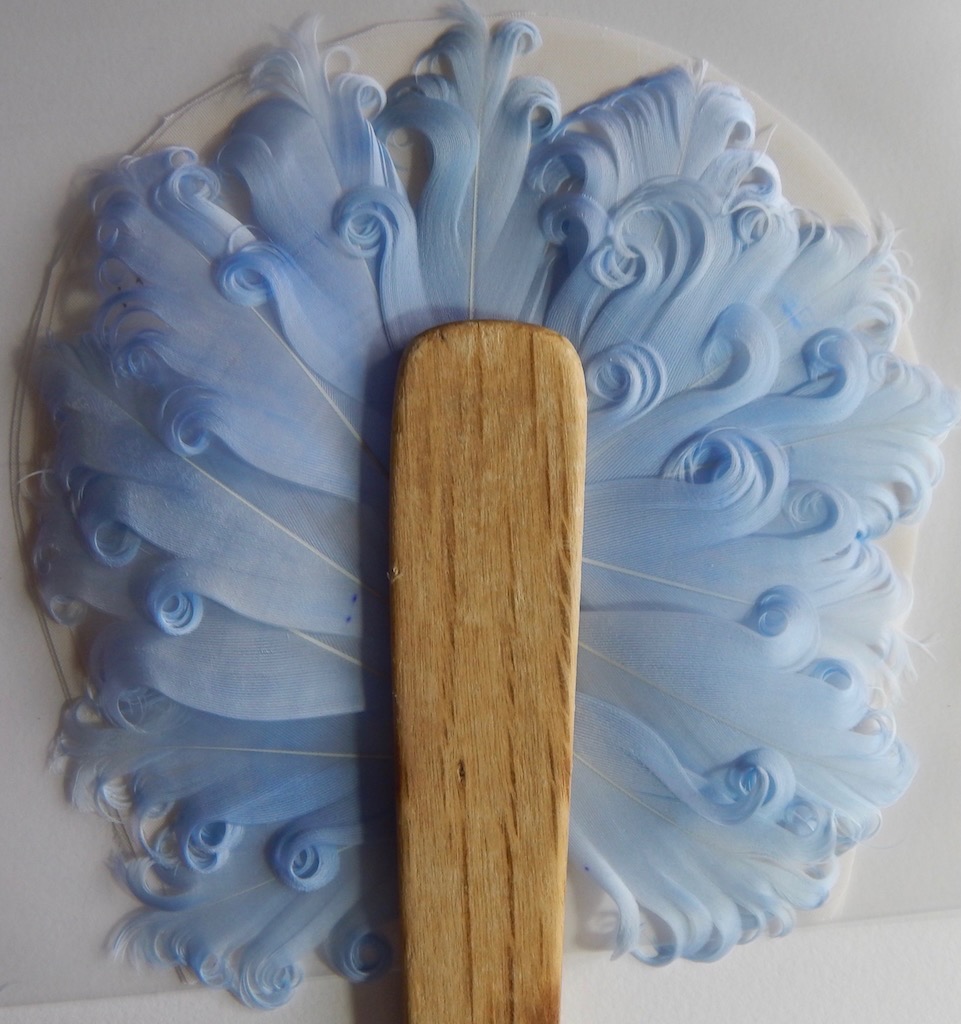
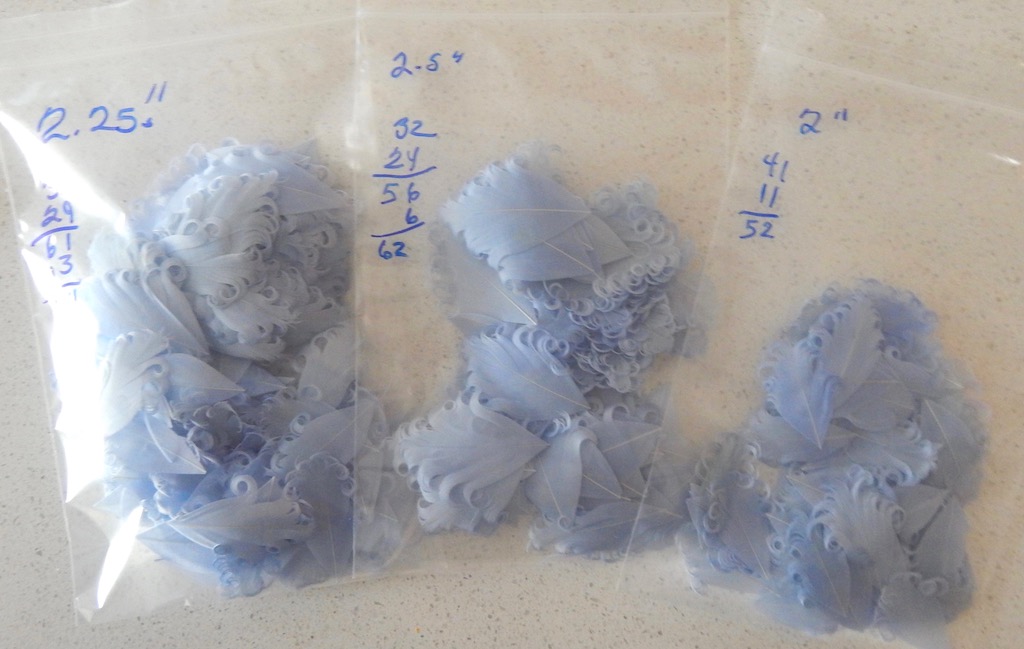
I then prepped the feathers which consist of cutting the bottom portion of the feather off which left me with feathers from 2″ to 2.5″. The next step was to curl the feathers and to sort them into short, med and long. So I could pass them off to Steph. You can find an article on how to curl Goose feathers here.
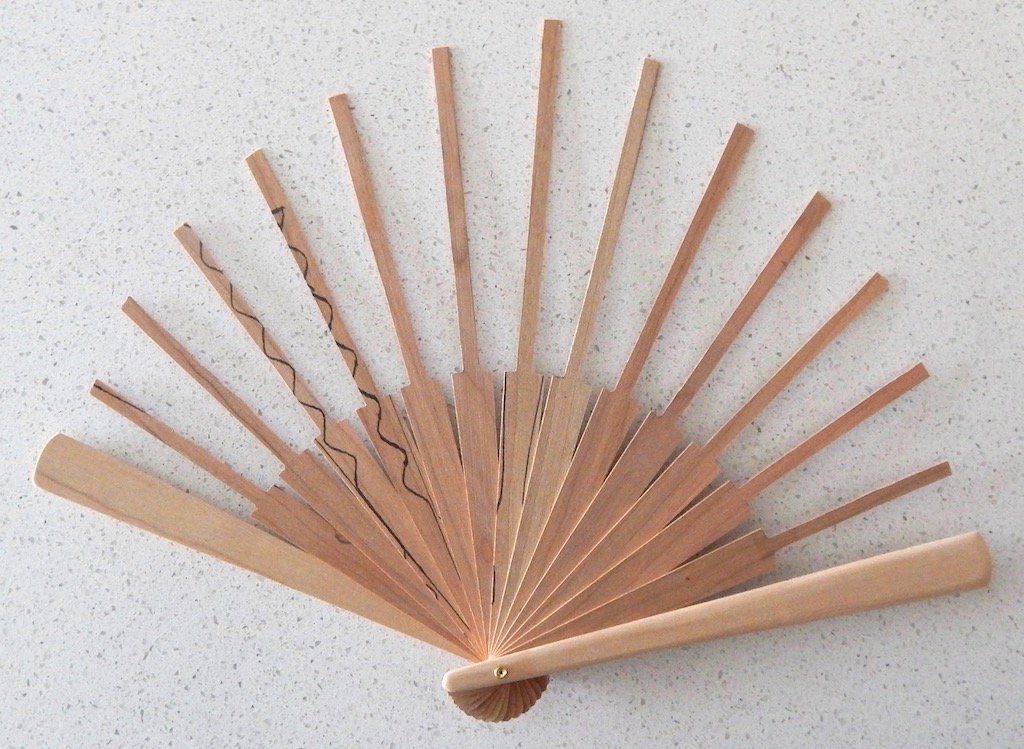
While she was sewing feathers to pads I made the wooden part of the fan (sticks) by cutting out the 13 ribs and 2 guards with a skill saw using the measurements I got off the second vintage fan.
They looked like this closed. I then had to paint the wood with enamel paint, look for an article on painting fan sticks on my site.

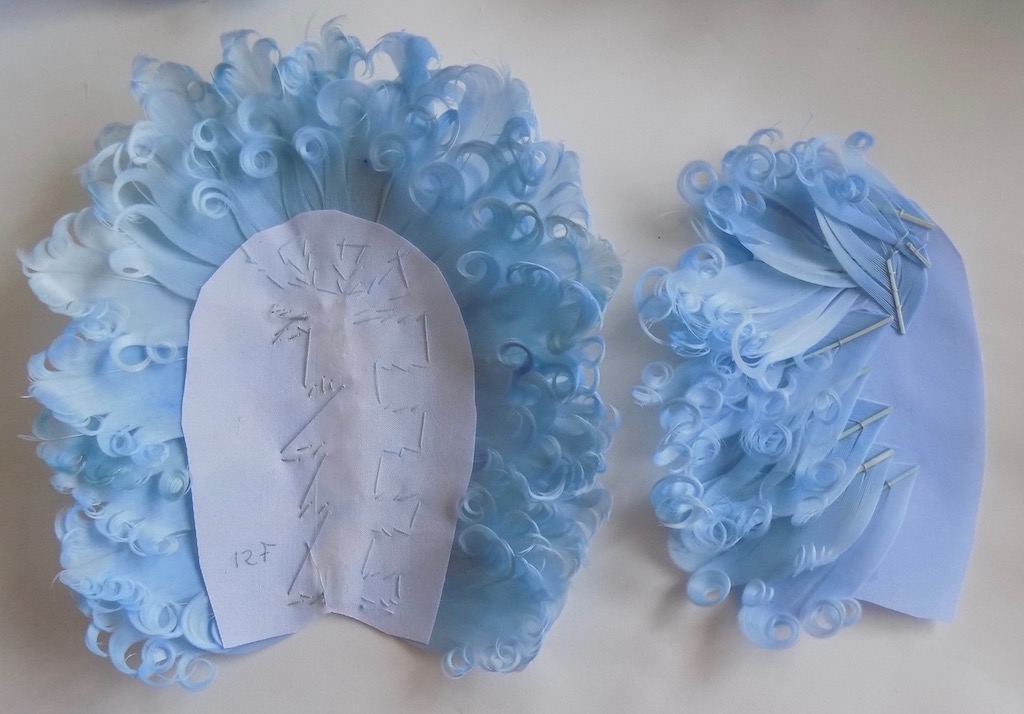
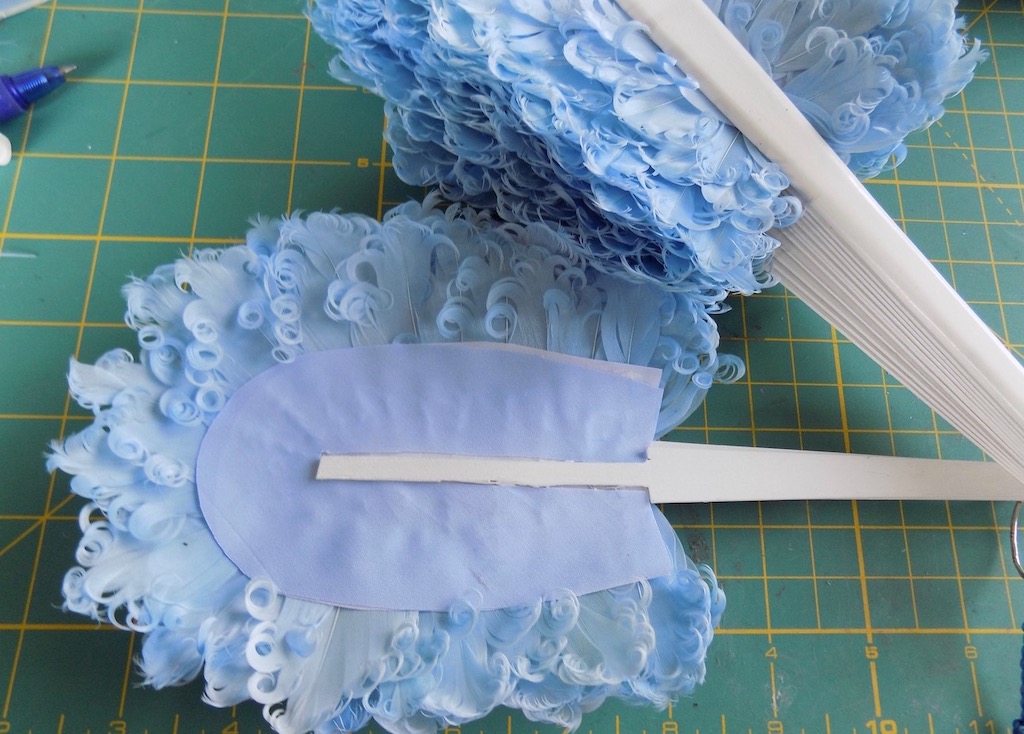
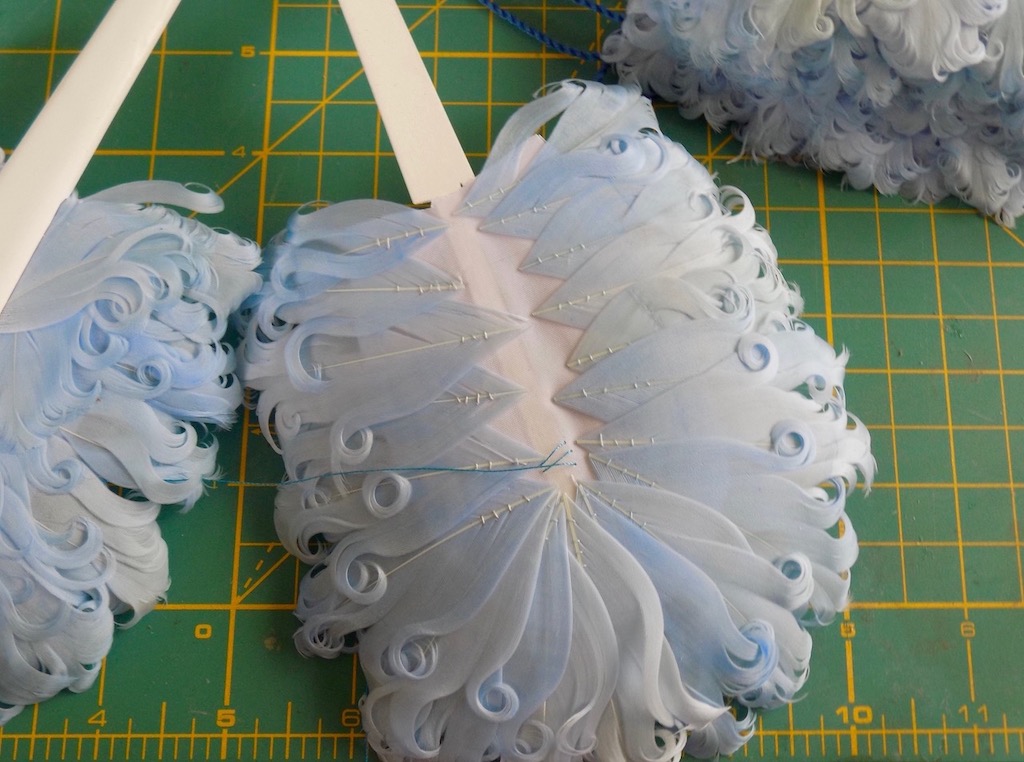
I then made the base pads for each rib and the two guards so that the feathers could be stitch to them. They are cut from stiffened silk taffeta and get larger going to the middle stick and then smaller. They line up at the bottom.
Steph sewed curled feathers onto the left edge and across the top of each pad for the ribs.

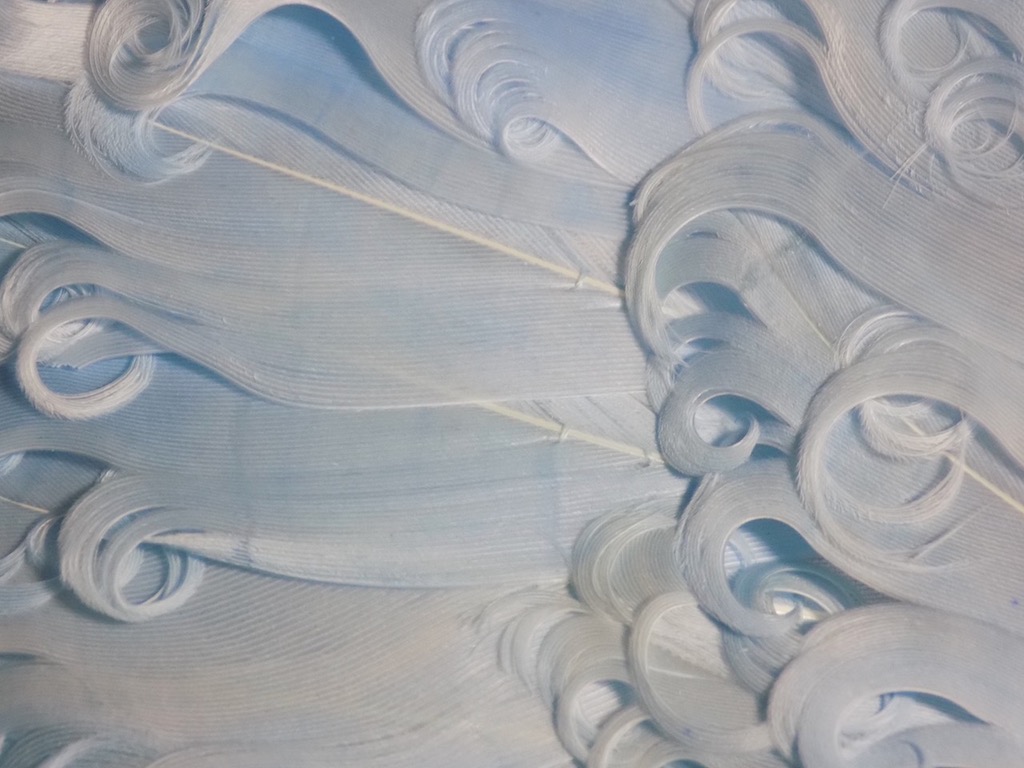
If you look closely you can see two stitches that go across the stem of the feathers. Each feather got three stitches about 1/4″ apart.
Here all but the guards have their pads either glued in place or clipped in place.


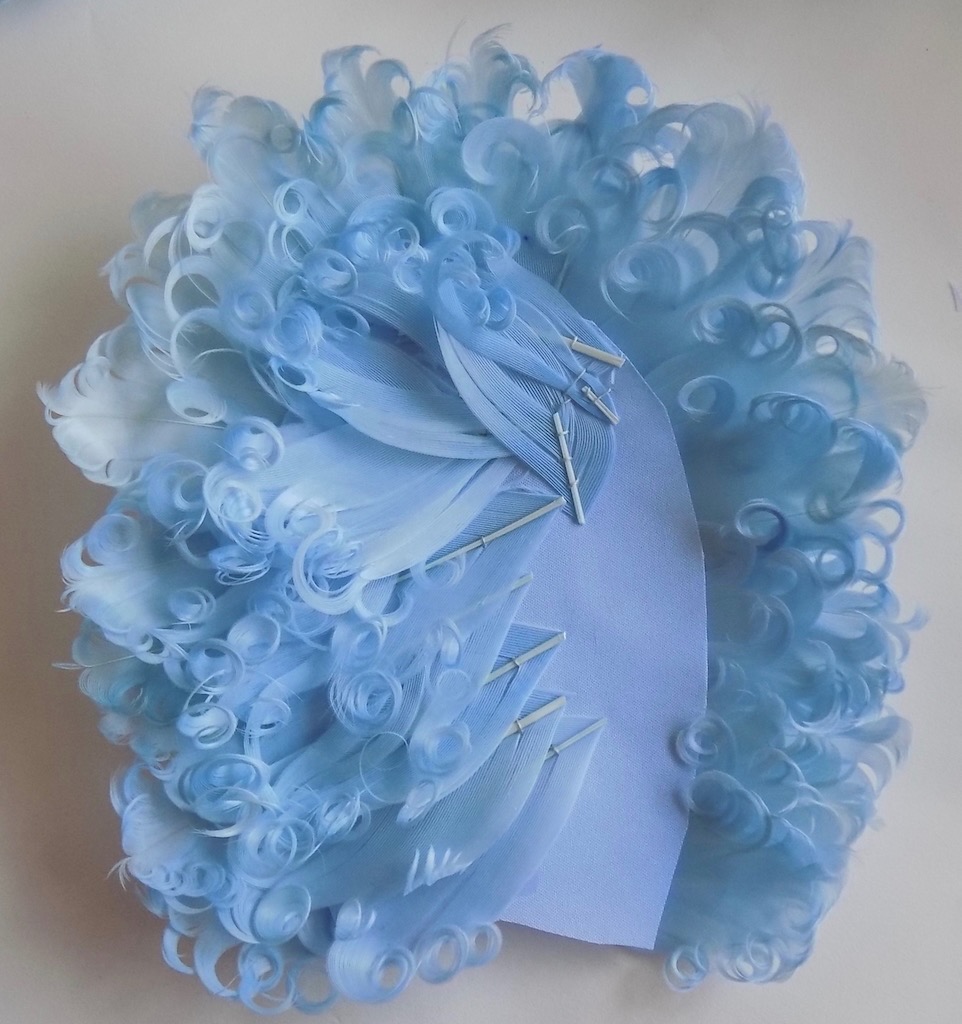
The upper guard needs two pads. The larger one which gets attached to the flat side of the upper guard and then the small pad which covers the bald spot in the inside. Which shows when the fan is open.
This is the back side of the pad on the right above. It needs one more row of feathers to fill out the center.
This is what it looks like when the pad is glued in place.
These are the two pads for the lower guard.
They get glued together. I filled out the empty part of the pad.
It looks like this when the lower guard is glued to the pad and all the spaces are filled with feathers.

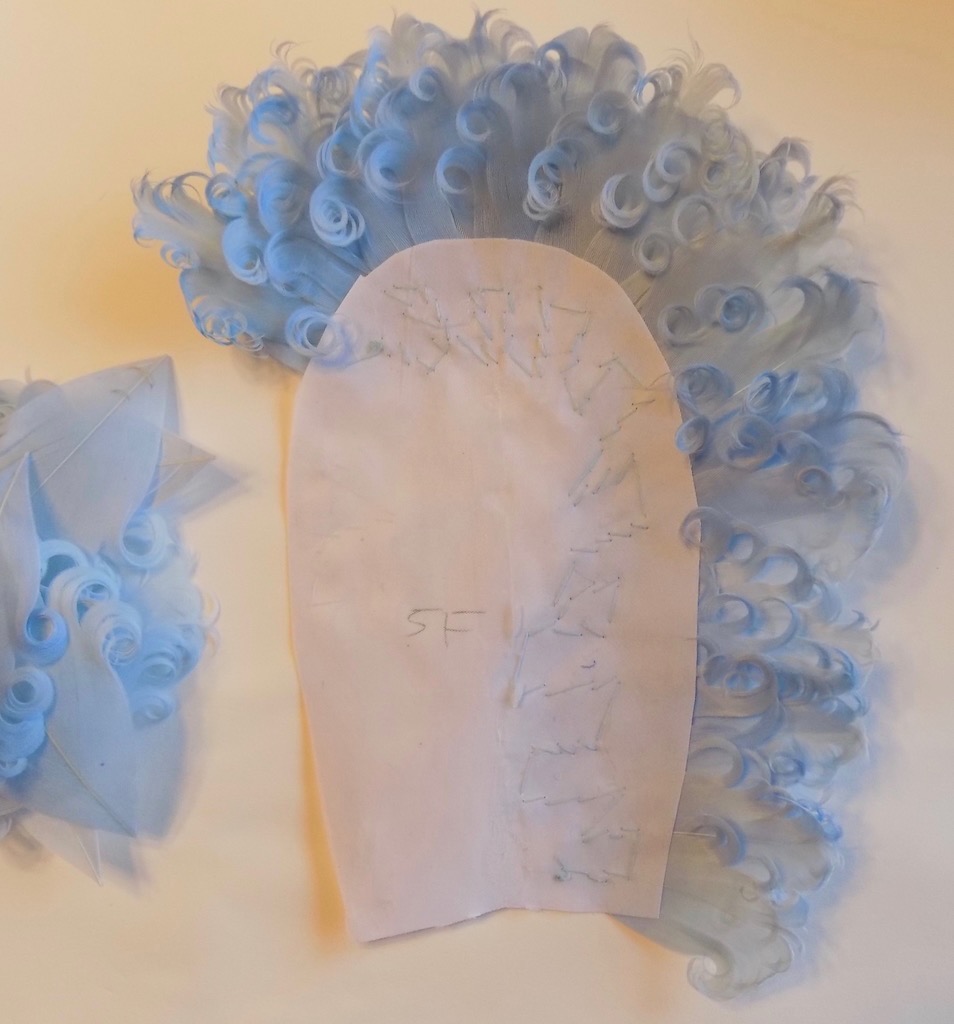
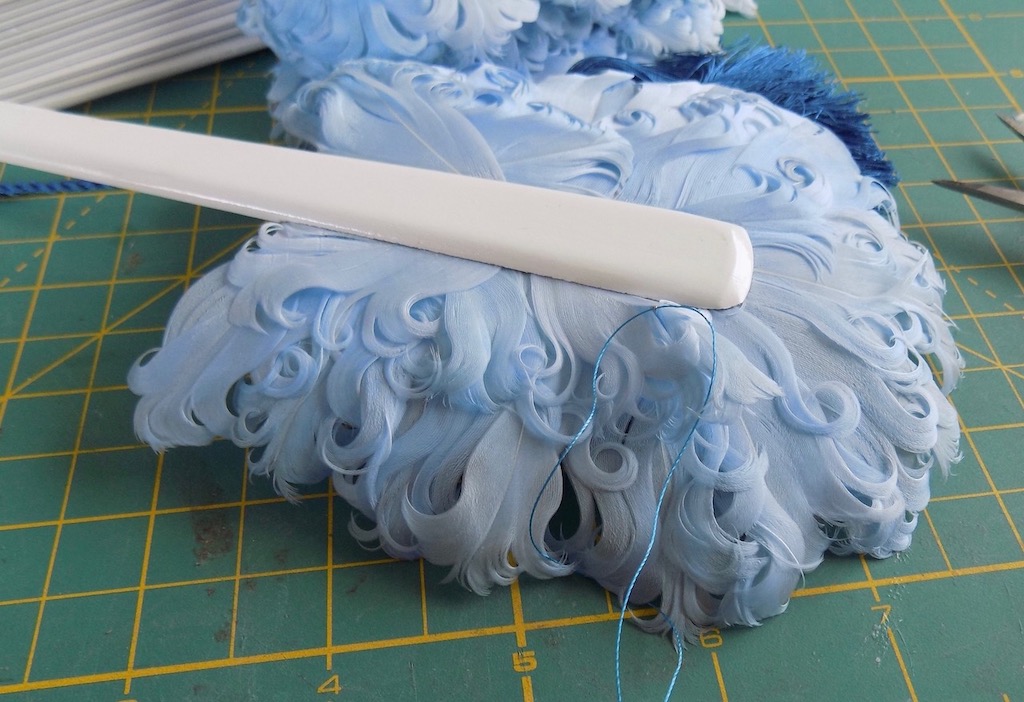
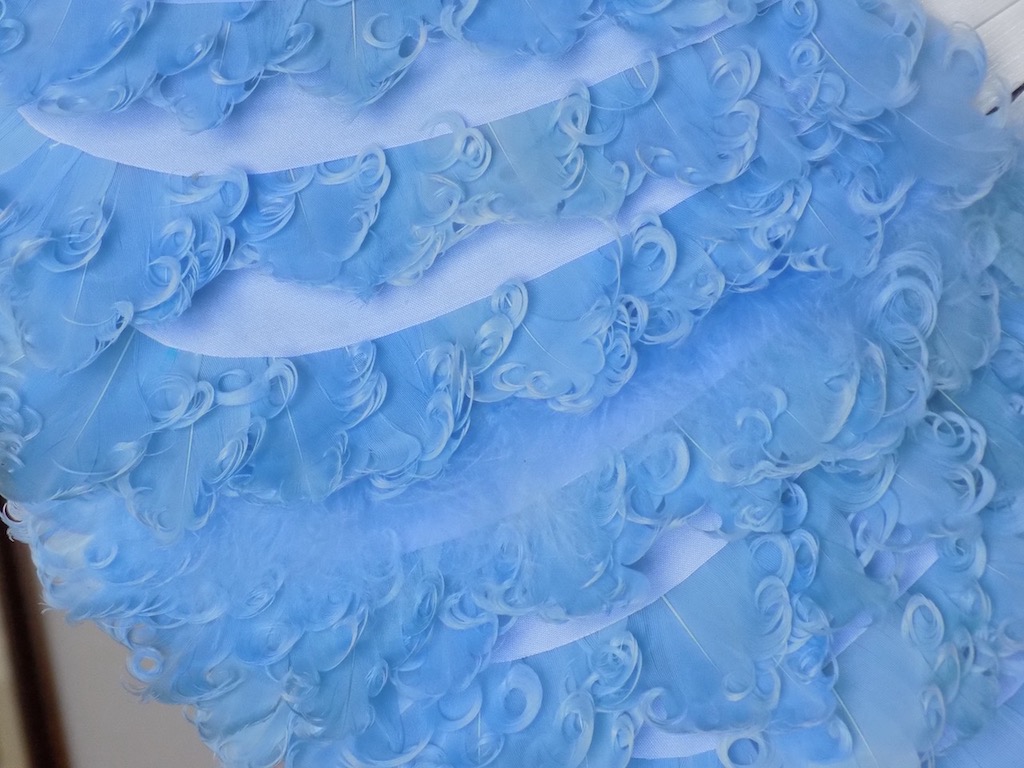
Now for the 13 pads for the ribs they are different than the pads for the guard. I had been building this thinking that I did not need to cover the entire edge because the next pad would cover the blank spot. But at this point I realized that the entire edge of all the center pads had to be covered so I added the 3 to 5 extra feathers needed to do that on all the pads.
I printed out more stiffened silk for the inside of each of the rib pads.
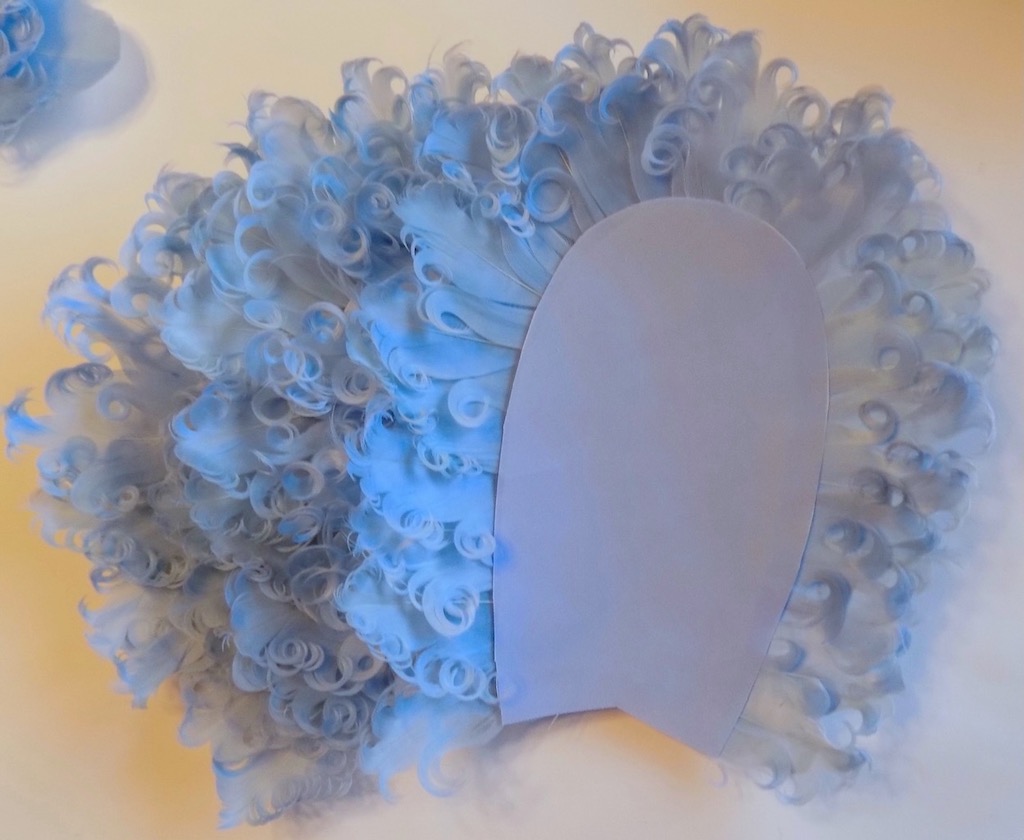
To reduce the thickness of each pad I cut away the section of the inside silk pad that will have the upper rib glued to it. Then glued the silk and the rib in place.
Because of the thickness of the pads and feathers, I needed to add some paper washers to space each rib and the two guards farther apart. I just used a large and a small hole punch to make them out a thick paper.
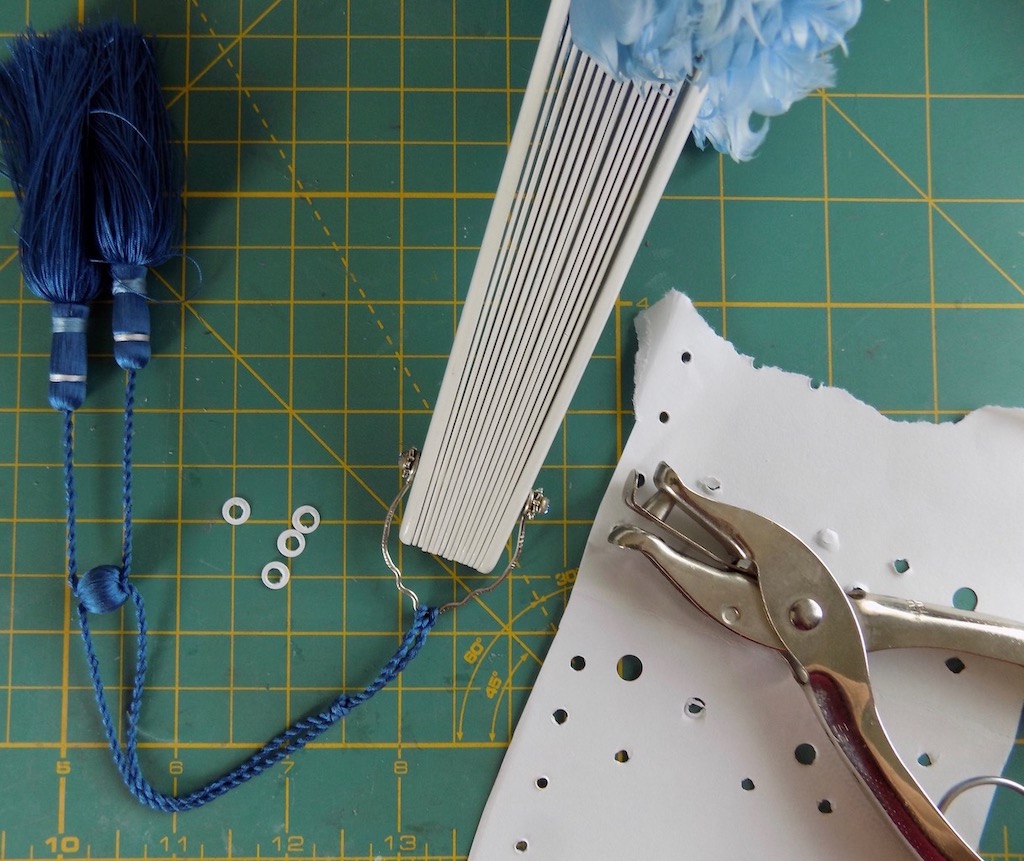
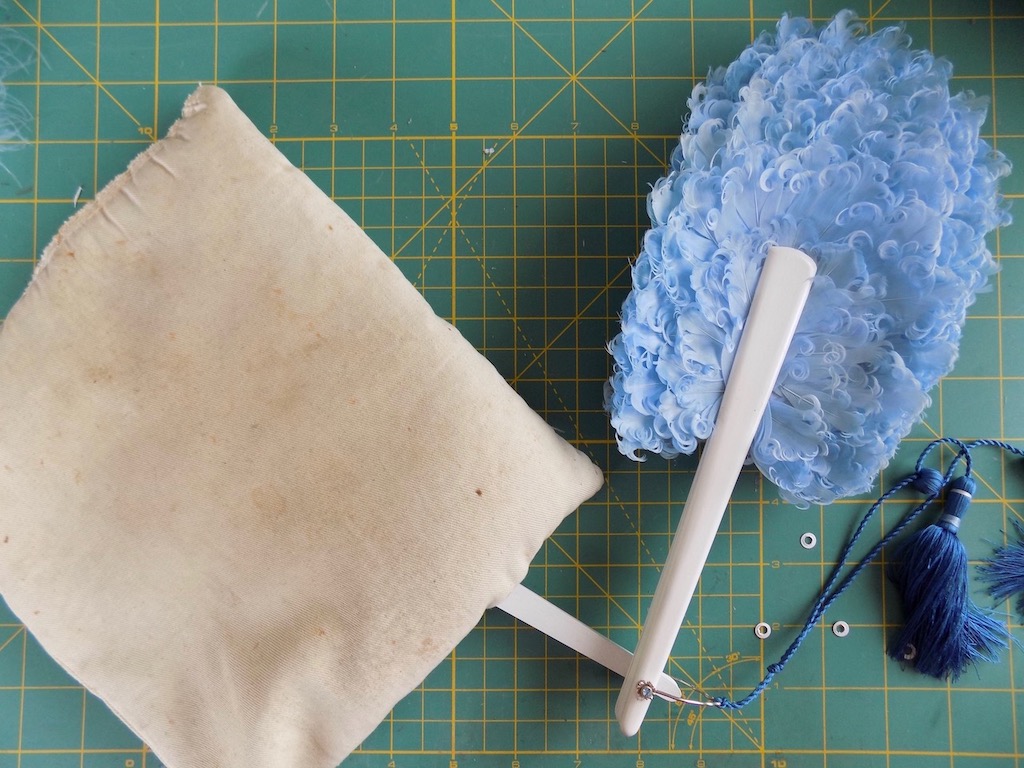
I glued one at a time and while each one dried I covered it it a bean bag. I used white PVA acid glue.
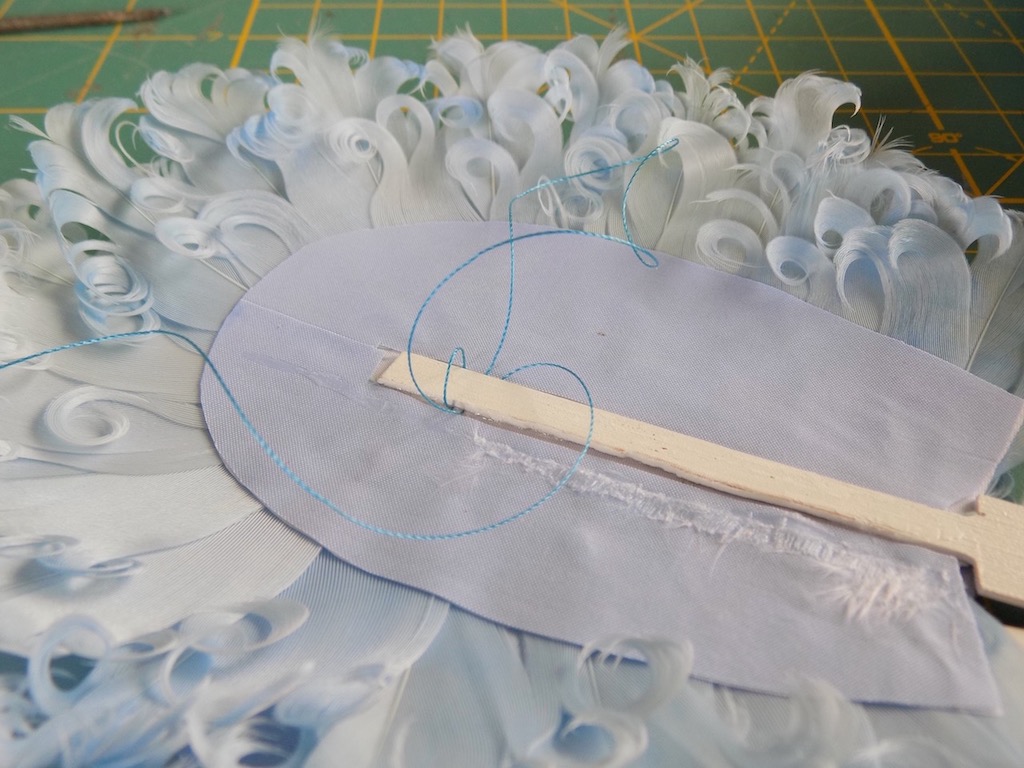
When all the pads are glued in place it’s time to string the fan together so it opens just as much as it is suppose to but not too much. I threaded a needle long enough to reach the other side plus 6″. And sewed from the outside to the inside of the upper guard so that the stitch did not show.
Then from the back of the first rib, I made two stitches starting from the back and ending on the inside, back and forth on either side of the wood rib. We do this because with the extra stitches it sections rarely shift around.
Then I needed to adjust the thread so each of the stitches was tight and the rib was in the right place. I just keep stitching on each section until I reached the lower guard. The stitches should always at the same distance up from the widest part of the ribs.
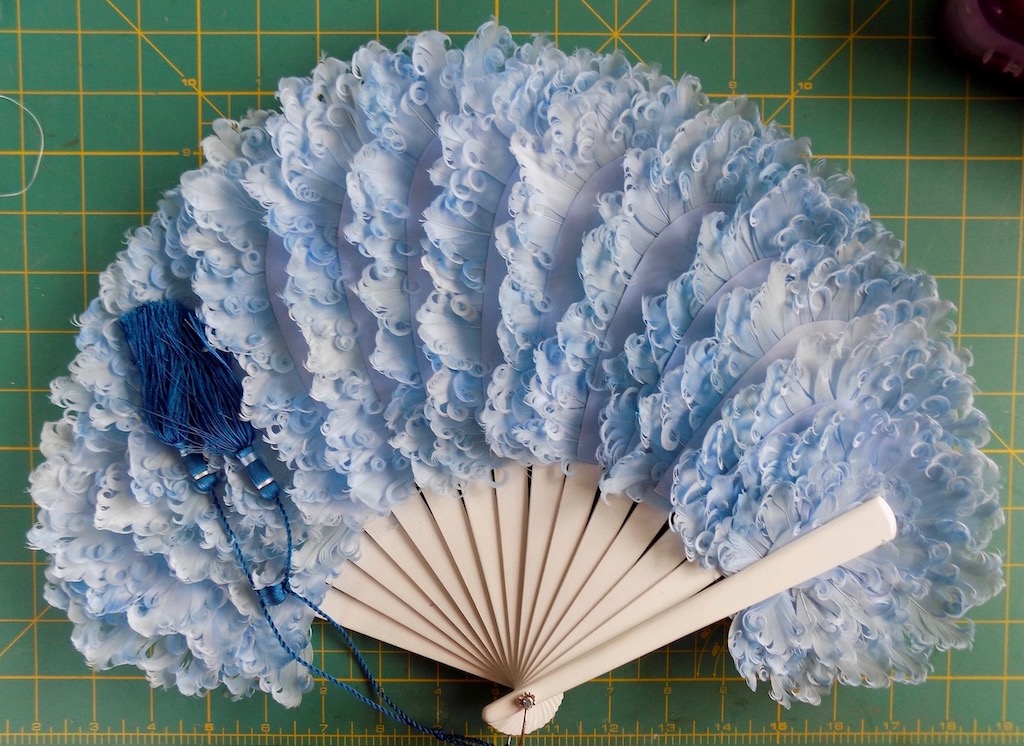
This is how it looks like on the inside of the fan with the lower guard on the right.
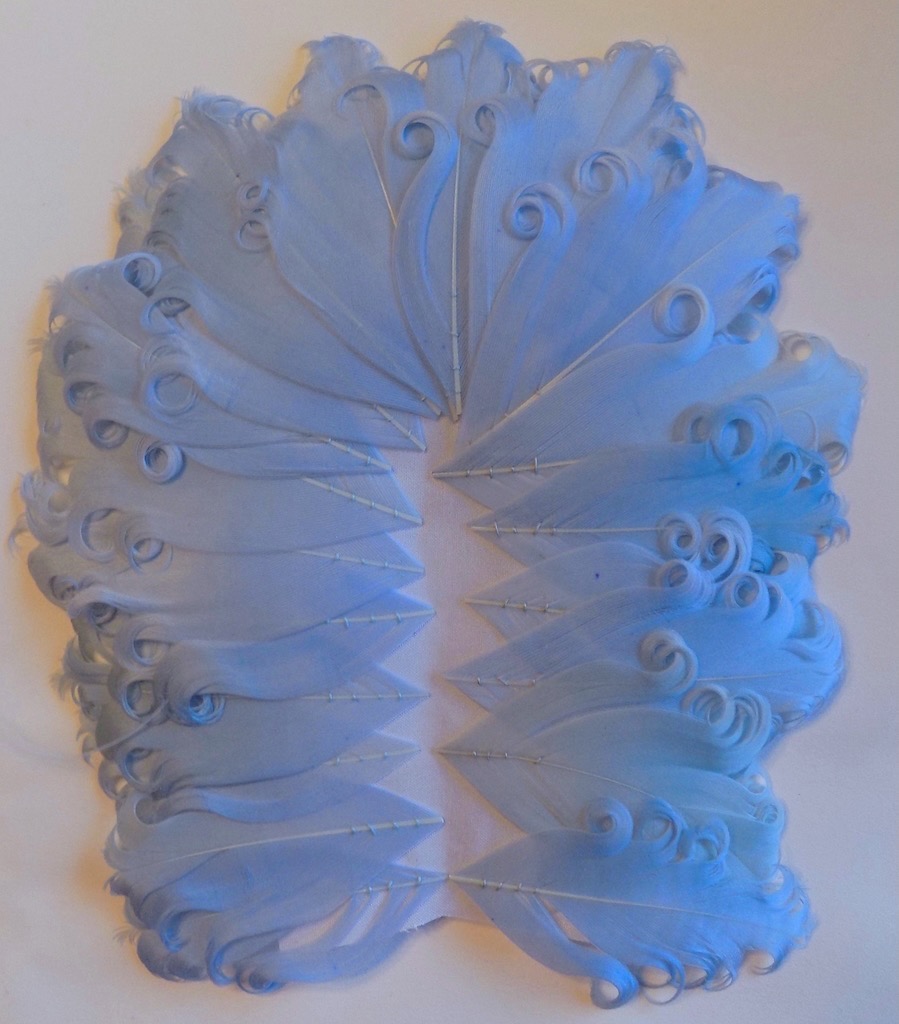
View of the back side with the upper guard on the top.
View of the fan from the edge, you can see the spaces between the ribs made possible by the paper washers.
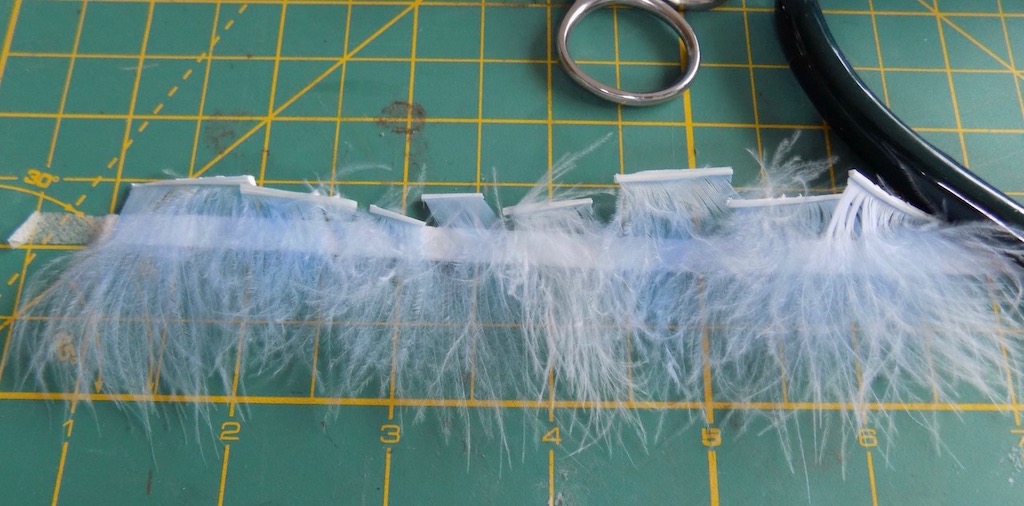
Because when you look in from the left side of the back you could see the inside silk pads I decided to make some marabou fringe to fill the space. I had been saving the parts of the feathers with the downy base. I split those in half along the stem and lined them up on a 1/4″ double sided tape stretched across and stuck to my board.
I then trimmed away the stem parts so the down is even on one side with a rotary cutter.
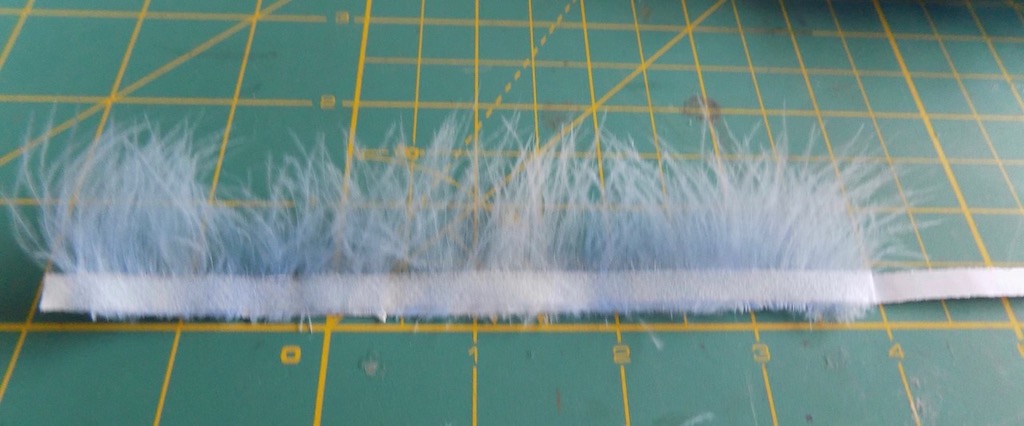

When it’s not thick enough you can double up.
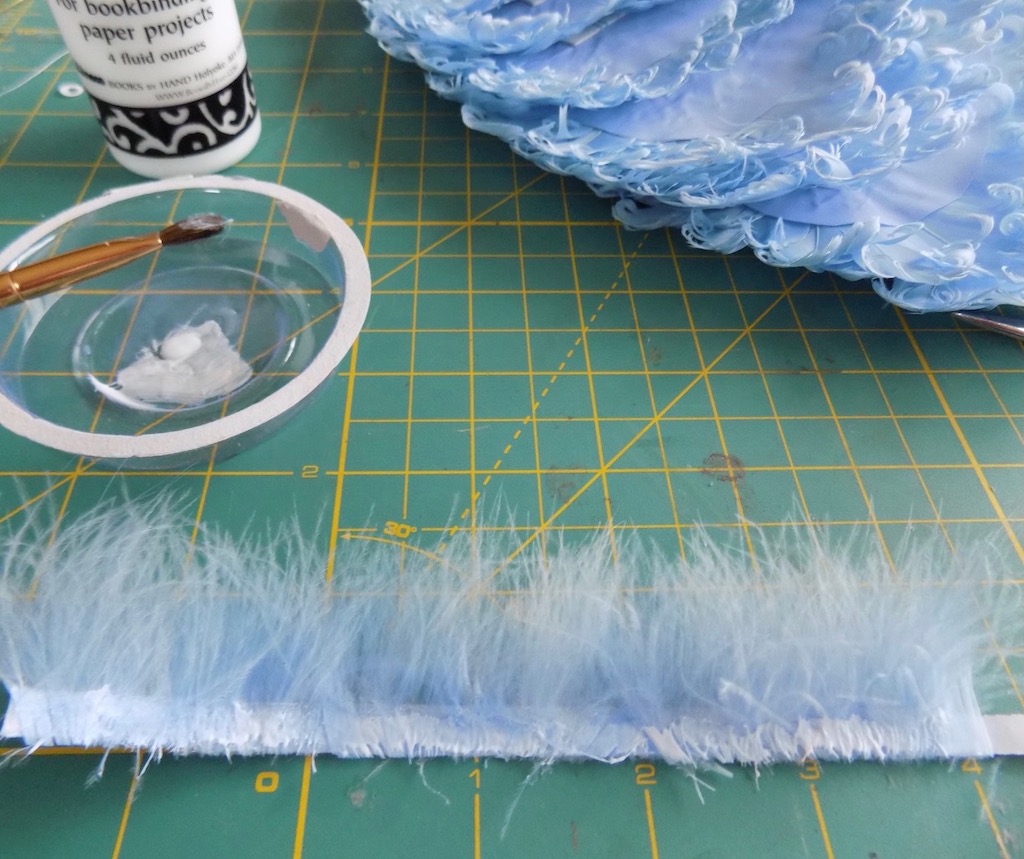
Then I painted the base with glue and let it dry to make sure the feathers were stuck. Then I added it to the edge of the pad with the other side of the double sided tape and added a little extra glue at the beginning and the end of the tape.
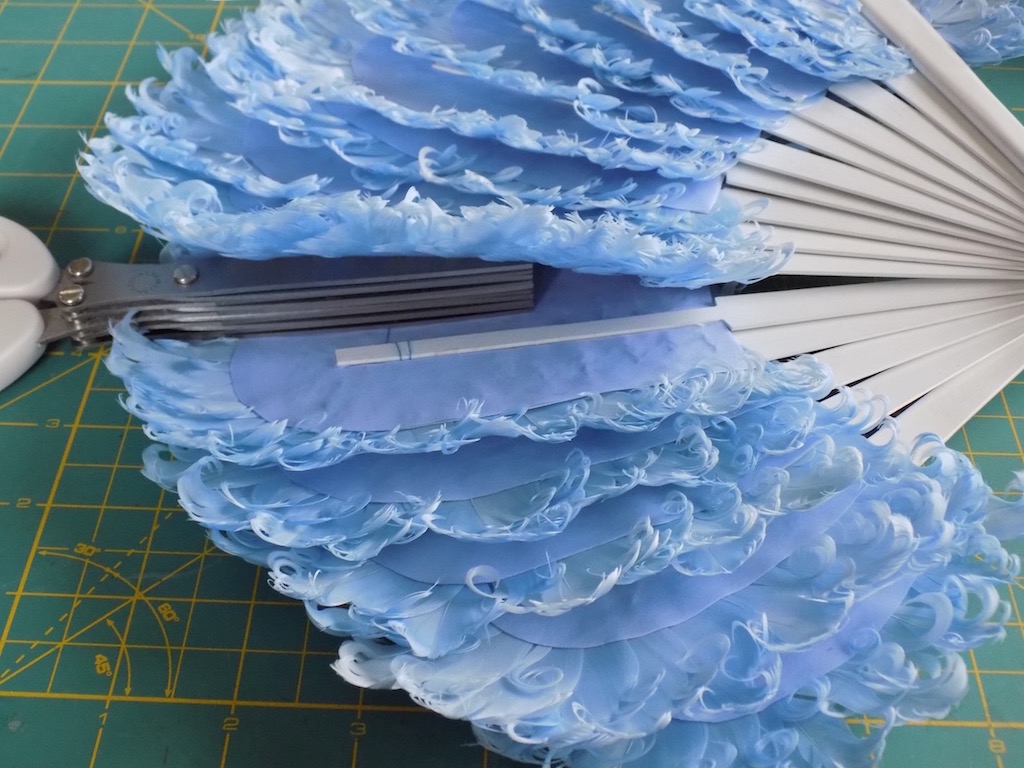
I used some scissors to prop the two pads a part.
Then glued the strip of marabou trim to the edge of the pad.
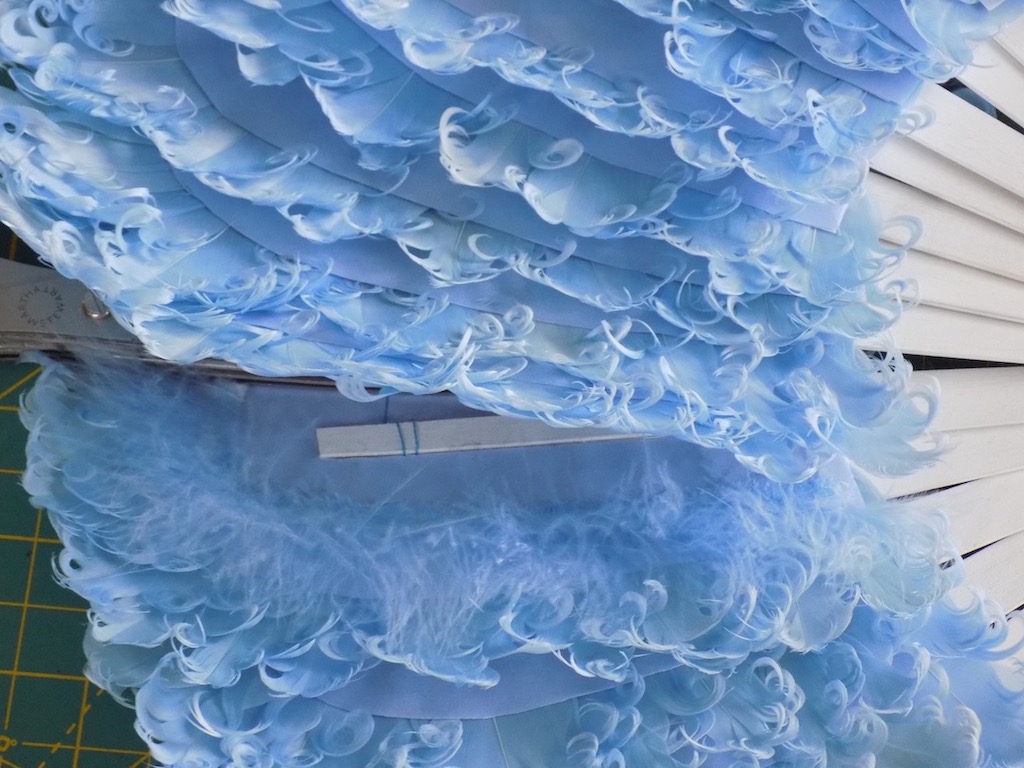
This is how it looked with the first one glued in place and dry. It’s possible if the color of the silk pad was closer to the color of the feathers I might not have even had felt I needed to add the marabou.
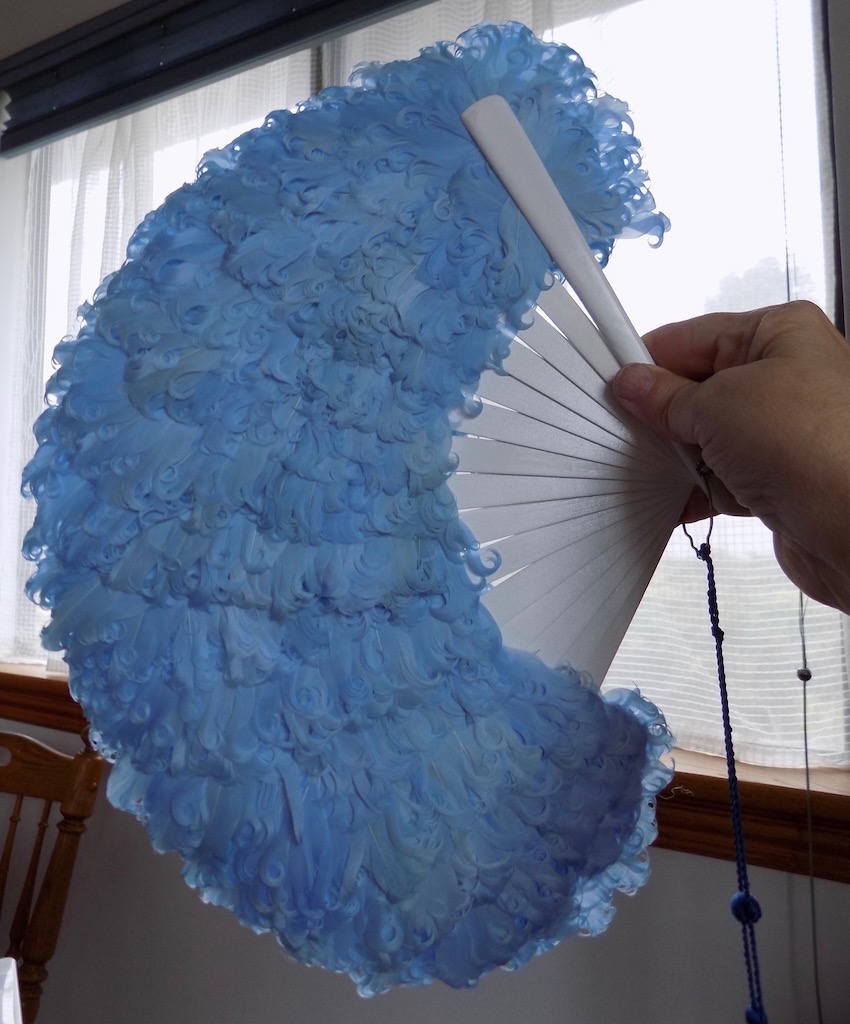
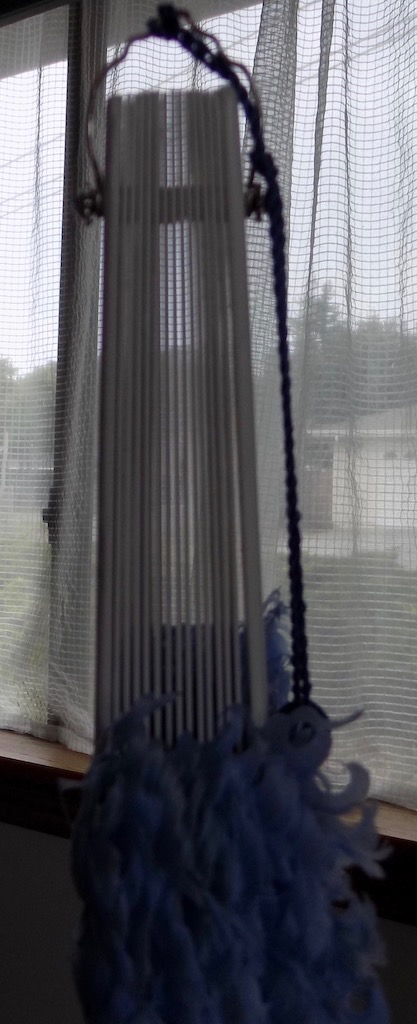
The finished fan from the side.
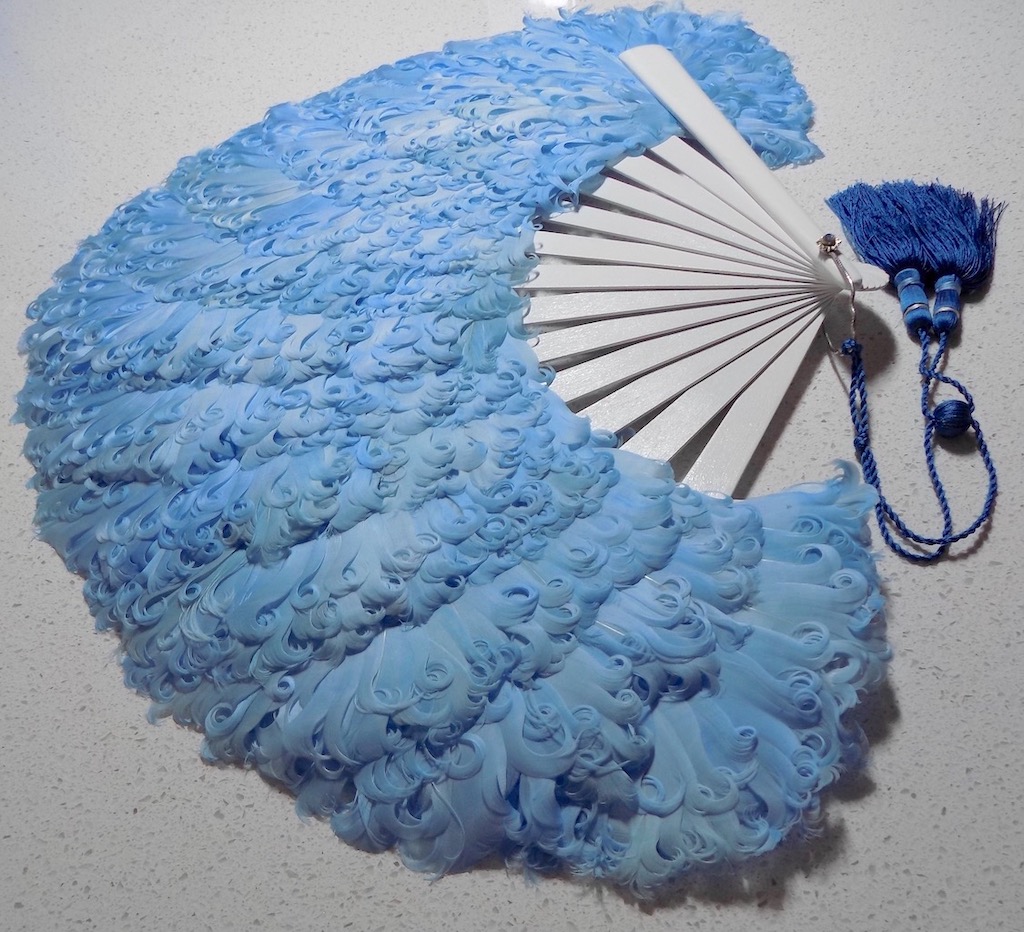
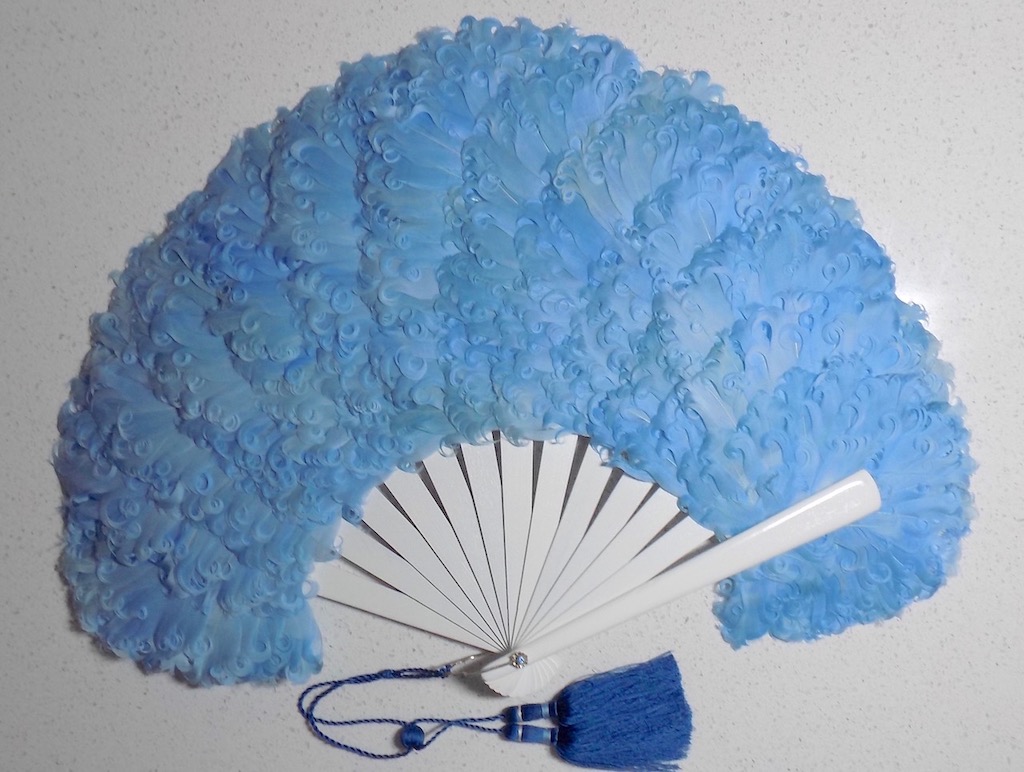
The finished fan from the top.
The fan closed.
