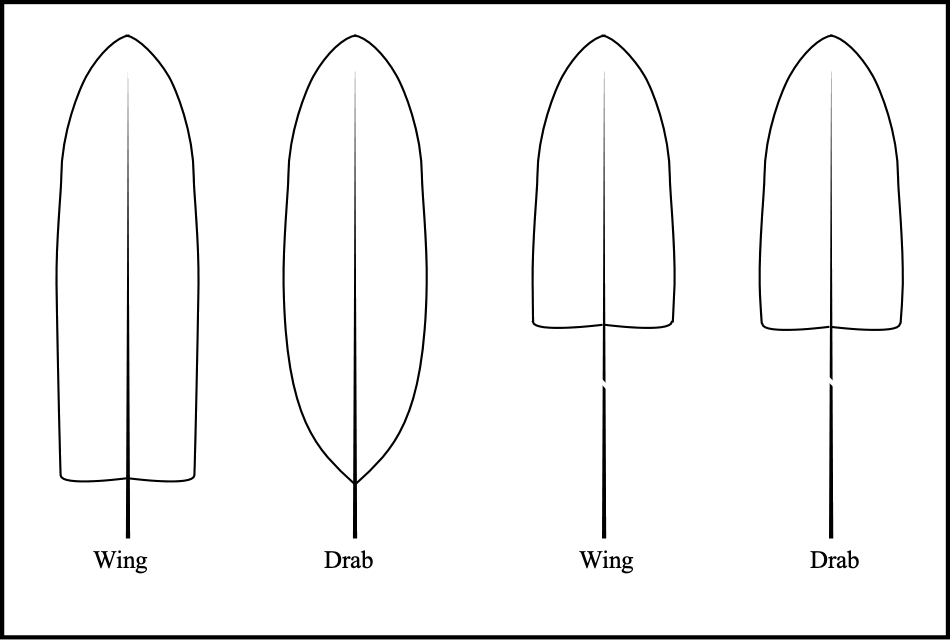
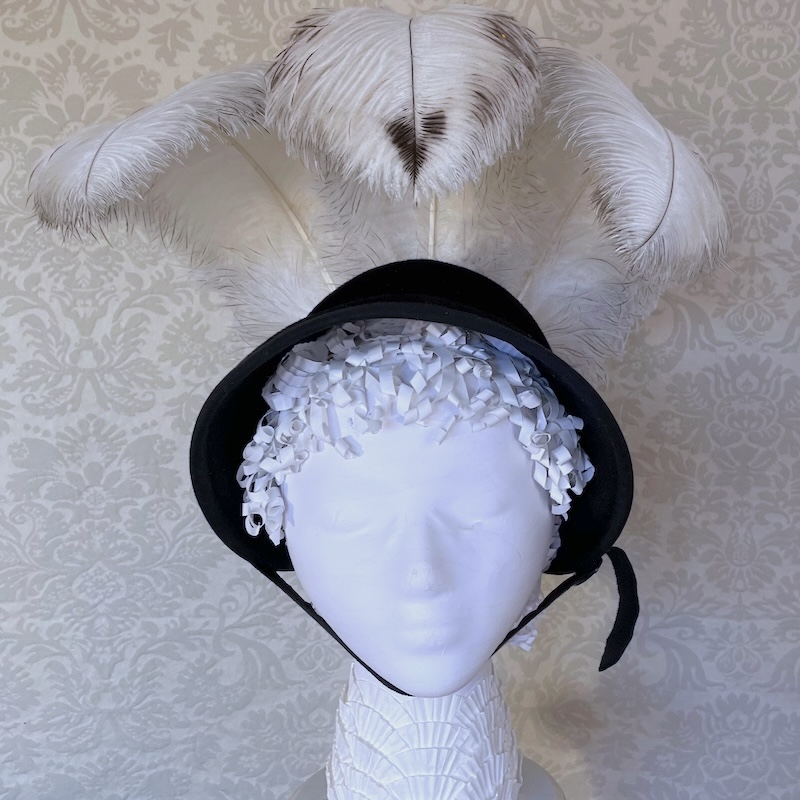
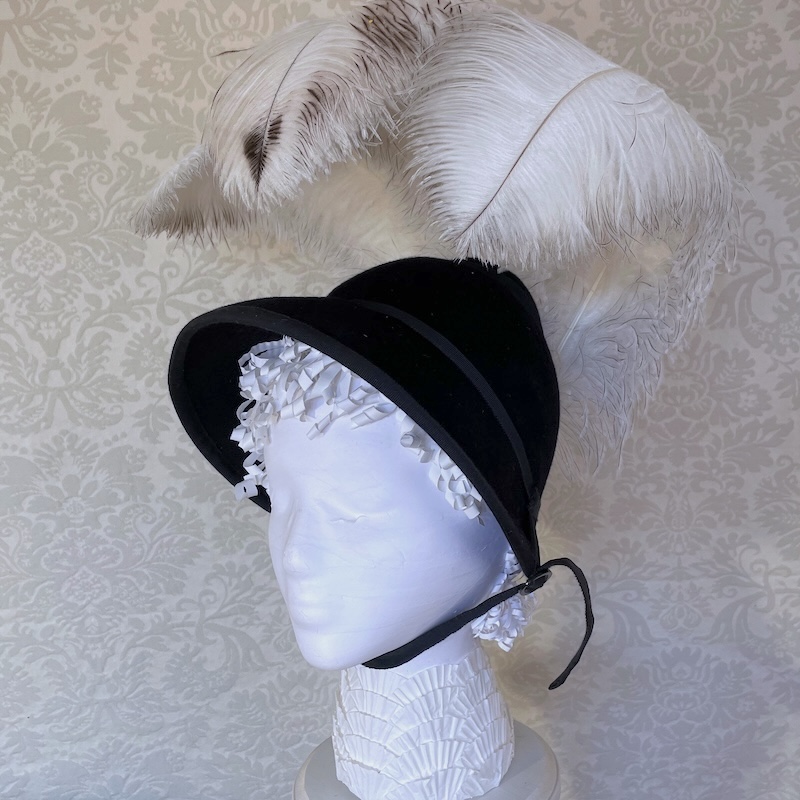
I have several articles in the “all things feather” section of my website that deal with ostrich feathers. But I wanted to share some new techniques I’ve been working on and separate the instructions for two different types of ostrich feathers; the drabs (which are body feathers) and the wings feathers. Often you will have to treat each type a little differently but most things are the same. I’ll break each step into sections and point out what is the same and what is different.
Choosing sets of feathers
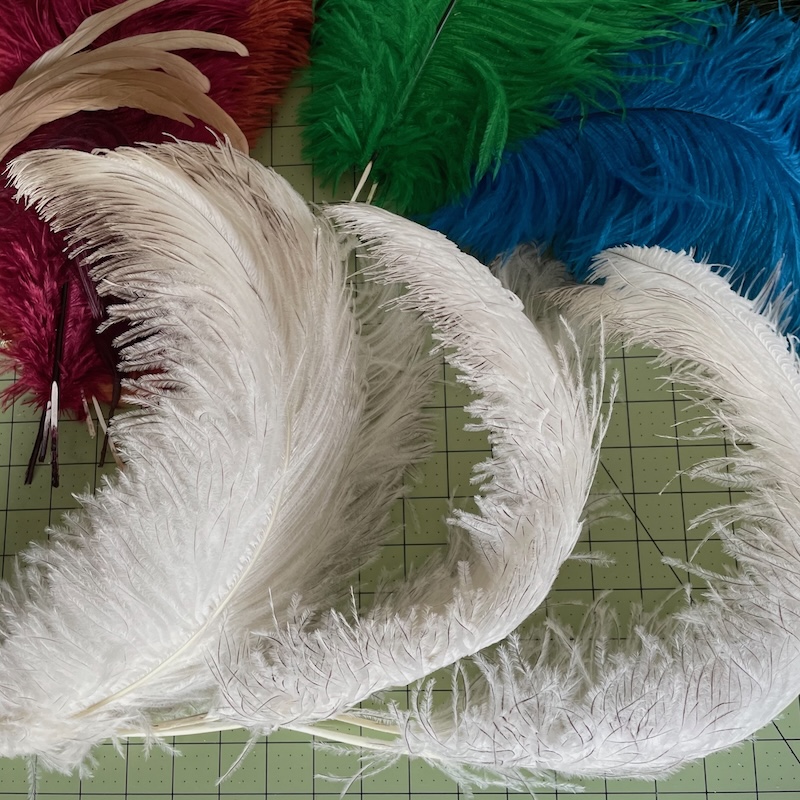
This first step is much the same for both types. You need to pick feathers that match in width and are close in length. Both types of ostrich are sold by length but in a range but you never know how wide they will be. I always order more than I need to make a plume. For wing feathers that is two or three so I usually order 4 or 5 feathers. With drabs I usually sew at least 3 together so order 5 or 6. One of the articles on my site shows how a vintage plume was made by sewing 6 marginal feathers together to get a decent plume.
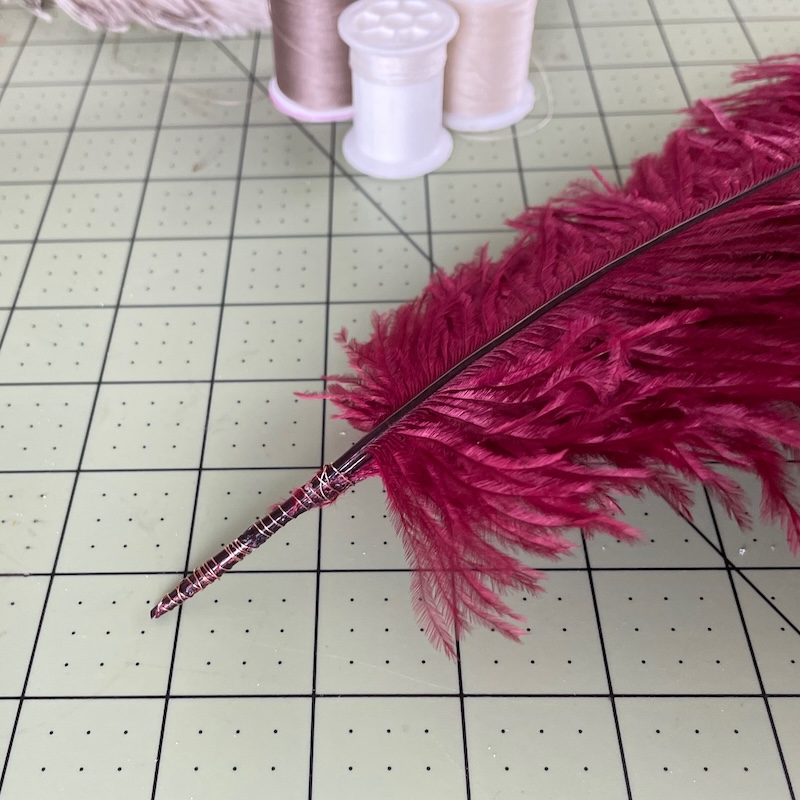
For most of the hats I make except for perhaps large Edwardian, German Landsknecht or 18th C feather headdresses I do not use wing feathers. Drabs come in the lengths I need. I often order ones that are 6 to 8 inches longer that I really need and remove the narrow base barbs from the lower 1/4-1/3 of the feather, after that they are difficult to tell from short wing feathers. And usually cheeper.
Once you have matched your feathers by width and remove any base barbs until they are the same length you have to decide which feather will be on the top and which on the bottom and if three then which will be the middle feather. You always choose the best looking feather for the top, the second best one should go on the bottom and you can fill in with lower quality feathers for the middle.
If you really do not have three feathers the same width you can trim the ends of the barbs to match the others. If you cut the over long barbs one by one cutting the end at an angle and then clipping them again to form a “V” shape no one will be able to tell, especially if you are going to curl the feather.
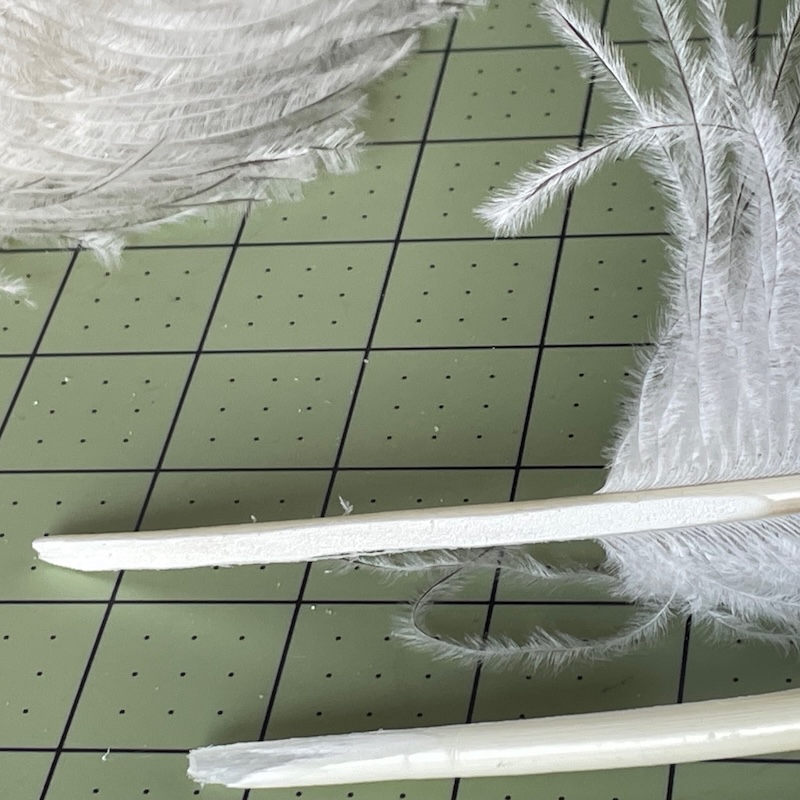
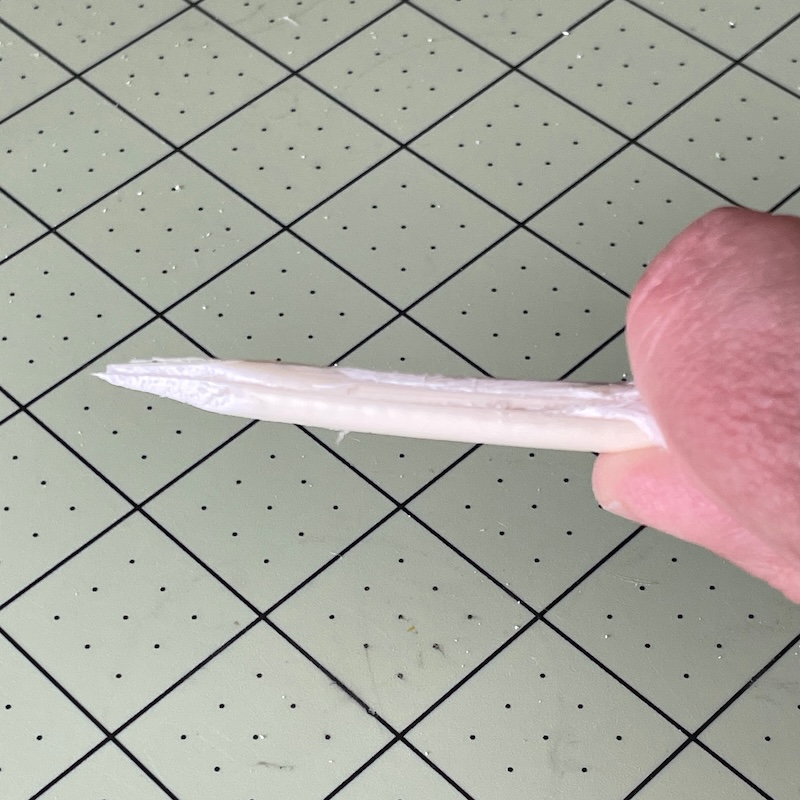
Thinning the ends of the stems
This is important with both types of feathers but really necessary with wing feathers. Check out this article with how to do it.
Shaping
You could put off shaping your feathers until they are sewn together but I suggest that it is better to shape individual feathers rather than sewn plumes especially with wing feathers. In fact it almost impossible to shape the last 3 or 4″ of a wing feather plume once it sewn together it too thick and stiff. Check out this article for shaping ostrich. In the video I shaped a sewn ostrich drab plume and it is very similar to what it would be like to shape a single wing feather.
When you are shaping individual feathers that will be sewn together after shaping you need to check the other feathers as you work with them. They need to match each other in curl and direction of curve of the stem.
Joining the feathers
This is where I have changed the way I sew ostrich feathers together in the past. I used to started near the tip and sewn down the stem to the base. Now I glue the stems together and sew from the bottom up to near the tip. I changed the way I sew for a couple of reasons. First if I going the shave the stems I want to glue them together to create a single stem and start from there. Another thing is that I have begun to do invisible stitches on the thicker part of the wing feather stems and the thick part is at the base. All in all, it just seems easier to change but there really Is no wrong way.
Joining Wing Feathers
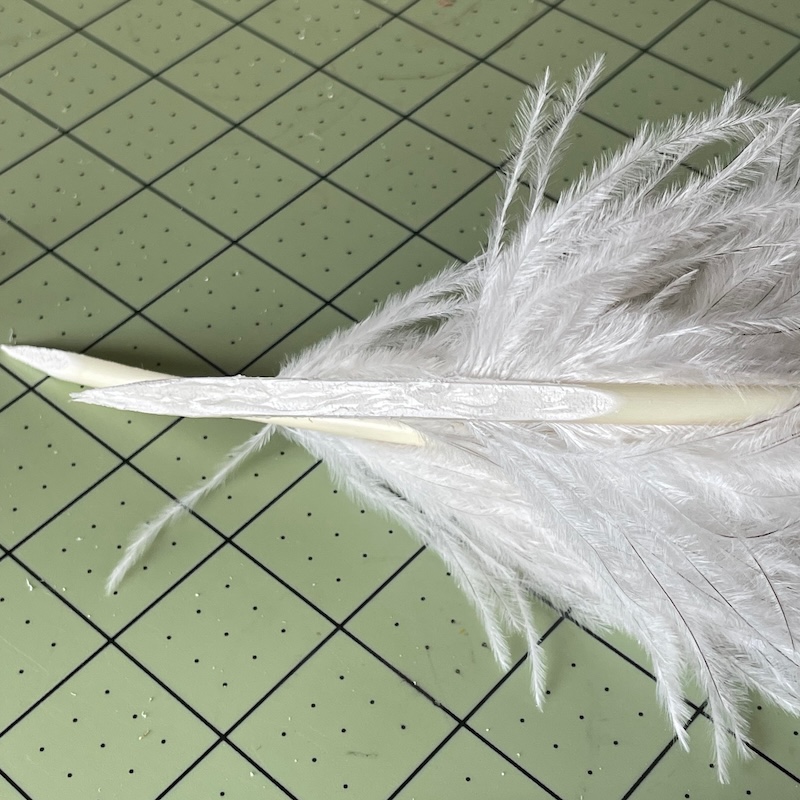
I’m making three plumes for a hat each is made from two wing feathers they have been matched, shaped and the base of the stems are shaped.
The front of the back feather has been sanded away and the back of the front feather has been sanded away.
I added some Becon’s Fabri-tag glue to the sanded area on the back feather.
Then stuck both together along their sanded sides.
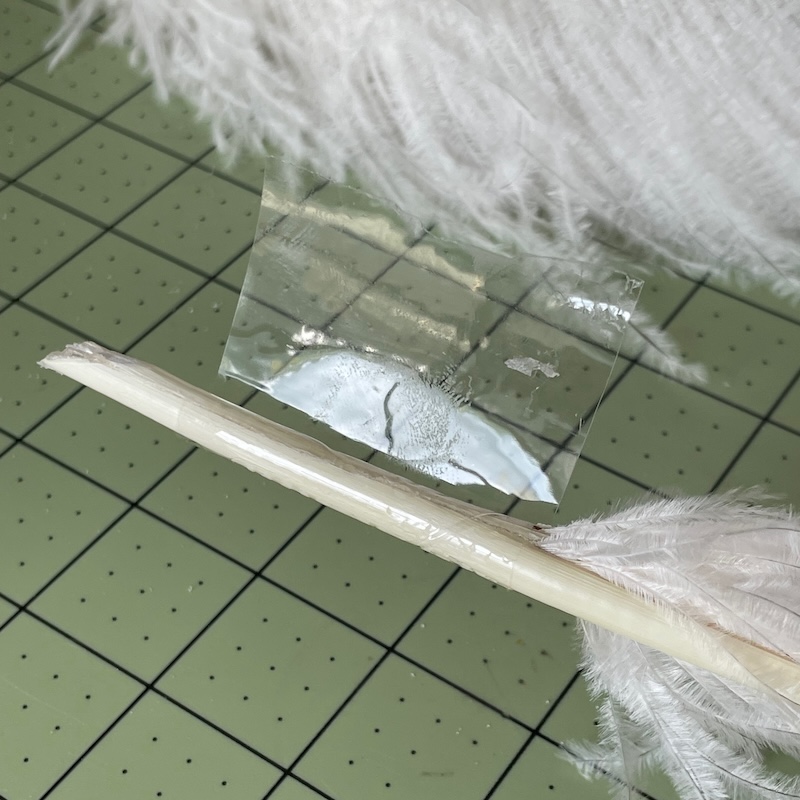
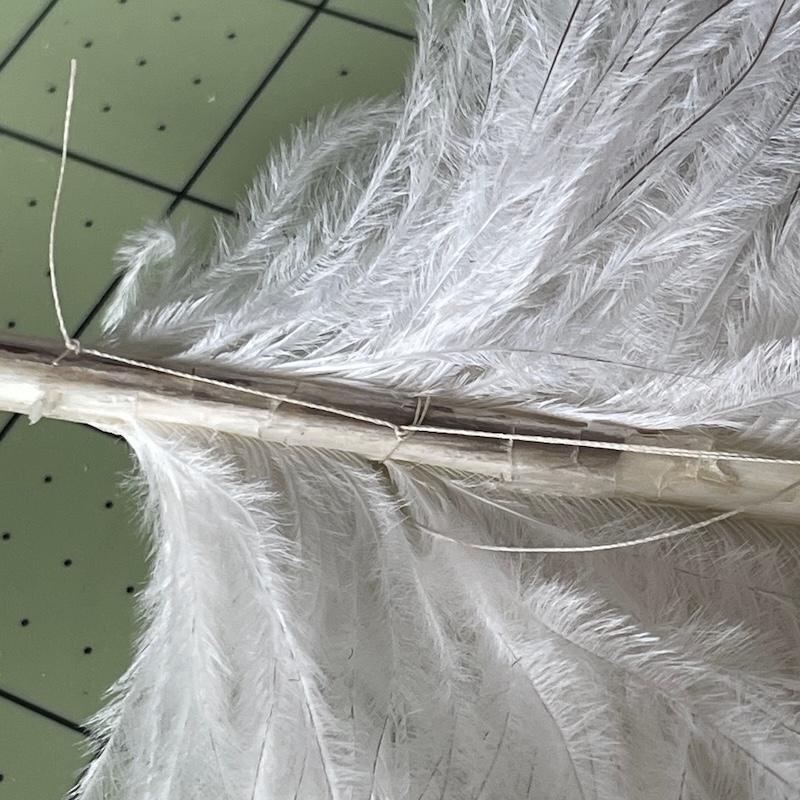
Tape can hold them while the glue is drying.
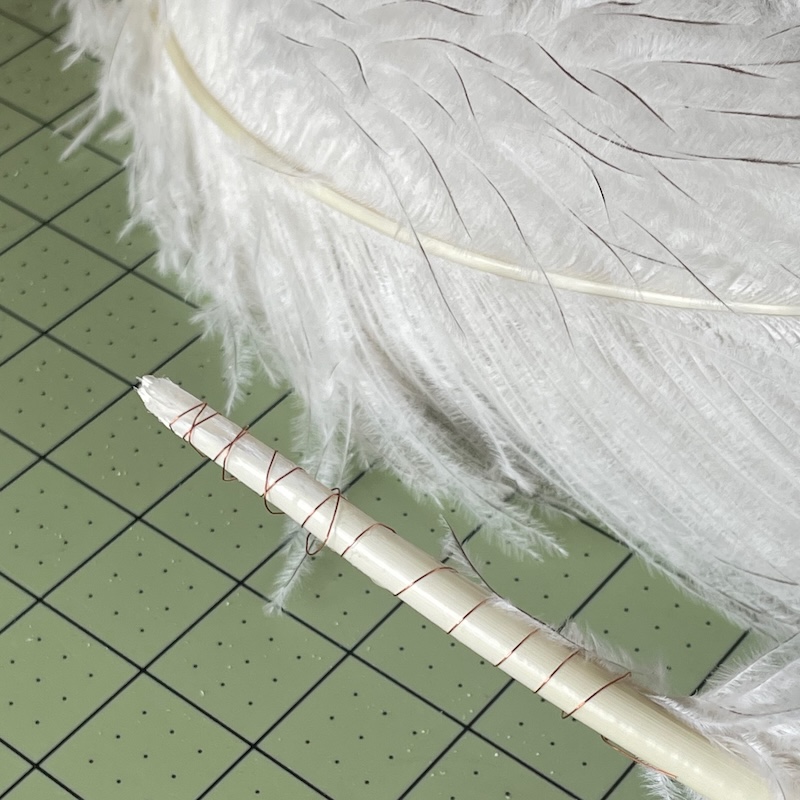
Or some fine wire is another quick way to hold them together.

I picked some thread and as usual I matched the stem not the feather color but on this feather the stem changes colors. So, I chose strong thread in two colors.
Here is the new fun stuff. I knew from looking at vintage feathers that this was done but never could get the hang of it until now. In order for the thread not to show across the large stems of the wing feathers you need to be able to sew thru the stem. Not really easy without pre drilling a hole. With this small hand drill and a .8mm drill bit (it comes with the drill) I was able to drill the holes I needed.
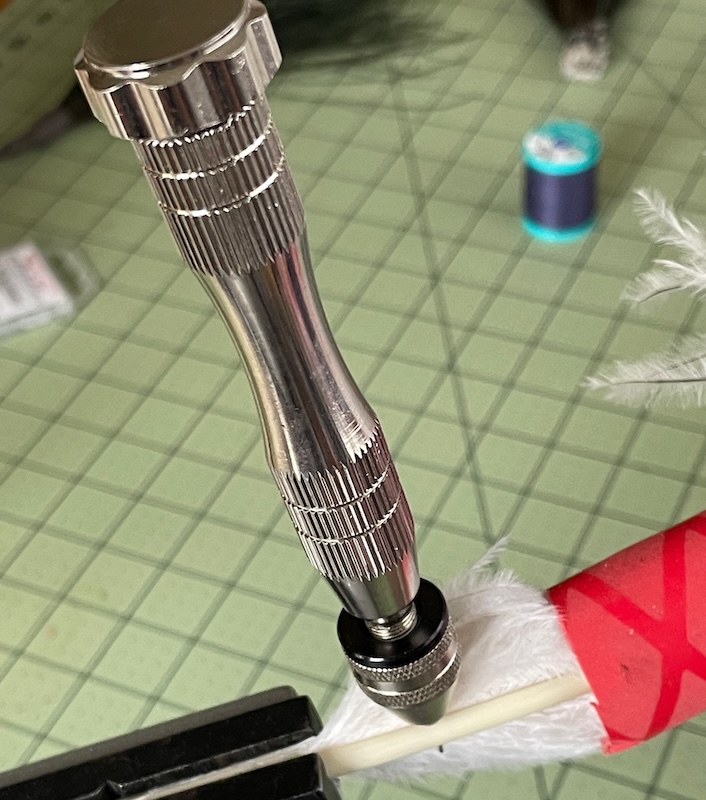
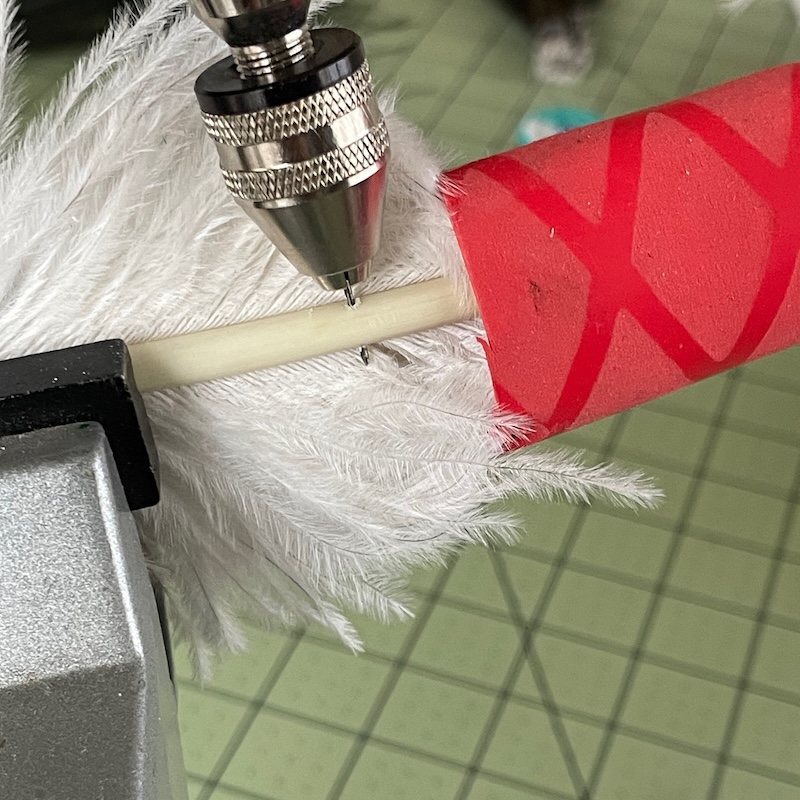
This little drill is a wonder and with something to support the stem (table top vice) and a tube of rubber to hold the barbs out of the way, it’s a breeze. I got the drill on ETSY and it cost about $12 with shipping. Just search for “small hand drill for jewelry making”.
I drilled a hole every inch until the stem got too thin.
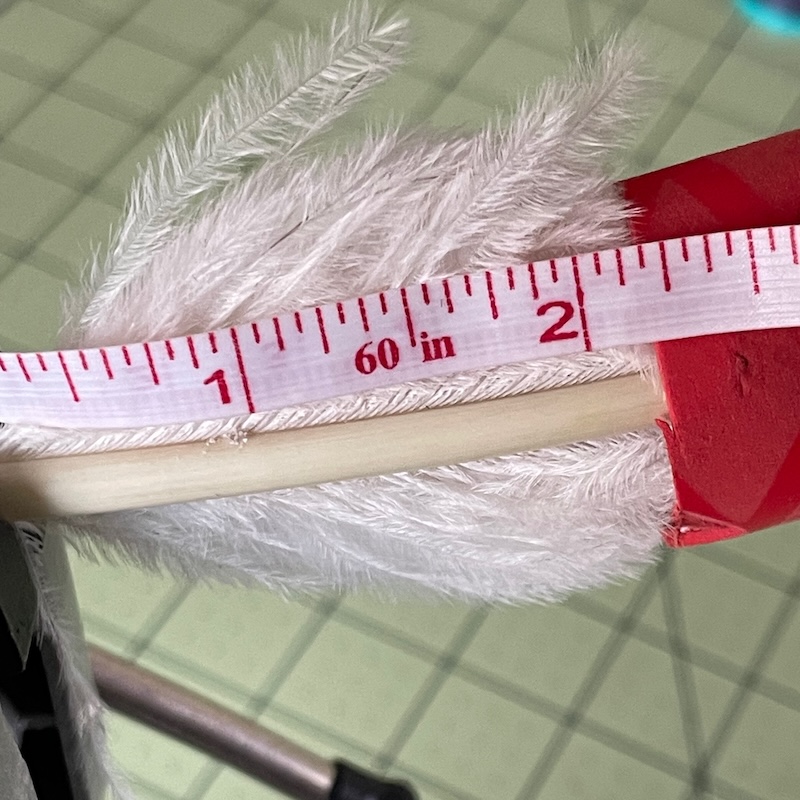

I found I did not really need to vice I could just use something to support the stem that I could drill into if the bit went too far. It’s simple, you use your index finger on the top of the drill and use you thumb and the rest of you fingers to twist the main part of the drill to advance the bit. Then to get the bit out you twist the other direction. I held the feather with my other hand.
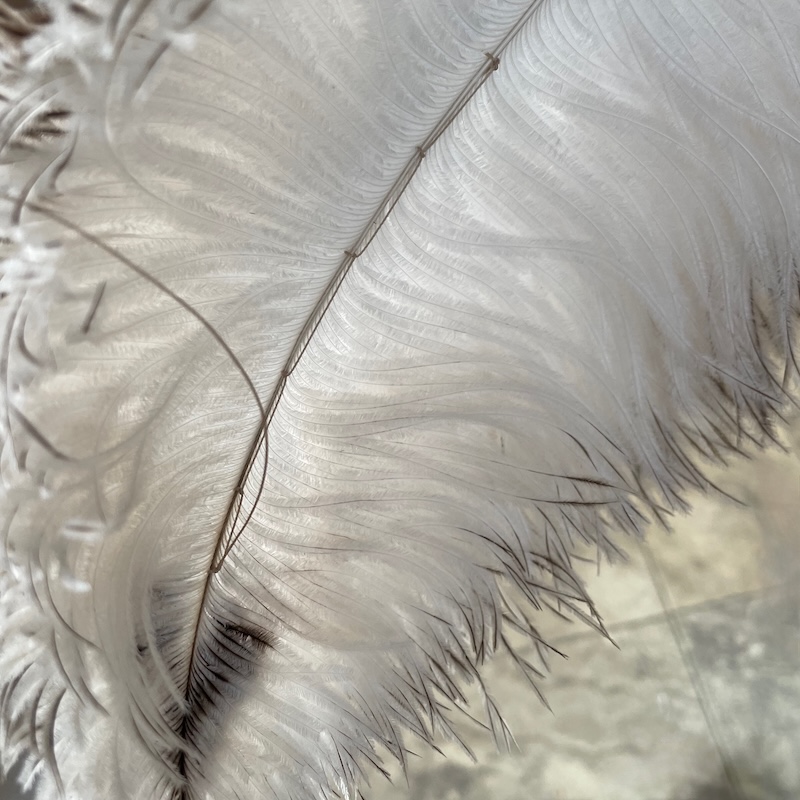
If you zoom in you can see a line of holes about 1″ apart.
From the back, I tied a surgeon’s knot near the base of the barbs.
From the back, I poked the needle to the front level with my first hole. Then passed the needle thru the hole then poked the needle to the back level with the hole. Once the needle was on the back again. I could pass it under the thread that came from the first knot twice from the same direction. This is a change from how I used to make the knots. I used to pass it under only once. Doing it twice makes a knot that holds better and does not slip. Also using wax on your thread also helps the knot hold.
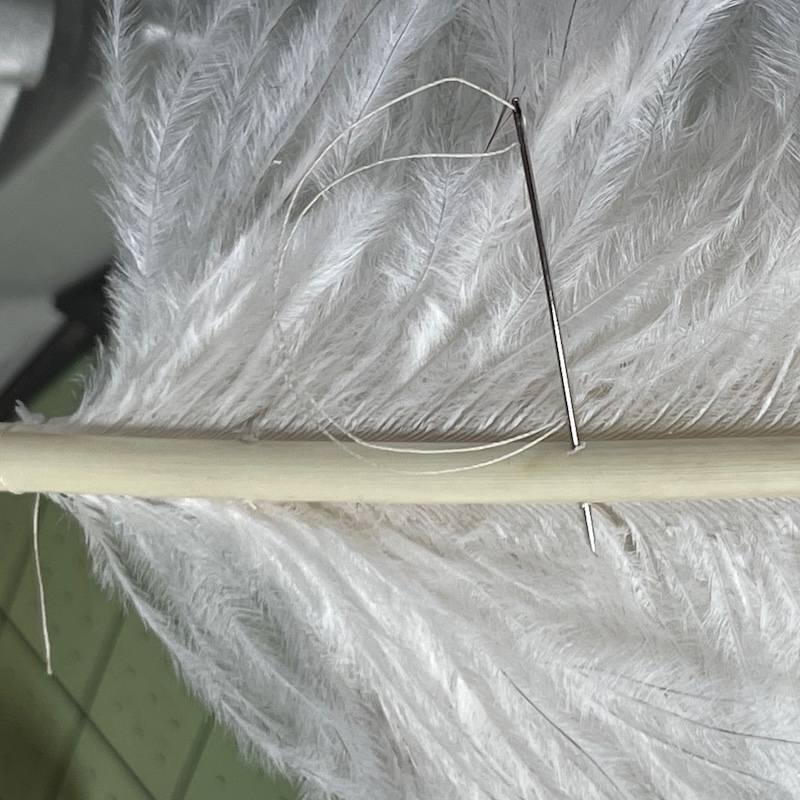
From the front, this photo shows my pass thru the second hole.
From the back, when I reached the end of the cream part of the stem I tied off the cream thread and started the light brown thread with a surgeon’s knot as seen in the photo.
From the back, this shows the tail of the knot cut off.
From the back, after about 6 knots, I reached the last knot and tied off.
From the back, then cut the tail.
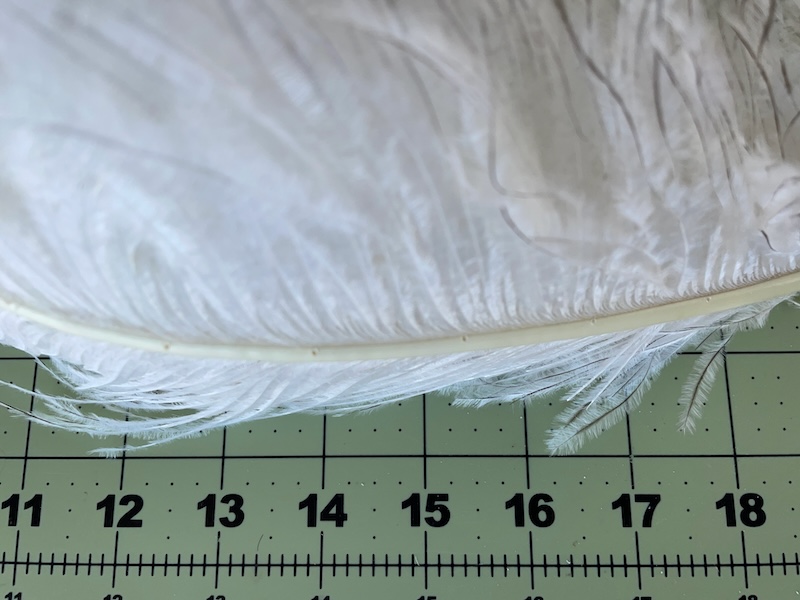
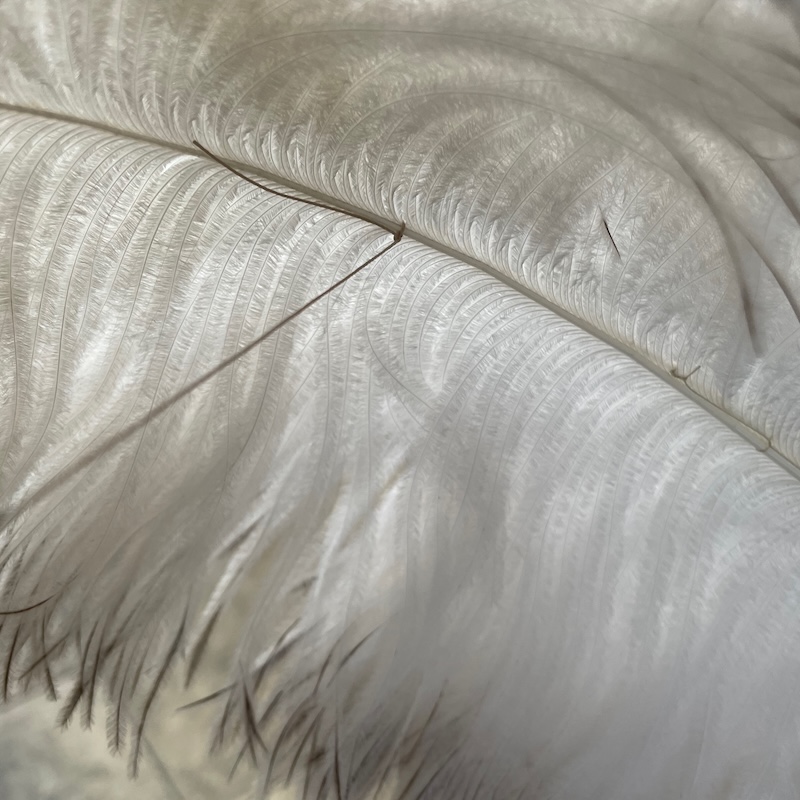
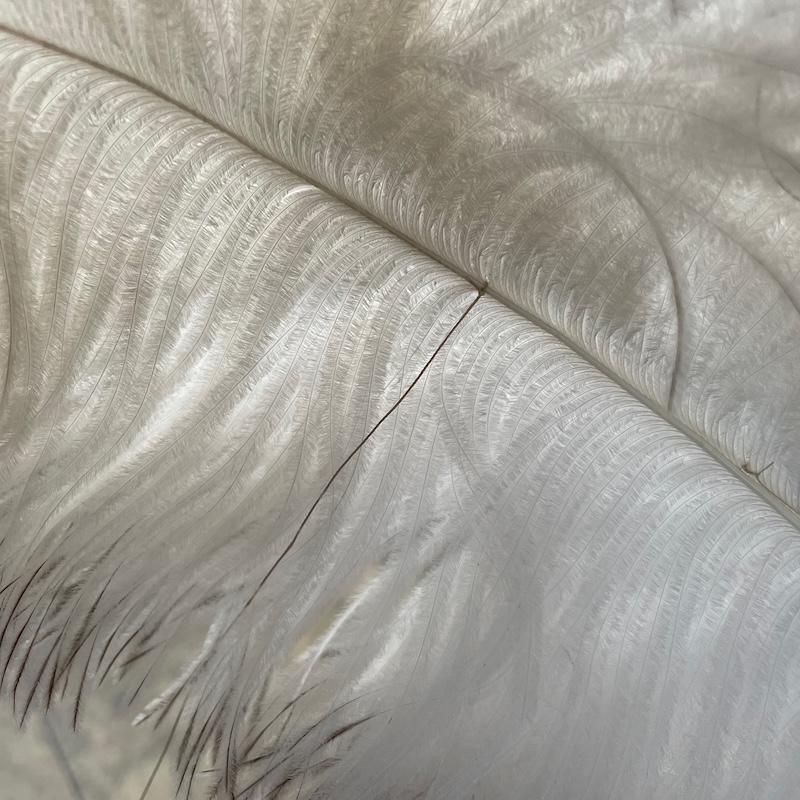
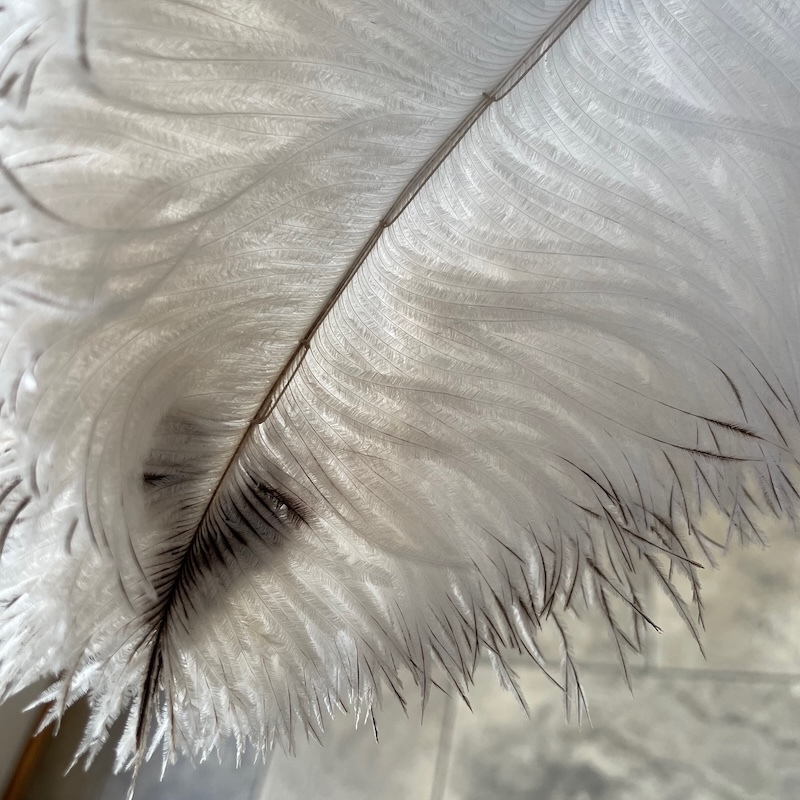
Finished plume. I think it’s very difficult to see any of the stitches.
For this hat it’s important that the stitches do not show because the stem really show in the center back of the hat.

Joining drab feathers
Because drab feathers have thinner stems I bypass the drilling holes to hide the threads.
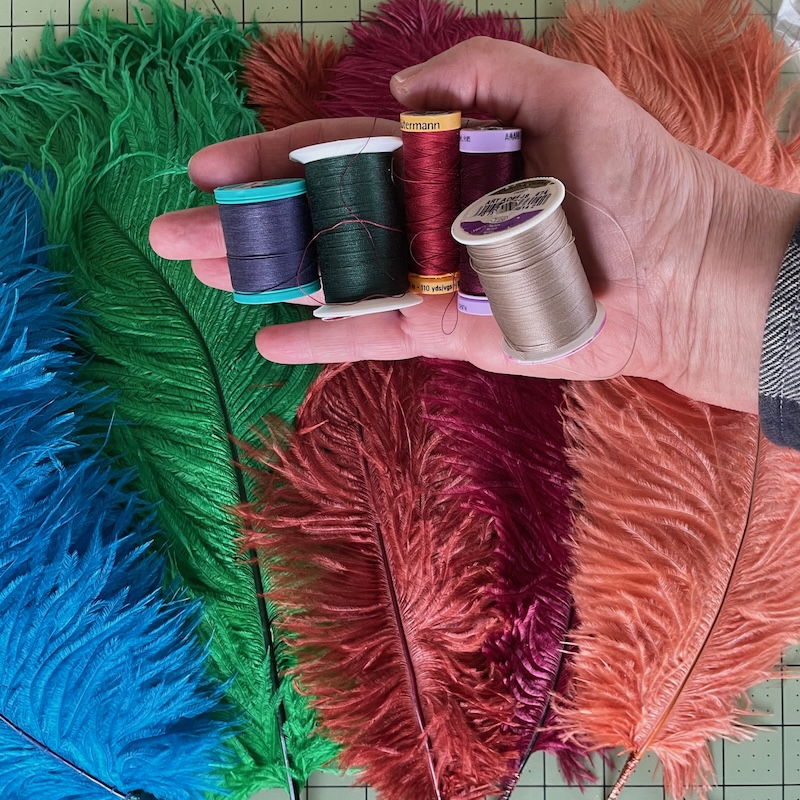
I do start by matching feathers and picking threads that match the stems. Because I sew feathers with a single strand of thread I want a strong thread. Nylon, polyester and long strand cotton (quilting cotton) are good choices. I made two 18th Century headdresses on drilled twisted hairpins with these feathers.
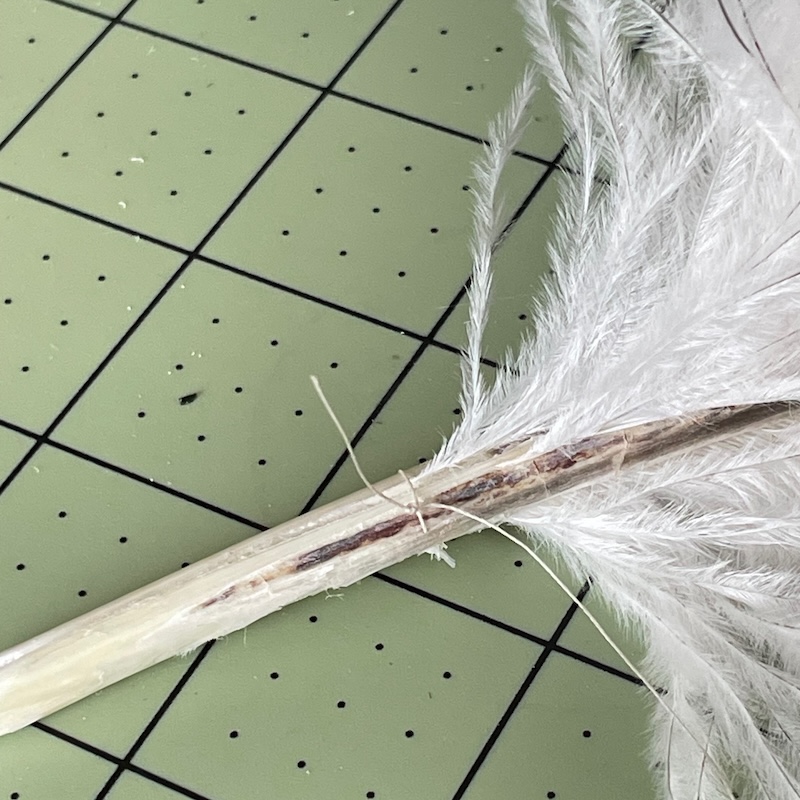
After I matched the feathers, I thinned the ends of the stems.
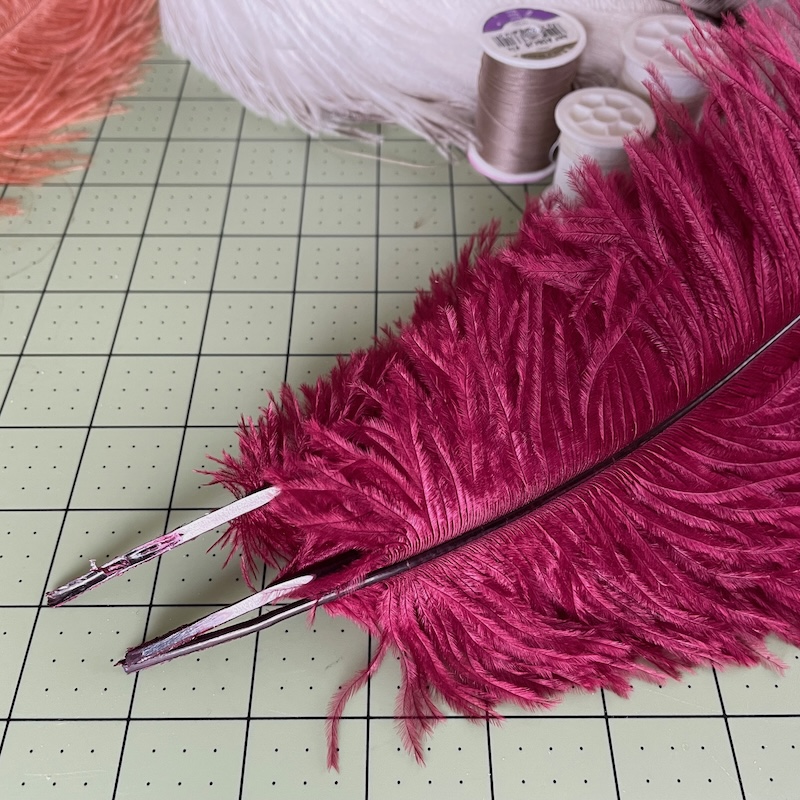
Then glue the thinned parts of the feather stems together and held them with thin wire. I started with a surgeon’s knot on the center stem at the base of the barbs and work my way up the stem in the same way I did in this article going down the stem. See, the first part of this article.
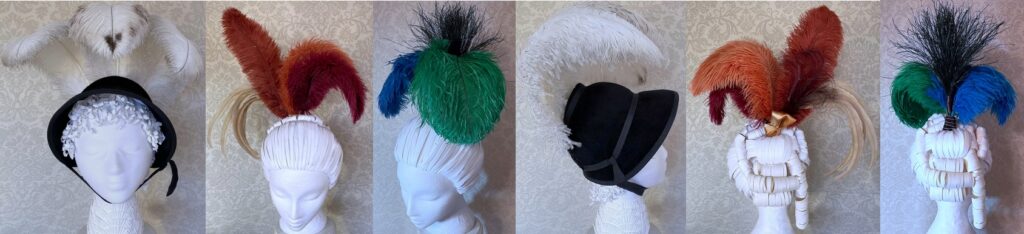
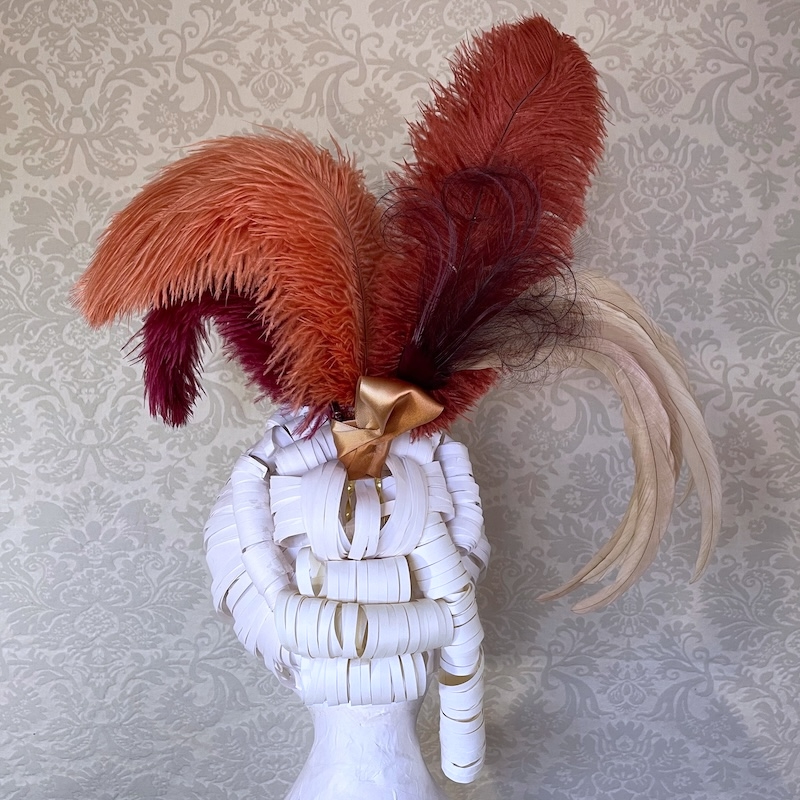
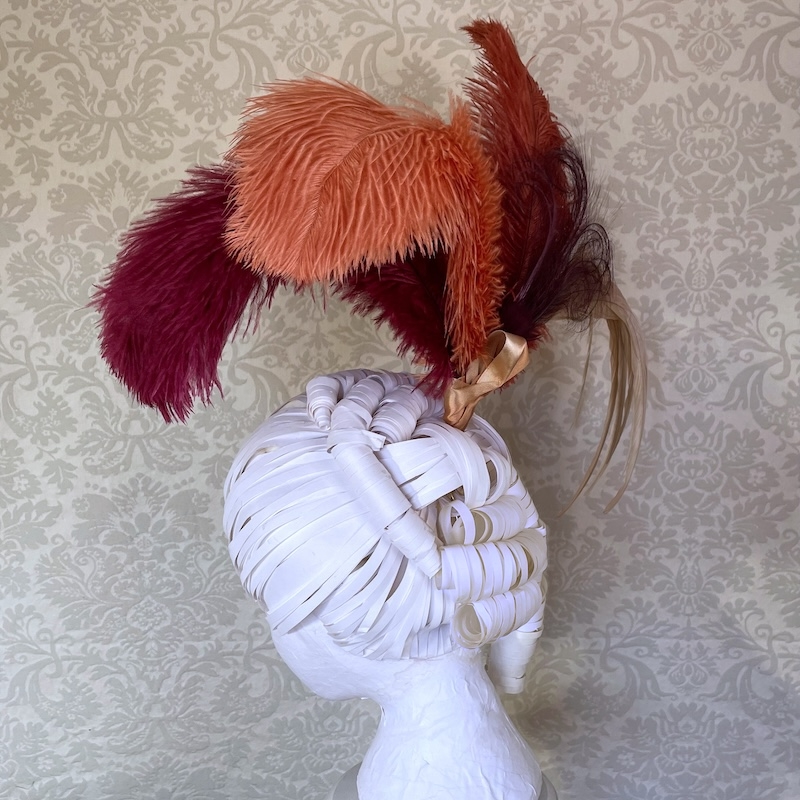
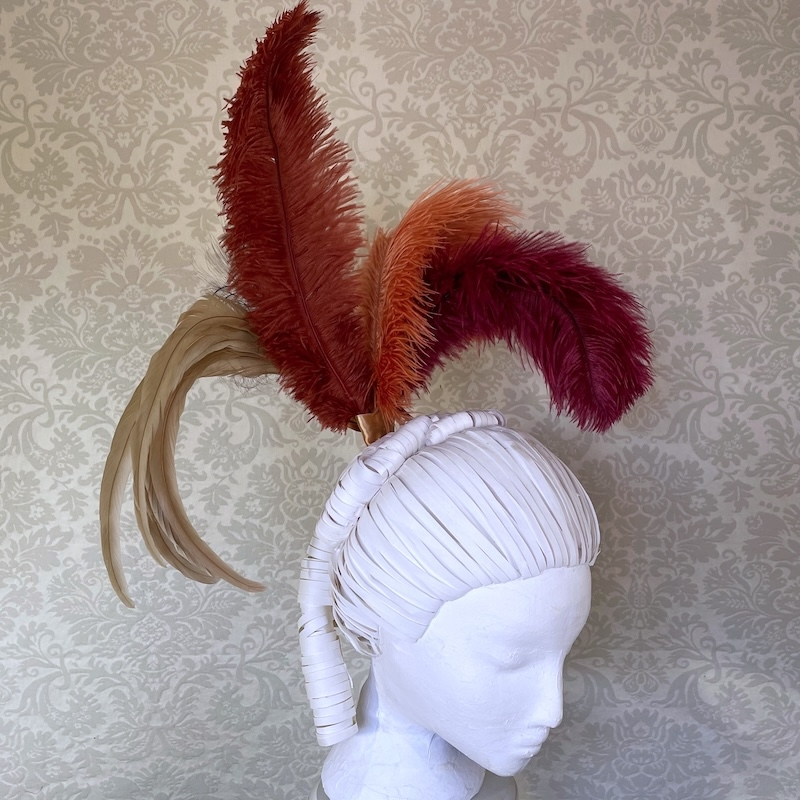
Burgundy and Cinnamon Feather Headdress
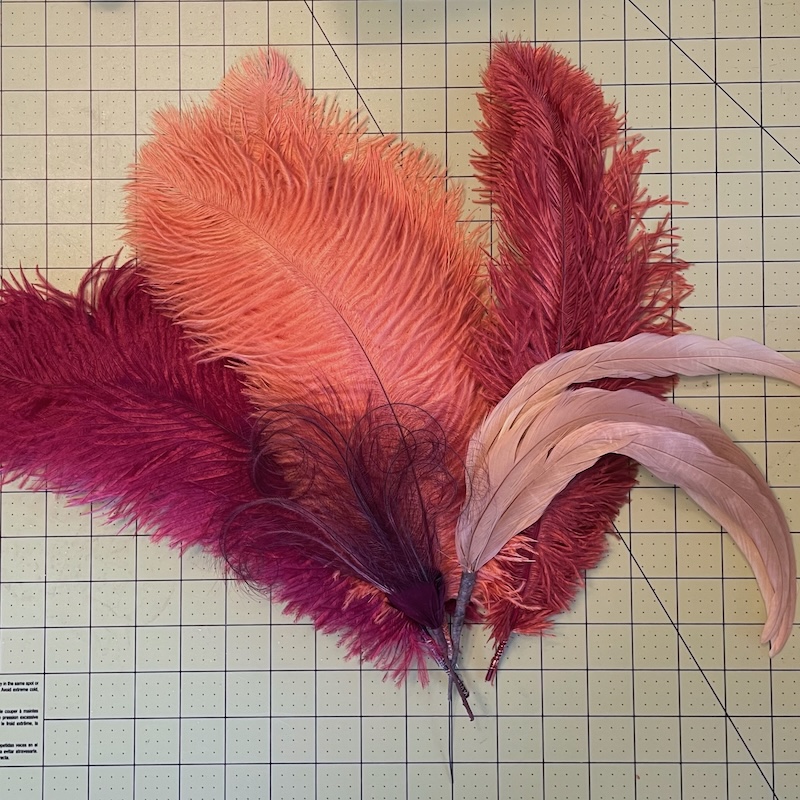
I chose 5 items to add the this headdress. 3 ostrich drab plumes of 3 feathers each, one bleached cocque feather sweeps of 5 feathers each and a burnt ostrich feather fancy (how-to here). All of them were sewn or wired together to create one stem.
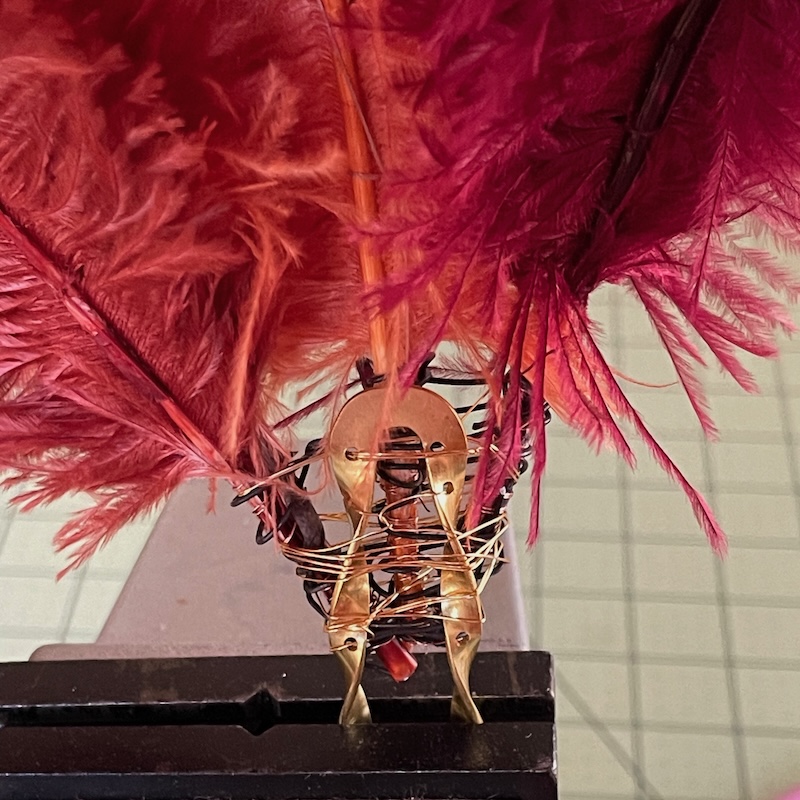
Before adding it to a drilled hair pin I needed to create a single base unit for them.
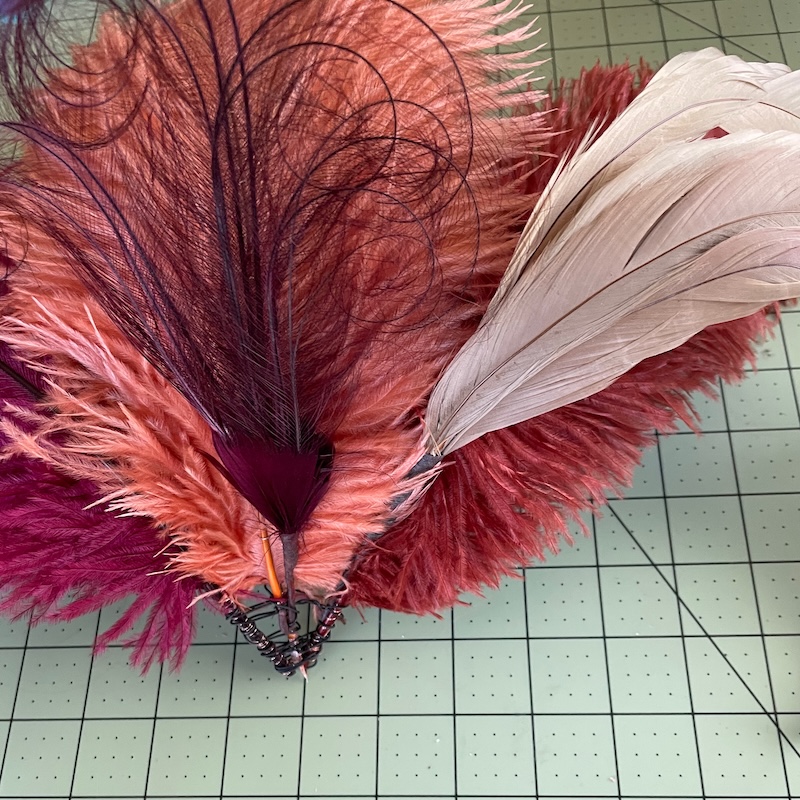
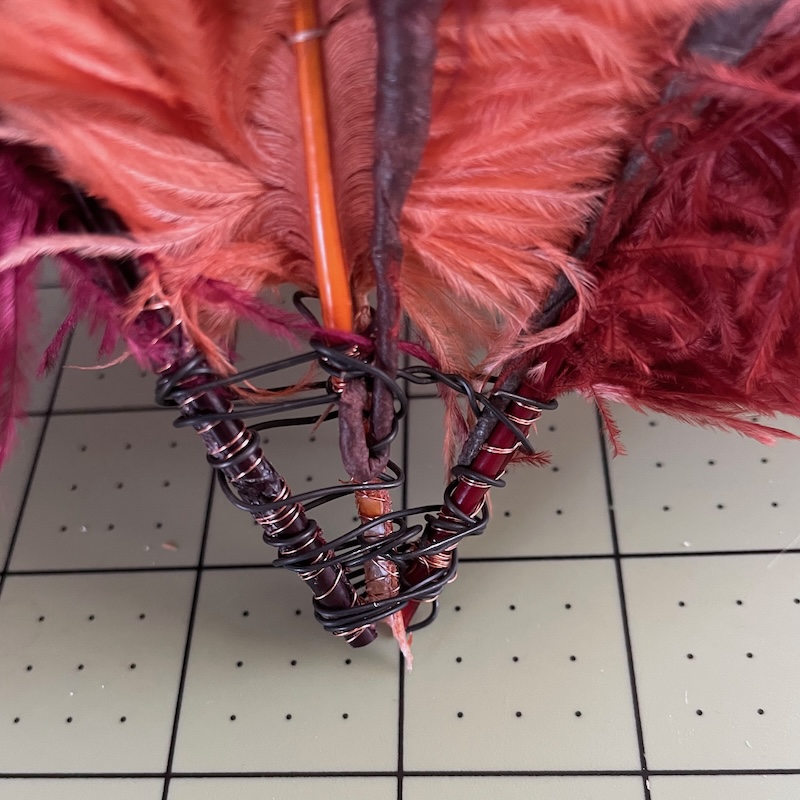
This was done with stiff wire. I used the wire to grab hold of the stems and also maintain the angle I wanted for them. I did this by wrapping the wire around the stem then, on to the next stem then, around that one then, on to the nest one around that then, back to the center one. I did this at three or four levels.
When that one was a secure unit it could be wired onto the drilled hairpin with some fine wire. I used the holes in the hairpin to weave the wire thru and around the bundle.
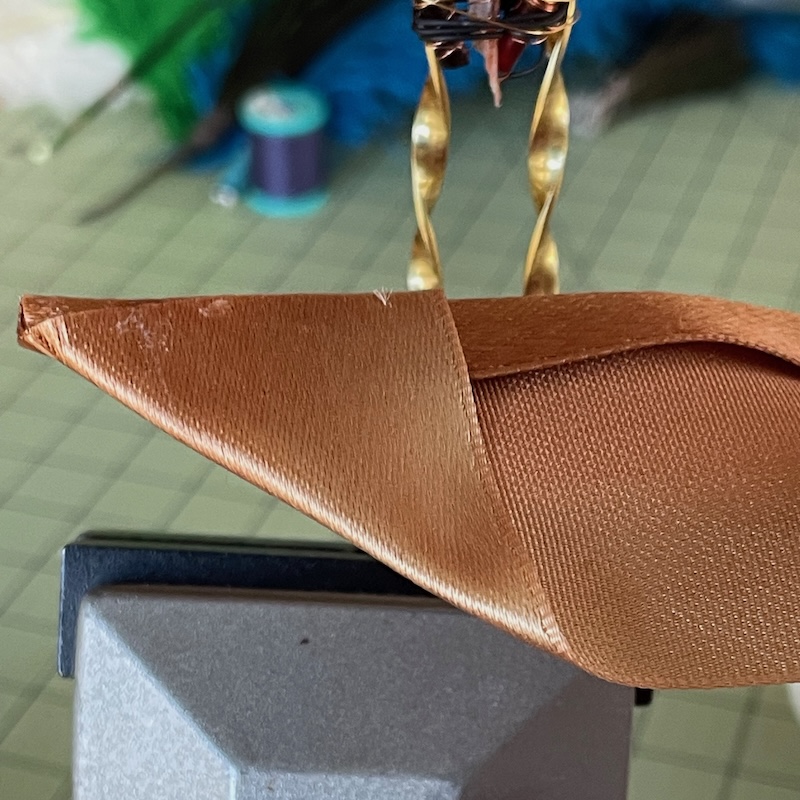
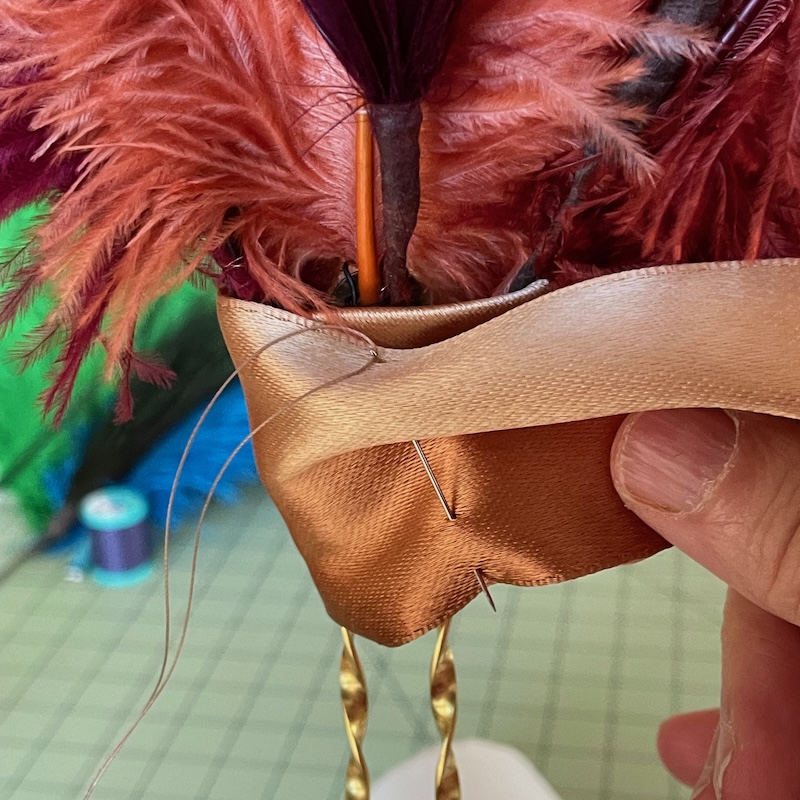
This all had to be covered with something, I chose some wide ribbon.
Because it was just a little too wide I pressed one side up 1/2″ and together the correct angle to start I folded over one corner and tacked to down. I tacked it to the back side of the feathers.
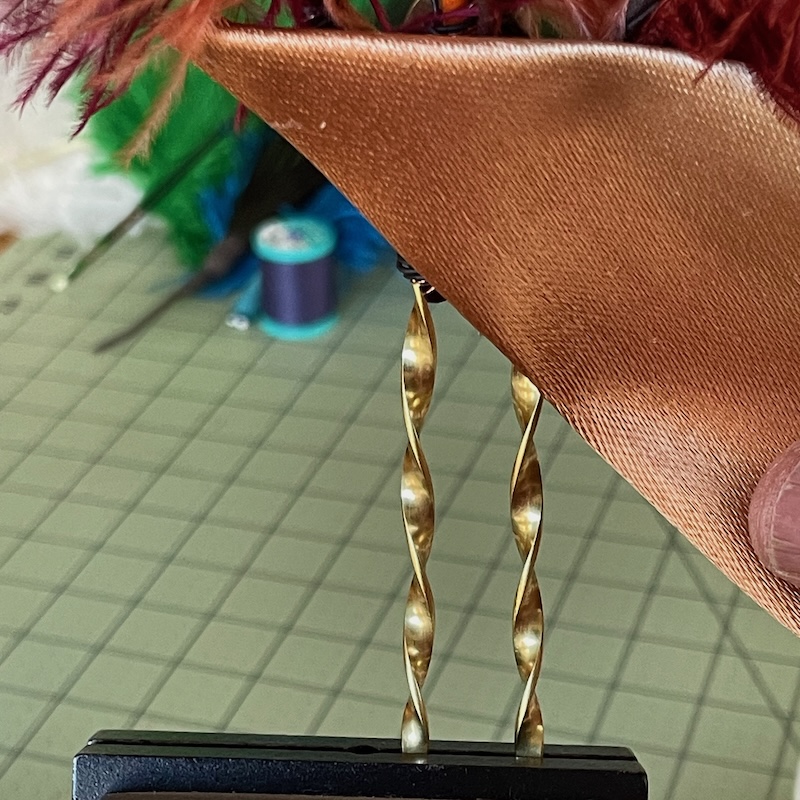
Then wrapped it around to the front.
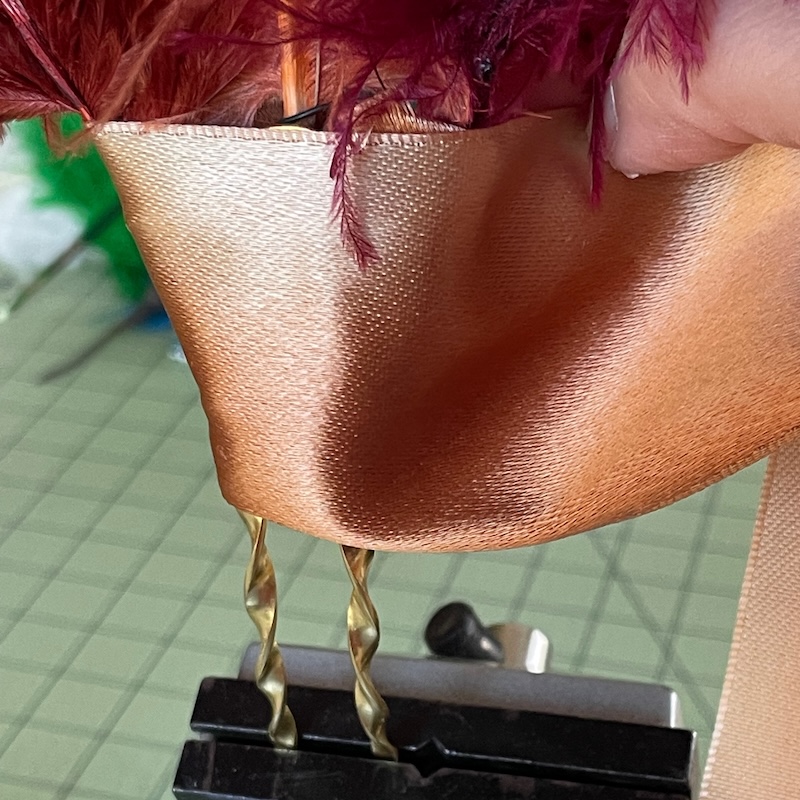
Then around to the back. At this point I gathered the ribbon.
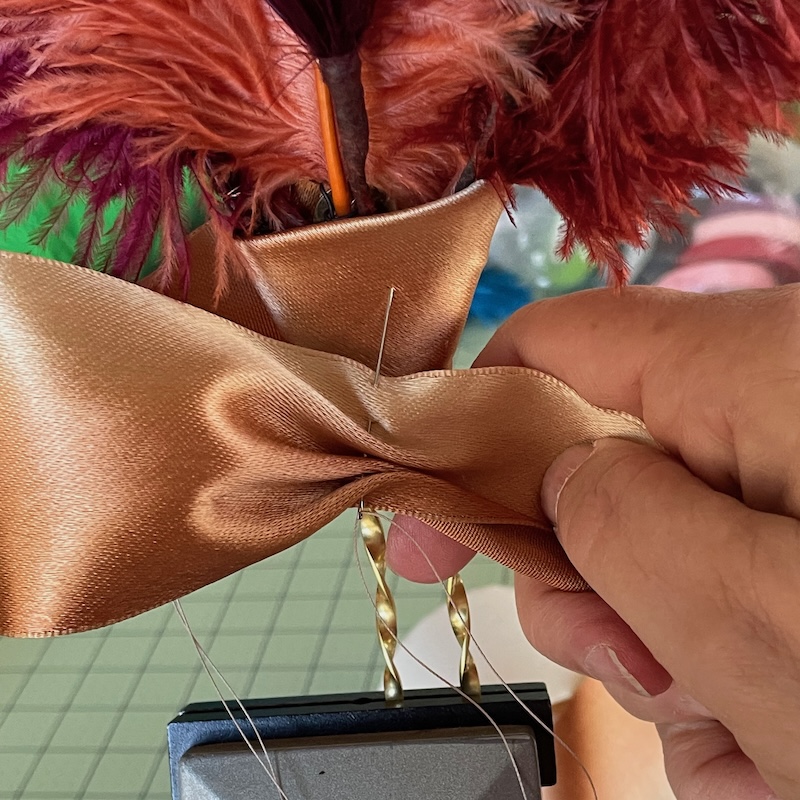
And folded it back on itself to create a loop, which I also gathered.
I cut the ribbon ~1/2 inch from the gathers. Tucked that under and stitch it down.

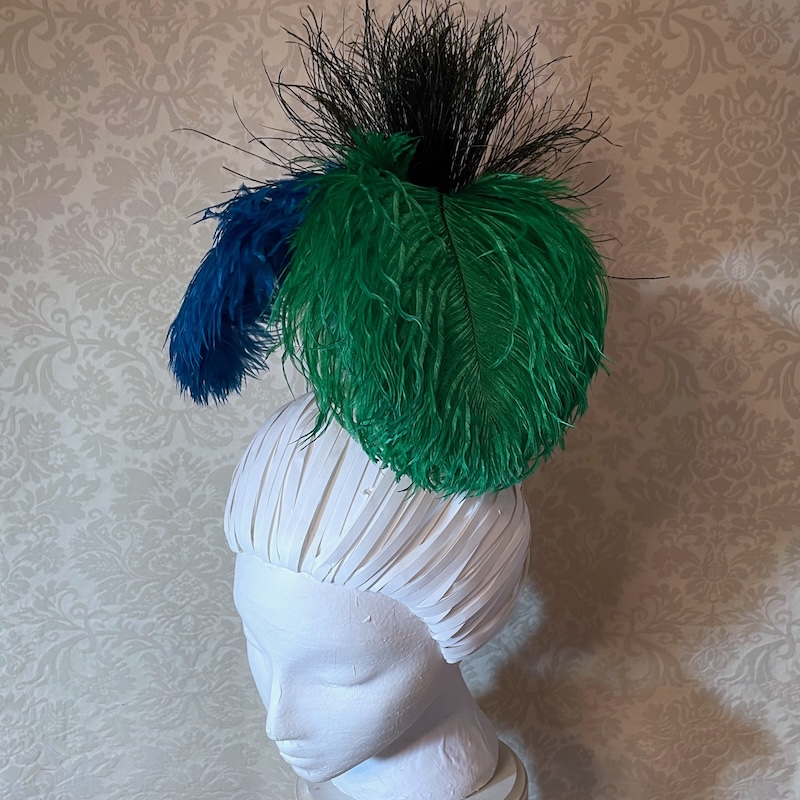
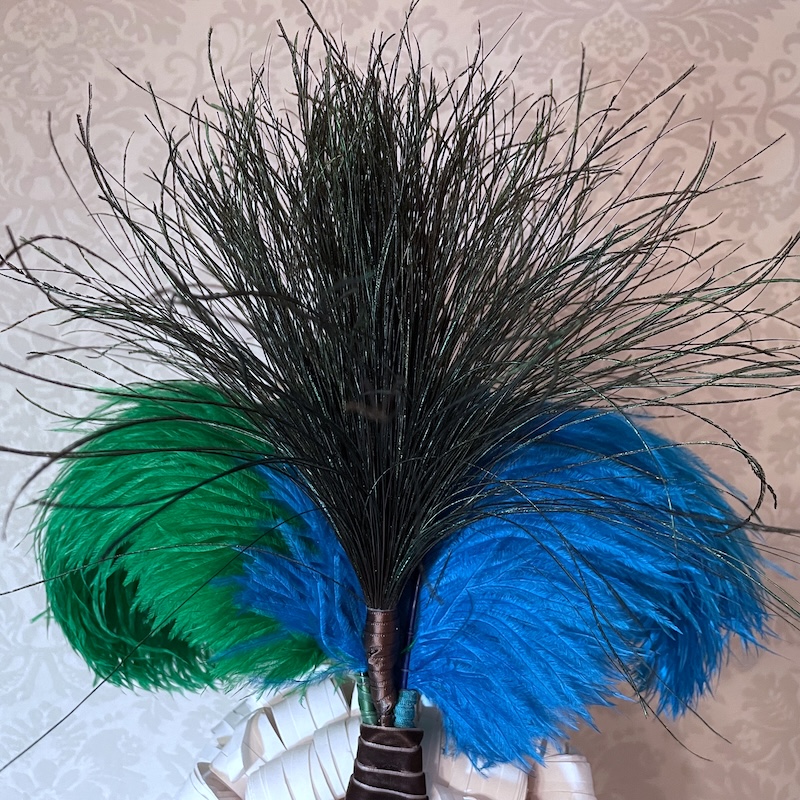
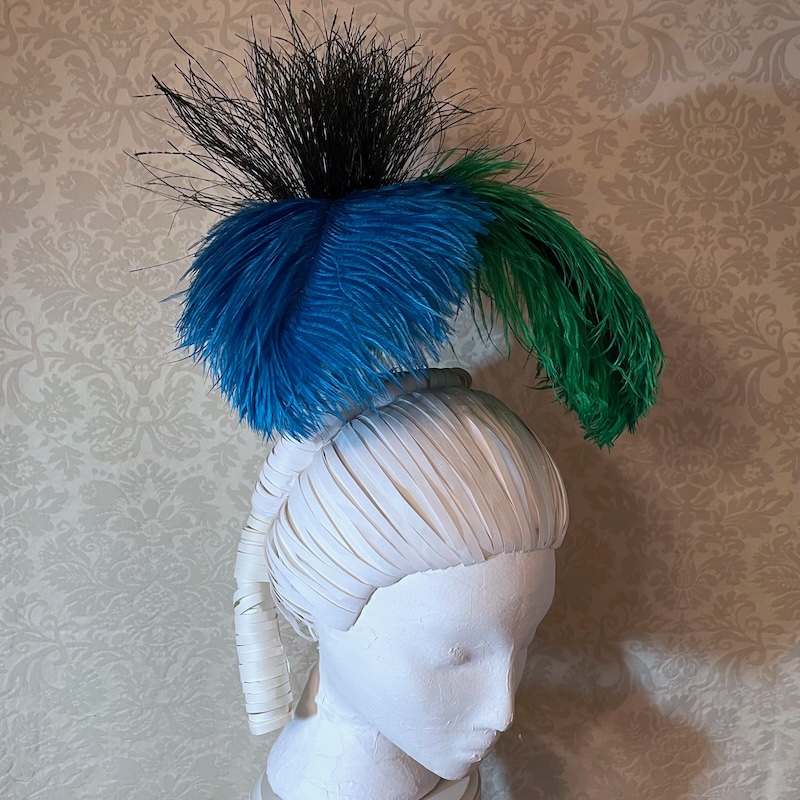
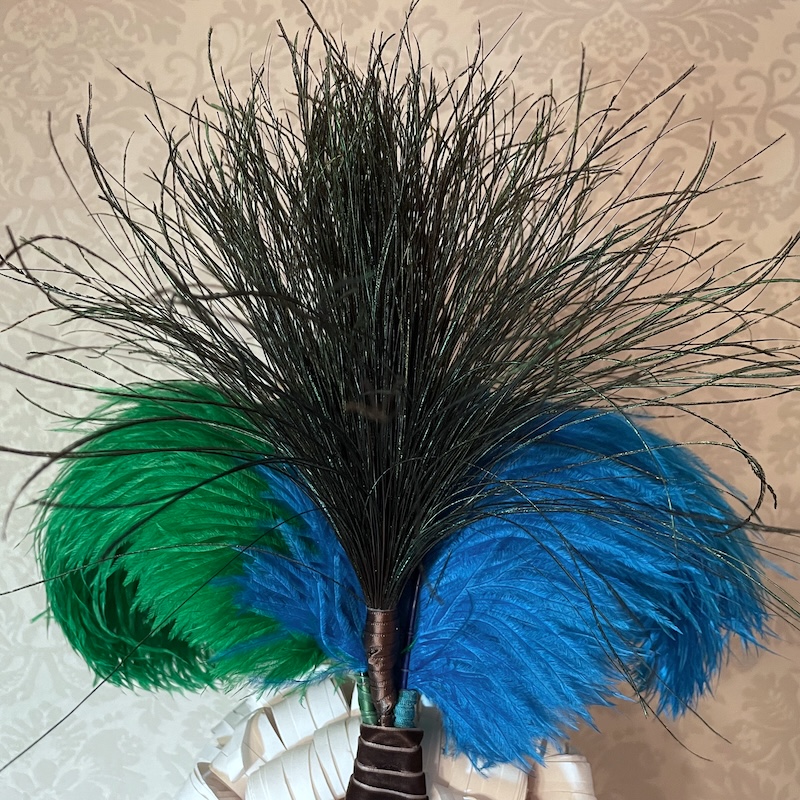
Peacock and Ostrich Plume headdress.
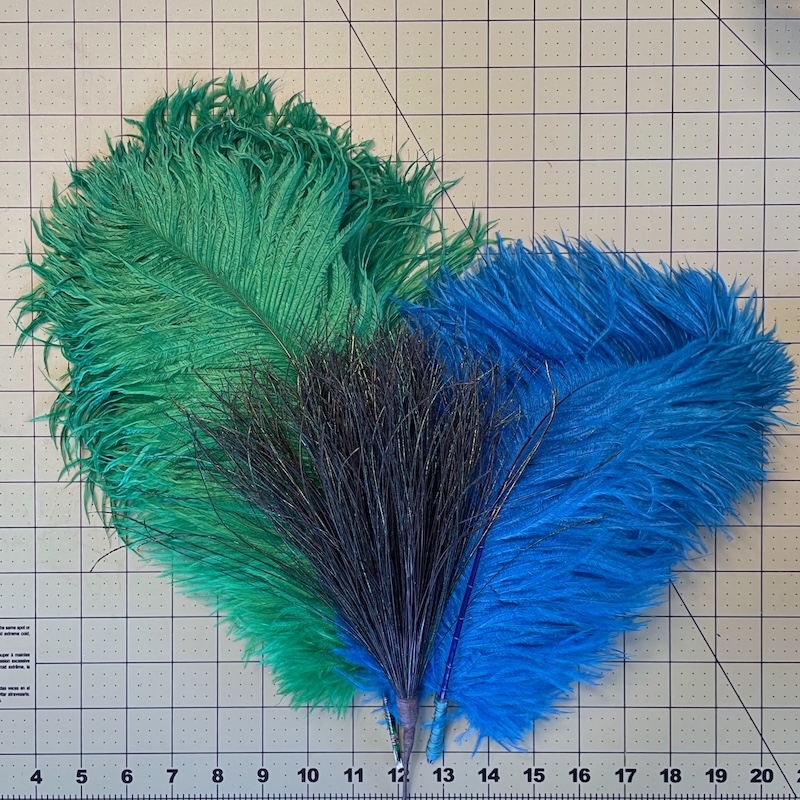
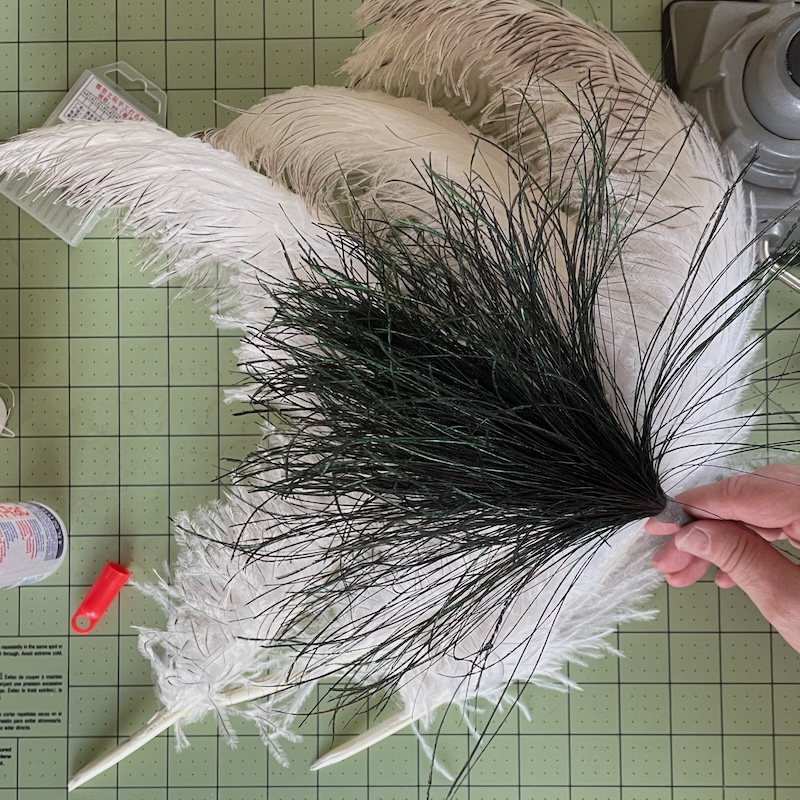
For this headdress I’m using two ostrich plumes with three each ostrich feathers and a bundle of peacock hurl (the side barbs below the peacock eye). I created the ostrich plumes the same way I did the burgundy plume for the last headdress. Below is how I created the peacock hurl bundle.
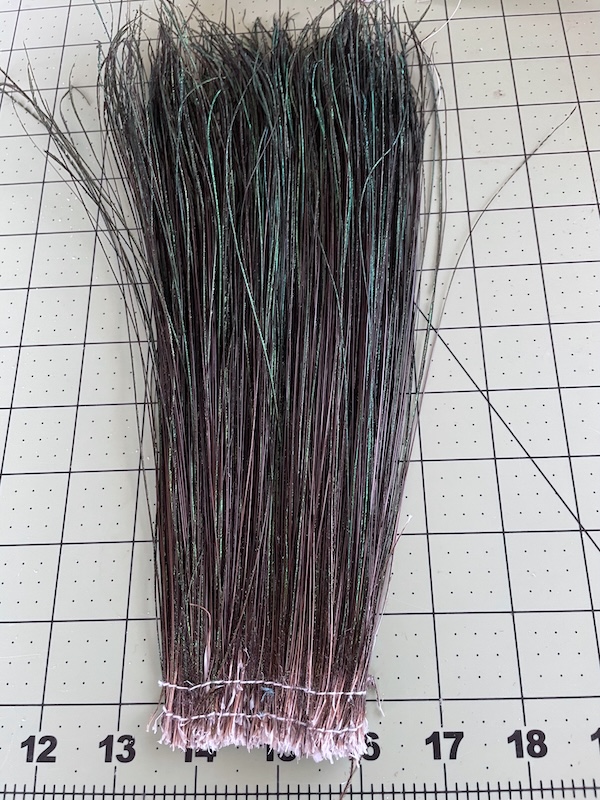
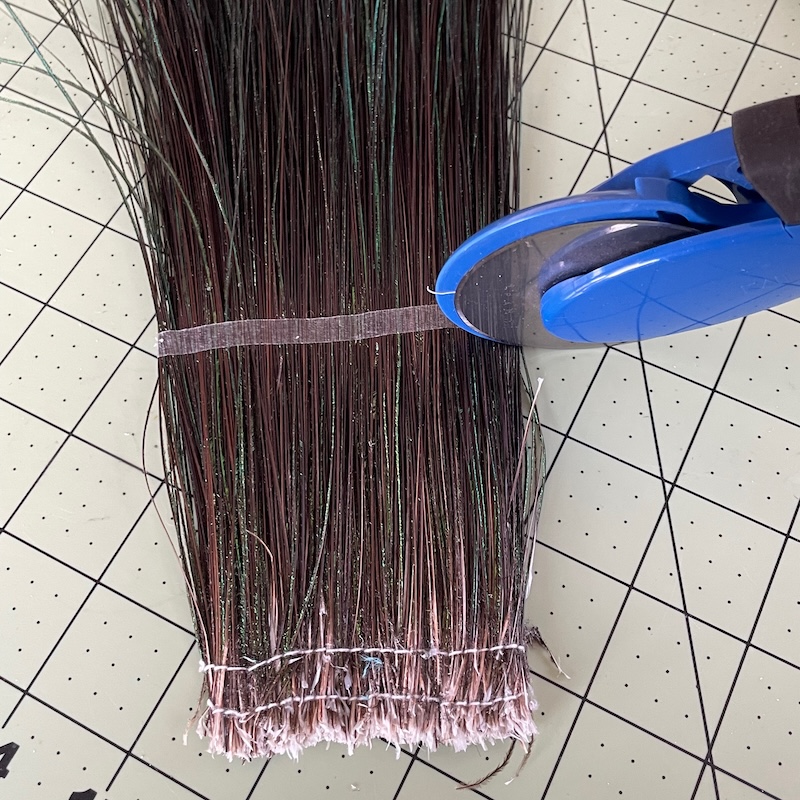
I played out ~2.5″ of peacock hurl as it comes from the feather seller. The hurl is too tall for what I need so I will trim it shorter.
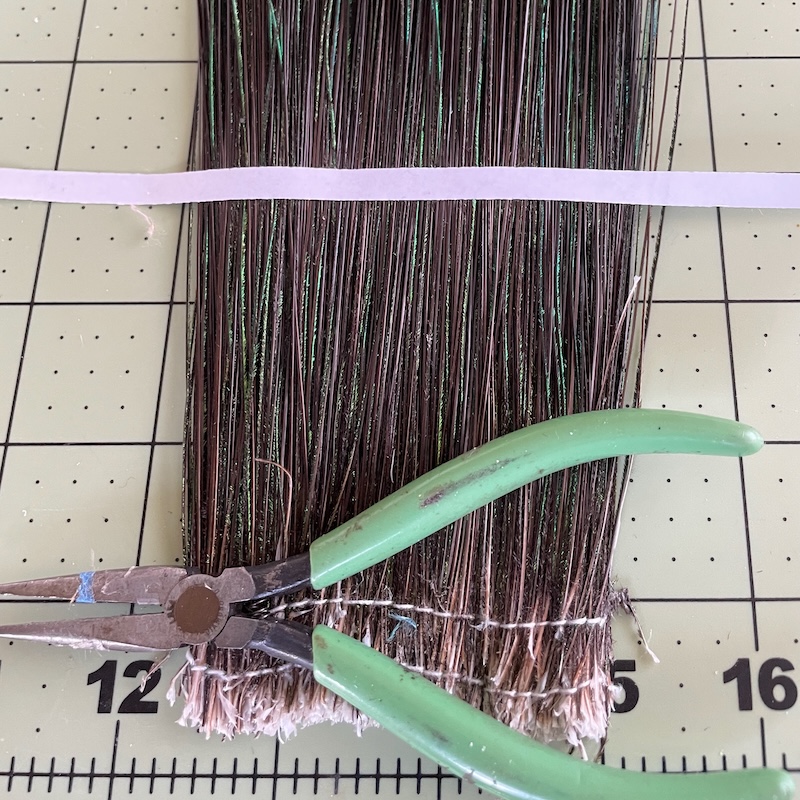
I laid some paper backed 1/4″ tape across the feathers at the length I wanted. Then wrap the tape around to the other side. So that there would be tape on both sides. The length below will be cut away.
I created a stiff wire core for the bundle. Near the middle of a ~10″ piece of wire I. made a small loop, with the other half I made another loop opposite it. These two small loops will keep the bundle from coming off the wire.
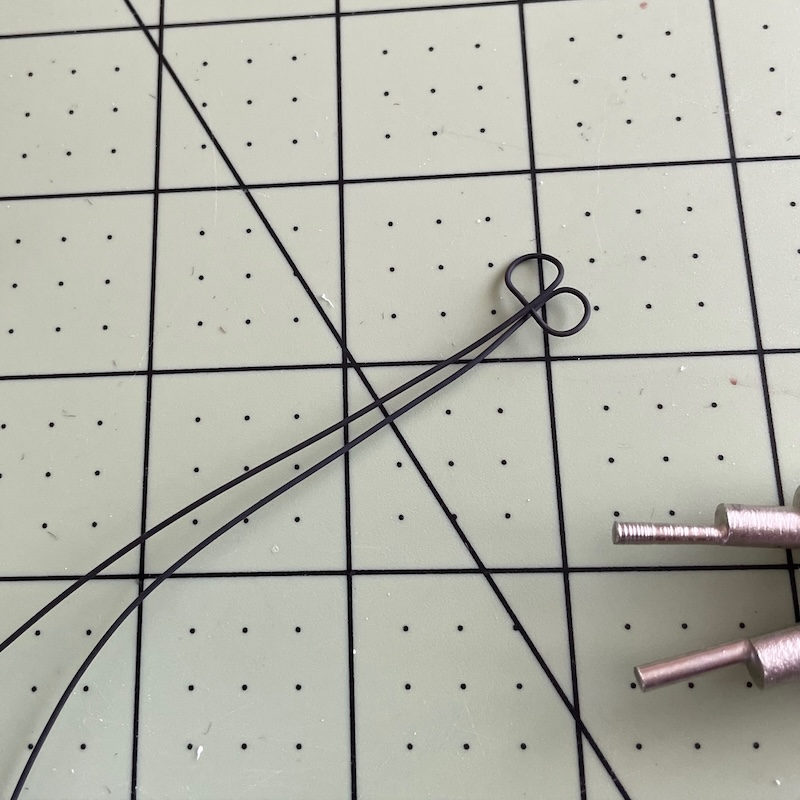

I twisted the remains of the wire together.
I used a rotary cutter to cut the bottom section of the peacock away.
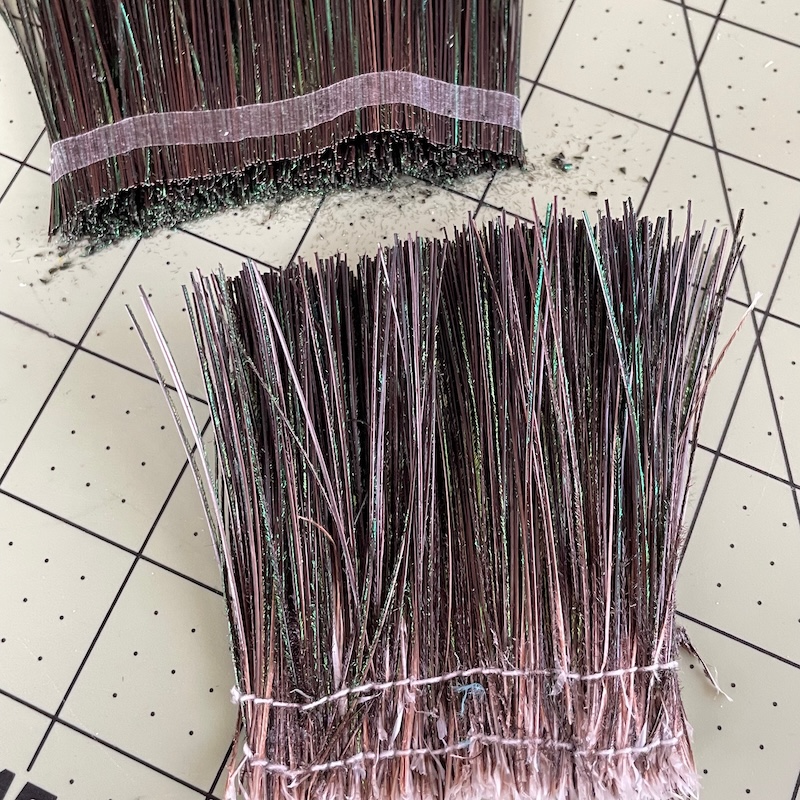
This shows the cut.
With the double looped end of the wire below the tape I started wrapping the tape around the wire as tightly as possible.
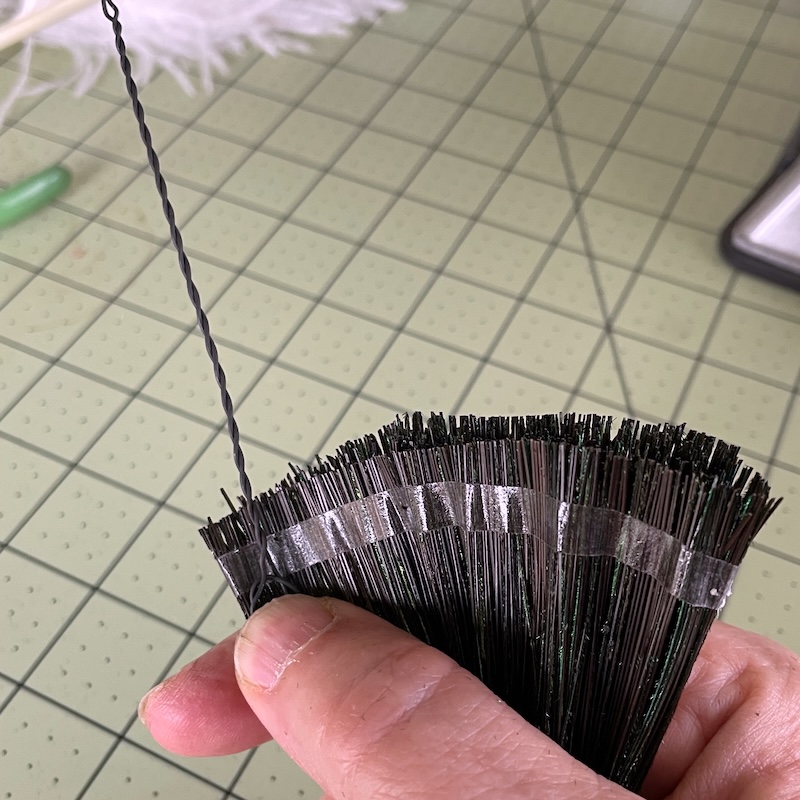
I wrapped until the entire length was wrapped around.
Then I tied a strong thread around the bundle over the tape and continued to wrap the thread around several times.
I added another wrap of thread above the tape.
I used scissors to trim the ends to form a half round at the base.

To fix the barbs that might not have tape next to them I added some Beacon’s fabric-tac glue to the cut ends.
I wrapped the base, tape and thread with narrow ribbon.
Now the peacock and the two plumes could be wired or sewn to the drilled hairpin. That was also covered with thin ribbon.