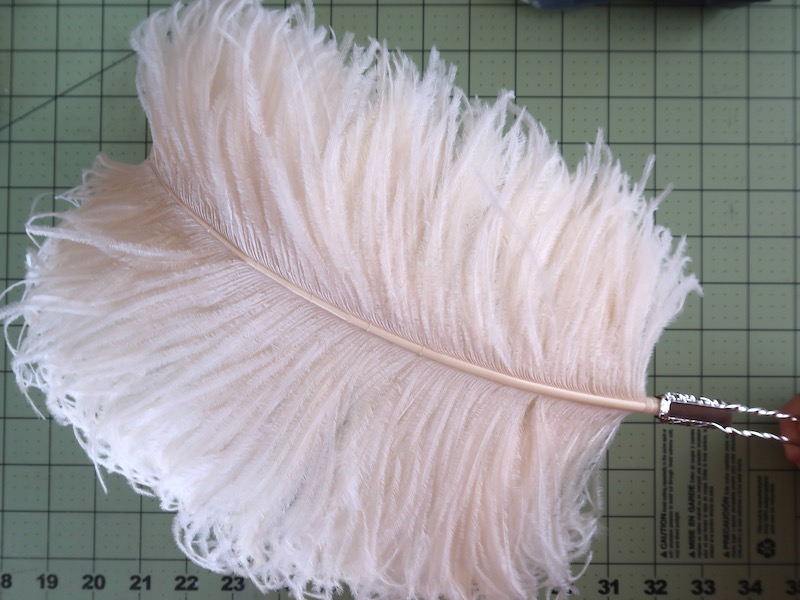
When joining individual feathers to make a plume it’s best to thin the stems so that combined stems are about the same size and shape of a single stem. This is even more important on large wing feathers. Here is how to do it…..
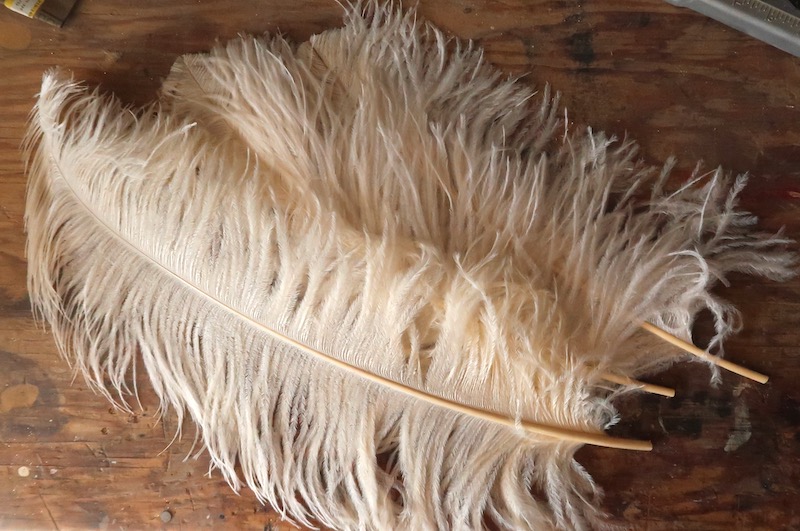
I started with three wing feathers. They are not perfect and were sold as seconds. They do not all have intact tips. Two of the three have been trimmed. I see many Edwardian feathers that are trimmed at the tip so I don’t have an issue using them and will trim them all to match.
I did just that, I shaped and trimmed them to match.
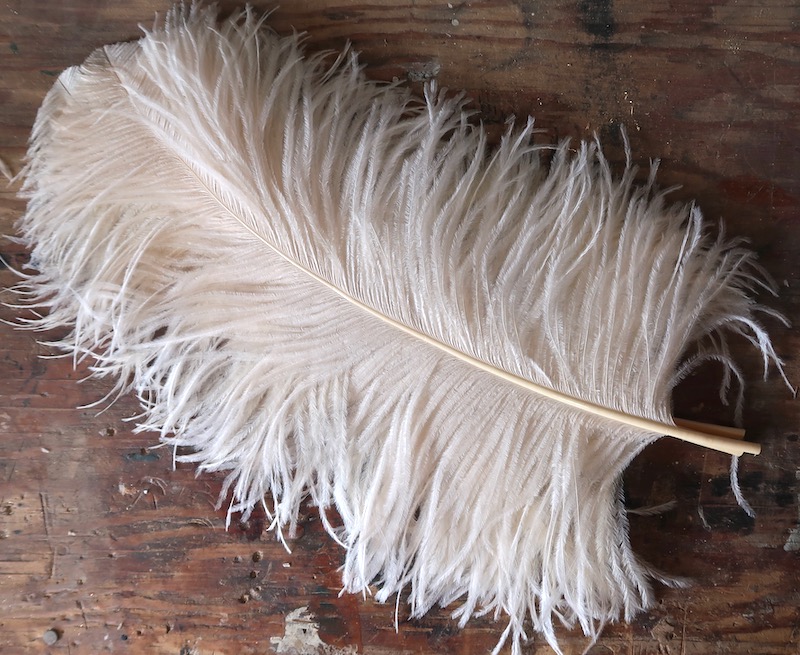
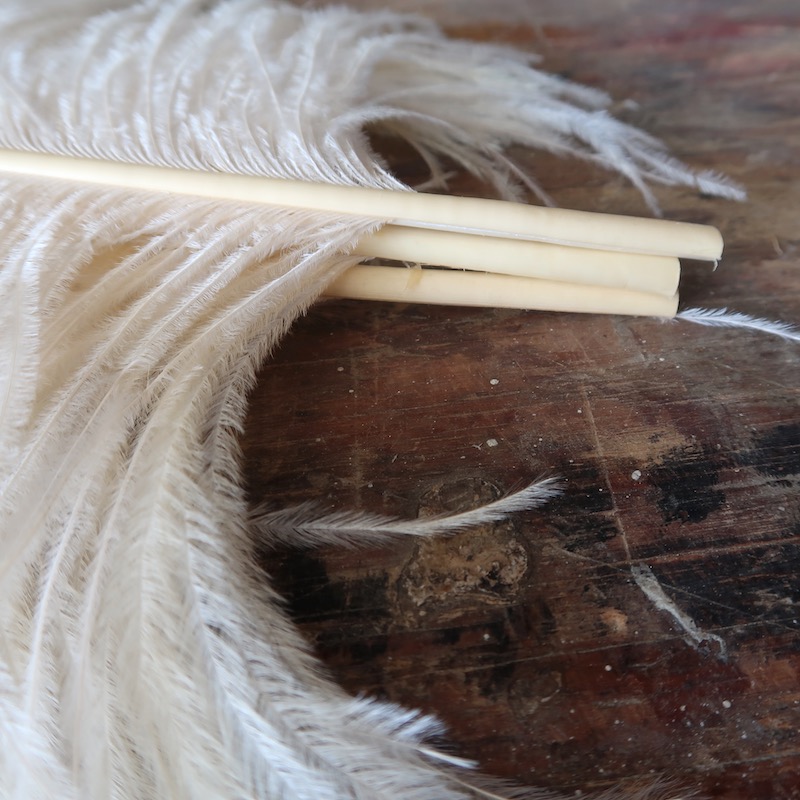
When the intact bases of the three are stacked on top of each other you can see the problem. It is three times as tall as wide. What I need to do is remove the back of the top feathers stem, both the top and back of the middle and the front of the bottom stem.
In order not to damage the barbs of the feathers I’m going to place the feather I’m working on in a tube of soft rubber.
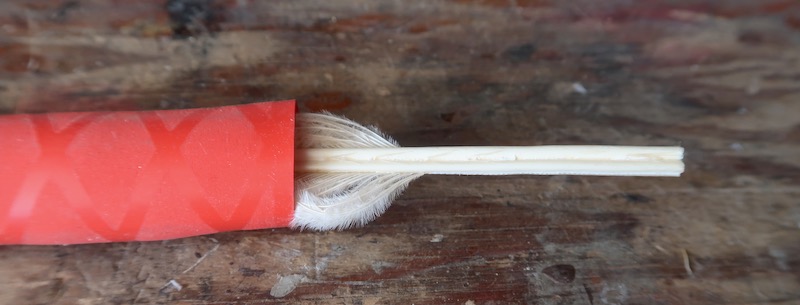
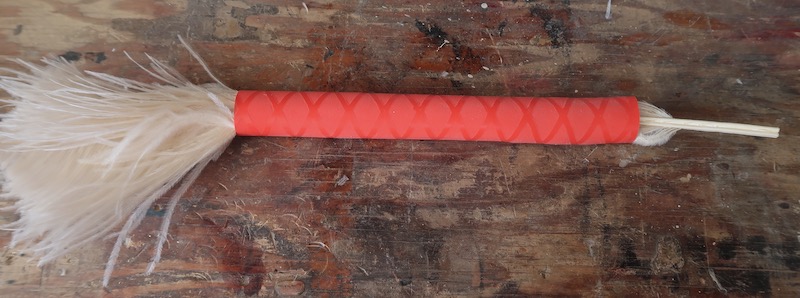
I’ve cut a foot of some shrink rubber tubing and put the feather in it.
To grind off the back side of the stem of the top feather I’m using a grinding bit on my Dremmel. You could use a standard grinder or a pad sander.
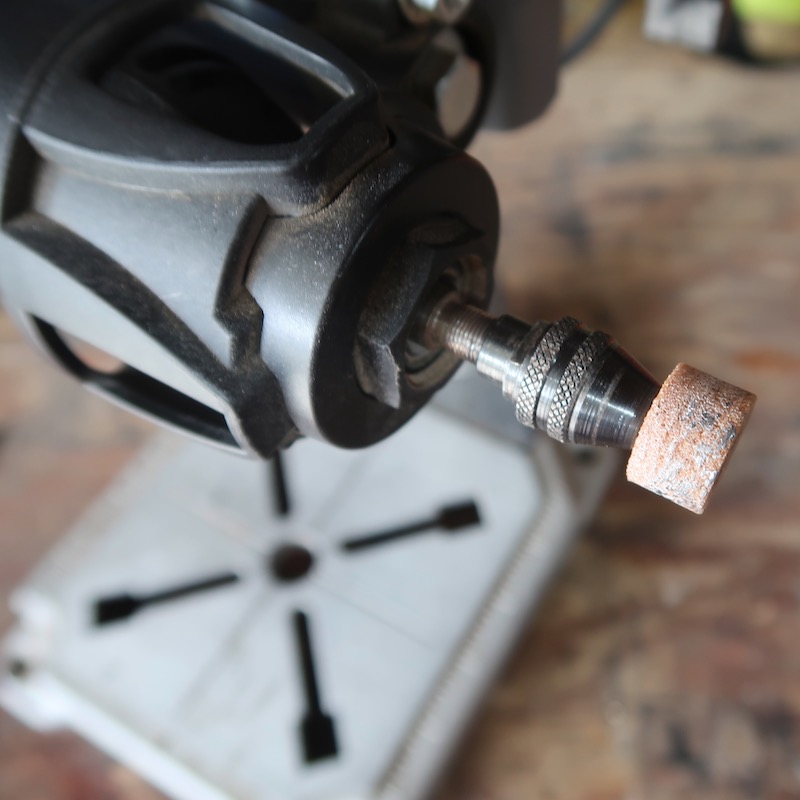
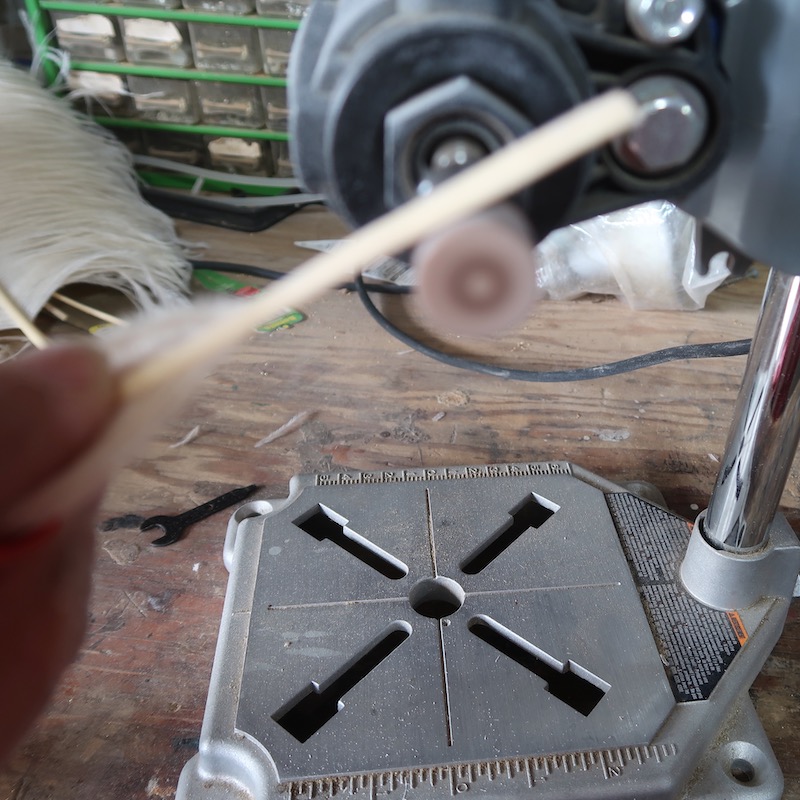
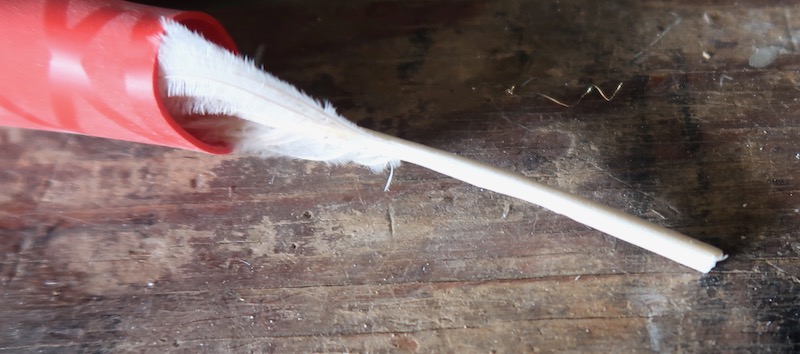
In this picture I’m grinding the back of the feather. I have carefully ground it back about 1.5″ back from where the barbs start.
This is what it looks like after grinding from the side.
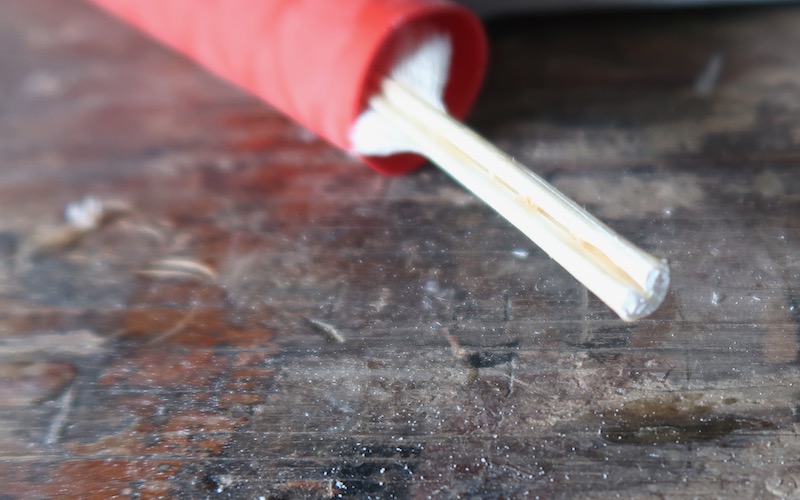
This is what it looks like from the back. I ground it down until the channel is almost gone.
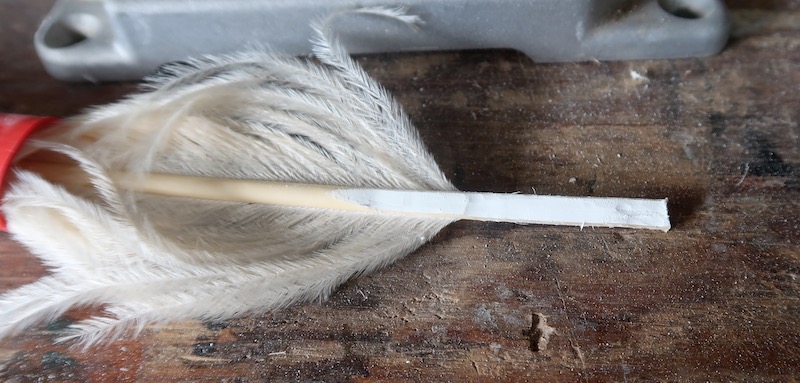
This is the middle feather after grinding both the front and the back.
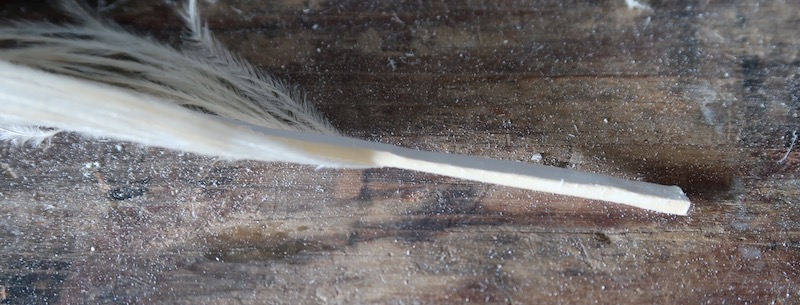
The same feather from the front side.
Same feather from the back side.
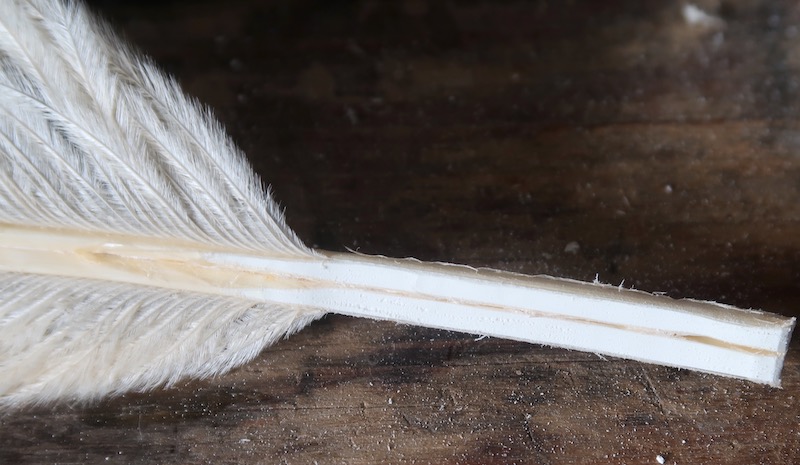
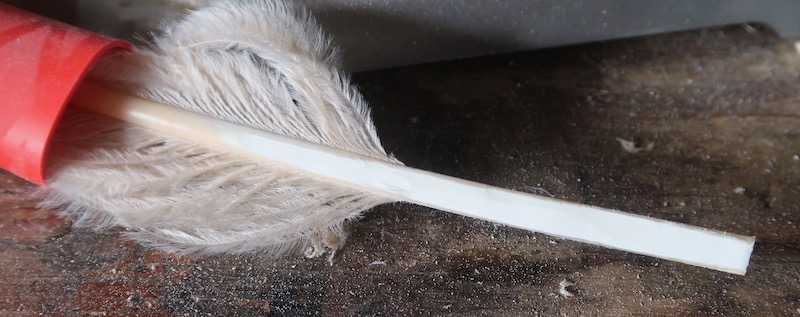
This is the bottom feather from the front.
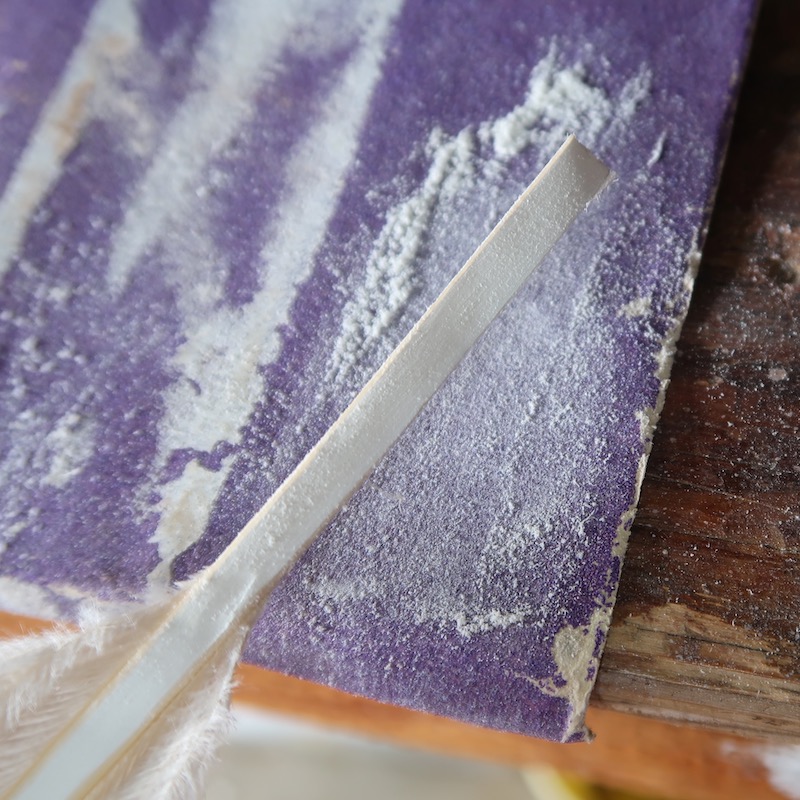
At the end I decided to smooth them out a bit so I used a medium grain sand paper to smooth them out.
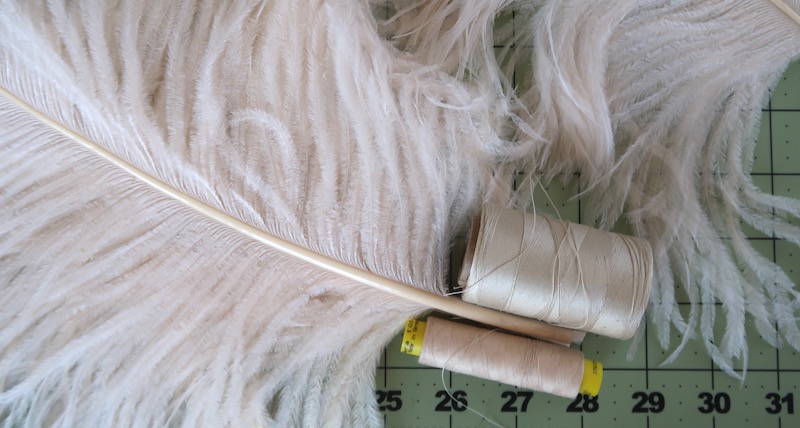
In order to sew the feather together I picked the thread that matched the stem as close as possible. You can see how to do the next steps on this page.
I glued the ground base stems together and added some thread to hold it until it dried.
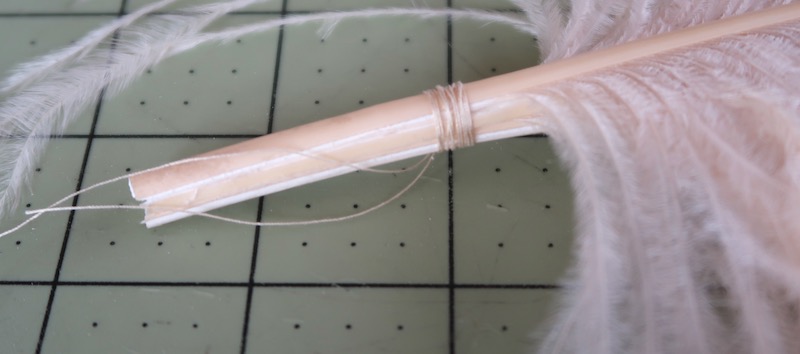
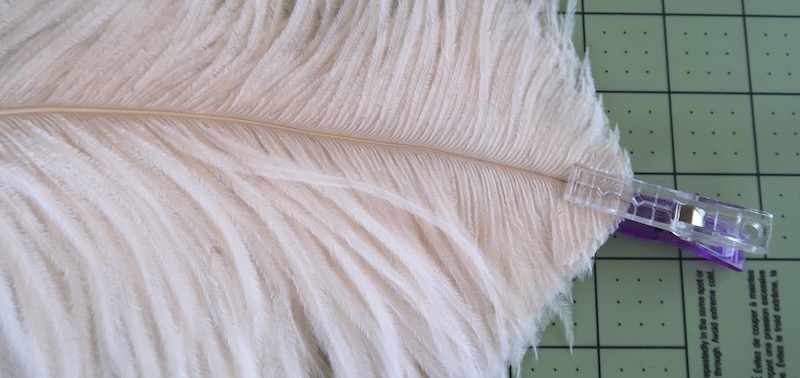
As aways the tips are clipped together to match and hold them for the first couple stitches.
This picture was after the first few half hitch stitches every 3/4″ as normal until the wide part of the feather stem.
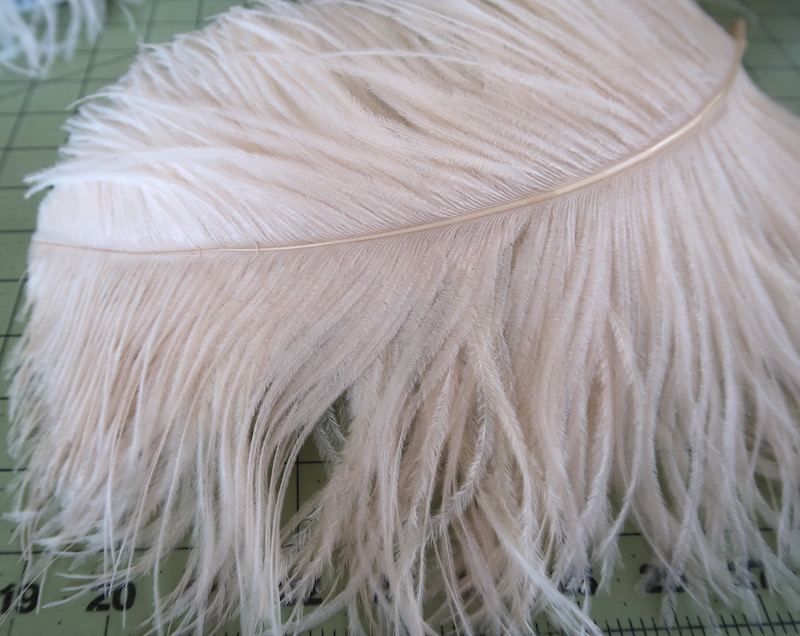
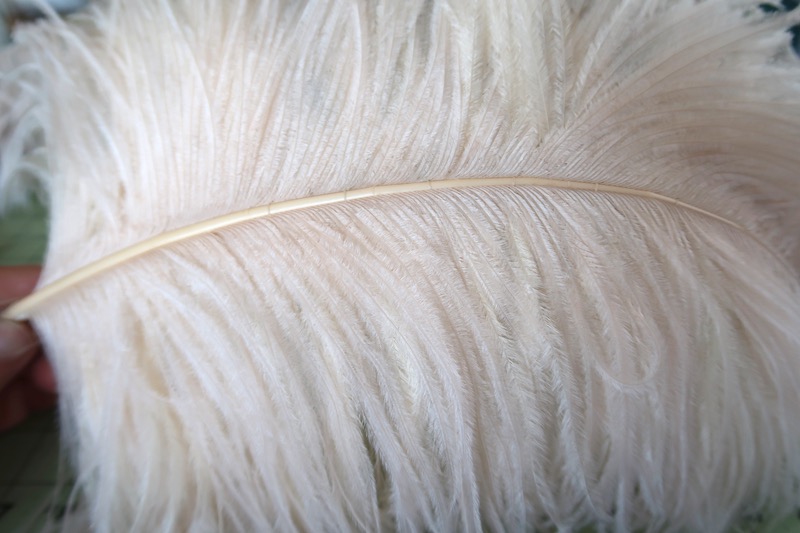
This picture is after a few more from the back side.
This is it from the under side. At this point I knotted it by taking another half hitch. For the last few stitches I make the stitches without bringing it around the stem of the top feather. This is the first time I have done this but I have noticed it on period plumes.
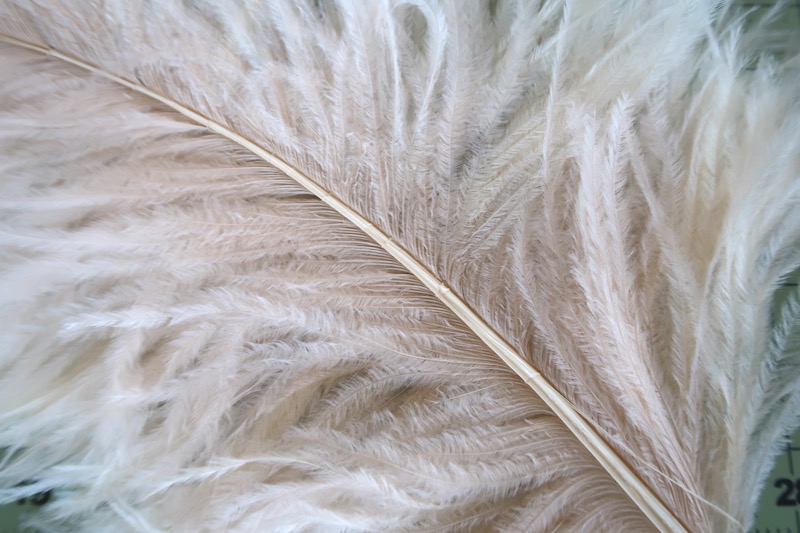
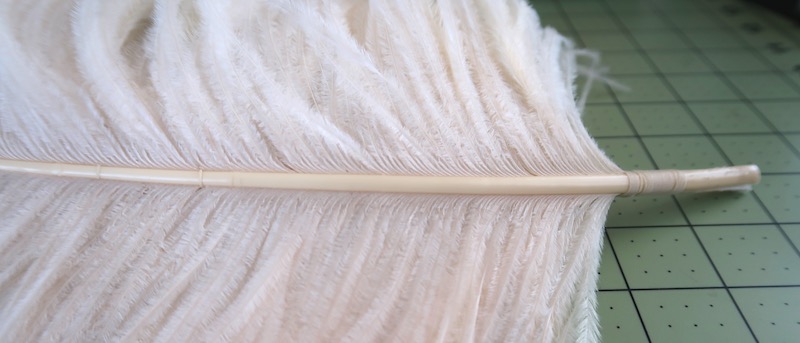
Then I continue wrapping the stem and going half hitch stitches for about 1.25″
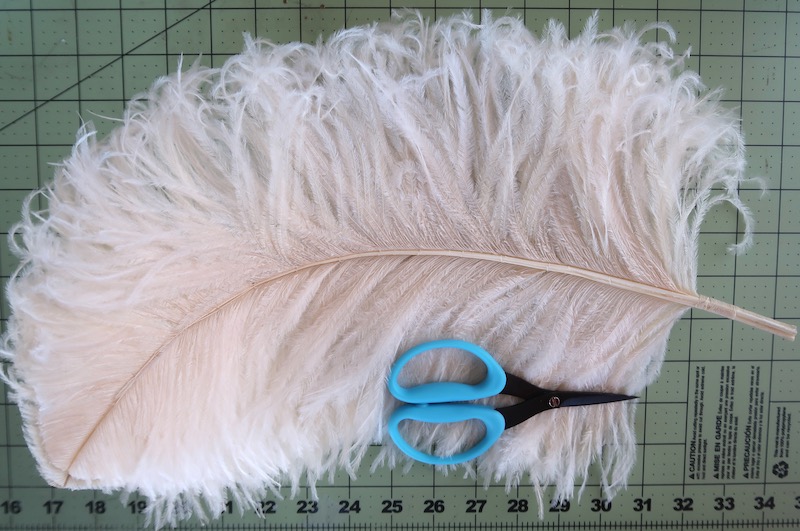
I’m going to curl the ends of all the barbs This is the feather with all the barbs curled on one side of the feather. It’s a good way to hide any cut barbs. And the feather looks more period when curled.
How to add the plume to a hairpin
If you are making your plume to add to your hair and not on a hat, you can mount it on a large hairpin. I sell brass ones on this page but this time I’m showing how to mount a feather to a slightly different type of hairpin. The steps are the same.
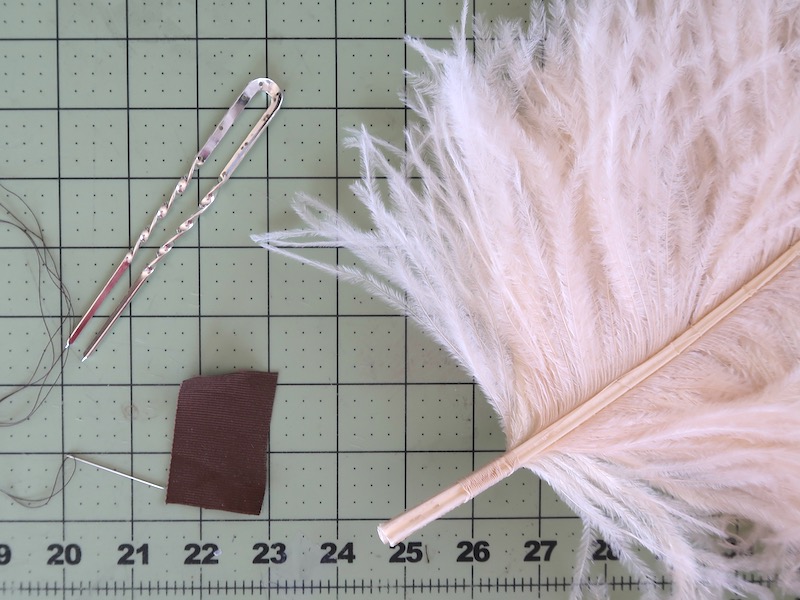
First thing is to cover the base of the stem with a piece of fabric or ribbon the same color as you hair. The picture shows the hairpin and matching thread on the left.
First I glued the ribbon to the very bottom of the feather stem.
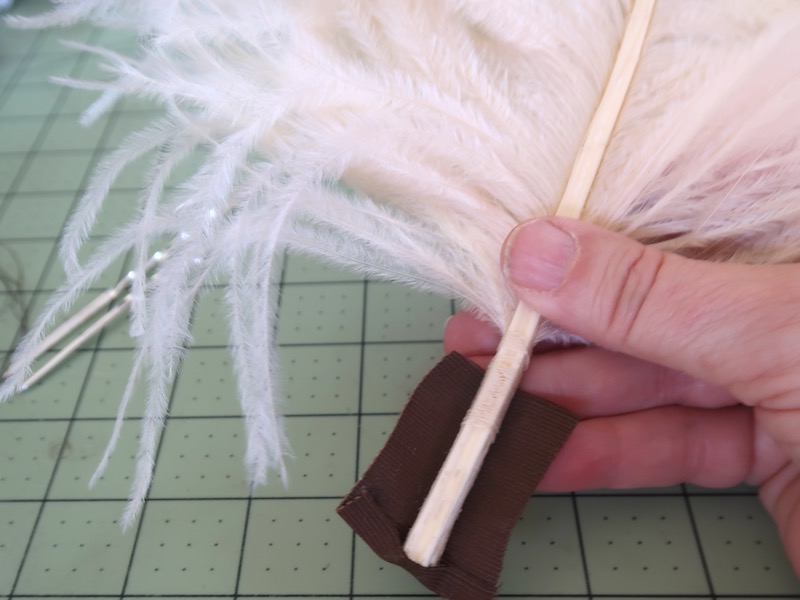
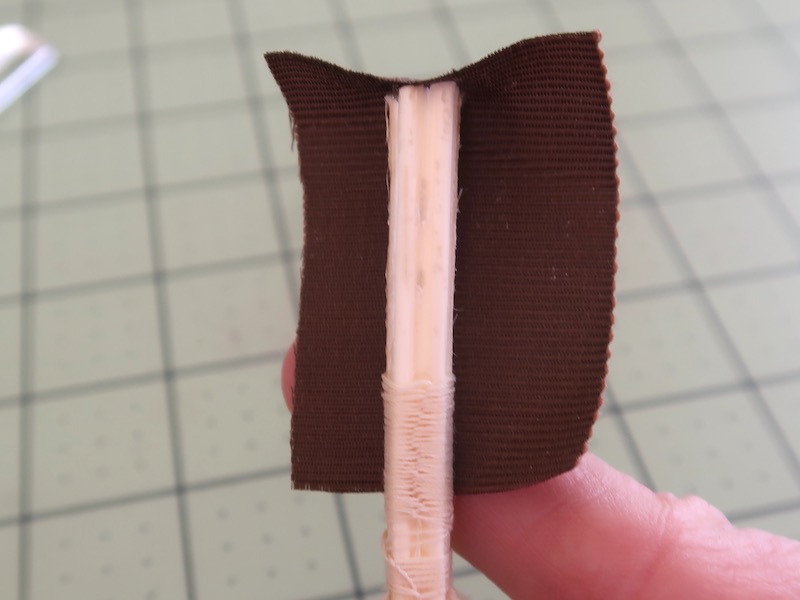
Then glued the ends of the ribbon over about 1/4″ so there is no raw edge down at the bottom edge. As the bottom edge is up in this picture the glued edge is at the top of the picture.
I glued one long edge over.
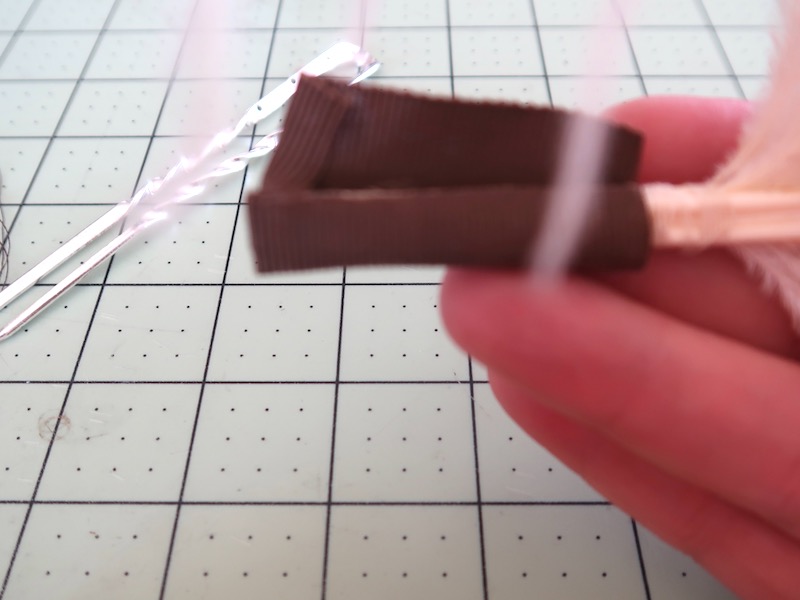
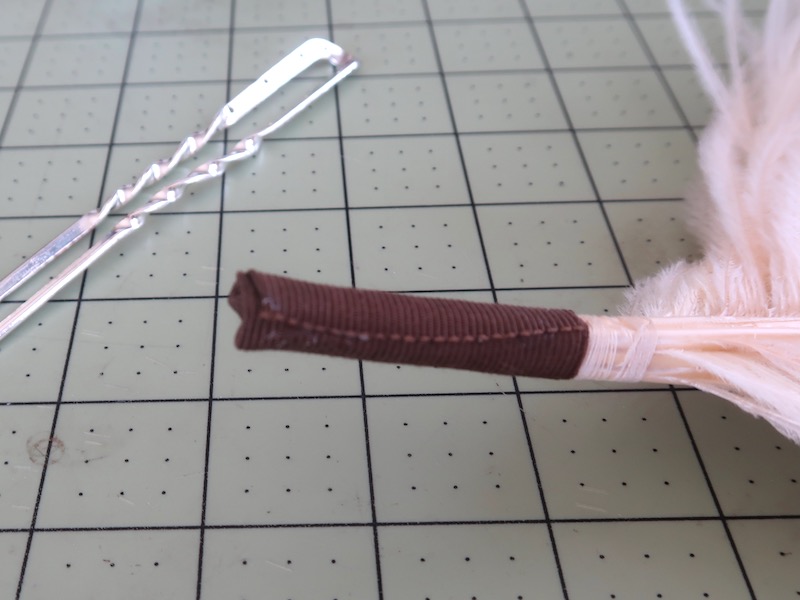
Then the other, with the glue just under the edge of the ribbon.
I used the thread to sew back and forth from hole to hole in a ZigZag. I did take some small stitches into the ribbon.
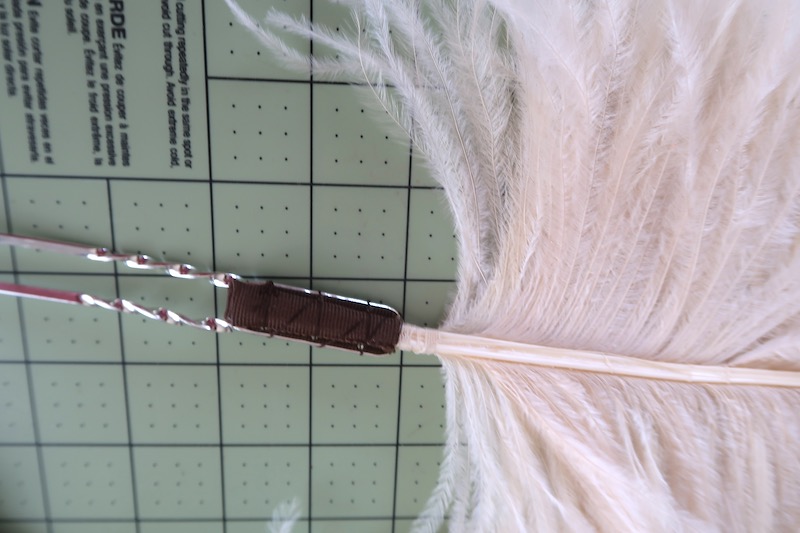
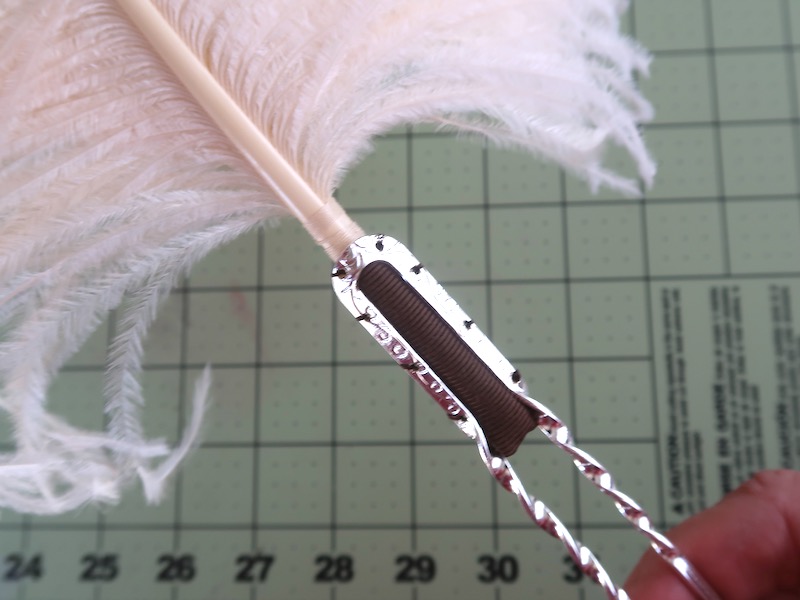
This is how it looks from the front.
This is the feather, still needs curling on the upper half.
