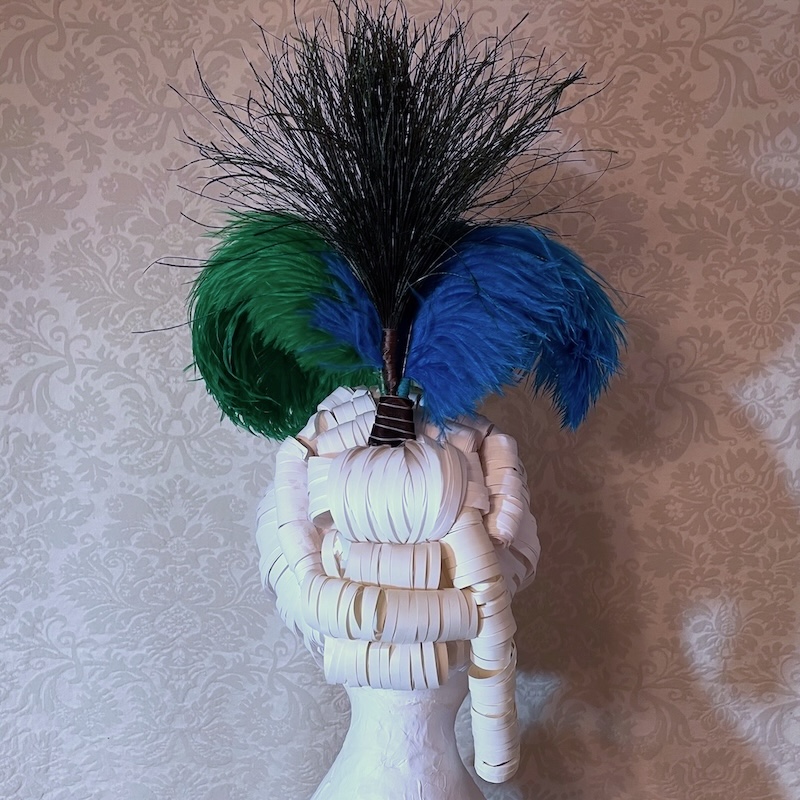
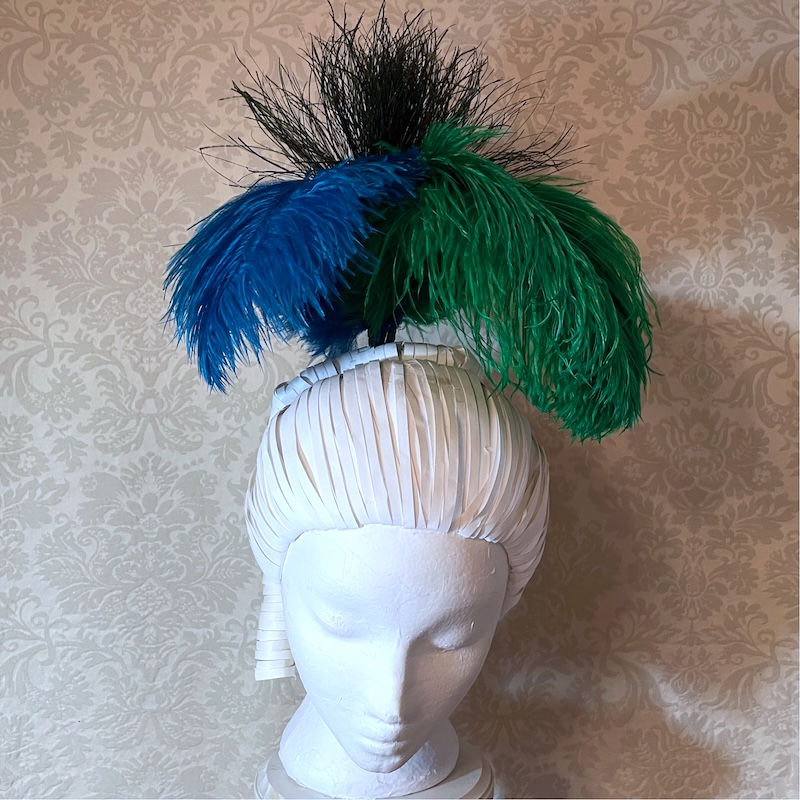
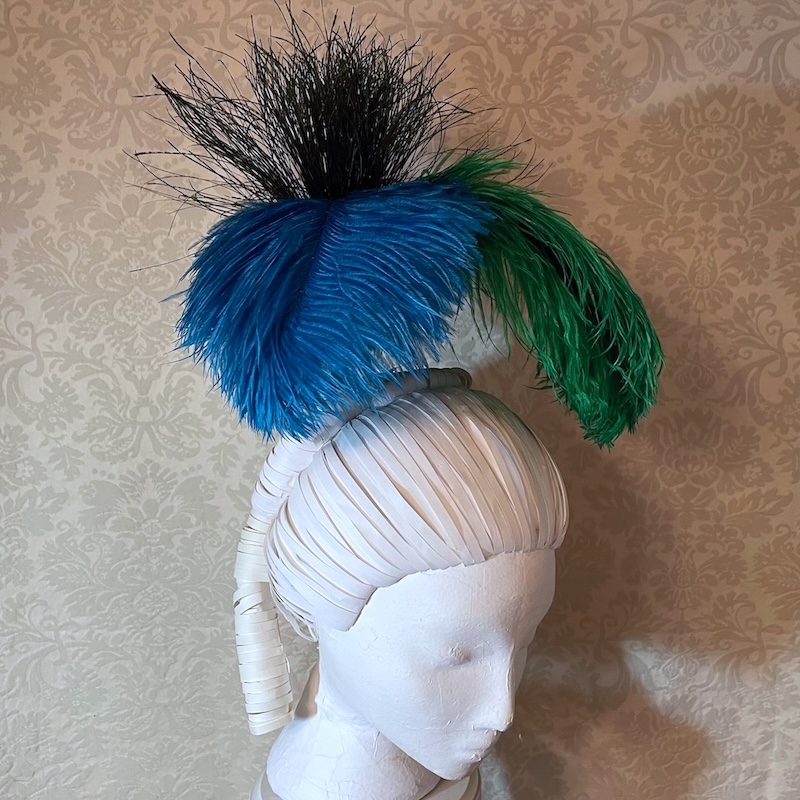
If you want a way to wear some of those 18th C multiple feather headdresses here is a great way to support and control multi-feathers in one secure headpin.
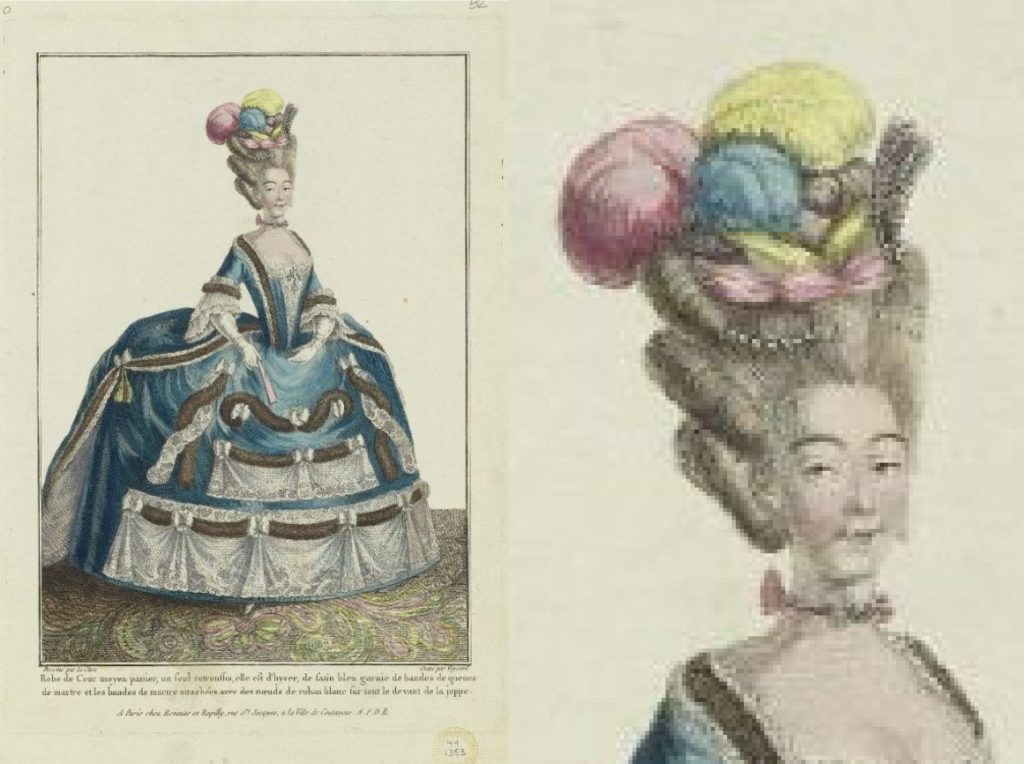
The grouping of three ostrich plumes at the back of this hair-do would be the perfect use of this hairpin
What you need: a brass medallion, 2 ft. 20 gauge gold wire, one or two pairs of round tip needlenose pliers and one drilled hairpin. Start by curling the ends of the medallion up from each side of the bottom center.
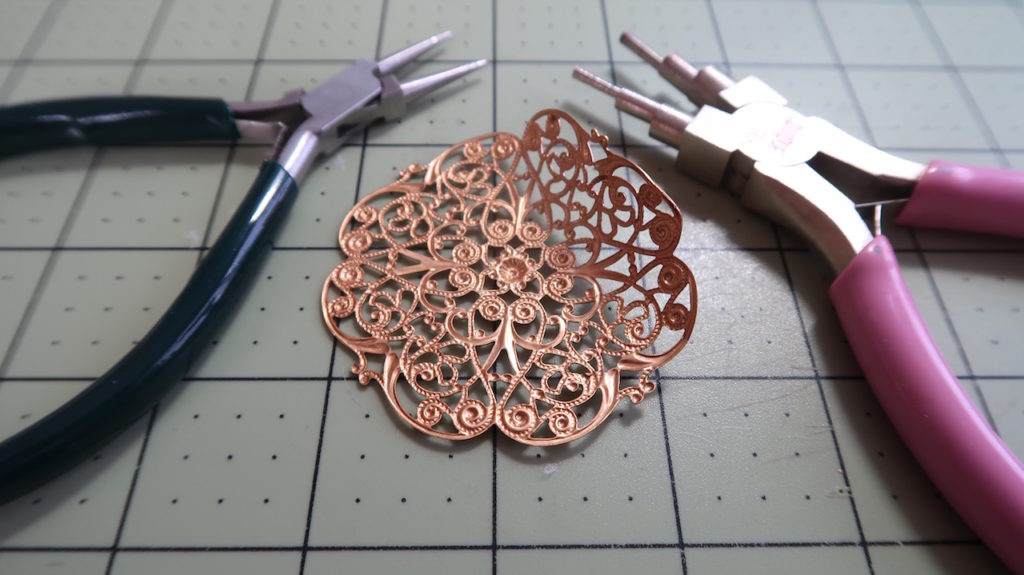
Your medallion needs to be thin and bendable any where from 1.75 to 2.5″ round. I find them on etsy. Search for brass medallions. It’s much more difficult to find them in silver, I suggest that you use a silver leafing paint or pen after you have made them. Also it would be fun to color only some of the elements in the medallion silver and leave some gold.
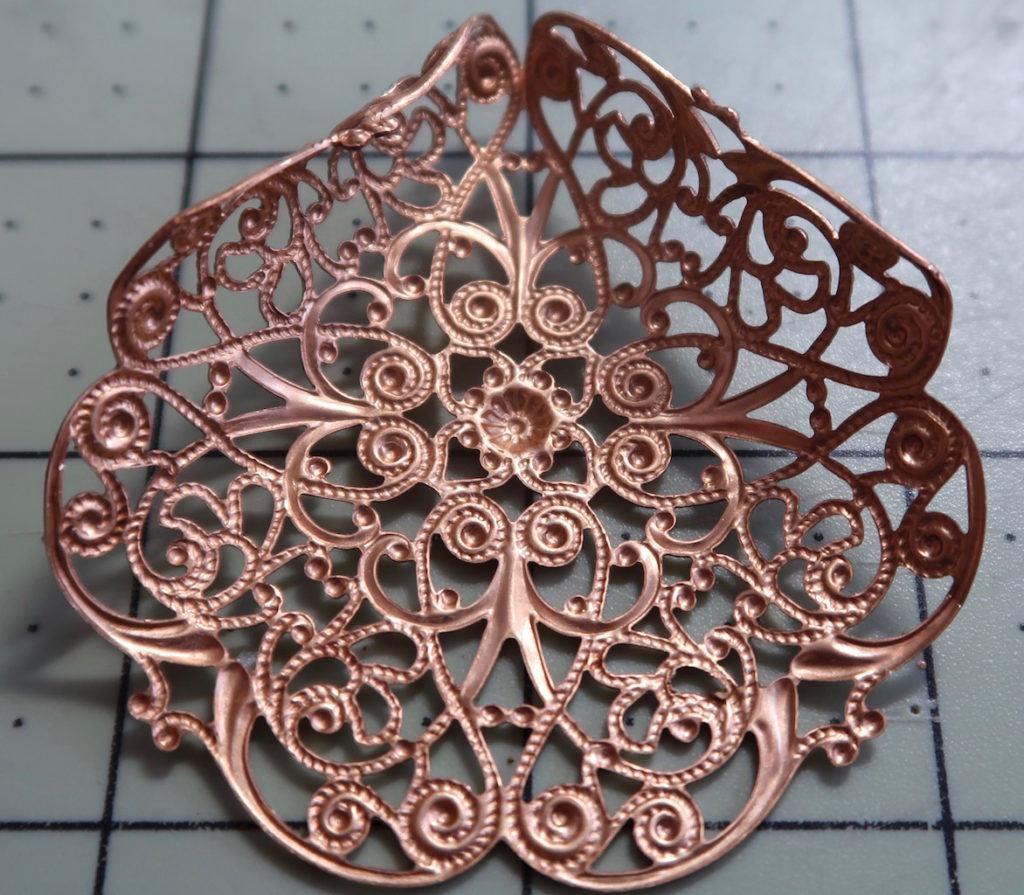
With a medallion this size it easy to bend it into shape except for the short sides so this does need to be done with the pliers.
Once the short sides are done then it a good idea to maintain the hole at the bottom by bending the rest of the medallion over the tip of the fliers so it does not close up.
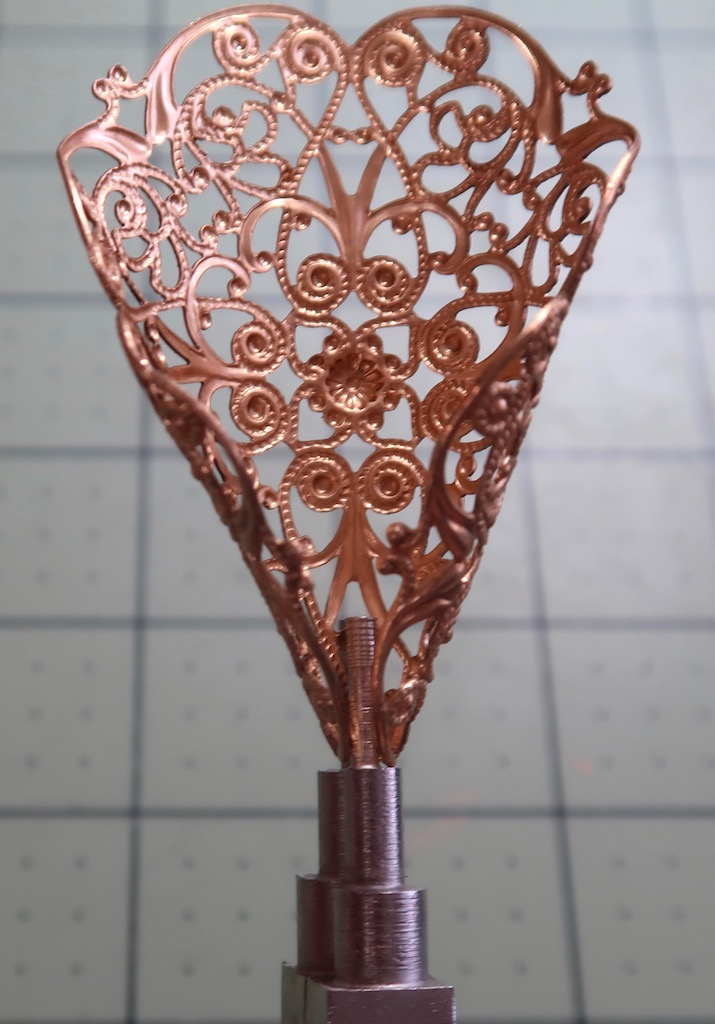
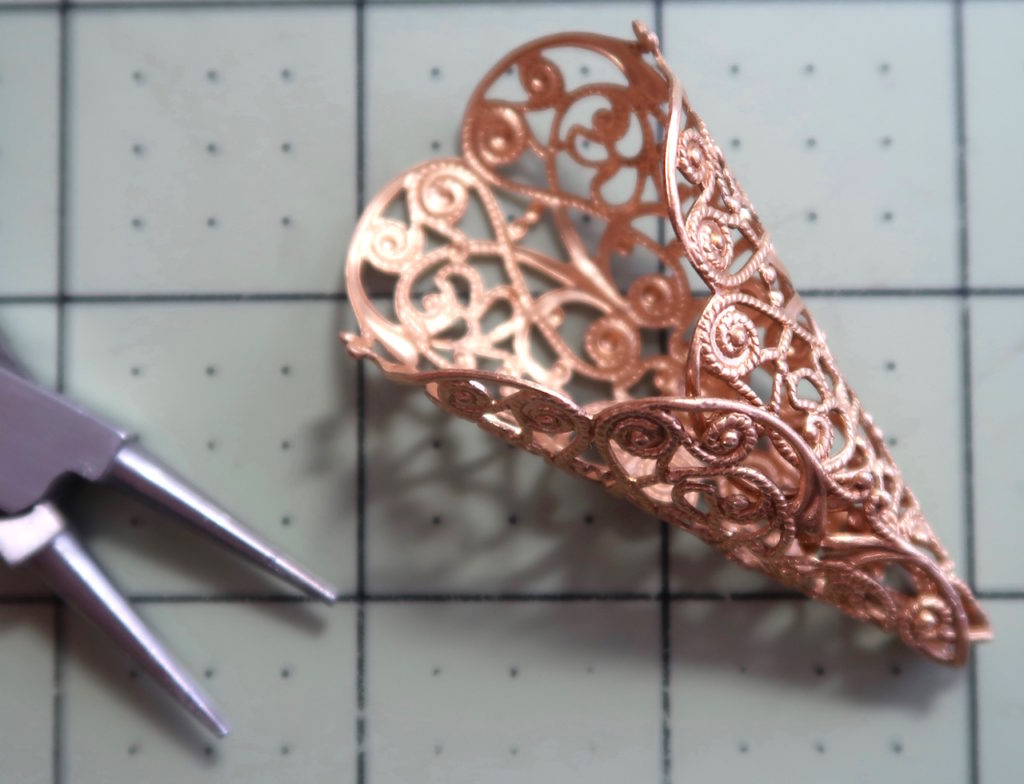
Here is the finished cone made from the medallion. At this point it could be added to a wire pick if you don’t want to use a drilled hairpin.
Now you need to cut 2, 12″ pieces of 20 gauge wire and have you drilled hairpin ready.
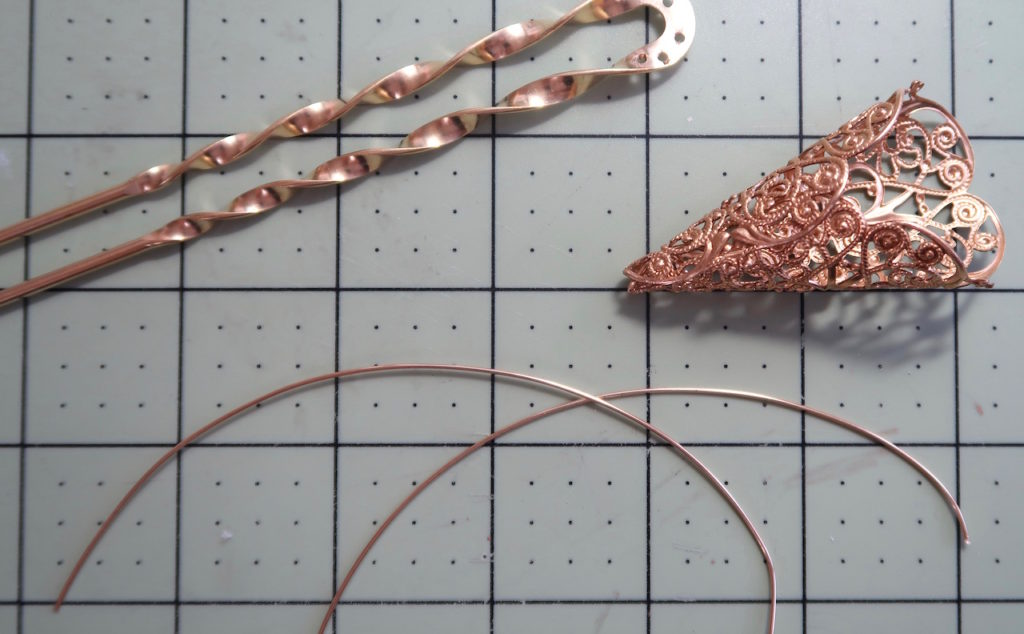
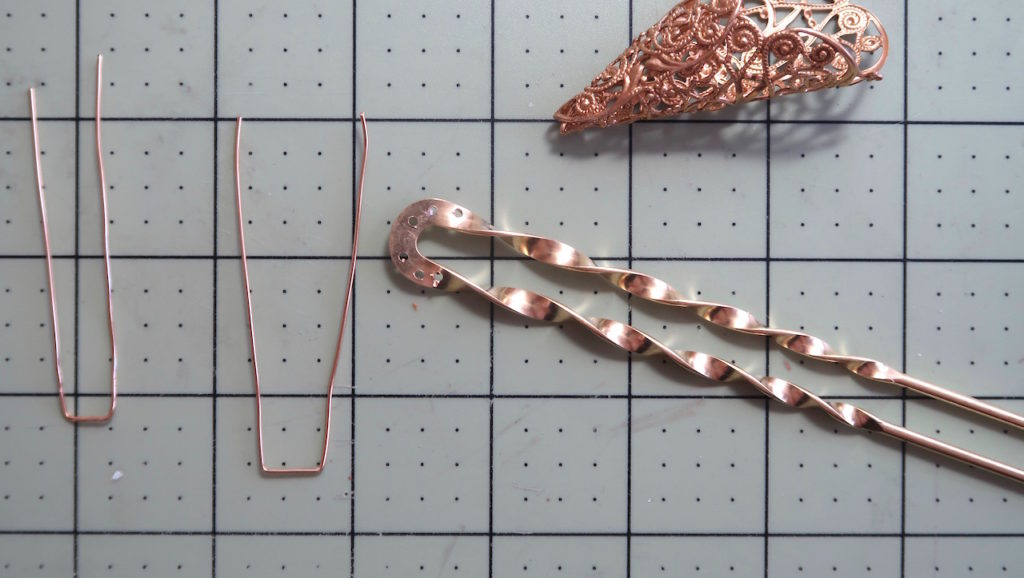
Bend the wire into “U” shapes with the short side equal the the distance between the sets of holes on the pin.
Slide the “U” shape pieces into the holes on the pin. Also carefully open the cone back up.
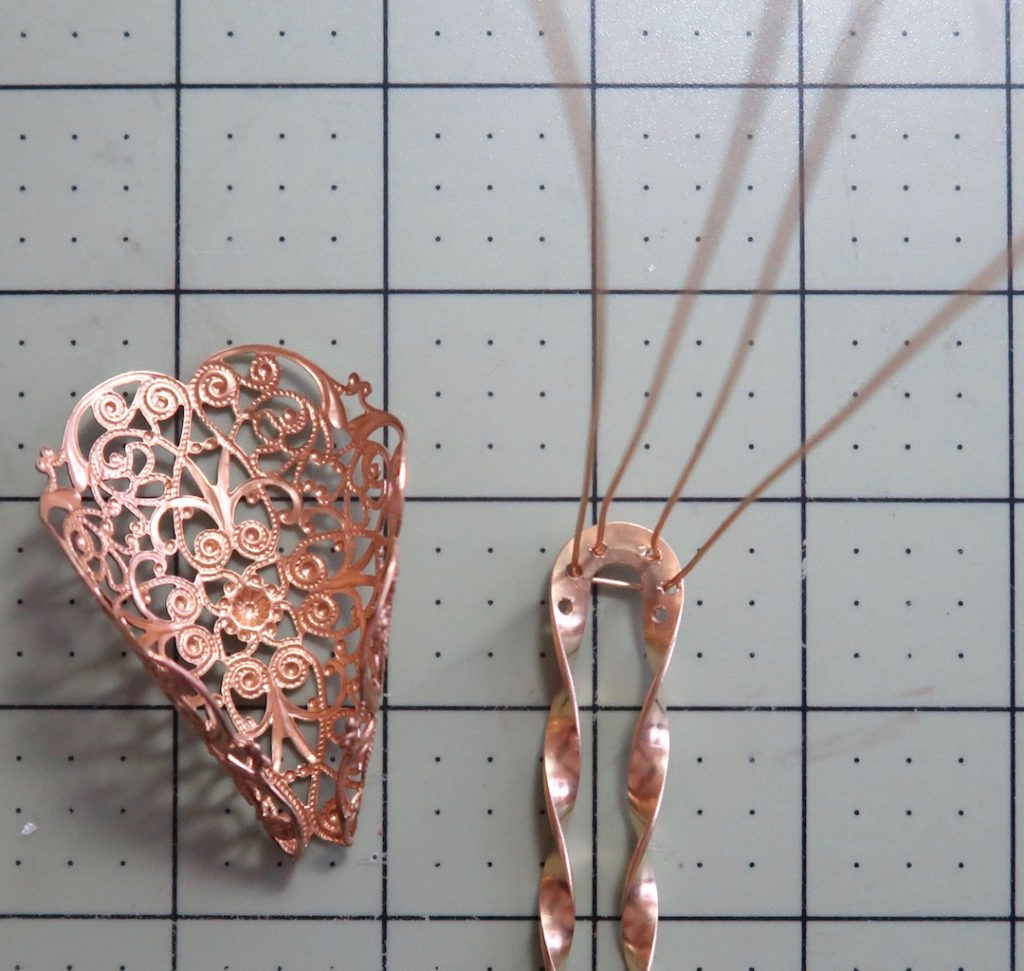
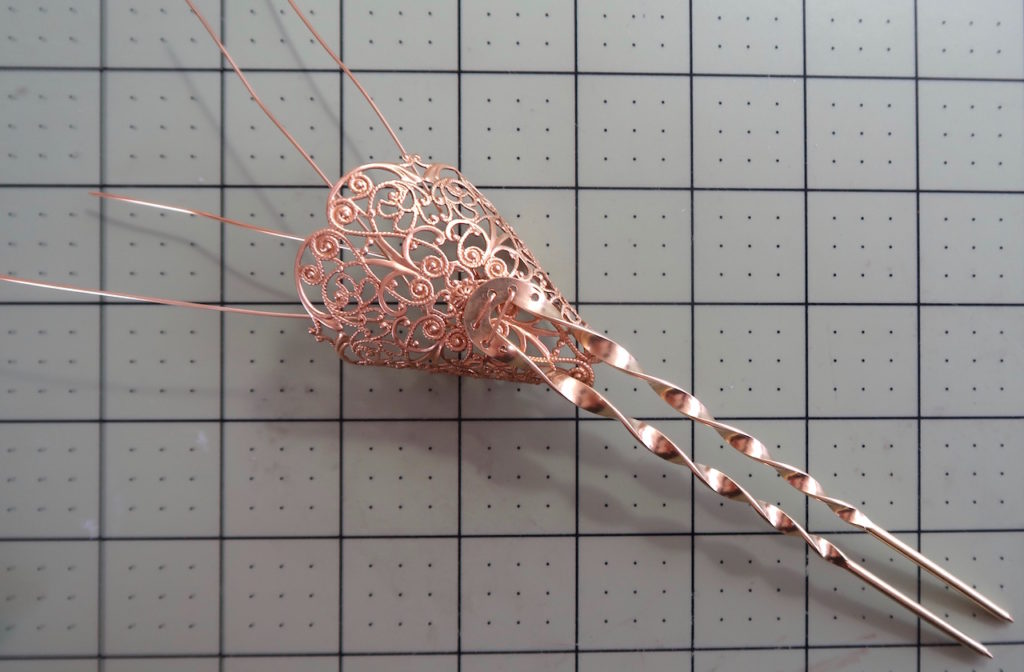
Slide the wires into the holes in the medallion.
Twist the wires on the left then the ones on the right a few twists.
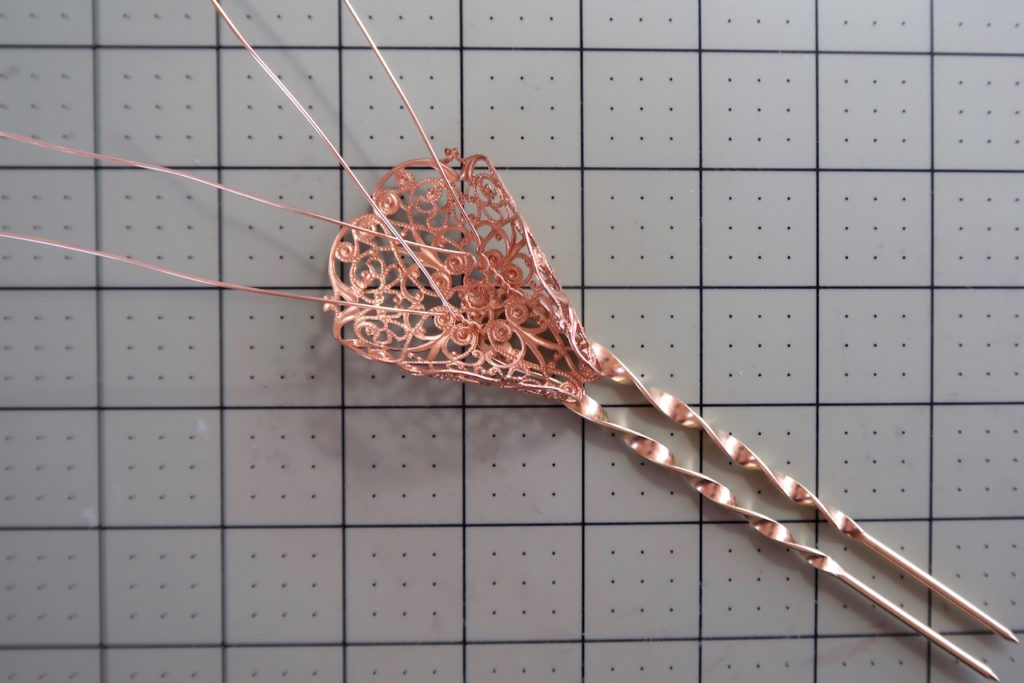
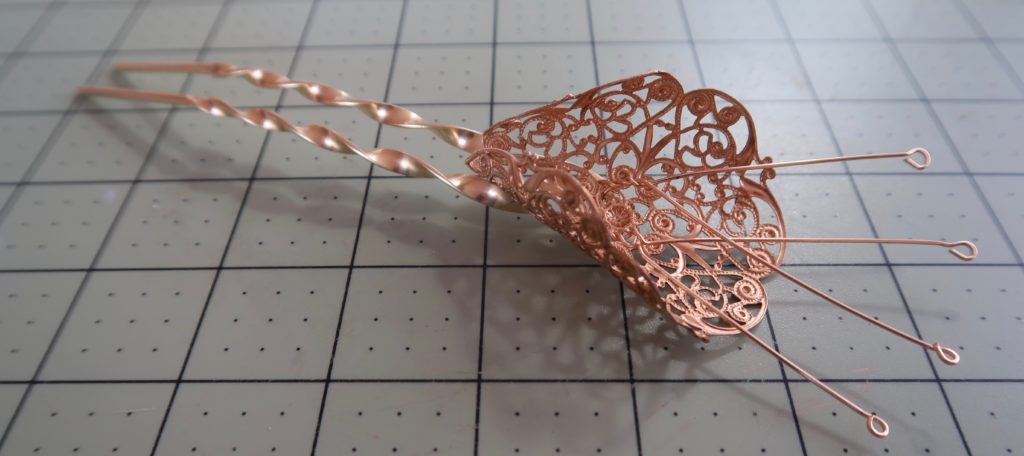
Trim the wires and make circles on the ends and bend the hairpin into a curve.
Here is the pin ready for the addition of four plumes. The stems of the plumes, which are made up of two or three feathers are held to the wires by either really fine wire wrapped around the stem and wire or by thread sewn into a series of buttonhole stitches. If wire it can be covered by wrapping fine ribbon around the stem which is glued at the start and the end.
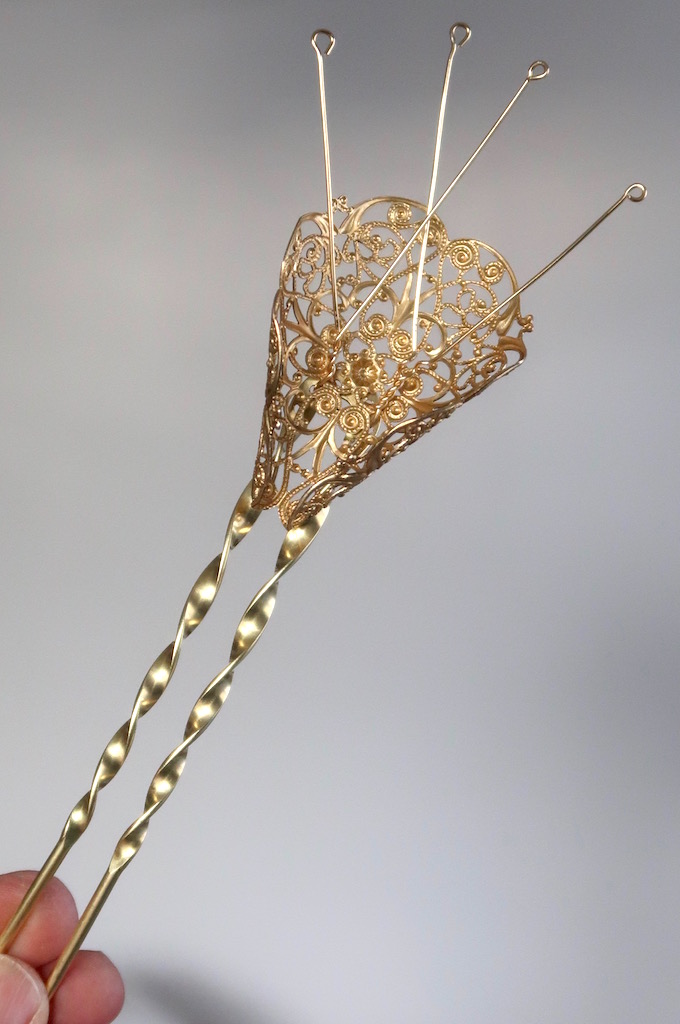
The medallion is then reshaped into a cone over the stems. You can also cover the head of the hairpin in the back with the holes and wires with another smaller medallion or a decorative pin.
Adding Vintage Ostrich Plumes to a Twisted Metal Hairpin
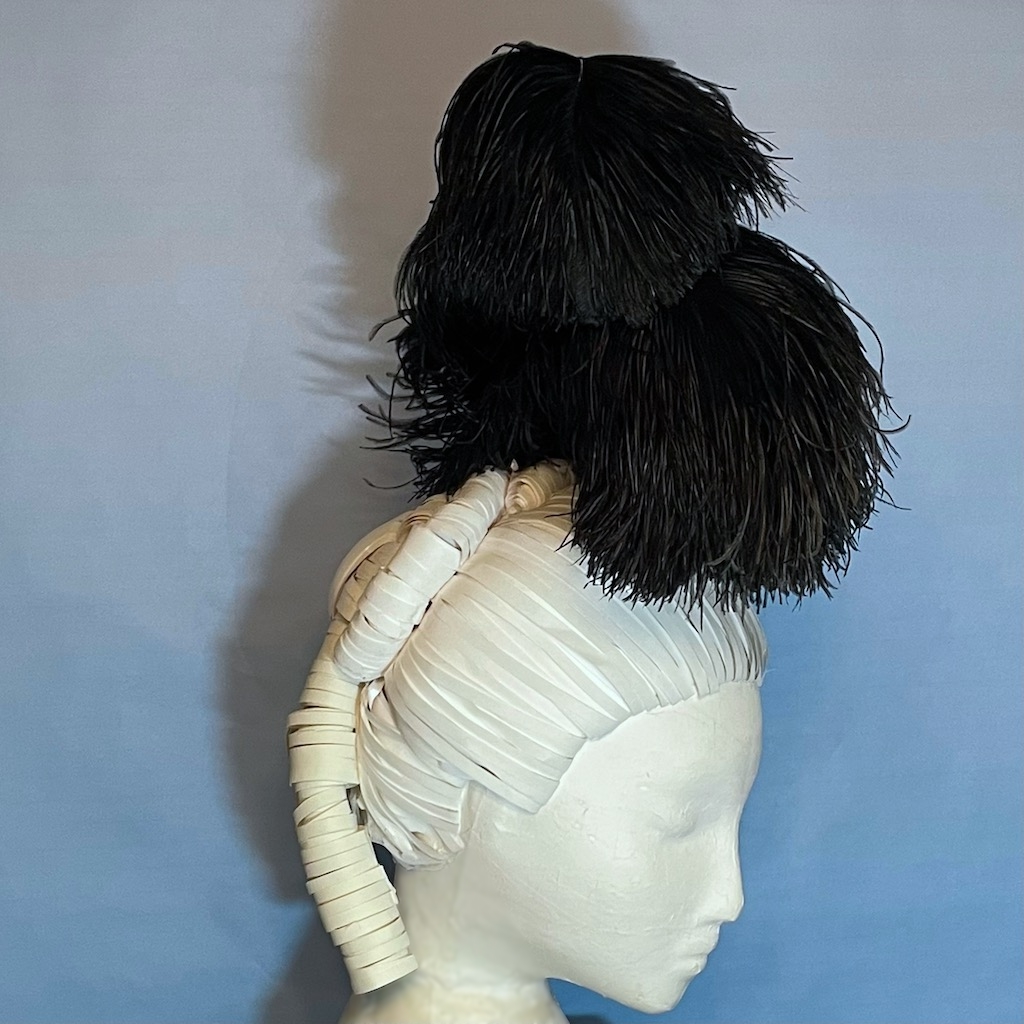
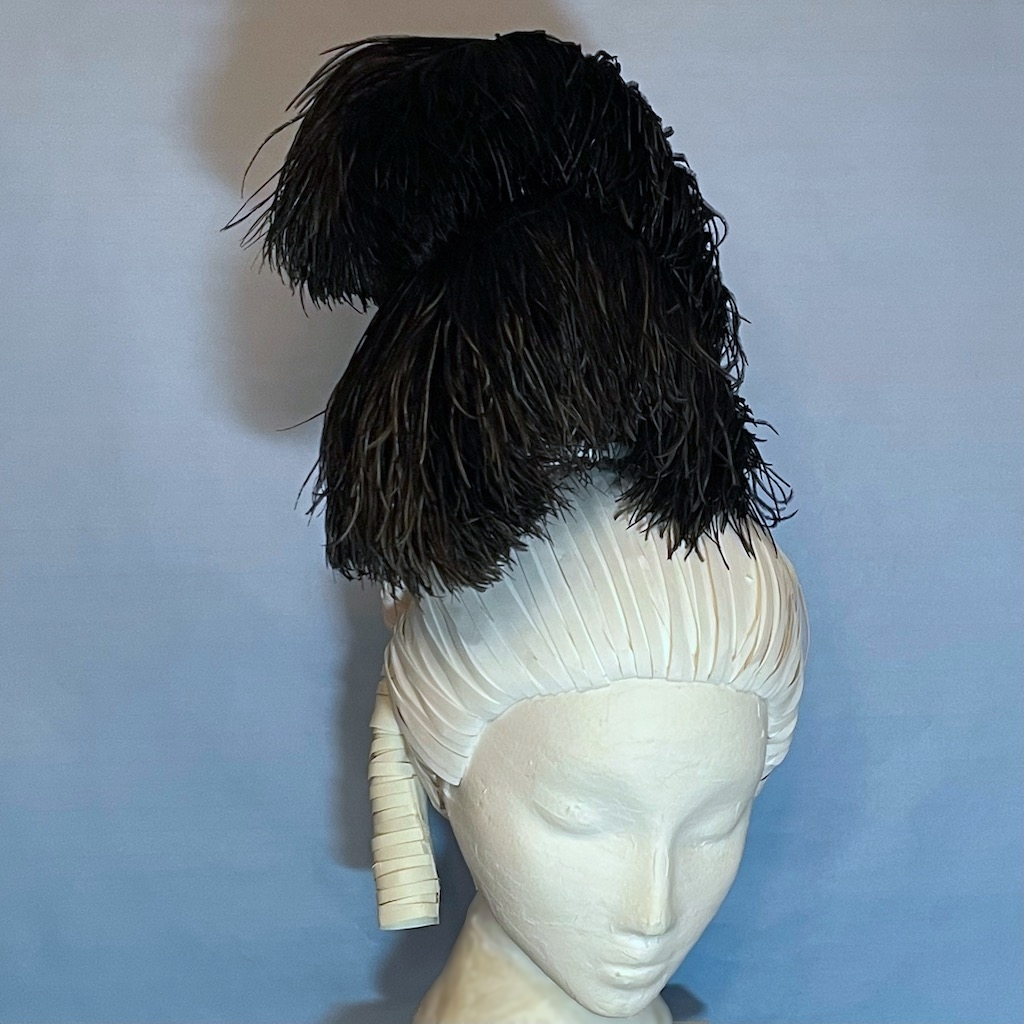
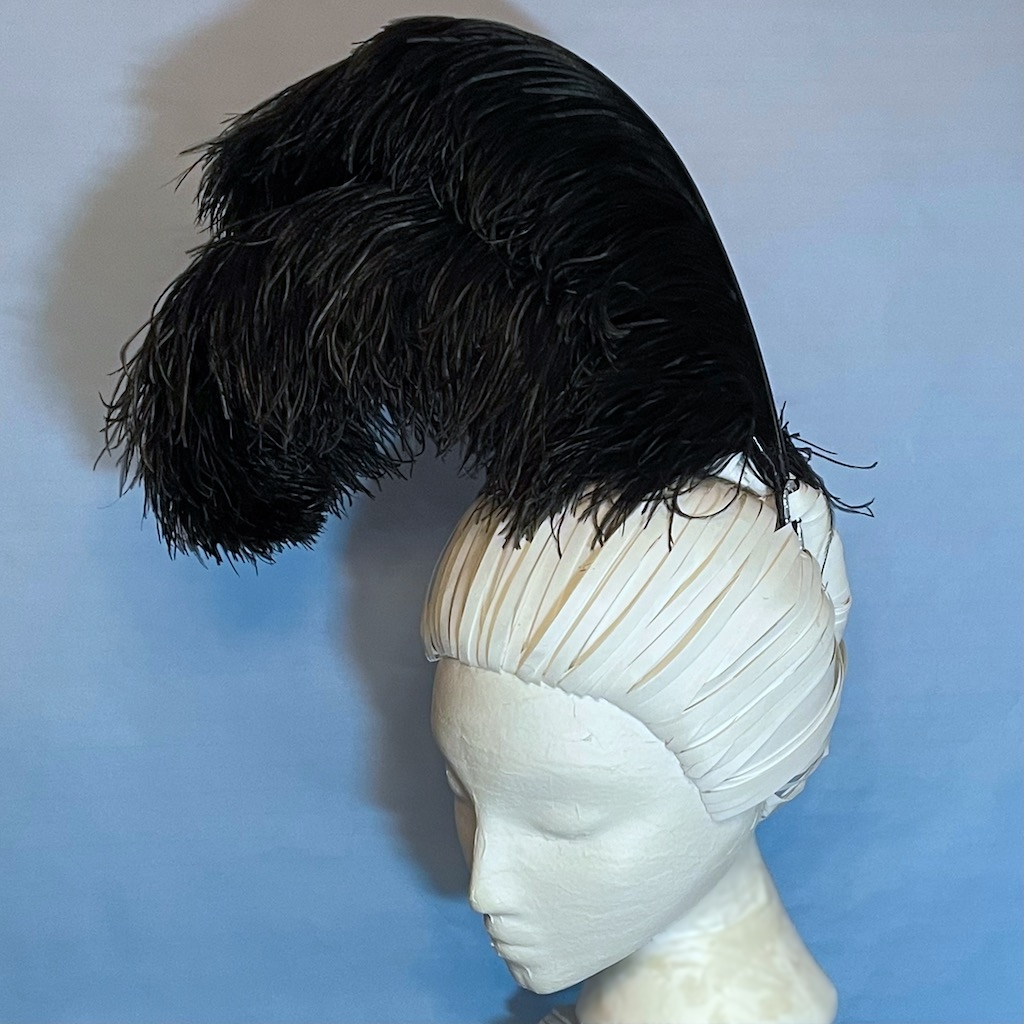
I had two vintage Ostrich plumes that needed to be on a single hairpin. These were made of three feathers each sewn together with heavy wire added at the base which was covered with crape paper. The first thing was to remove the crape paper which was flaking off in any case.
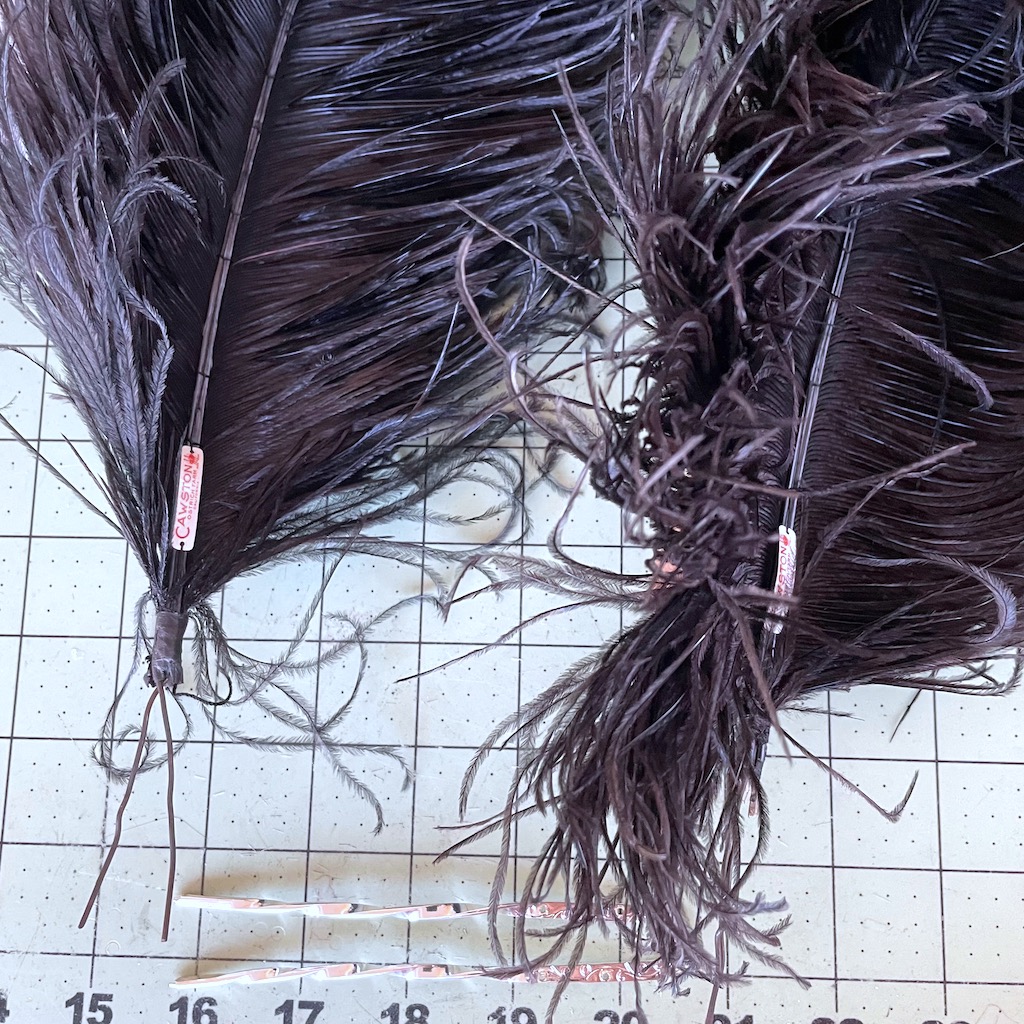
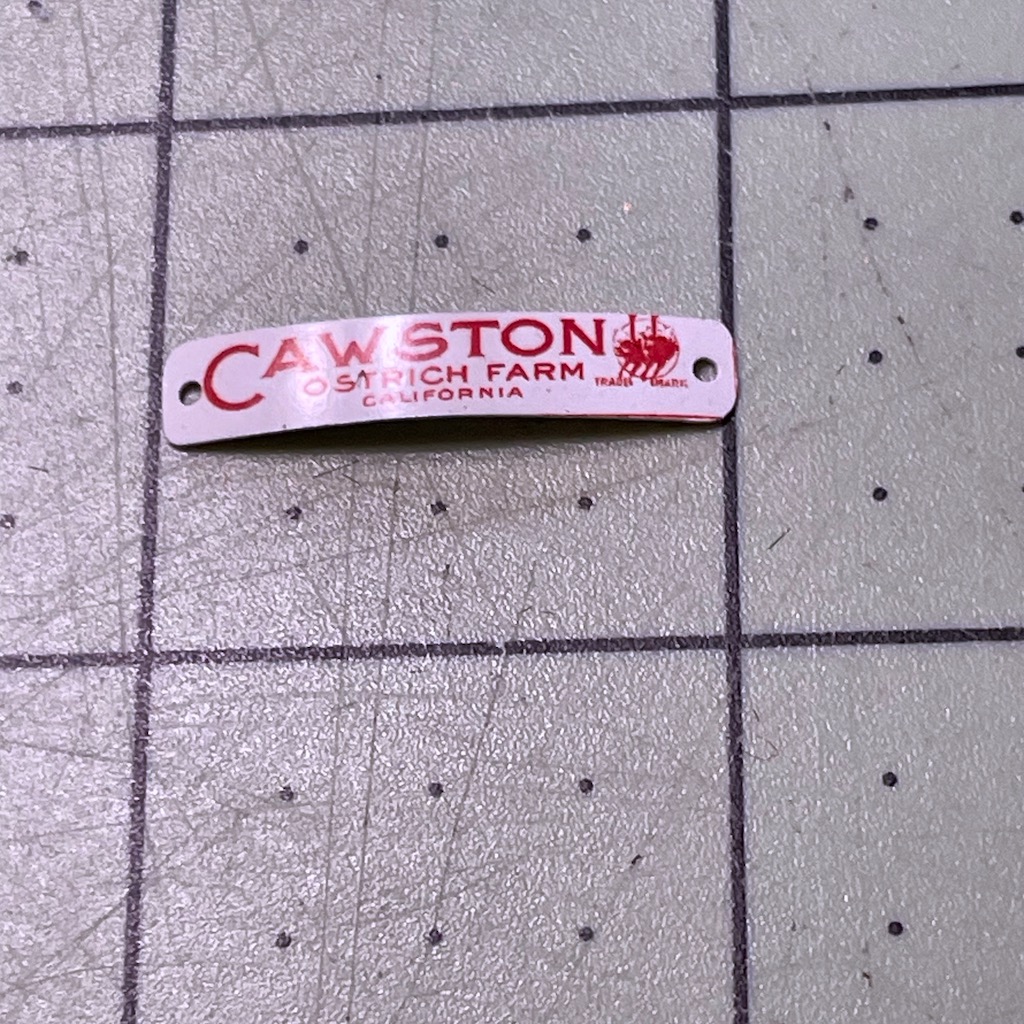
After removing the crape paper I separated the wires and straighten them out as much as possible. You might notice that these have a tag. It’s something I have never seen on vintage feathers. I looked up the ostrich farm.
Cawston Ostrich Farm
Looks like it was in business from 1886 to 1935 when the owner imported birds from Texas and South Africa not just as a feather farm but a tourist attraction. Click on the link you have to see the picture of the Ostrich pulling a carriage. The are very good quality. This tag fell off while I was working but looks as though I could reattach.
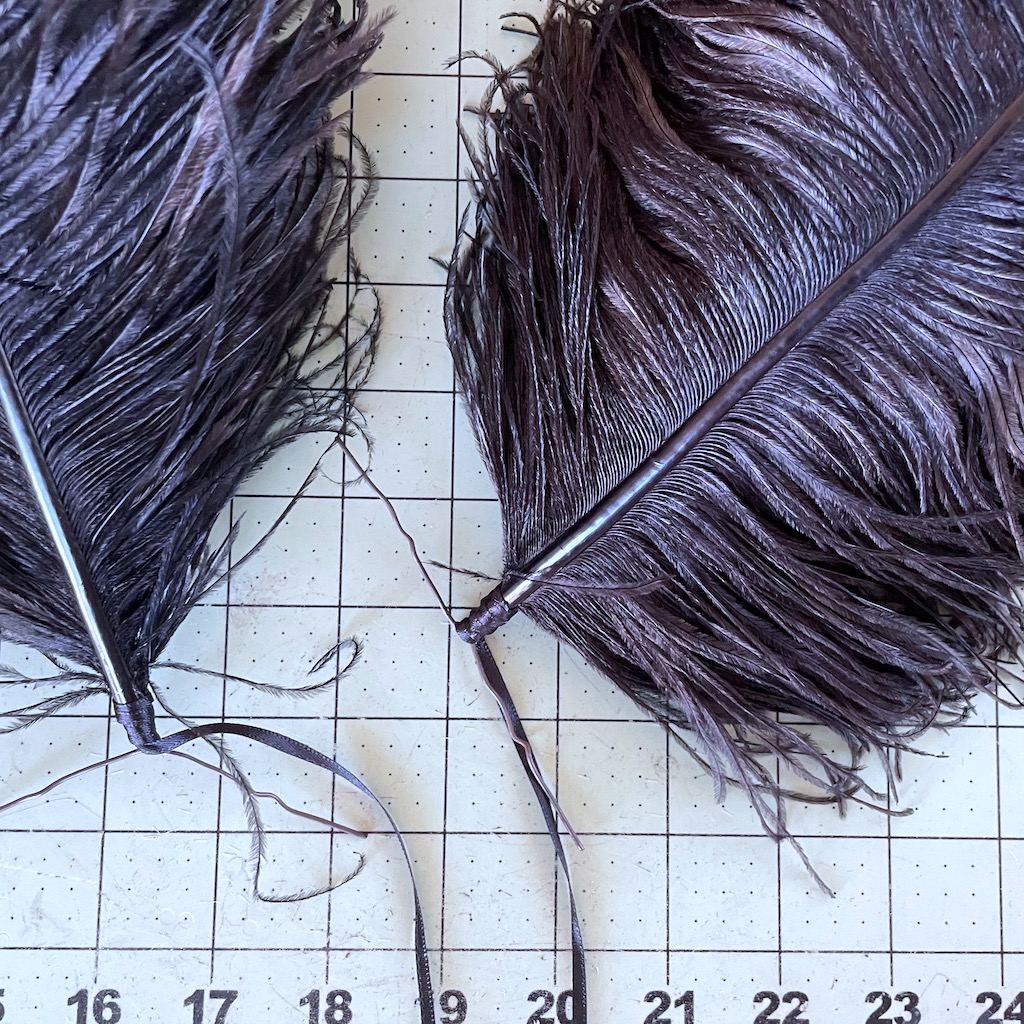
I glued some thin ribbon to cover the stem above the wires which I bent straight out, keeping the extra ribbon attached about 1 ft..
Then I bent the wires to match the shape of my twisted hairpins.
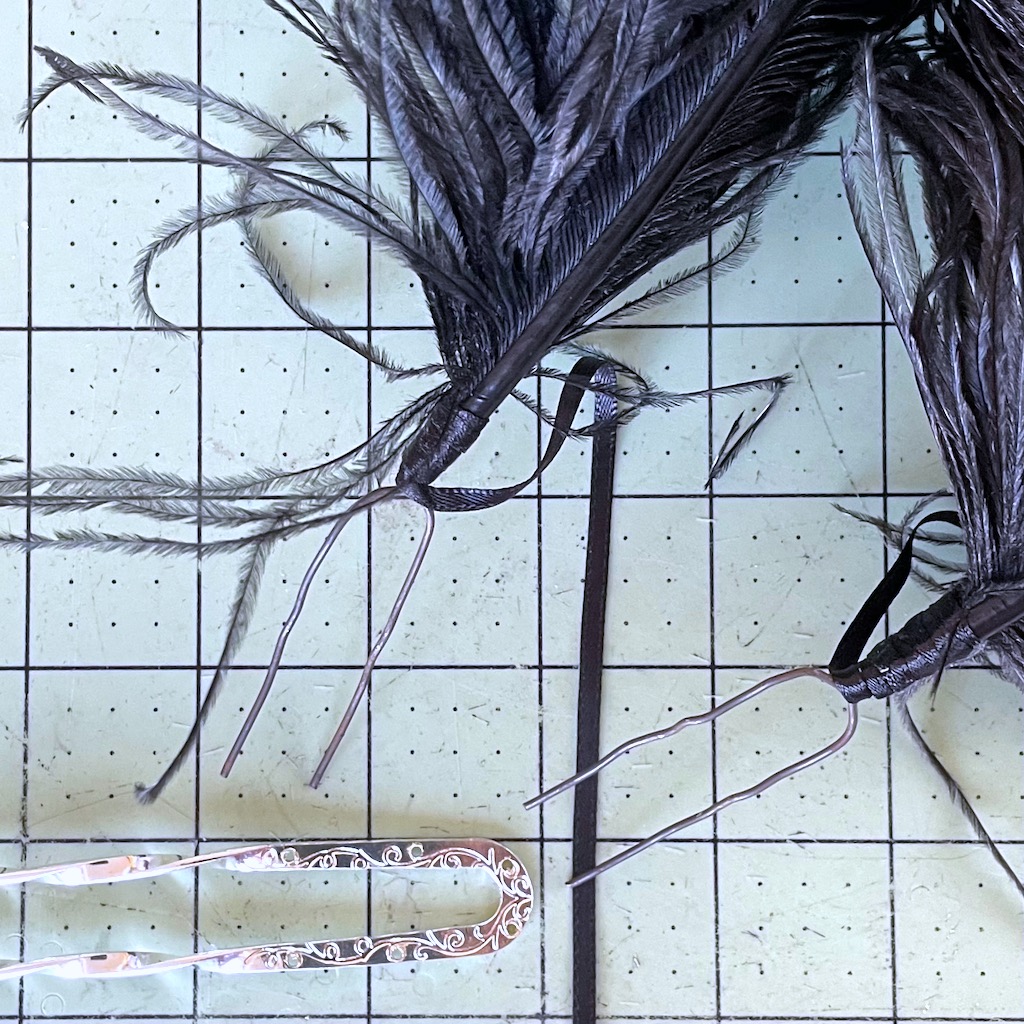
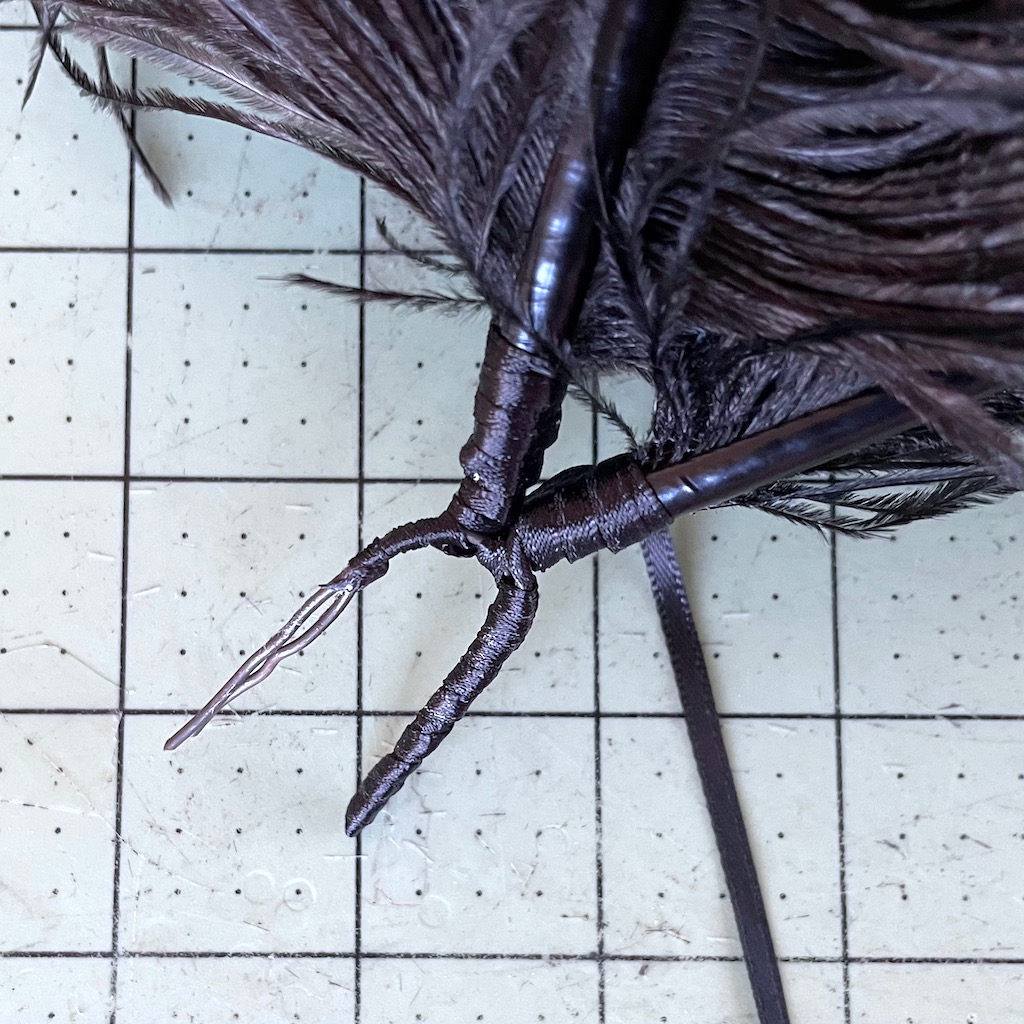
Then I used the ribbon from the left plume to wrap the right side wires for both plumes together. I wrapped it down to the tip and back up again before I glued it down.
I then used the ribbon from the right plume to cover the left wires, down and up, then glued off.
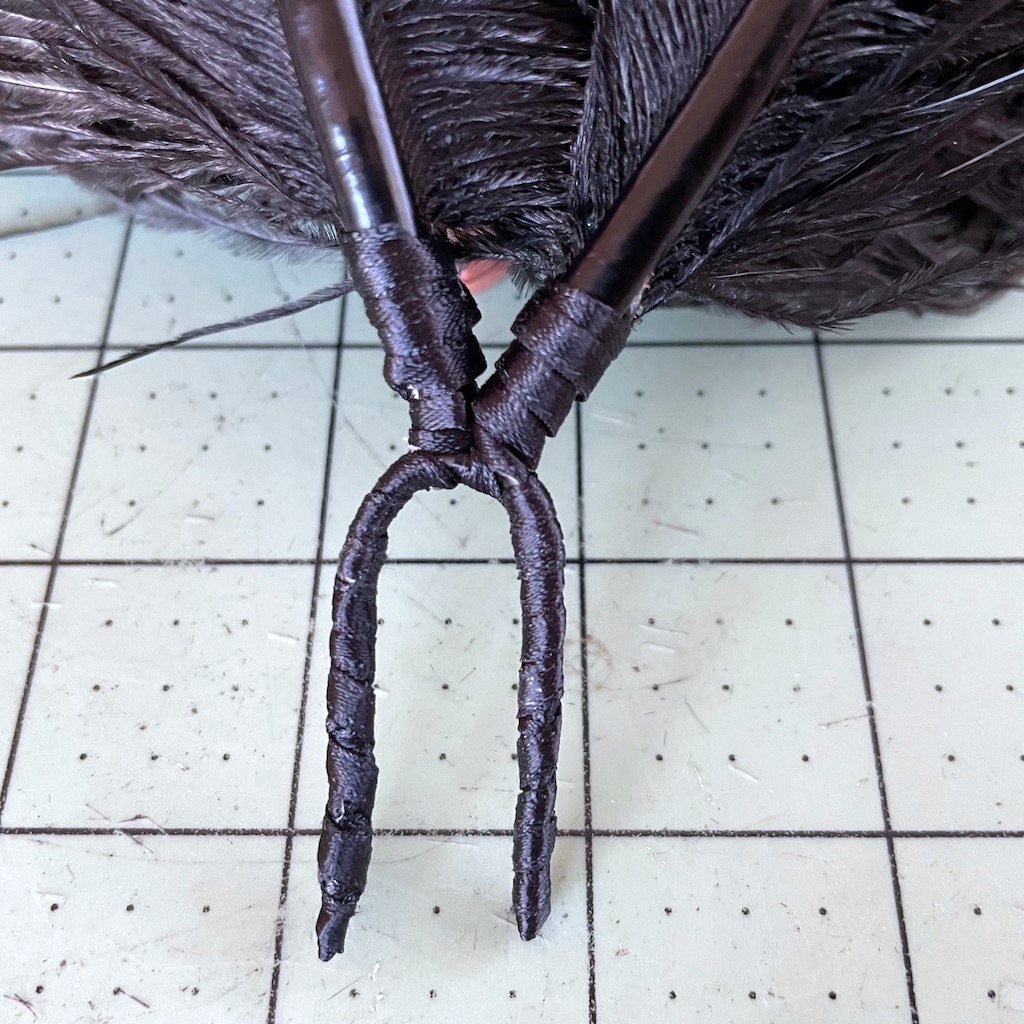
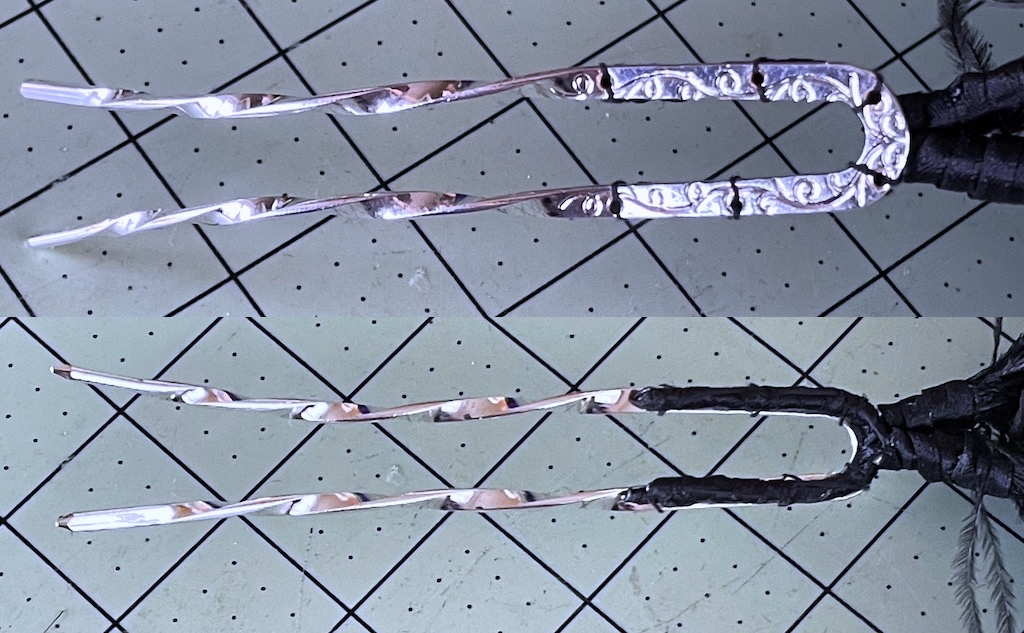
I then sewed the wires of the plumes to the back flat area of the hairpin. Upper is the right side and the lower is the backside.
This is how it would look pinned in. The really nice thing is that you can bend the hairpin so that it follows the shape of your head.
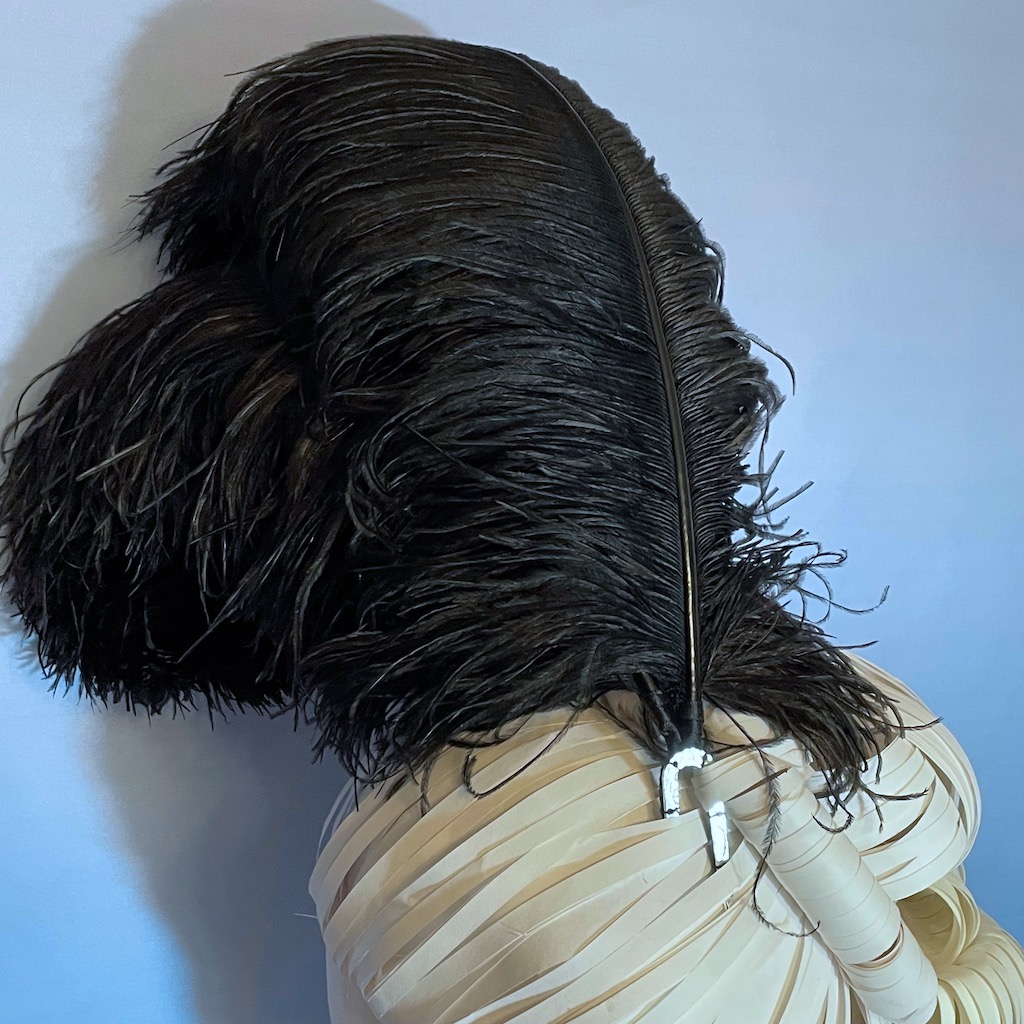
More multi colored feathers on a single hairpin
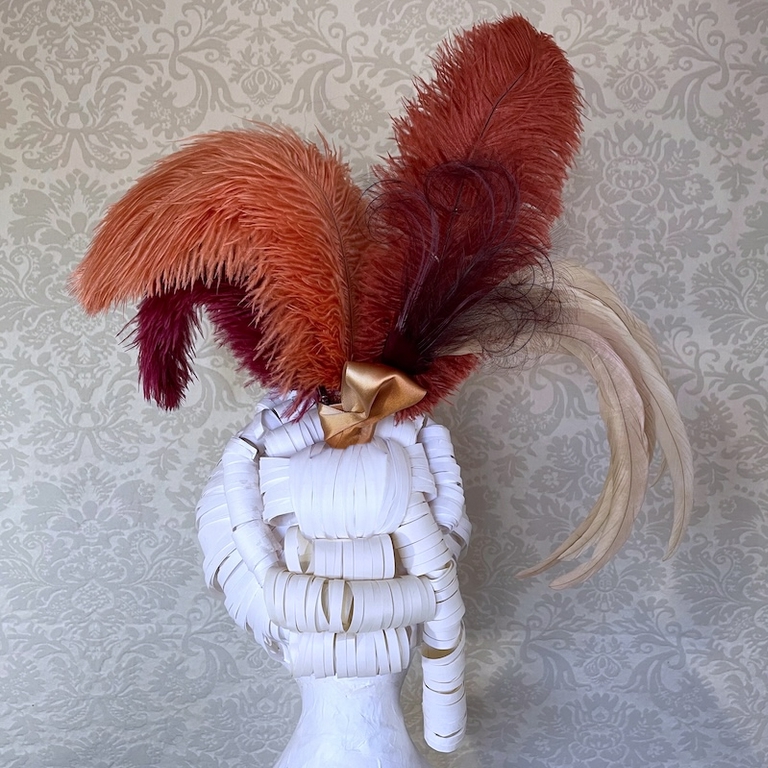
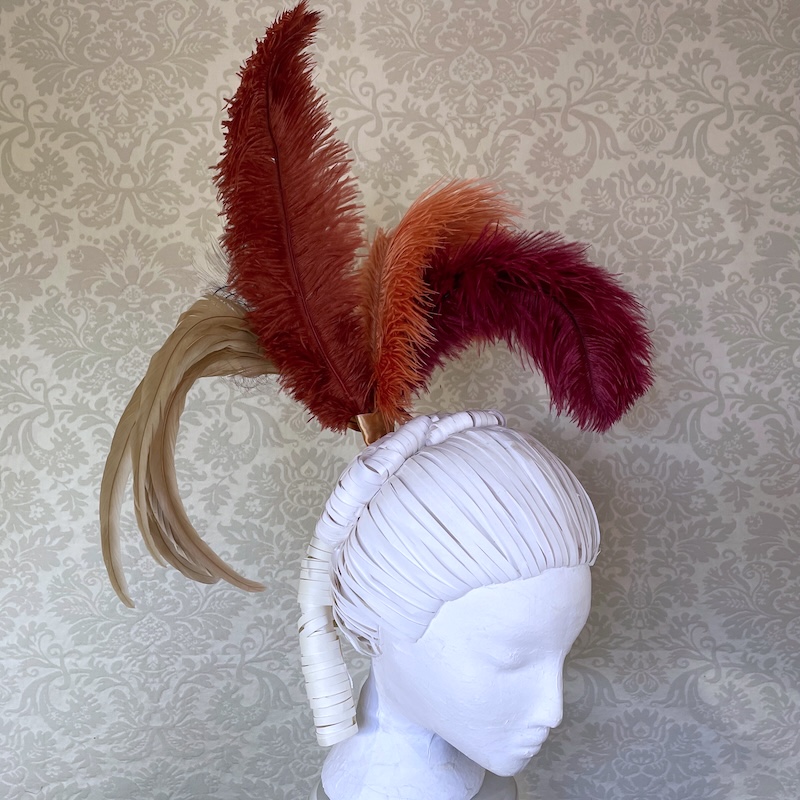
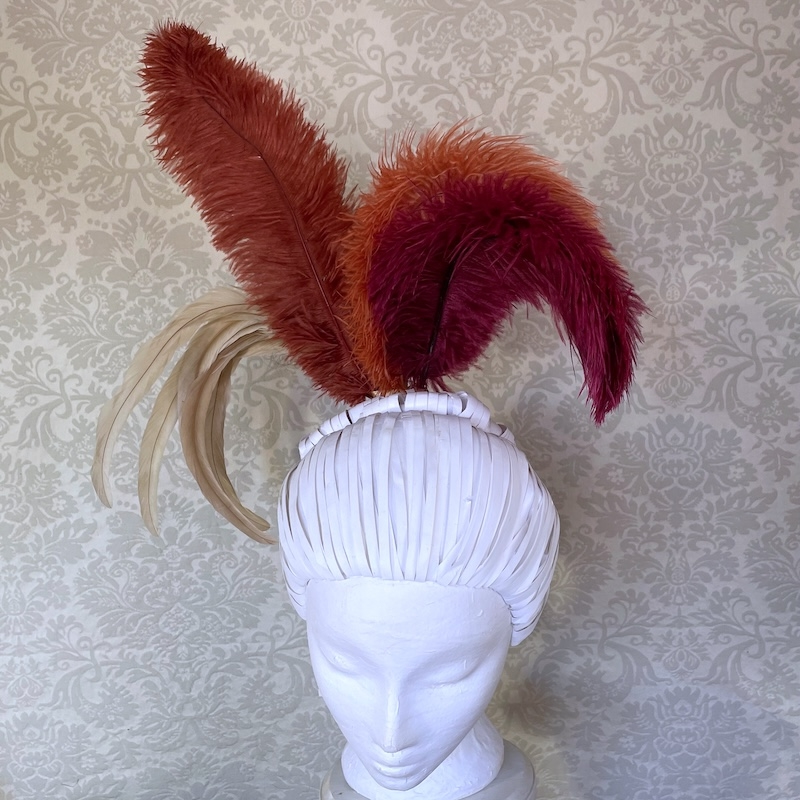
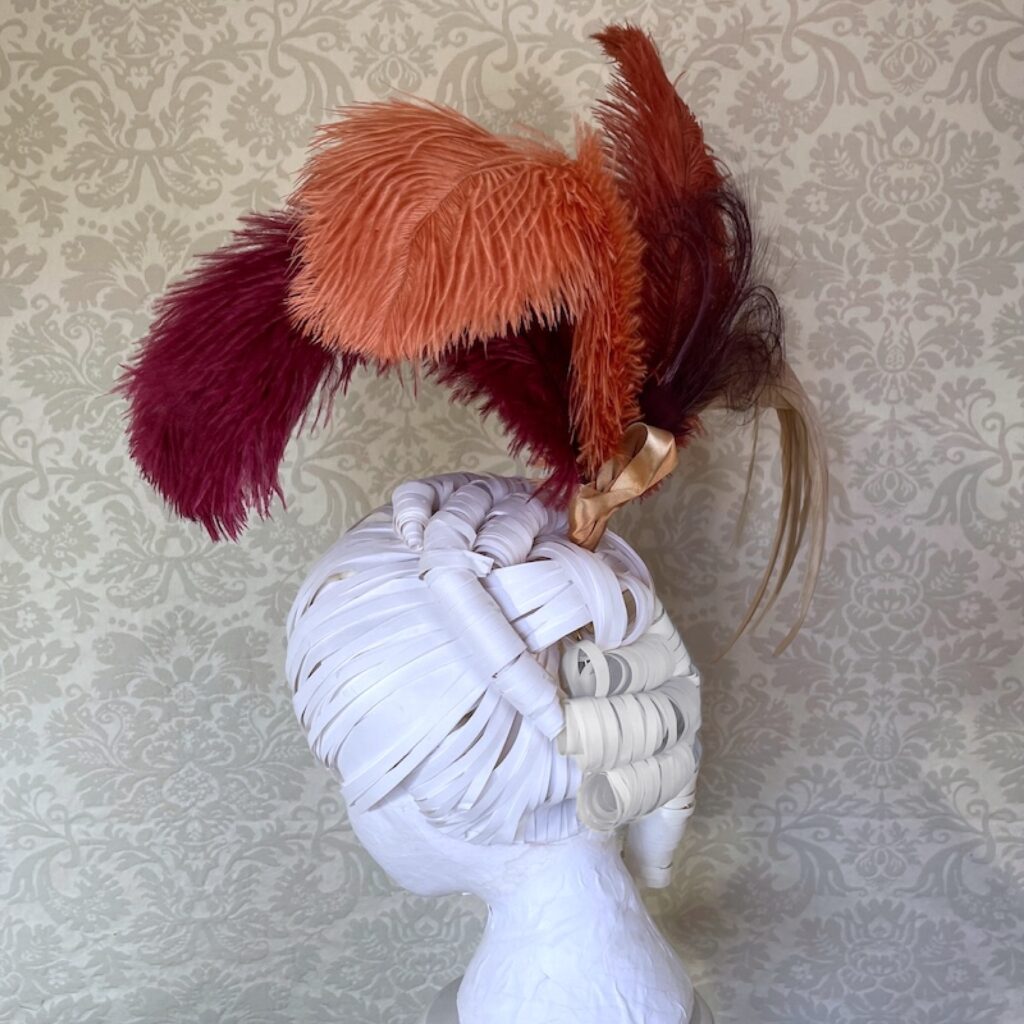
Orange, burgundy and cinnamon headdress
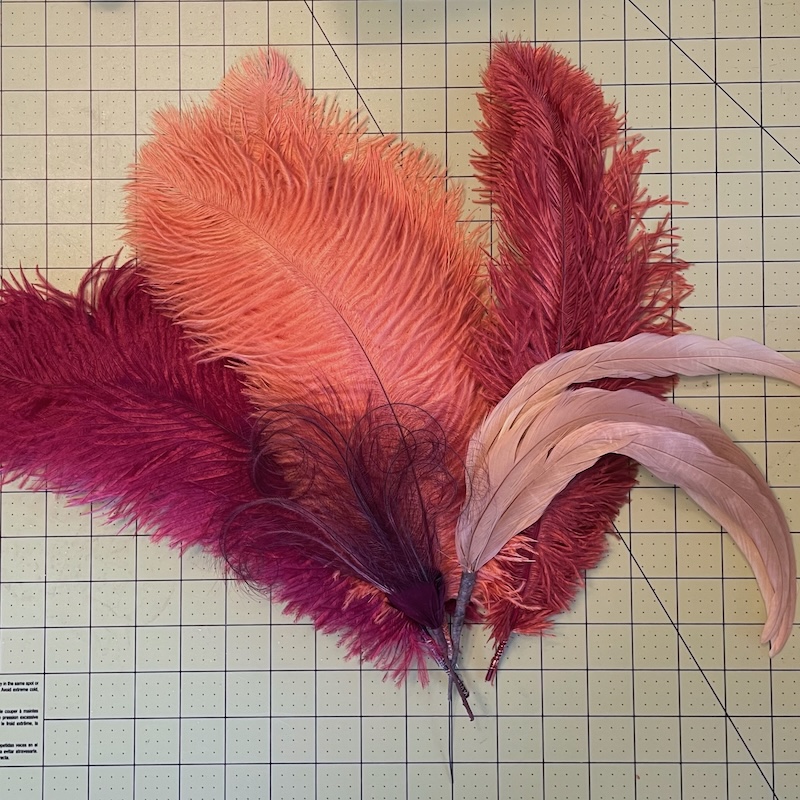
I chose these feathers and feather ornaments to add together and mount on one twisted metal hairpin. There will be two 3-feather ostrich drab plumes, One 2-feather ostrich drab plume, one 6 feather coque feather sweep and one burnt ostrich and goose feather ornament.
To make the plumes I first picked similar feathers and chose which ones were top, middle and bottom. Then ground the stems as per the instructions in this article.
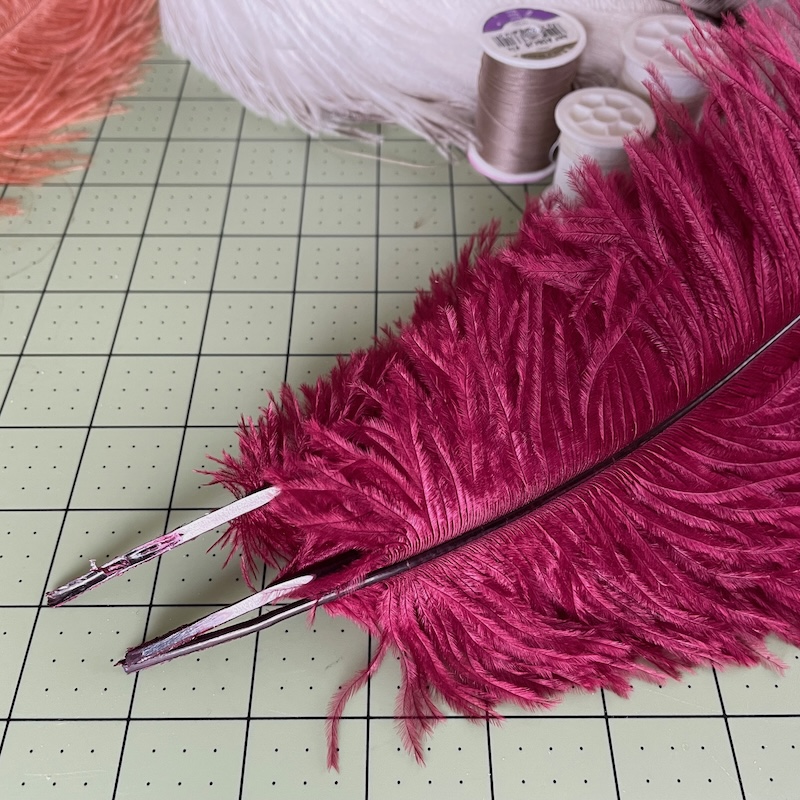
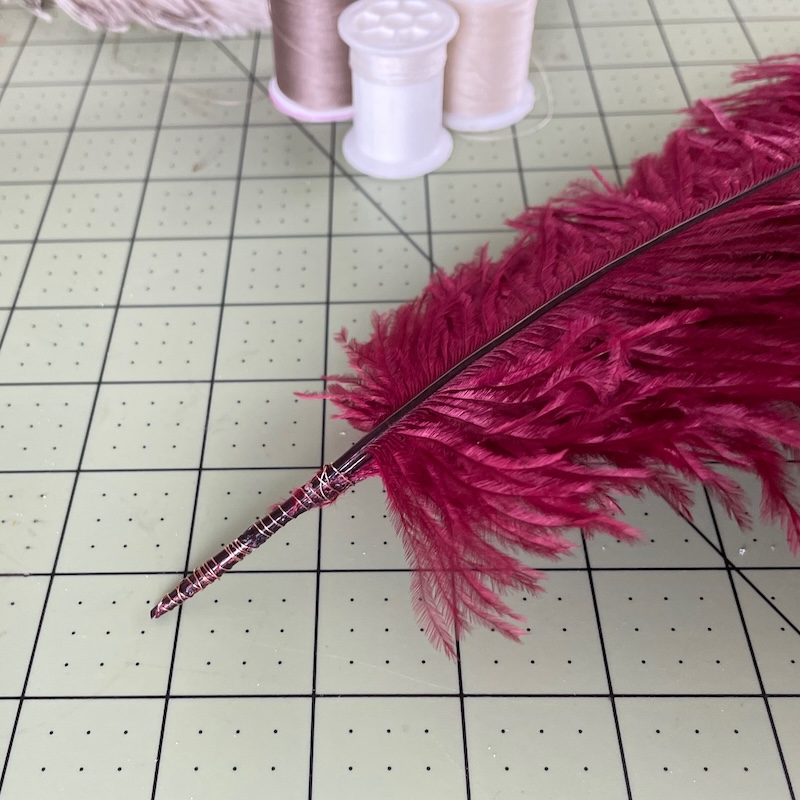
In picking the right color thread matching the stem is important.
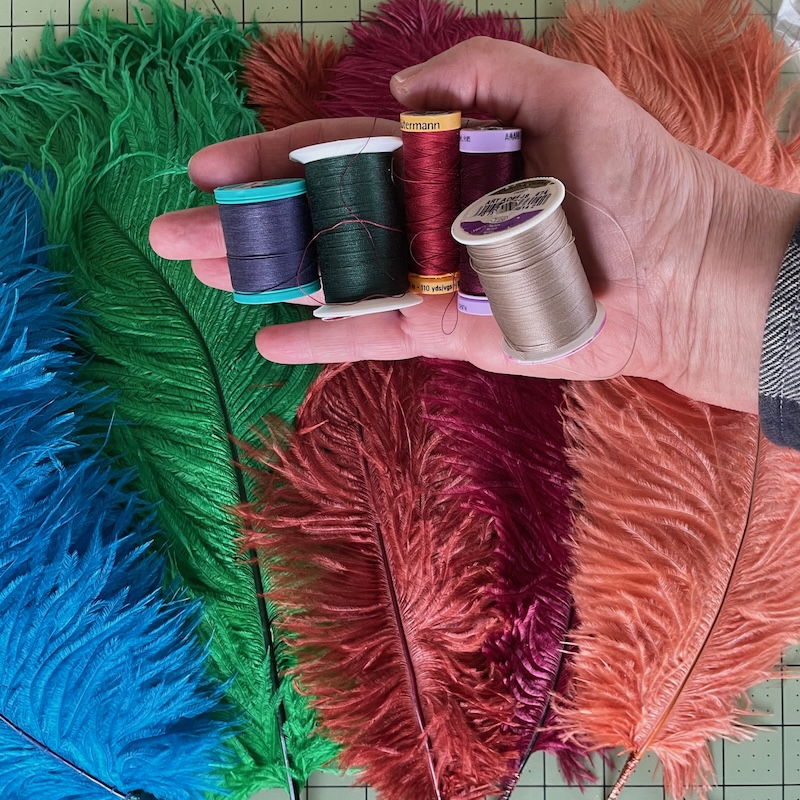
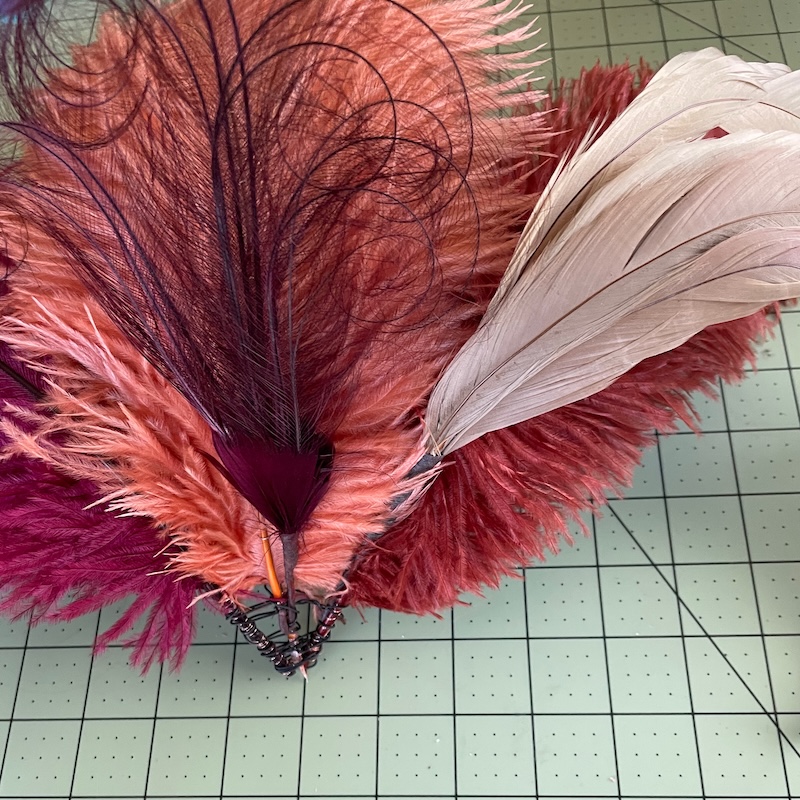
Once all the plumes were sewn together I made three bundles by wiring things together at their bases with thin wire. I had one with two ostrich plumes (left), one with an ostrich plume and the coque sweep (right) and one with one ostrich and the burnt ostrich ornament (center).
Because I wanted them to be secure I wired them together in this “V” shape with some stiff 18 gauge wire. I sort of wrapped it around the stems then off to the other stem and around again them to the last one, then up to the next level and repeated the wrapping. Because I was holding them in this shape as I wrapped and the wire was very stiff when I was done everything was really secure.
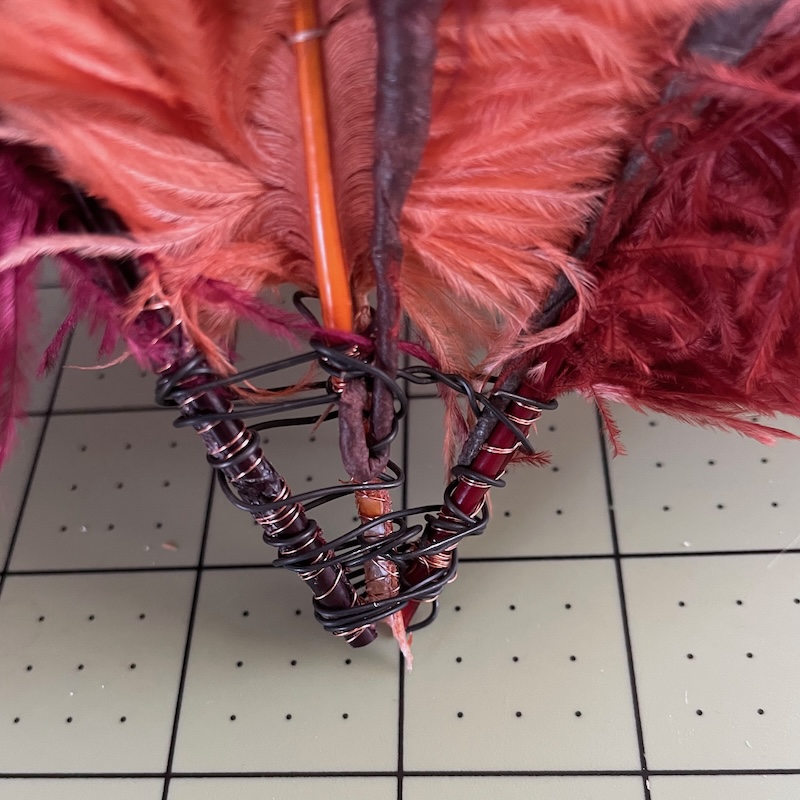
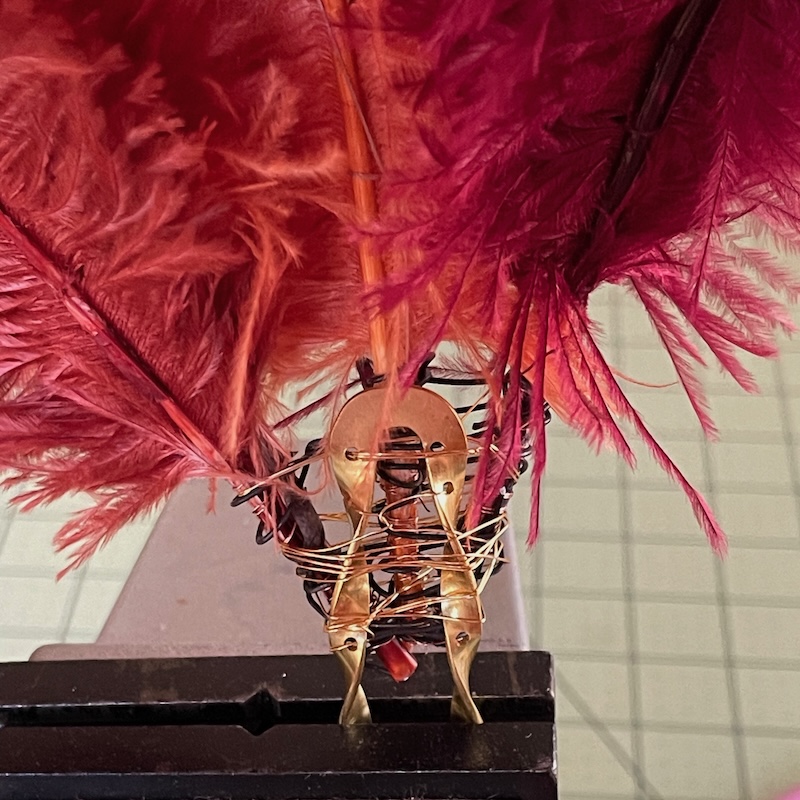
The added the feather bundle to the drilled hairpin. I used thin 26 gauge wire to do this. You can use strong thread but there is a chance that the holes on the metal hairpin might cut the thread so wire is best. I wrapped thru the holes and around to outside and thru the stiff wire from the last step. Until things were very secure.
I used 2″ ribbon the cover all the stems and the wire. First gluing a fold in the ribbon at 45°. Seen from the back of the ribbon.
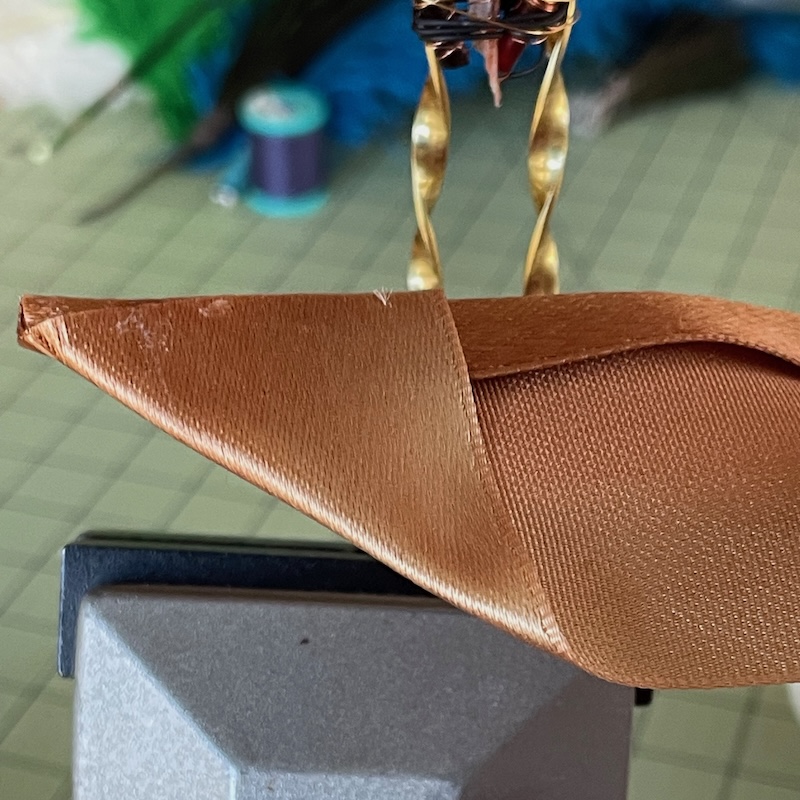
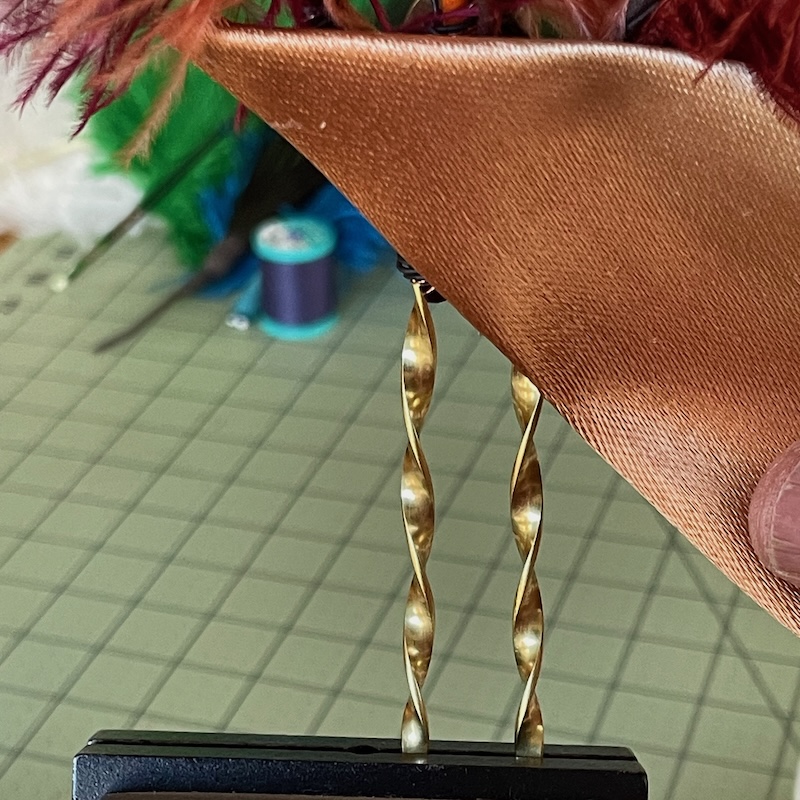
The fold went across the top. Seen from the front of the ribbon and the back of the hairpin.
Then I wrapped the ribbon around across the front. And glued the of the fold in the ribbon to the back of the ribbon where it over lapped. Seen from the front.
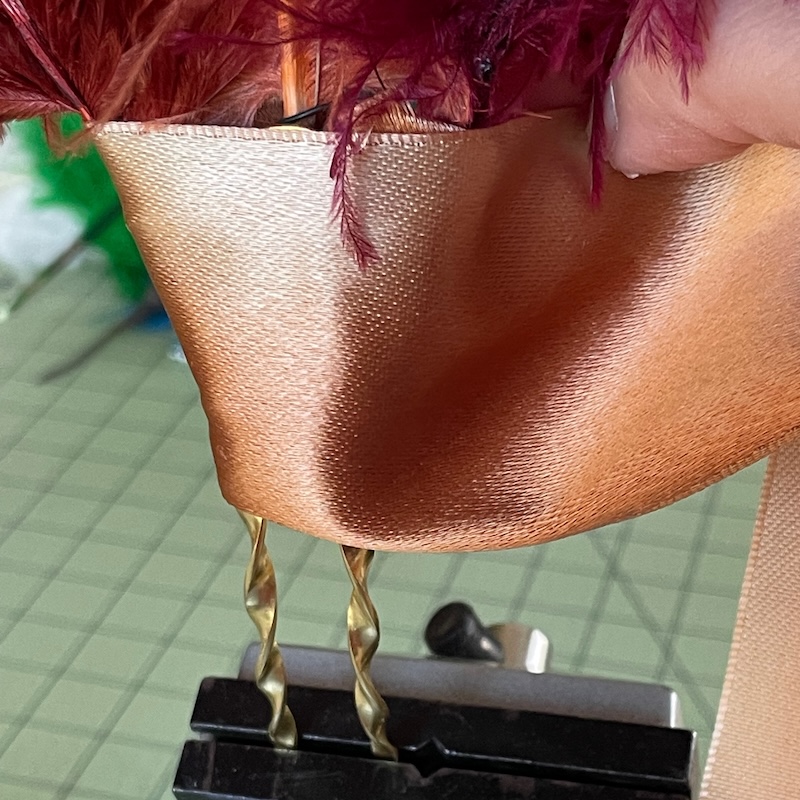
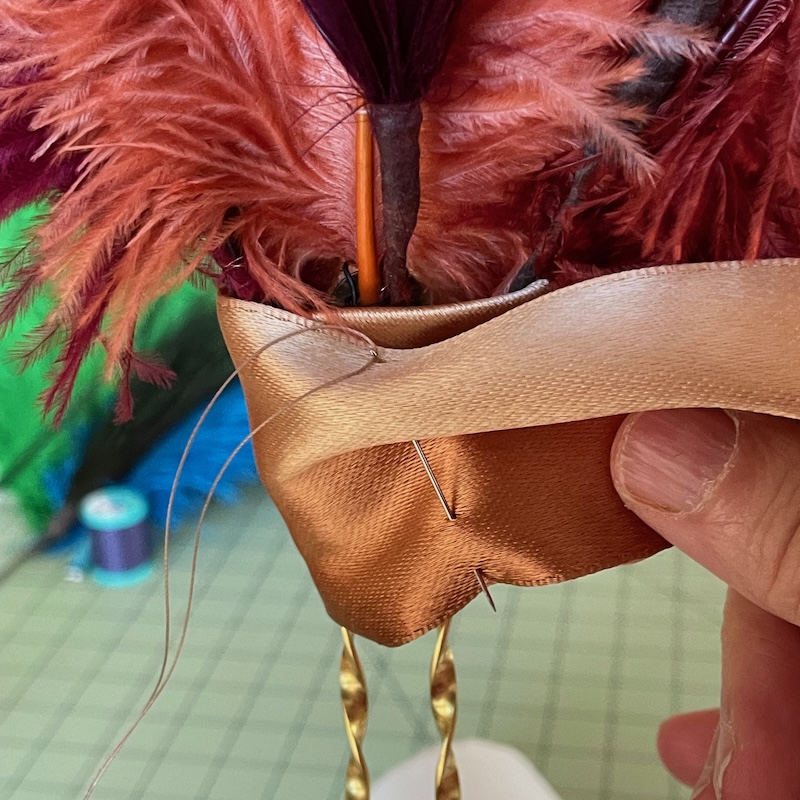
Seen from the back, I used some thread to gather the ribbon across.
Then folded the ribbon to make a 1/2 bow and gathered that.
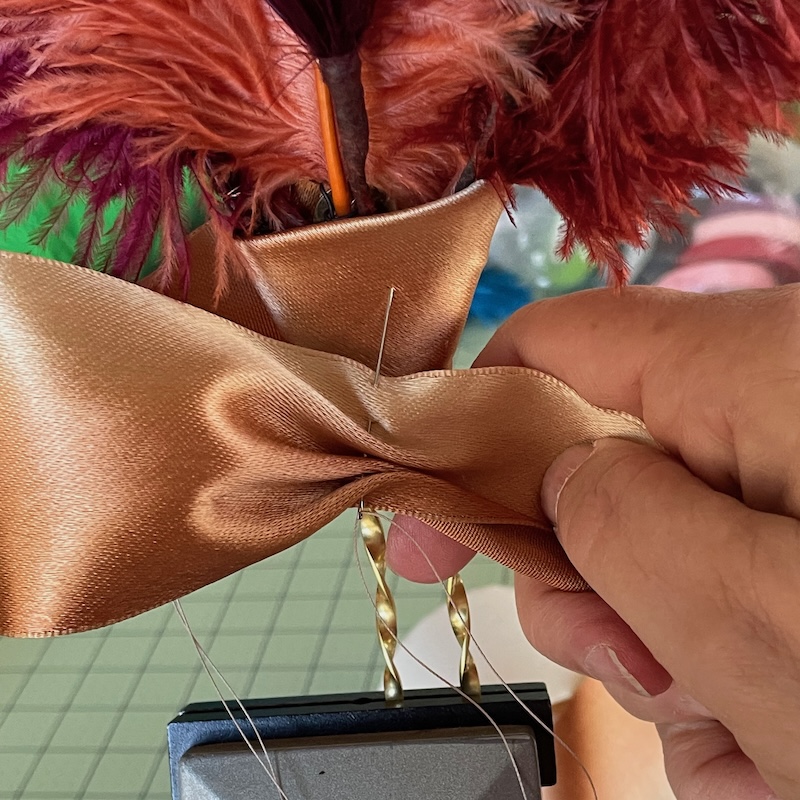
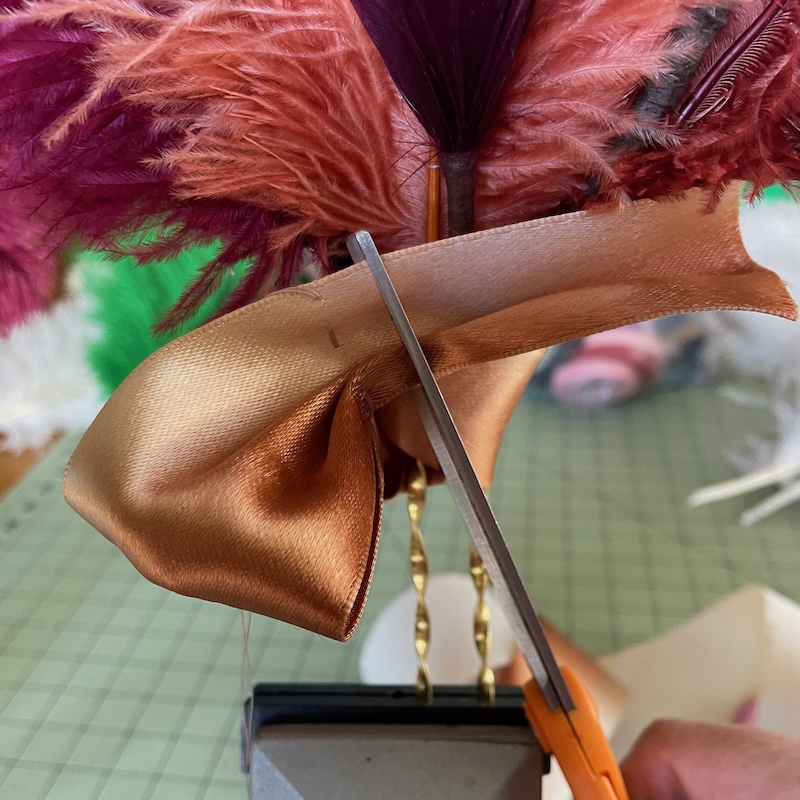
I trimmed off the extra ribbon. Flipped it under and used the rest of the thread to sew to ribbon to the wired base of the feathers. I went back and forth two or three times. This step in important because the ribbon is only glued to its self and not to the feathers. It would slip right down off the hairpin if not for the stitches thru the wire grid.
Back of the feather ornament. You will need to gently bend the hairpin to the shape of your head so that the end does not stick out but follows your scalp.
Blue green headdress
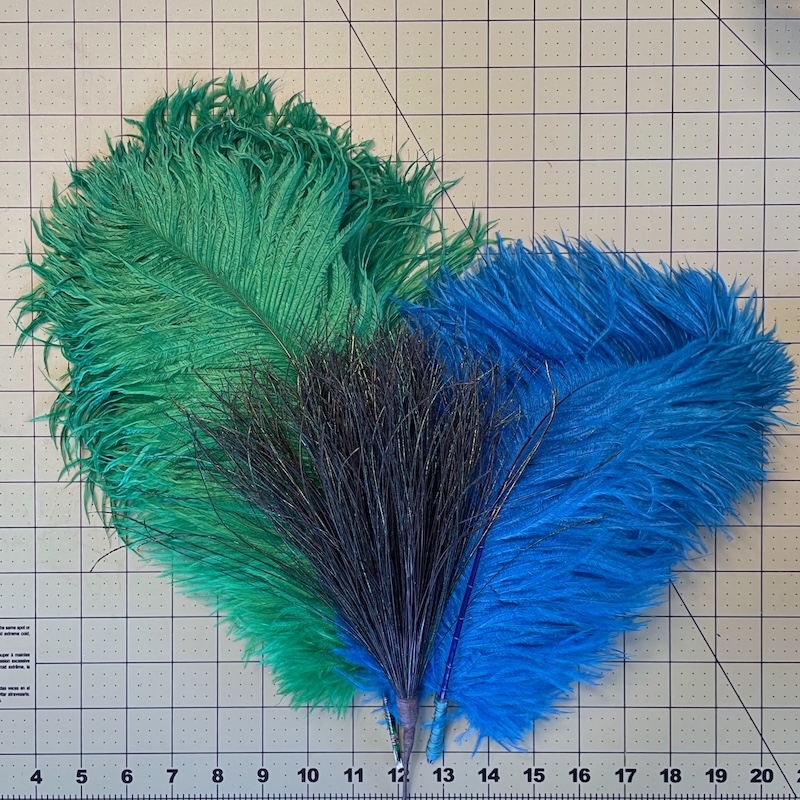
This headdress has 3 elements. One green 3 ostrich drab feather plume, one blue 3 ostrich drab feather plume and one bundle of sewn peacock hurl 12″ long and 3″ wide. The ostrich plumes are sewn together as in the orange plumes above.
The 12″ long peacock hurl is way too long so it needs to be trimmed.
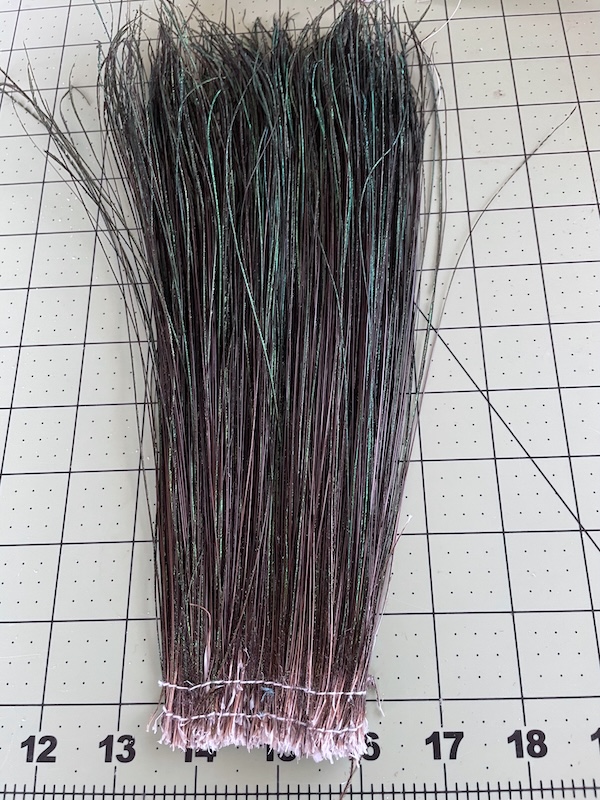
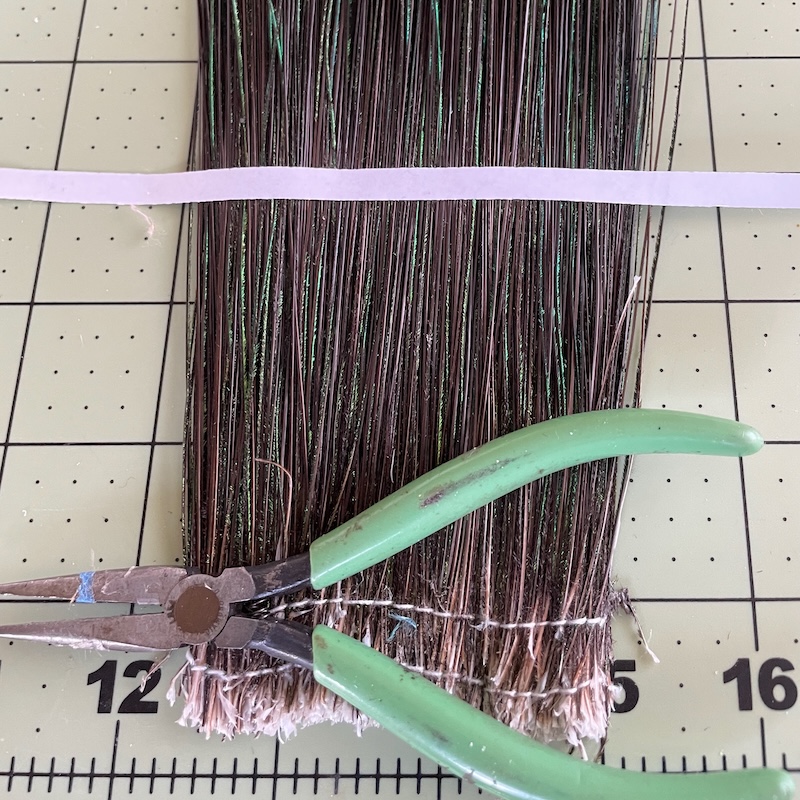
Using double sided paper back 1/4″ tape I tapped just above where I was going to cut on both sides of the peacock.
I removed the paper backing on the tape and used a rotary cutter to cut thru the hurl.
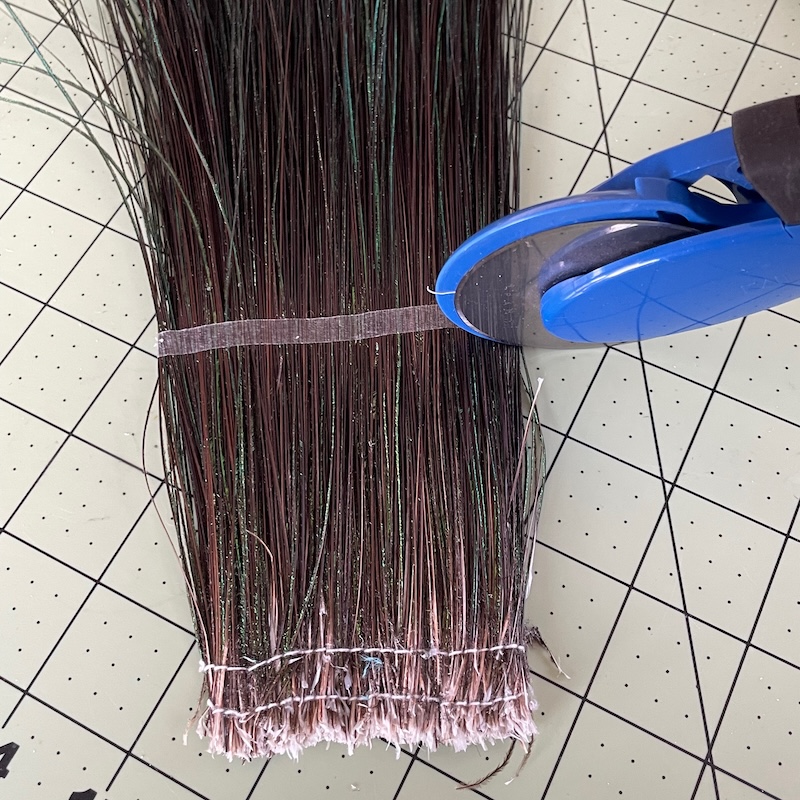
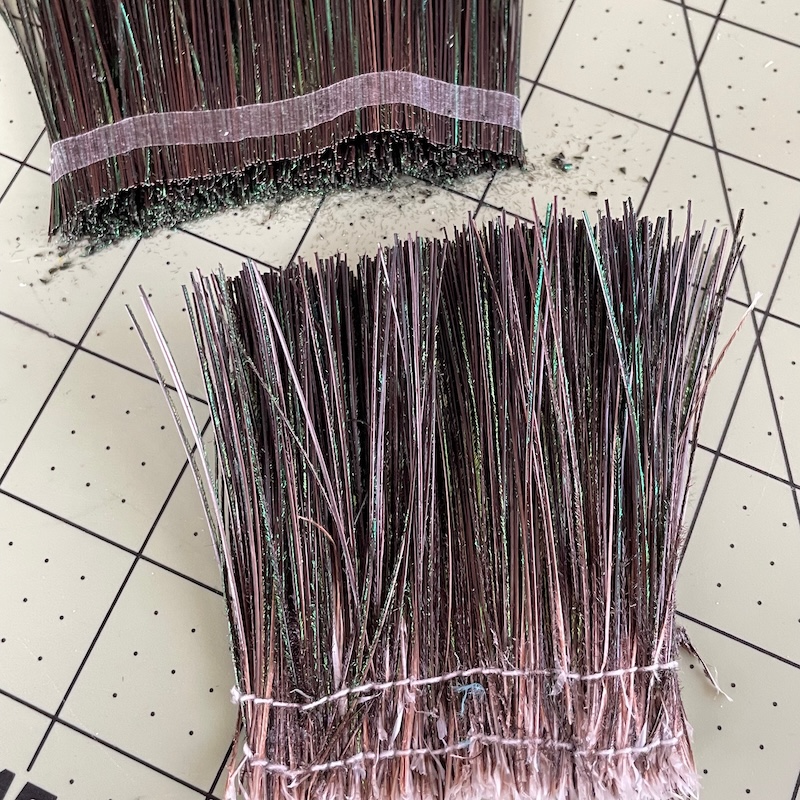
It took a couple passes.
I want to add the hurl to a wire, but in order for the bundle to not be able to slip away there needs to be a circle in the wire. The knot that will hold the bundle together will not be able to slip past the circle.
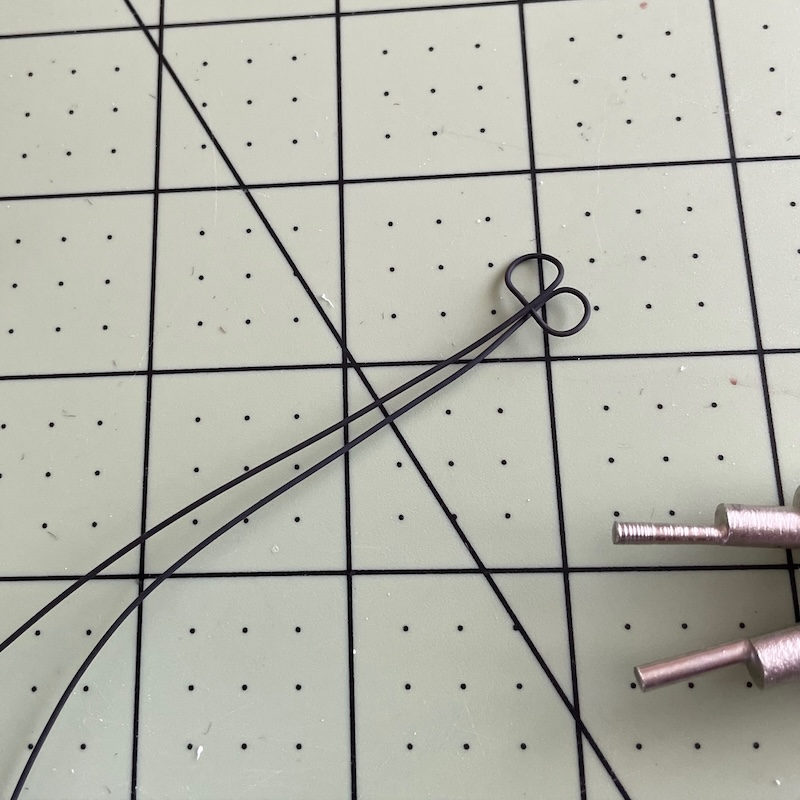
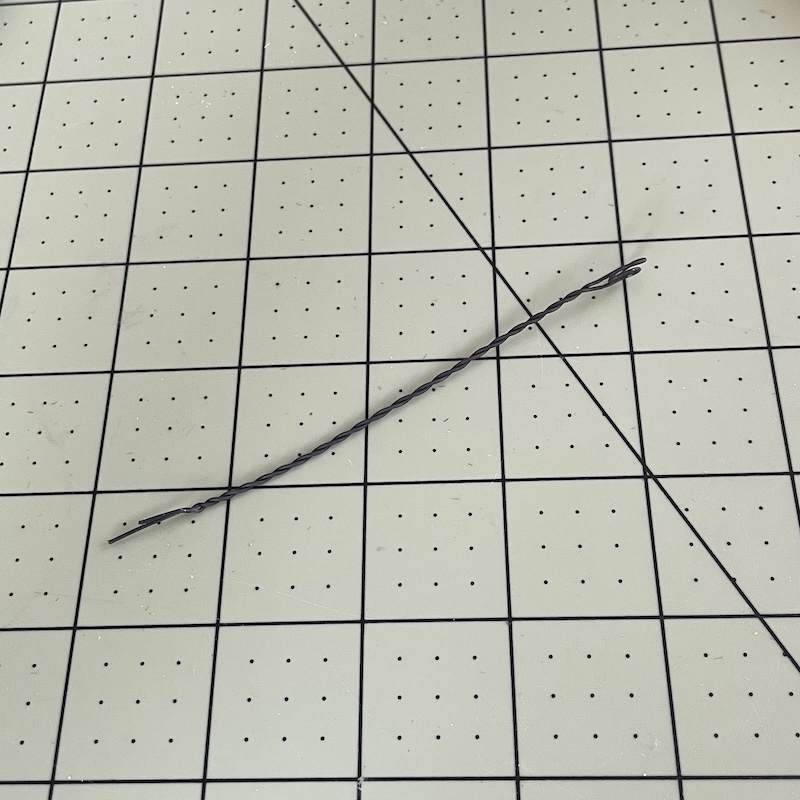
I folded the two circles above together with my pliers and twisted the wire below the circle together.
I slipped the circle inside the tapped cut ends of the hurl. I then started to tightly wrap then hurl around the wire.
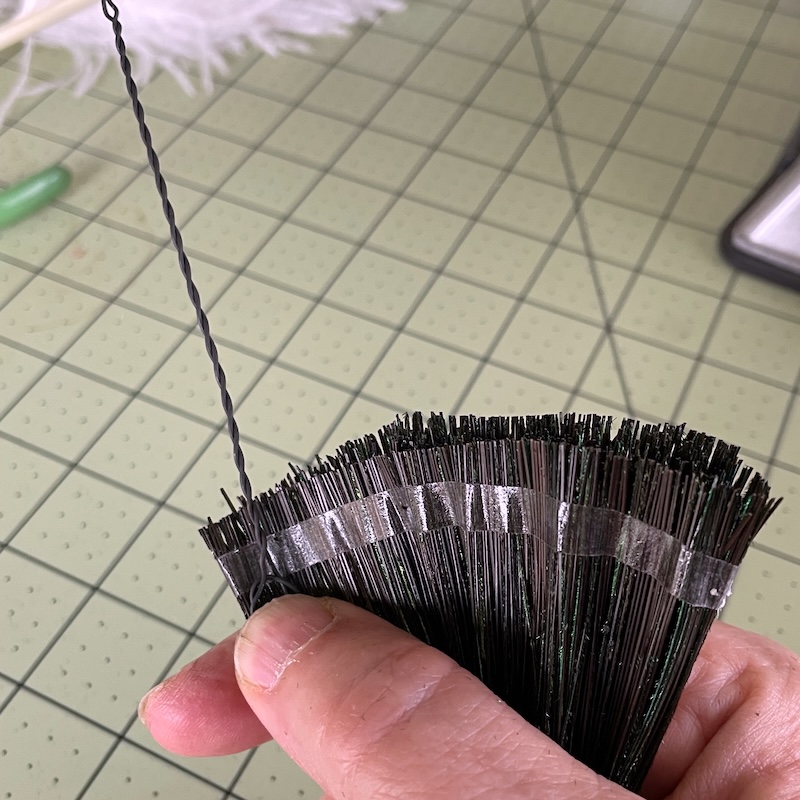
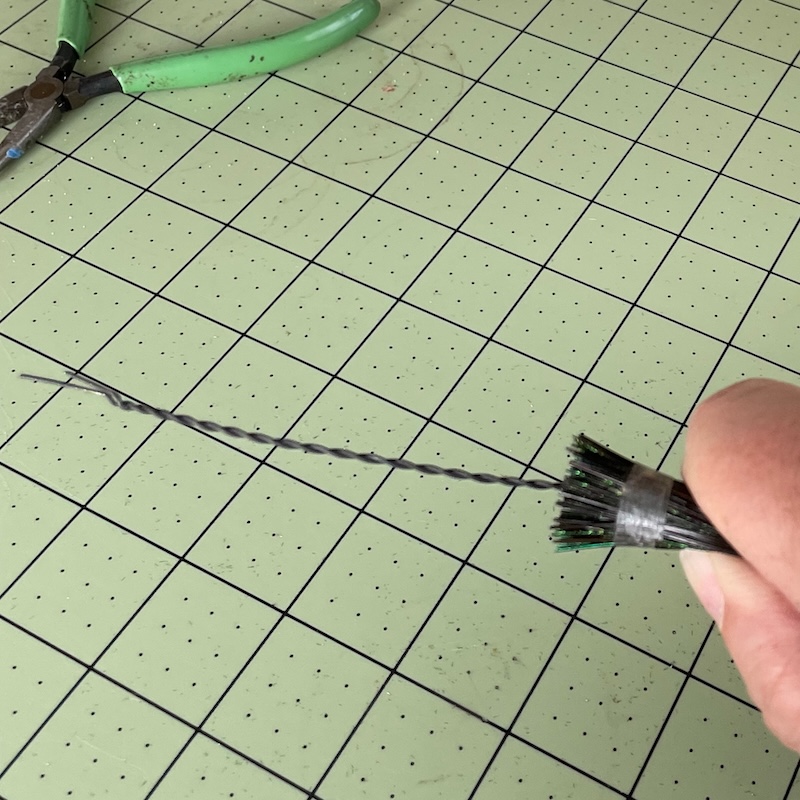
This is when it has been wrapped around the wire. The circle in the wire is just above the tape and I’m holding it in my fingers.
To make sure that the bundle can not slip past the circle I tied some strong thread just above the tape. Starting with a surgeon’s knot.
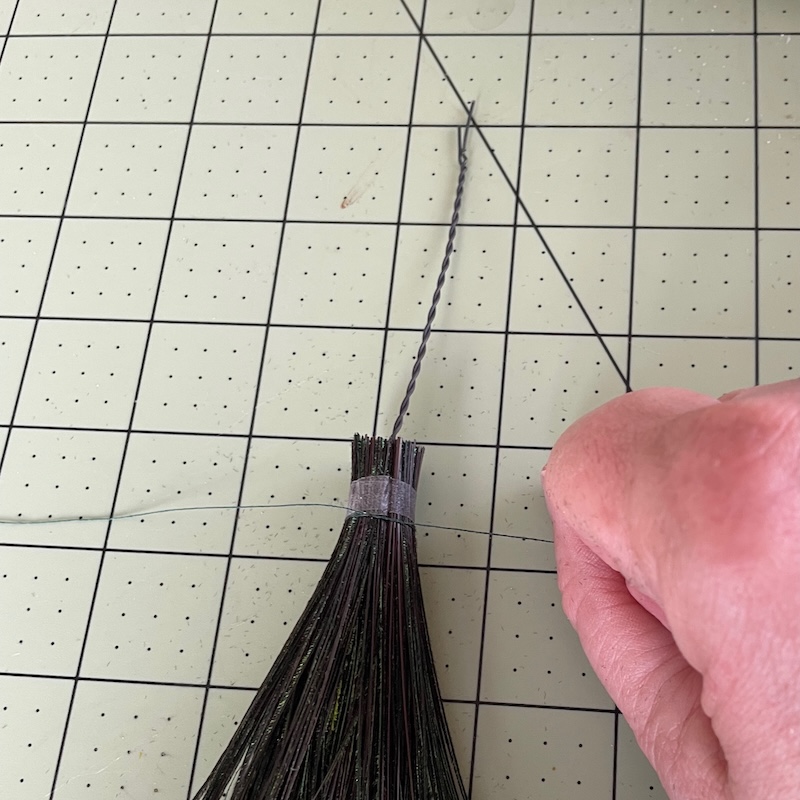
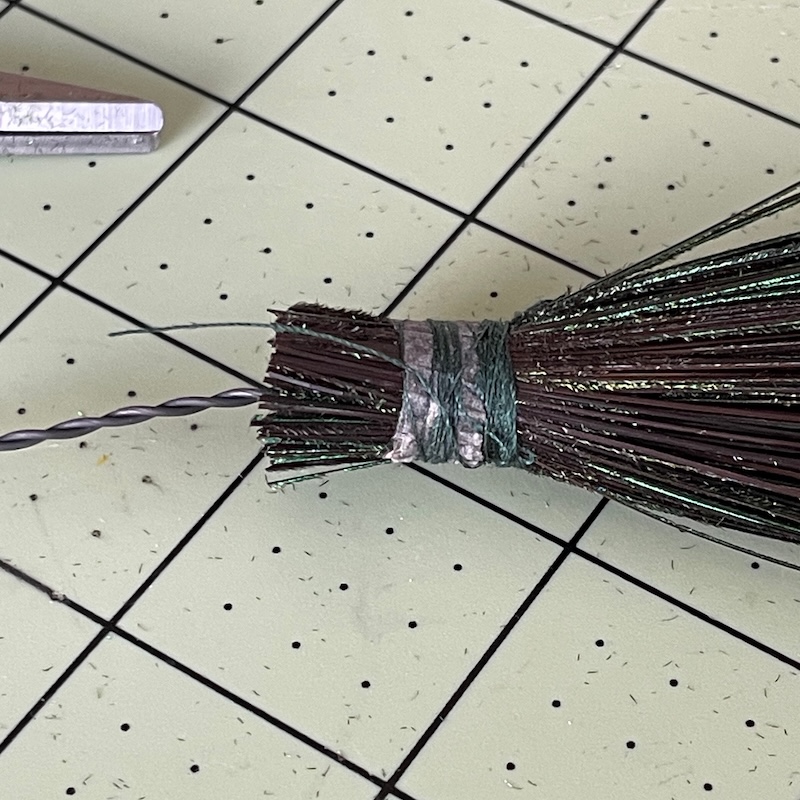
I continued to wrap the thread around the bundle as tightly as possible.
To expose as many ends of the hurl as possible I trimmed it into a half round.
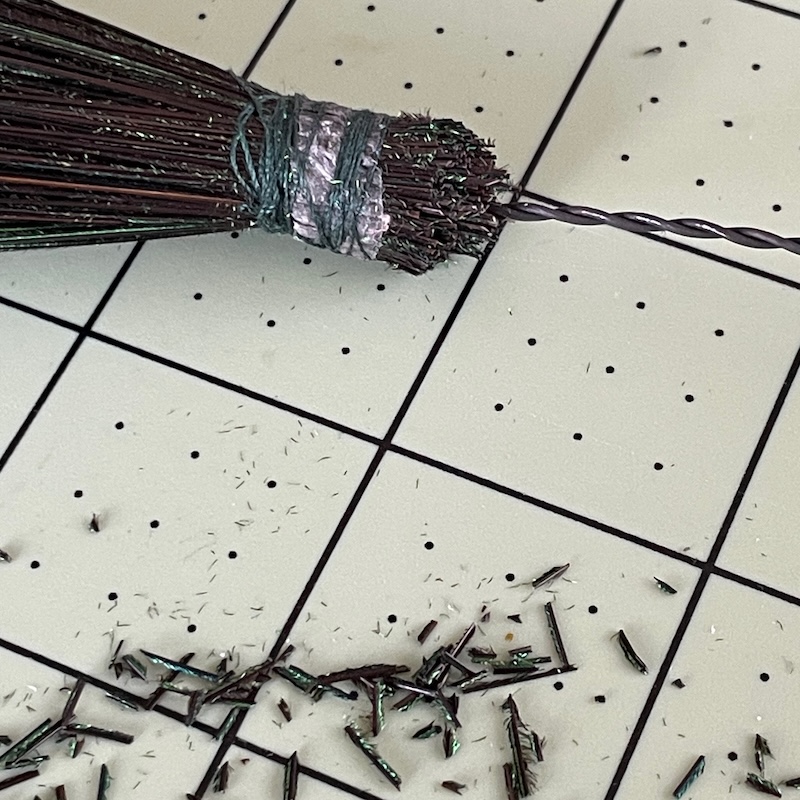
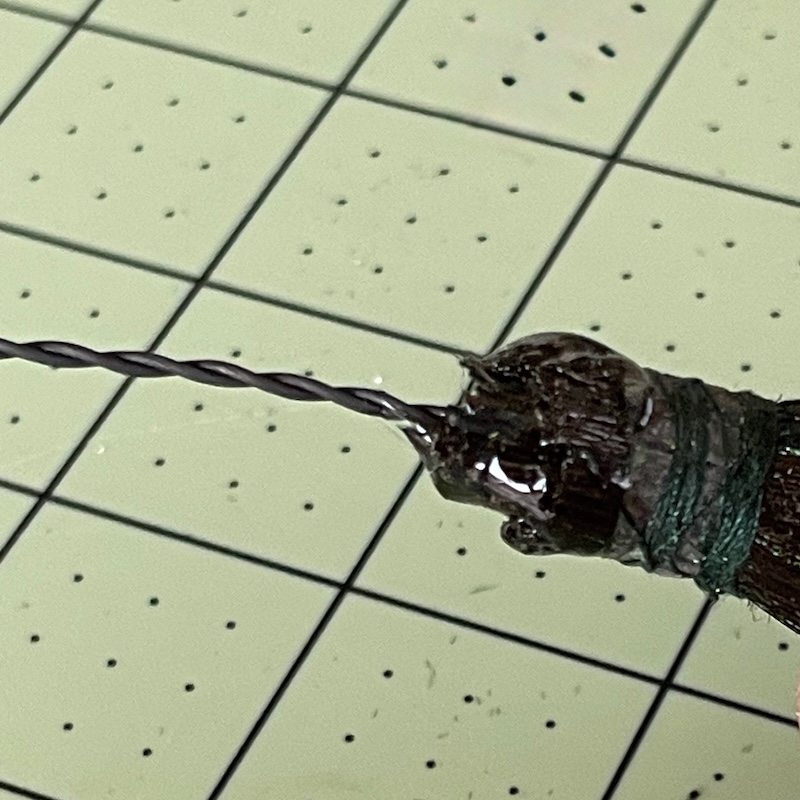
I added as much Becon’s Fabri-tac glue as possible trying to get in in-between the feathers. I then used florist tape to cover the wire, tape, thread and the base of the feathers. In order to do it I did wrap extra rounds of tape around the wire just below the feathers to make the transition between the thin wire and the fat bundle gradual.
Done.
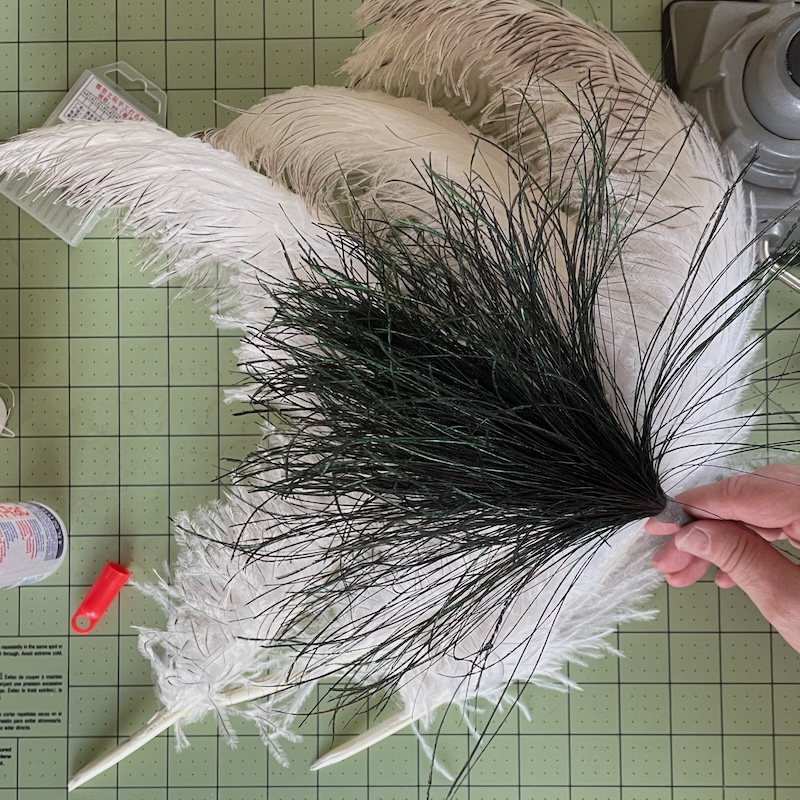
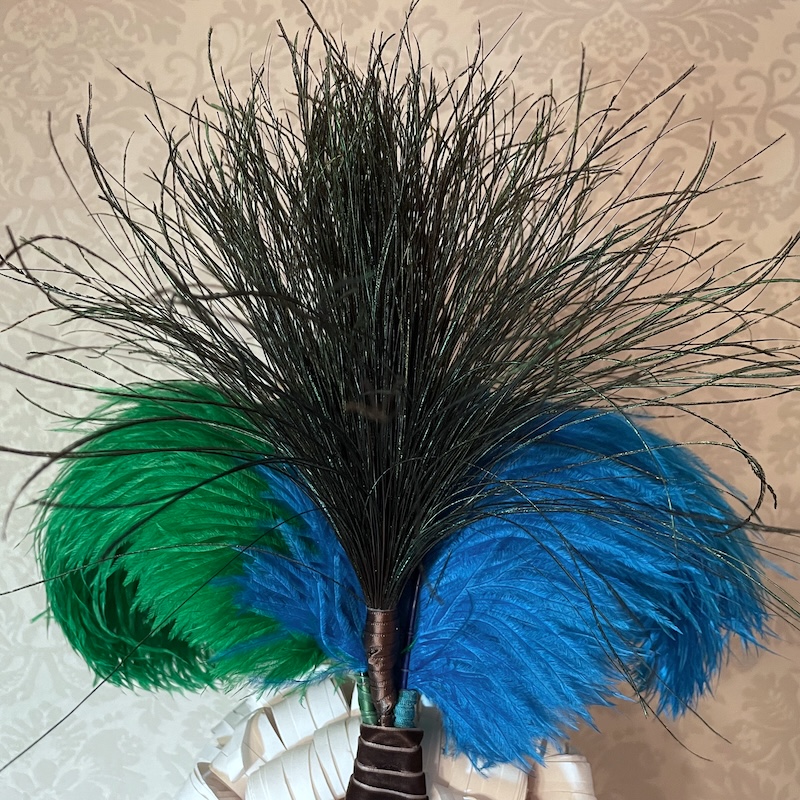
The bases of the plumes and the peacock bundle were covered with ribbon. Then they were wired to the hairpin and the wires were also covered with ribbon. The color of the ribbon is fairly close to the hair color of the wearer and the hair is big 18th century hair so it will not show as it does on the paper hairdo head.
