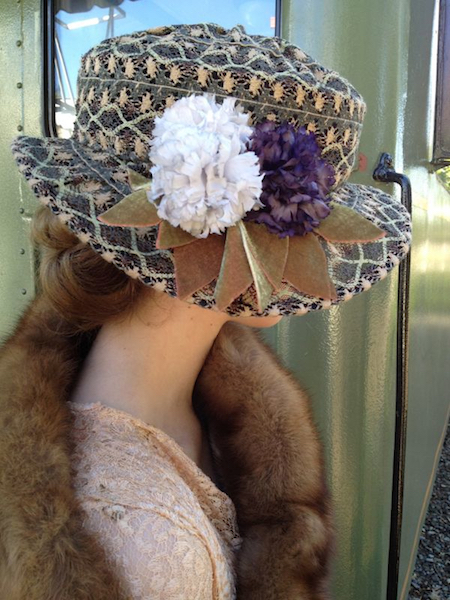

Wire frame hats where quite popular at this time and after having made several I think I know why. They are very light when finished and when covered with straw lace or lace fabric they transfer light in very interesting ways. There are several books on the subject one of the easiest to get a republished copy of it “Millinery for Every Women”. I have another article on wire frame on this site that might give you some ideas. Any flat pattern can be turned into a wire frame pattern but with this pattern I have done the math and also added marks for all the crossovers. If you shape your pieces well and mark the crossovers you should have a very easy job of this hat. To pick the correct pattern size use cardboard to cut out the largest and the smallest crossover guides. The smallest guide fits across your head and the largest fits from front to back. Pick the size that will leave you room for a sweatband. If the size fits from front to back but is a little tight side to side that can be fixed after you have completed the frame by carefully stretching the frame.
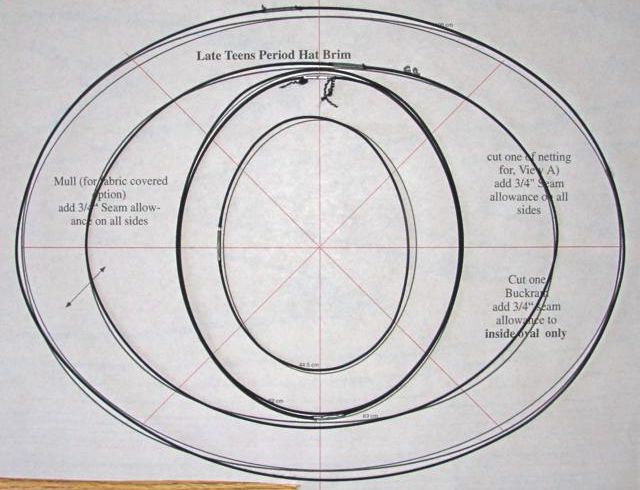
Measure, cut and use wire joiners to create the 5 ovals for the hat. Mark the crossover spots.
Measure, shape and mark the crossovers for the frame wires.
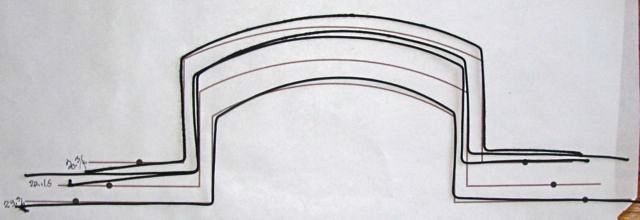
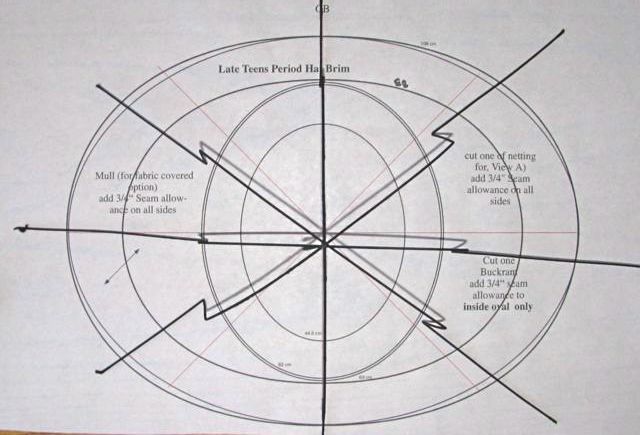
Use the tie wires to join the frame wires in the center.
Join the smaller ovals to the frame with a tie wire at each crossover.
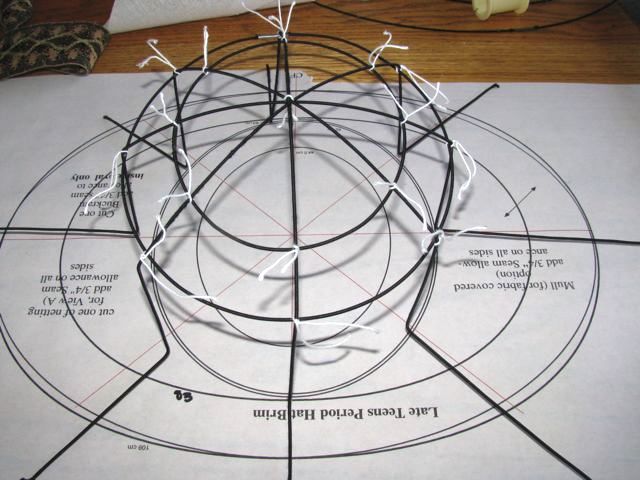
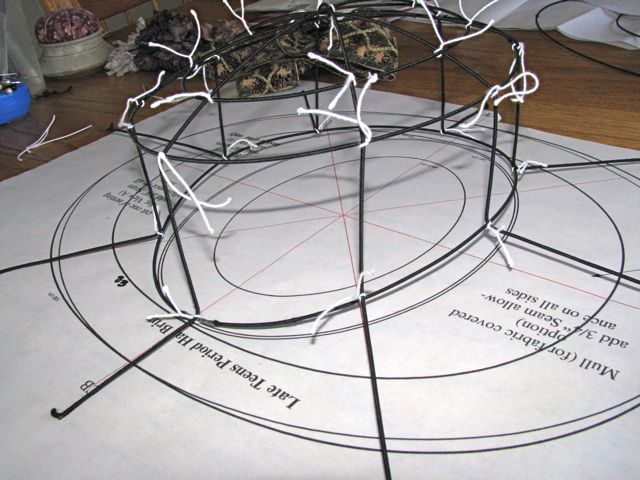
Add the head opening wire in the same manner.
Add the first brim wire.
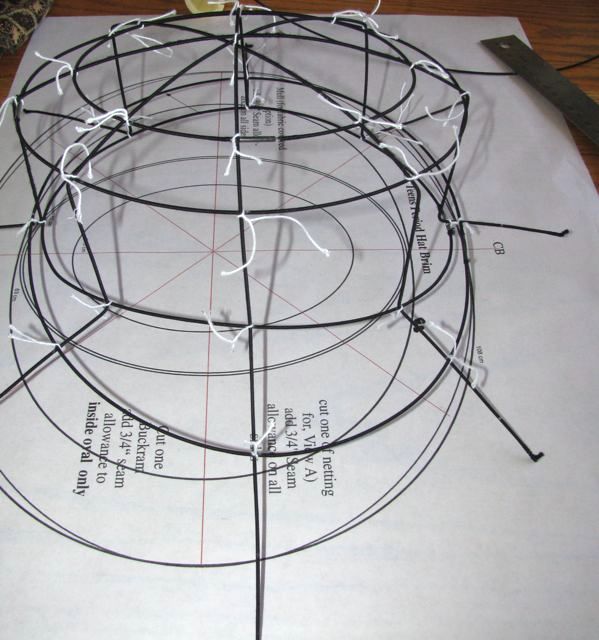
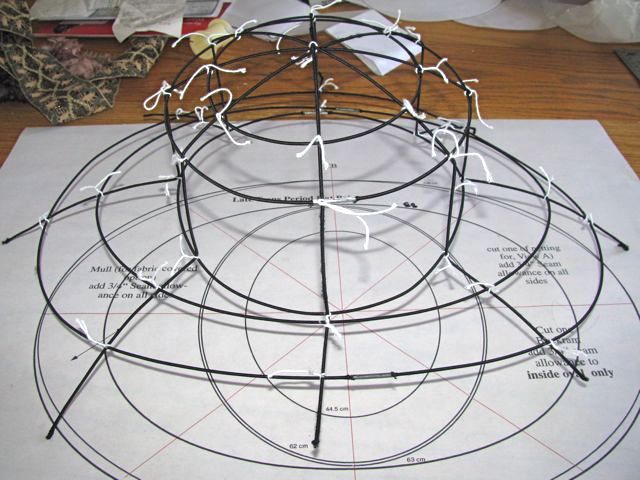
Temporally add the brim edge wire with the wire ties.
One at a time remove the temporary tie wires and bend the millinery wire end around the brim edge wire.
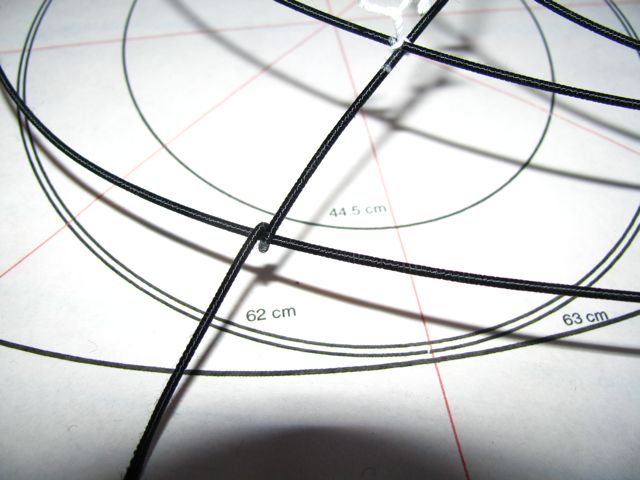
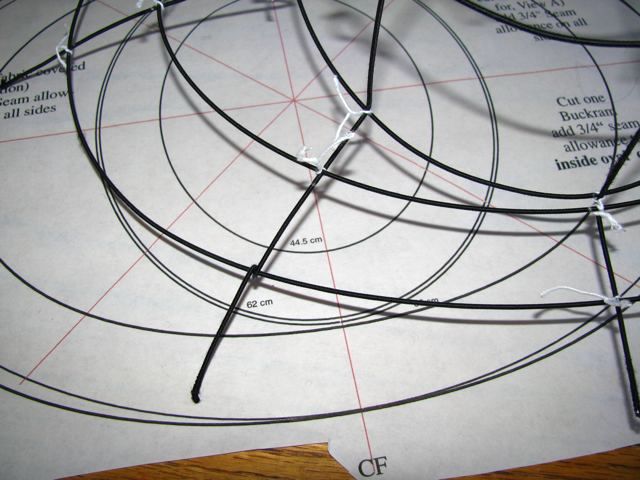
With wire cutters cut the ends of the frame wire.
Repeat with all the frame wires.
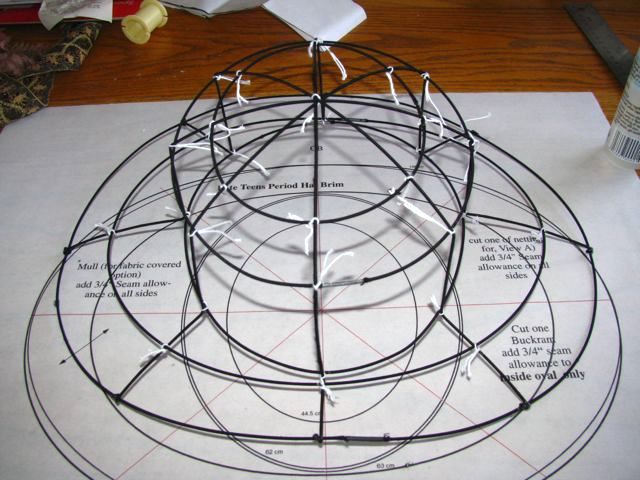
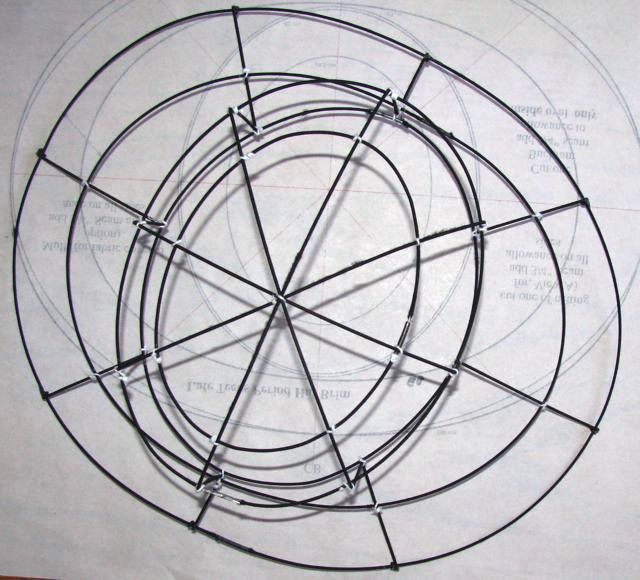
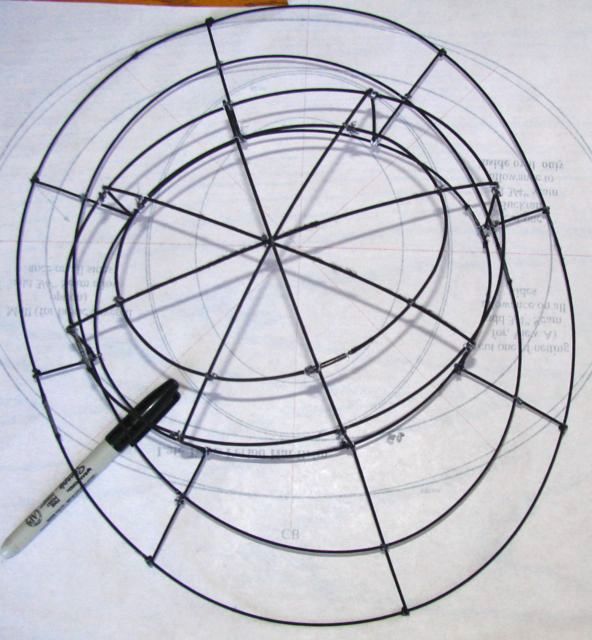
Wrap the tie wires around the frame and cut off so that the free ends do not poke out.
Use a marker to color the wire to match the frame. If you are working with white millinery wire and want to color the entire frame use floral spray paint.
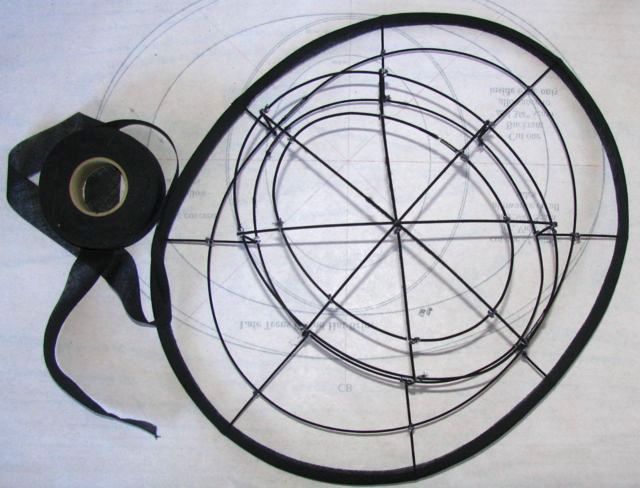
Wrap the brim edge with 1″ bias. Sew around the tape just inside the wire with a running stitch.
Stretch some cotton netting across the bottom of the brim and around to the top side.
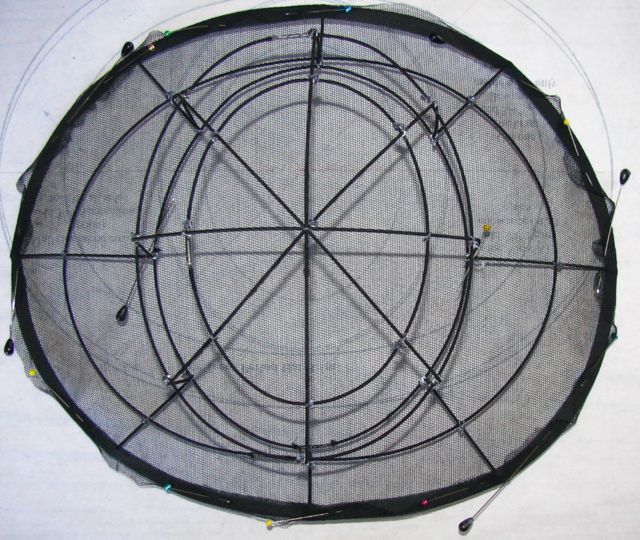
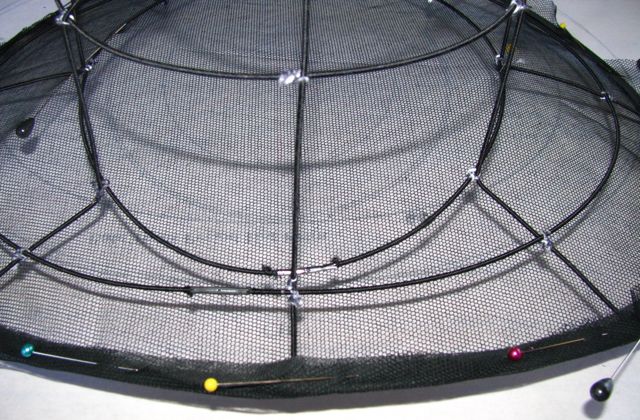
Pin to hold it in place while you sew it with a running stitch as you did the bias.
Stretch and pin netting to cover the crown tip and the side crown this lays over the frame.
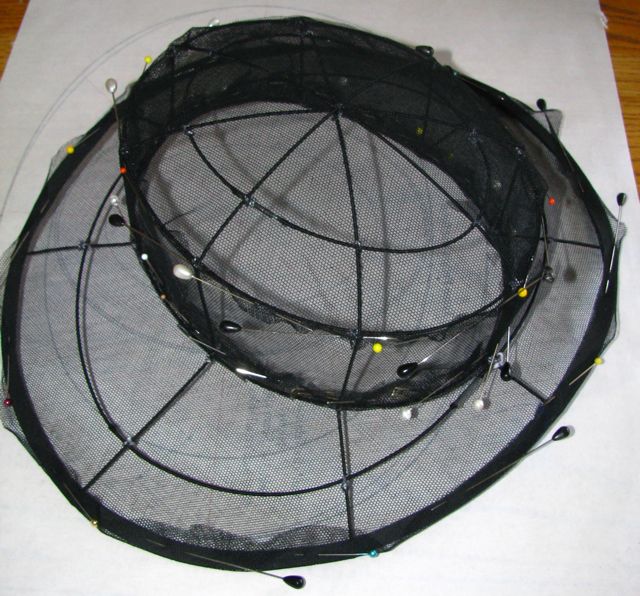
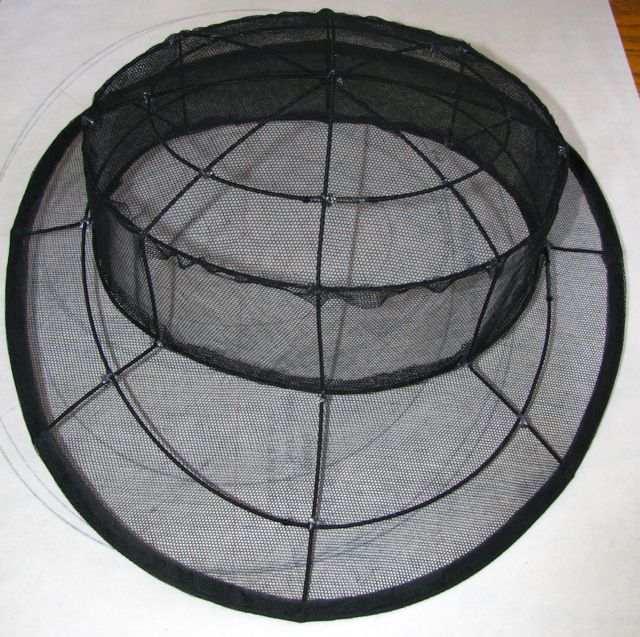
Sew those pieces to the frame and trip the seam allowances.
With the edge of the lace covering the brim edge sew a round of lace to the hat and tuck cut edges of the lace under at the center back.
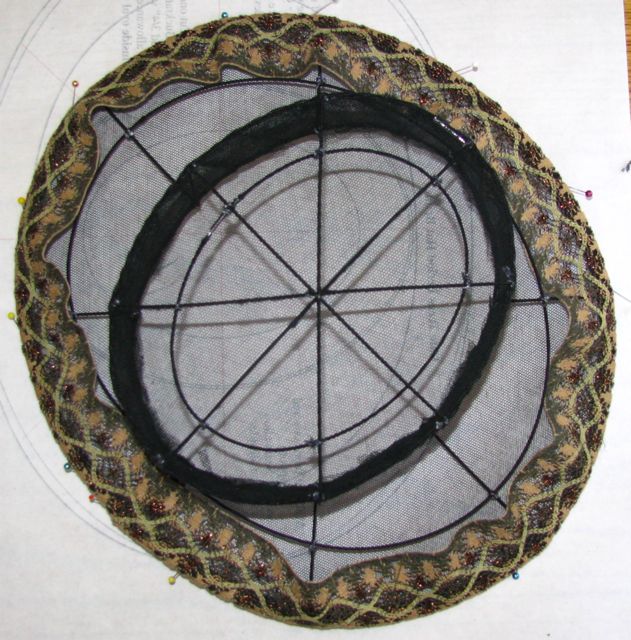
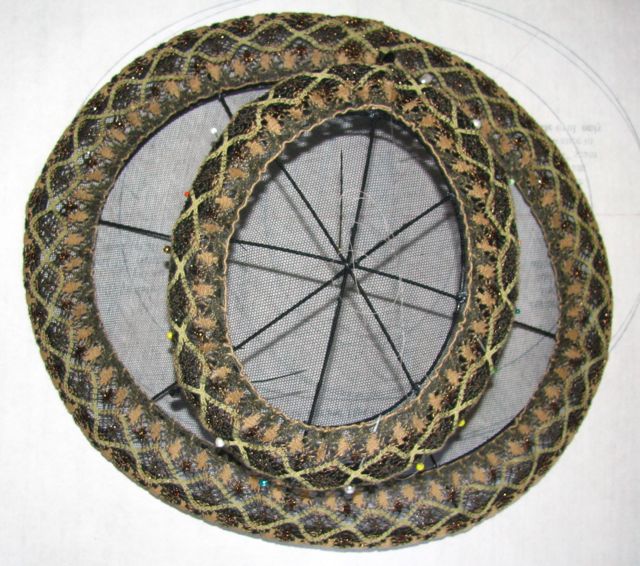
Run a gathering stitch along the edge of the lace and pull it until the lace lays down neatly. Create a round of lace for the edge of the crown tip with a center back seam and gather the edge as you did with the brim round.
Sew another round to the gathered edge of the crown tip round.
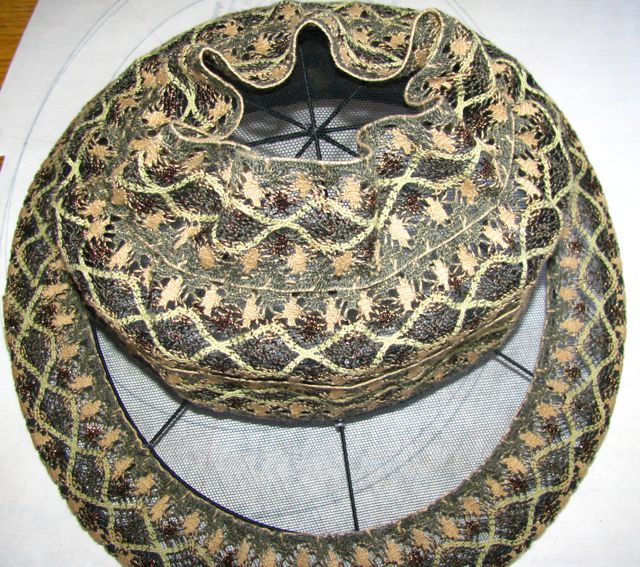
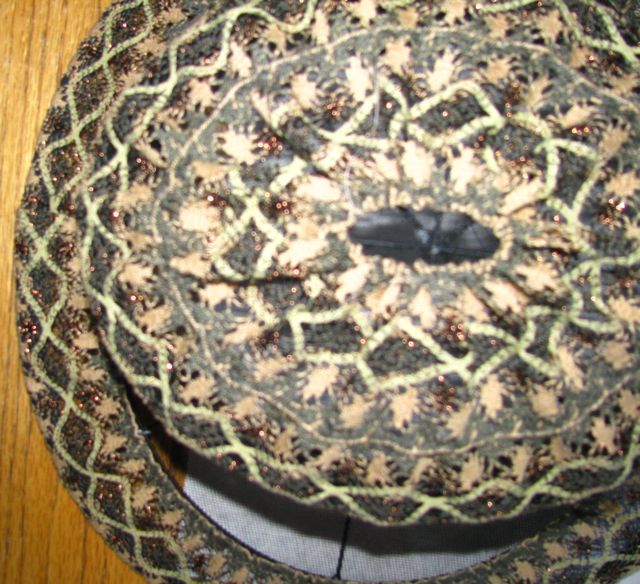
Gather this to bring the lace tight enough to fill the crown tip.
Whip stitch the small opening at the crown tip closed.
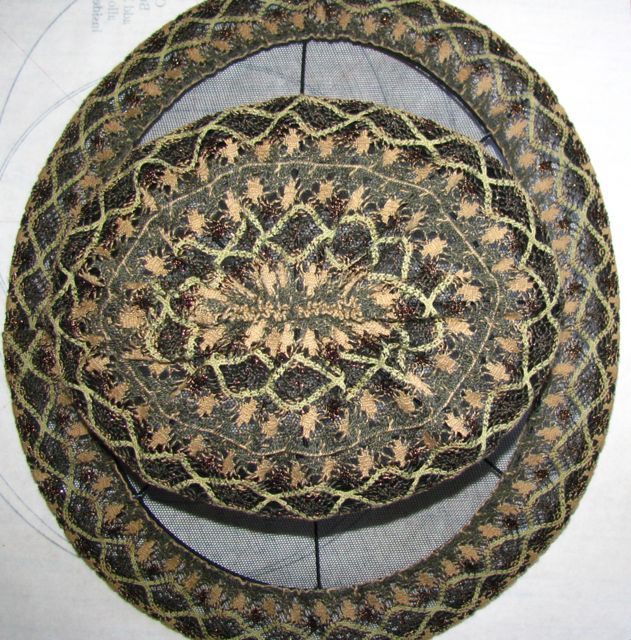
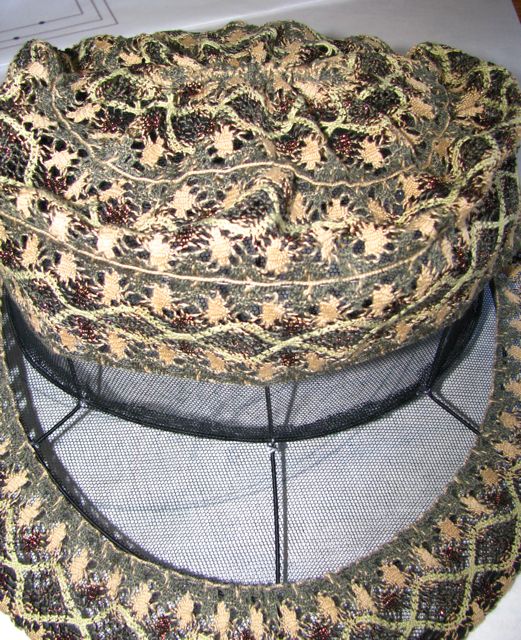
Lift the crown covering up out of the way.
Sew another round of lace to the brim round. Sew a gathering stitch in the lace where it hits the base of the crown.
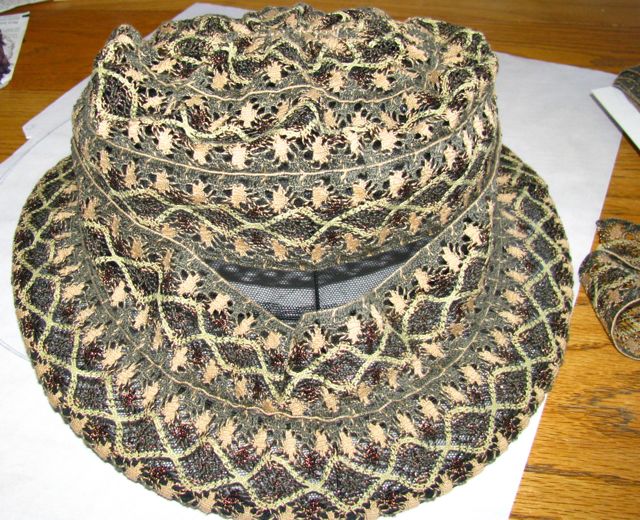
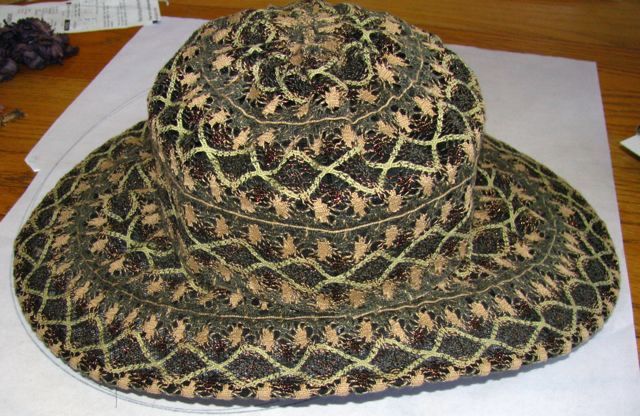
Trim away any extra lace from the second brim round. Pull down the crown covering and tack it down at the base.
Because the lace on the side of crown sags into the wires I added a band of 3″ horsehair to the inside of the crown between the wires and the netting. Add a petersham sweat band inside the hat for comfort.
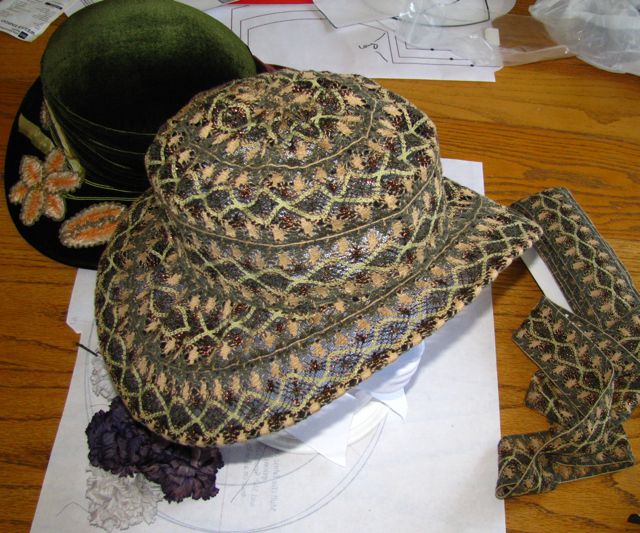
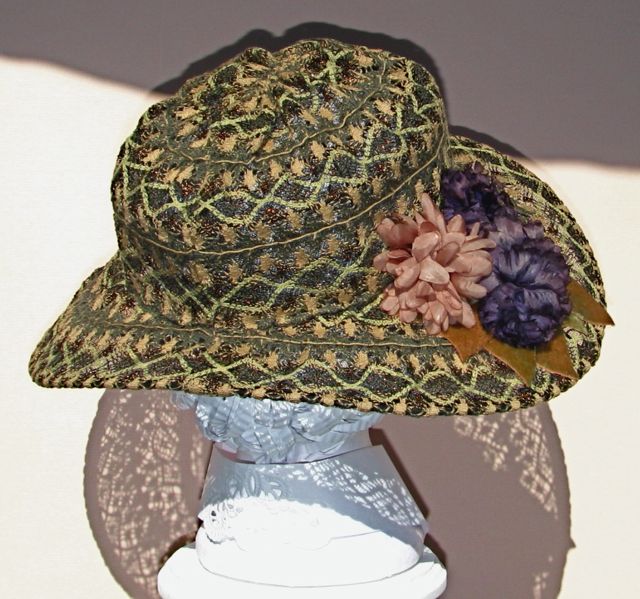
Lace Wire frame back