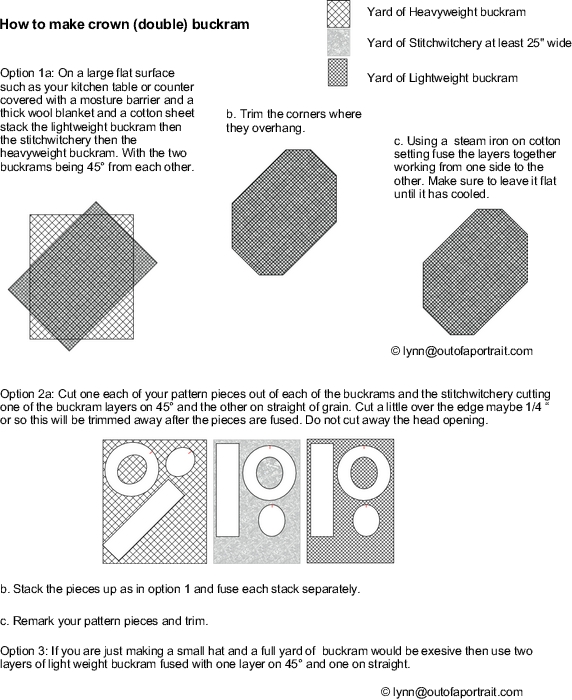
Below are the steps to making a buckram hat with three parts; a crown tip, a crown sides and a brim. You would do all these steps for any three part hat. And you would do many of the steps for a two part hat like a bonnet or a brimless hat. Below is a quick run thru of the steps to make a 1/2 size top hat.
I recommend Crown Buckram for all my buckram hat patterns over the last years it has gotten difficult to find so this is what I do now and it works even better than what we have been able to buy for the last 10 years.
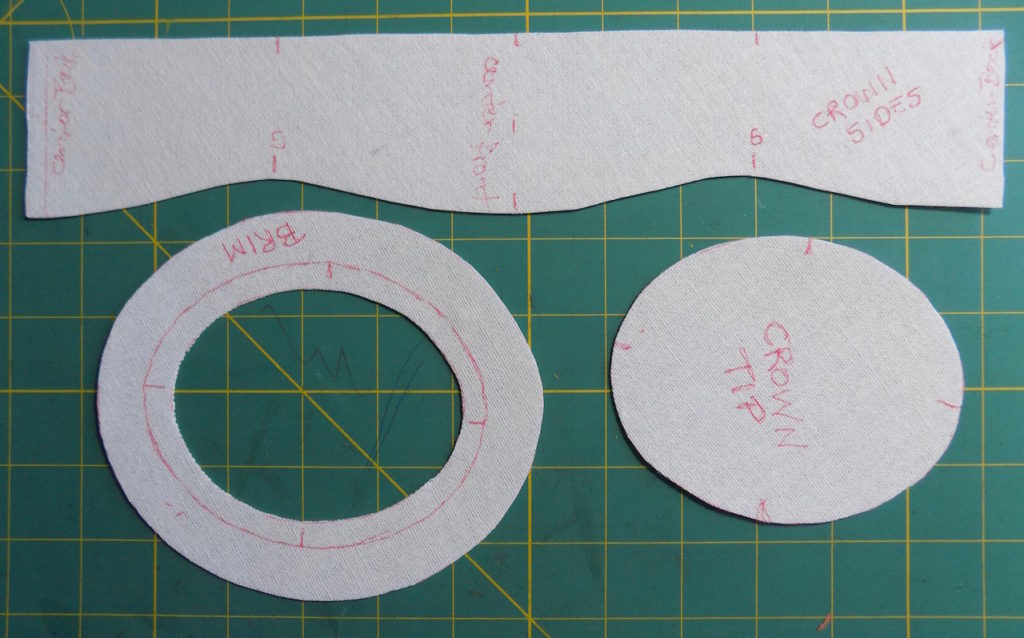
Cut out the buckram pieces and mark the B,F & Ss.
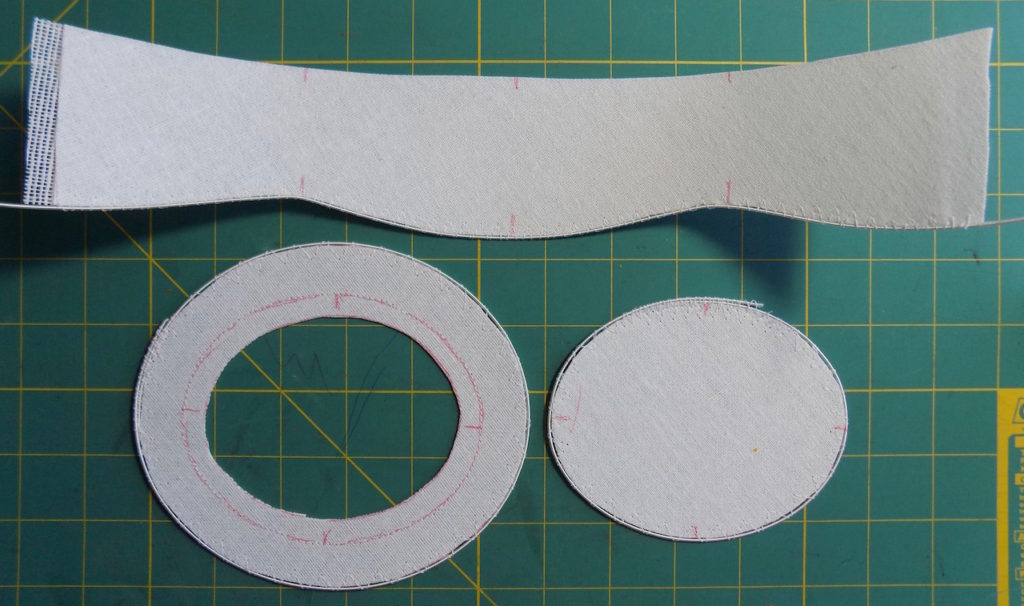
Sew wire to the bottom edge of the sides, the outside of the crown tip and the brim.
Glue the center back.
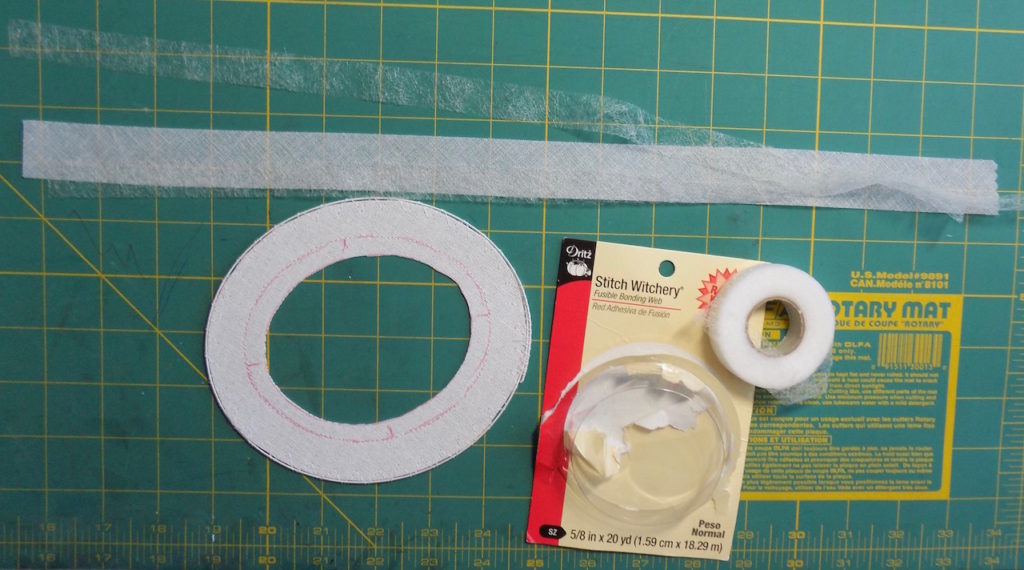
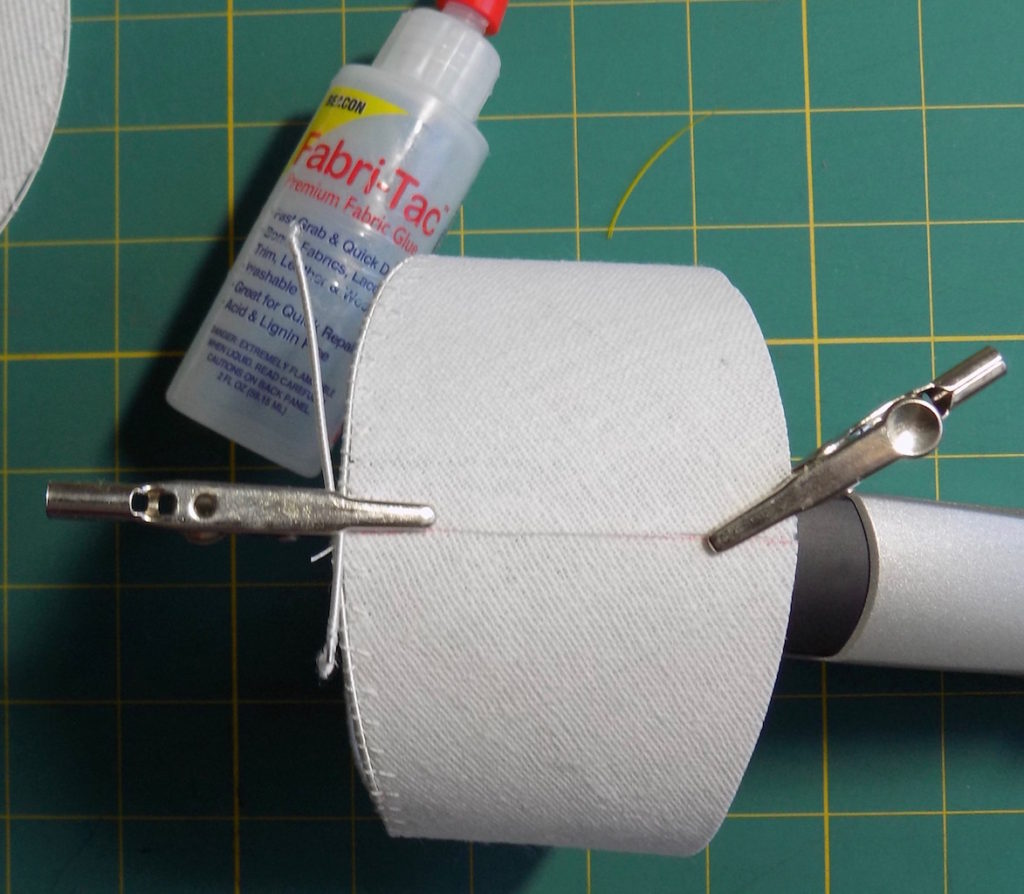
Tack glue some stitchwitchery to the bias.
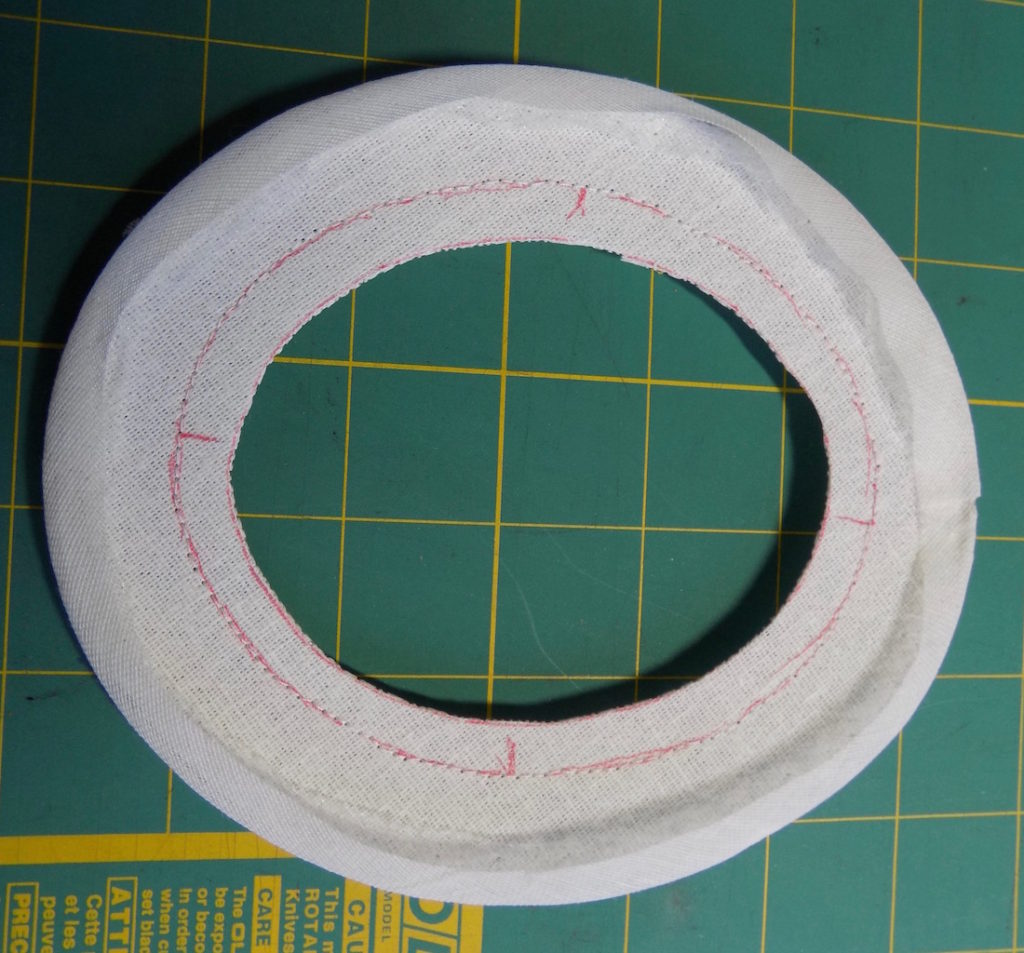
Stretch the bias to the edge of the brim.
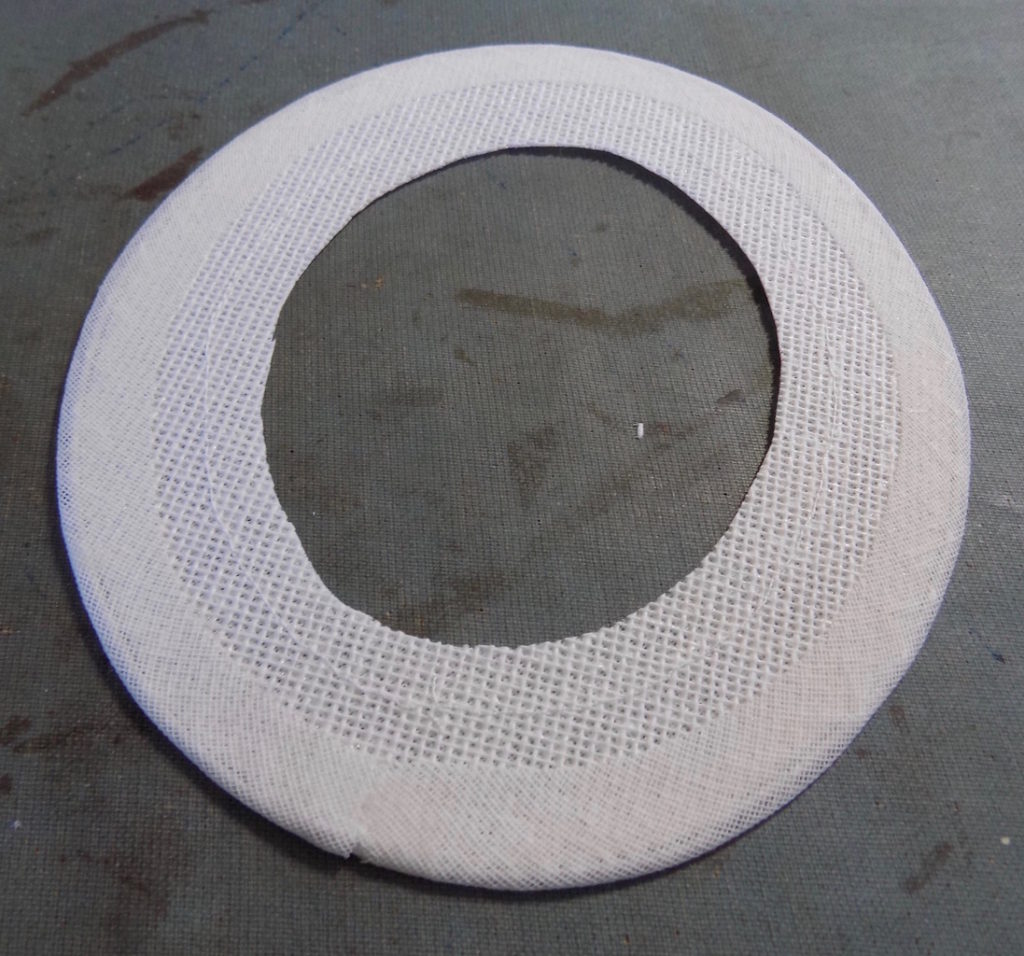
Iron it down.
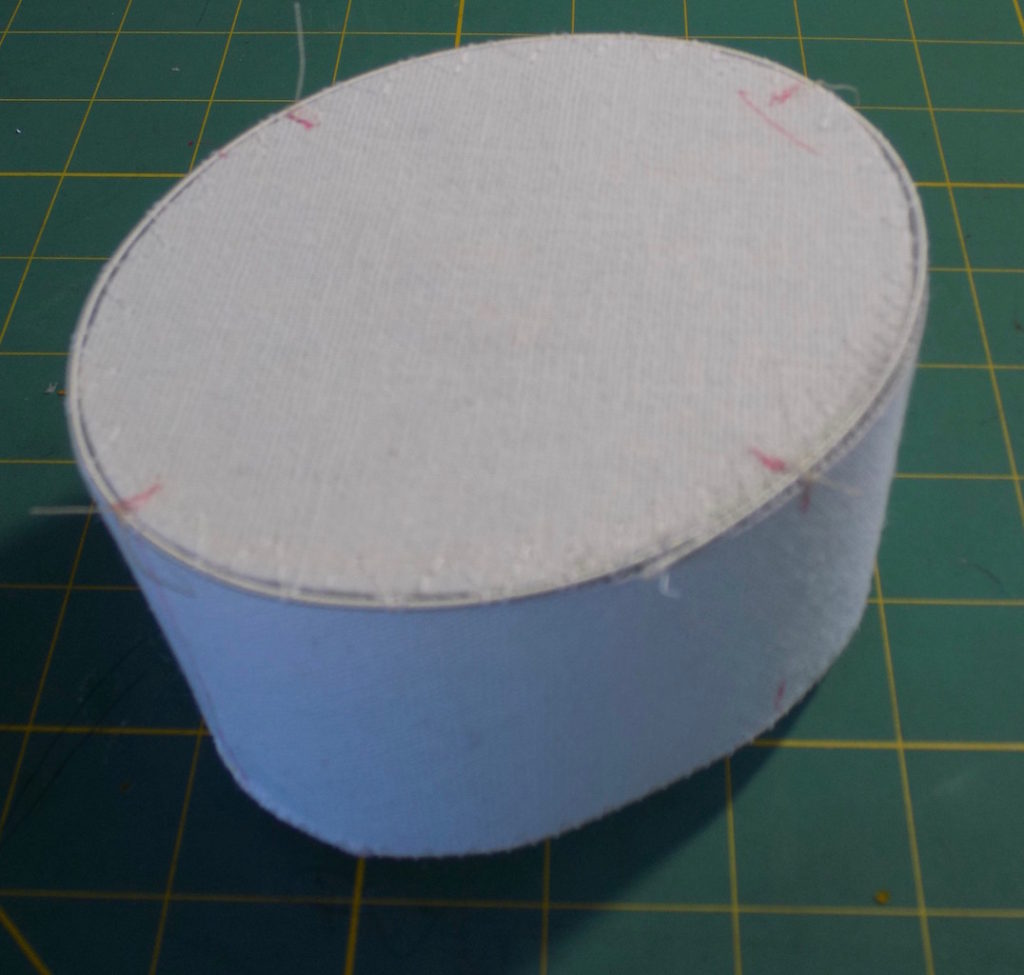
Use some tack stitches at the CB,CF, and S to hold the crown tip to the sides.
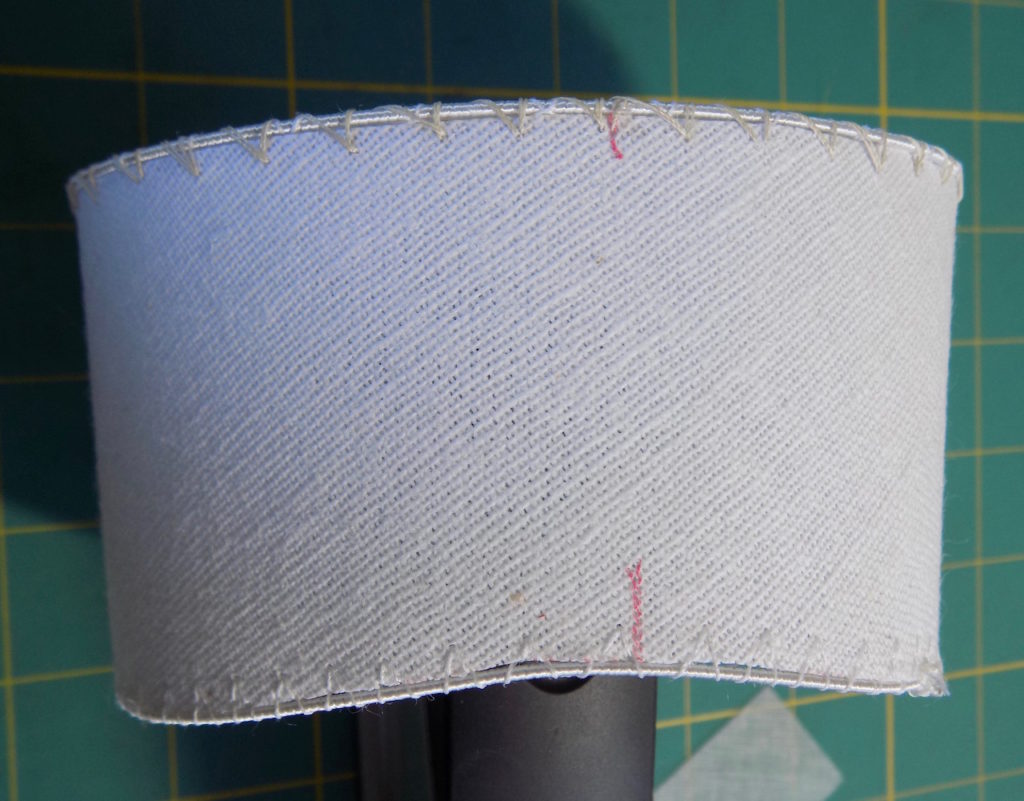
Sew it down with an N stitch.
Add bias and iron it down.
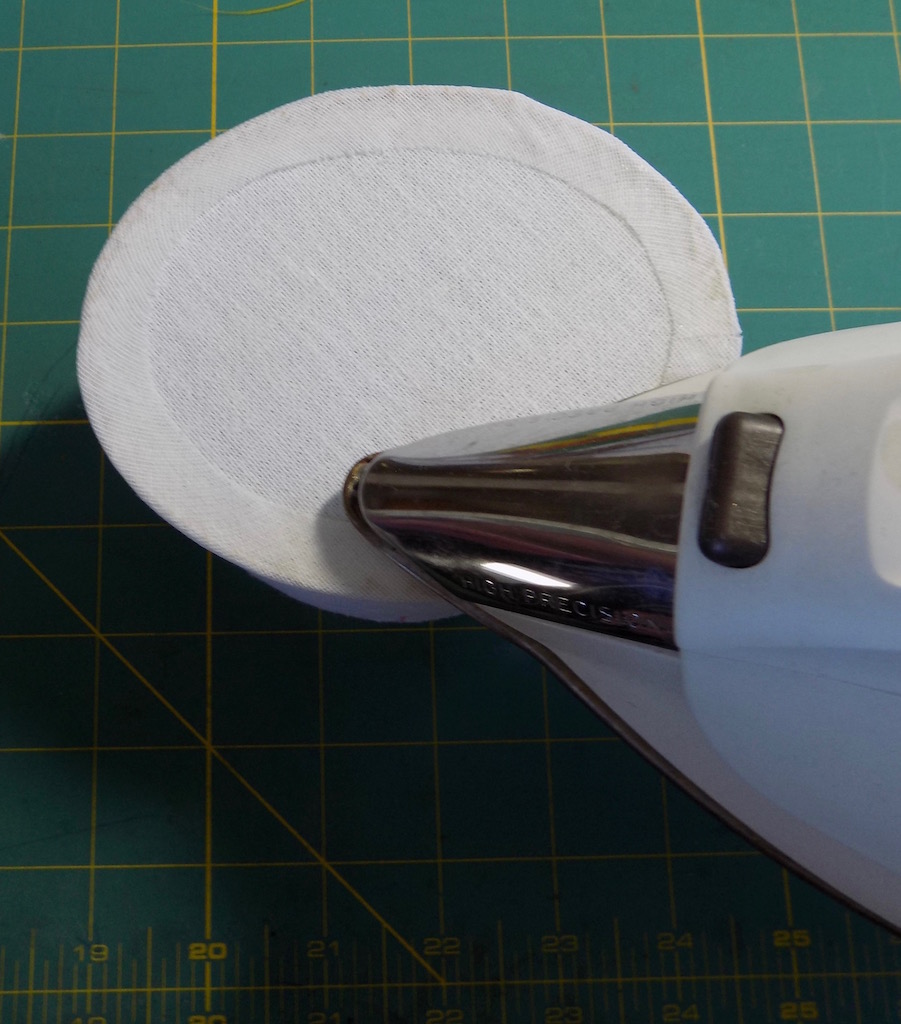
Mulling the buckram
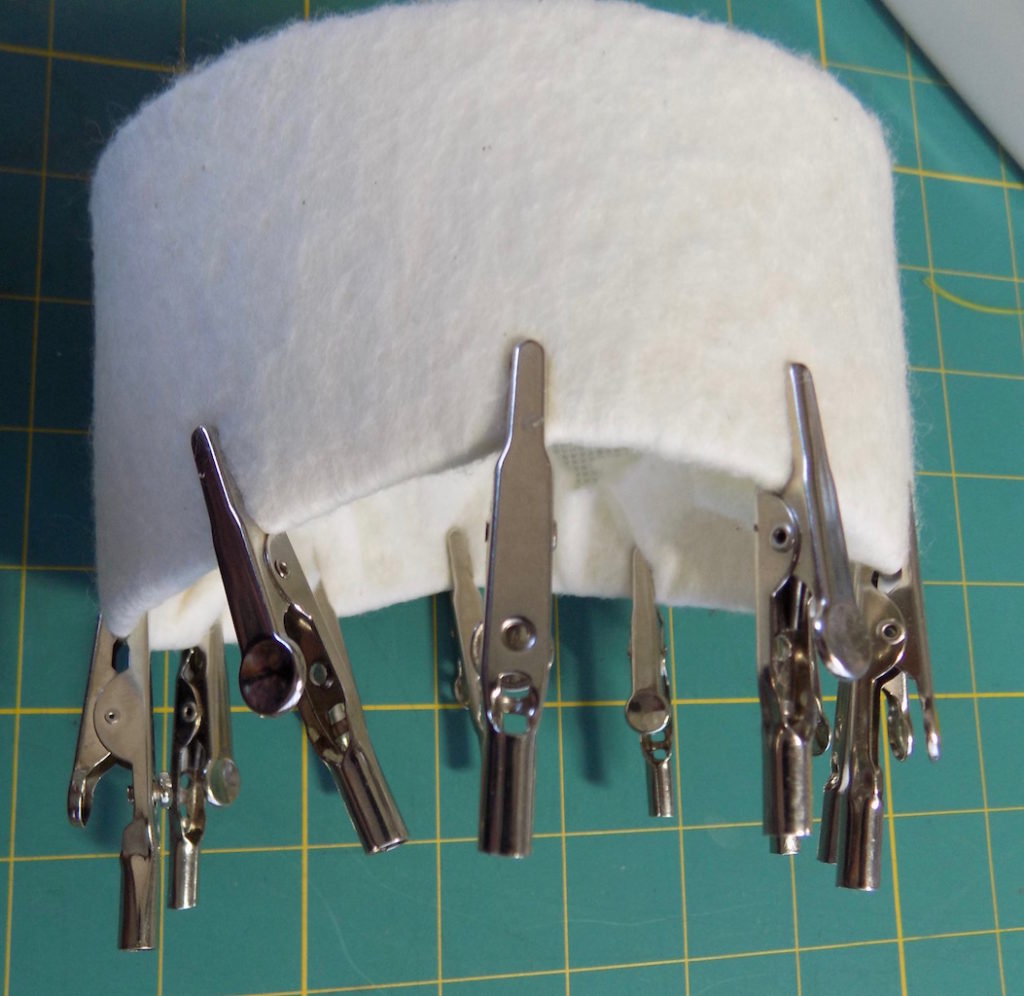
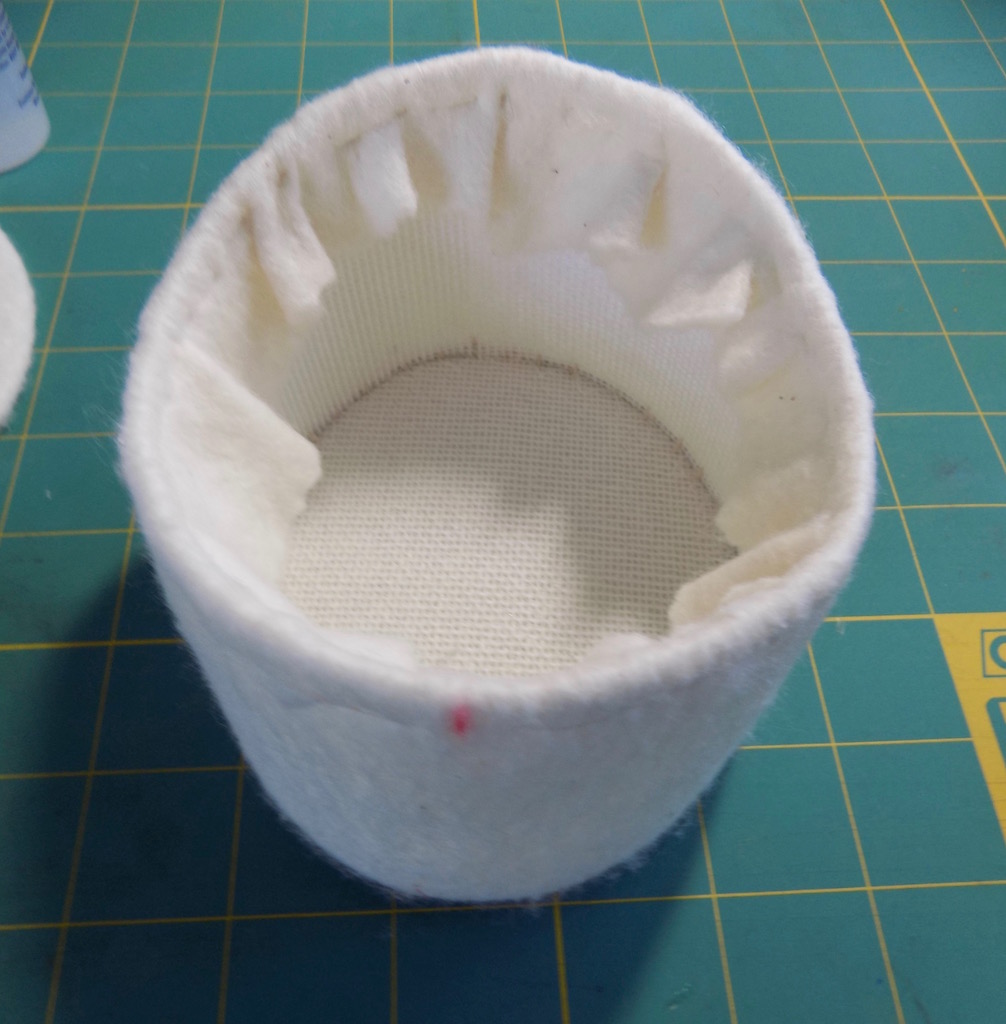
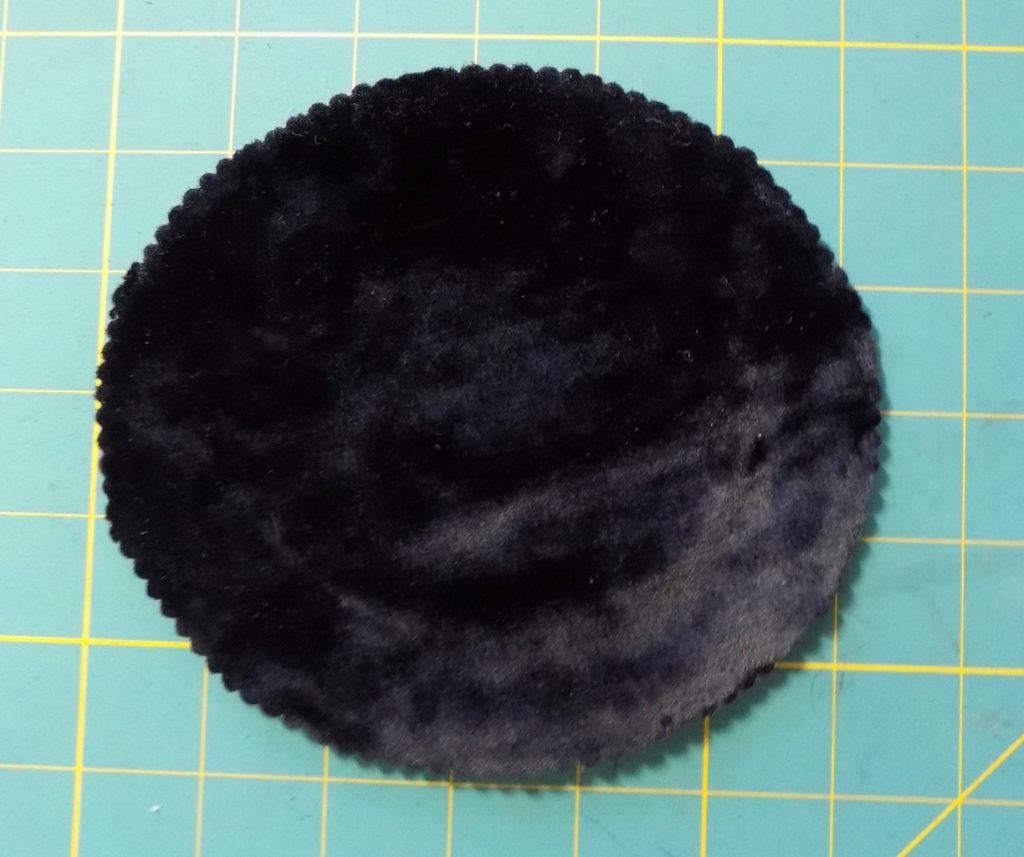
Stretch some cotton batting over the crown until it has no folds and clip it down.
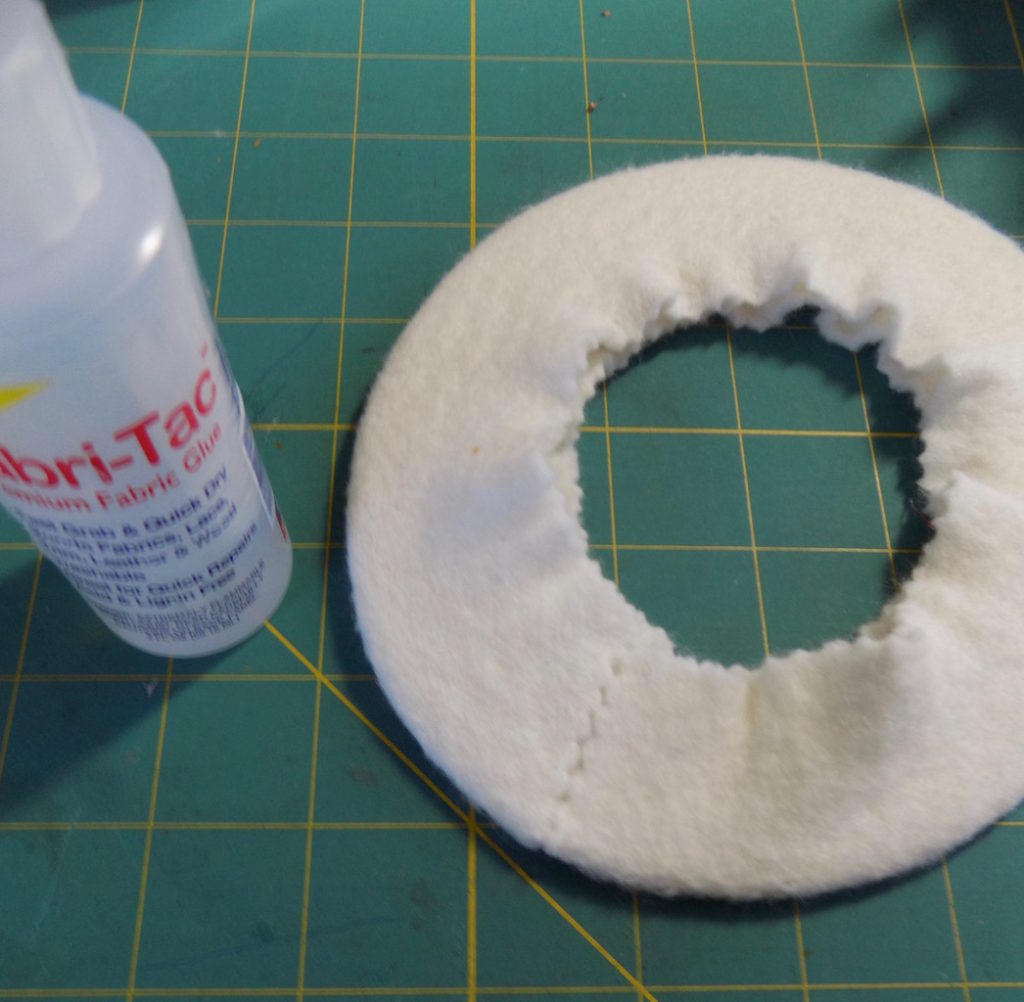
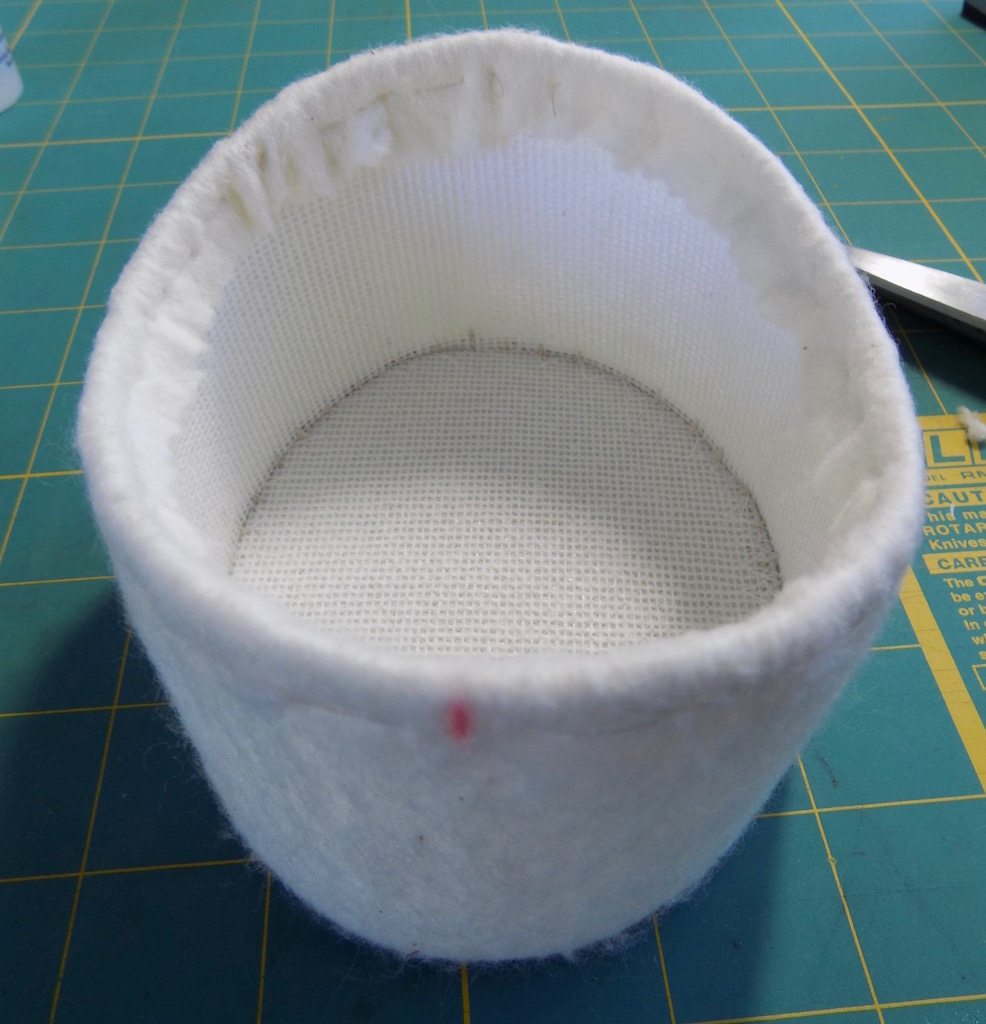
Glue the center back of one side to the buckram and stretch the batting around the brim.

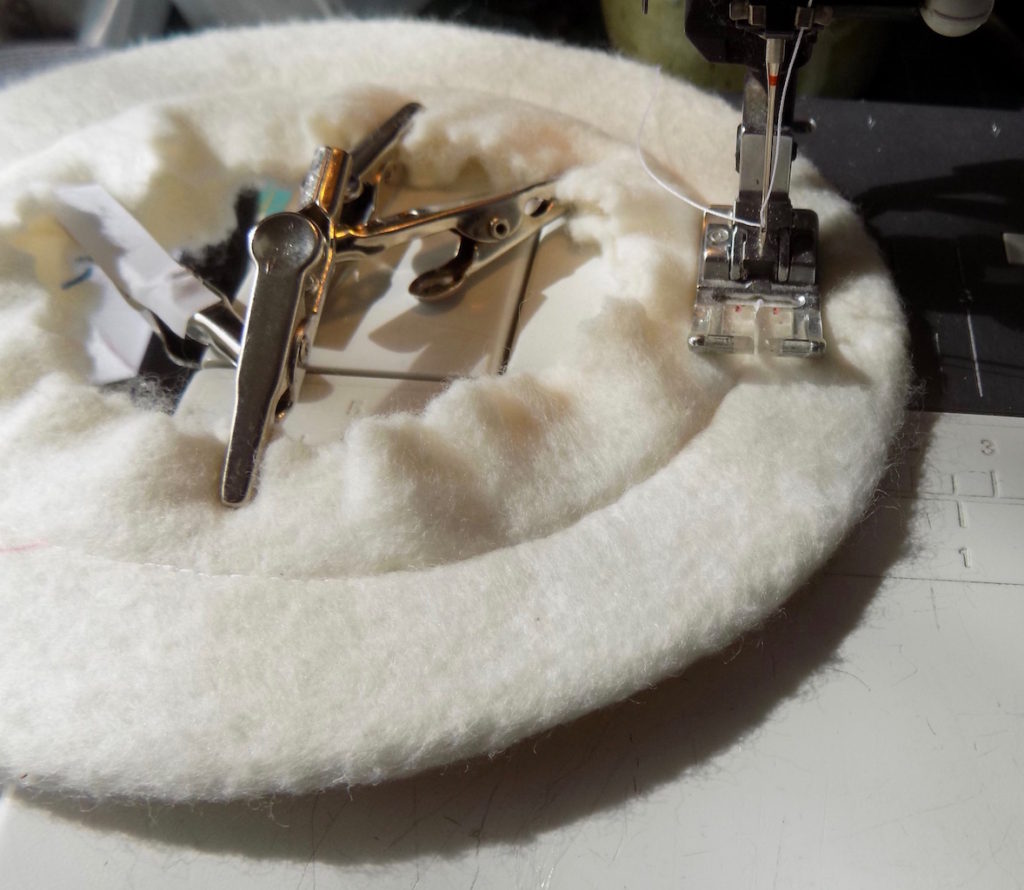
Clip the pieces.
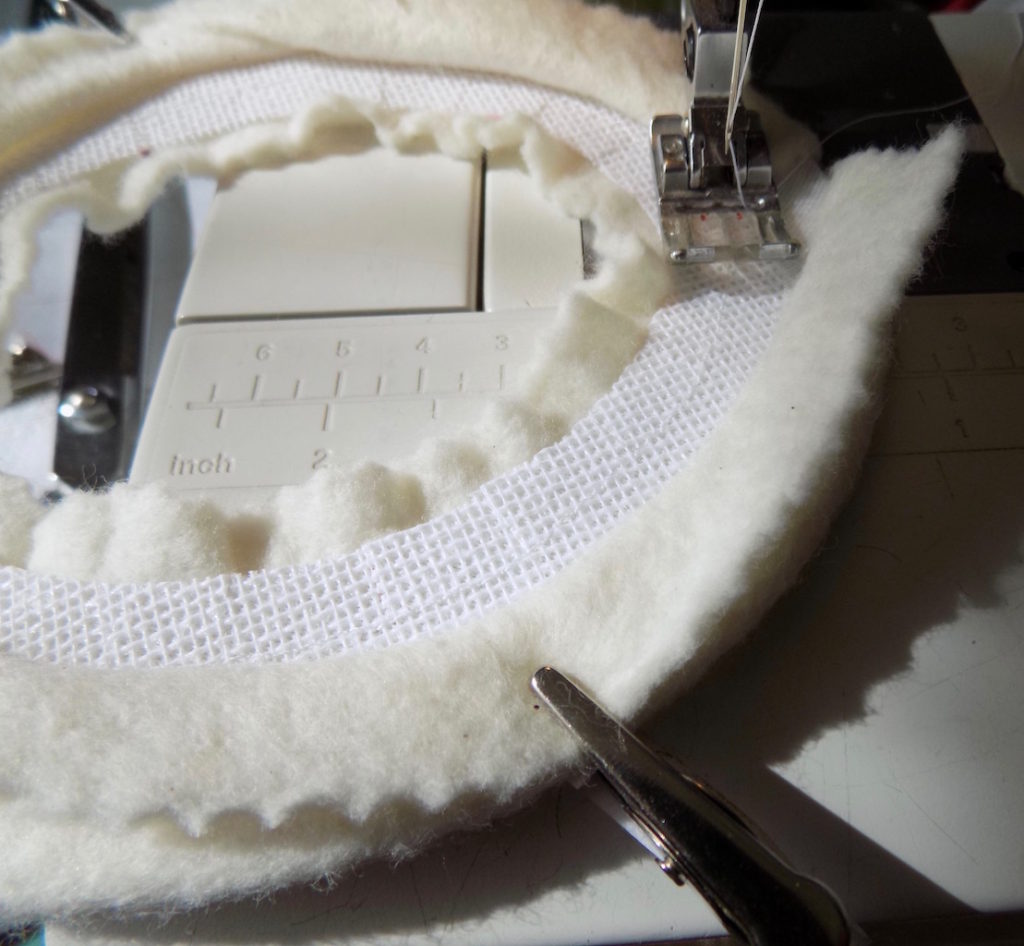
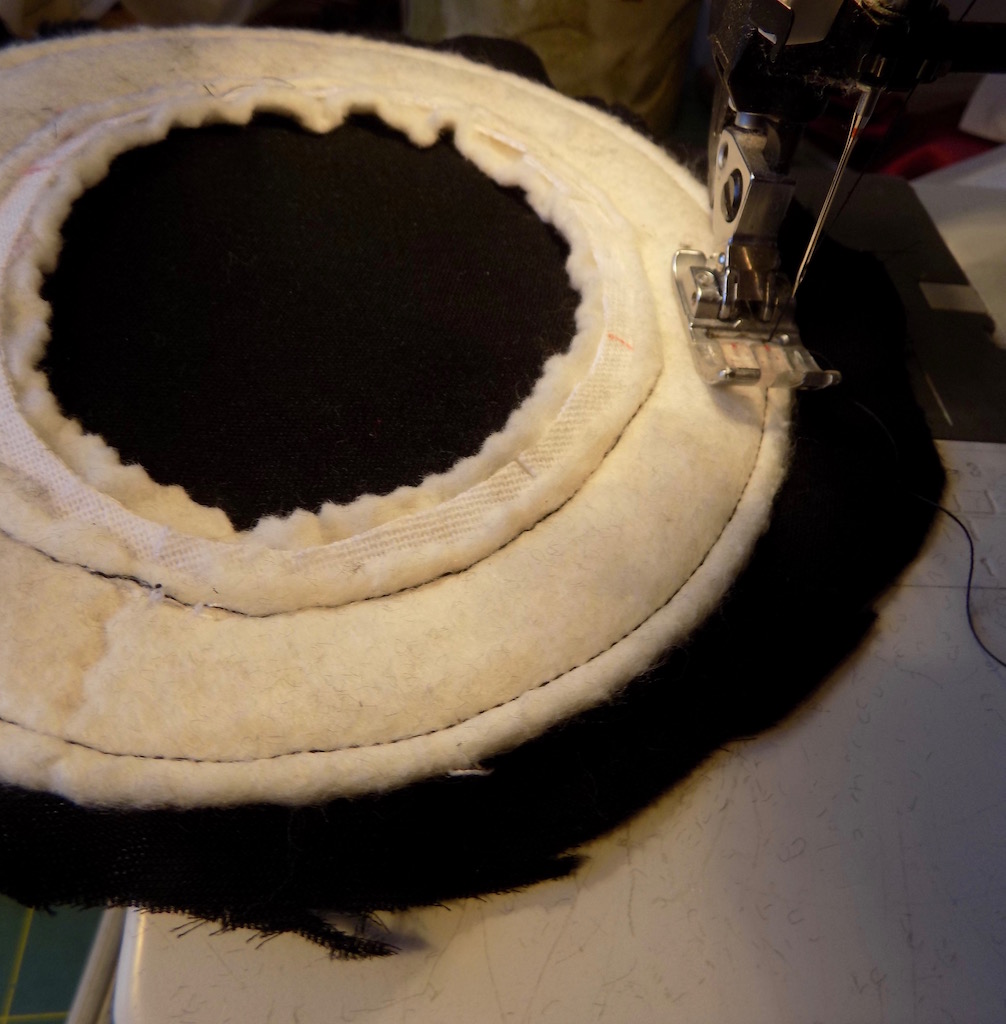
Sew over the head opening staystitch line to hold the bottom layer of batting down.
Flip the brim and sew over the stitching again.
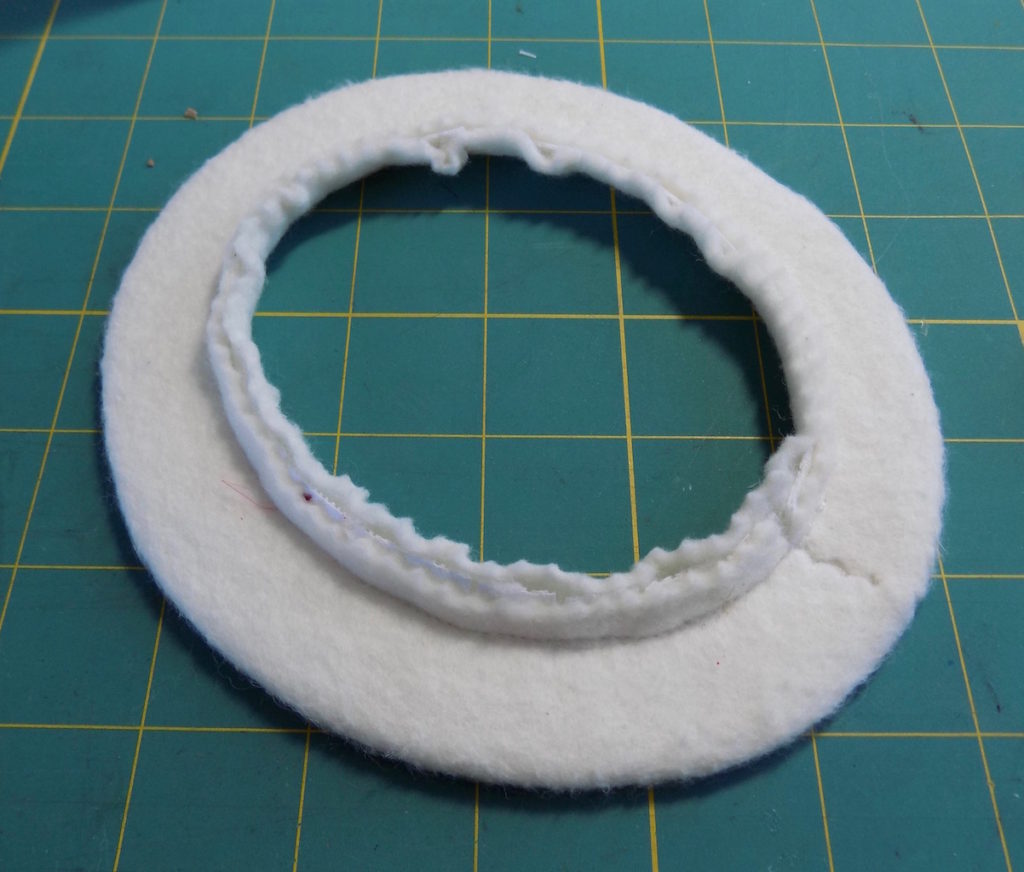
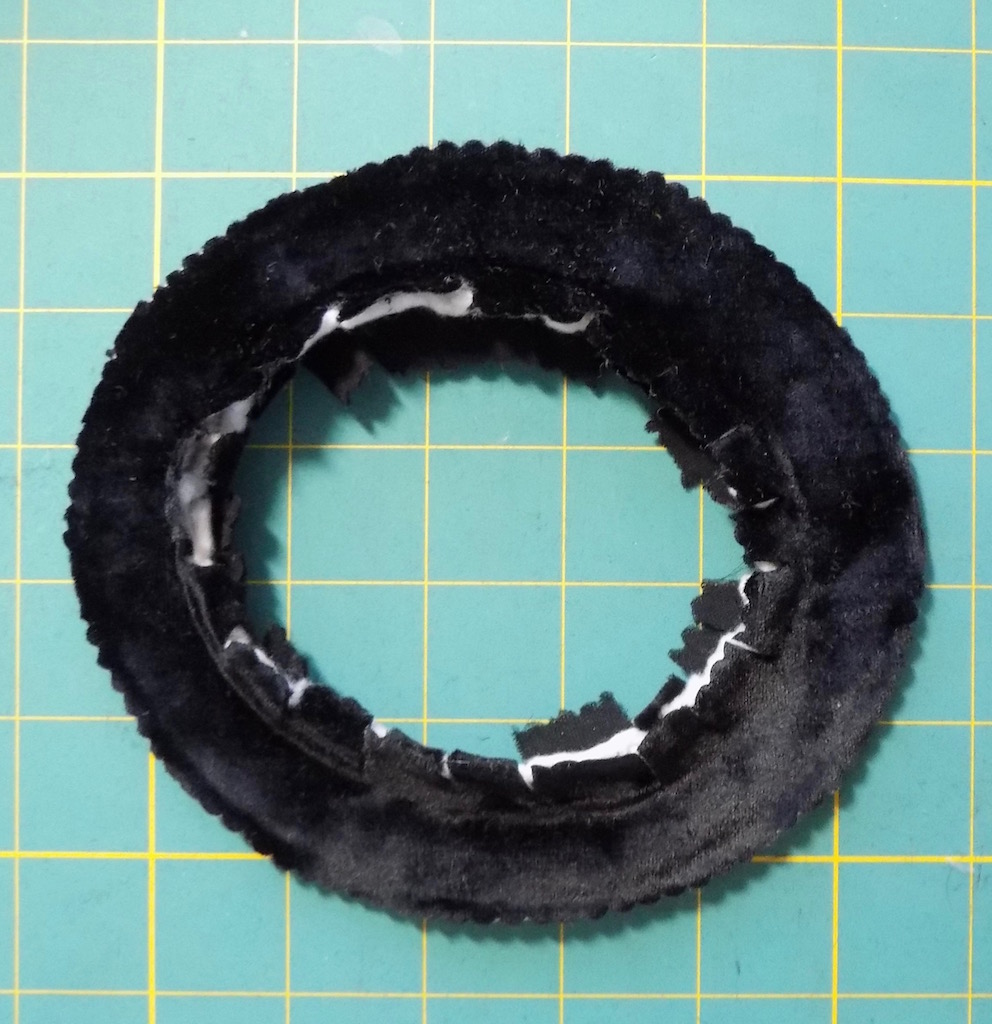
Trim the extra batting in the head opening.
By hand sew down the batting on the crown.
Trim the extra batting.
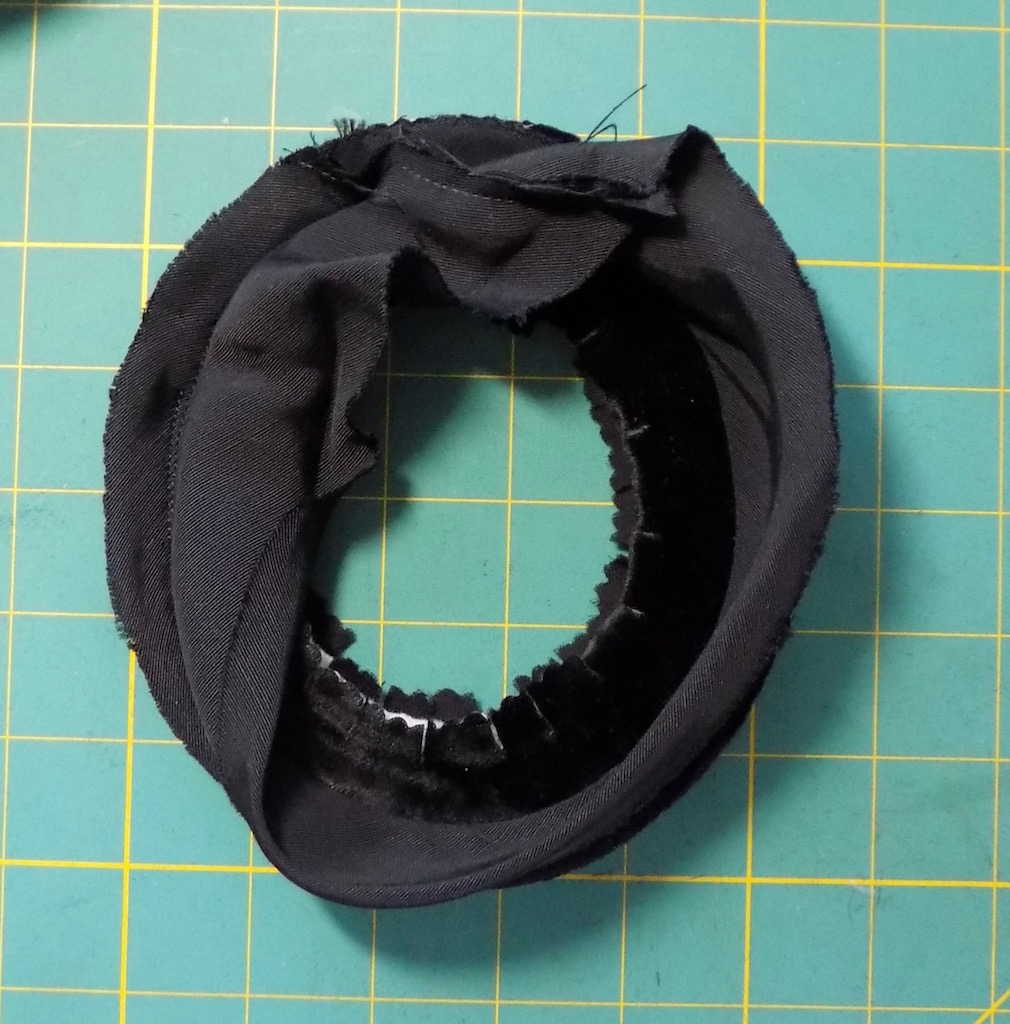
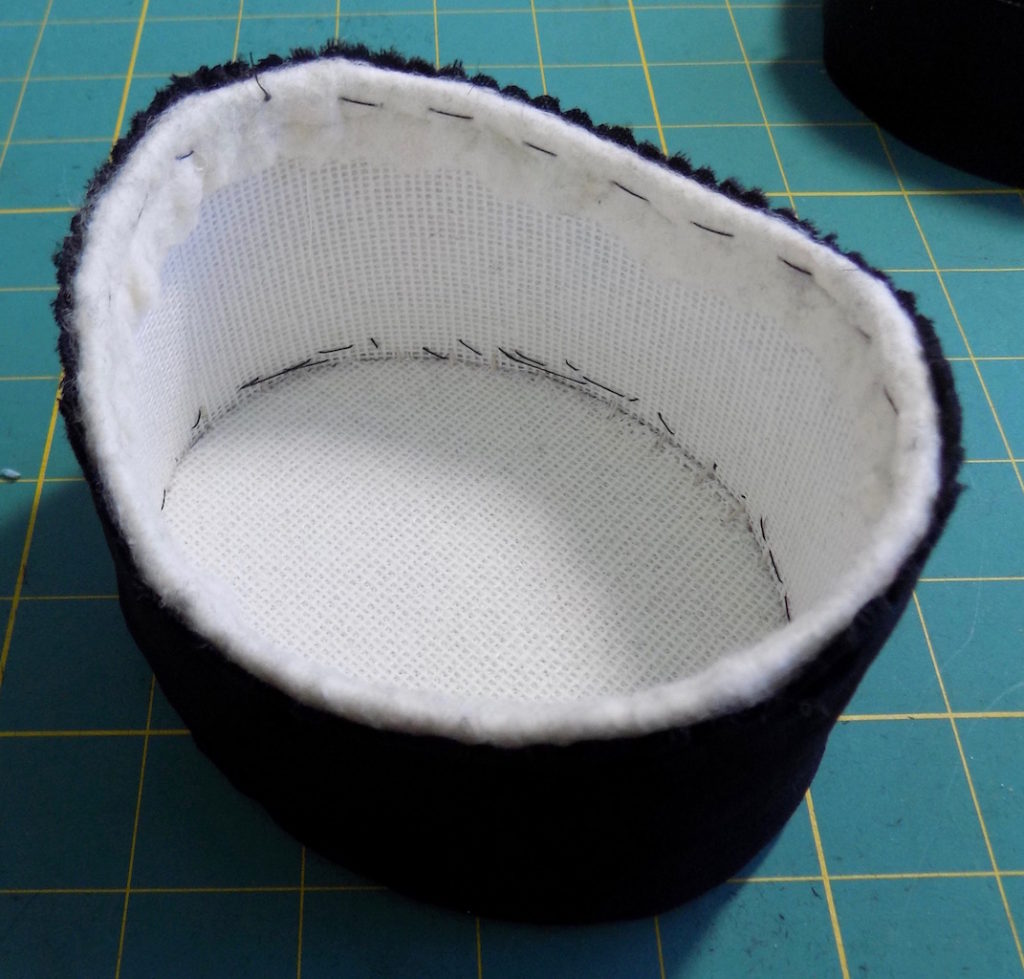
Covering the brim with fabric
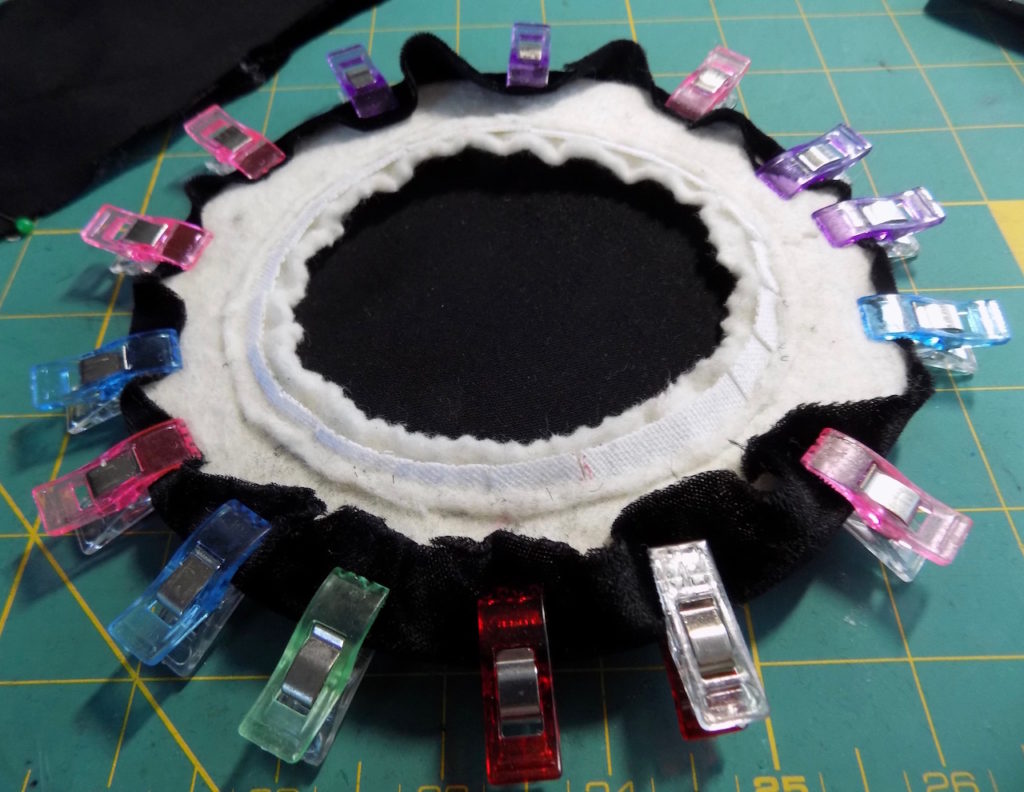
Stretch and clip one of the brim pieces to the bottom.
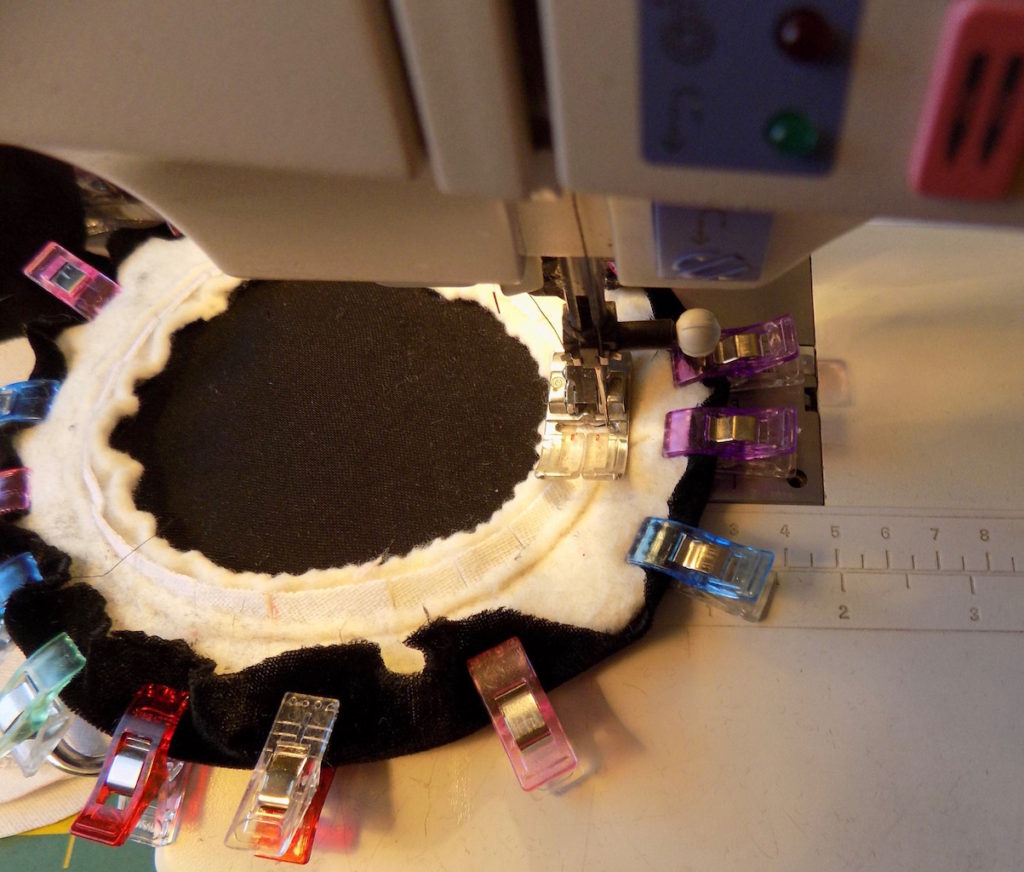
Sew the brim piece down from the top by sewing over the staystitch line.
Then while pulling on the fabric sew the outside edge.
Clip the seam allowances.
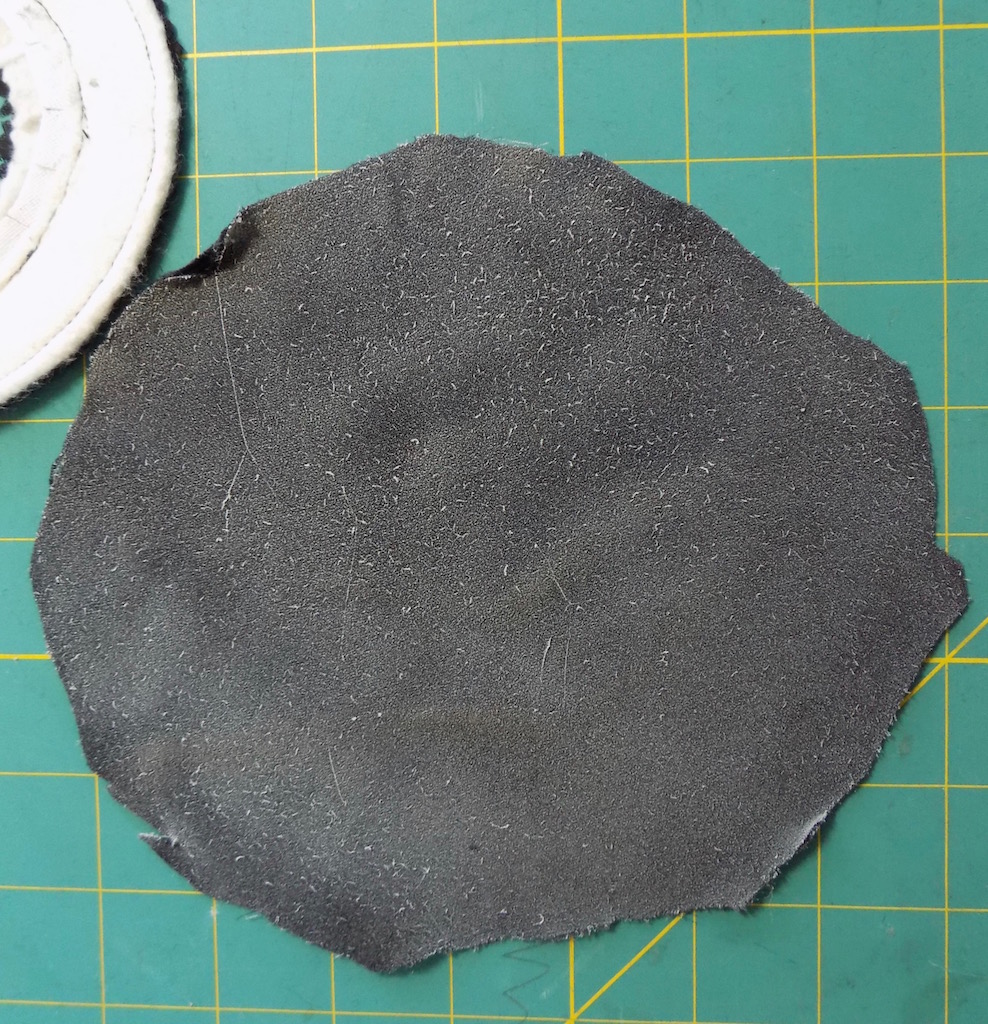
Spray the back of the second brim piece.
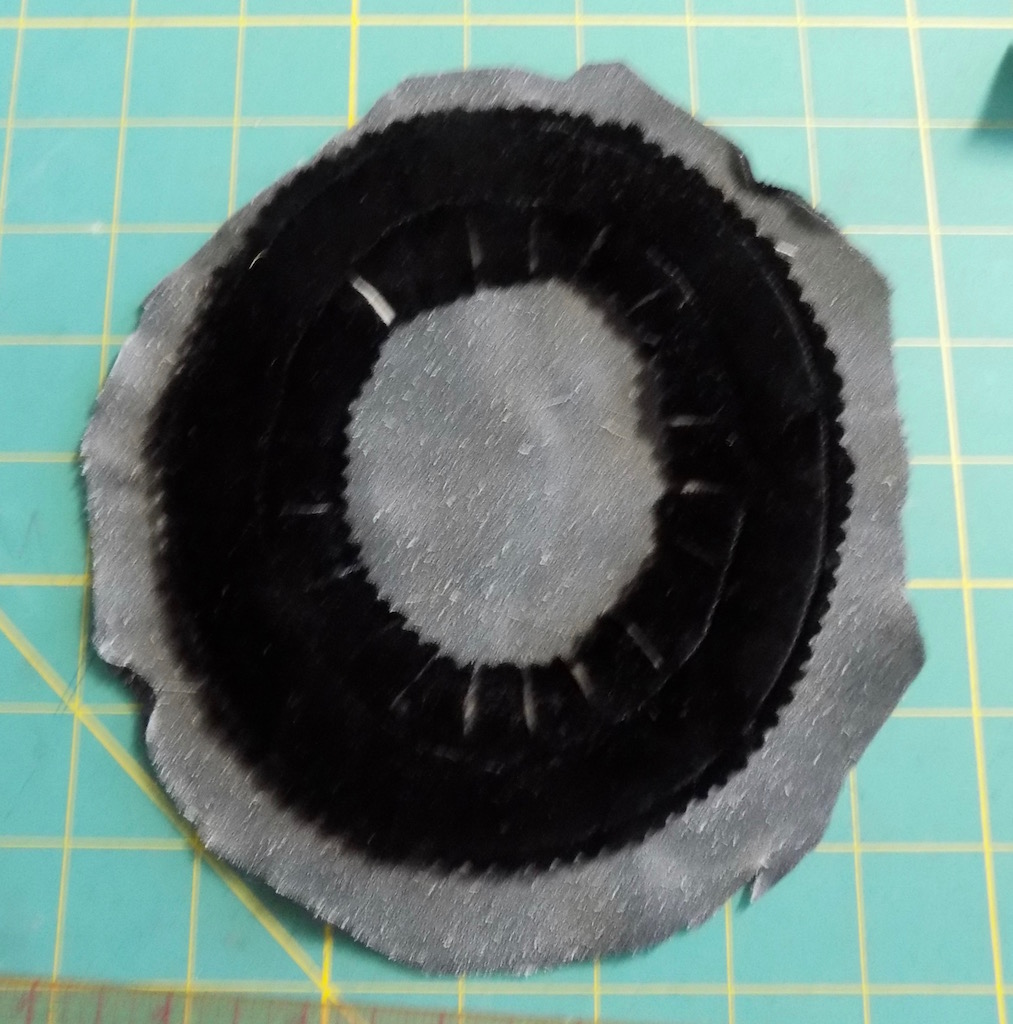
Place the brim over the glue and smooth it down.
Trim the outside edge.
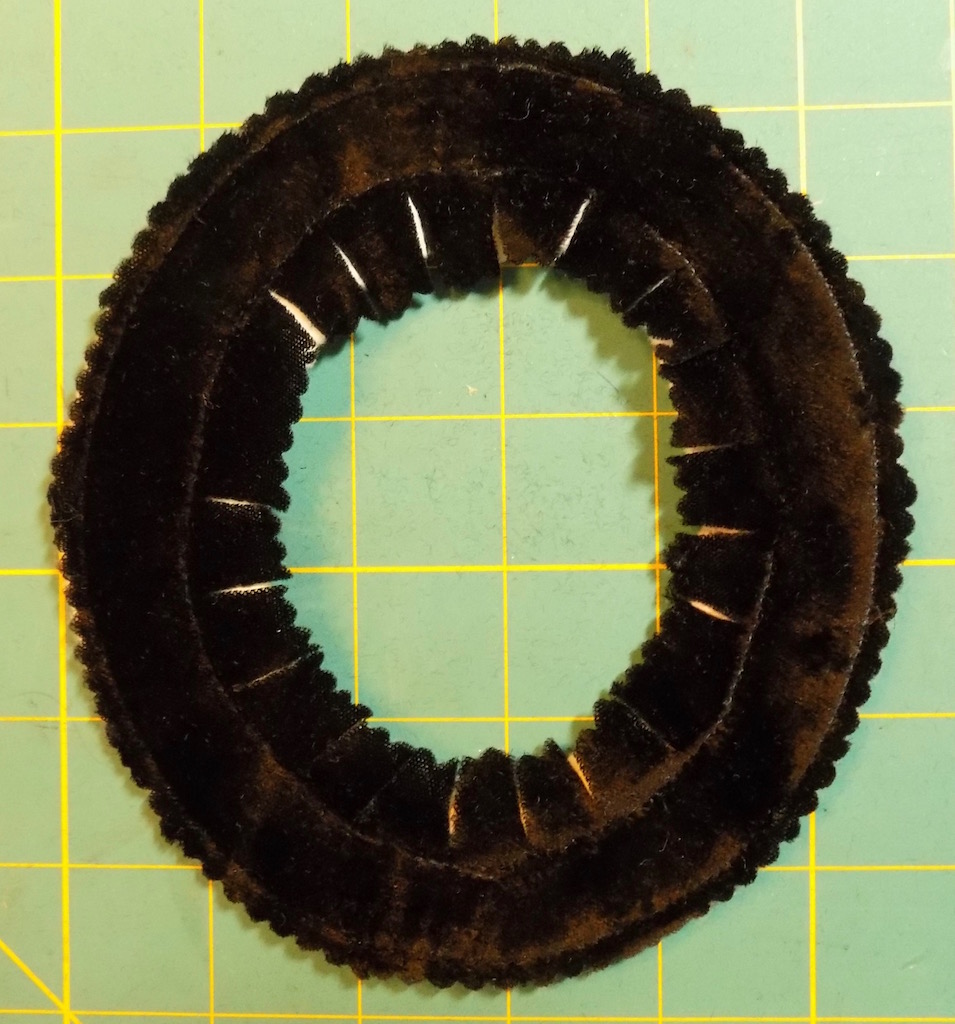
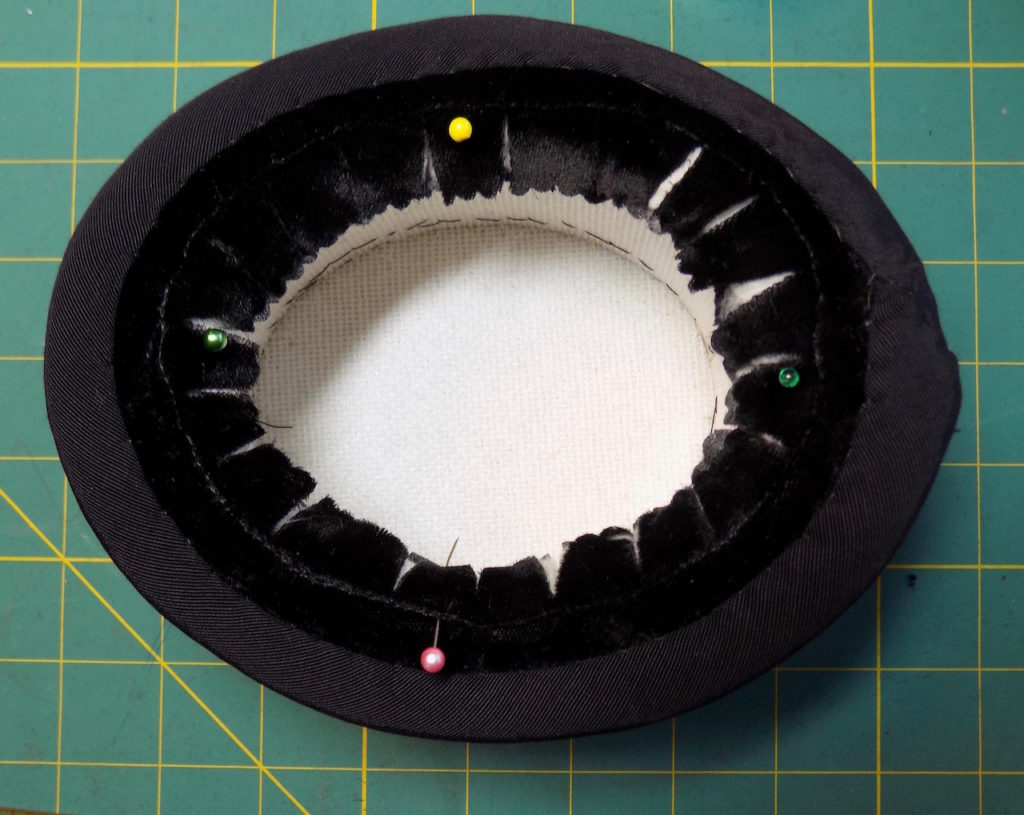
Trim the inside and clip.
Trim the inside and clip.
Cut some bias to edge the brim and sew it down.
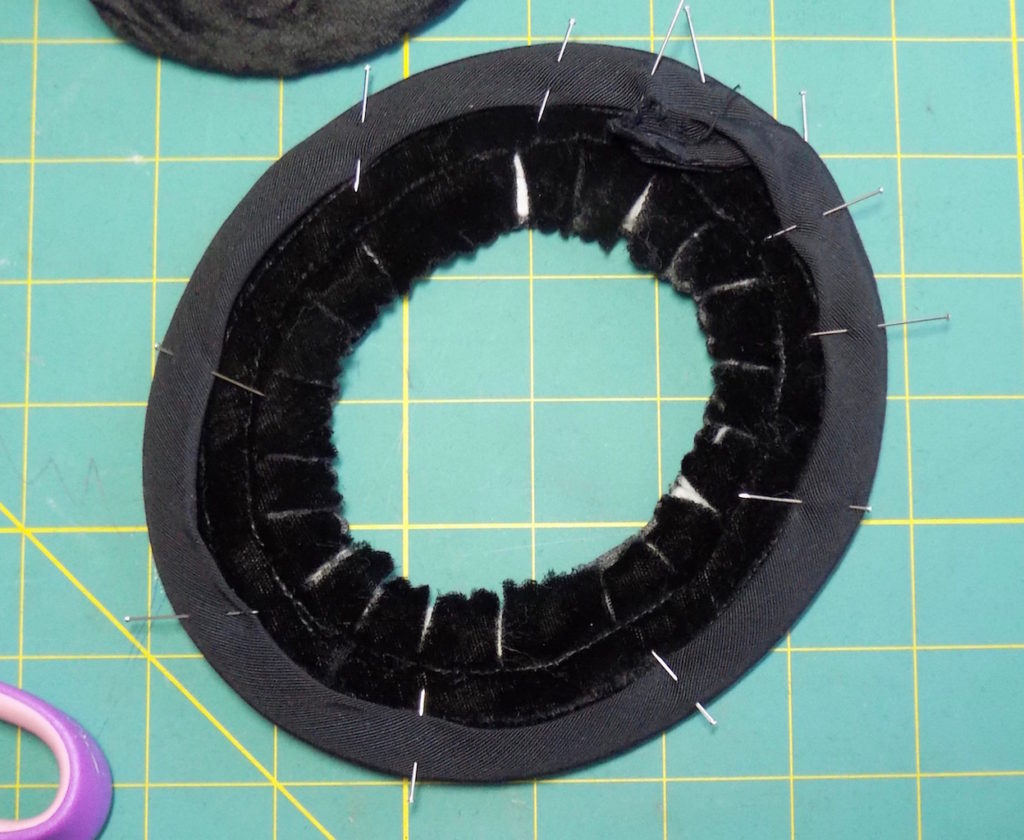
Flip it around and pin.

Sew it down to the upper side.
Covering the crown with fabric
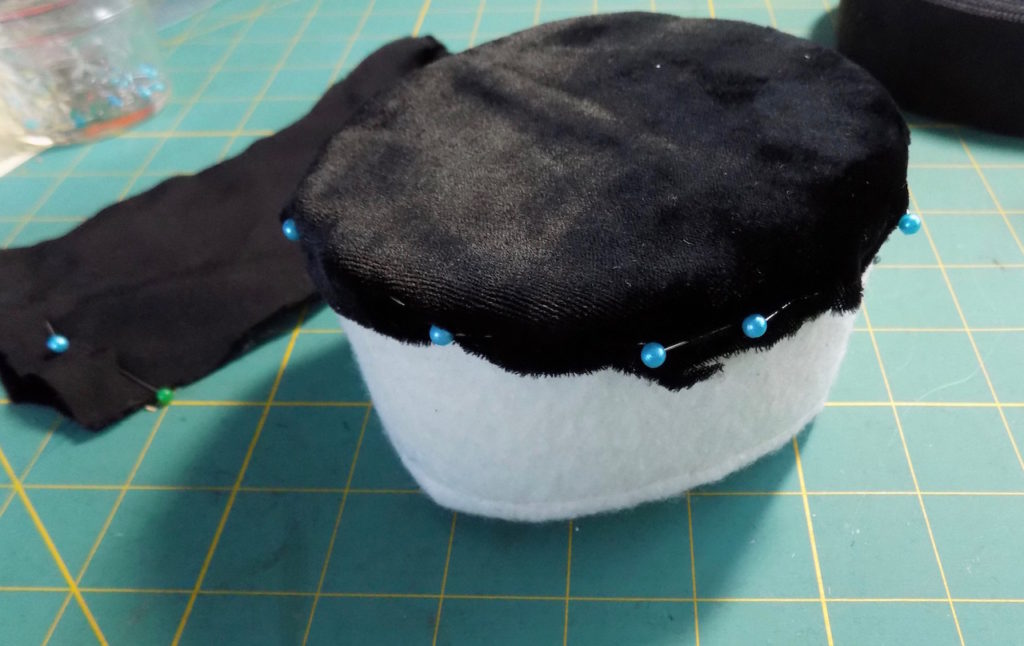
Stretch and pin the crown tip fabric.
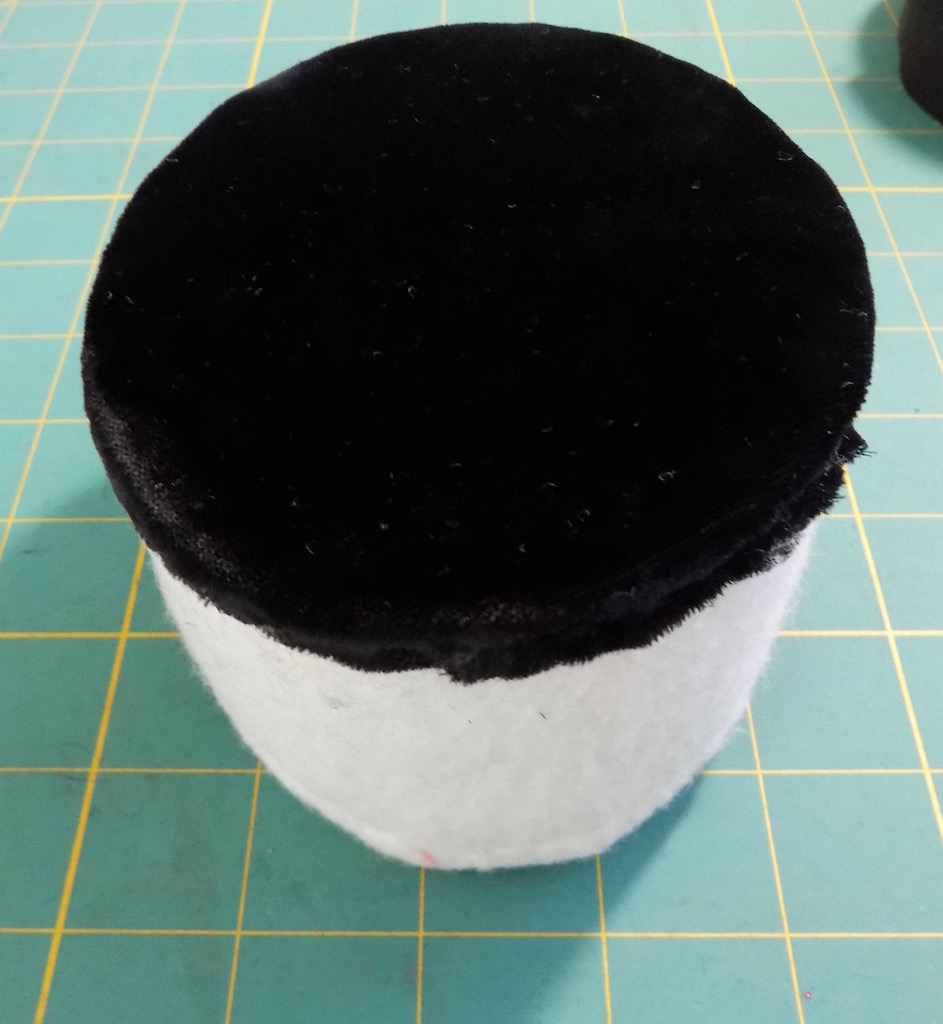
With a backsititch sew the crown tip fabric down.
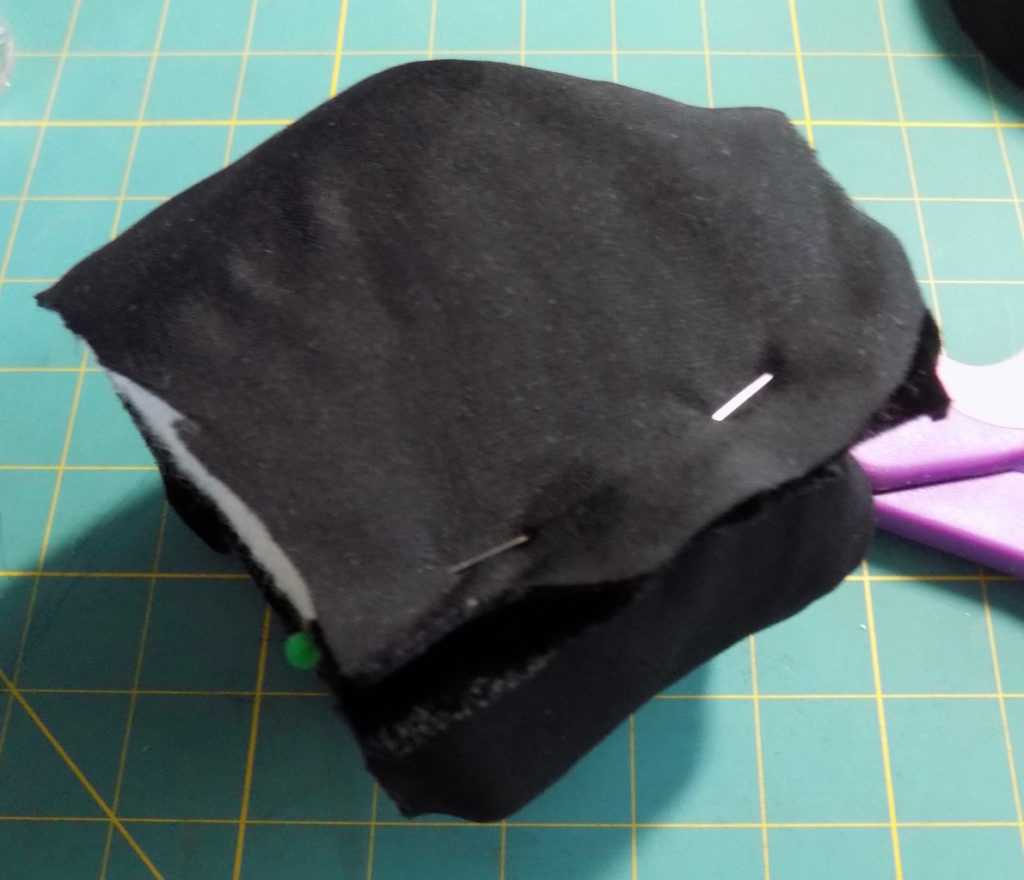
Inside out wrap the side fabric around the outside of the crown and pin the pieces together where it meets. Sew a center back here.
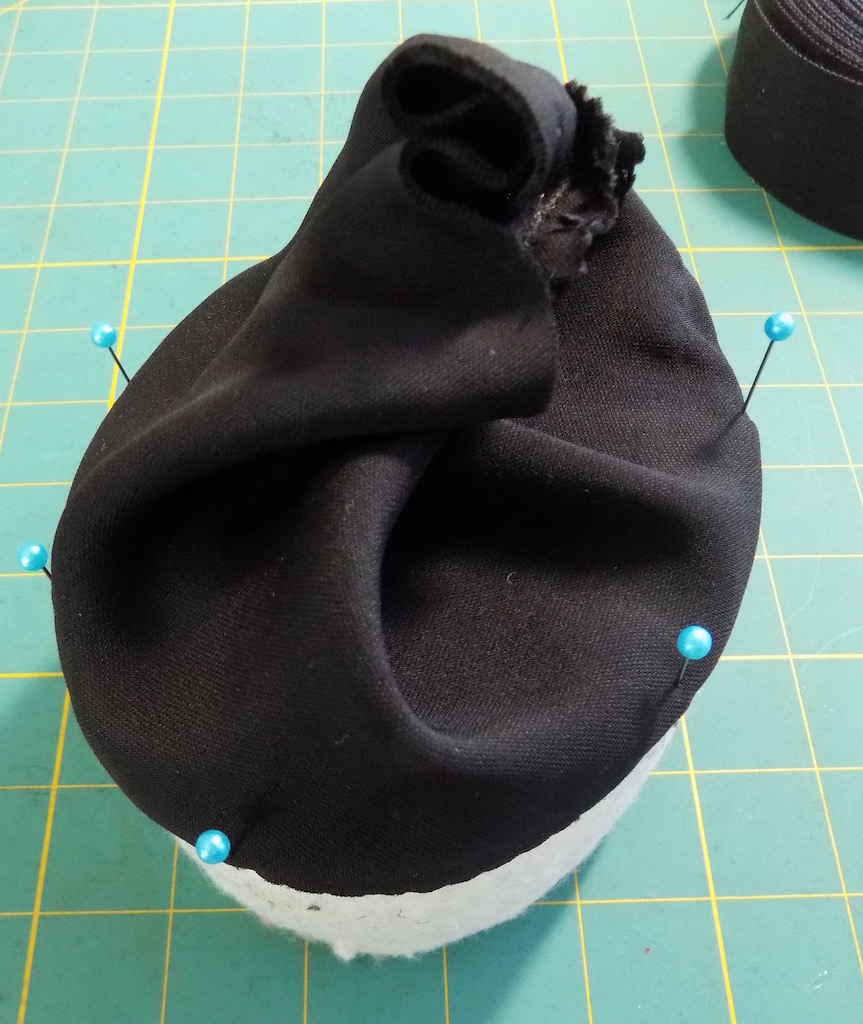
Pull the top edge of the fabric down 1/2″ over the crown and pin it in place
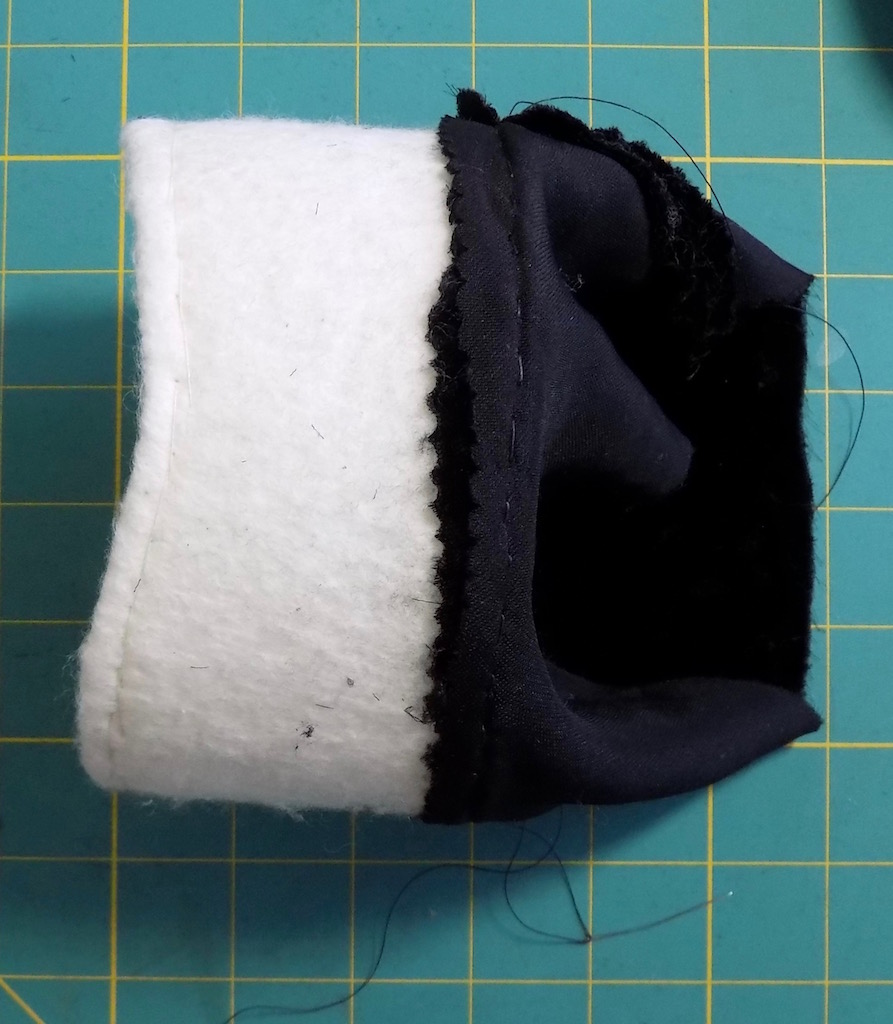
With a backstitch sew the side fabric down just below the top edge
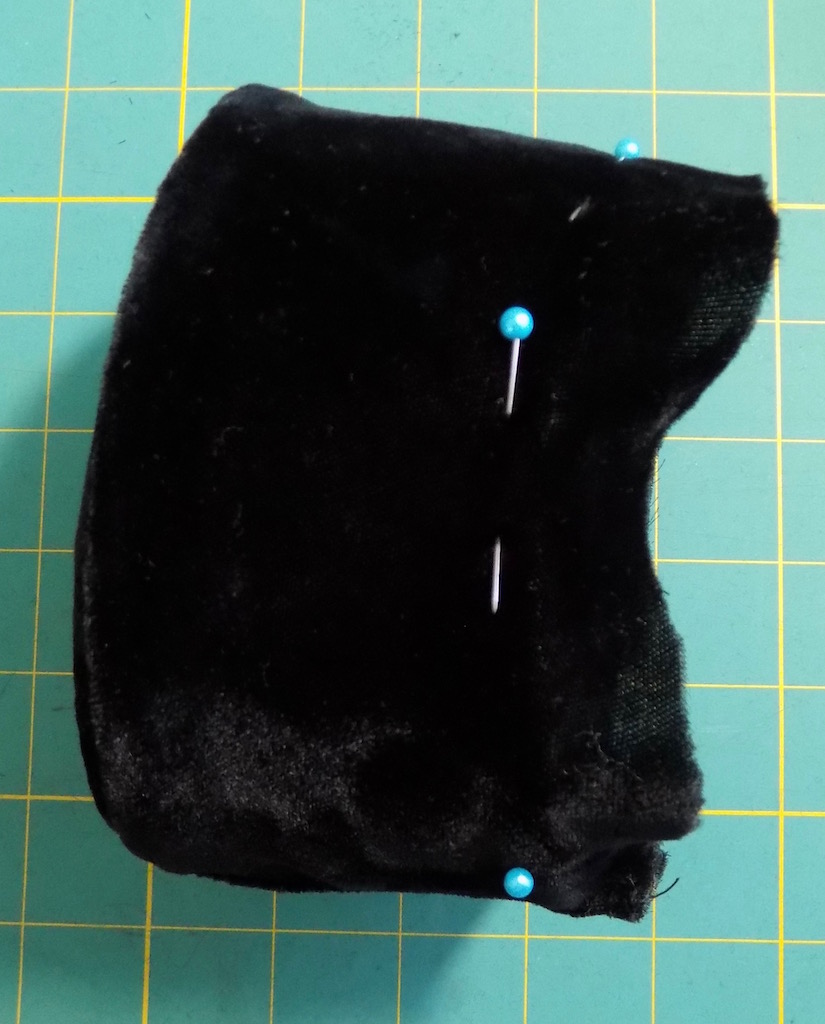
Turn the fabric right side out and pin it near the base.
Sew it down and trim.
Joining the crown and the brim
Pin the brim to the crown.
Sew it down thru the hat.
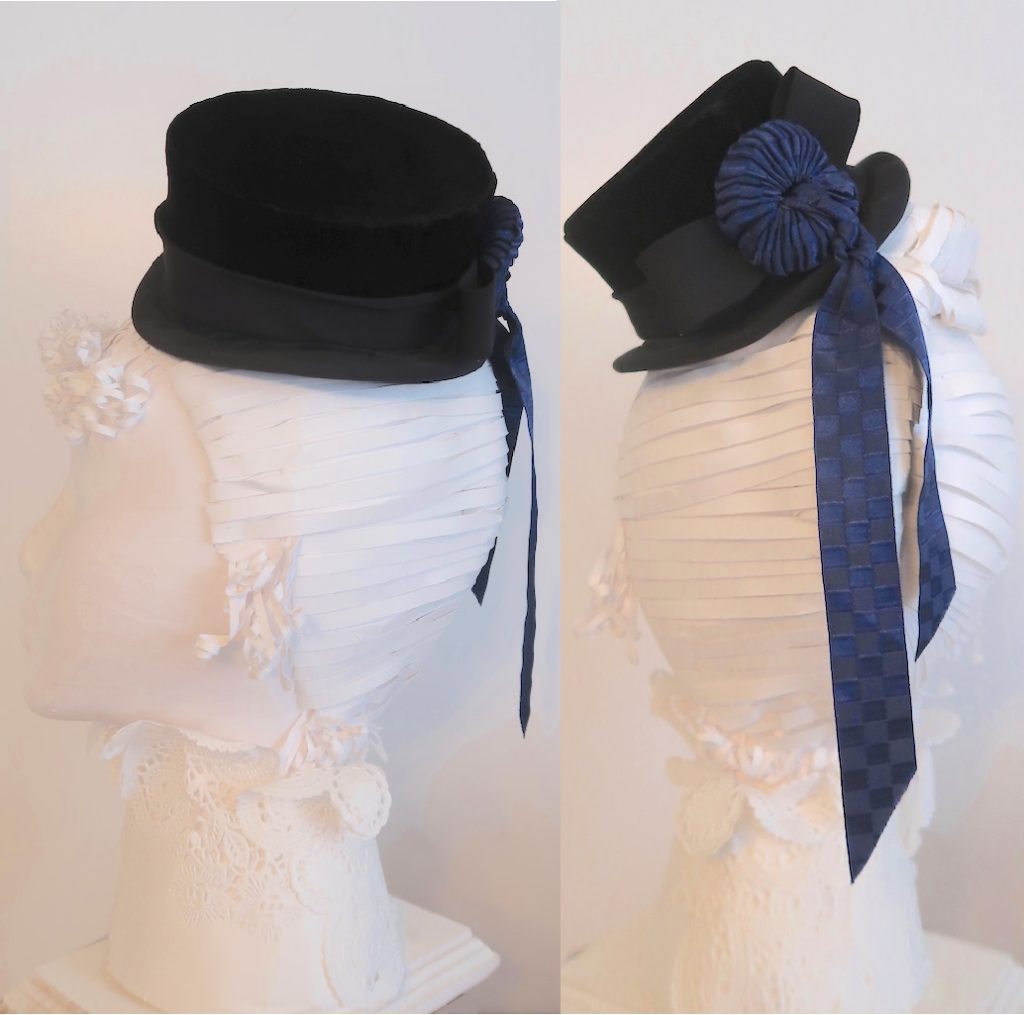
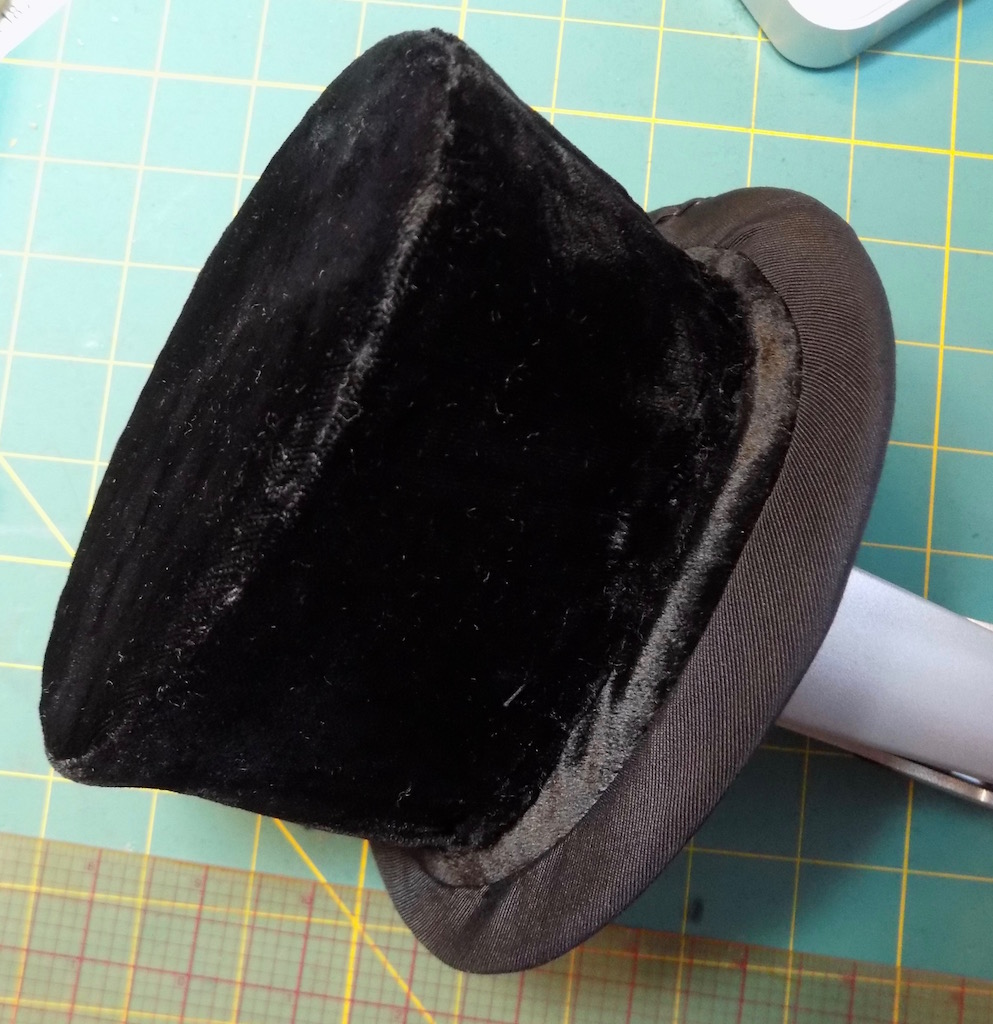
Add a hatband and lining.
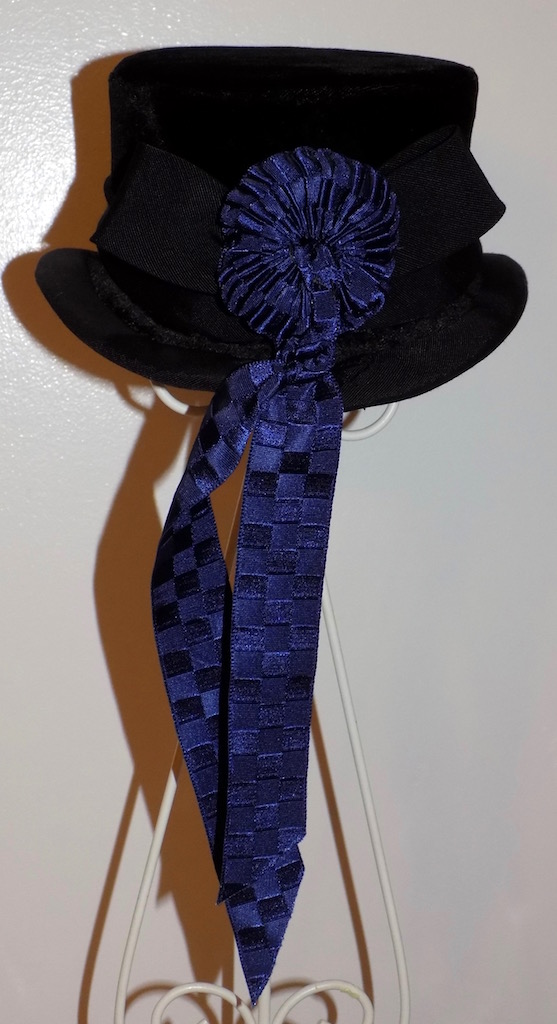
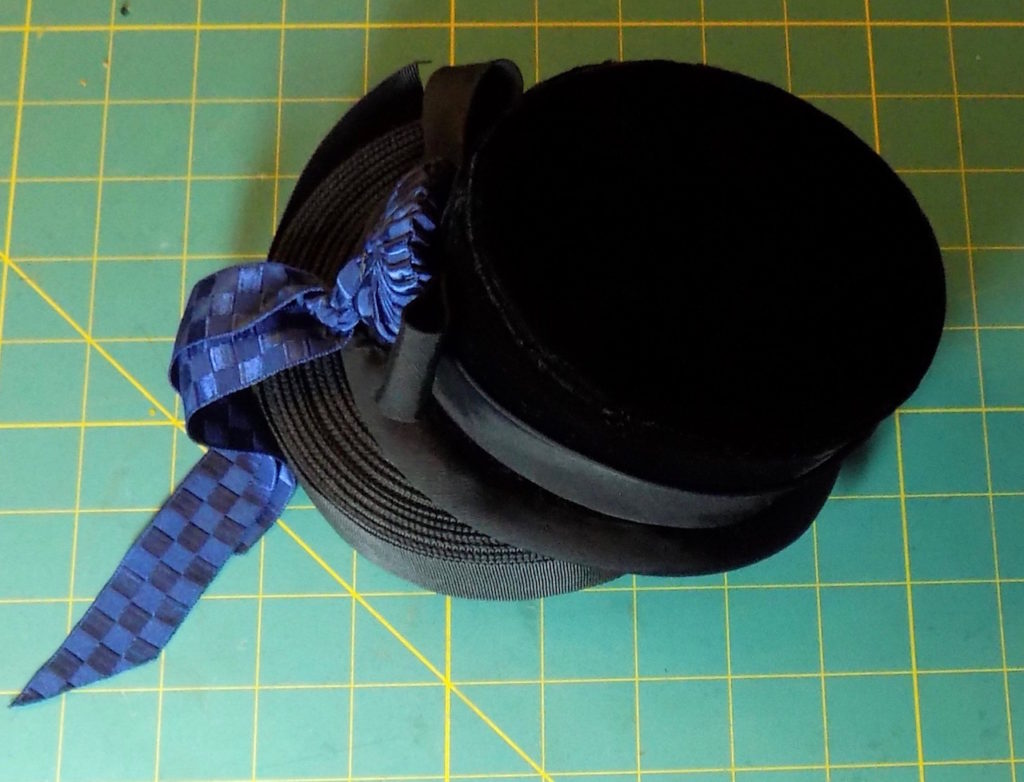
Finished hat.
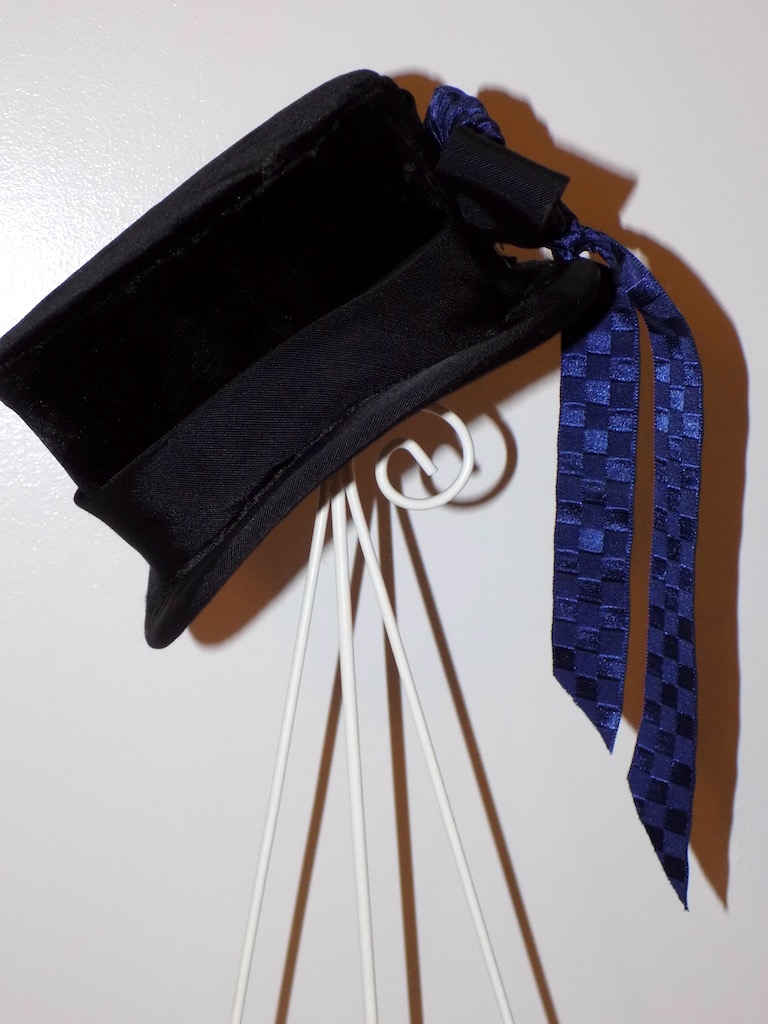
From the side.
I love that you give such detailed photos and instructions. I need that fro myself and so often the genera directions just leave me baffled.
Very nice. I wish I had this post when a few years back when I made my bonnet. The visuals really help. I liked seeing all the materials you used!