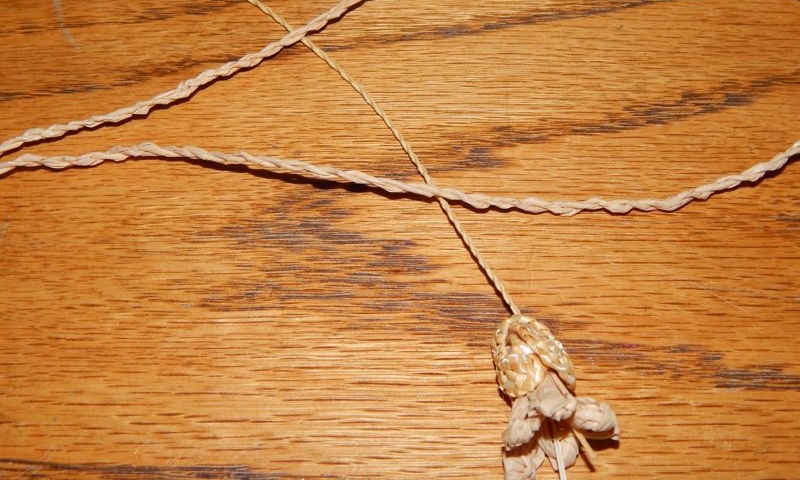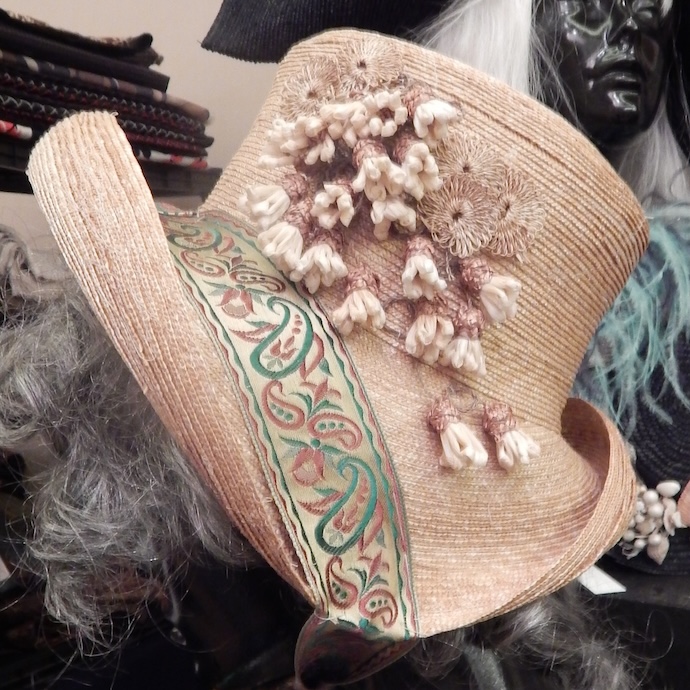
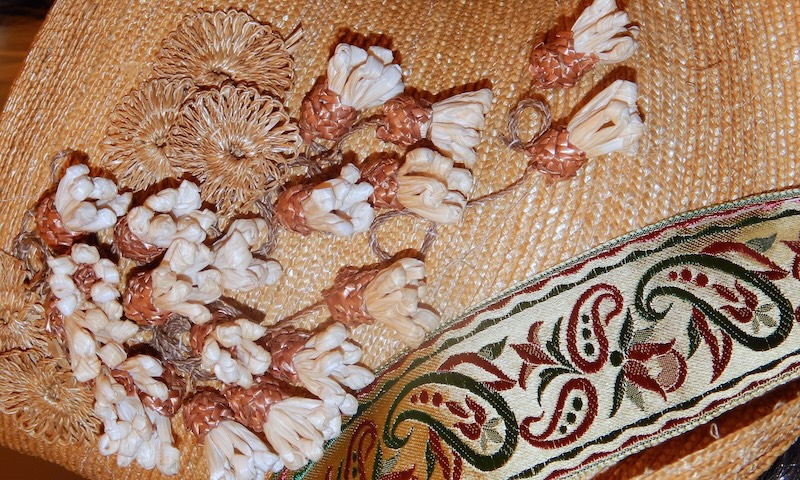
These are the first of this kind of flower I ever saw, they were used to decorate a Regency Straw that Morgan was selling at CoCo. I had to figure out how to make them.
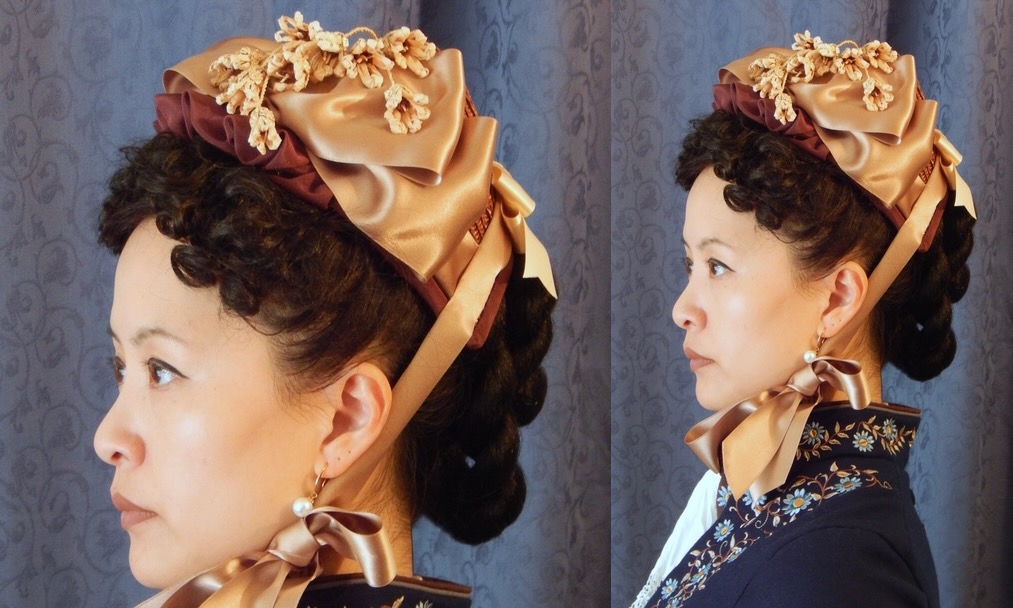
I did teach myself and used them to decorate this late Victorian bonnet for my
#63 late 1870-mid 1890s Bonnet Pattern.
The model is Claudine.
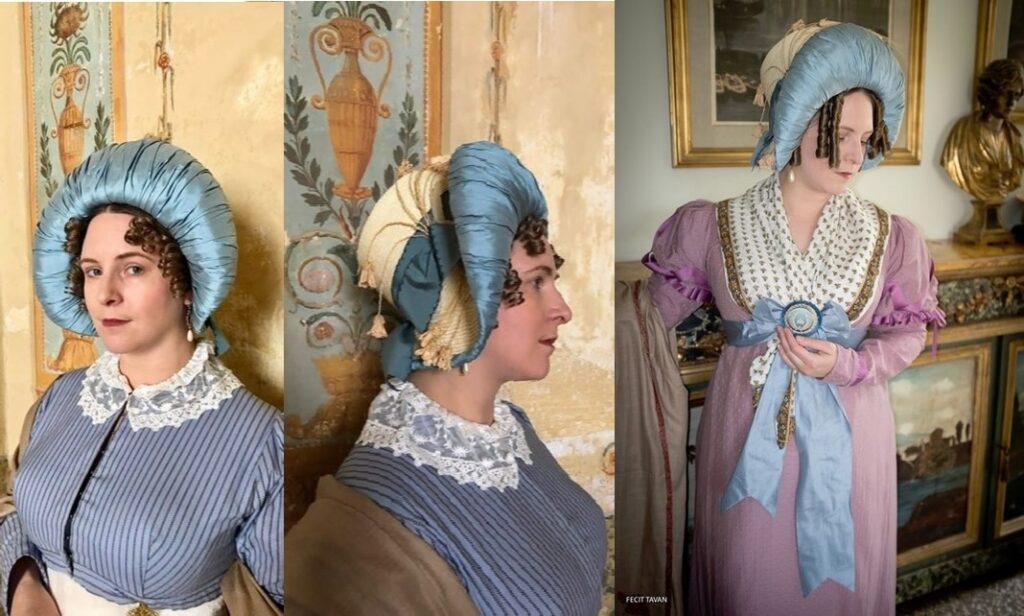
I used them again on this Regency Obi.
Model is Laurie Tavan.
Downloadable pattern & instructions
I made several red ones for this 18th C Bergère.
Model is Noelle.
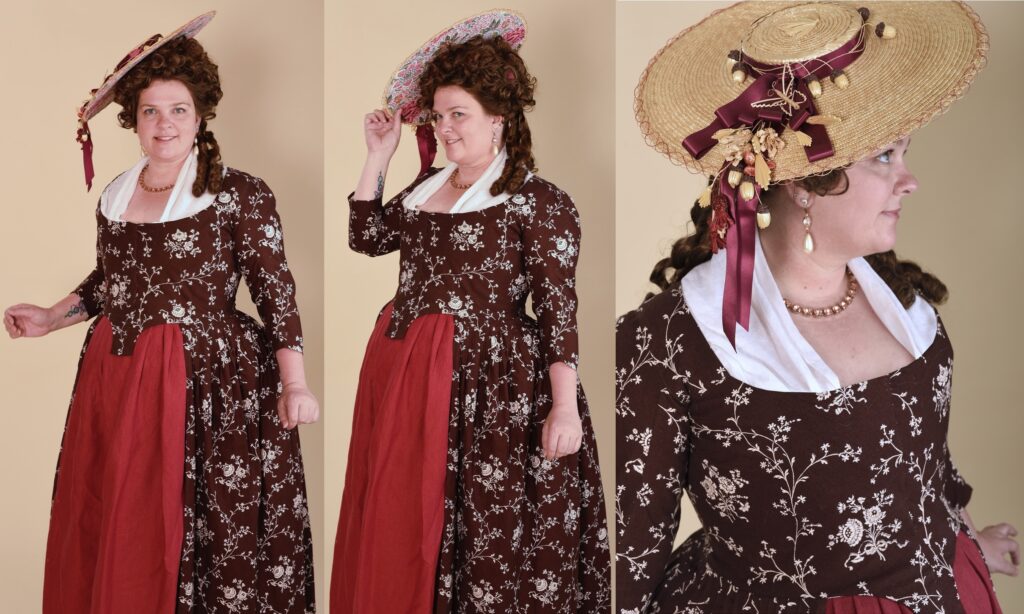
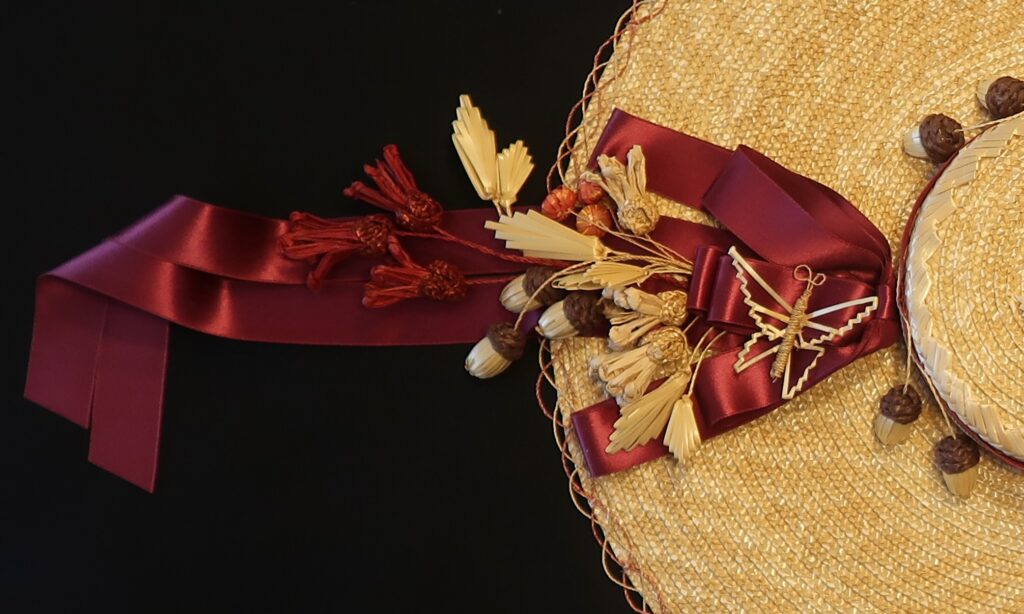
In fact this hat has 6 of the flowers; the three red ones are on the left and the natural ones are mixed in with the other elements. I used Rit dye to dye the separate elements before I put things together.
Below the steps for making a straw flower with a long twisted stem. It’s a good idea the soften your straw and straw plait in a damp towel overnight. Straw and raffia can be dyed with Rit dye so any part of your flowers can be colored. Straw takes longer in the dye vat than fabric. Also, you can purchase Rye straws already dyed. A steam iron can help to soften and shape straw plait.
What you need:
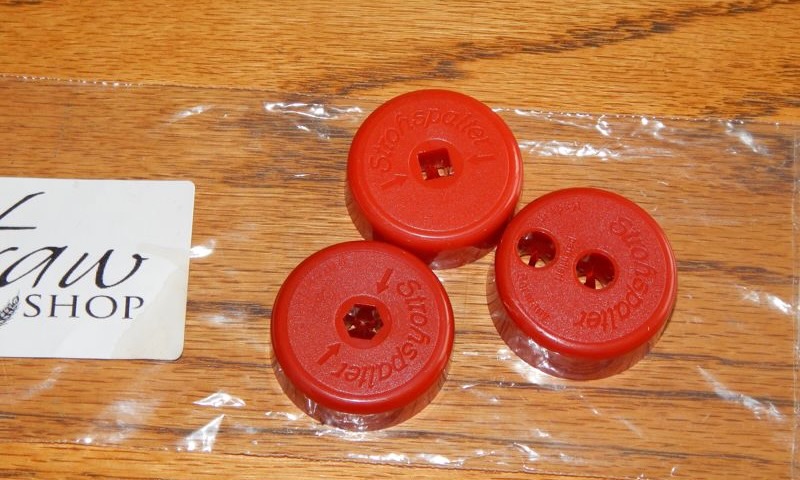
Straw splitters from the Straw Shop. If you are not buying already twisted straw threads.
Rye straw stems in natural color or dyed if that is the color you want your stems and stamen.
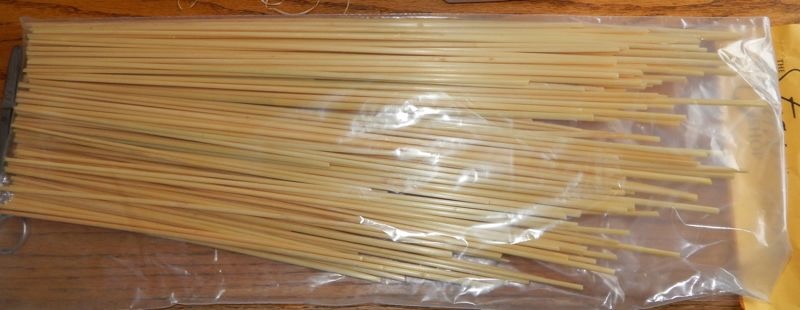
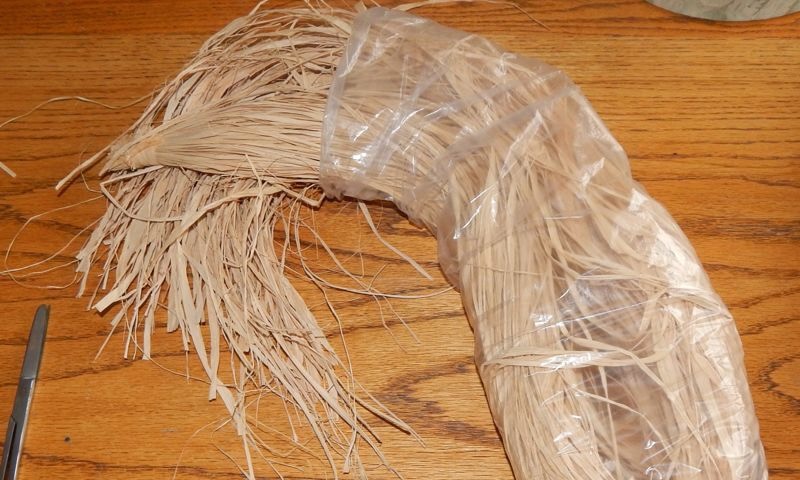
Raffia in the color you want for your flower petals.
3/18″(7mm) wide straw plait.

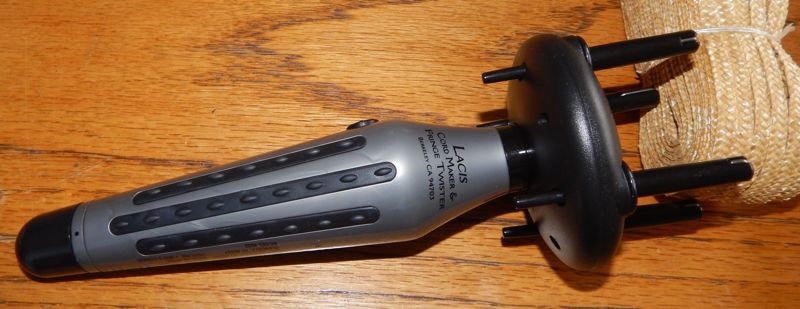
A cord maker from Lacis. Or hand drill.
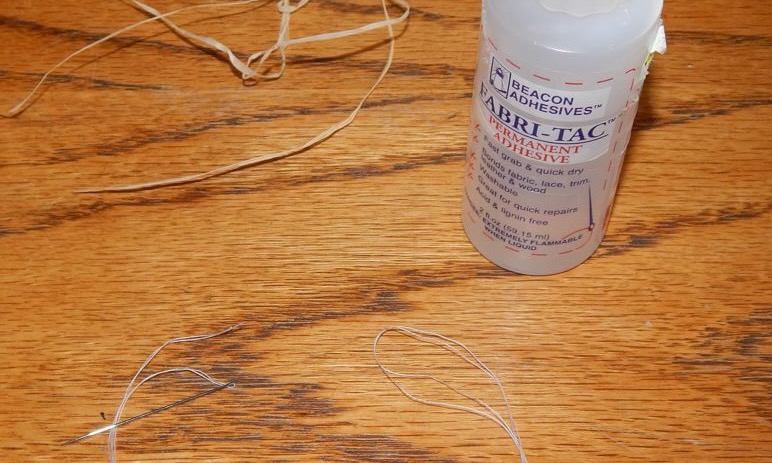
Fine needle and thread to match along with some Becon’s fabric tac or 3 in 1 glue.
The stem
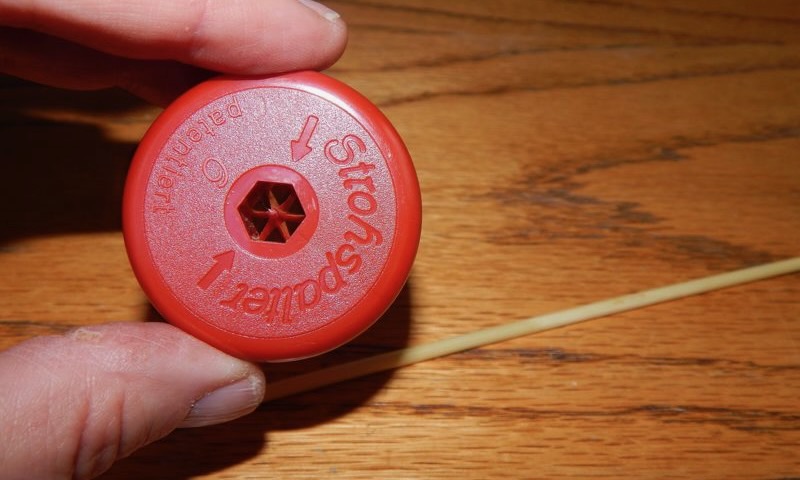
Using the 6 splitter.
Press a straw into the center. Start with damp straw.
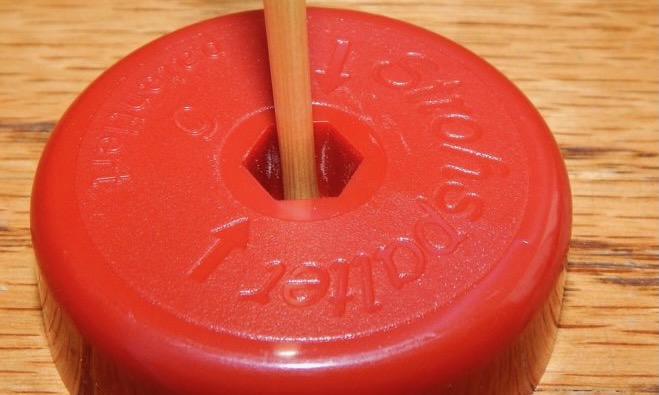
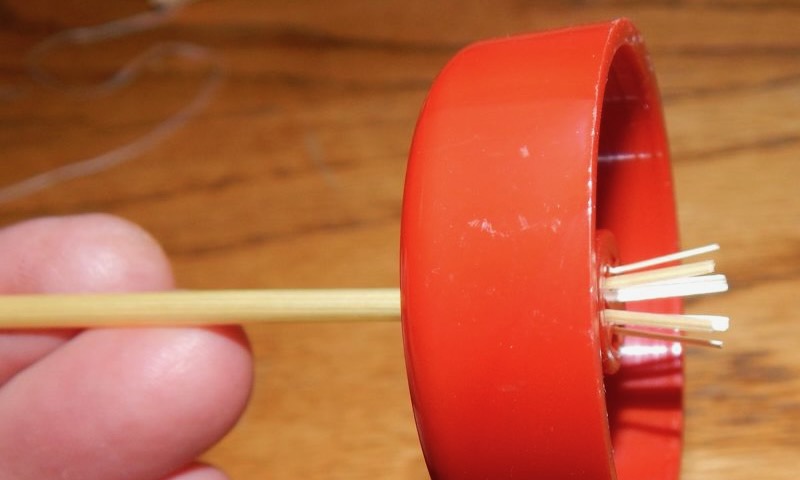
Push it thru the center so that it comes out the other side with 6 even pieces.
You need to hold the cutter with one hand and the straw with the other and push the straw gently and evenly thru.
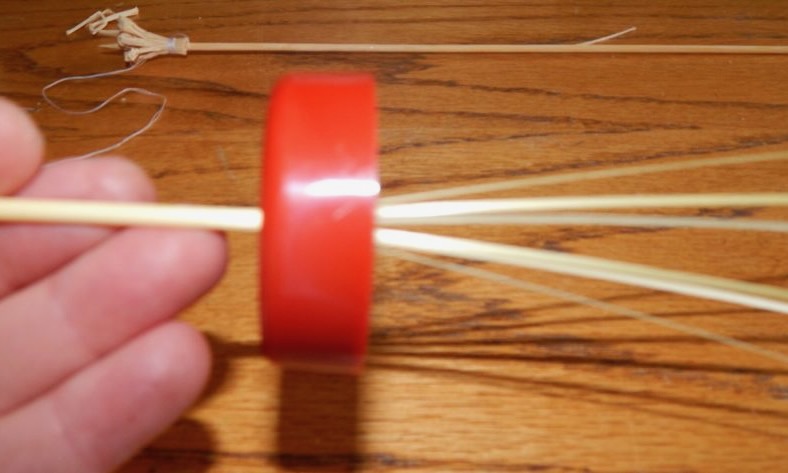
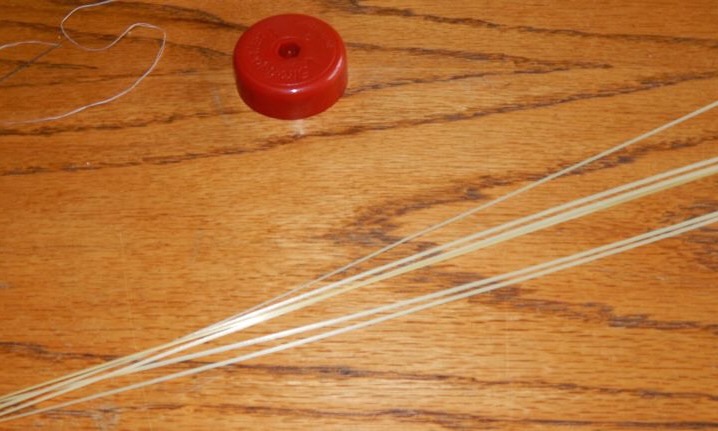
The 6 even splints. Before you continue it’s a good idea to soften the straw splints by passing the pulp side (non-shinny) over the back edge of a scissors. Like curling an ostrich barb.
Clamp one strand into the two of the cord maker spindle clamp.
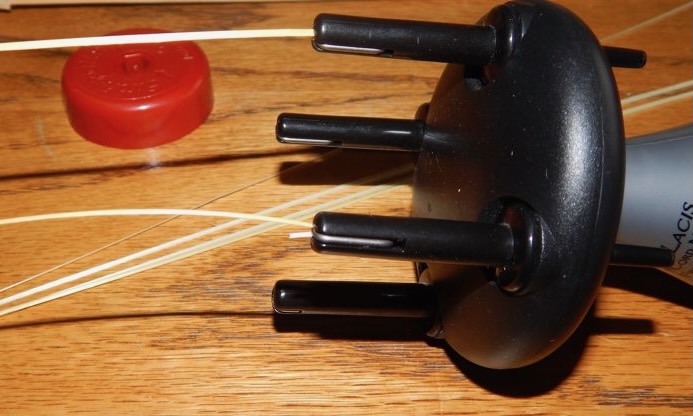
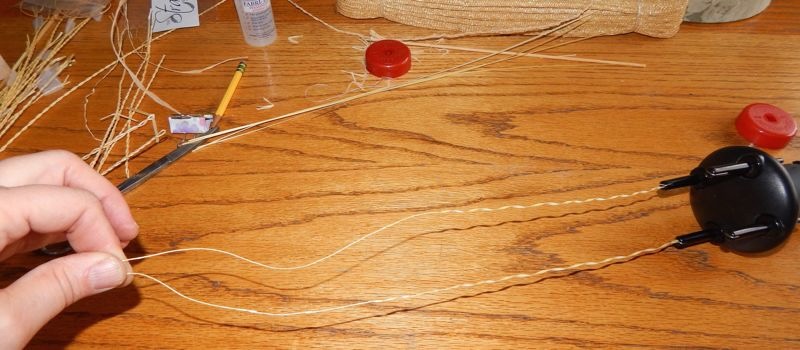
While holding tightly onto the strands use the #1 button to twist the strands until they start to slow down the motor.
Use the #2 button to twist the two strands together.
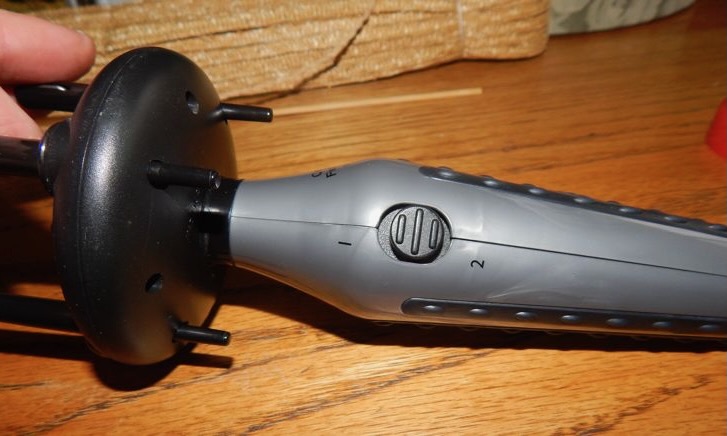

Tape or tie the ends of the twist together so it does not unravel.
The calyx and pistil
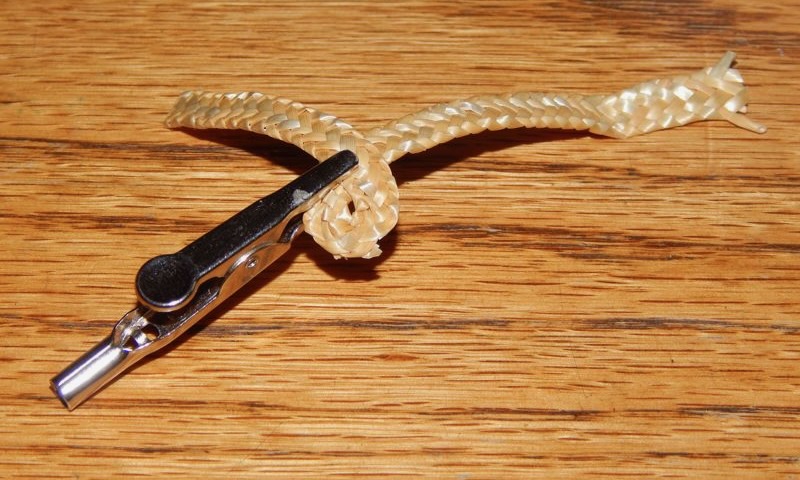
Cut a 6″ length of straw plait and fold it to form a loop, clip the loop.
Fold another loop.
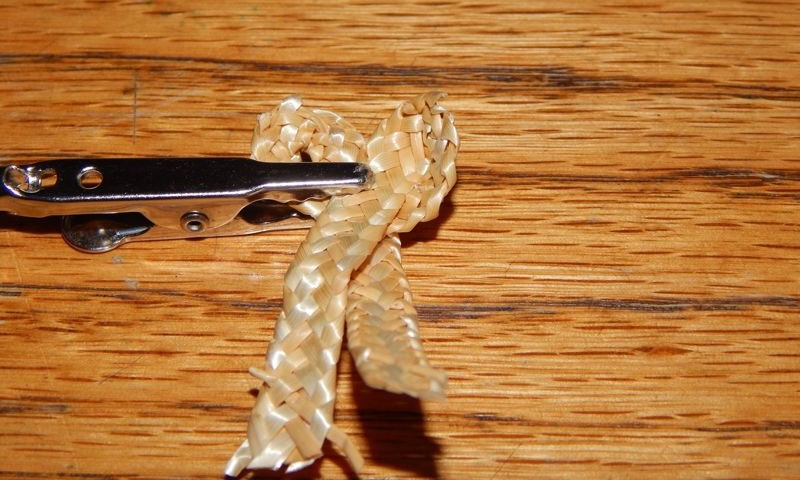
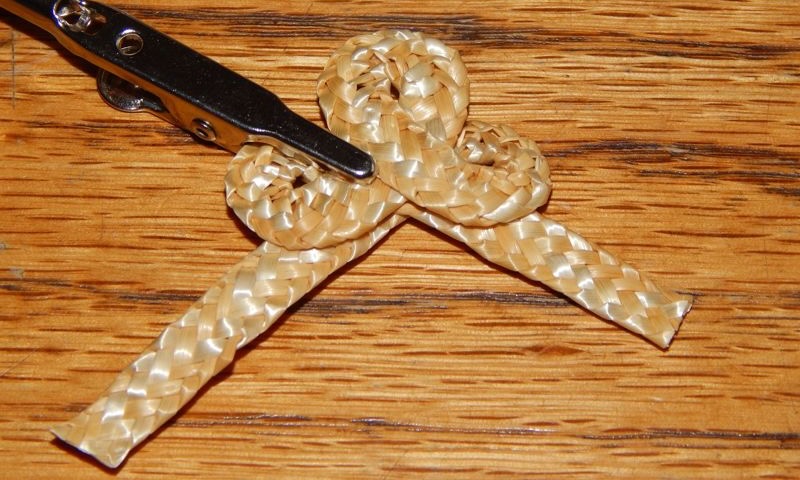
Fold a third.
The three loops are shown from the back side.
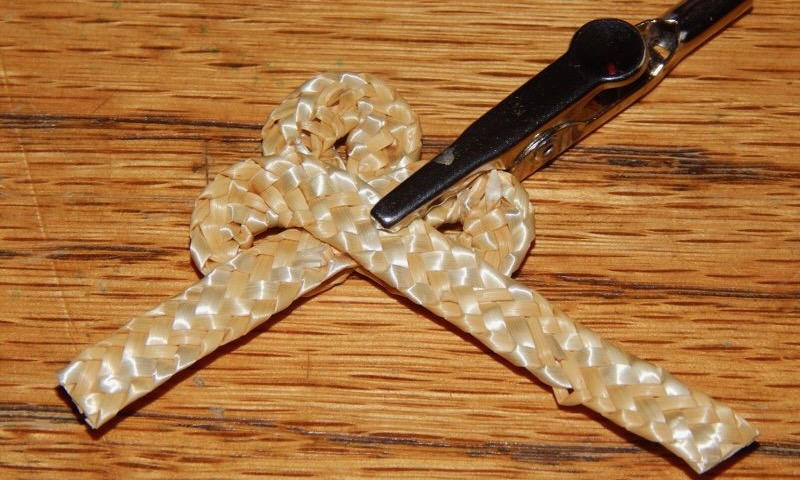
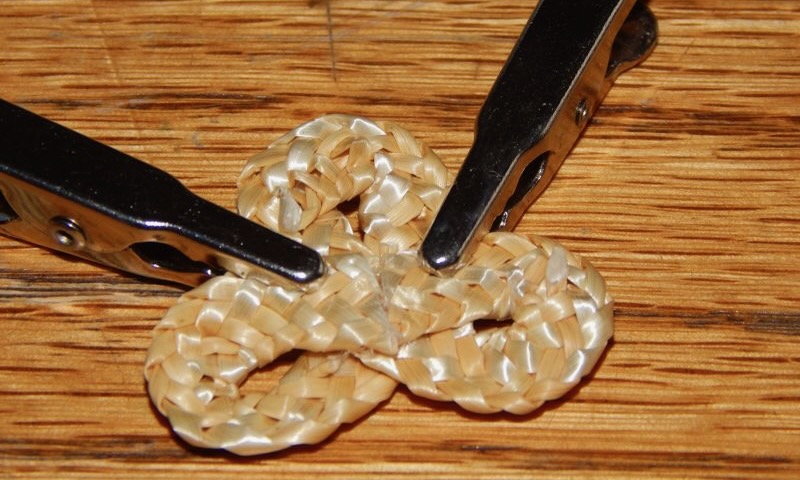
Cut the plait so the ends do not overlap and glue them.
When the glue is dry use a bamboo skewer or awl to make a hole right in the center of the loops
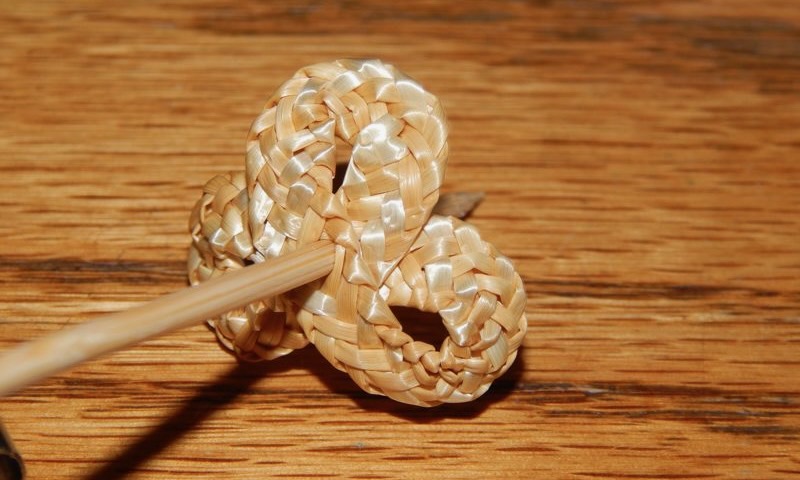
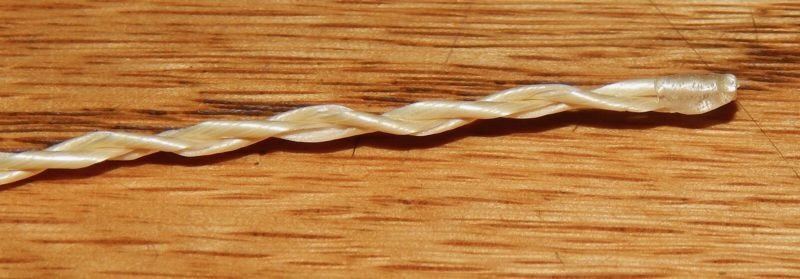
Glue the last 1/4″ of the thicker end of straw thread so it does not unravel.
Slip the loops onto the twist glued end first.
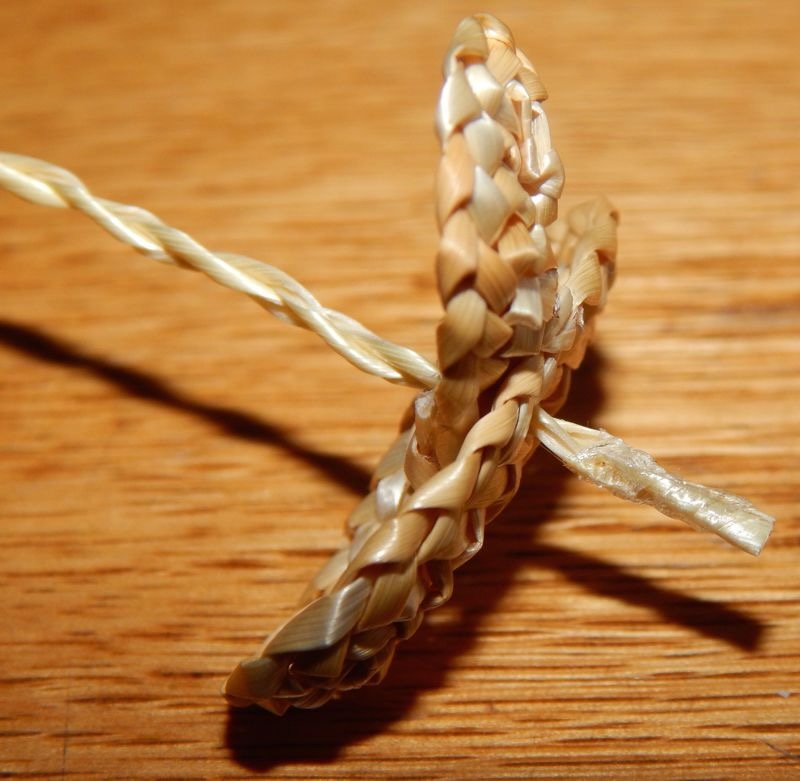
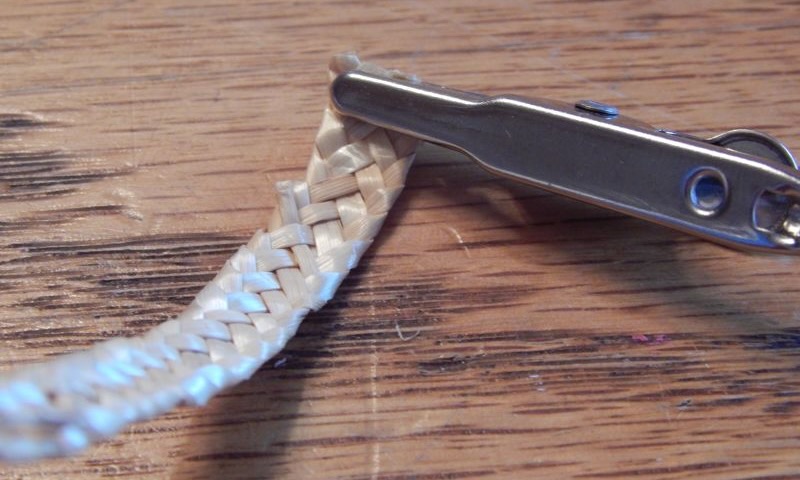
Cut a 4″ length of straw plait and clamp one end with a clip.
Twist the straw around the clip two times and steam it.
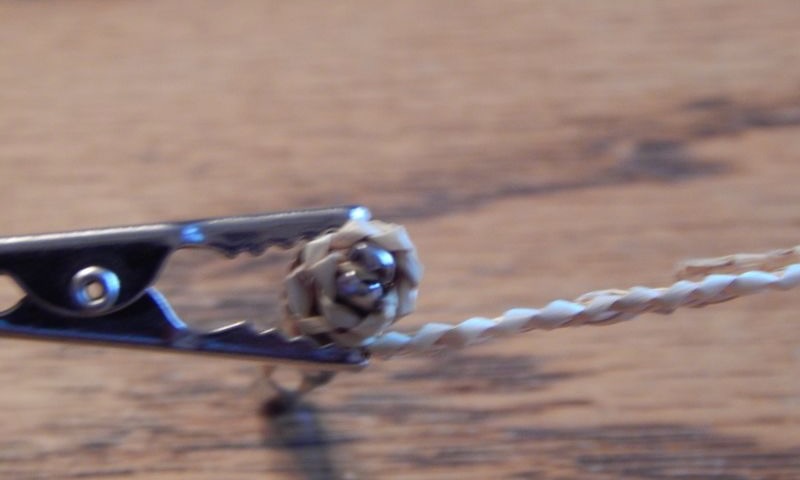
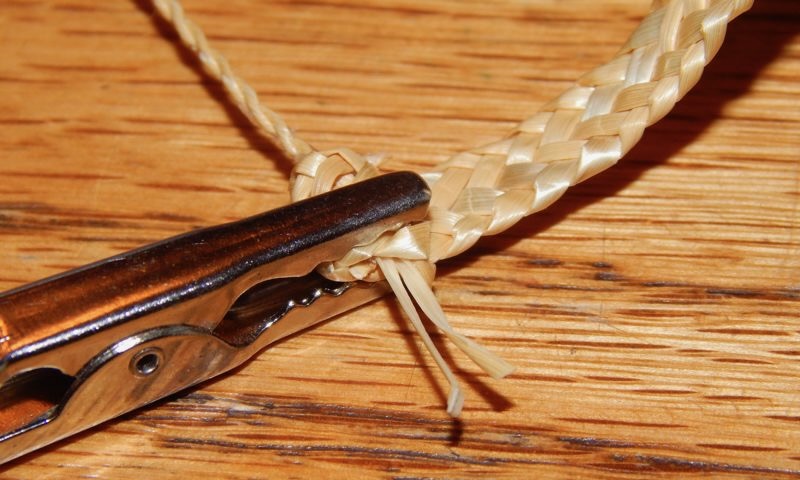
Remove it from the clips and glue it to the fine end of the twist 3/4″ from the end. Add a clamp to hold it until the glue is dry.
Wrap the straw around the twist two times, cut away the extra and use needle and thread to hold it together. Do not cut your thread. Set this aside.
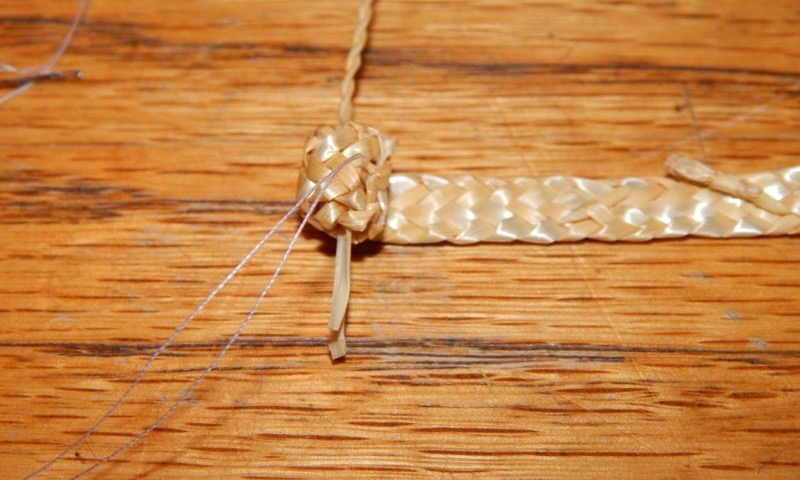
The petals
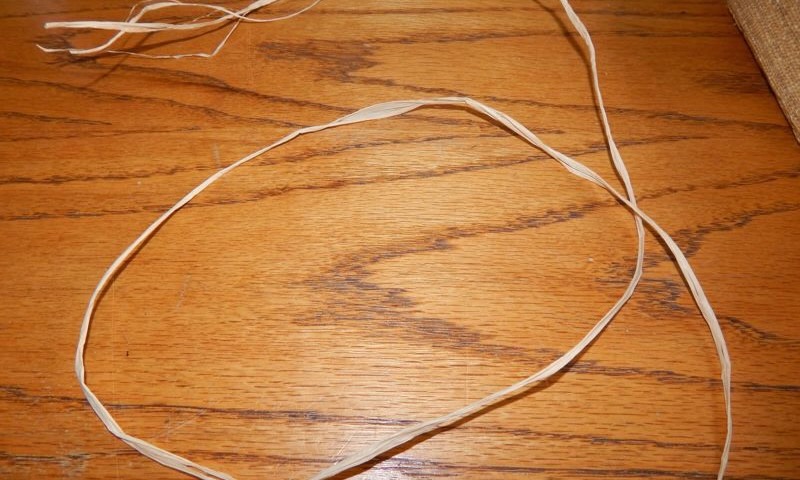
Take a length of raffia.
Every 3″ or so tie a single knot. Do not tie it too tightly.

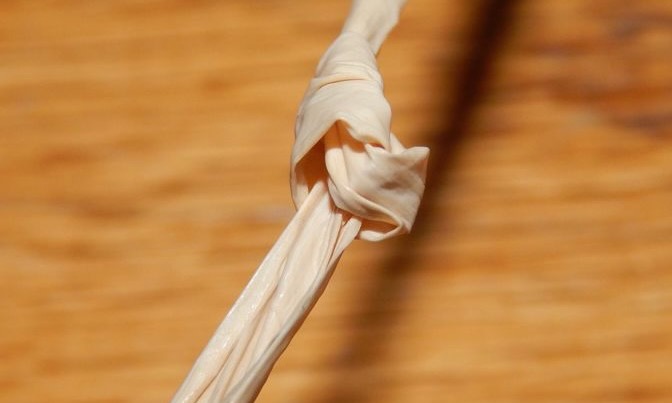
Single knot close up.
Fold the length of raffia back and forth so that the knots are even with each other.
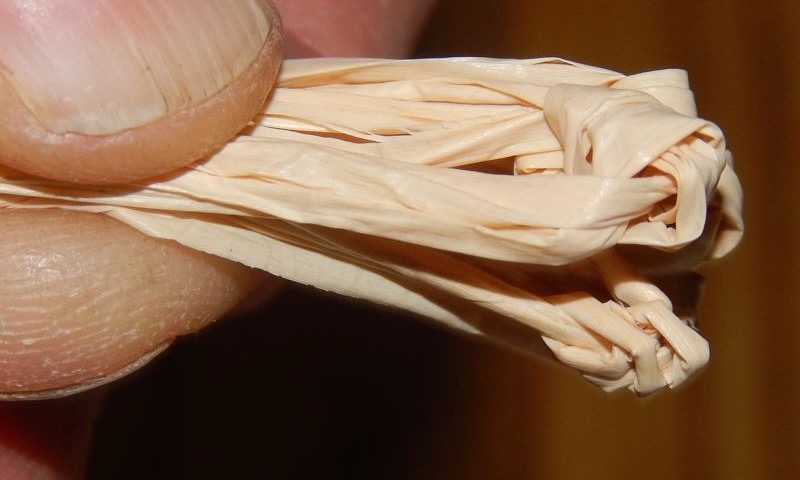
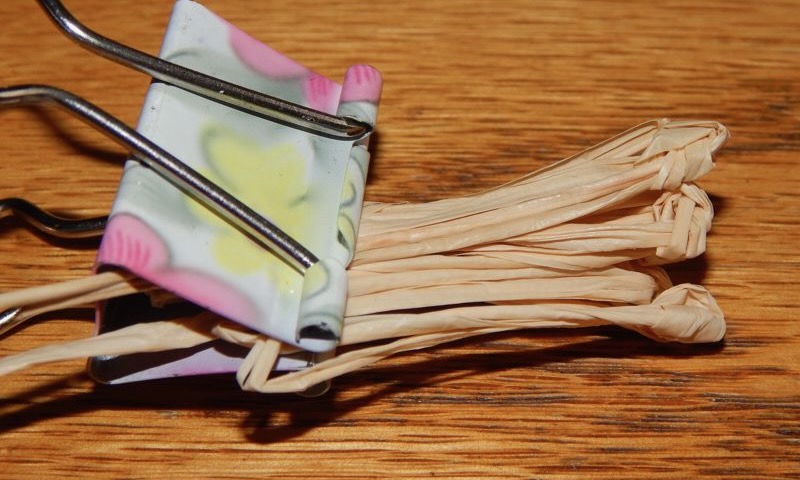
Clip the bundle together with a binder clip so that you can cut them apart evenly at about 1″ from the knots.
Glue or sew three of the raffia petals over the straw plait around the twisted stem.
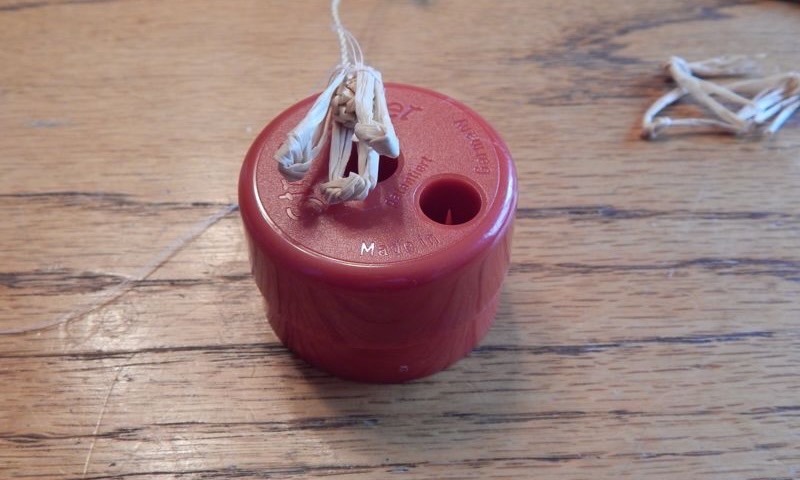
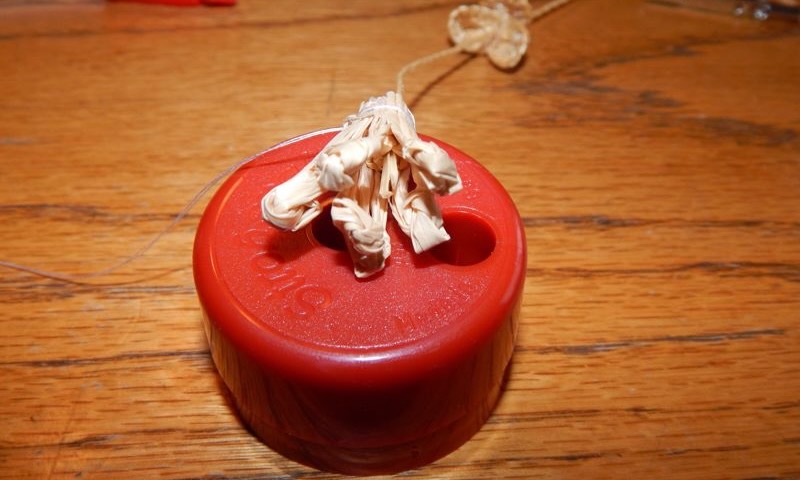
Then add the other three, sew or glue
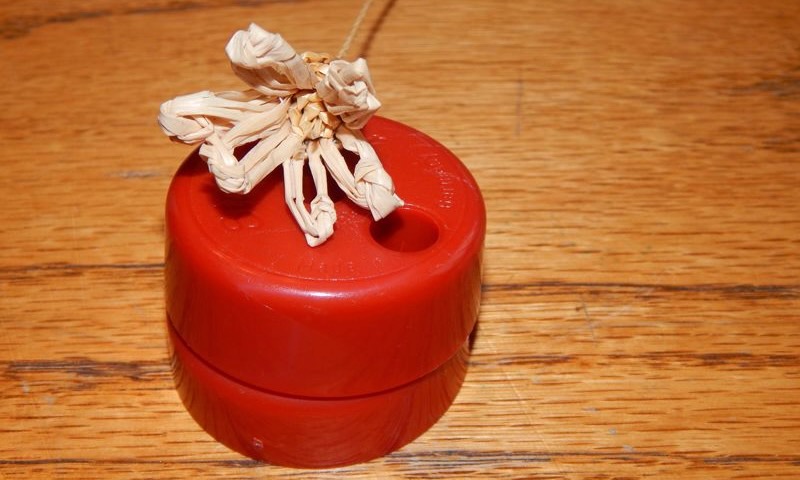
Slide the straw plait loops (calyx) up to the base of the petals and use the remaining thread to sew them tightly to the base.
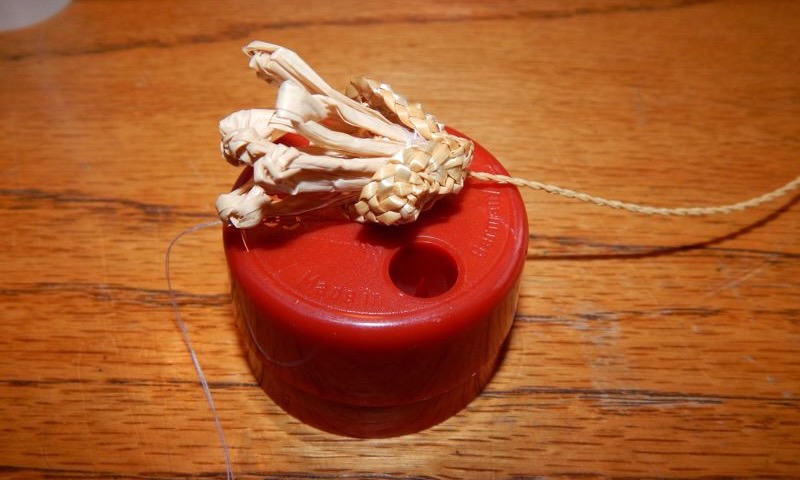
Flower viewed from the top.
Flower from the side.
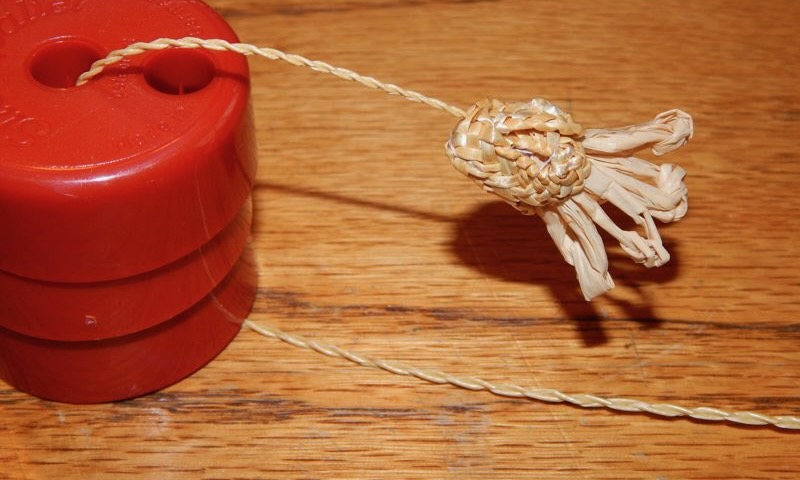
Added info
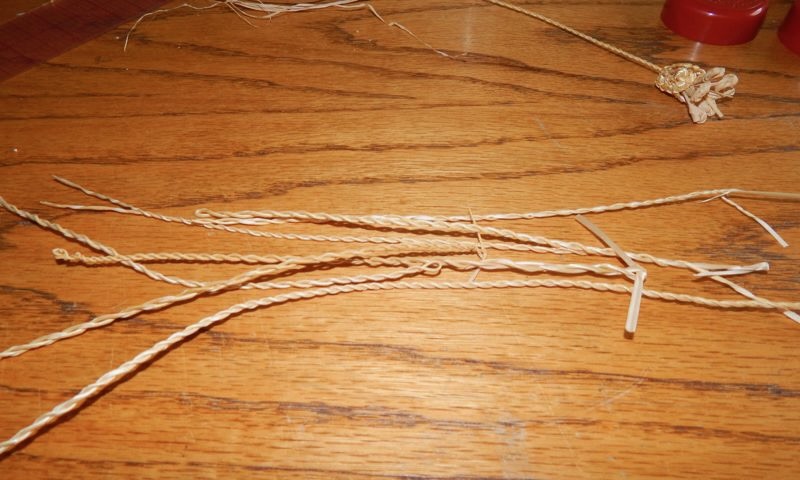
It is possible to use wheat straw stems to make the twist. You need to pick wheat stems that have long distances between the nodes. Those are the swollen solid parts between the hollow sections. You can get those at most craft stores in the dried flower section. However, Rye straw works best.
I tried using twisted raffia for the stems but it was very lumpy.
