Here is how I recreated these vintage velvet leaves.
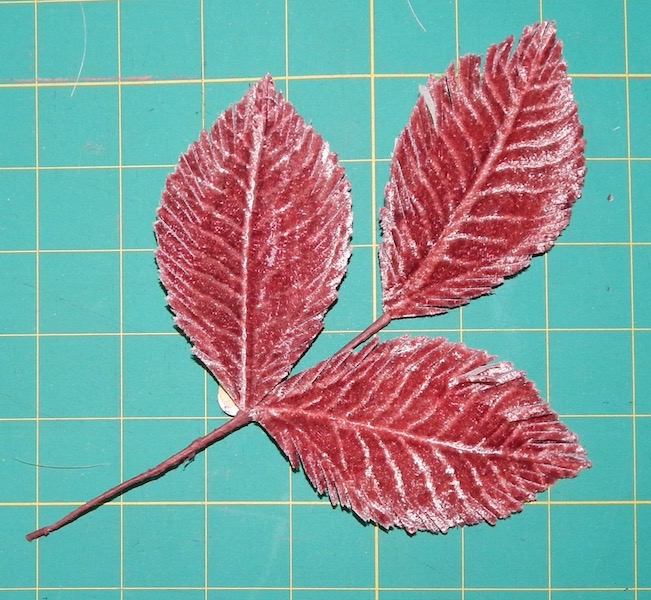
The vintage leaves. The surface layer of the velvet is stamped to give the design and there is a wire down the center of each leaf so it can be shaped.
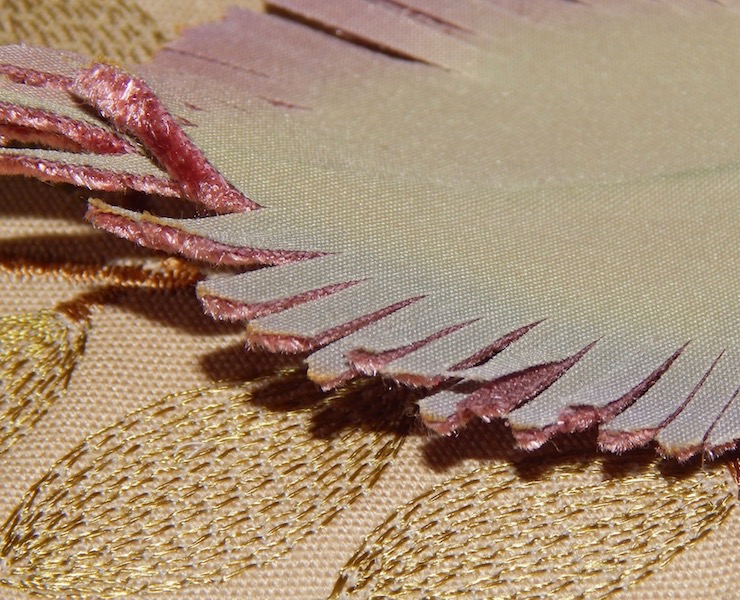
The back of the vintage leaves. I could see that there is a layer of velvet and a backing fabric.
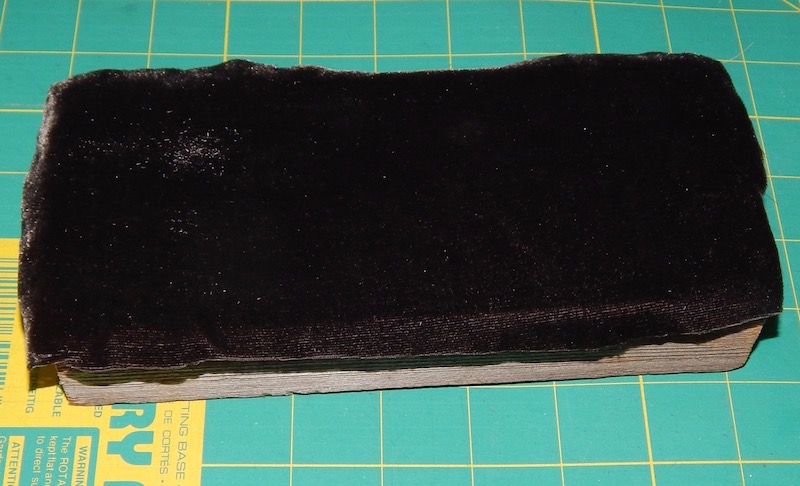
First thing was to create a stamp. I took a piece of wood and glued a piece of velvet to it. This is so when I was stamping the design into a leaf the background of the design would not get crushed.
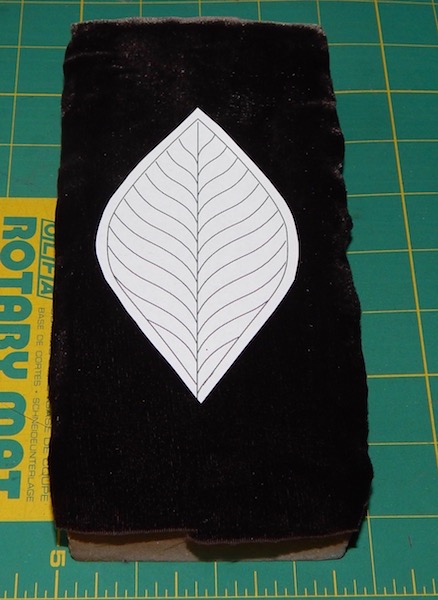
I drew out a leaf design on a piece of paper which would become my pattern later.
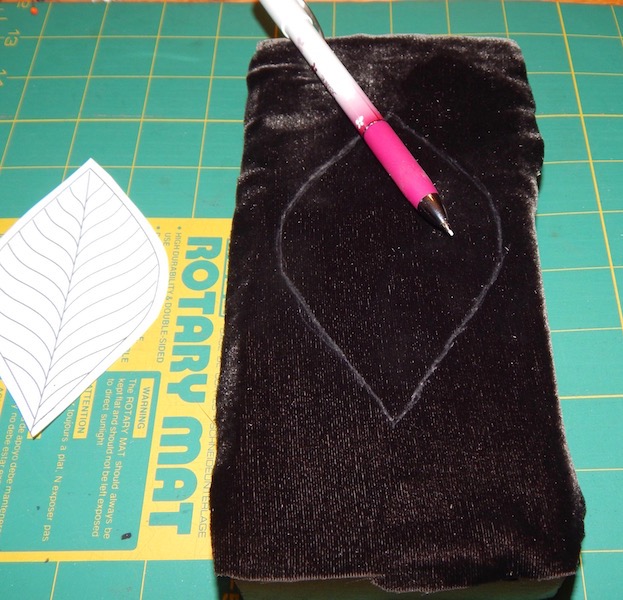
With a chalk pen I transferred the leaf design to the block.
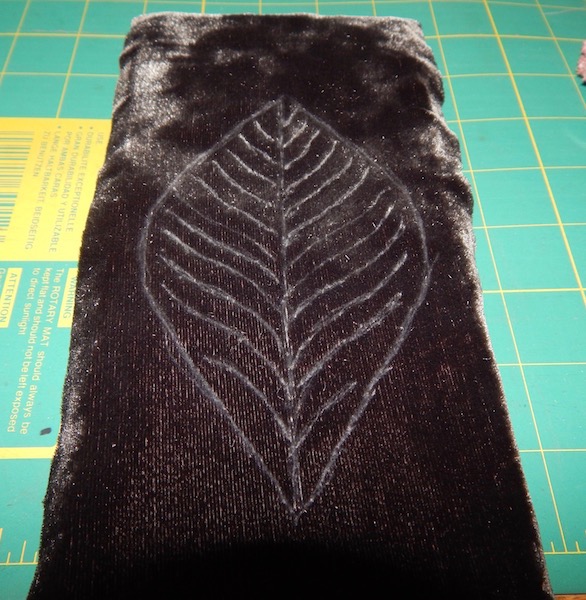
This is the finished outline.
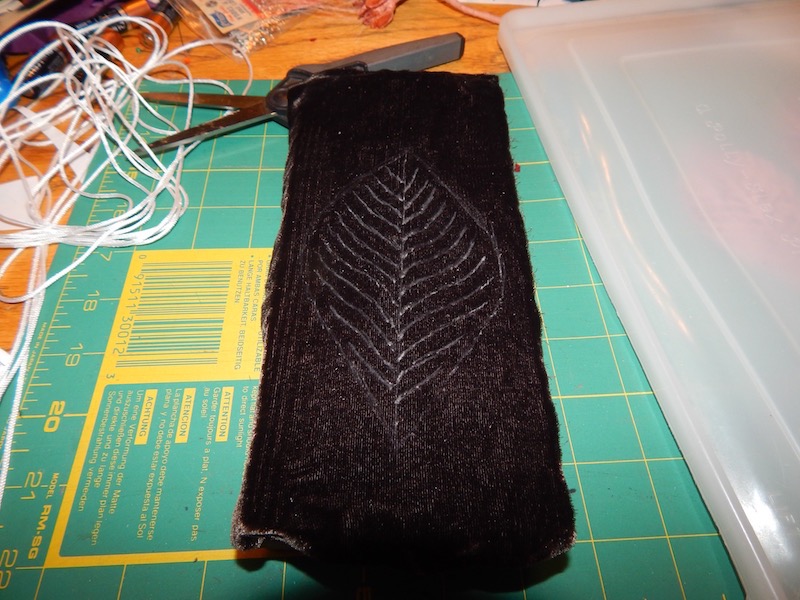
I then got some thin Roman shade cord (upper left) and a plastic lid.
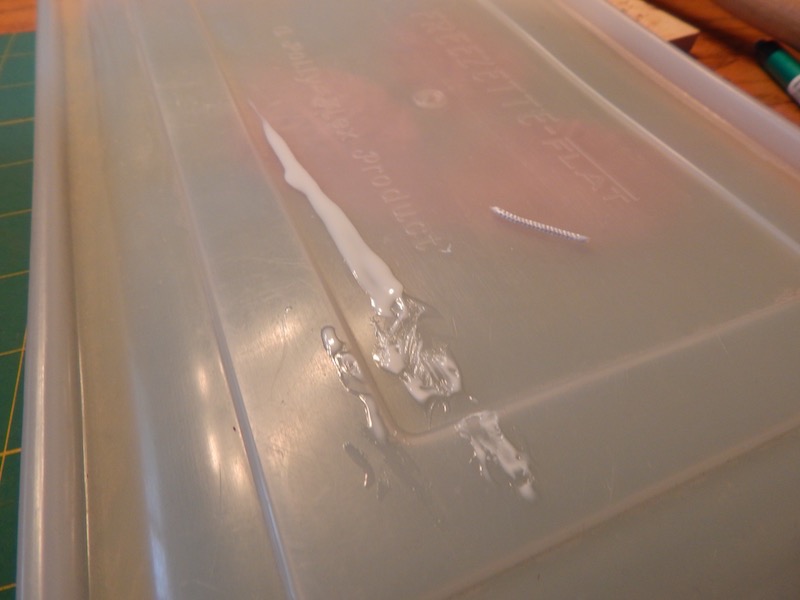
The plastic lid is so that I could brush out a layer of white glue and lay the cord down over it then pull it up to add to the block. This way I did not get too much glue on the cord.
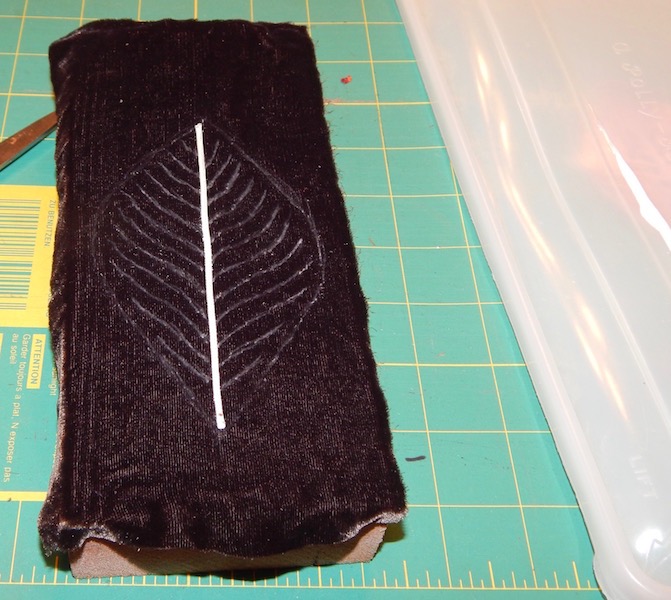
I started with the midrib of the leaf.
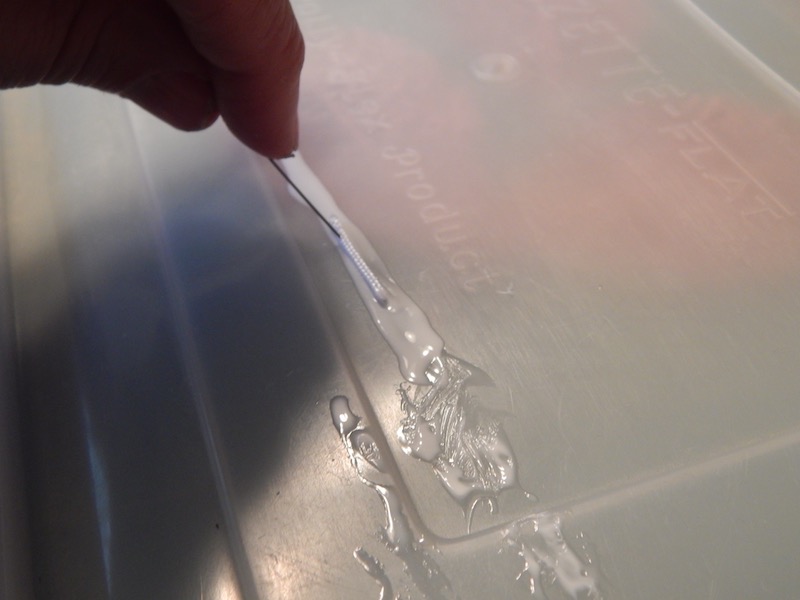
A needle also came in handy.I used it to hold onto the cord while getting glue on the backside. And then be able to pick it up
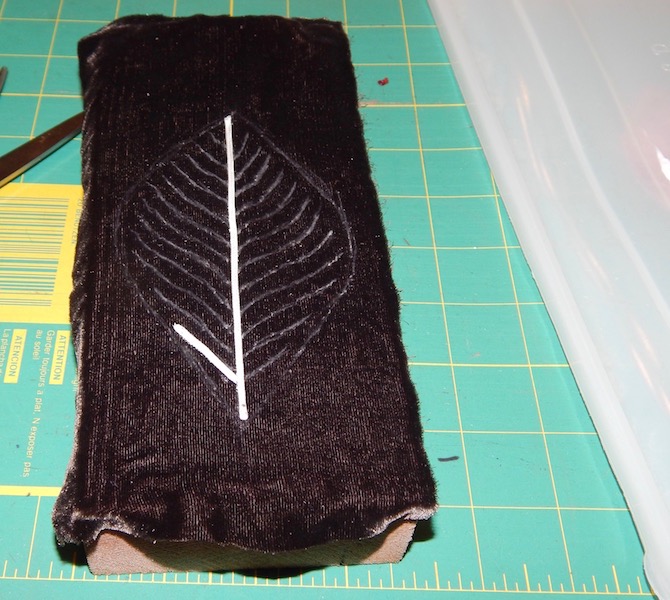
and lay it in place.
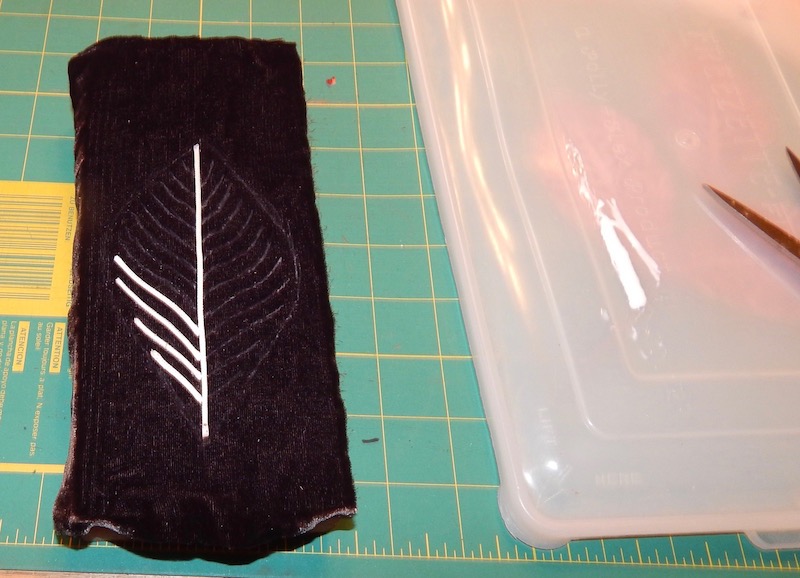
I continued with the side veins.
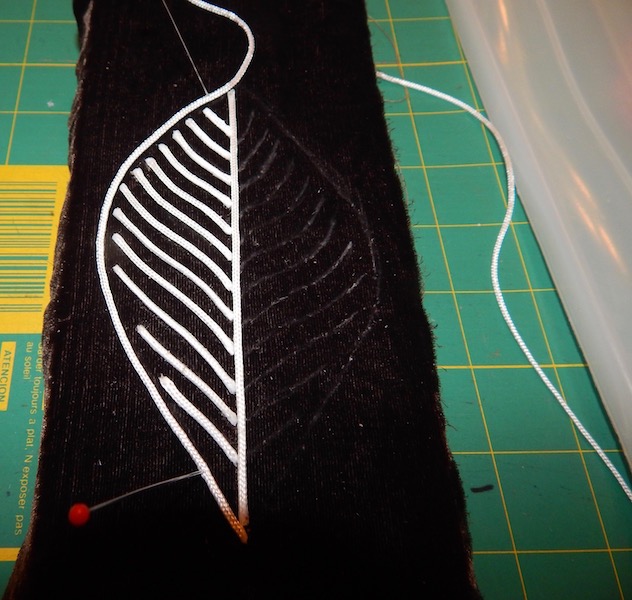
When I finished the side veins I added a piece for the edge on the left side. I would first pin the cord to find it length, cut it, add glue and then drop it in place.
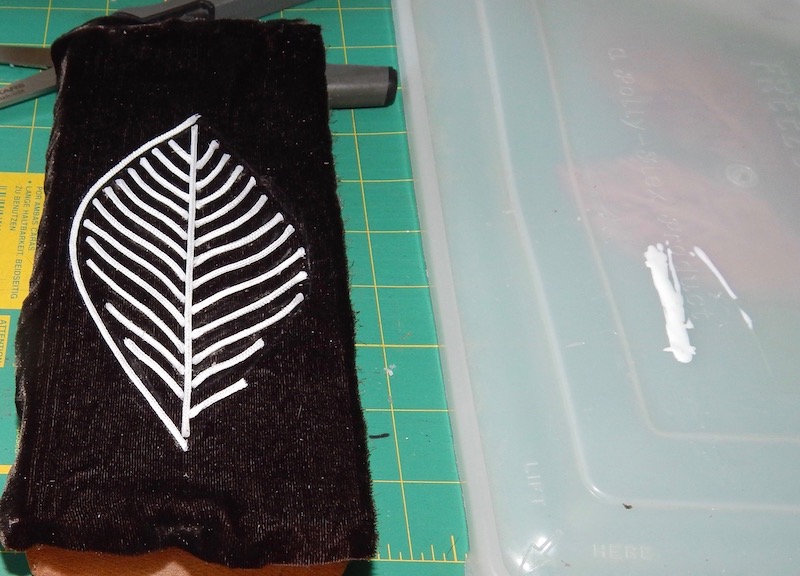
I added the veins on the right,
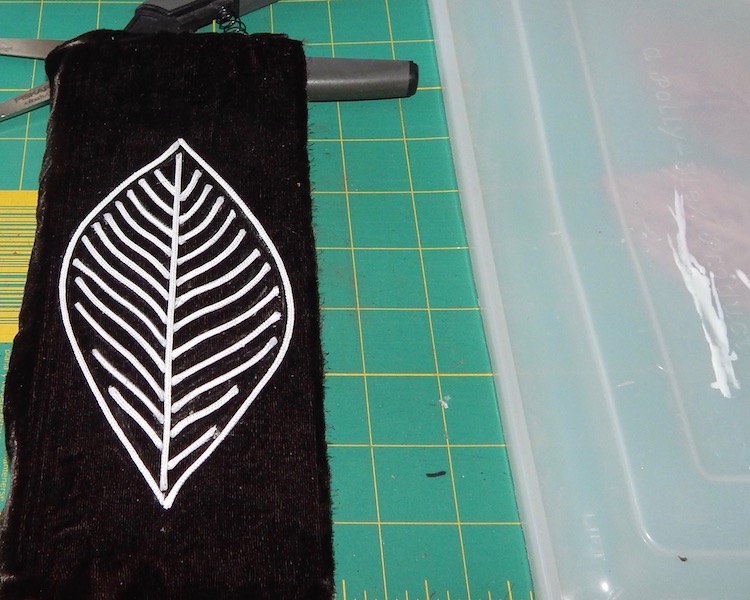
and then the edge on the right.
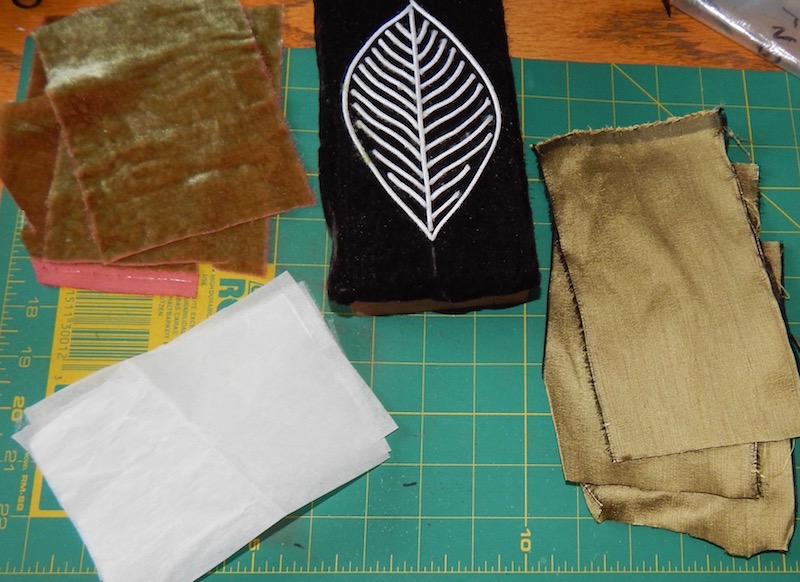
I then cut 3 pieces each of silk velvet. backing silk fabric and paper backed iron-on glue large enough to hang over the leaf ~3/8″.
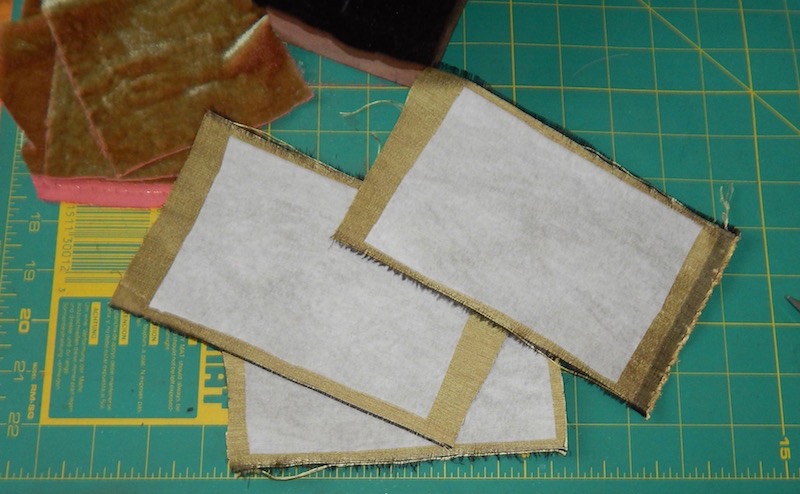
I ironed on the glue to the back of the silk fabric.
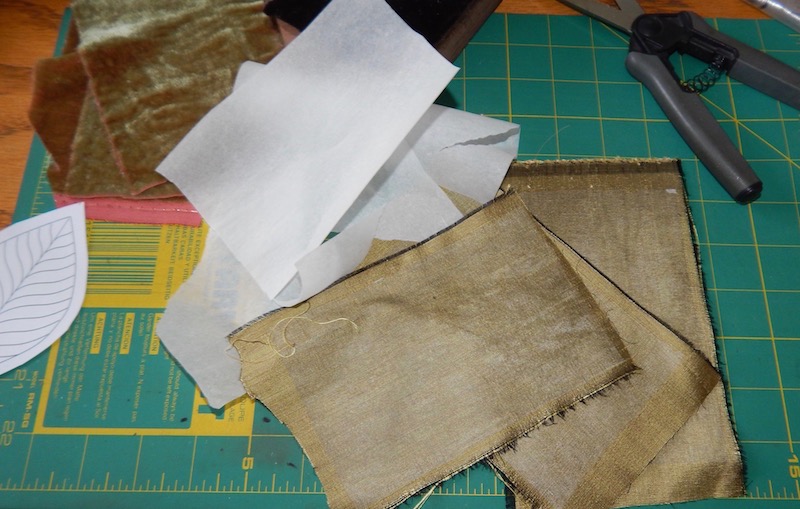
Pulled off the paper backing.
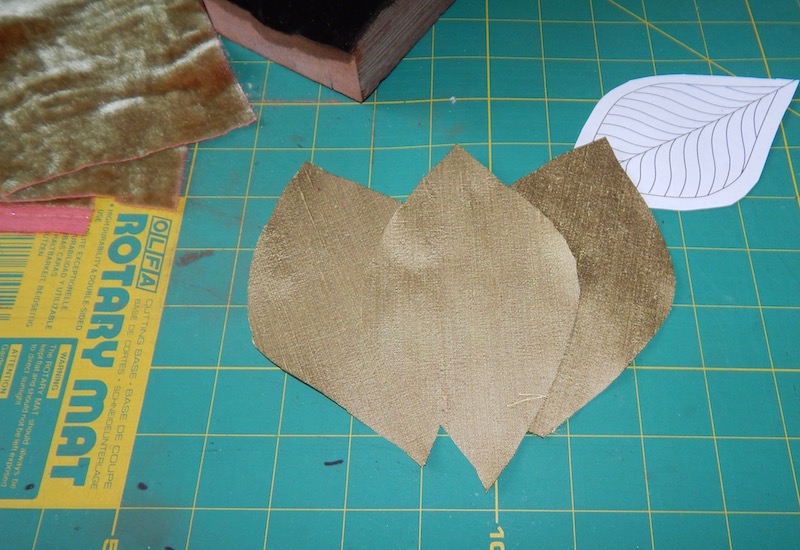
Using the paper leaf as a pattern I cut the backing pieces to shape.
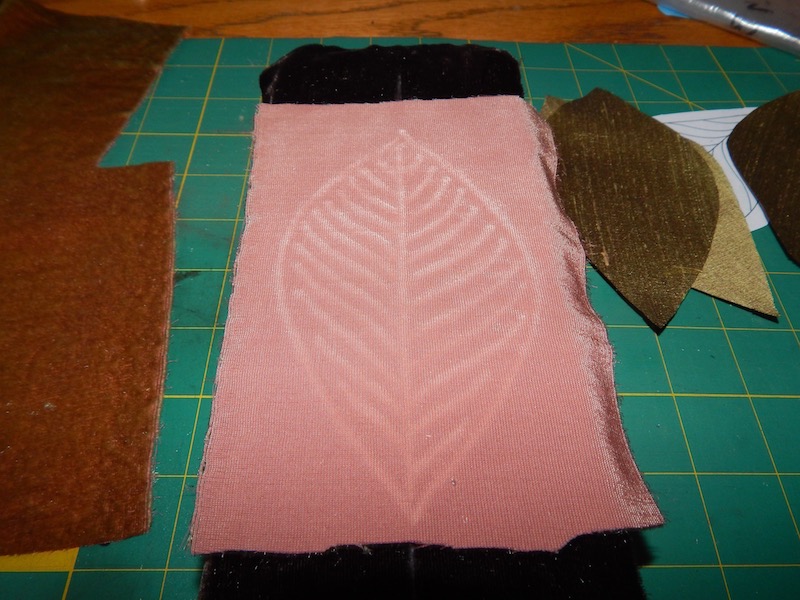
Now is the time to stamp the velvet. I placed it on the block and pressed it with my iron for about a minute with as much pressure as I could apply and no moving of the iron.
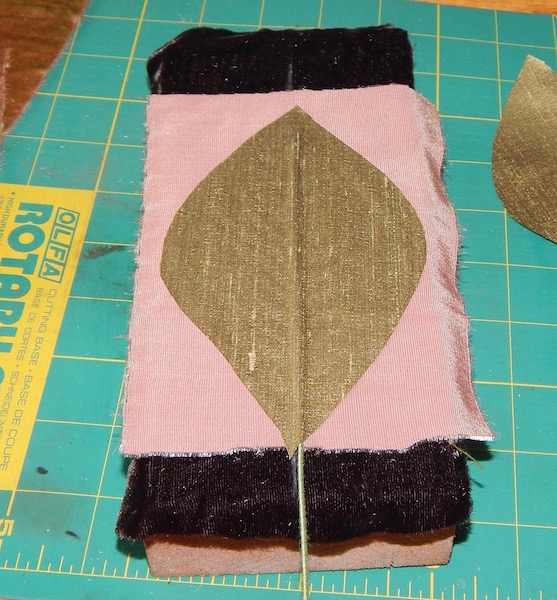
With two small dots of glue I tacked the stem wire down the center of the leaf, covered it the glue side of the silk fabric, glue down. Then again pressed it with the iron, holding it in one place with pressure for a minute. The iron was set on silk.
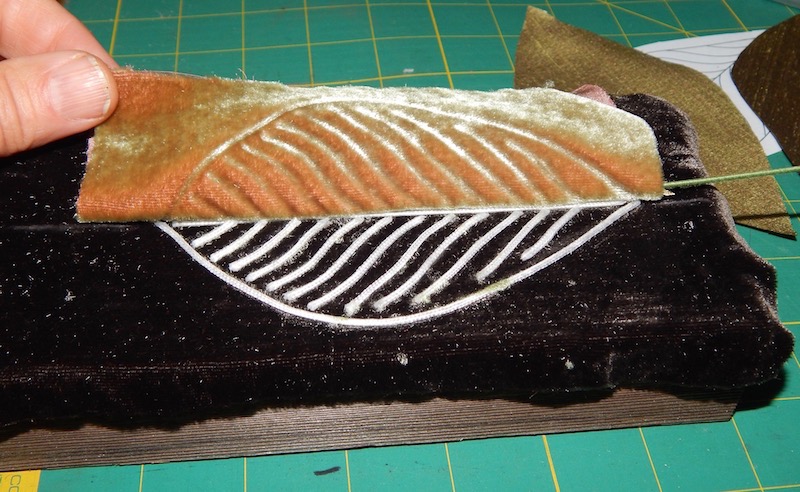
When it cooled I pulled the velvet away from the stamp.
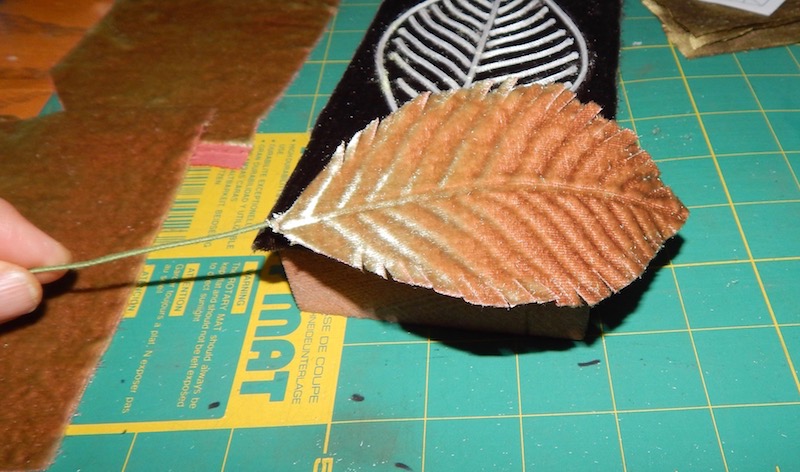
I then trimmed to edge. Then clipped it in about1/4 to 3/8 in matching the angle of the veins.
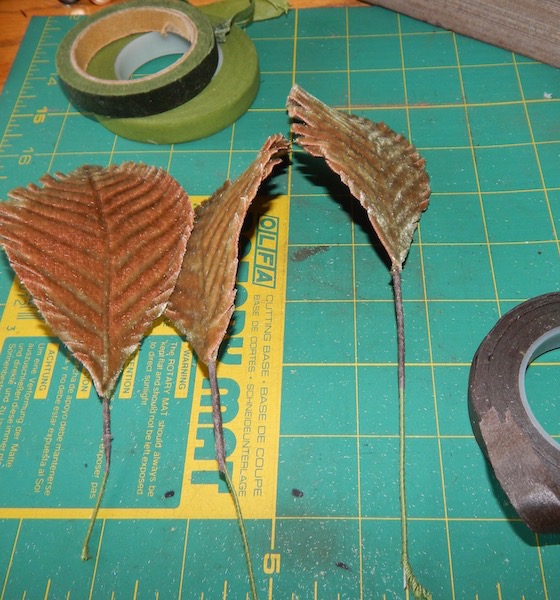
I repeated the steps on the other two and then covered the stem wires with florist tape.
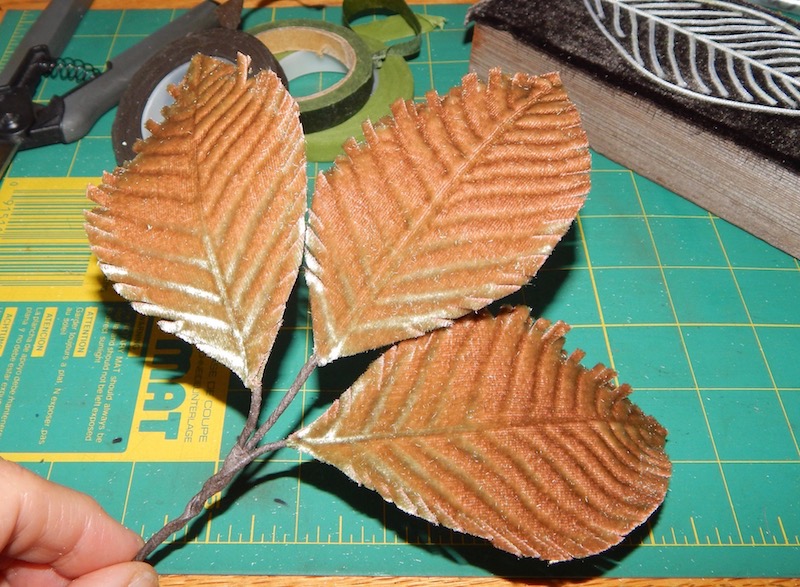
Then twisted them together and taped the twisted wires.
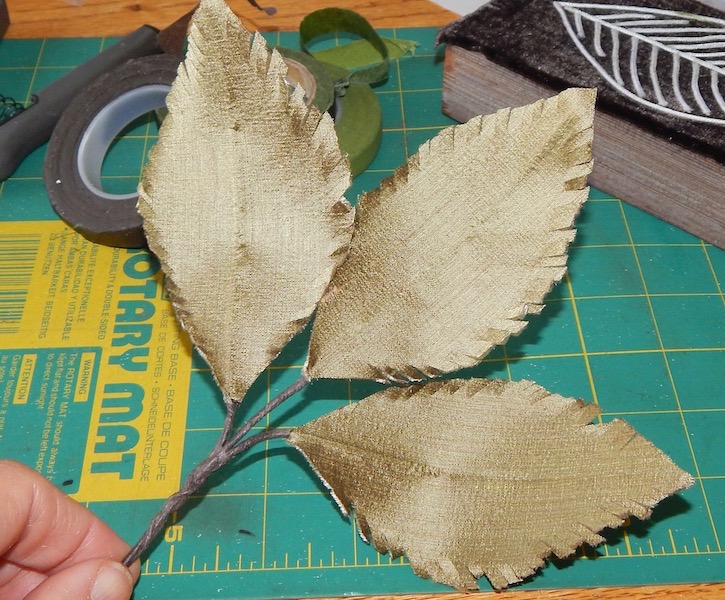
This is what it looked like from the back.
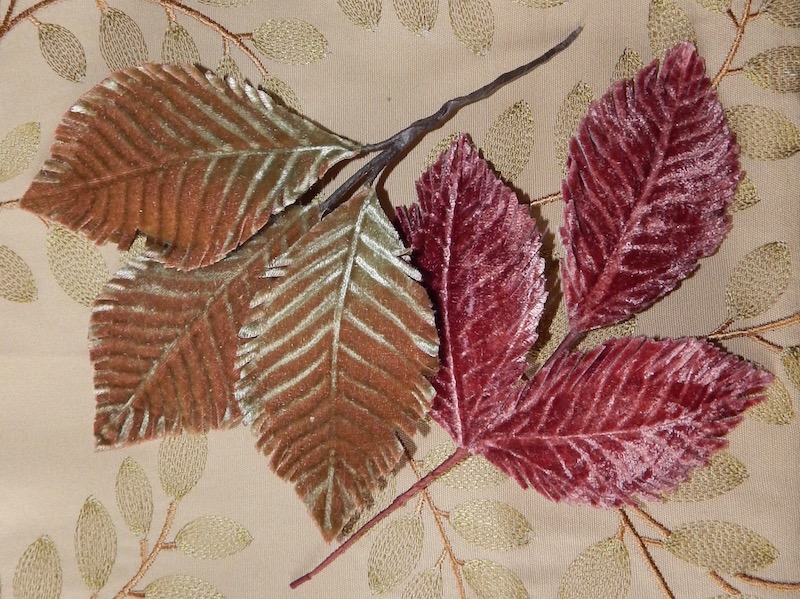
Vintage set shown with the ones I made.
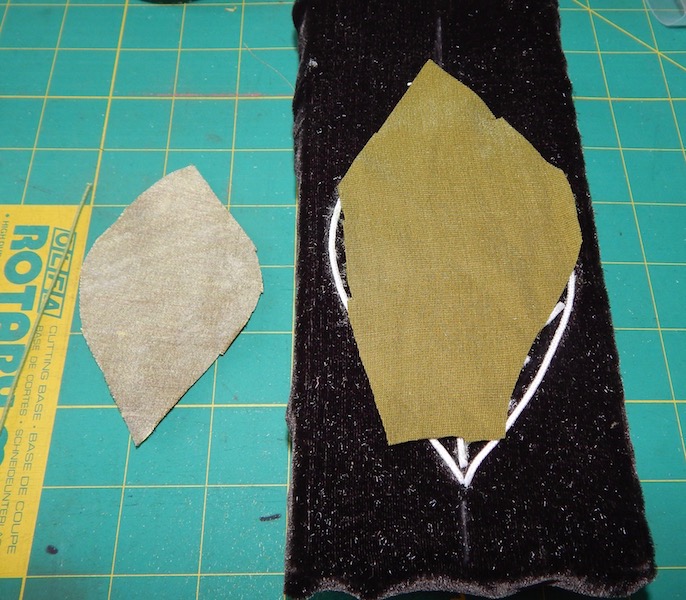
It is possible to use the same stamp to make smaller leaves.
It’s done the same way just the pieces are smaller.
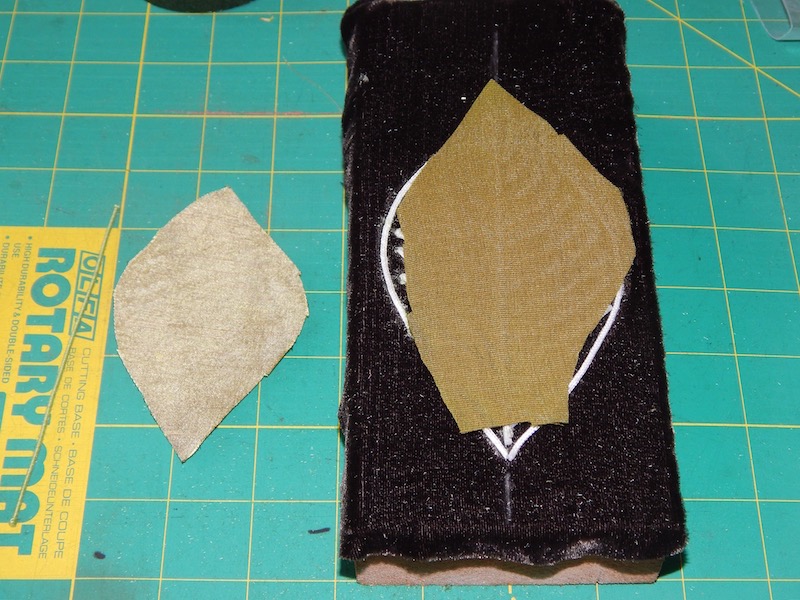
Press the velvet the same way.
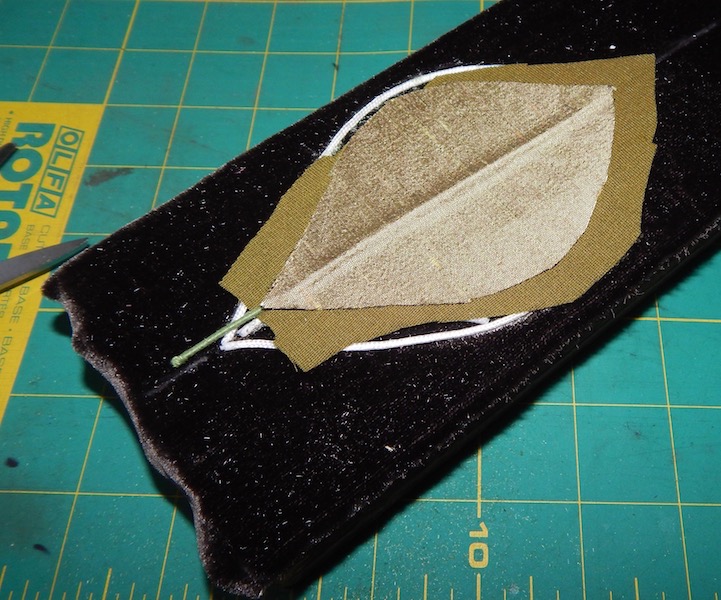
Add wire and glue backed silk. Aim for the center of the stamp.
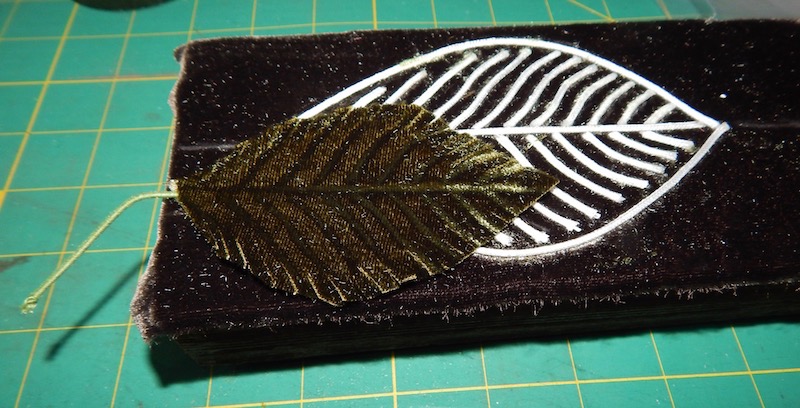
Trim it down and clip the edges.
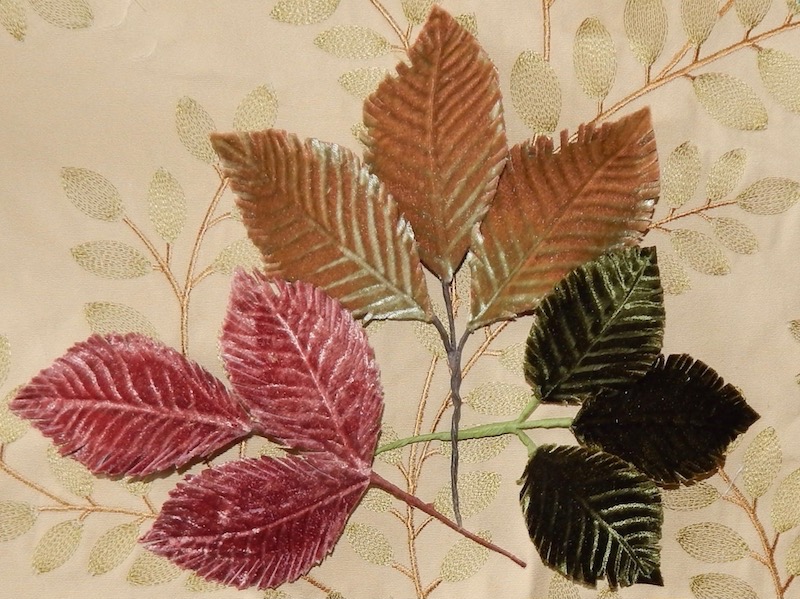
Here is a picture of the small ones beside the full size ones.
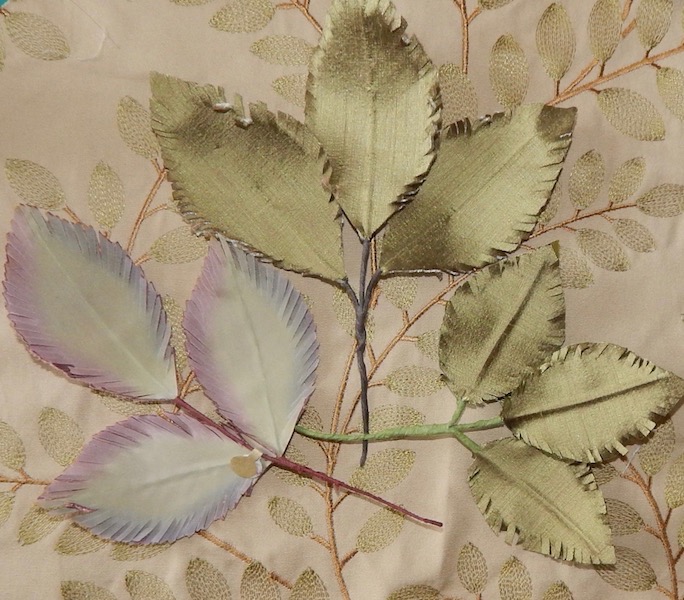
And their backs.
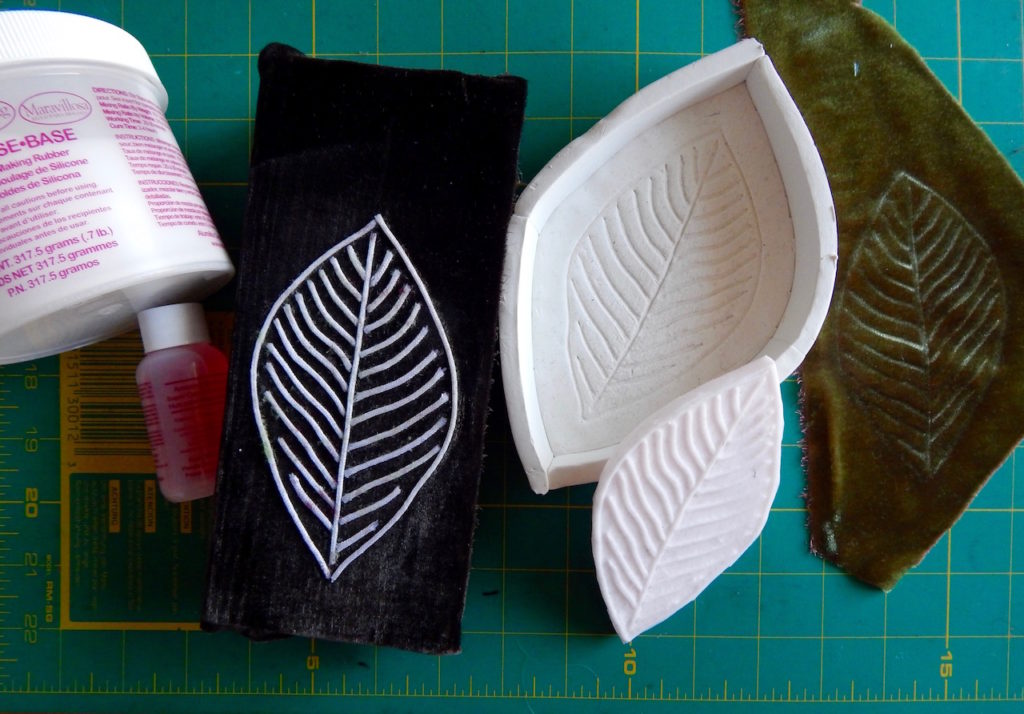
I wanted to teach this as a class and I knew it took too long to make a stamp so I created a system so I could use my block to make silicon stamps.
I first used bake-able polymer clay to get an impression of my block and added a wall around the impression. I then filled that in with two part silicone and when it set i could pull out a mold and trim it close to the edge. The students could use this in class. They set this down on an ironing board to press iron. I must have made 30 of these.

This is Vanessa from the CoCo class with her leaves. I had maybe 10 different colors of velvet they could choose from.
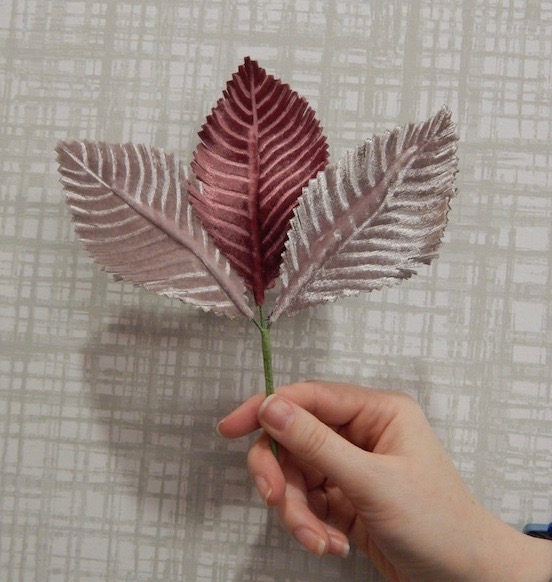
Finished set.
Thank you so much for sharing this amazing technique I had no idea existed ! Hope I can try it soon !
Alicia, You could use a regular commercial ink stamp if you can find a leaf one or for other designs on velvet.
This is such a an interesting technique! Also I have some velvet scraps left over from a project, making velvet leaves would be the perfect way to make use of them 🤔
I love the silicone press that you made–much easier and longer lasting than the original form!
Lynn, You are great at finding ways to use common materials to get great results! Thank you for this! I want to make tons of these!
I love this! So clever to use the Roman Shade cording! I will definitely try this.
I’ve never made any other stamps besides this one. I have been working on some 3D leaf molds I was given but not quite the same thing. I do have a picture or two of stamp velvet with a large ink stamp.
Thanks for a(nother) great CoCo class!
Wow thanks for this tutorial!
This is really clever! I especially like that it can be done with what I already have on hand 😉.
Lynn you are so clever to figure this out. Love it. Thanks for your detective work.