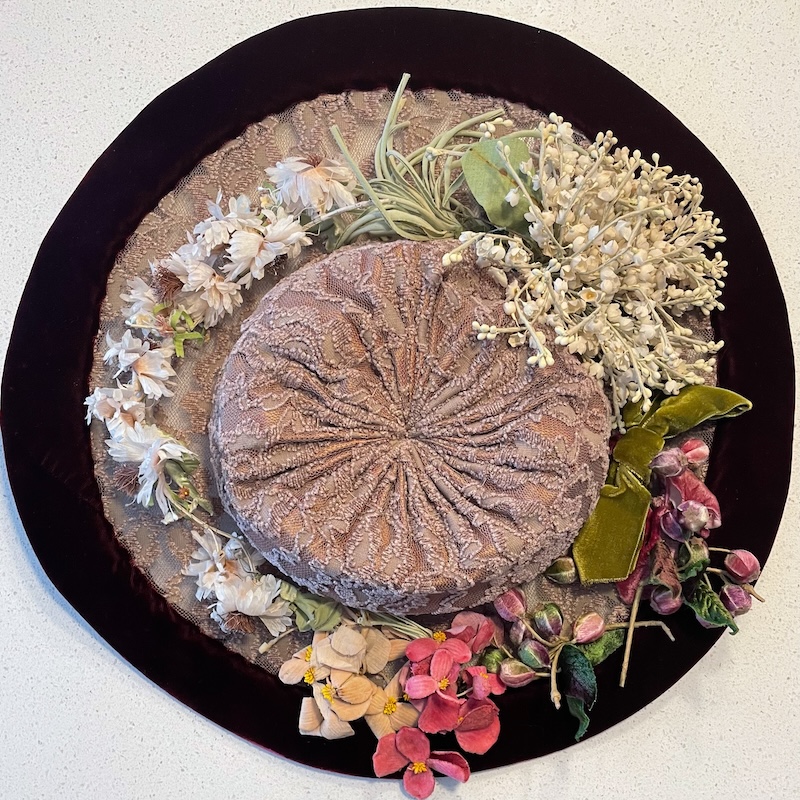
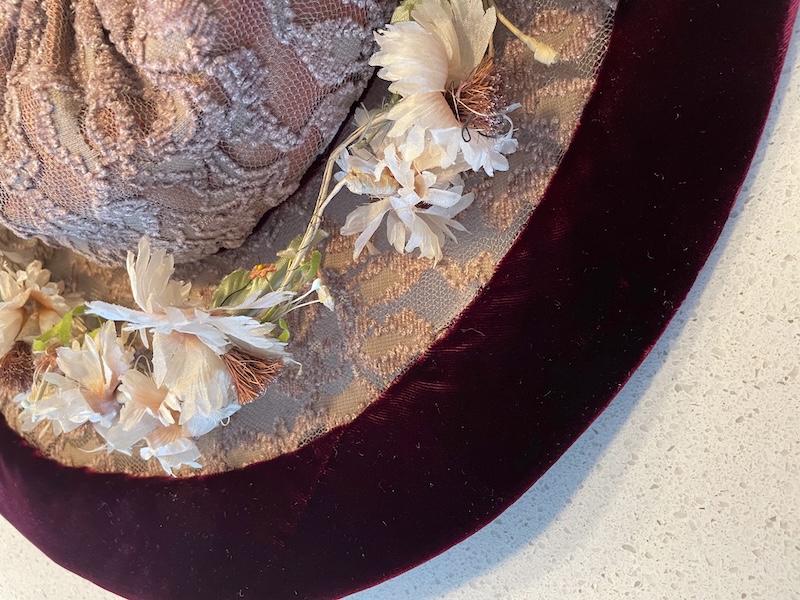
I started by picking all the flowers that I figured would go with the hat, no matter their condition.
Some like these composite flowers had at one point been wired together. That is a better choice than having been glued together and there for usable.

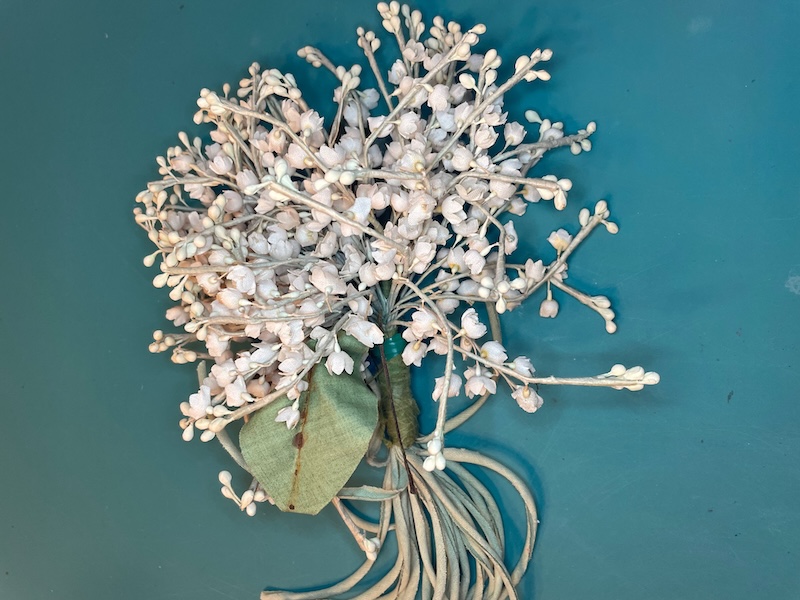
The large bundle of the Lillies of the Valley need to be separated and the leaves need to be fixed.
I was a bit surprised when I took the center tape off the bottom stems fell away in a single bundle and the group separated into 4 smaller bundles.
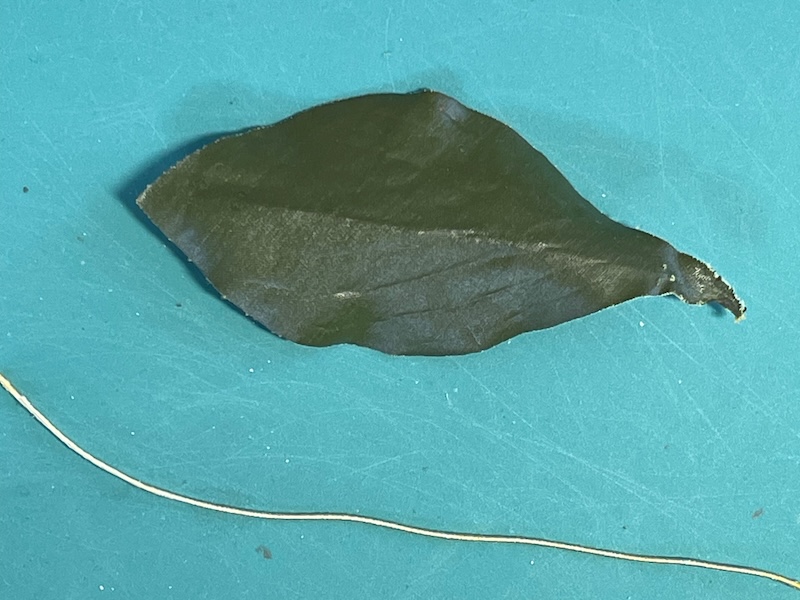
I pulled the wires from the back of the leaves then steamed the leaves. Most of them were folded in half but all it took was to steam them flat.
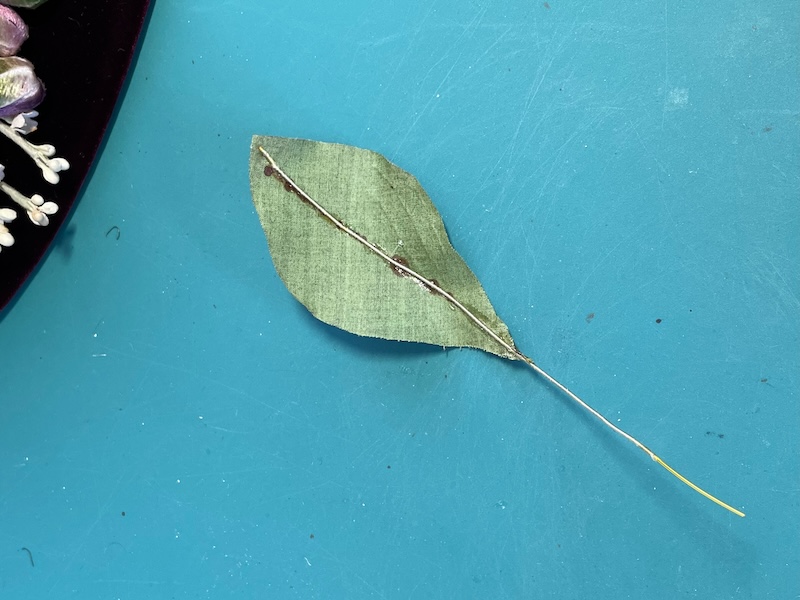
Then even thought there were some rust stains they didn’t go thru to the right side so I added a line of glue and stuck the wire in place. When it was dry I wrapped the stem with silk thread down to near the base.
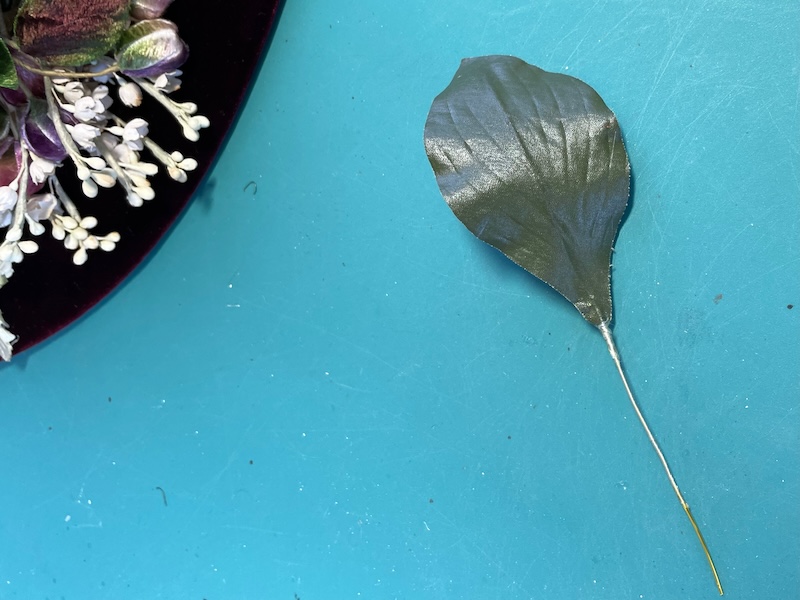
I then added a curve to the wire to give the leaf some shape.
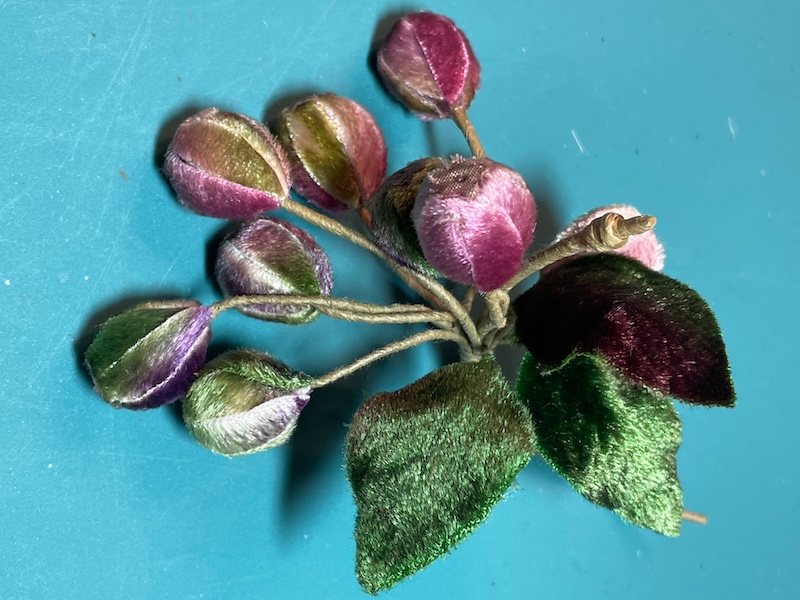
The velvet buds were glued to a bow but I was able to pull that apart and I got 2 1/2 branches worth. The wires on the leaves were well glued but the leaves needed some steaming to get them back to flat.
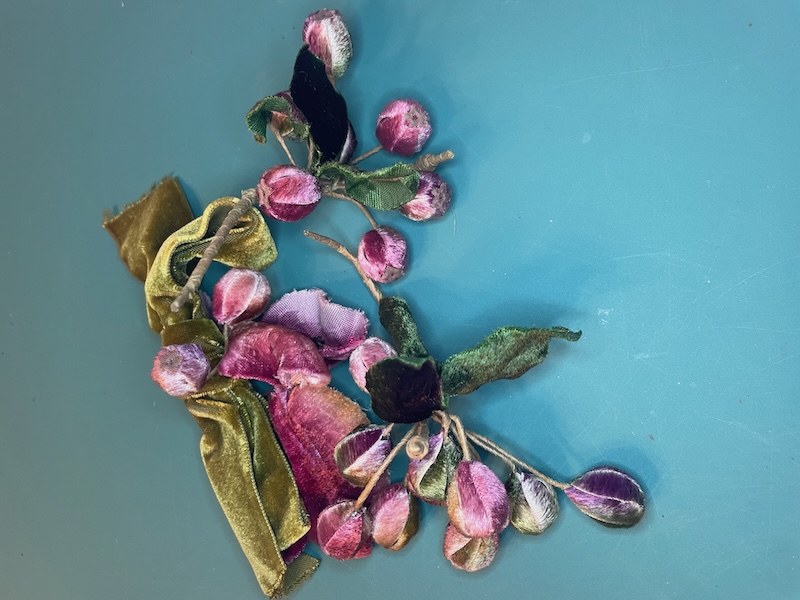
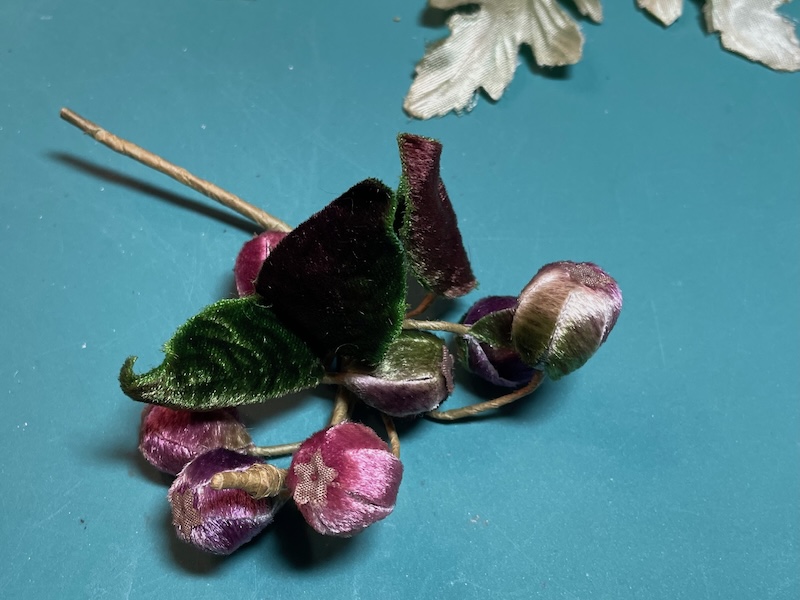
This is a single bundle.
This is how it looked after I steamed and shaped the leaves.
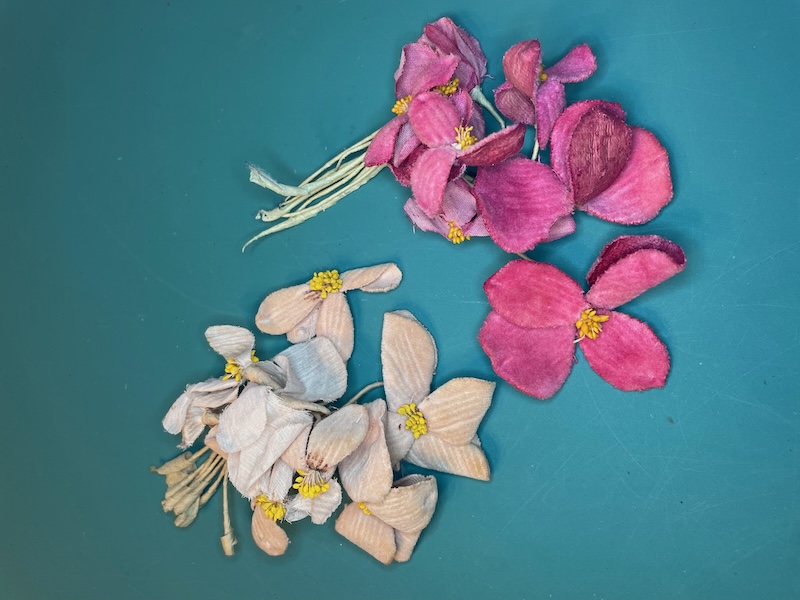
These velvet flowers were in bad shape I decided not to use them. Mostly because the color was not the best for this hat.
What I would have done is to separate them and brush the backs of the petals with thinned PVA glue, reshape them while wet and let them dry.
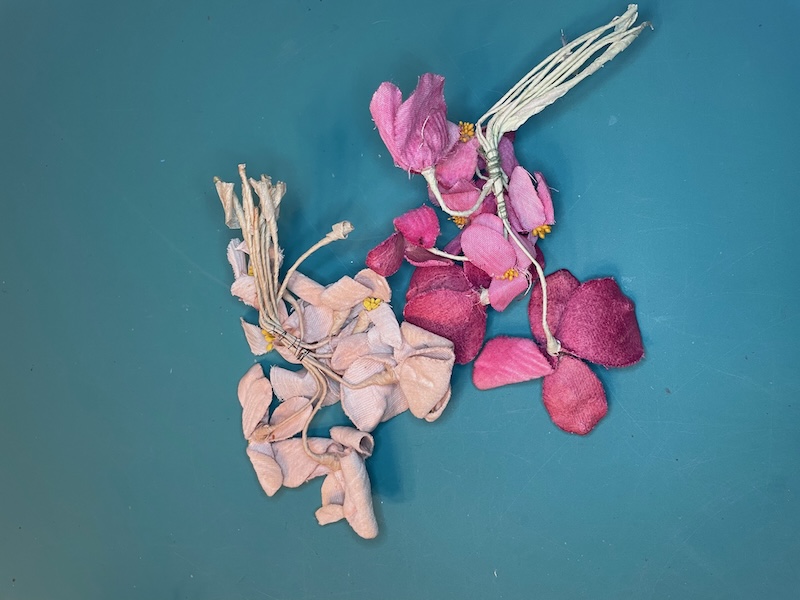

These gave me the most work. Not only because they were wired to a wire but because some of them were squashed.
Also the leaves were ruffled and some of the wire on the leaves needed re-gluing.
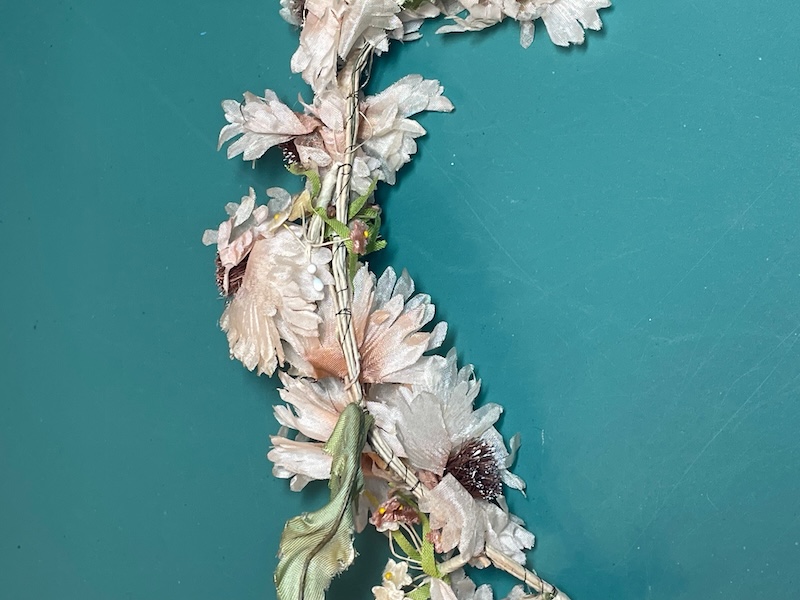
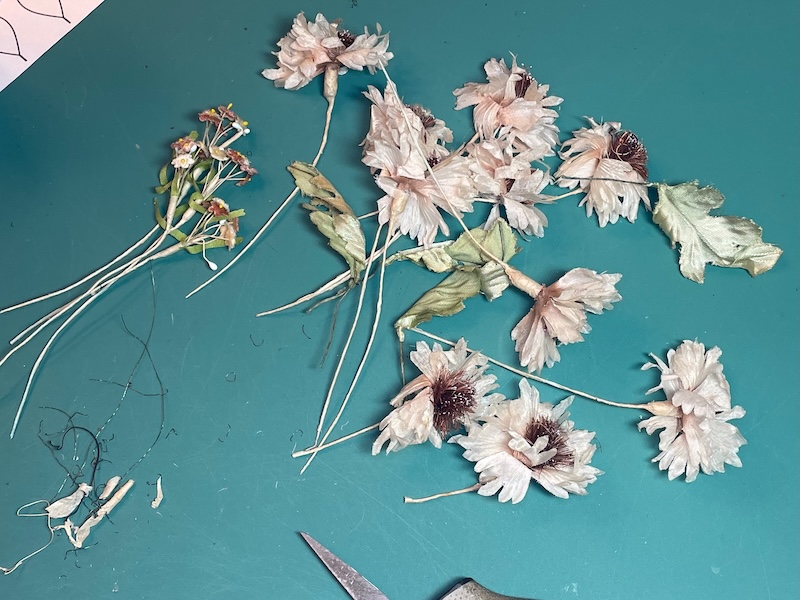
This is what I got after taking the flowers off the center wire. You can see how misshapened the leaves and the flowers were.
To get from this….
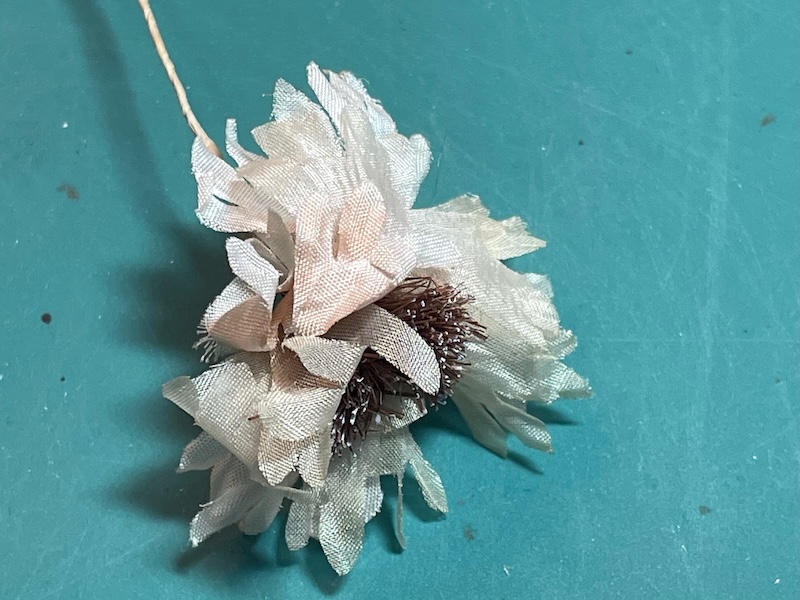

to this, I needed to unfold and steam the petals. If you are going to give this a try may I suggest a set of teflon gloves, the type they sell to go with curling irons.
But this is what I ended up with. I did have to do a little trimming on the edges of the leaves to cut away a little fraying.
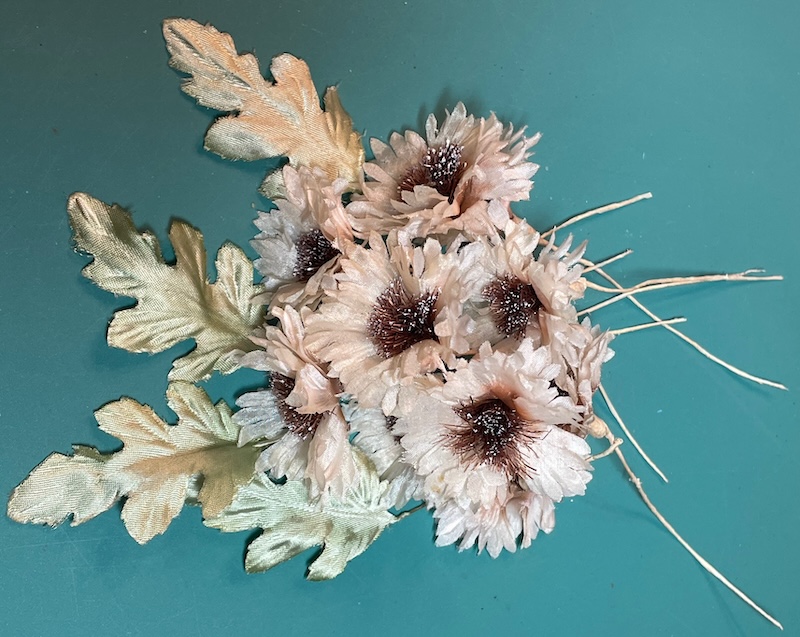
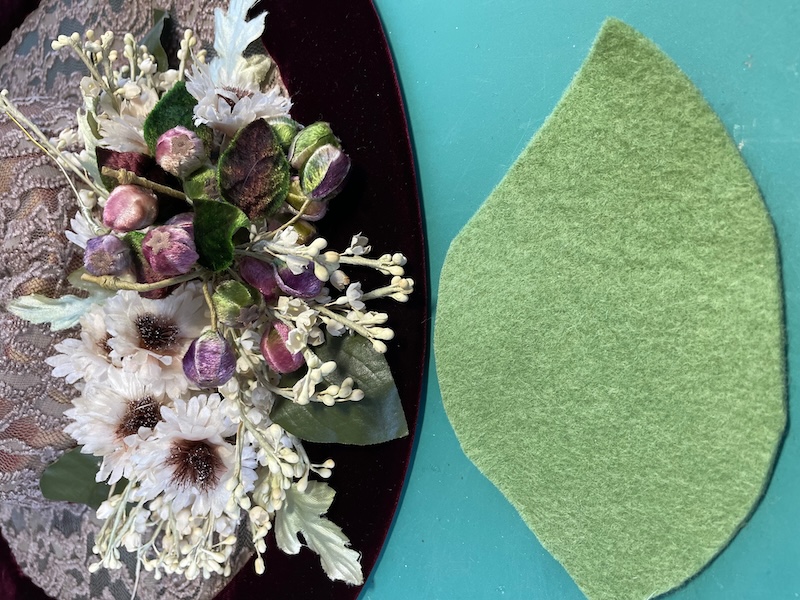
I did a loose layout of the flowers I had and cut a pad of felt to the size I needed to add all the stems. I chose to use a pad so that the entire floral arrangement could be pinned and unpinned from the hat so it could go flat for easy packing into a suitcase. The arrangement needs to be packed into a separate small box.
I started with 3 of the small bundles of the Lillies of the Valley and sewed the stems down to the pad.


Then I sewed the 4 leaves from the composite flowers to the pad.
Then the wires from the velvet bud bundles were sewn to the pad.
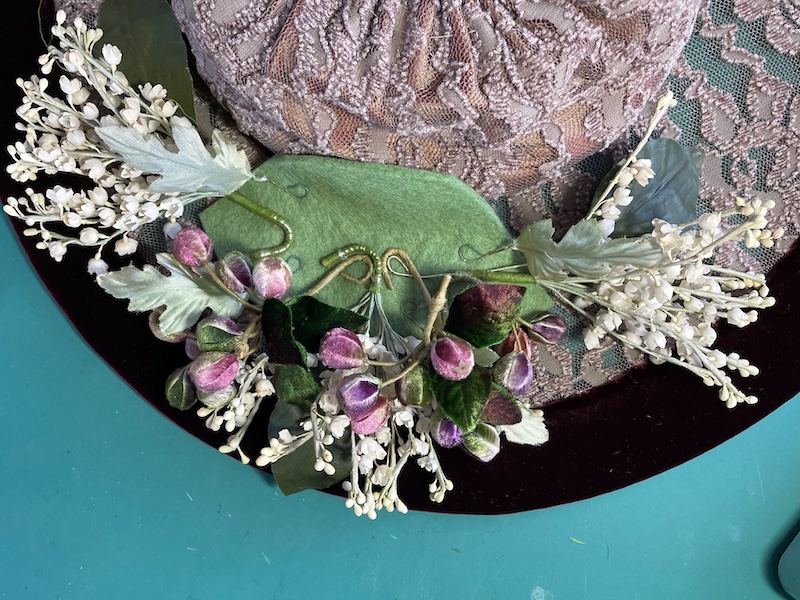
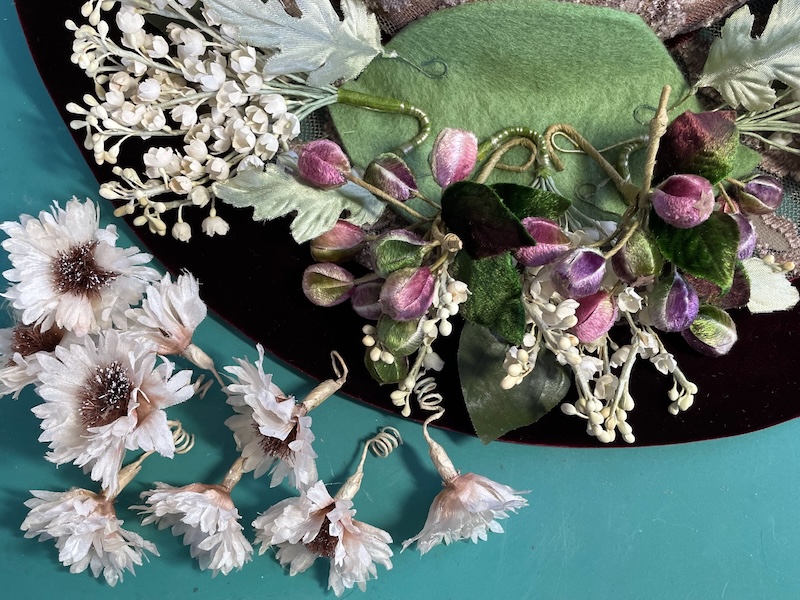
Now for the composite flowers. I did this new trick I founded used on a vintage feather flower ornament. I took the stems from the flowers and wrapped them around a knitting needle to create a sort of string.
This was my test when I just tried them to see if I could cover the pad and fill the space.

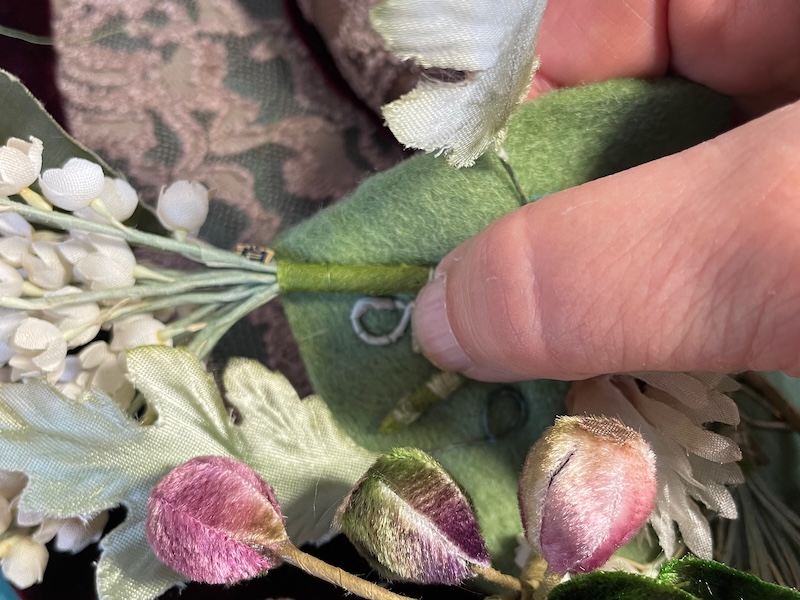
In order to stick them to the pad I bent the last spiral of the string over so it was flat to the pad and tack stitched it to the pad.
Once I sewed it down I could bent the flower back so it stood straight up. If it was a little too tall I could compress the spring. I sewed all the flowers down like that spacing them out to cover the entire area.
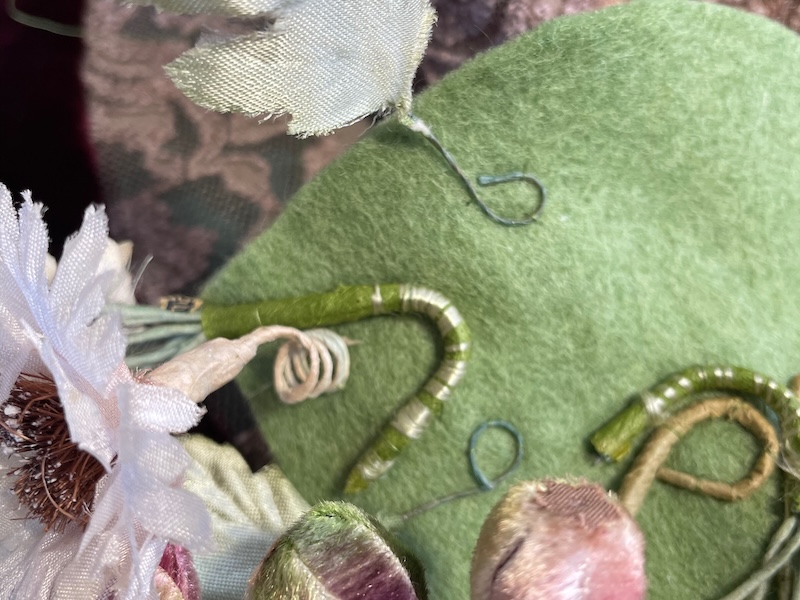
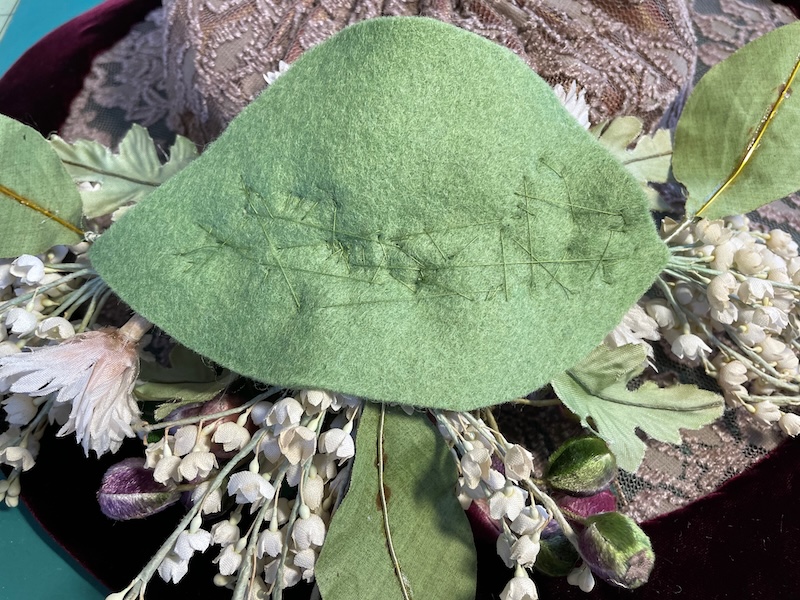
This is what the pad looked like after I sewed all the flowers to the right side. Now I trimmed away the extra felt that had no stitching. I cut away most of the top bulge and a little along the botton edge.
I then used to corsage pins to pin the pad to the hat. This is a wireframe hat from my Lace Brim Picture Hat pattern so there is a wire collar on the inside edge of the brim that is at the bottom of the crown. This was a perfect place to pin the pins thru so that they could go in and come out and never show or stick to wearer.

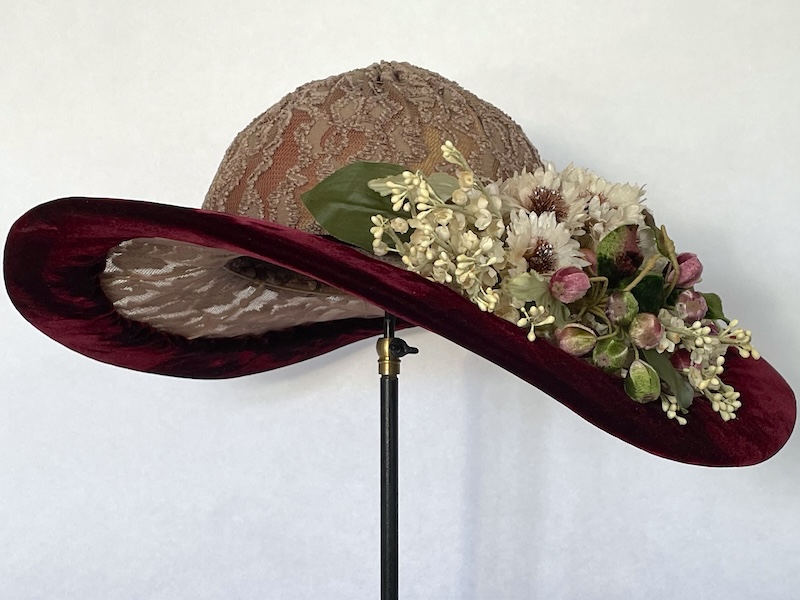
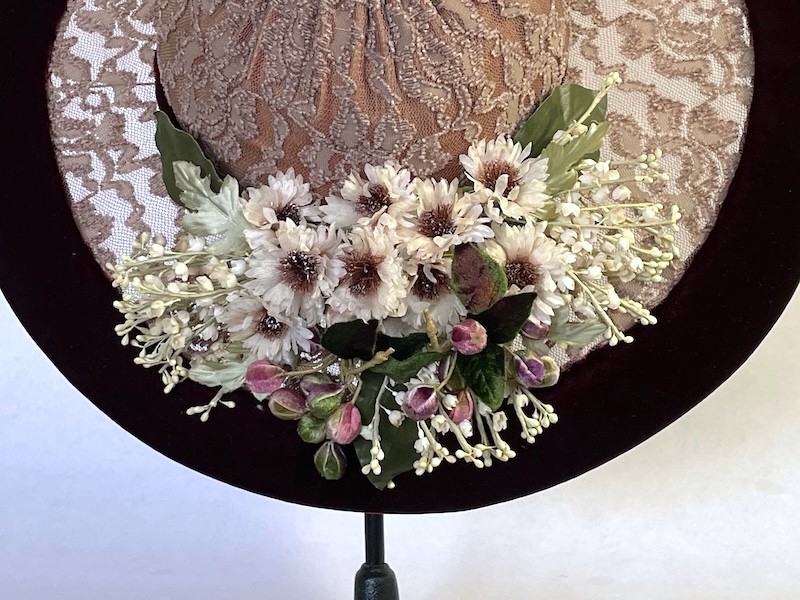
The hat from the front.
Flowers from the top.
