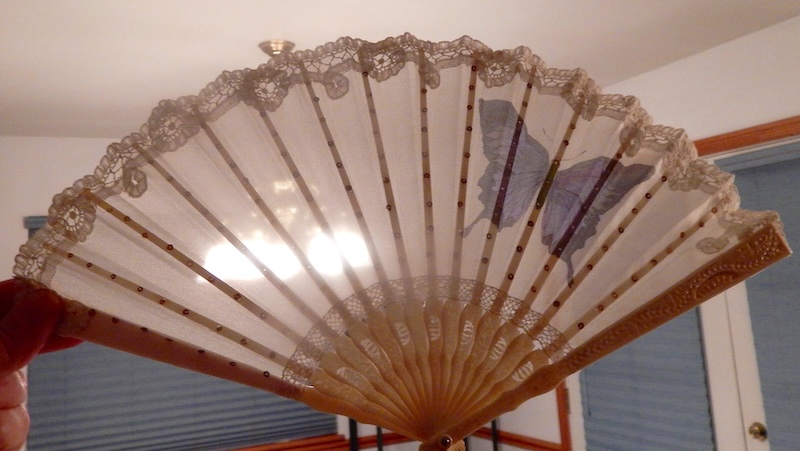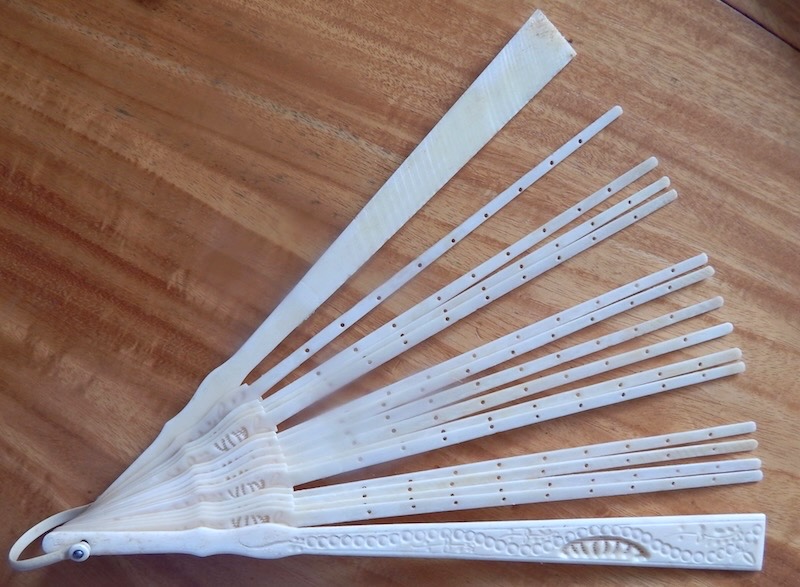
I got this fan in a lot of recked fans. The ivory (or perhaps bone) sticks were in great shape also it had some nice tape lace at the upper edge and some small spangles down each rib over the holes in the ribs but as usual the silk organza was shot. I took the entire thing apart and saved the spangles and the lace.
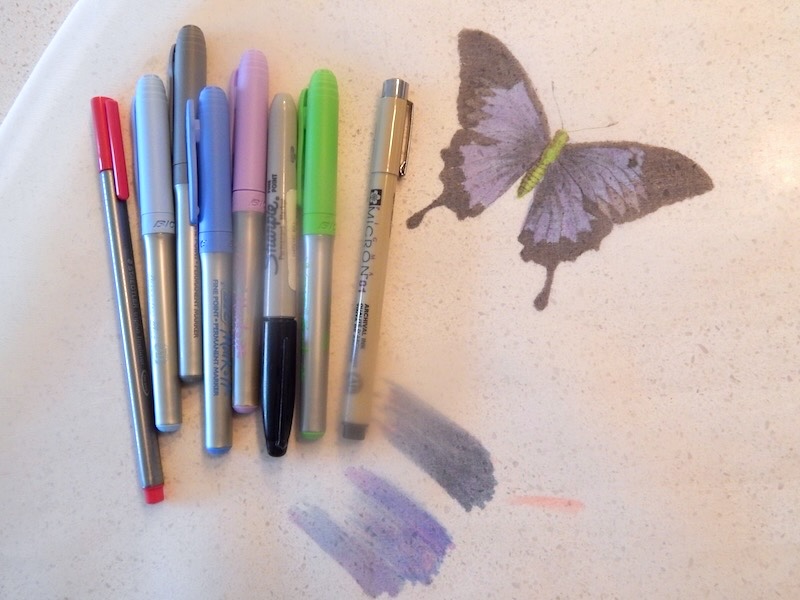
I wanted to put my hand to creating some sort of painting on silk so I got out my permanent markers and did some text. I used a butterfly clip art as a templet to follow.
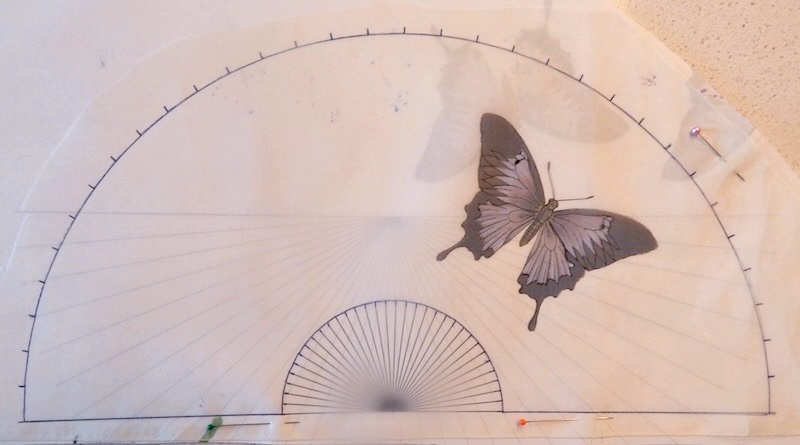
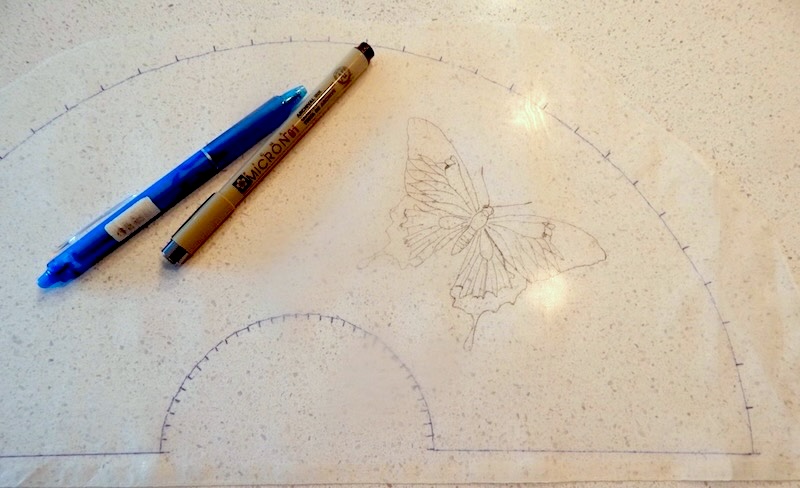
I first drafted a pattern for the fan and added the clip art butterfly just where I wanted it then printed that.
I traced the pattern and butterfly onto a layer of silk organza. The pattern with an iron-away pen and the butterfly with a fine permanent marker.
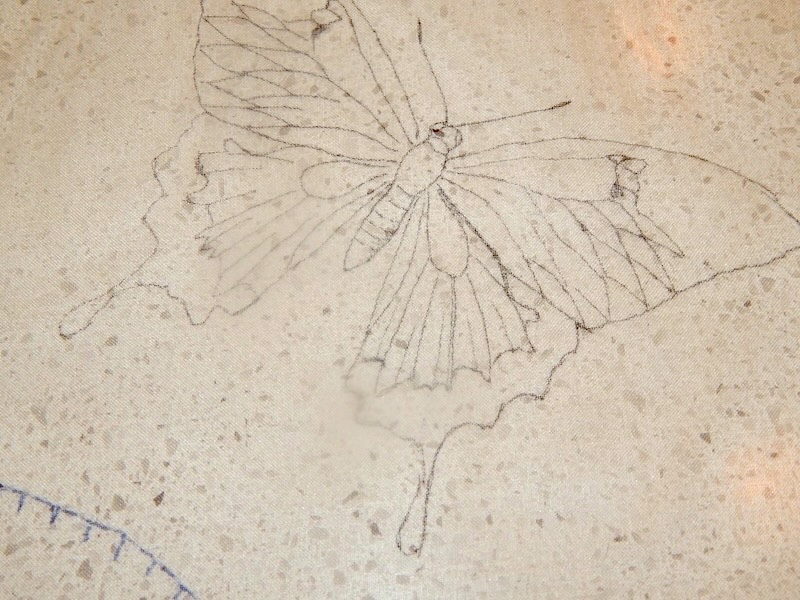
This is what the outline looked like up close.
Then I used a thicker marker to fill in the black parts of the butterfly.
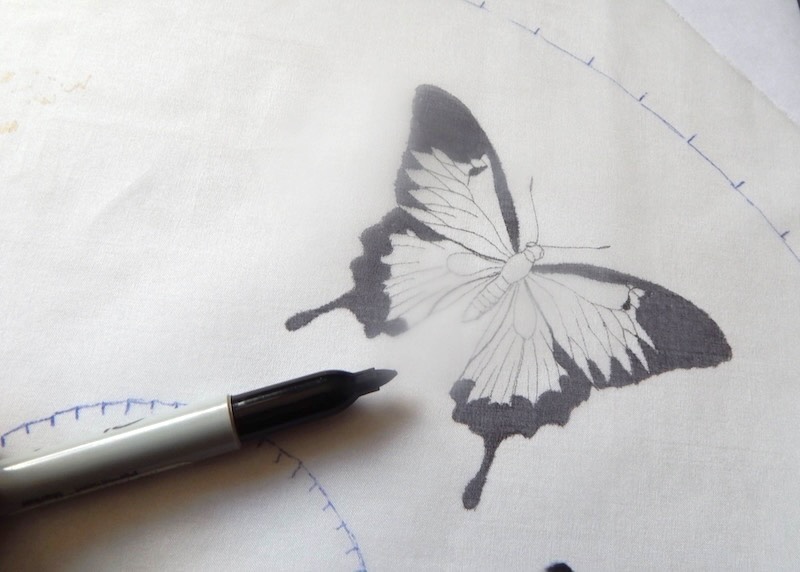
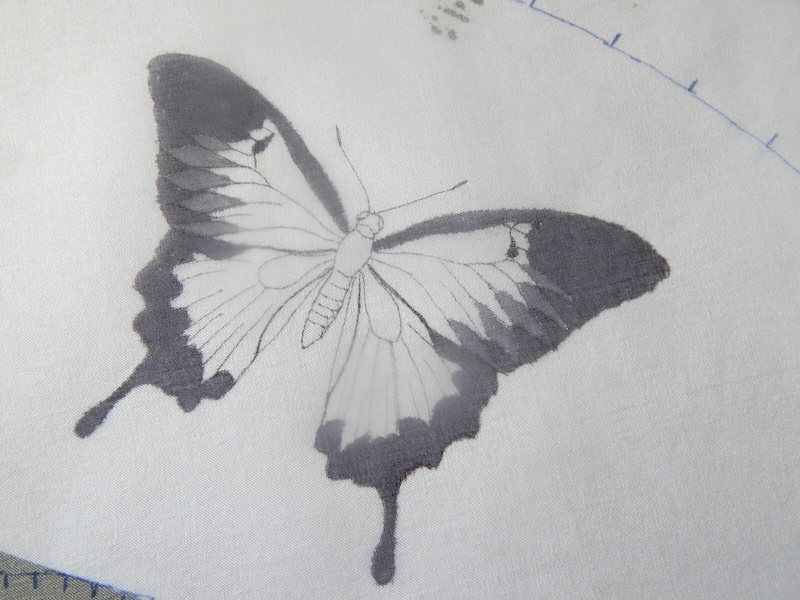
Then with a gray marker I did the gray.
I could not get the purple-blue color I wanted with just a purple pen so, I first colored it with blue then,
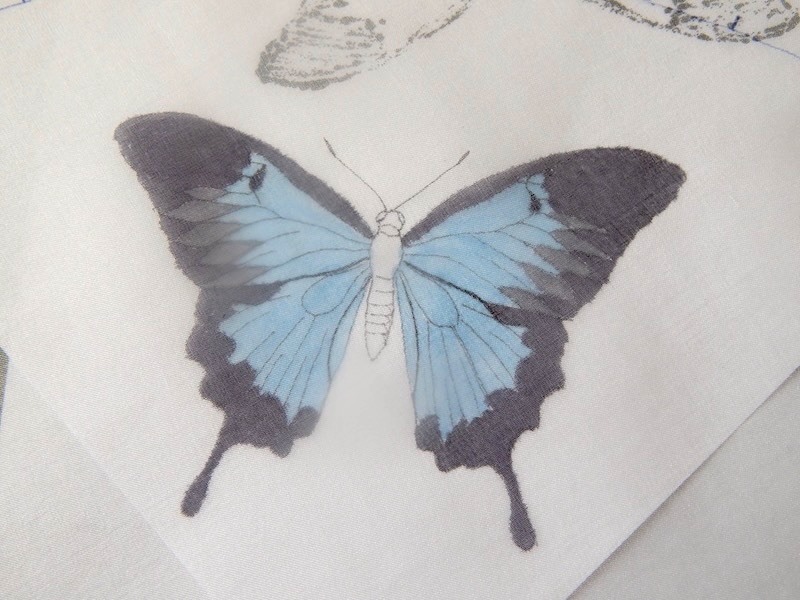
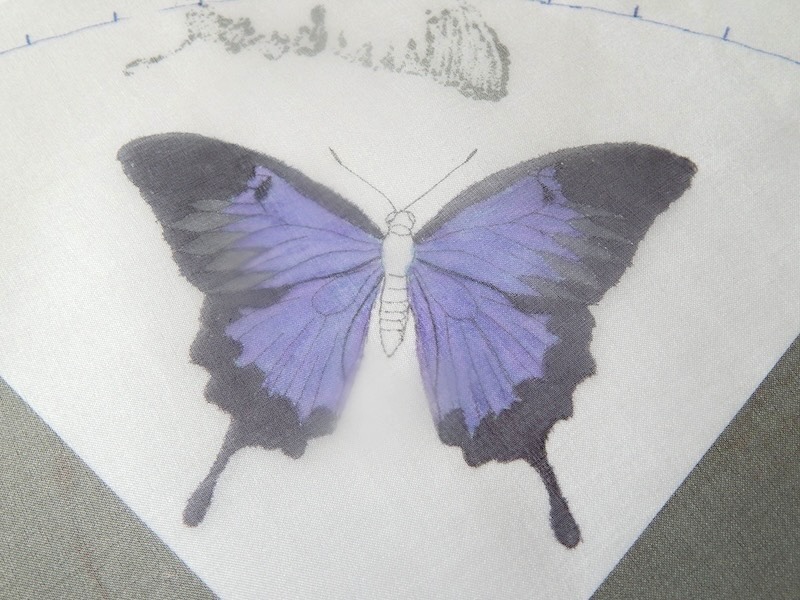
I over colored that with purple. Then another coat of blue. Just a note; because the pens go thru the silk fabric I had to change the backing paper each time I colored another part of the butterfly.
Now for the green body.
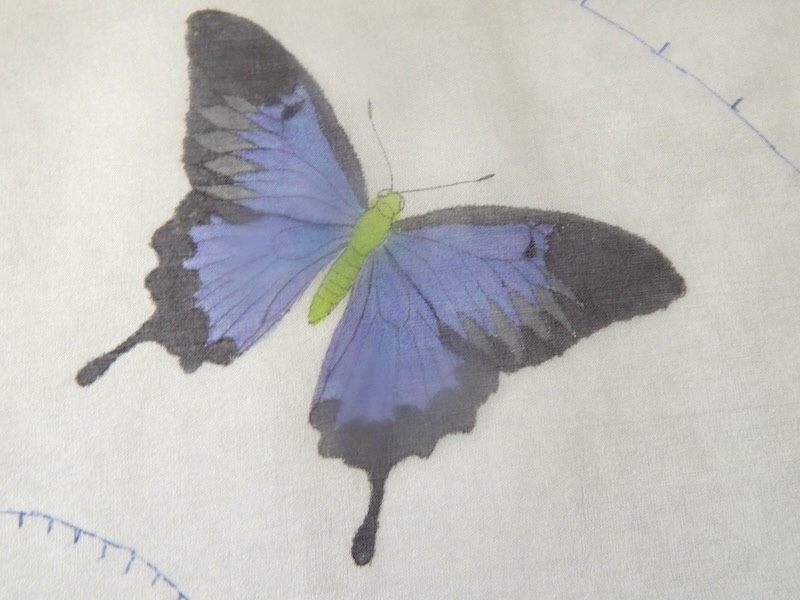
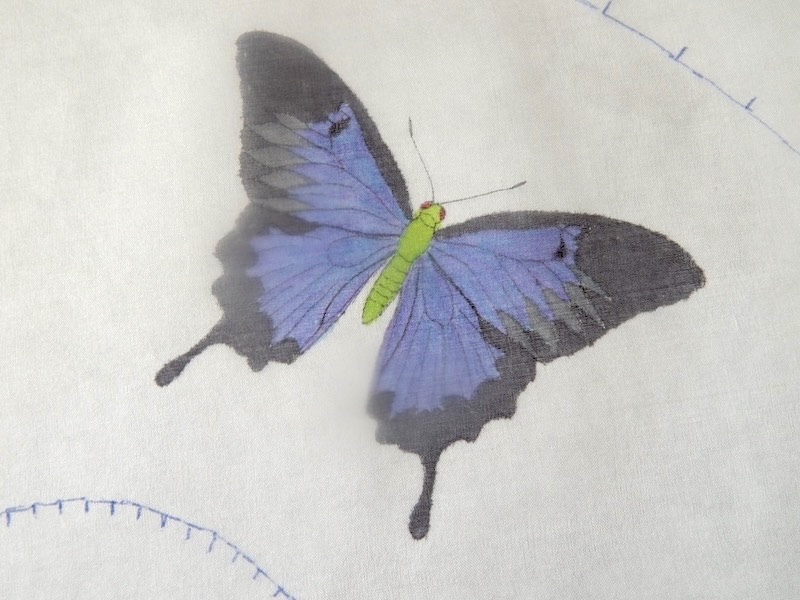
Then the red eyes.
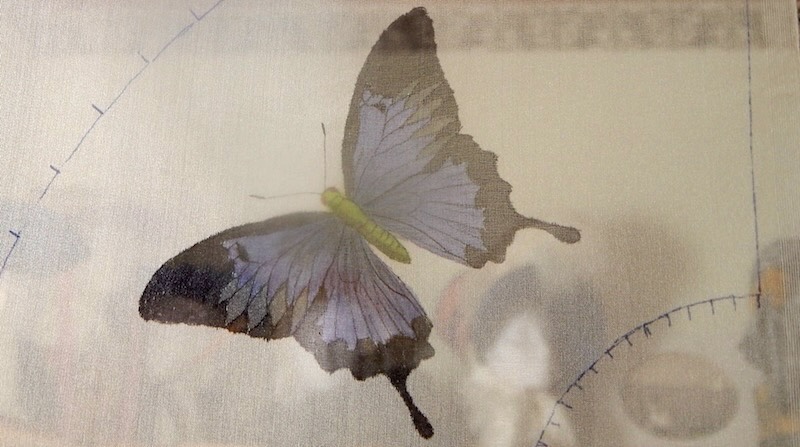
Then with a thin black marker I added some shading on to the Body. This is me holding it up to see how it looked with light thru it.
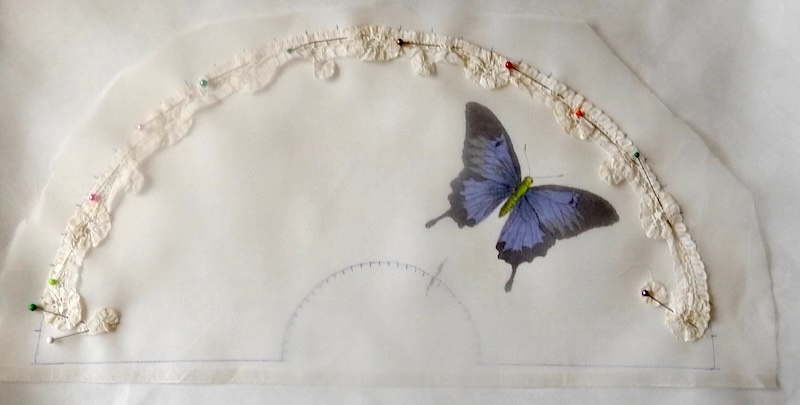
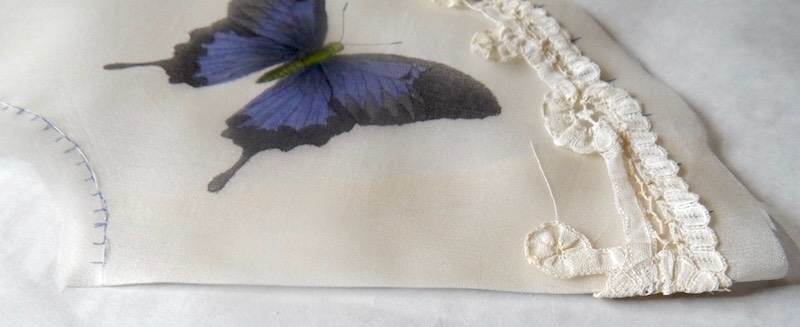
I did wash the lace first and now I could pin the tape lace back on to the fan leaf. At this time I added another layer of silk organza under the one with the drawing. I turned this layer 45° from the first to reduce the moiré pattern. I basted both layers together around the edge lines for the fan leaf.
I sew it down at the near the base of the edge lace design and tacked the loops of lace on the inside edge.
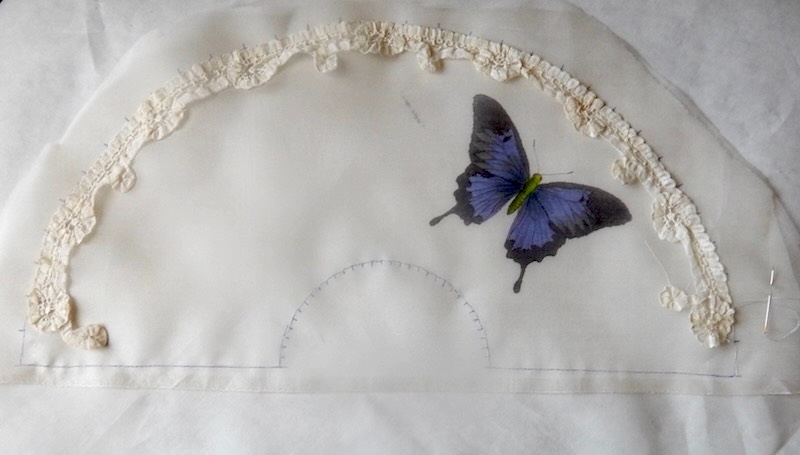
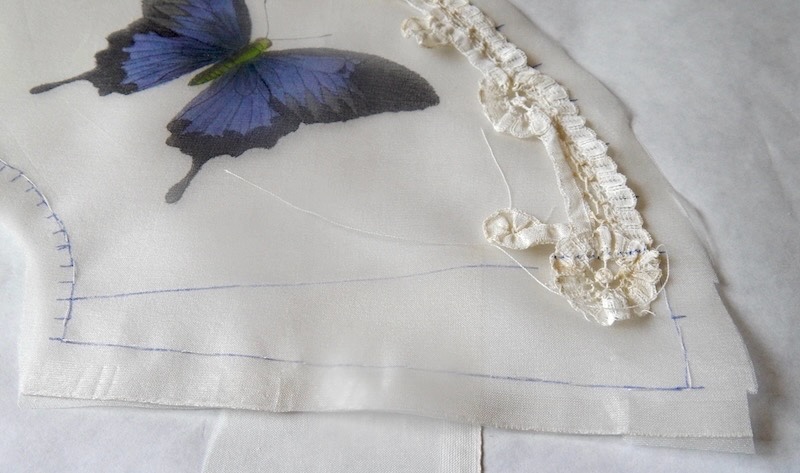
Up close.
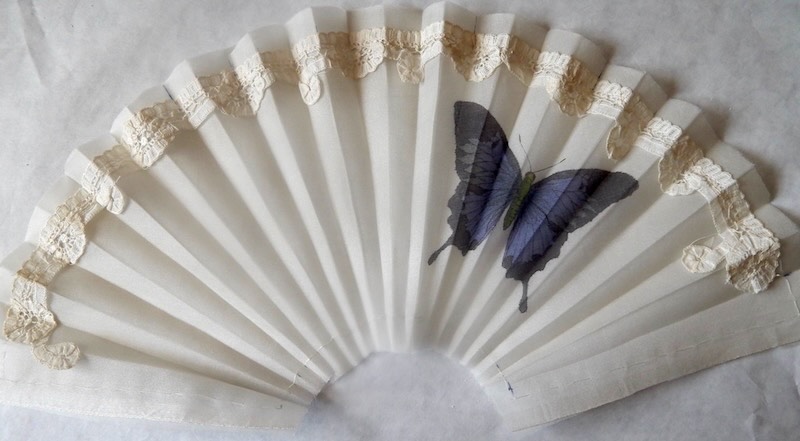
Now I could start pleating the leaf. Unlike stiffened silk fabric I could just finger pleat the leaf I needed to use the edge of an iron.
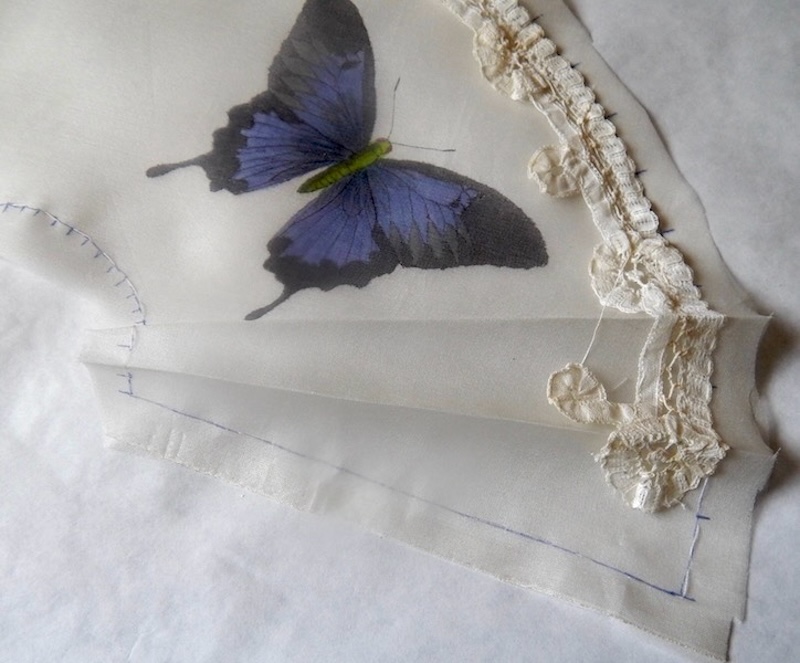
I needed to press each mountain fold without ironing away my pen marks.
Pleat 3.
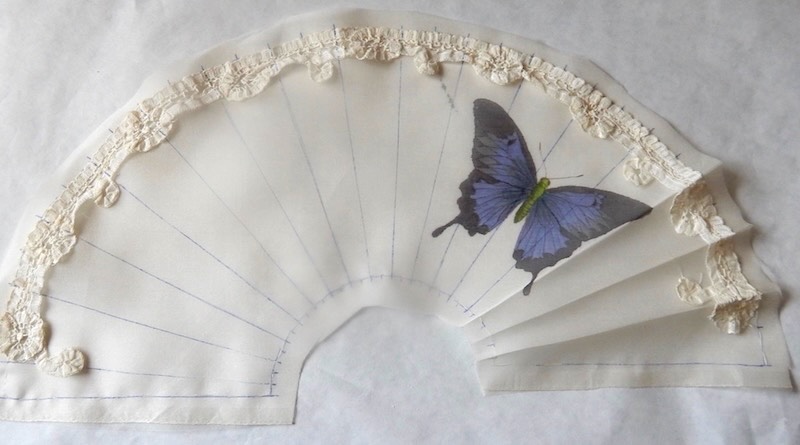
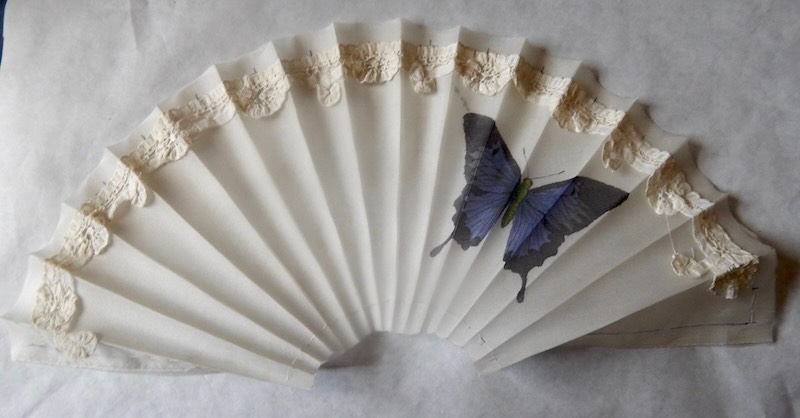
All the mountain folds.
Then on to the valley folds.
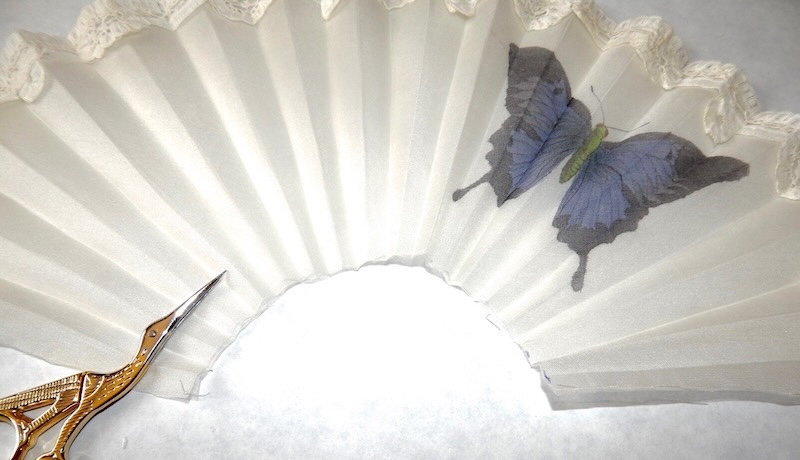
Then in order to get the ribs inside the two layers I trimmed ways the base of the leaf right on the line.
to finish off the base of the fan I shaped this lace by sewing a gathering stitch along the bottom and pressing it until it fit the curve.
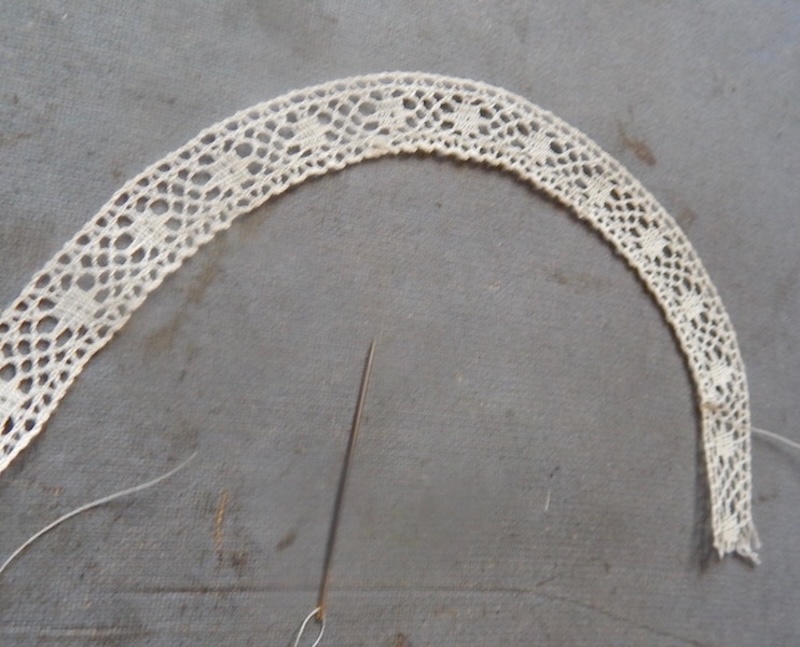
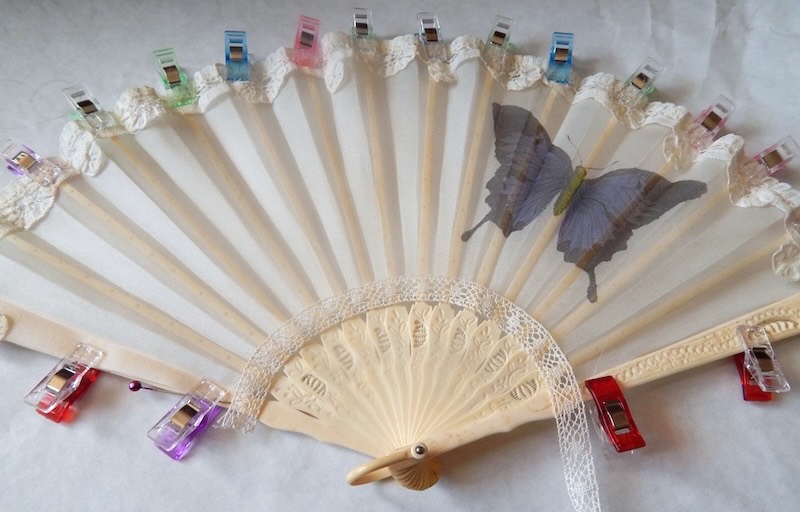
It was time to join the leaf and the sticks. I used clips to hold each rib where it needed to be and hold the guards in place. I could check the fit of the bottom lace.
I pinned it into place so I could sew it on and also sew thru the organza to hold the ribs in the proper alignment.
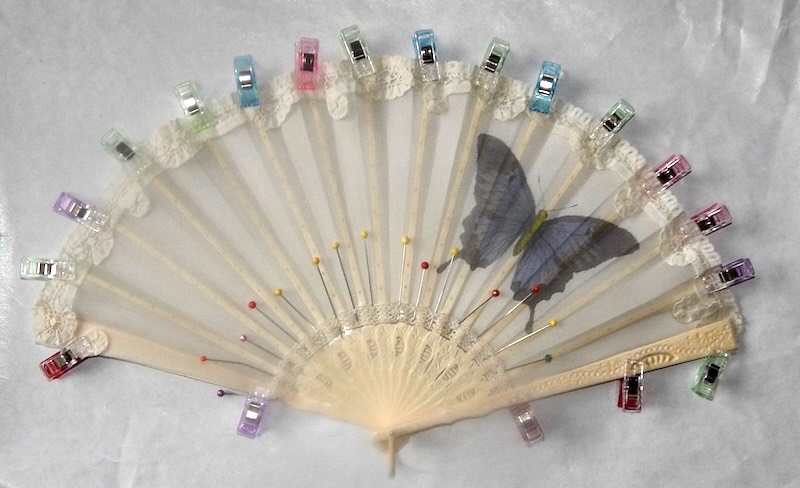
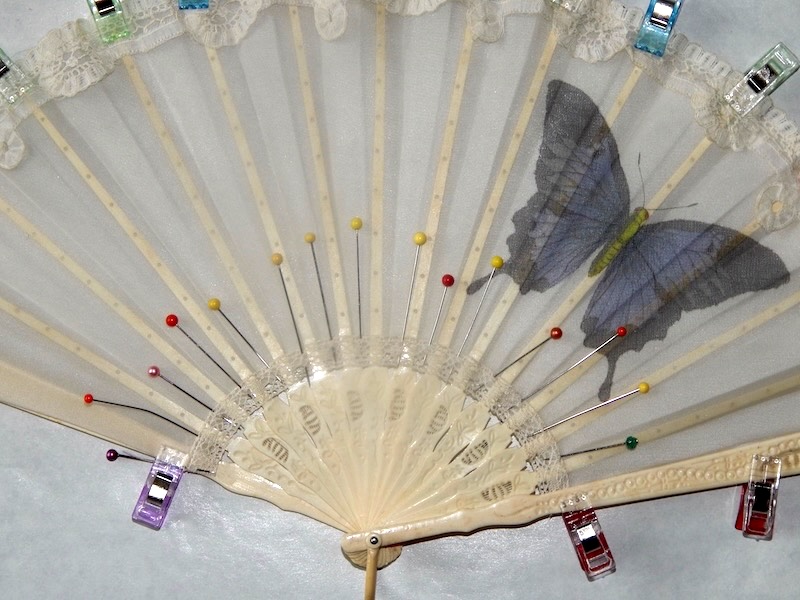
I put one pin between each rib.
After I got the lace on the bottom edge it was time to deal with the guards. The silk needed to be glued to the back go the guards but I did not want glue to leak thru so, I used some card stock to slip between the folds of the organza and added the glue to the back side of the card stock.
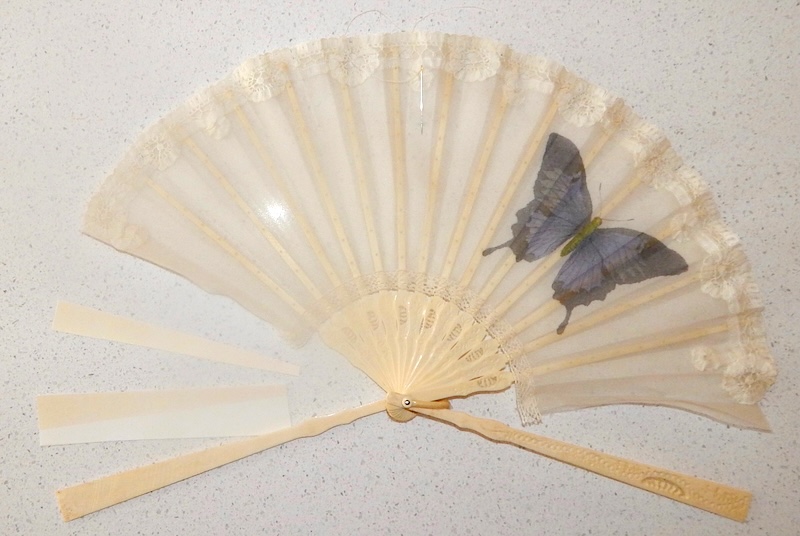
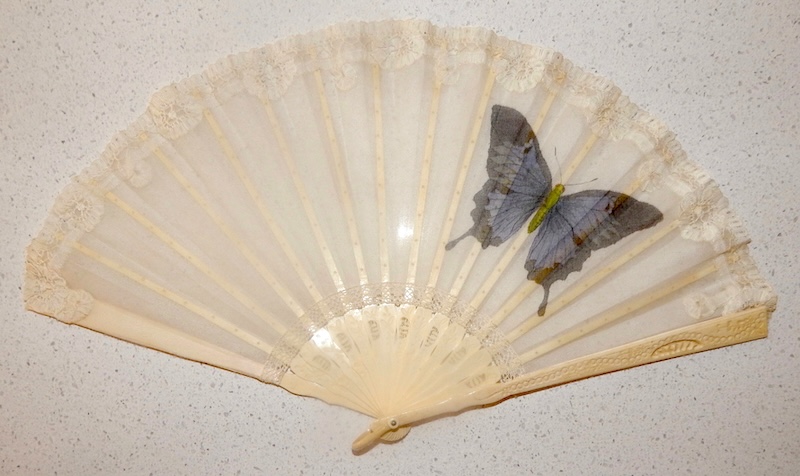
This is a really nice trick because the card stock matches the color of the ivory once you glue things up you cannot see it.
Not to sew the spangles back in place over the holes on the ribs. The stitches help hole the fabric in place.
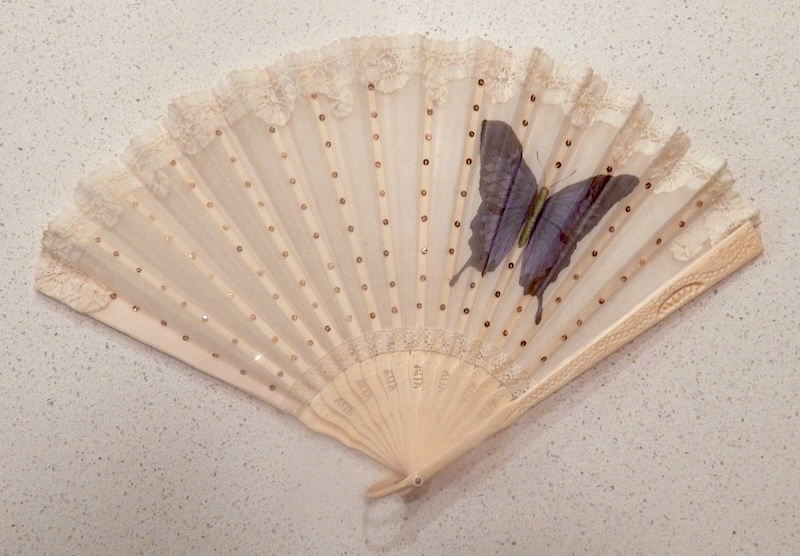
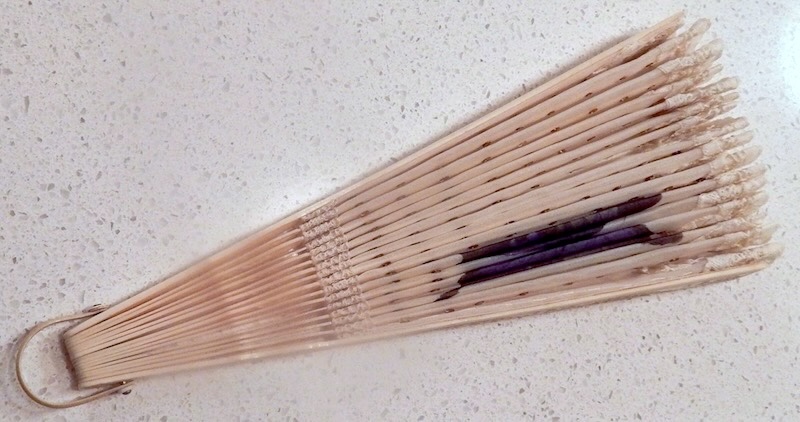
The fan closed.
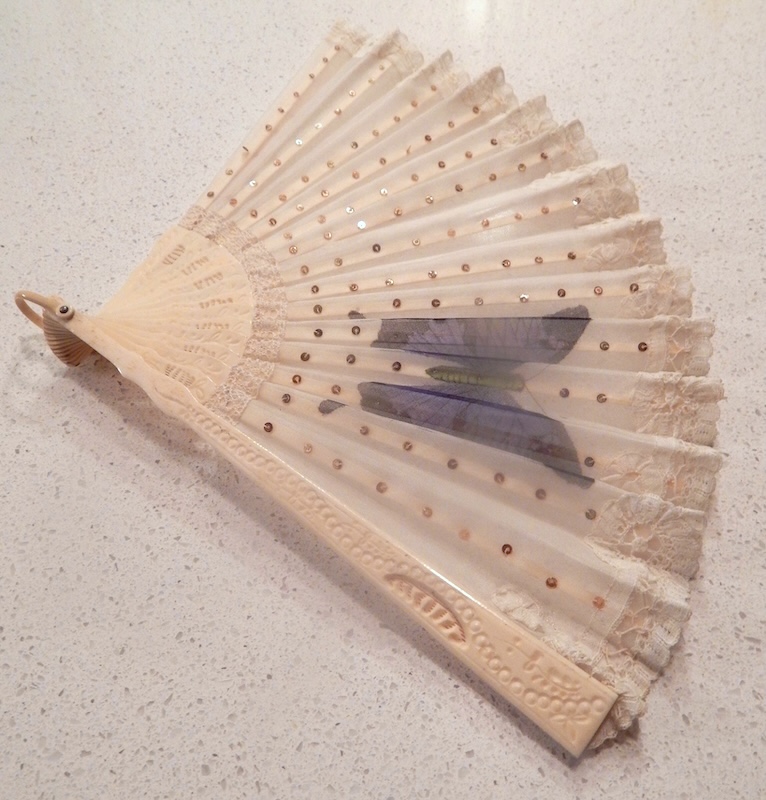
The fan from the side.
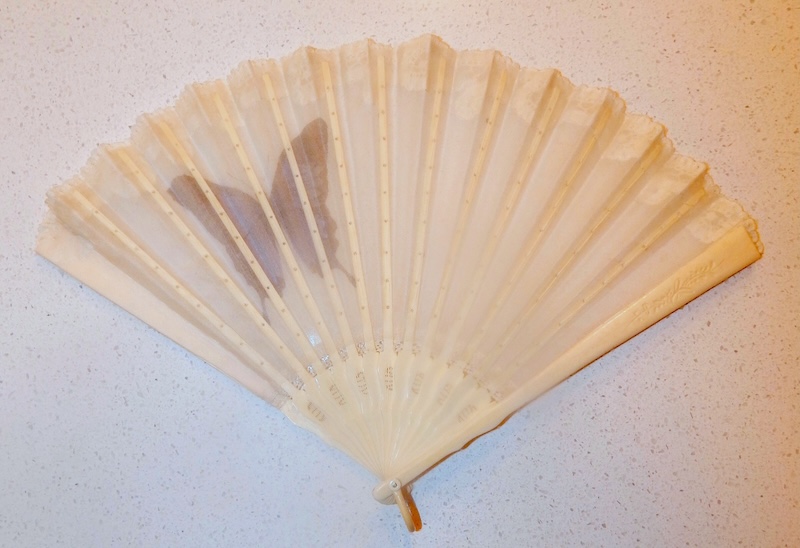
The fan from the back.
The fan with light thru.
