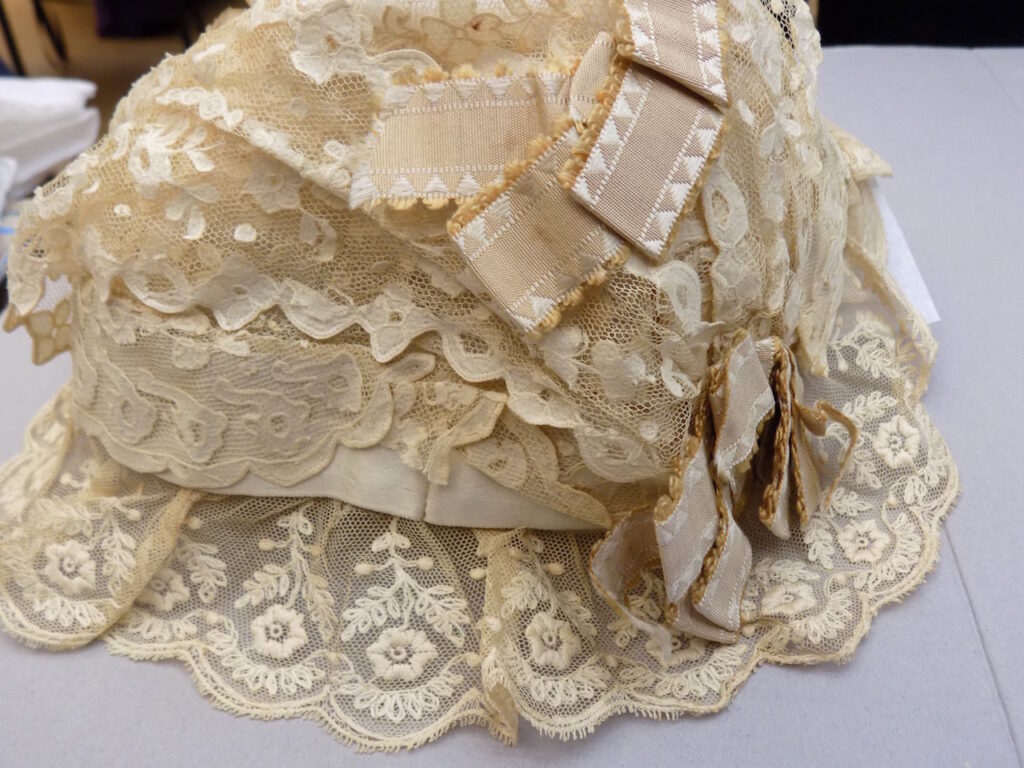
Regency or Romantic Era Day Cap
I got a chance to take some photos of several day caps from Auralie Bradley’s collection. it was a real treat to see how day caps were stitched together. This cap and the two below could each be either Regency or Romantic Era caps.
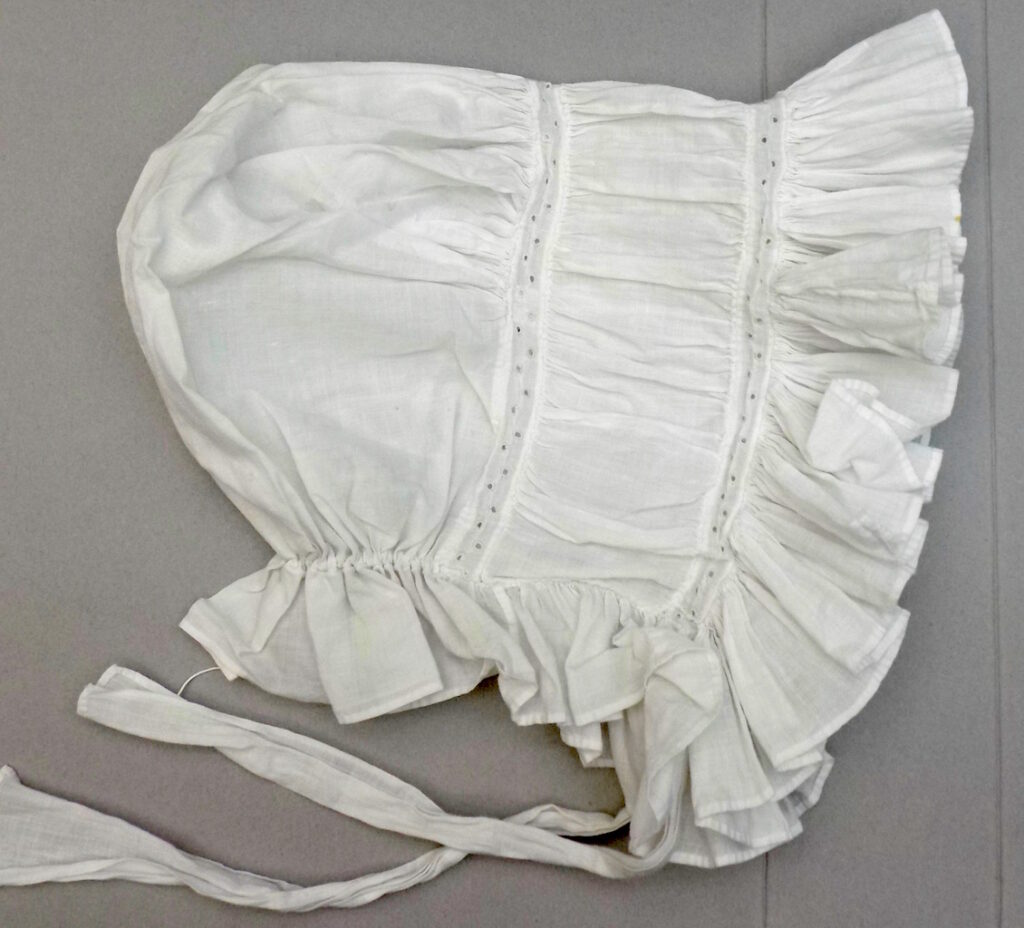
This cap is made of 5 sections: a cap in the back, then an insert of a narrow band of cutwork lace then, a gathered forehead piece, more insert lace then a ruffle. It is very similar to a pattern in “The Workwomen’s Guide” See the pattern below.
This is a closeup of the bottom corner where the ties are attached. They are sewn the onside of the ruffle at the corner.
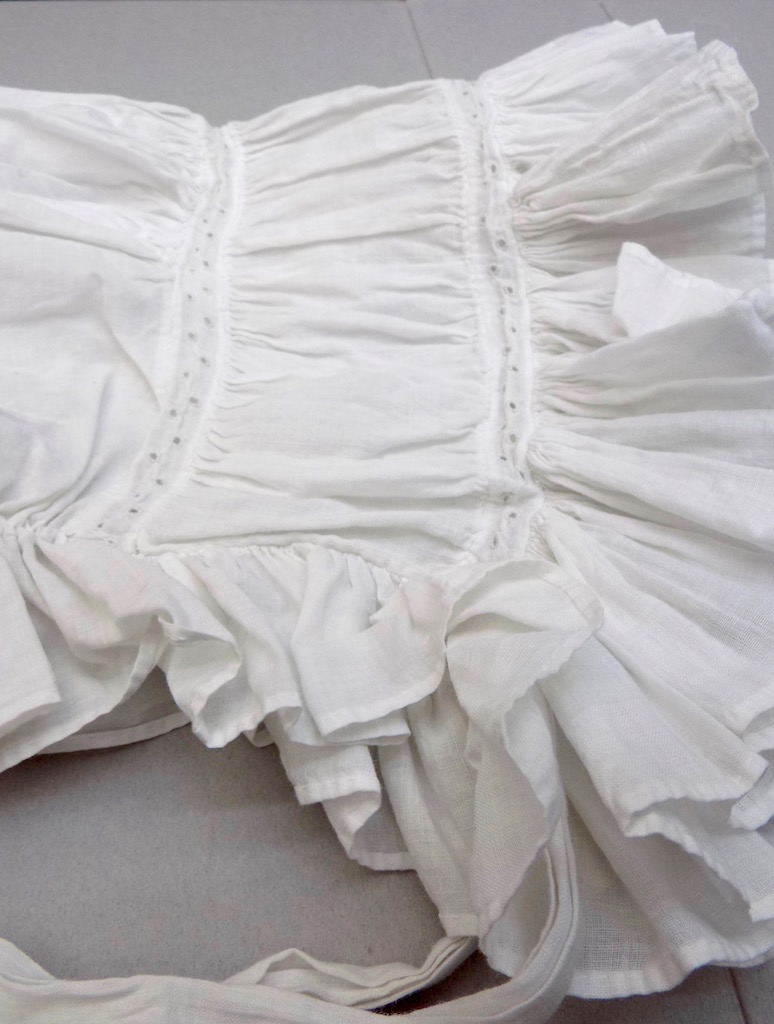
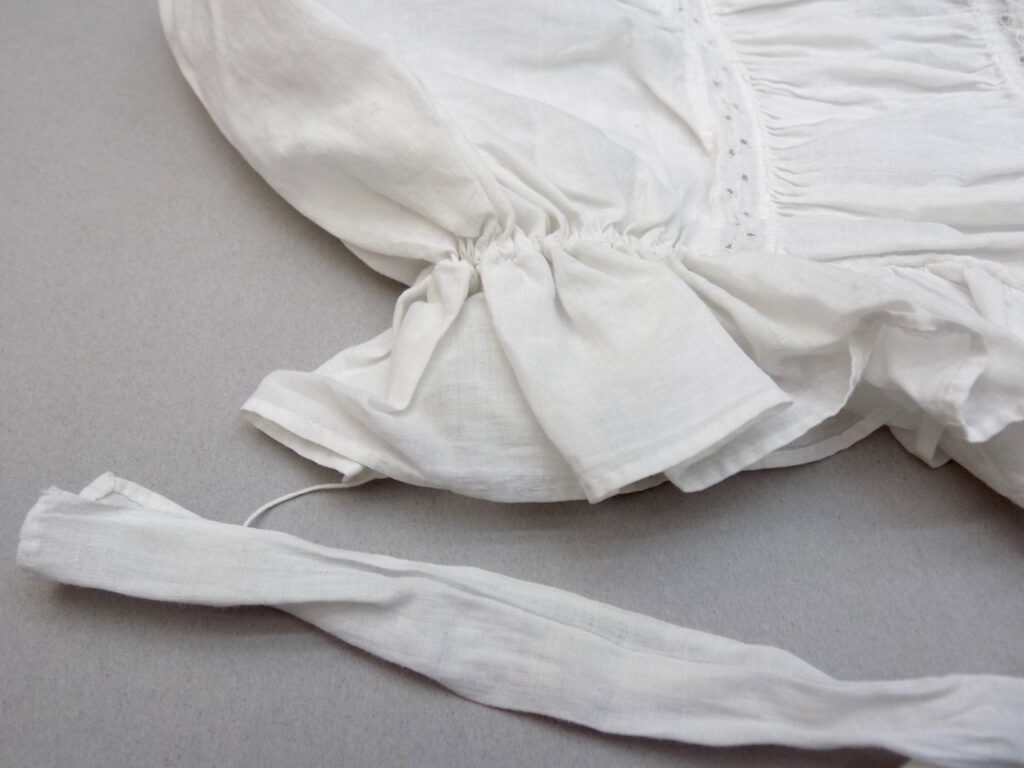
This is a close up of the back edge of the cap. The thin cord that com, comes from below the ruffle is the drawstring for the gathering of the back of the cap. It is there for two reasons. First is for fit. The second is so that all the gathering can be released to make laundering and pressing easier.
This is the inside, you can see that the string is long enough so you can tie it in a bow.
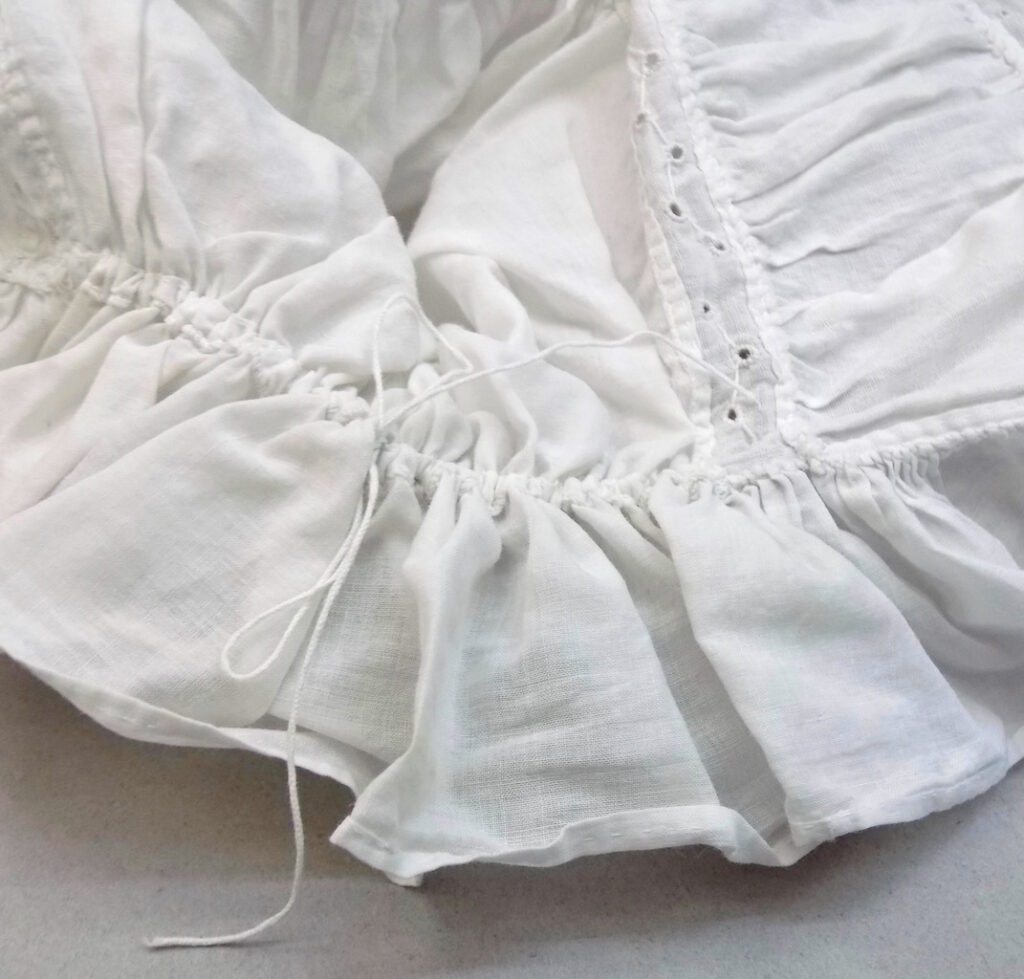
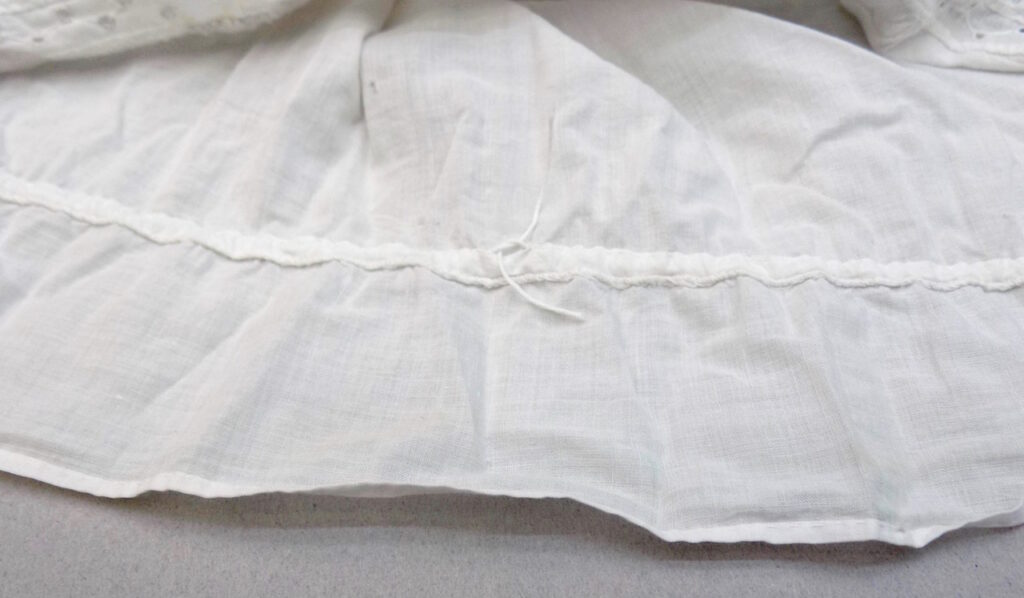
This is a picture with all the gathering pulled out and you can see that the string still long enough not to be pulled inside the casing.
This is the shape of the cap with the gathering pulled out.
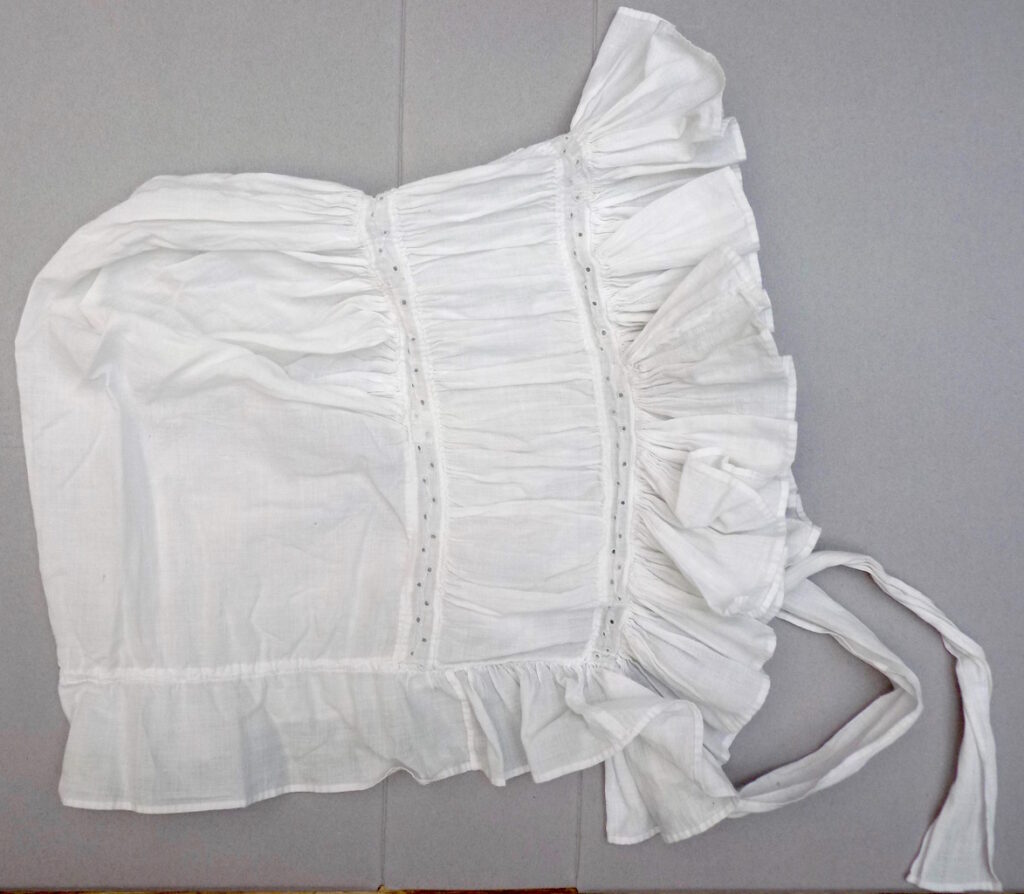
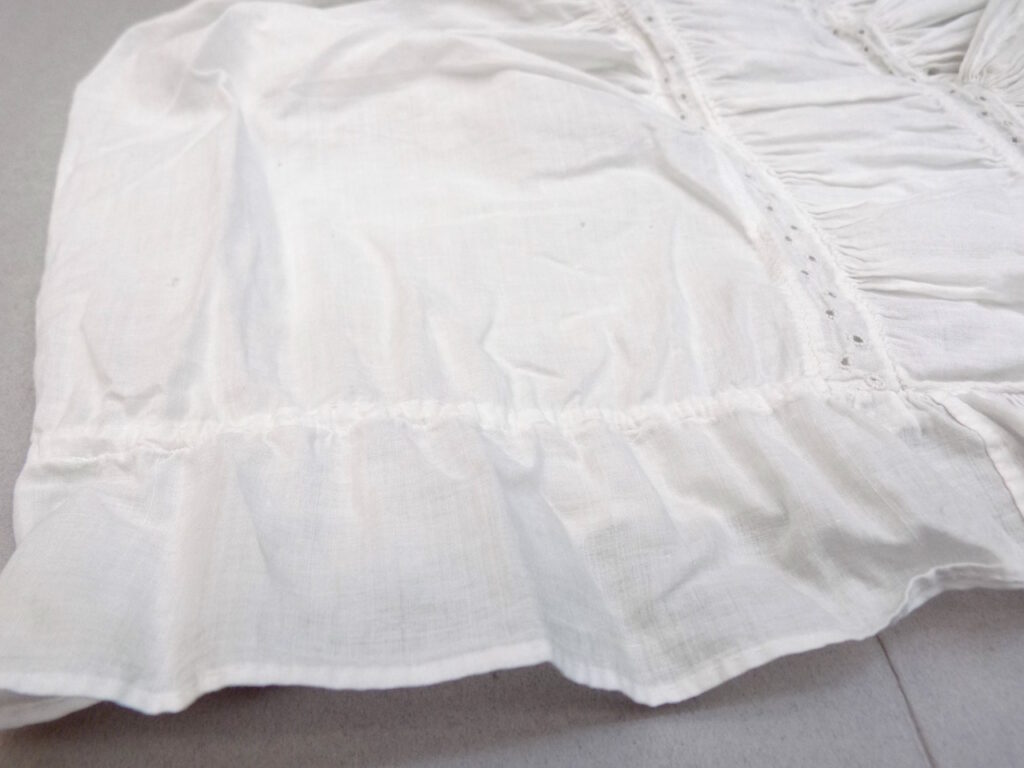
This picture shows that the gathering or the back ruffle is also pulled out when the gathering of the cap is pulled out.
This is a picture of what the forehead piece from the inside of the cap so you can see that it has a joined in the middle of the cap.
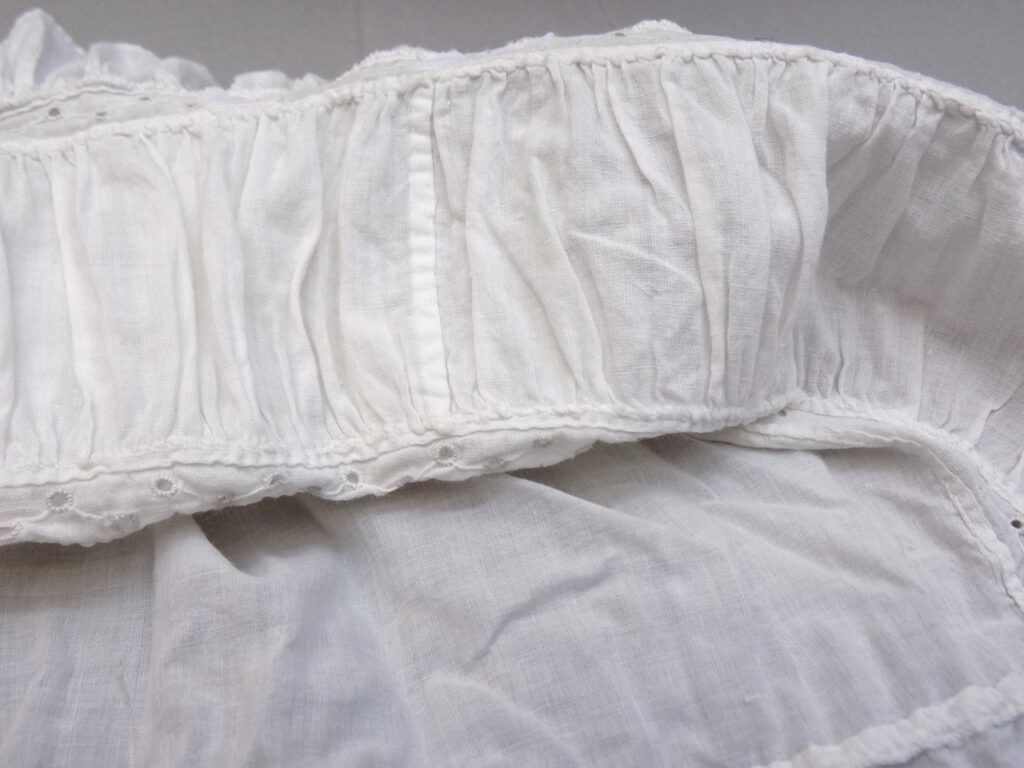
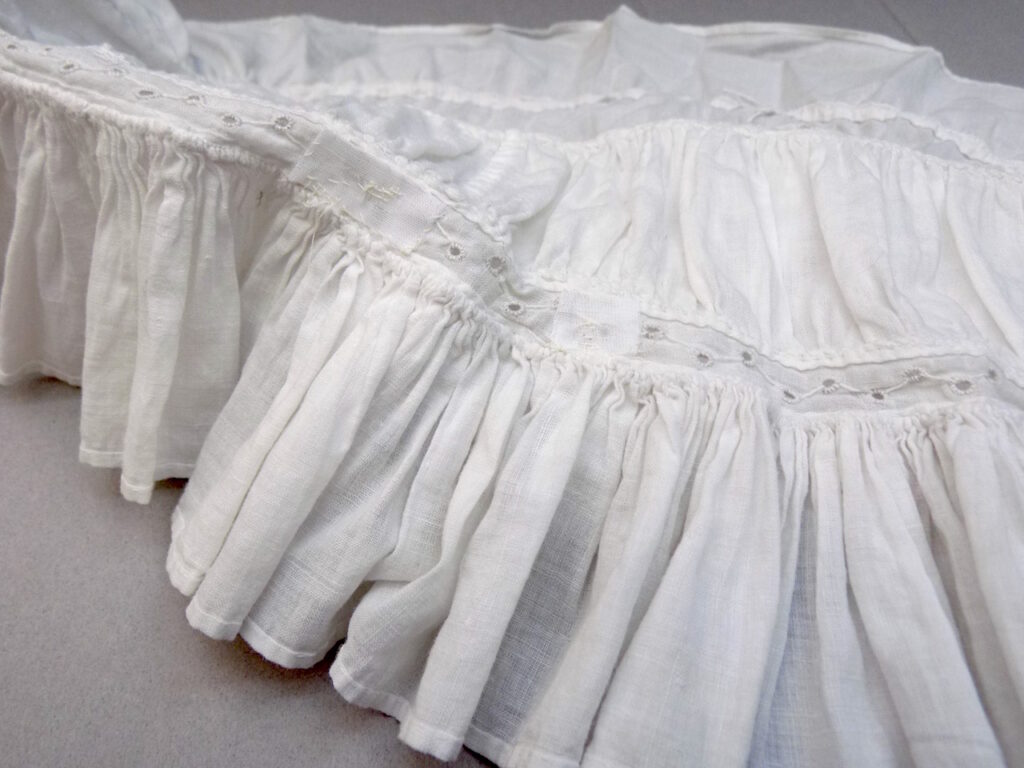
This is a close-up of the seams between the insert lace and the ruffle (foreground) and the forehead piece and cap (background).
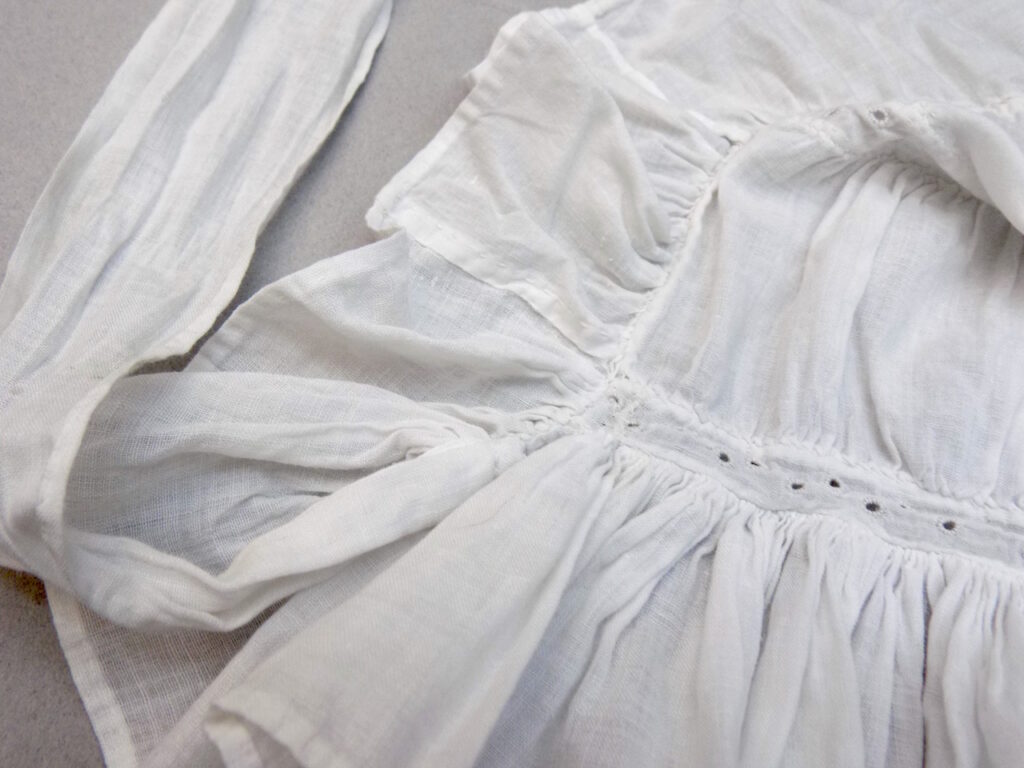
In this photo I was trying to point out just how the ruffle turns the corner. The cap was folded so that your can see the ruffle that attaches to the first insert lace then (bottom of the picture), the section that attaches to the short ends of the forehead piece (right side of the picture) and then the ruffle that attaches to the base of the cap (top of the picture. All of this is from the inside.
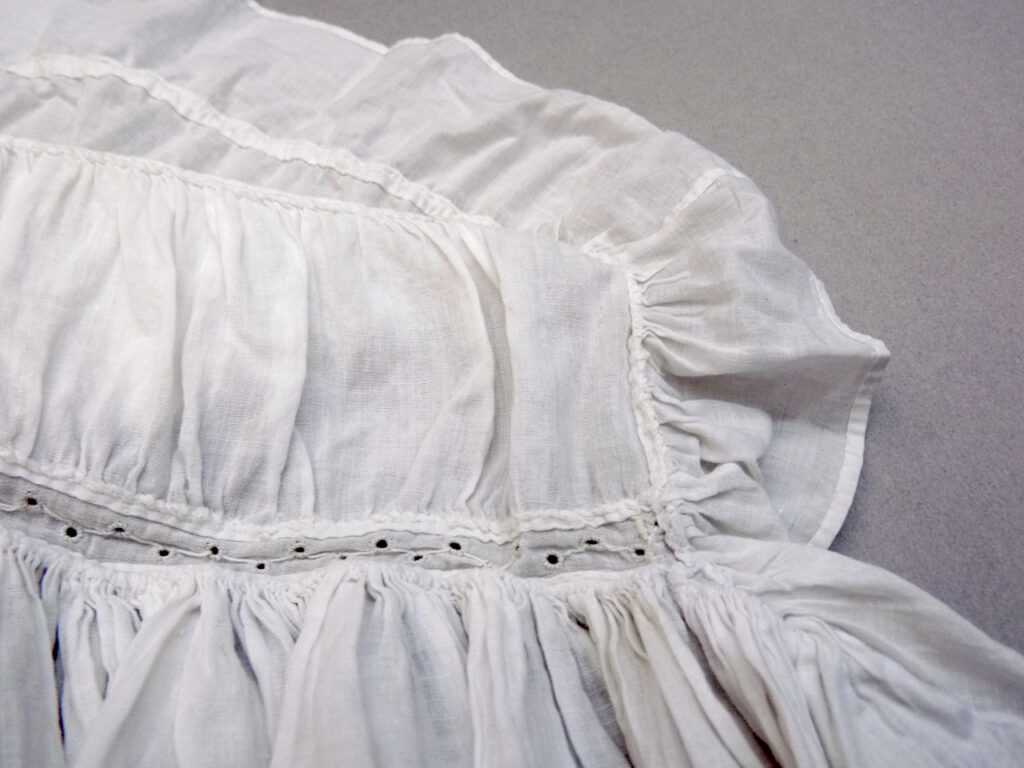
From the outside you can see that the lace turns the cornet and seems to get a little narrower after it turns. You can also see the insertion of the ties.
This is just another view where you can see the join of two strips. They used a flat fell join the do this.
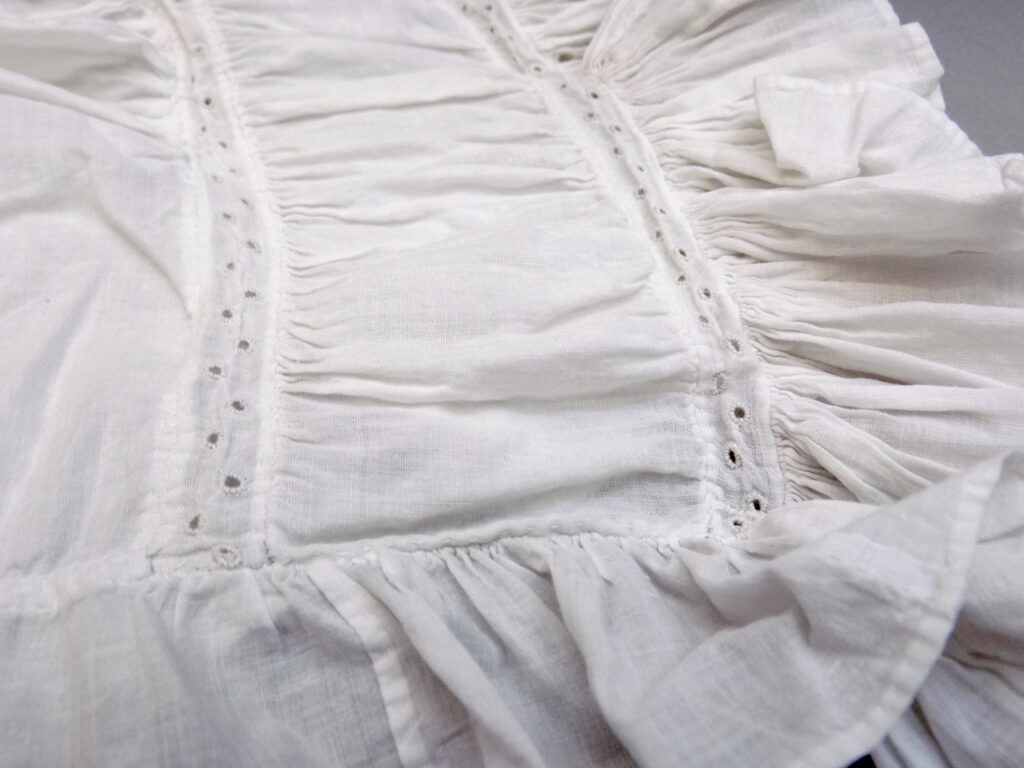
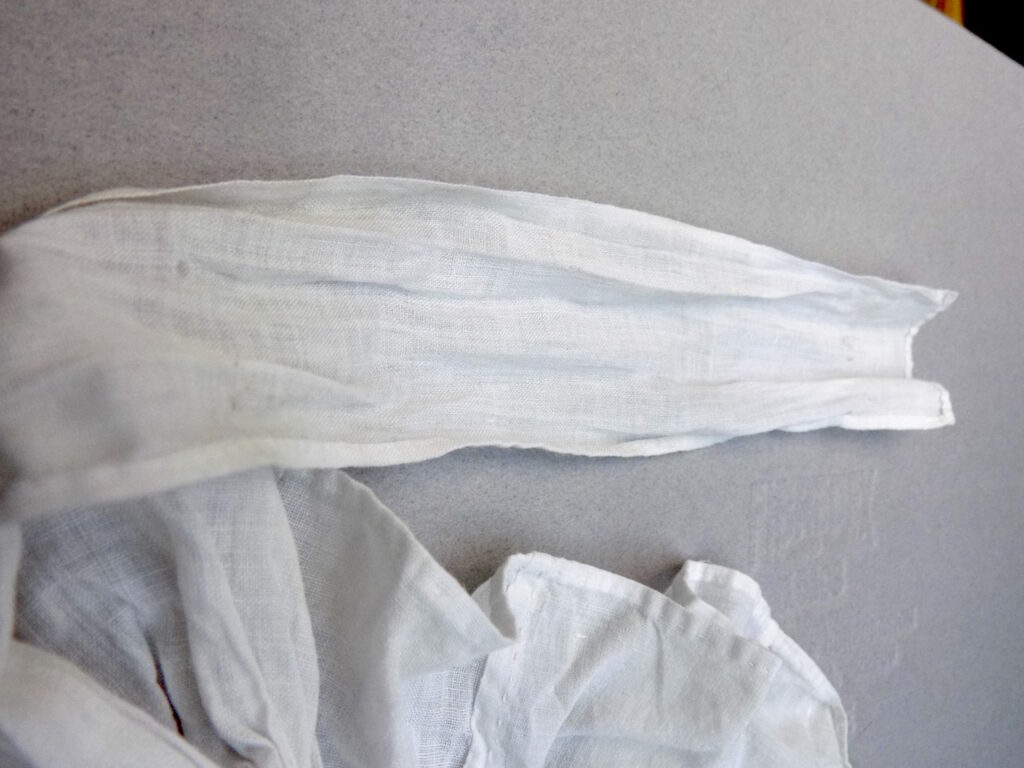
Here you can see that the ties are the same fabric with a very narrow hem on both sides. It seems to be about 2″ wide. I did not measure it at the time.
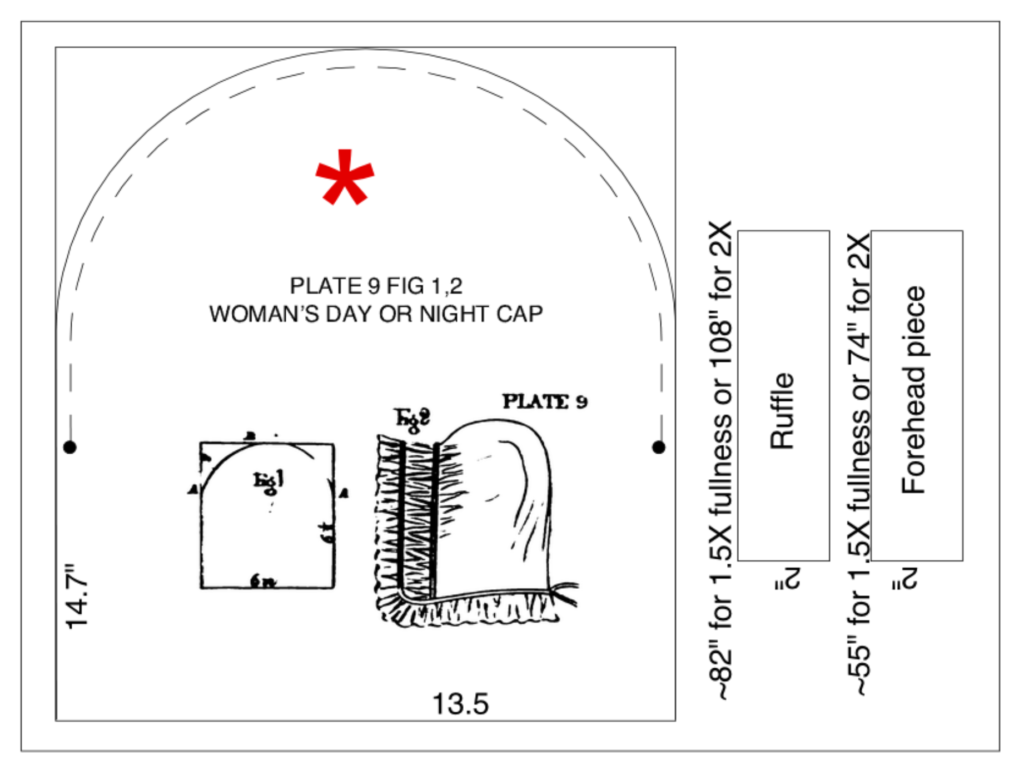
This is the pattern from “the Workwomen’s Guide” for a day or night cap that is very similar to Aubrey’s cap. If you enlarge this cap 400% it should be around the correct size. Use the ” marks, the 14.7″ by 13.5″ to double check. Then cut the ruffle and forehead piece (the gathered fabric between the ruffle and the back of the cap 2″ by your choice of 1.5 times or fuller at 2 times the edge. My guess is that the ruffle is 2X or 108″ and the forehead piece is 1.5X or 55″ on Aubrey’s cap.
Cap 2
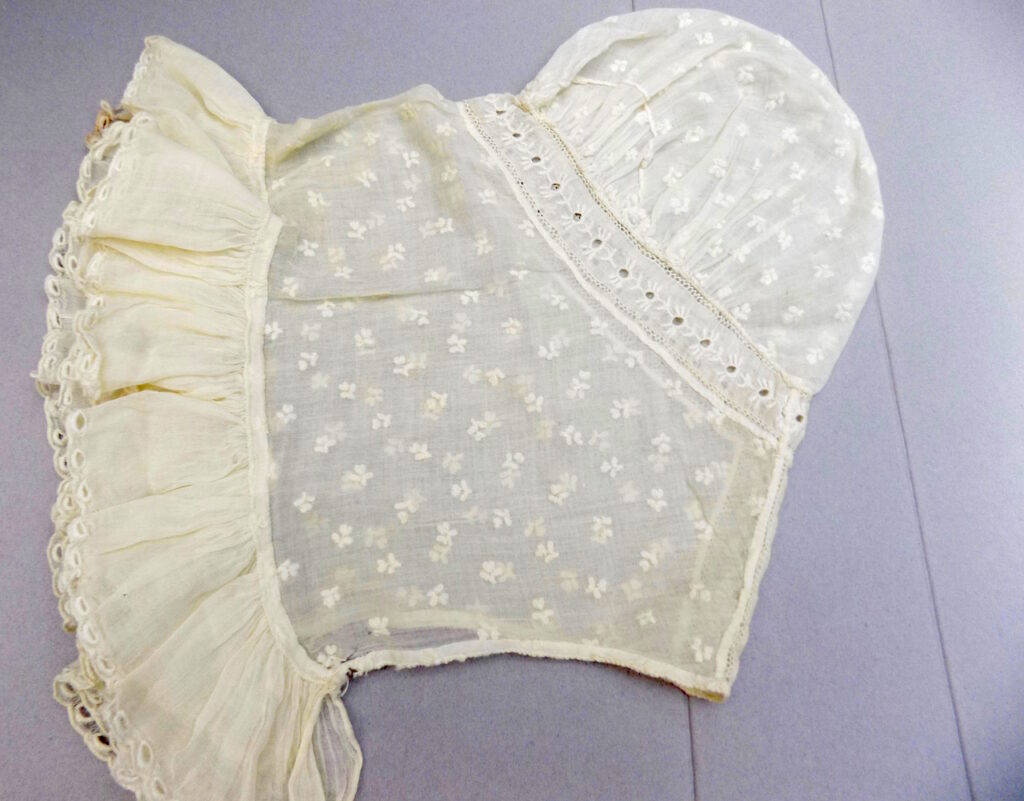
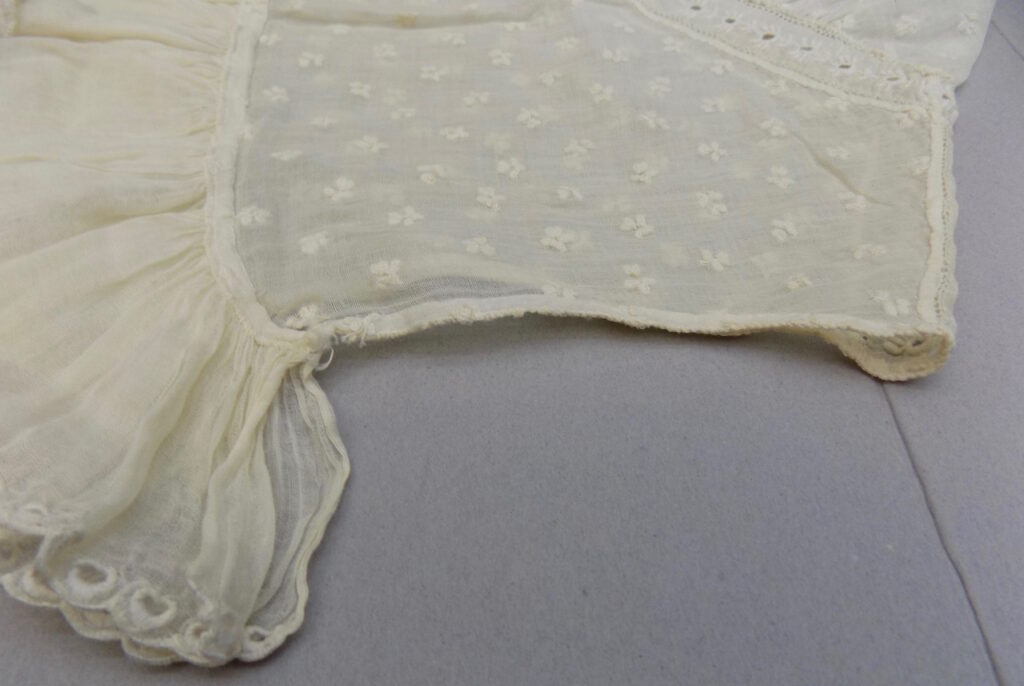
This cap is all lace. It has a sprigged embroidered shear fabric for the body of the cap, a cutwork inset strip between the parts and a highly gathered ruffle with a cutwork embroidered edge.
In this close-up you can see the narrow hem along the bottom and the very narrow flat fell center back seam.
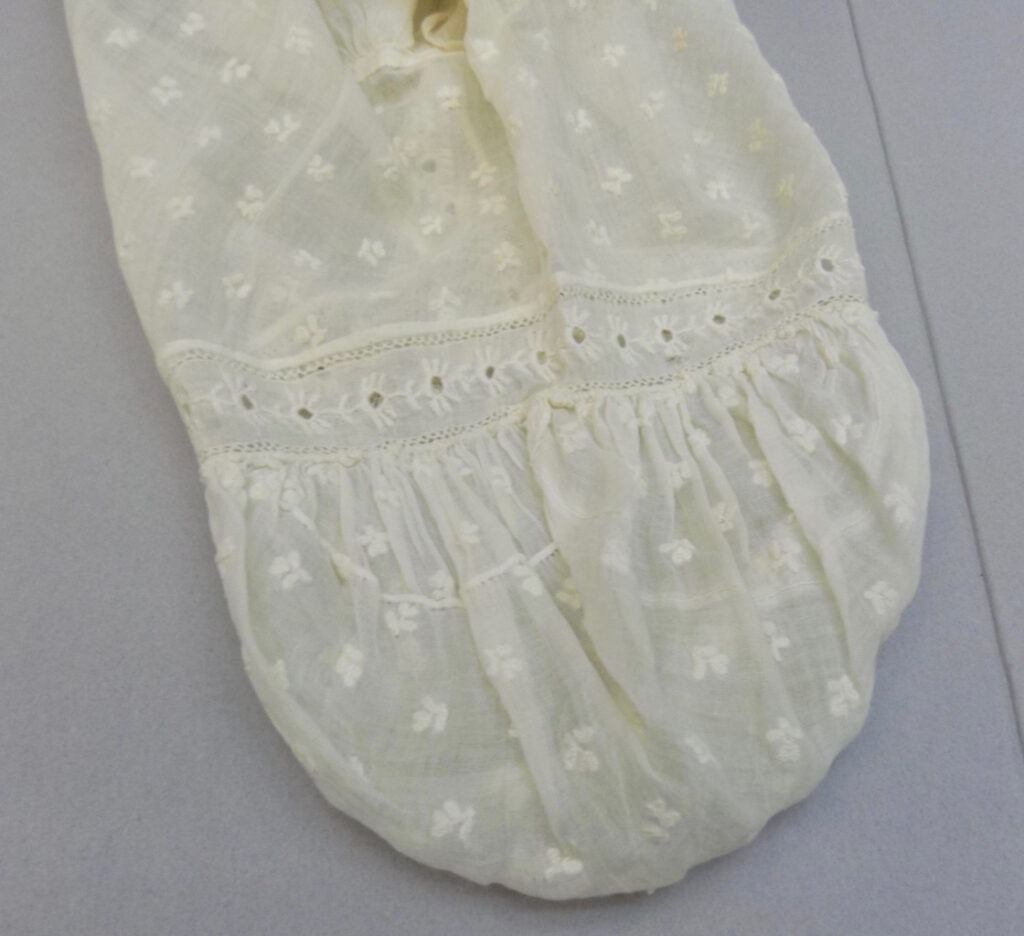
The bag is very interesting as it has a splice so they had enough fabric to make the circle. In this shot because things are stretched out a little you can see that the insertion lace has a decorative edge.
I stretched the ruffle out so you could see that the cutwork edge and also that the embroidery creates a scalloped edge.
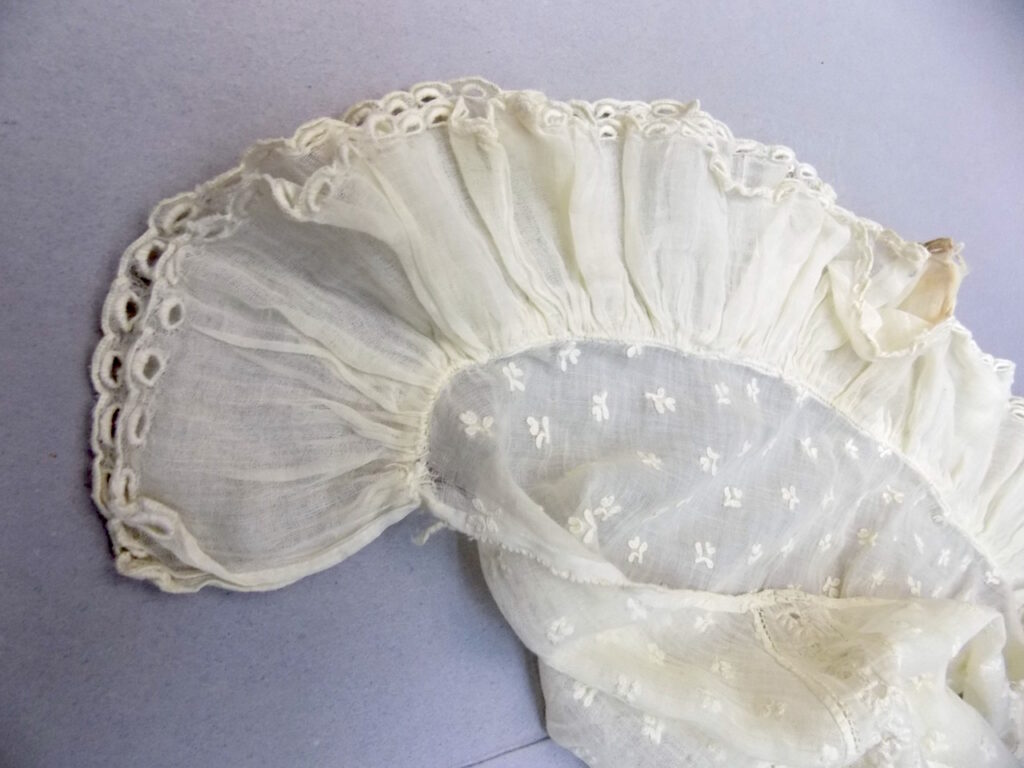
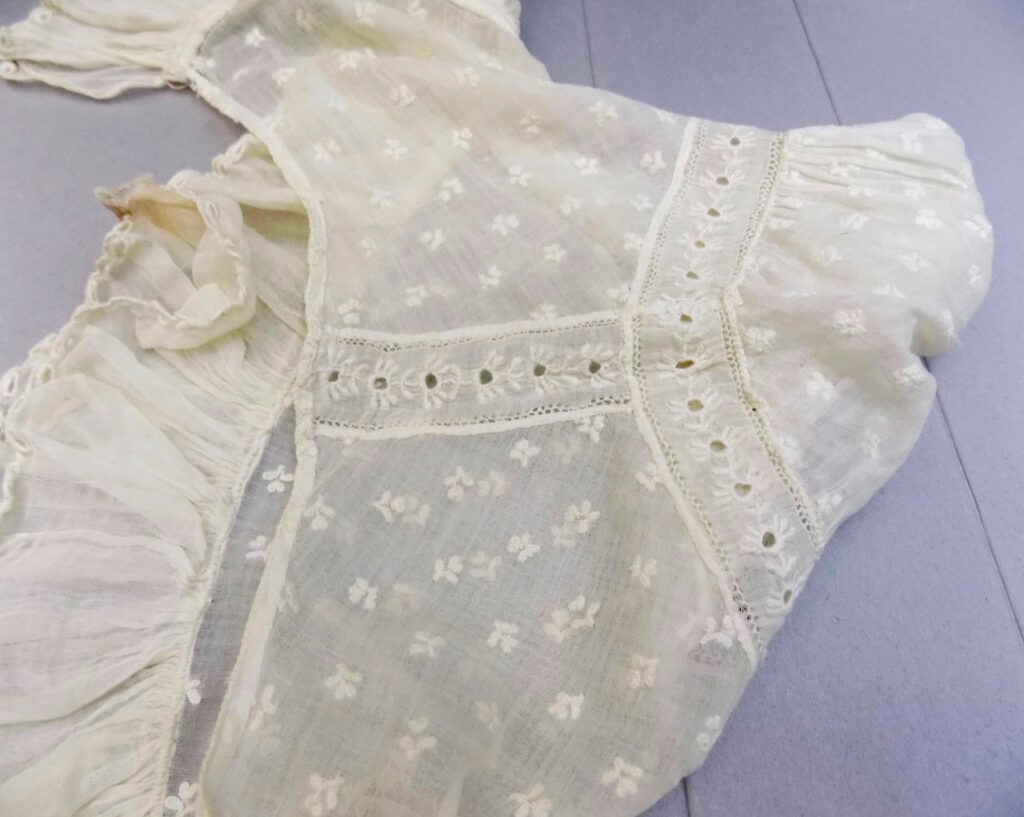
This shows something you could not see in the first shot. The center back seam is a length of the insert cutwork. The cutwork tape surrounds the bag and also runs down the center back.
From “The Workwomen’s Guide” plate 15, Fig. 14 &15 is a very similar cap pattern. Except this one gathers at the neckline and also has gathered across the top and no insertion lace.

Cap3
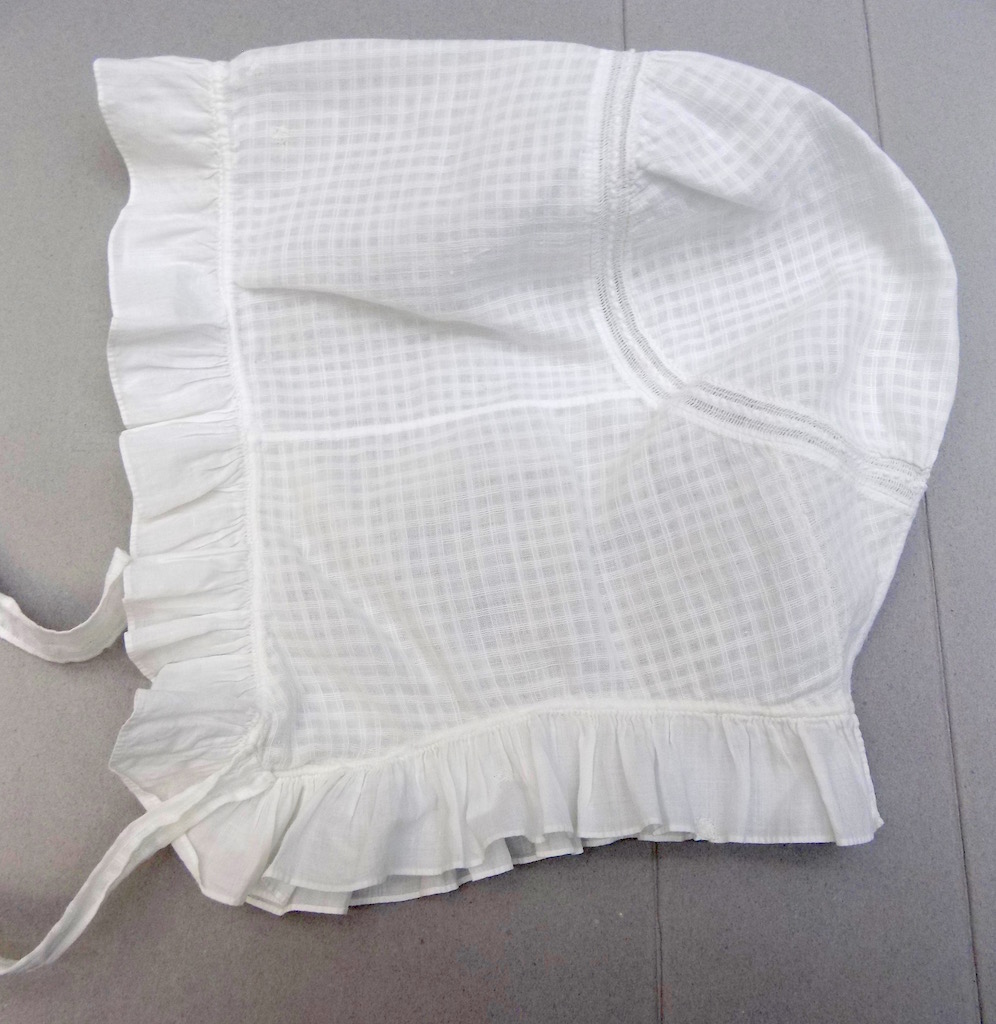
This cap similar in shape to cap 2 however the bag is very small with very little gathering. It has a single ruffle but it goes all the way around the cap. The ruffle is plain weave and the rest of the cap is a patterned weave that creates check. It also has lace tape around the base of the bag.
This side does not have a splice in the fabric so, it’s not a feature but a way to use what fabric they had to make up the pattern pieces they needed.
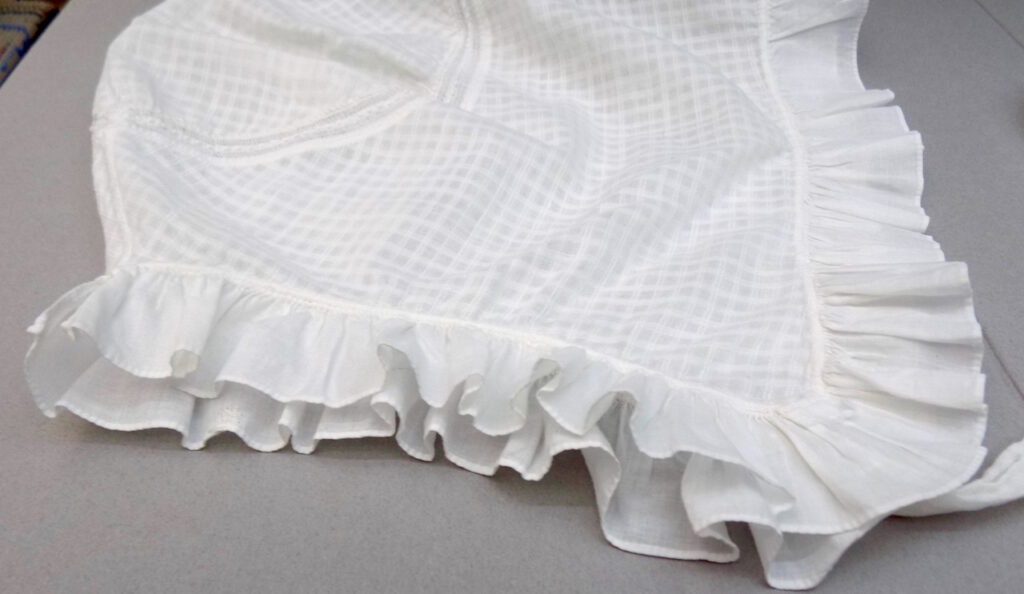
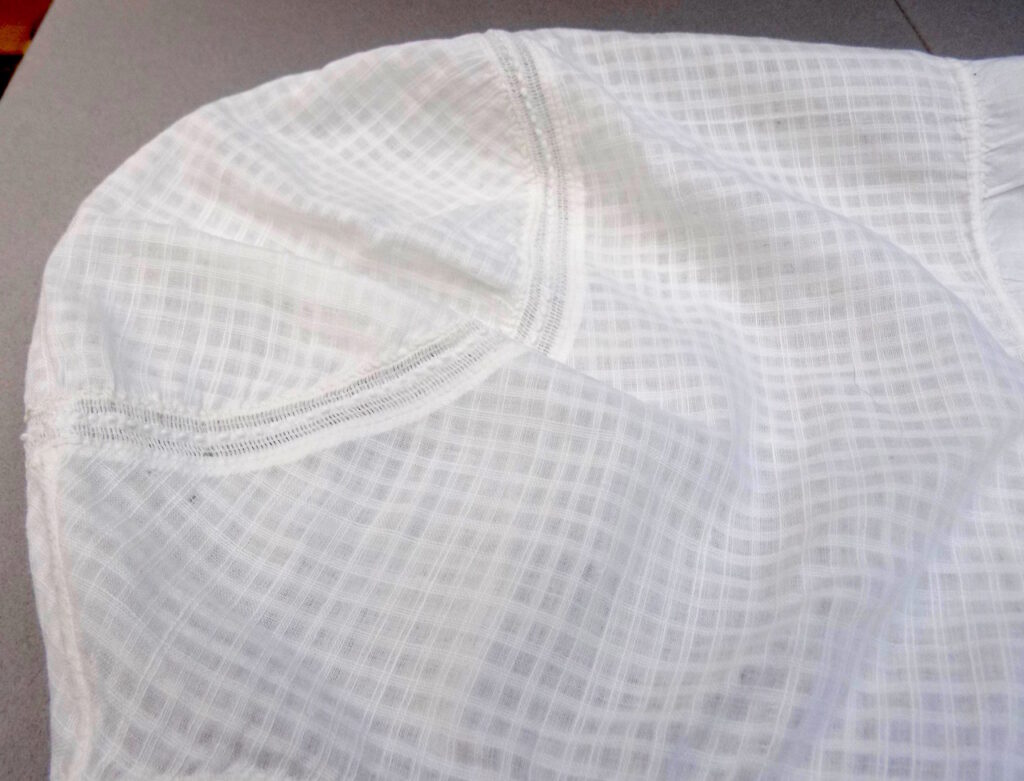
You can see in this photo just how little gathering there is in the bag.
The ruffle is not joined at the center back but each half is hemmed with a rolled hem like the edge of the ruffle. If you look closely to the center back and the center front you can see short ends of cords. These cords are used to adjust the cap for fit and make it easier press after washing.
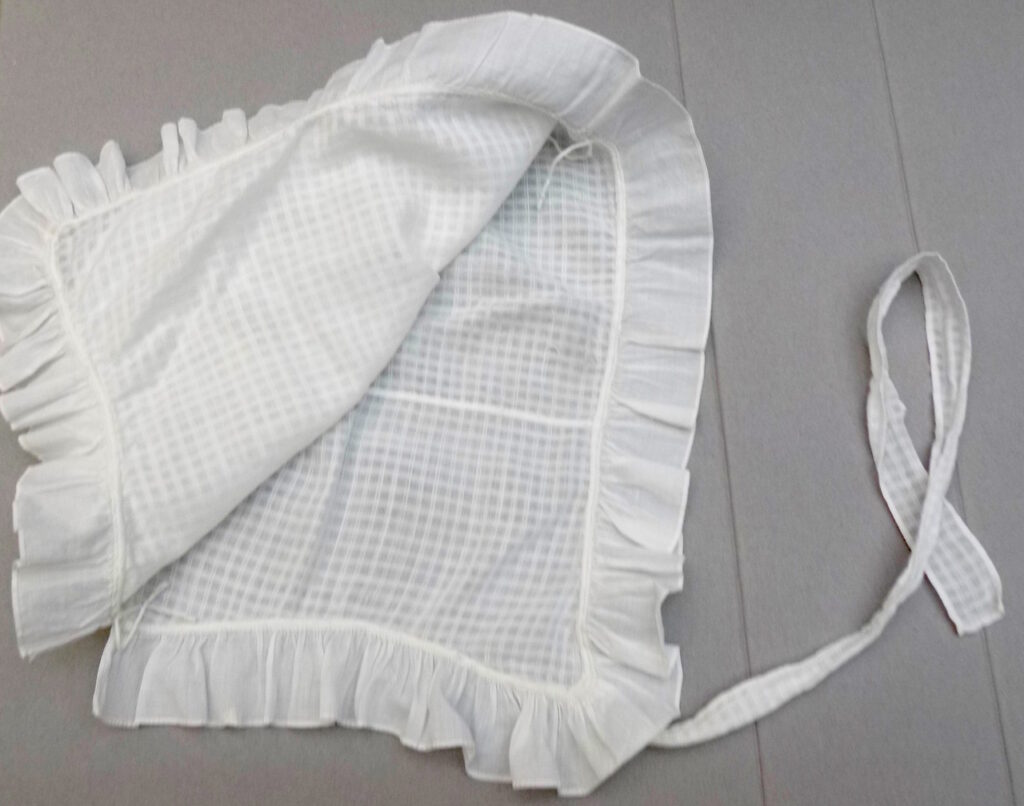
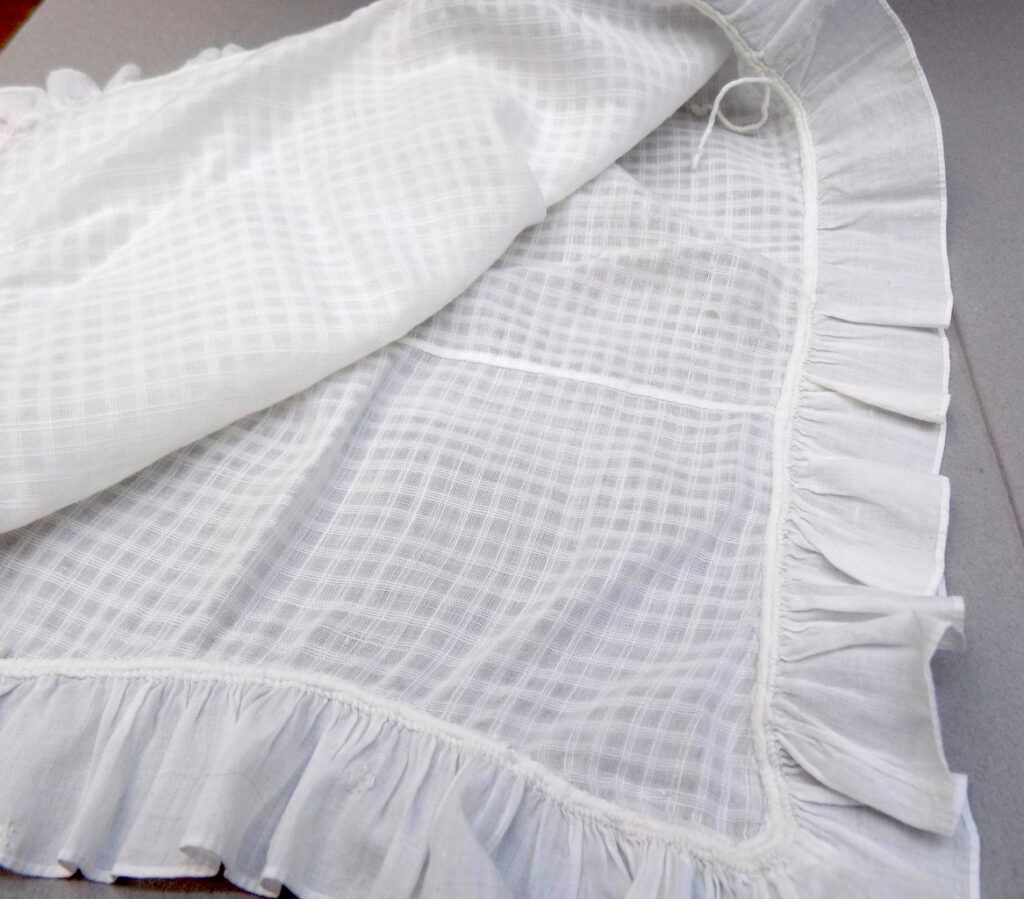
You can see the center front cords better in this close up. Also you can see that they took time to match the check in the fabric along the splice.
Here is an even closer shot.
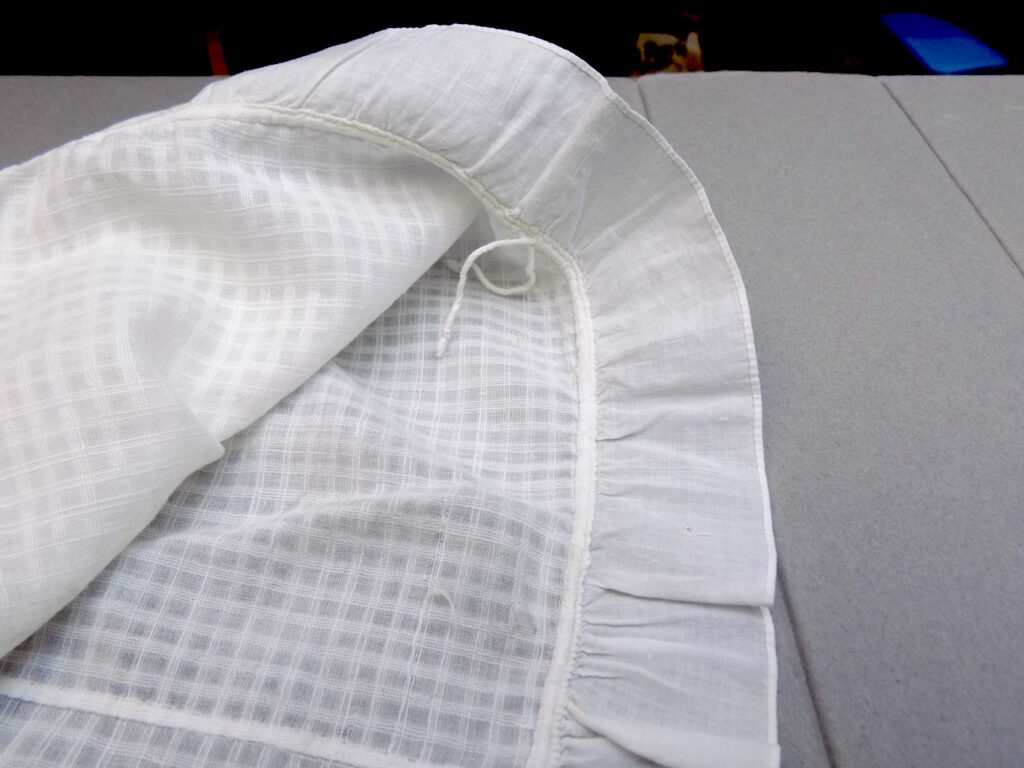
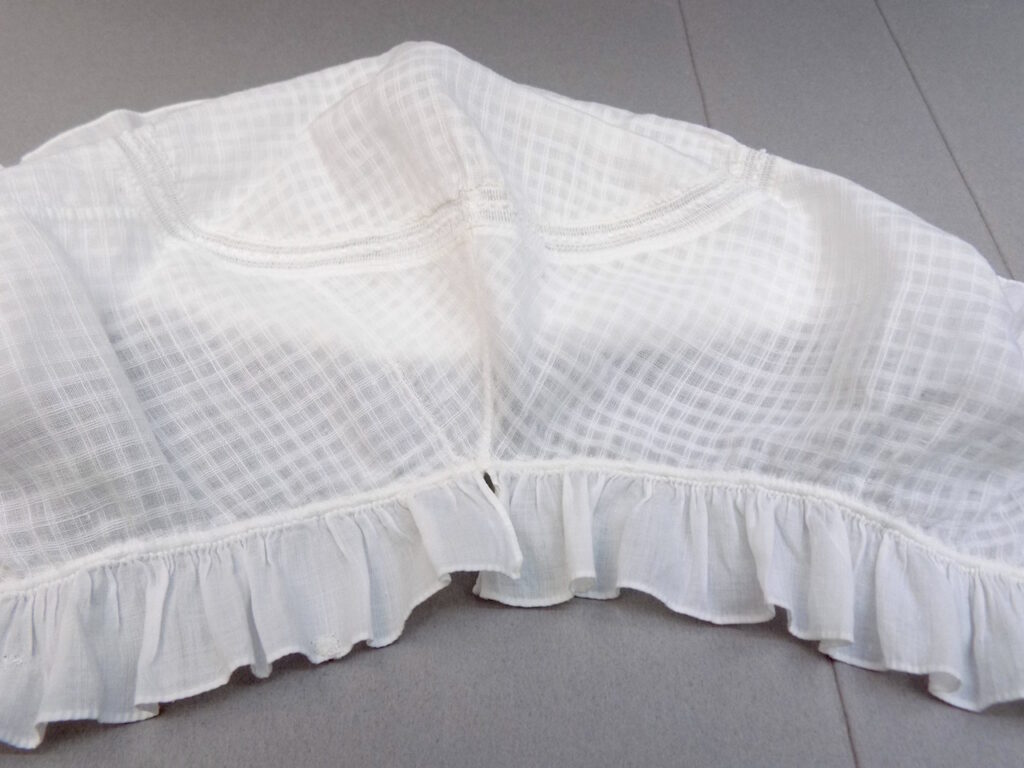
There is another splice near the center back seam also fairly well matched.
The center back and splice close up.
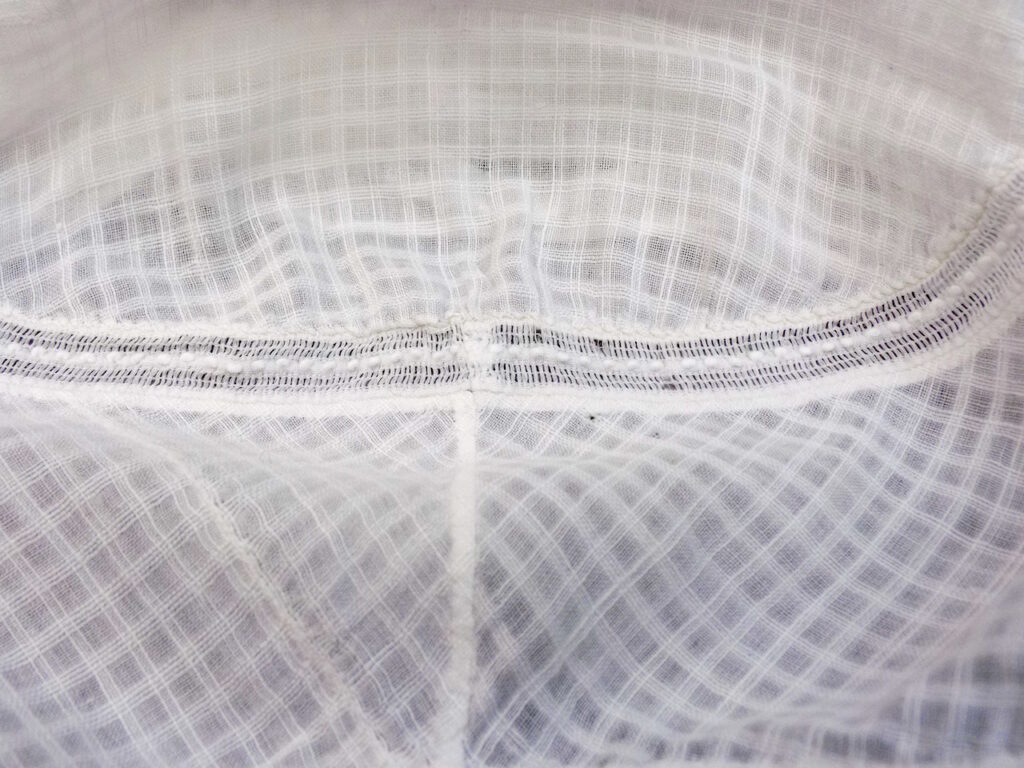
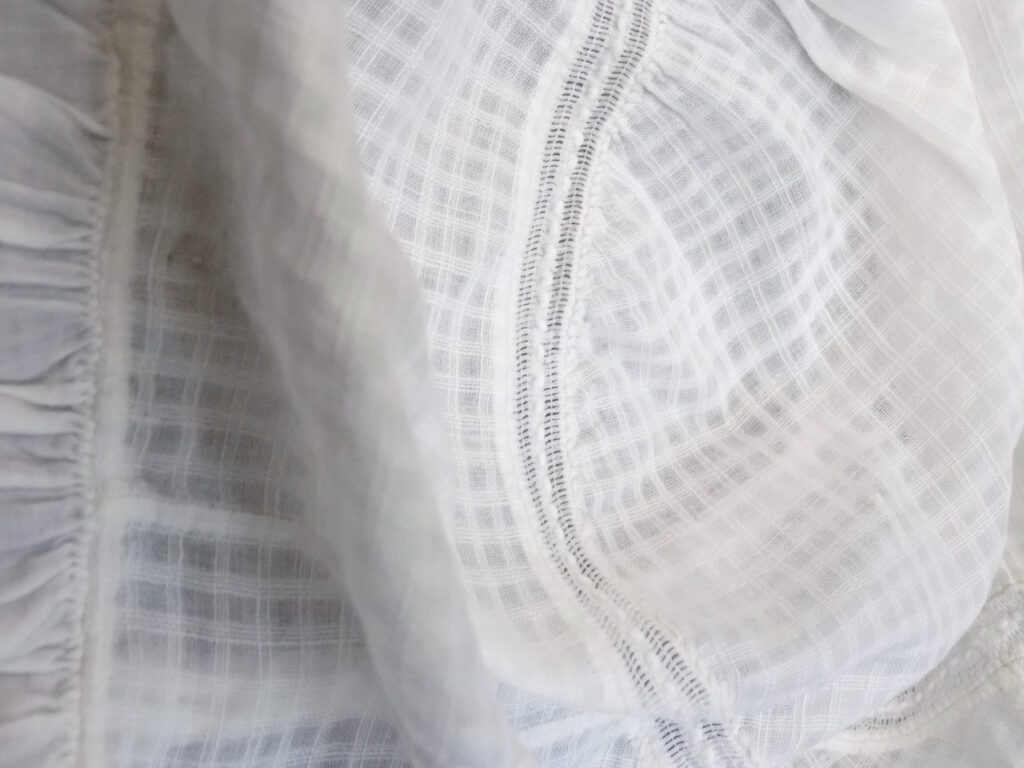
The tape they used here is a woven and not an embroidered tape as with Cap 2. It does seem to go better with the checks than a flowered one would.
The ties are attached onto the outside of the cap. This does make a difference in how the caps looks as it holds the ruffle up to the skin under the chin.
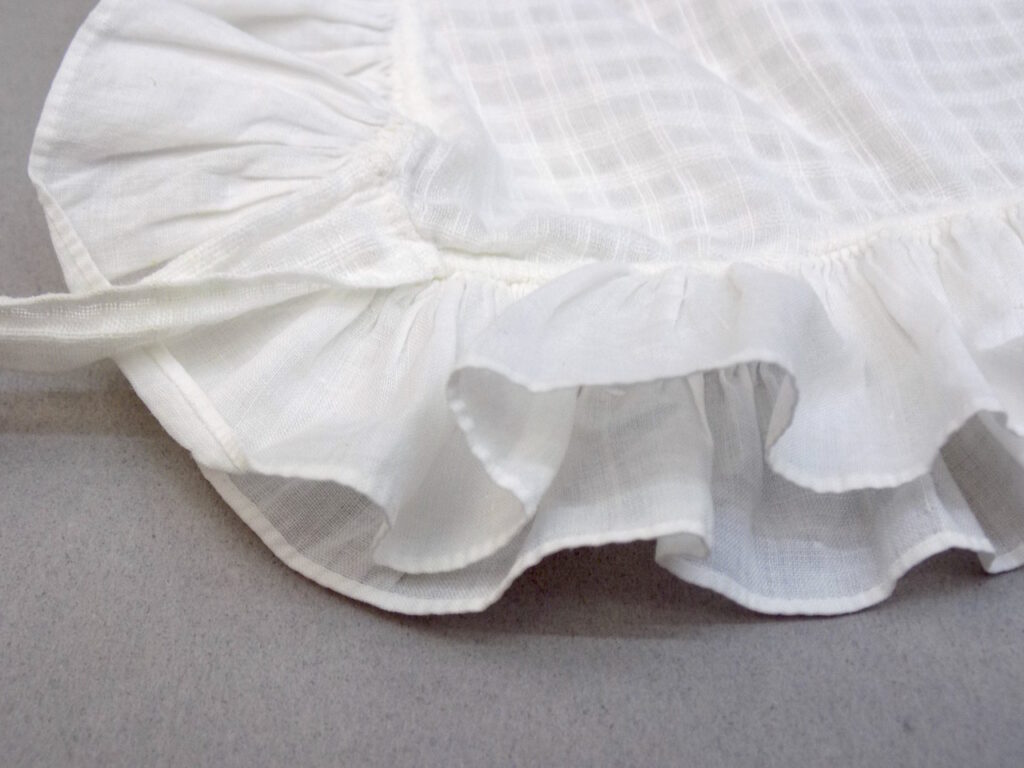
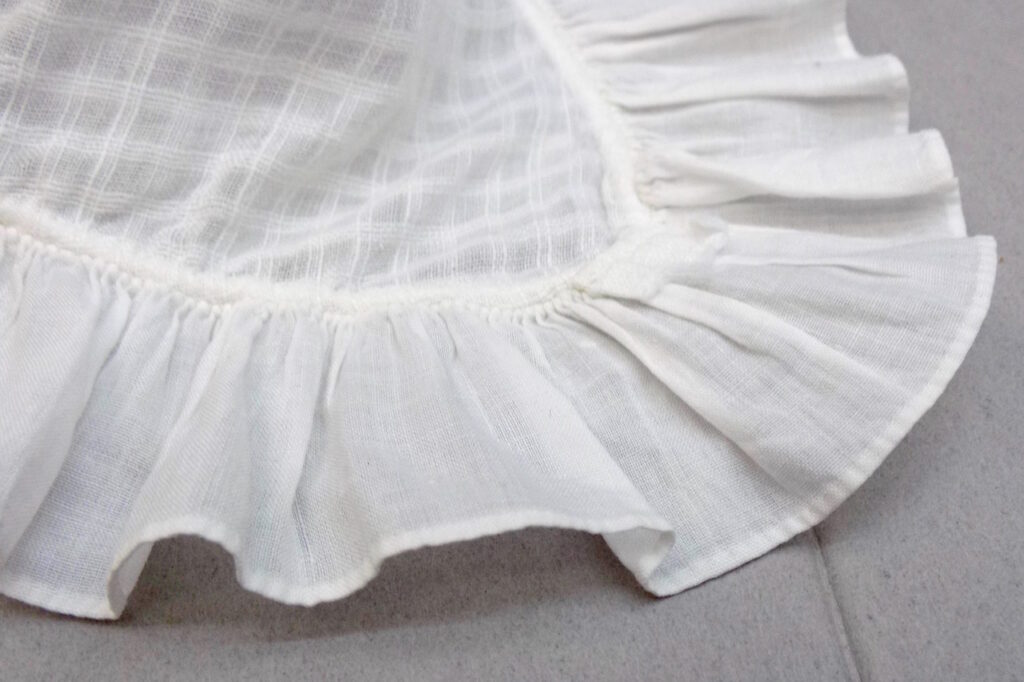
The second tie is missing this is where it was sewn on.
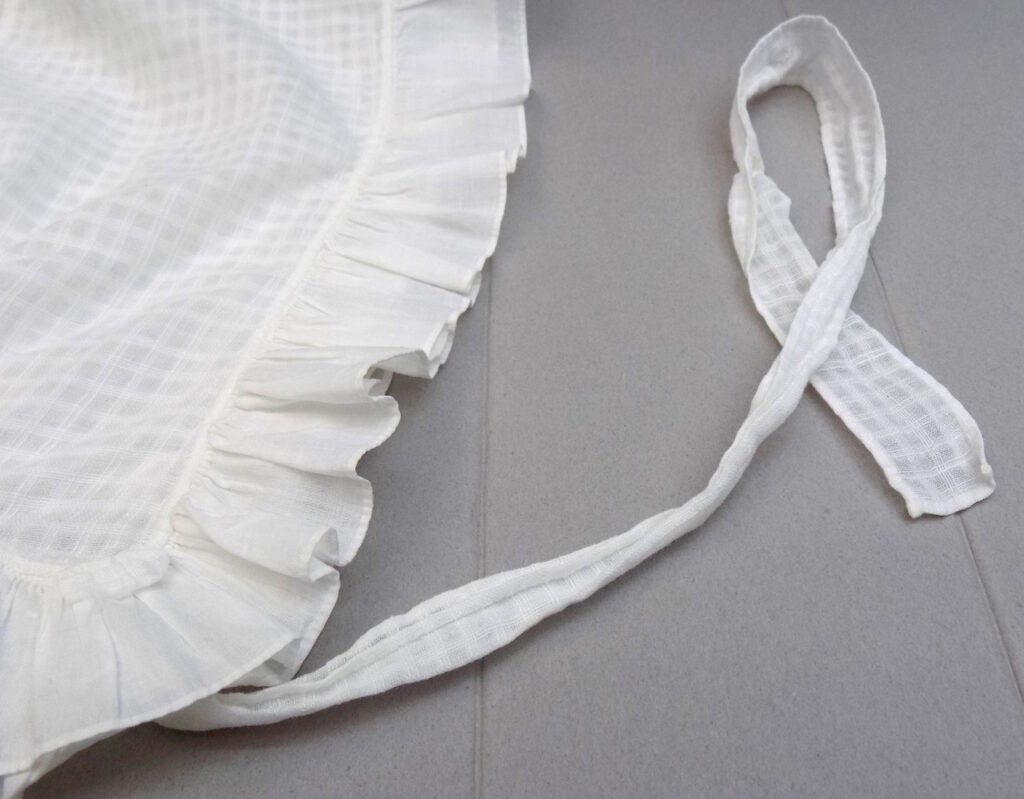
The tie is made from the cap fabric and not the ruffle fabric.
Mid Victorian Day Caps
All three of the caps pictured below are basically circles of sheer fabric or lace gathered to make a sac to cover most all of the head. They all have some sort of ruffle along the edge. They vary in decoration and a couple other things.
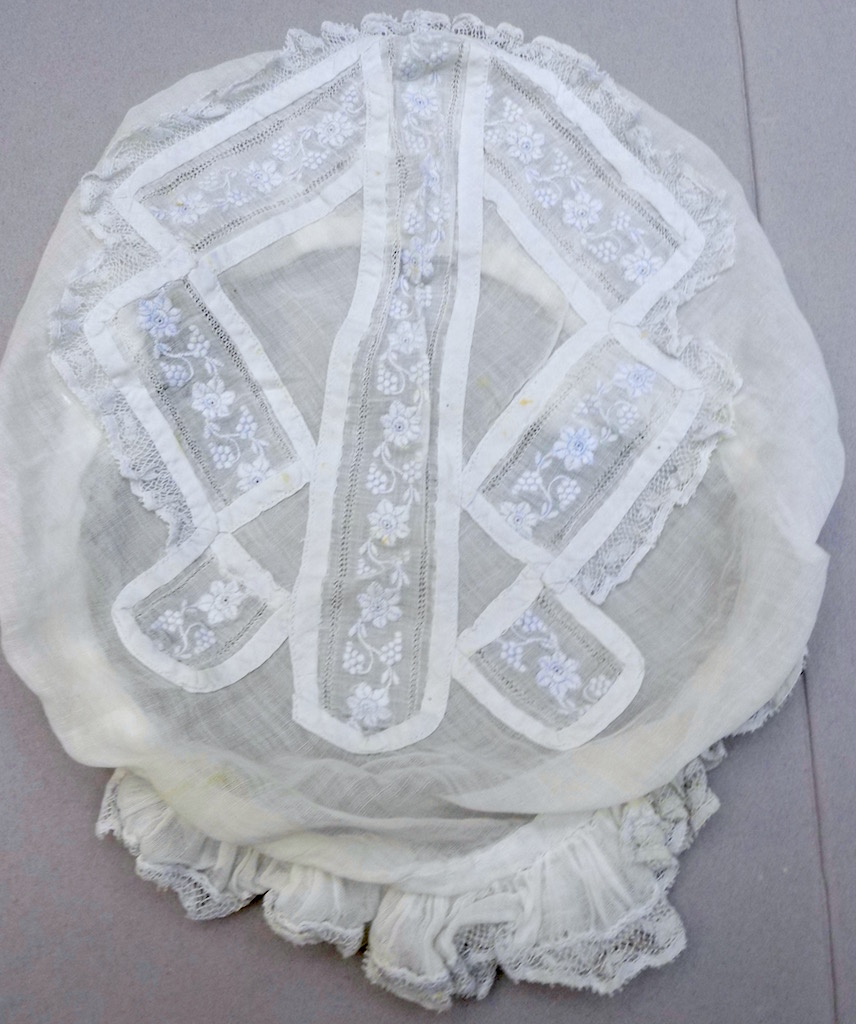
This cap’s main fabric is a sheer fabric. The bag is decorated with some tape lace that is bound with ribbon or tape, appliquéd and then cut away. Some of the sections also have an edge lace around the outside edge of the lace. The ruffle on the outside is the same shear fabric with an edge lace, and is highly gathered and double or tripled in the front.
This is the front (bottom).
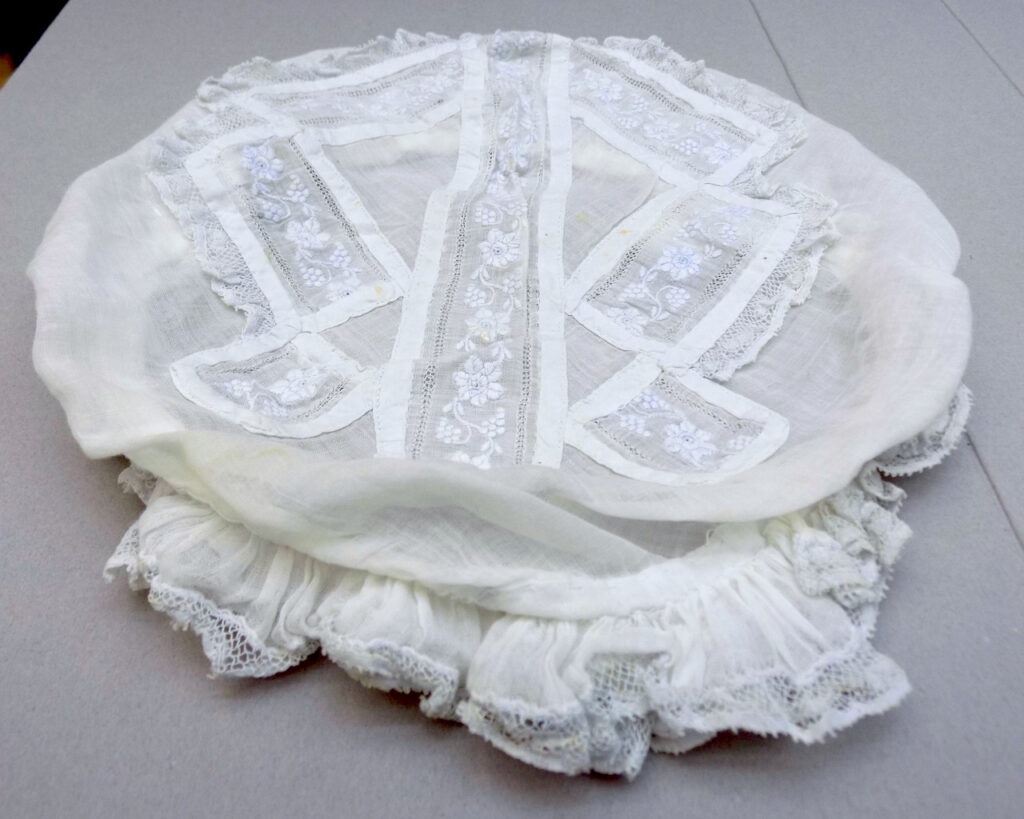
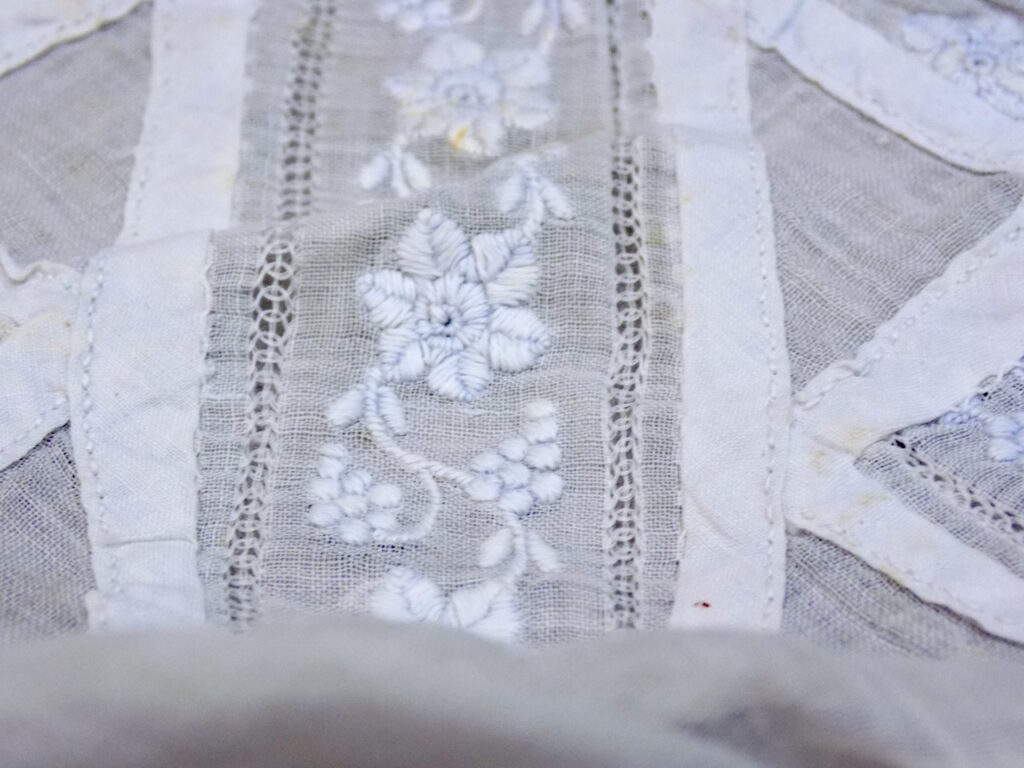
Close up of the decoration. The lace is an embroidered tape with flowers and grapes and that they might have been blue or purple at one time.
The lace on the edge of the lace with tape is a simple bobbin lace.
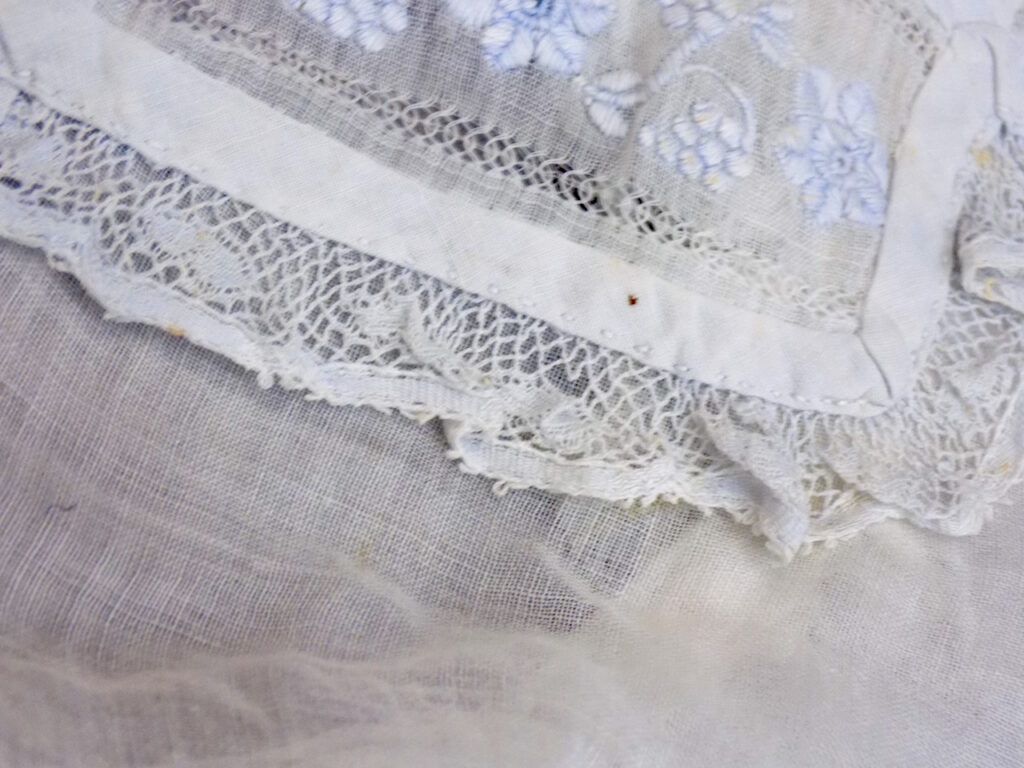
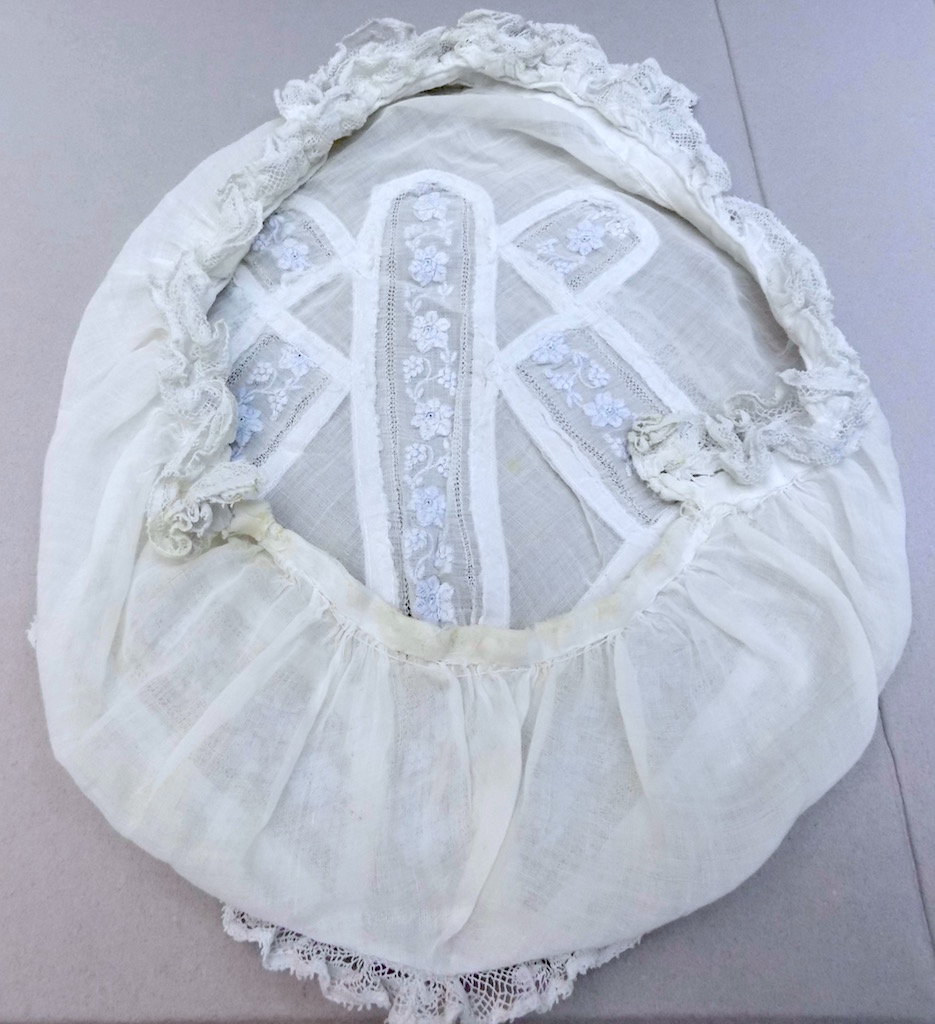
Looking into the cap you can see that there is no ruffle on the bottom 1/3 and the ruffle on the top 1/3 is doubled. All the fabric from the bag is sewn into a double fold band around the entire cap.
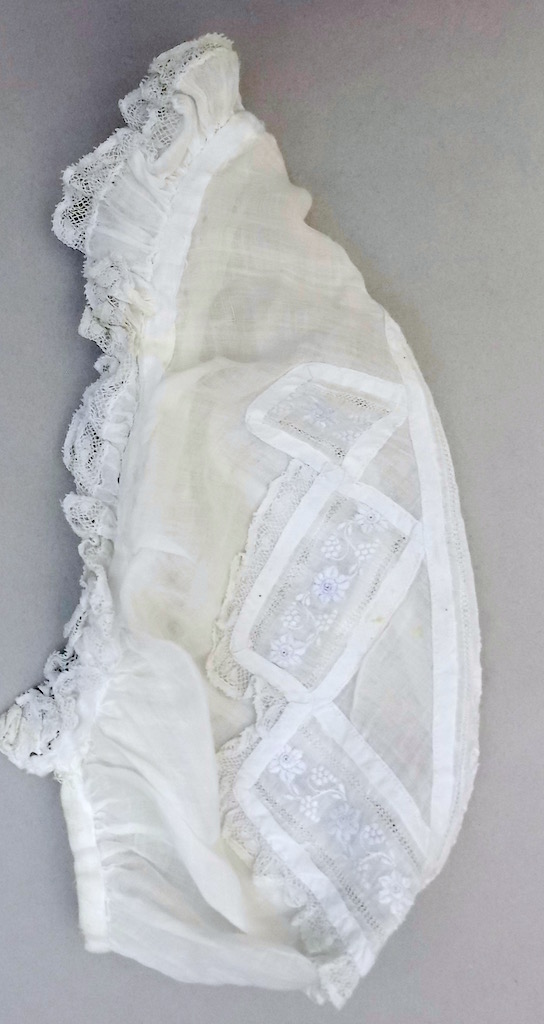
This is the cap folded in half from the front (top) to the back (bottom). It does seem that there is more gathering of the bag at the back than in the front.
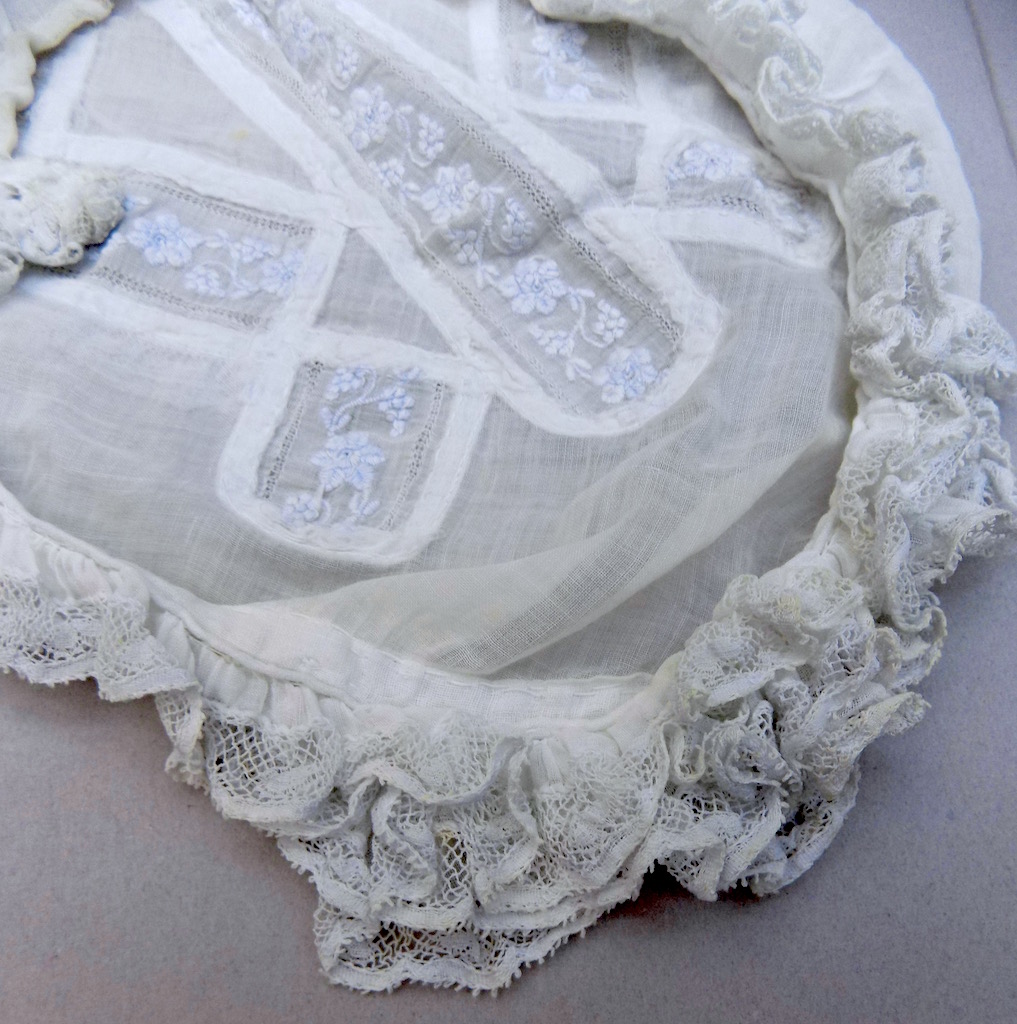
View of the inside from the front (lower right) which shows just how dense the lace is in the front.
Cap 2
This is another very similar cap, a bag with ruffle. The difference is that the decoration is Cutwork embroidery in the center.
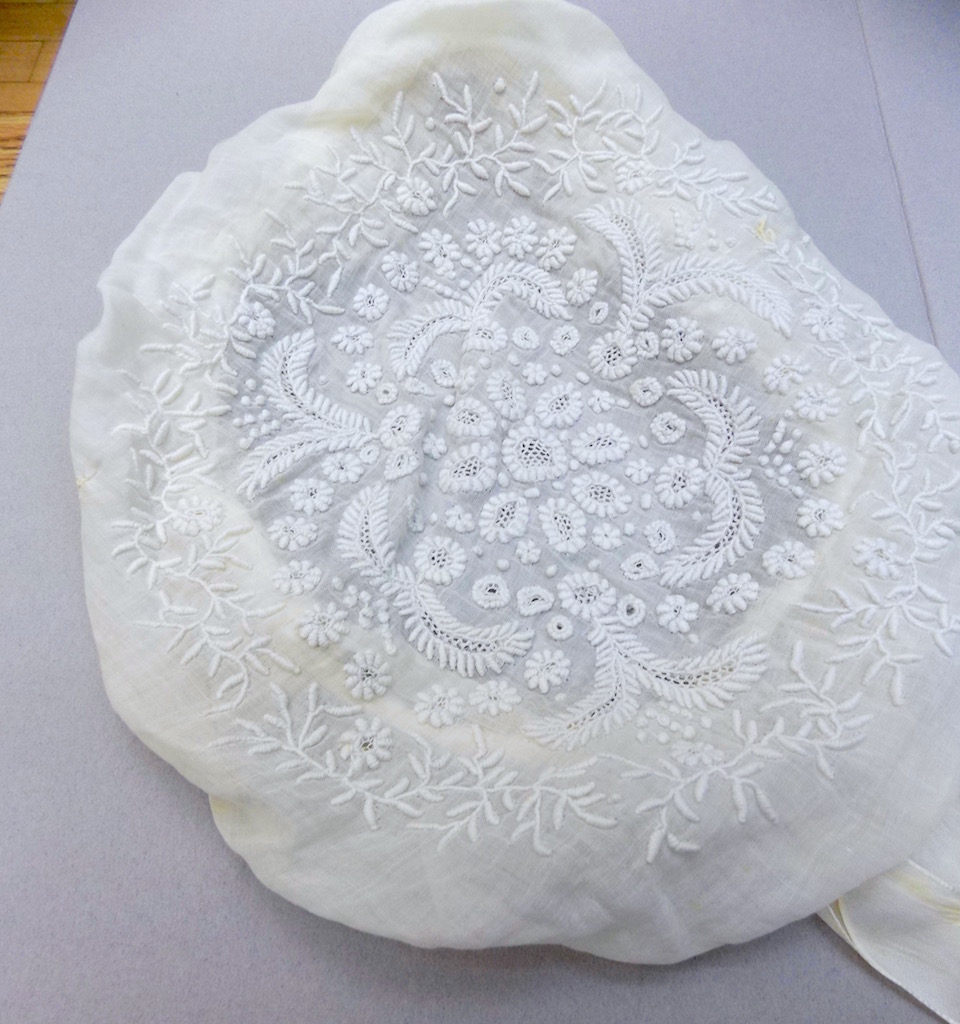
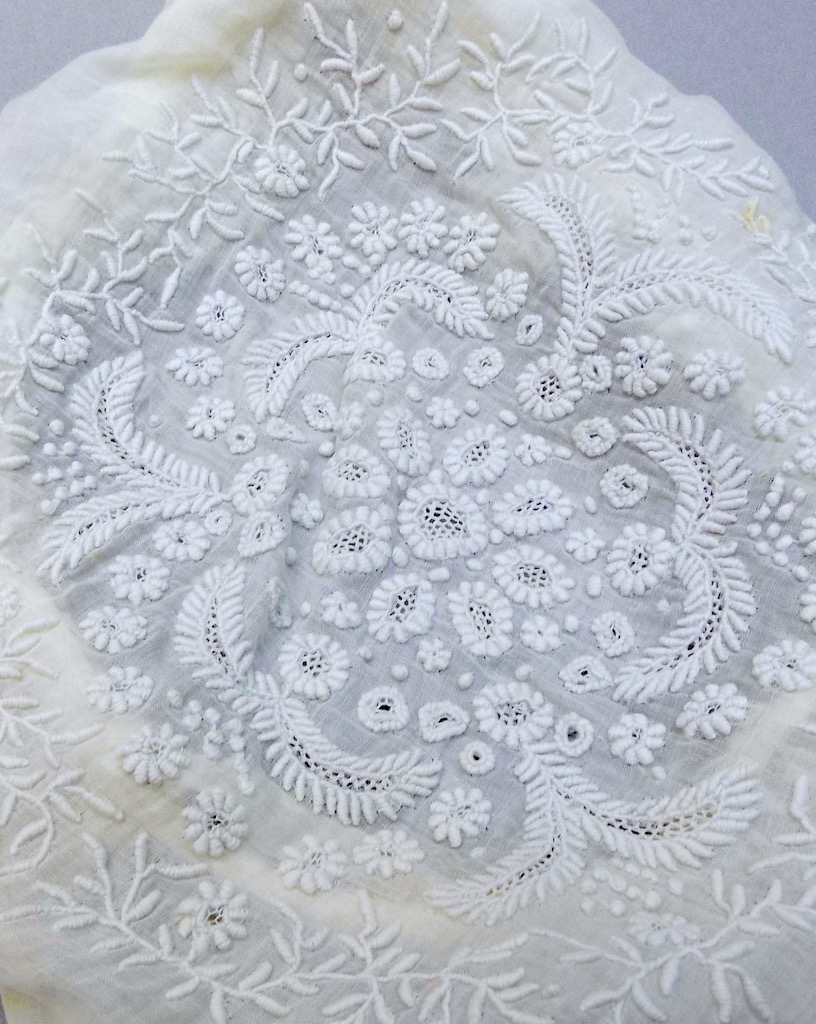
Close-up of the Cutwork embroidery in the center.
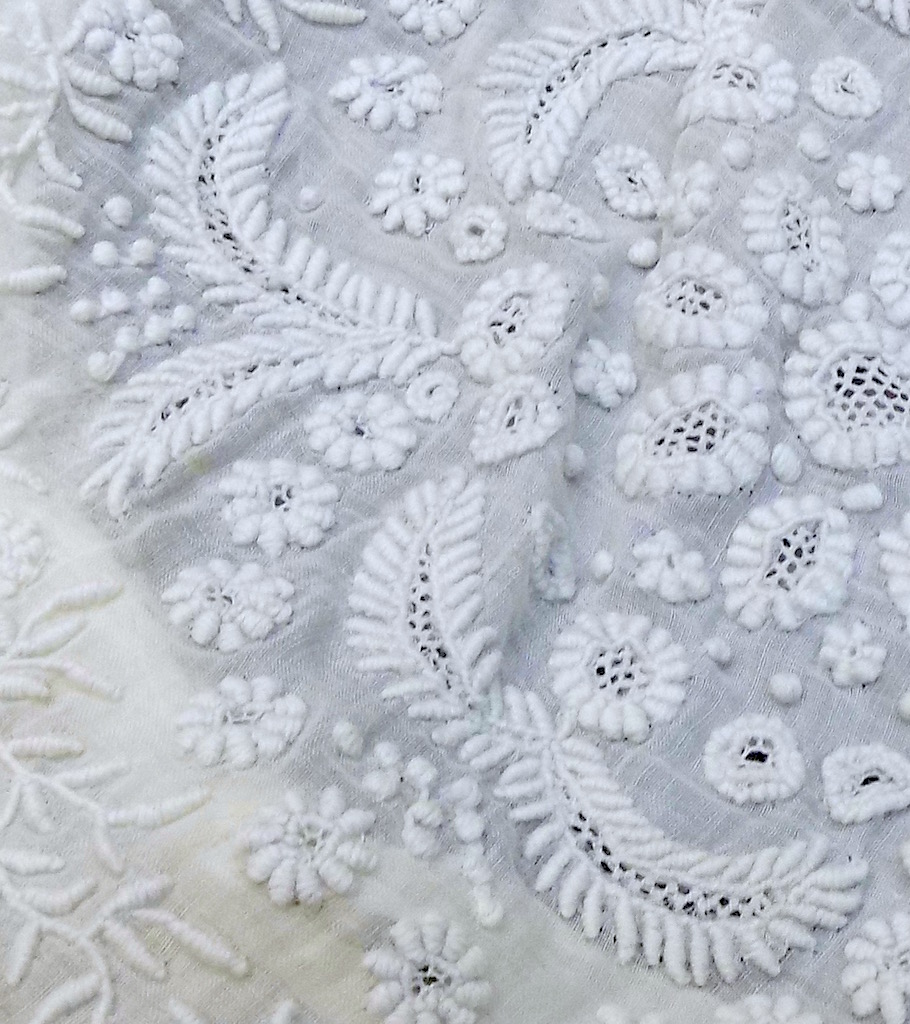
Cutwork is call that because you do indeed cut holes in your fabric after stitching around the shape you want to cut. In this case they have used their embroider thread to do some stitches to fill the cuts (circles inside the flowers and long crescent shapes down the centers of the leaves).
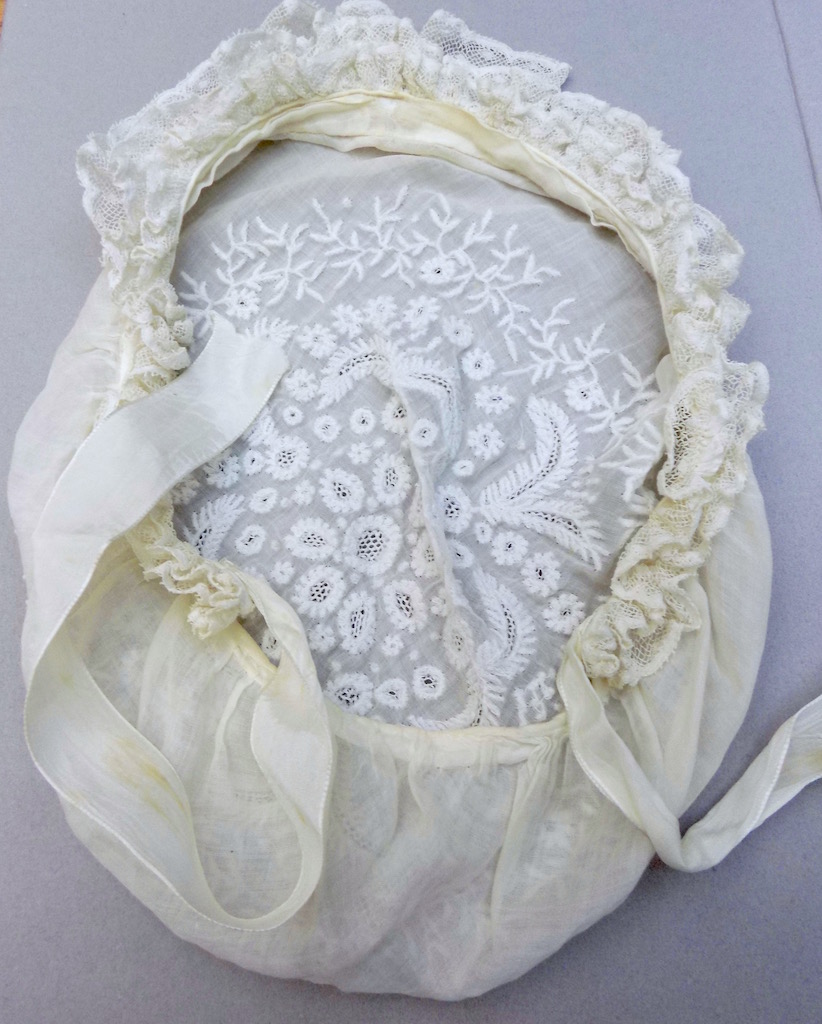
This cap also has lace ruffle that covers 3/4 of the cap edge which is doubled or tripled in the center 1/3.
This cap still has it tires, I’m not sure that the first cap ever had them. The ties in this cap are ribbon.
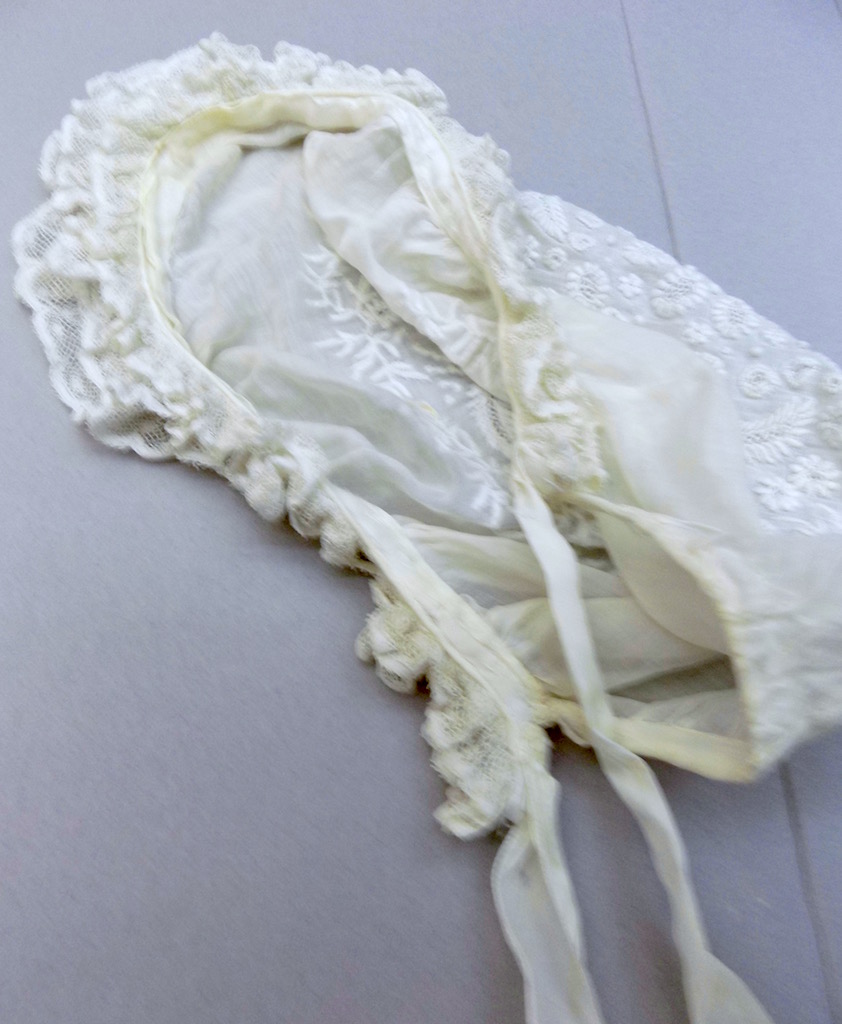
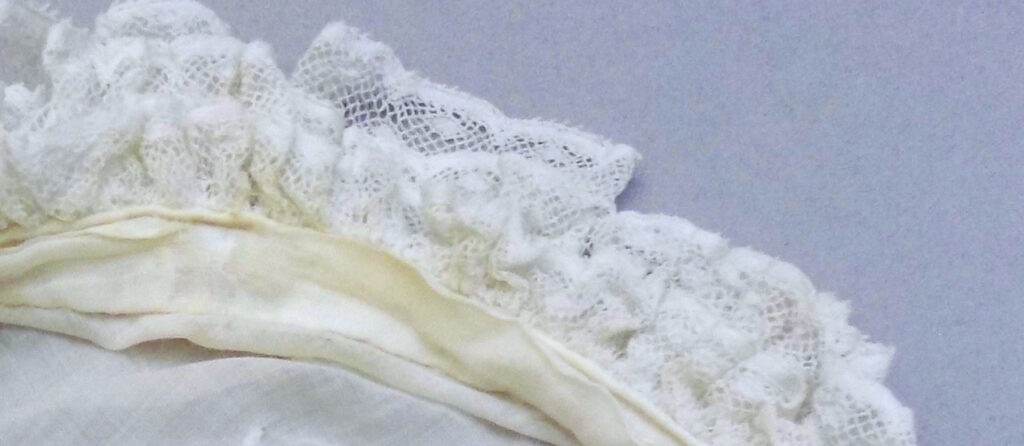
I think the ribbon was sewn around the inside of the cap and comes out to make the other tie. So, it is one piece not cut into two.
Cap 3
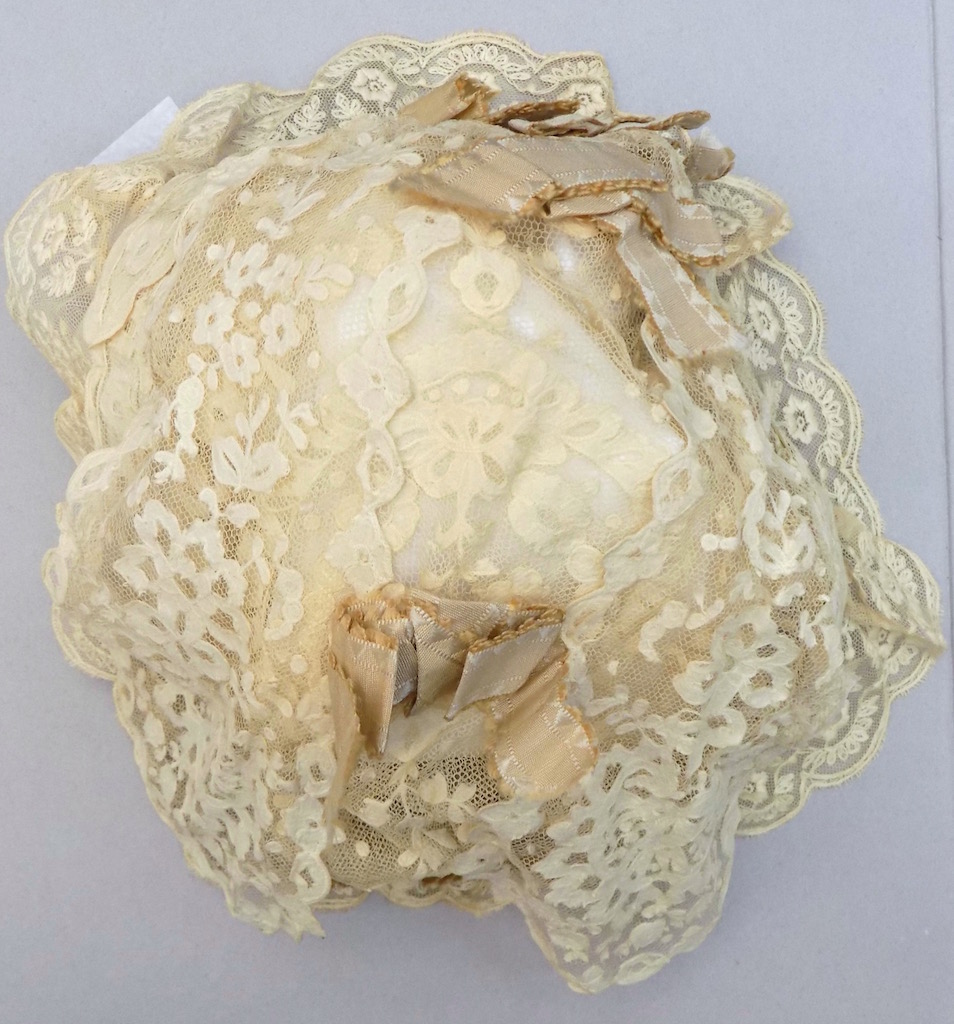
This cap is way more complex. It has several elements. Two different types of lace. two different types of ribbon, a stiffened fabric band (crinoline) for shape. The front of the cap is at the top of the photo.
This is the cap folded in half with the center front to the left. You can see three bows all along the center line one at the center front and one just back from that and one in the back. The cap is edged (except for the back) with a wide net lace. It is attached to the inside.
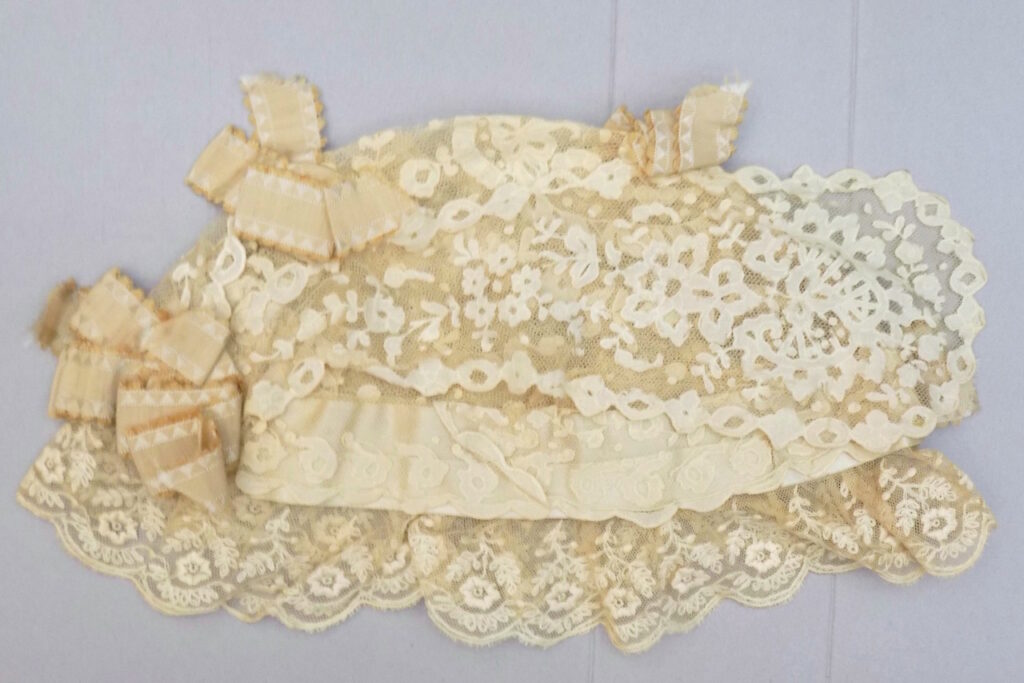
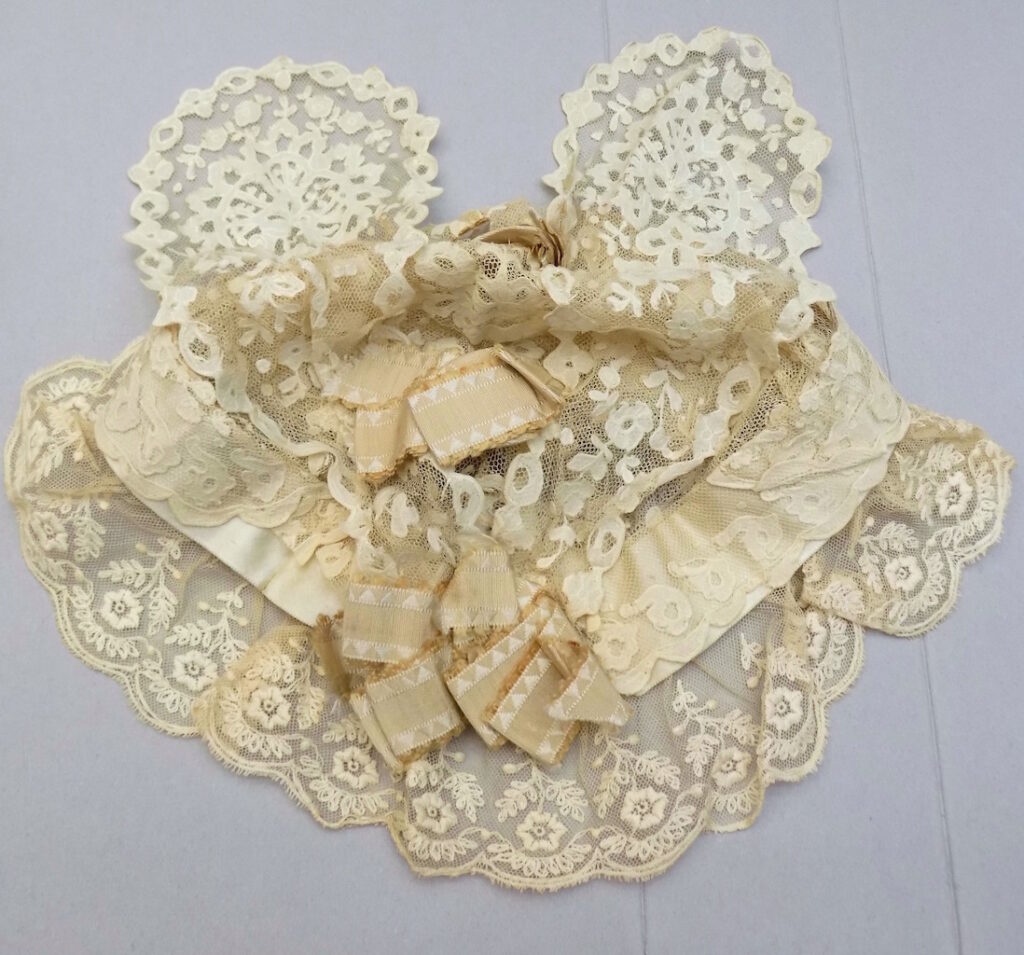
The second type of lace fills in the center of the cap and also forms these lappets which are free at the end and hang down in back for maybe 3″.
This is how the cap looks from the left side
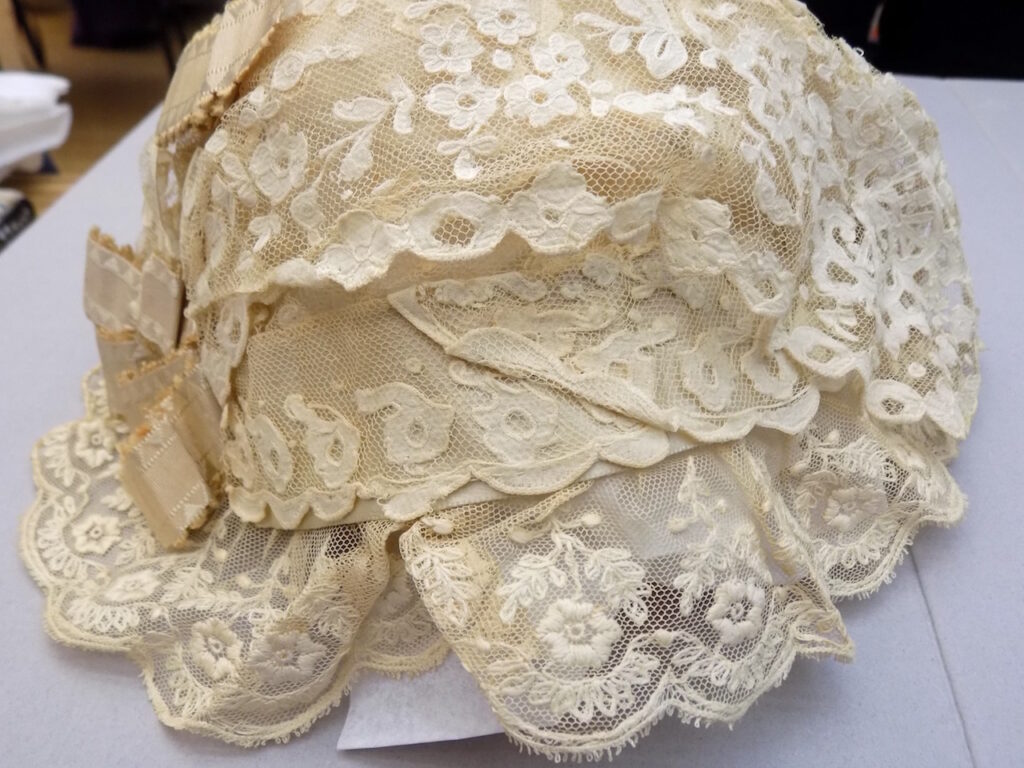
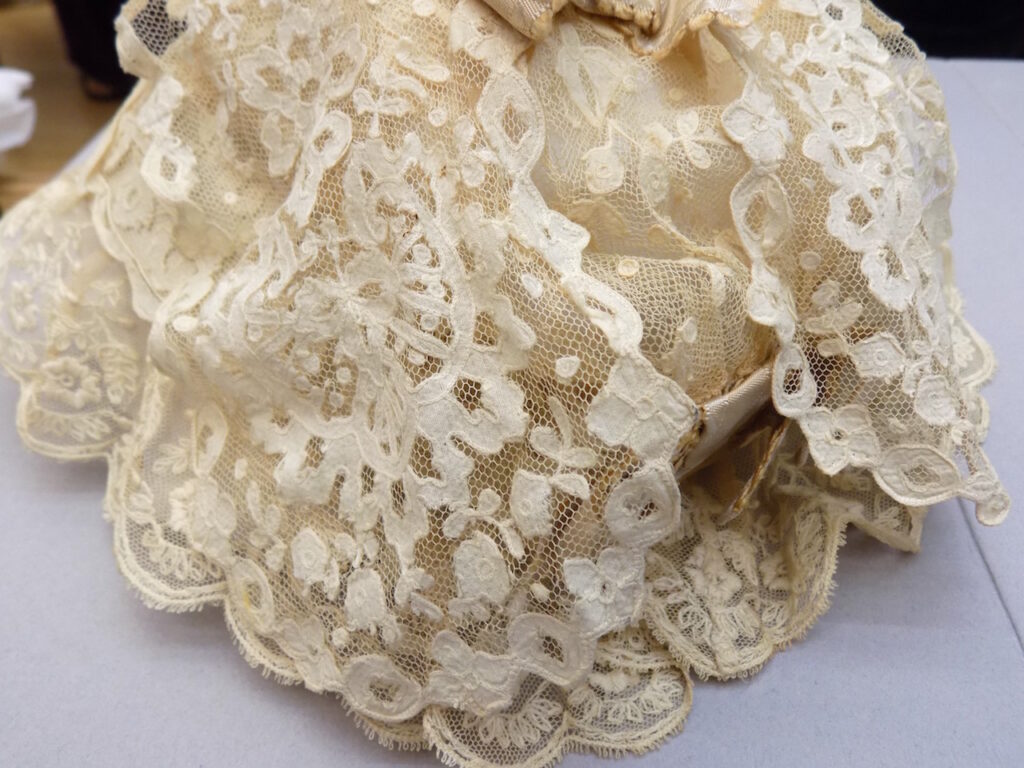
This photo is from the left back 3/4s view so you can see how the lappets hang down very little.
This is the inside of the cap so you can see the crinoline band which gives the cap it’s shape.
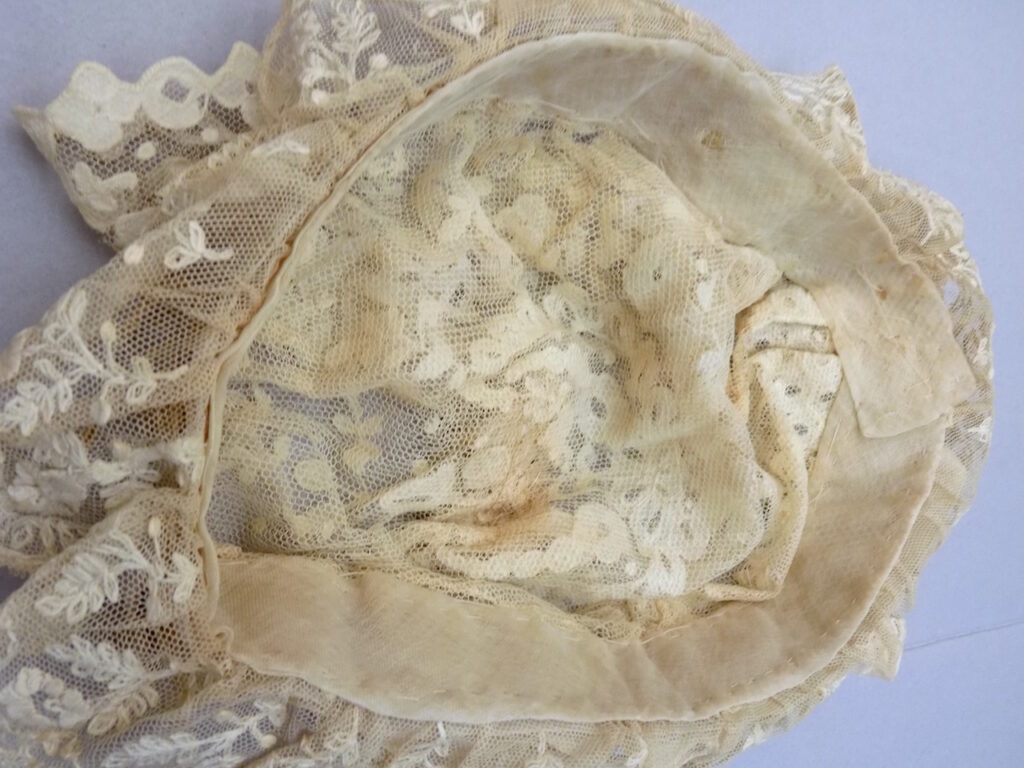
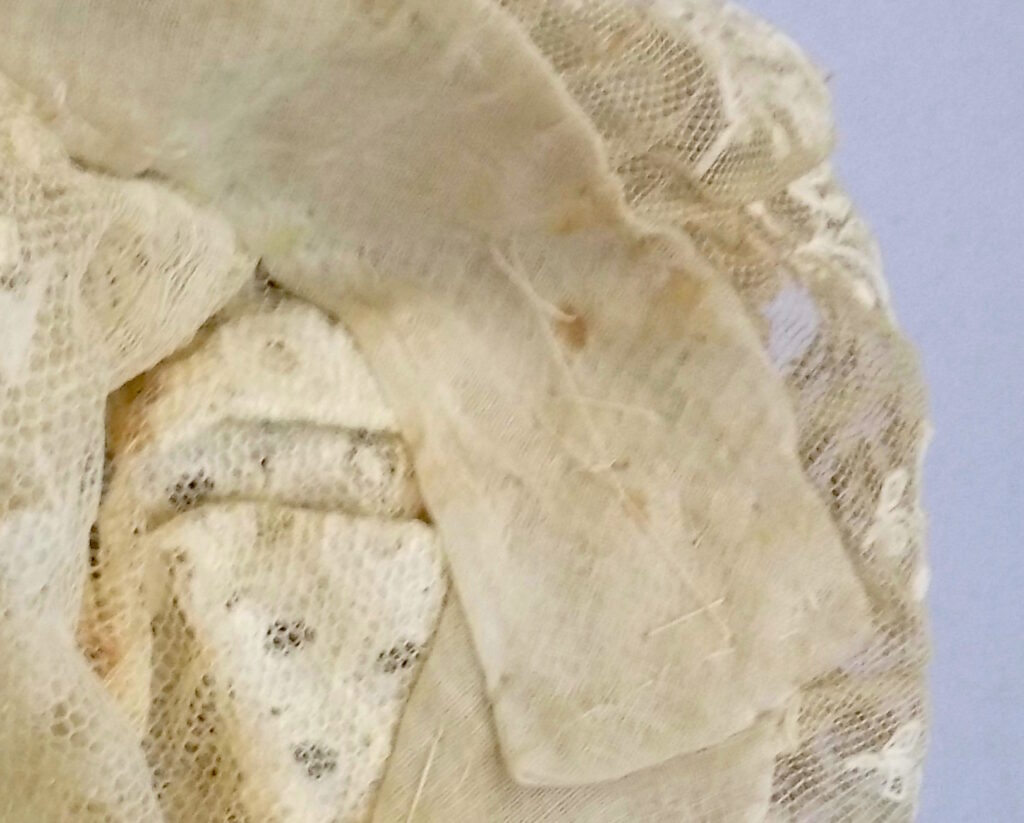
Because the crinoline band is on bias and comes together at a slight angle the cap has head forming shape.
This photo is of the right side of the cap. Front is to the right. But from this side you can see the plain ribbon that is between the crinoline and the outside lace. This ribbon would contain the stretch that the bias crinoline would have.
