I got the chance to work on this set of Bustle Era fan sticks for Laurie Tavan. Turns out that this style of fan sticks must have been very popular. I had a matching set however, I never got the chance to fix mine because they were broken to many bits. Mine came in a lot of recked fans and it had a lovely silk embroidered fan leaf, these beautiful guards and “U” ring everything else was in broken bits. The incredible thing was it had a screwable rivet so was the rivet on Laurie’s set but not as nice mine has a built in tassel loop.
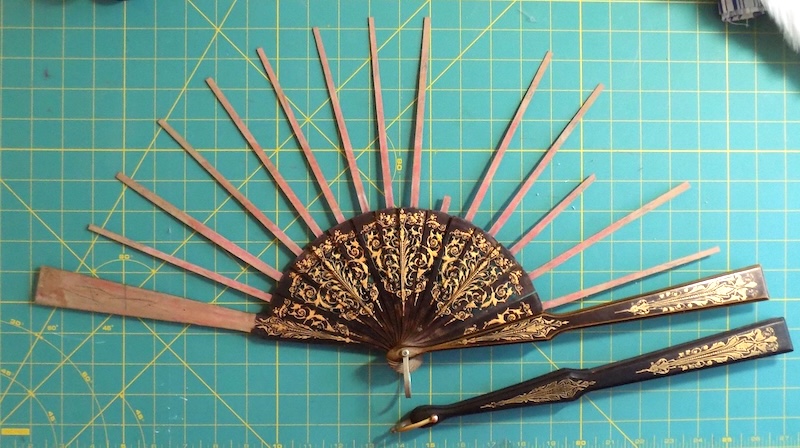
Laurie’s sticks had two broken and missing upper ribs and one broken lower rib.
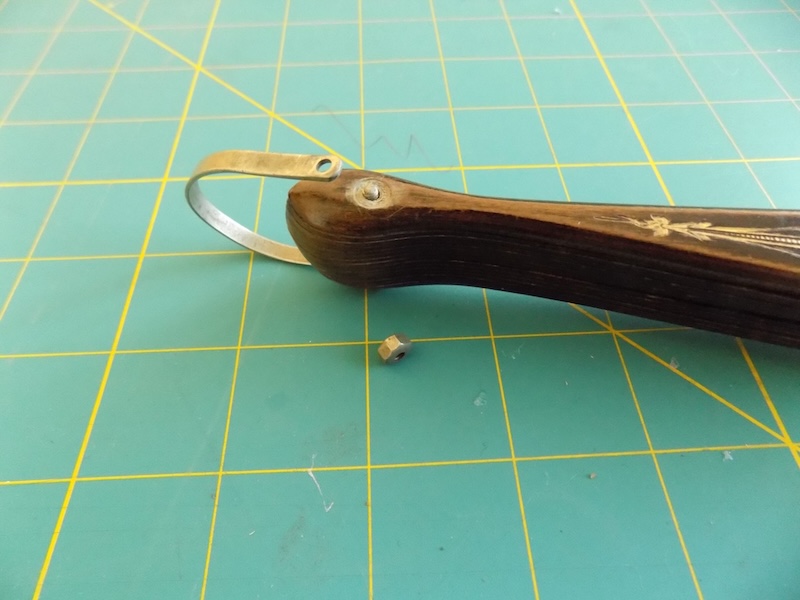
First thing, I took it apart by unscrewing the bolt on the “U” ring.
After removing the rivet pin I made sure the ribs stayed in order and numbered them.
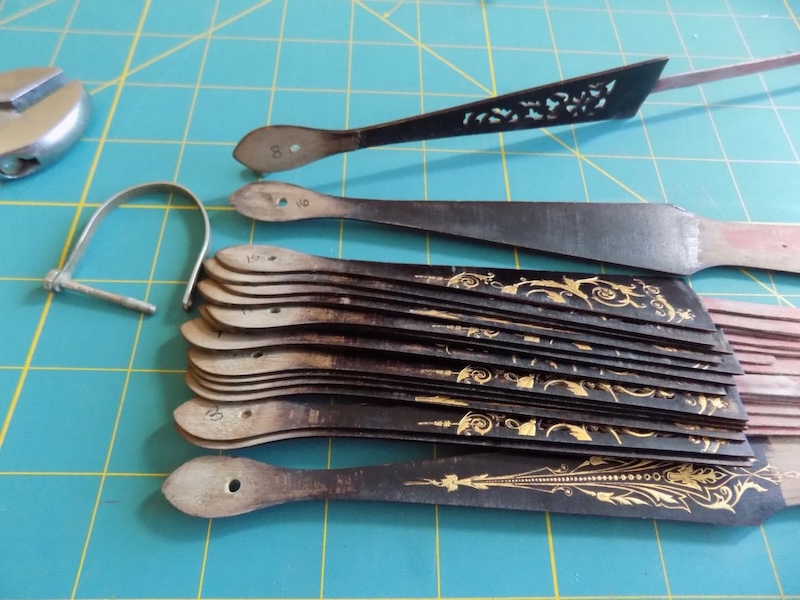
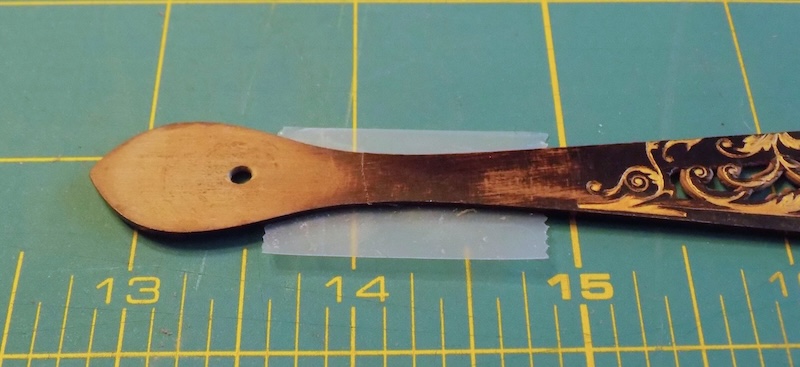
This one was the one that was broken in the lower rib. It was a good thing it was broken at an angle. That meant I could glue it and it would work. Had it had been a straight break it might not have been strong enough to hold long term.
I added glue then taped it together on both sides pushing the break together and then waited it down with a few books.
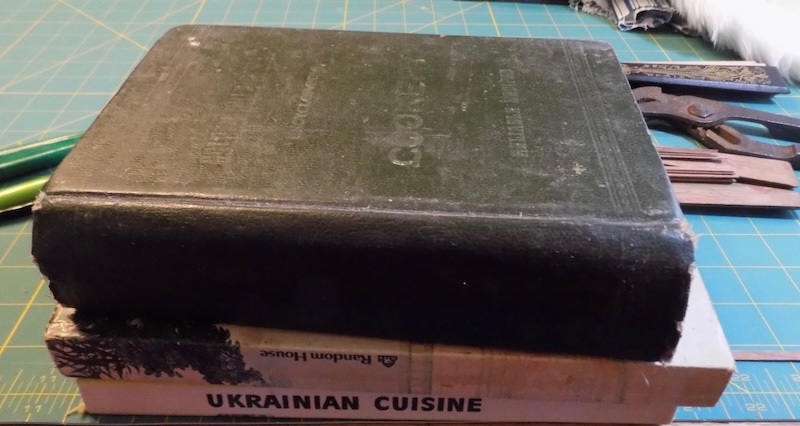

This is how it looked after it was dry and the tape was removed.
Now on to the ribs. In order to give enough surface area for the glue it was important to angle the broken ends by sanding them then cut a piece of similar thickness wood and angling the end of that as well.
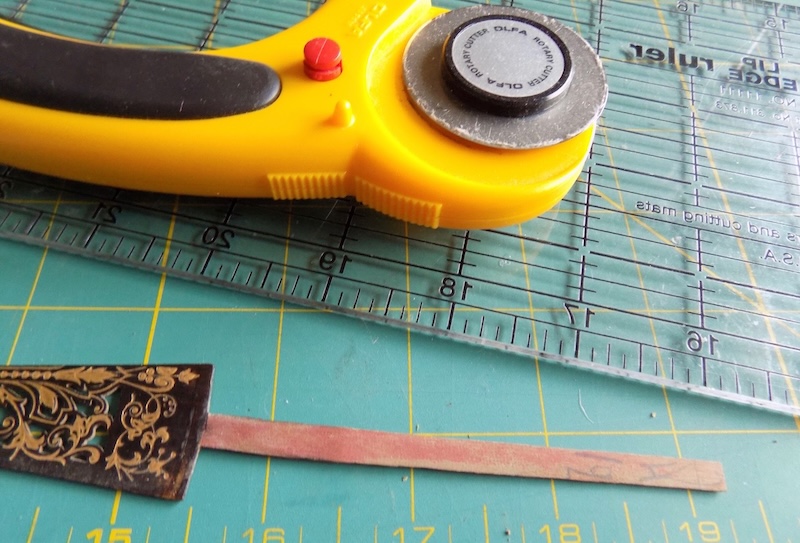
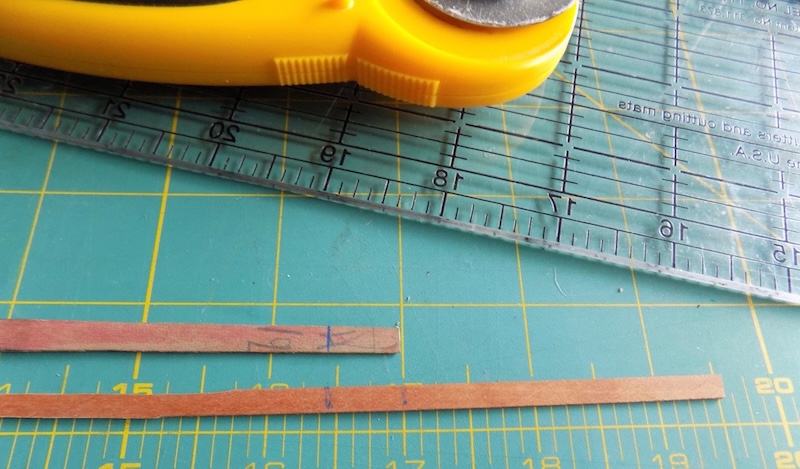
I am lucky to have a stash of leftover pieces of fans to choose from but some craft stores sell thin wood stock for doll house furniture making, this is cherry wood. I used the rotary cutter and ruler to cut the straight pieces to width and length.
This picture shows how I sanded the ends to feather their thickness where they needed to overlap.
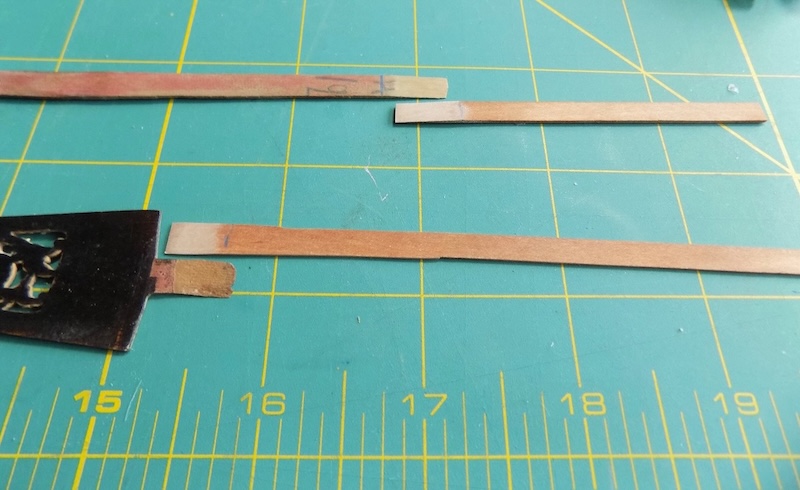
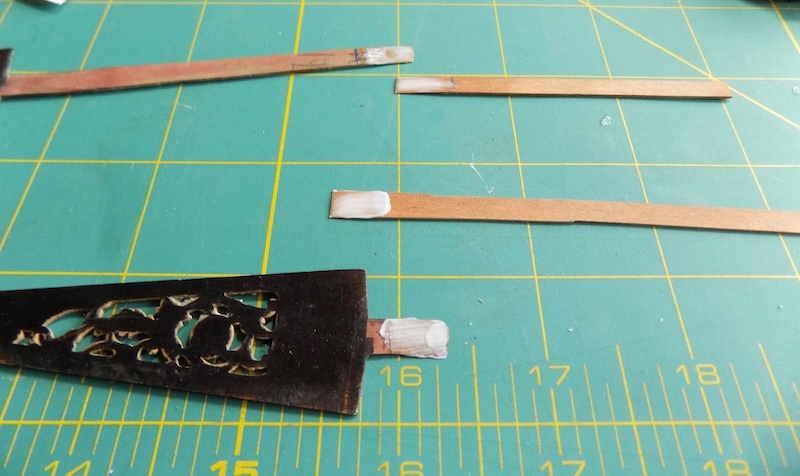
I added glue.
Taped them together until I could get them in the clamps.
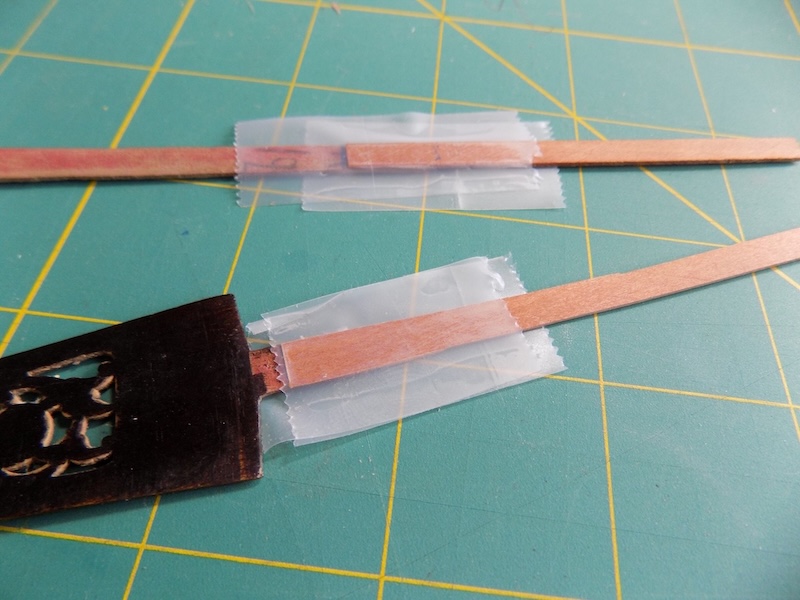
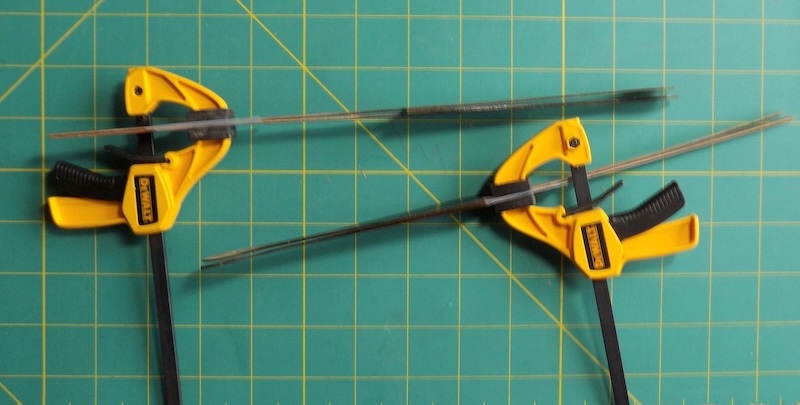
I clamped them across the join. I figured a book would not be enough pressure.
Next day I took them out of the clamps.
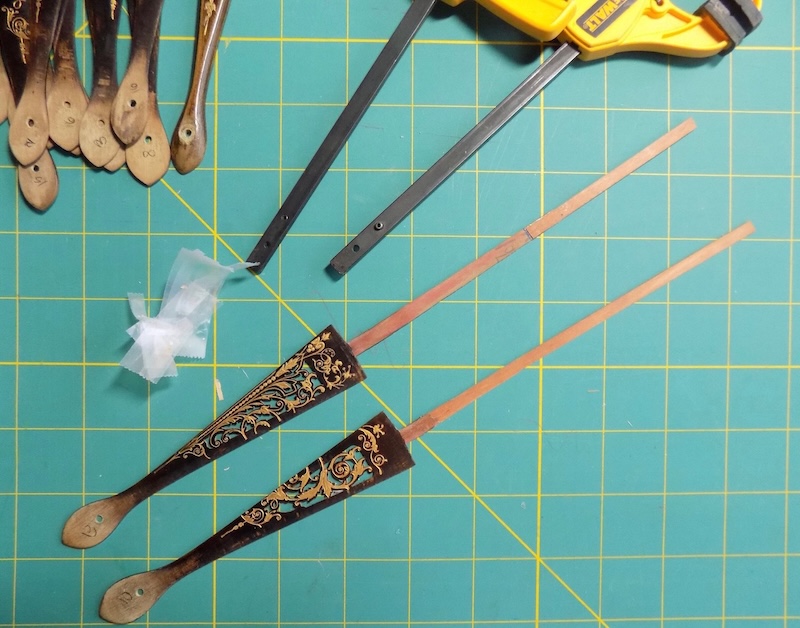
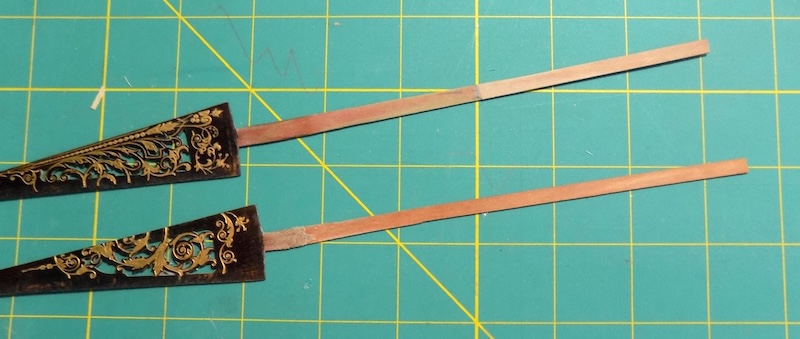
Now I needed to sand them until the overlapped section was the same thickness as to rest of the rib.
I put the fan back together.

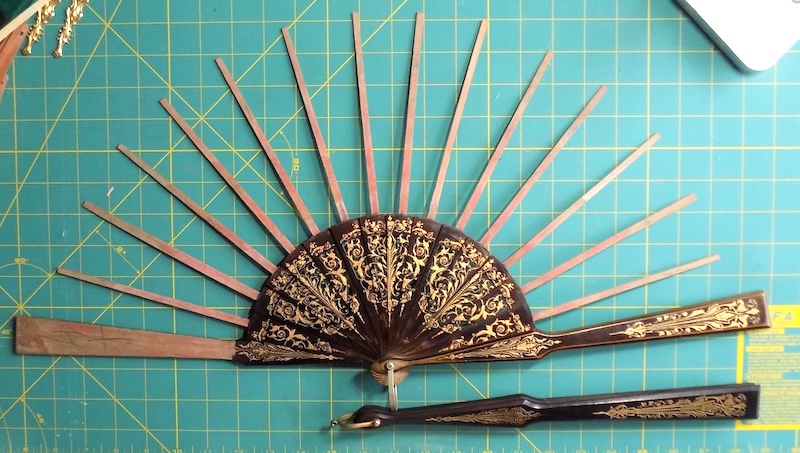
This is how it looked when it was fixed.