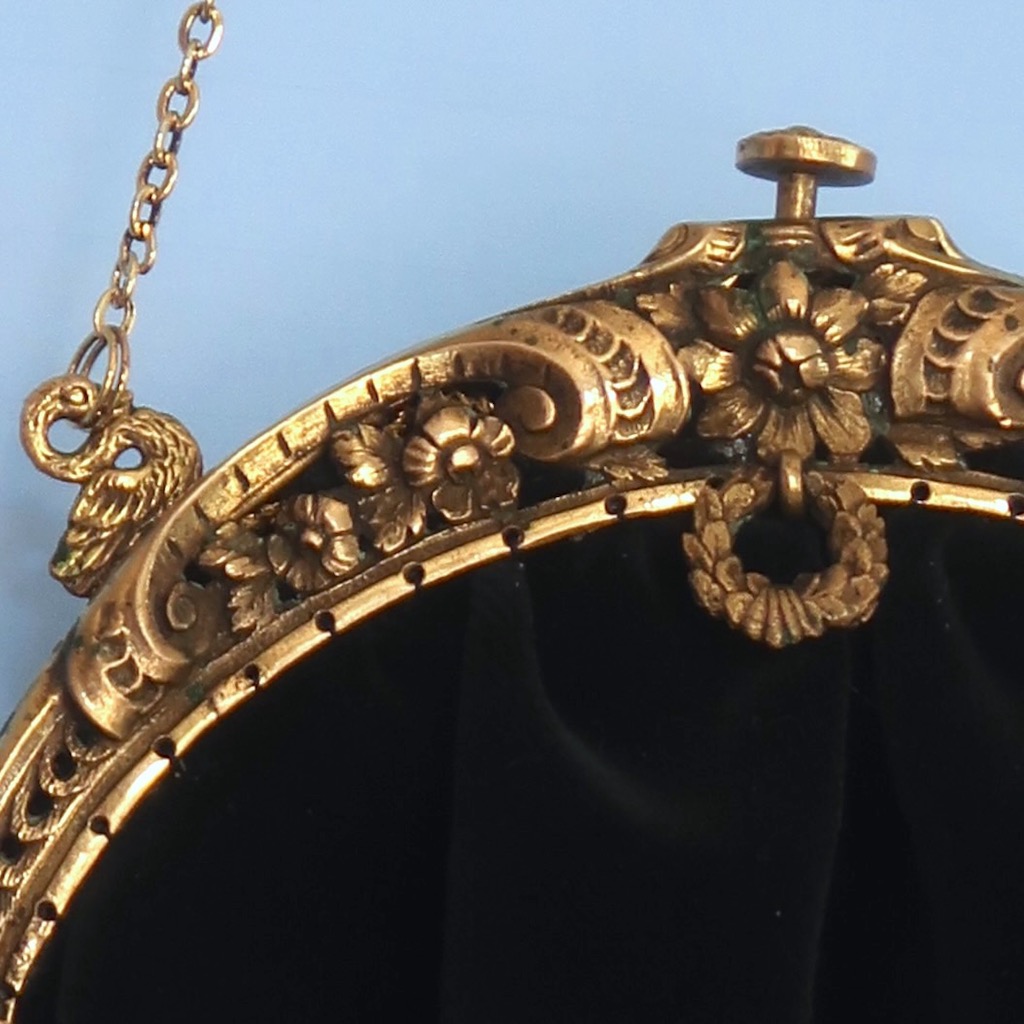
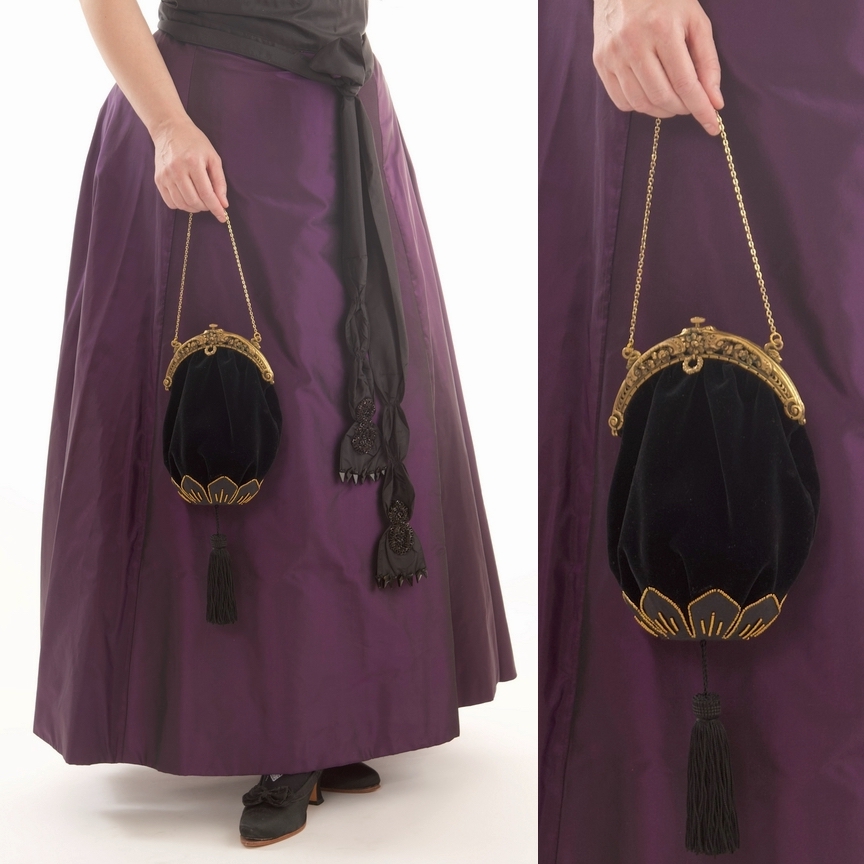
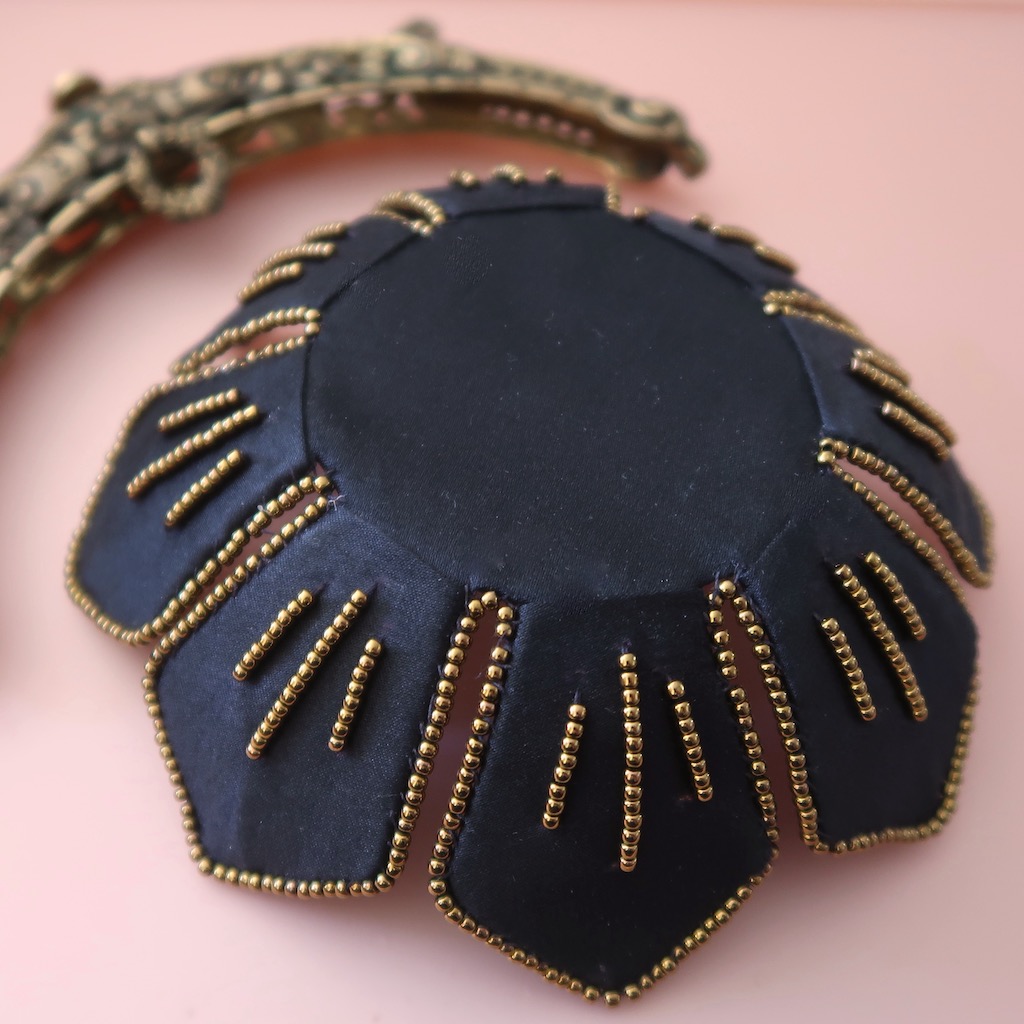
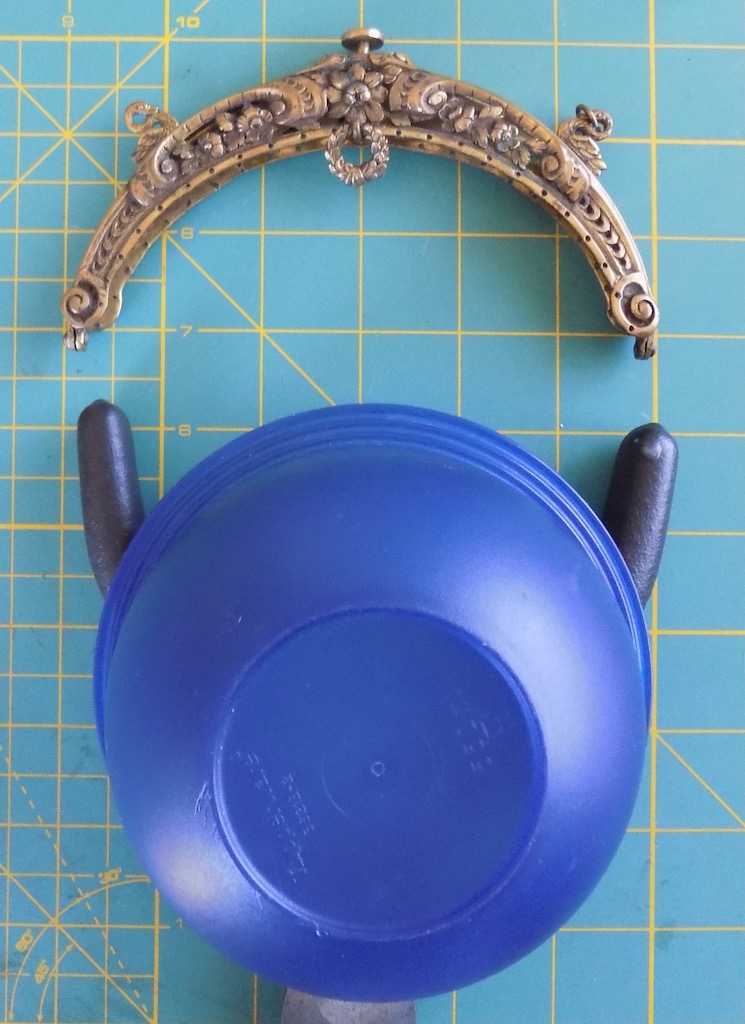
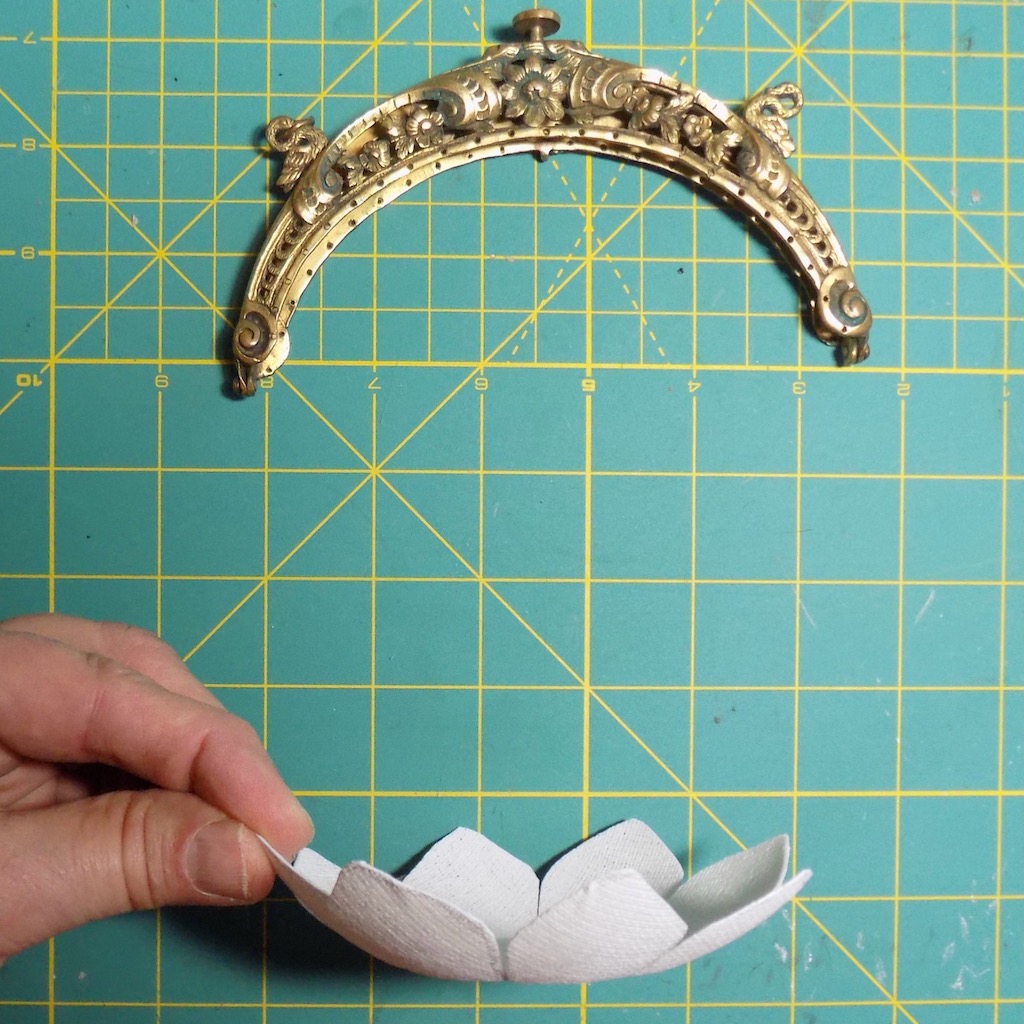
I bought this hinge purse frame on eBay and then had to design the bag for it. It came with no idea what type of purse was suppose to be sewn to it so I started from scratch. I love the sculpture on this frame. There are swans, 5 petal flowers and a wreath. I honed in on the 8 petal flower in the very center. Working with restoring other purses from this period I knew that some of the fabric ones have a hard fabric covered bottom. See, my article. I set out to make one for this purse and wanted it to mirror the 8 petal flower.
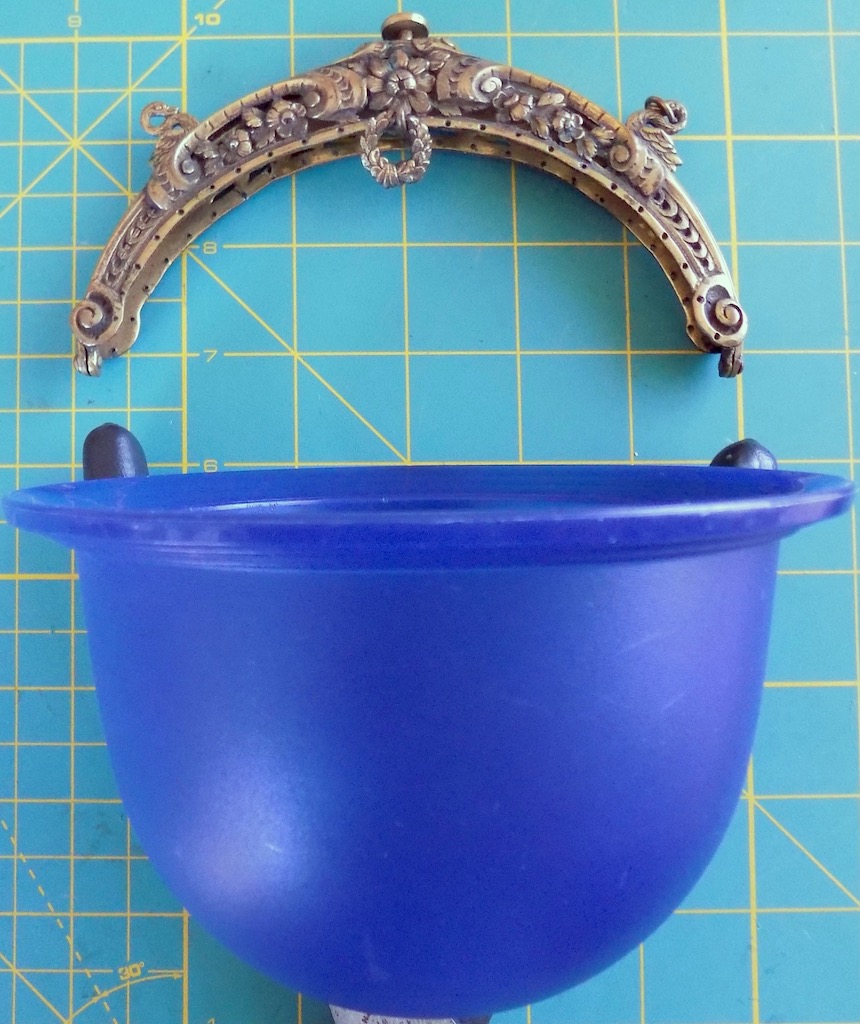
I knew I did not want it to be flat so that led me to use buckram which I formed over a small mixing bowl.
Good thing it has a flat bottom and is about 5″ wide and 5″ tall.
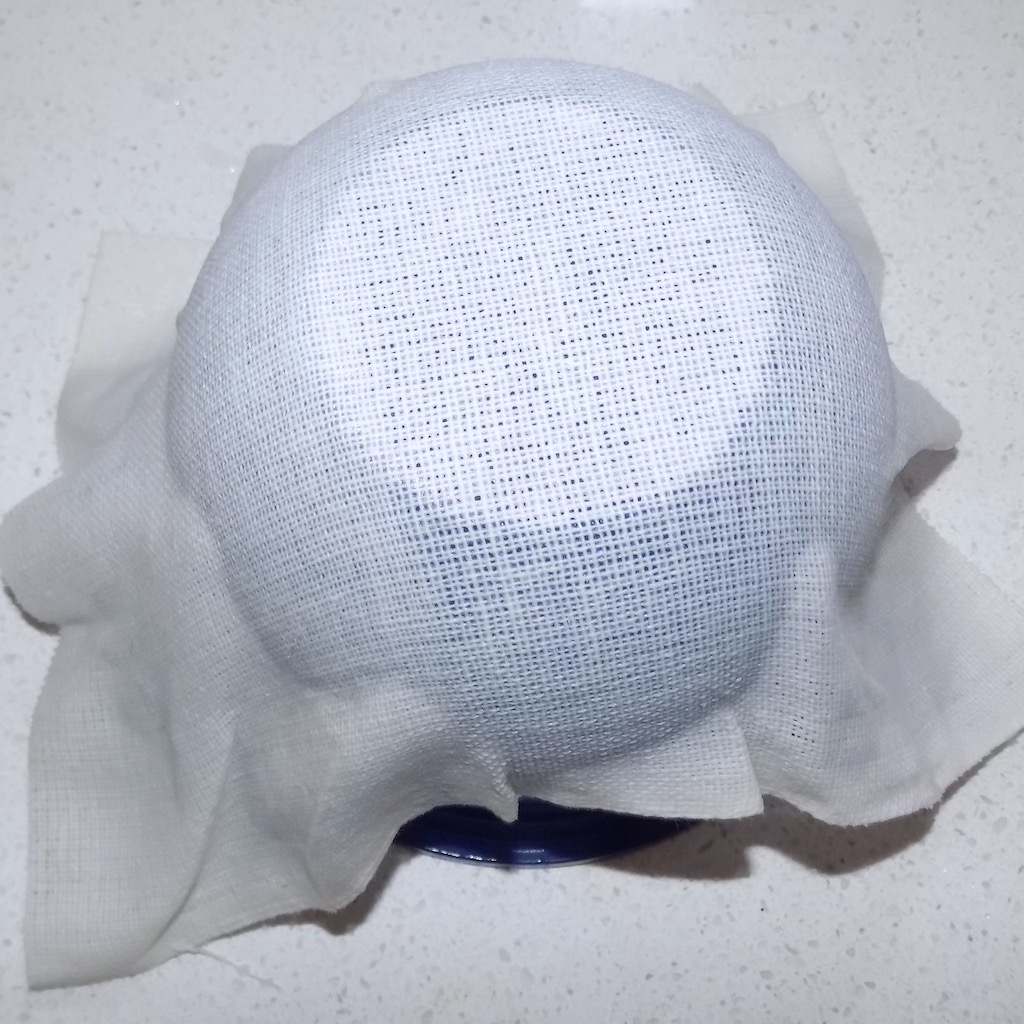
In order to make a shaped hard base I used two squares of buckram, got them wet and draped them over the bottom of the bowl.
After the second layer which was laid over on bias to the first, I smoothed it and added a rubber band. The rubber band gives you a good cut level.
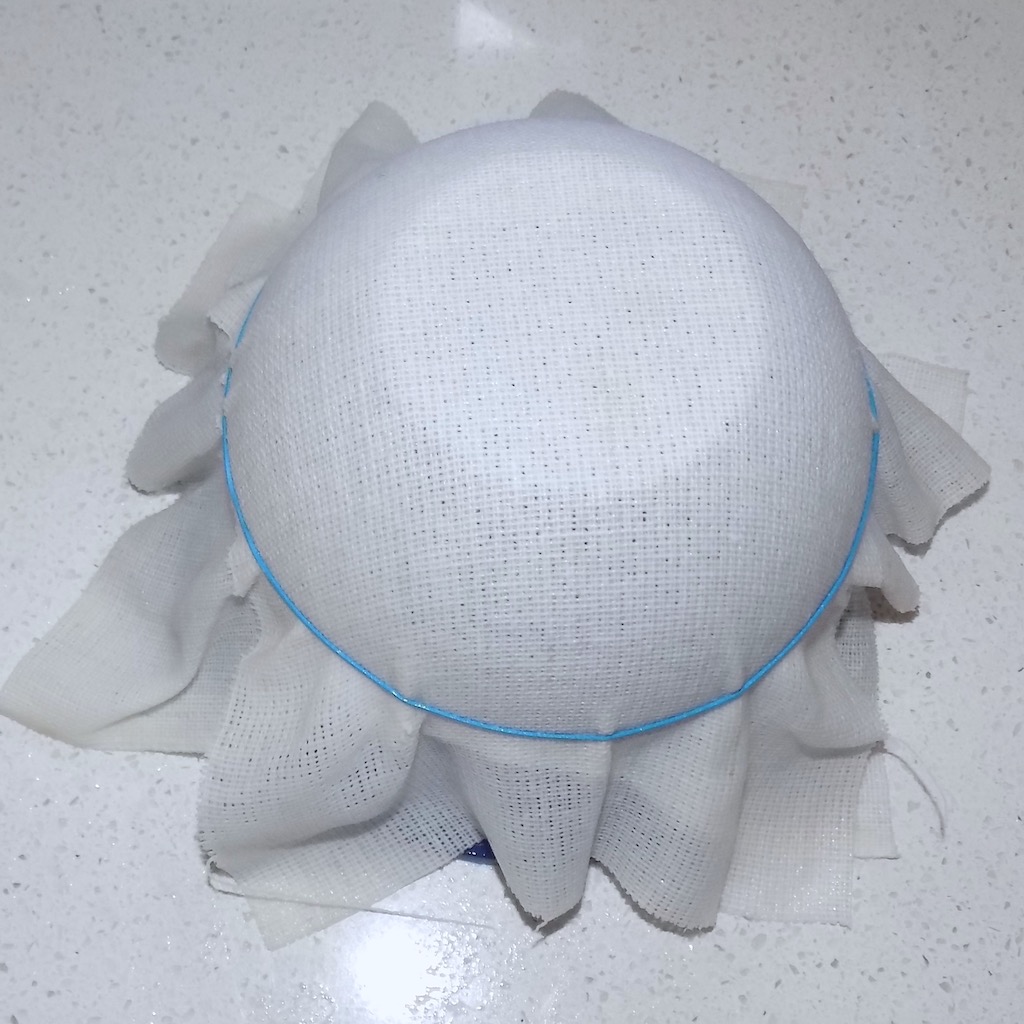
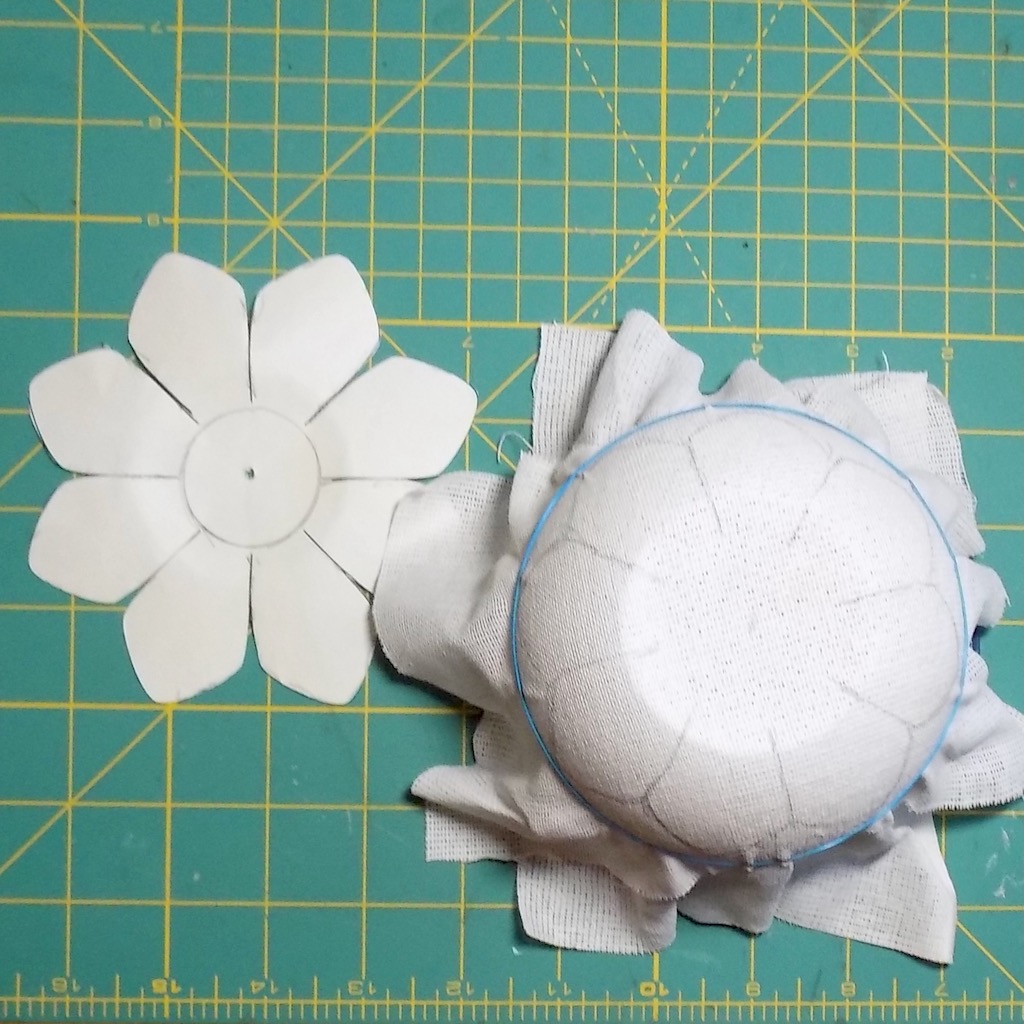
When it was dry I traced the cuts for the 8 petals from a pattern I made onto the buckram with pencil.
As you can see the pattern stays above the rubber band.
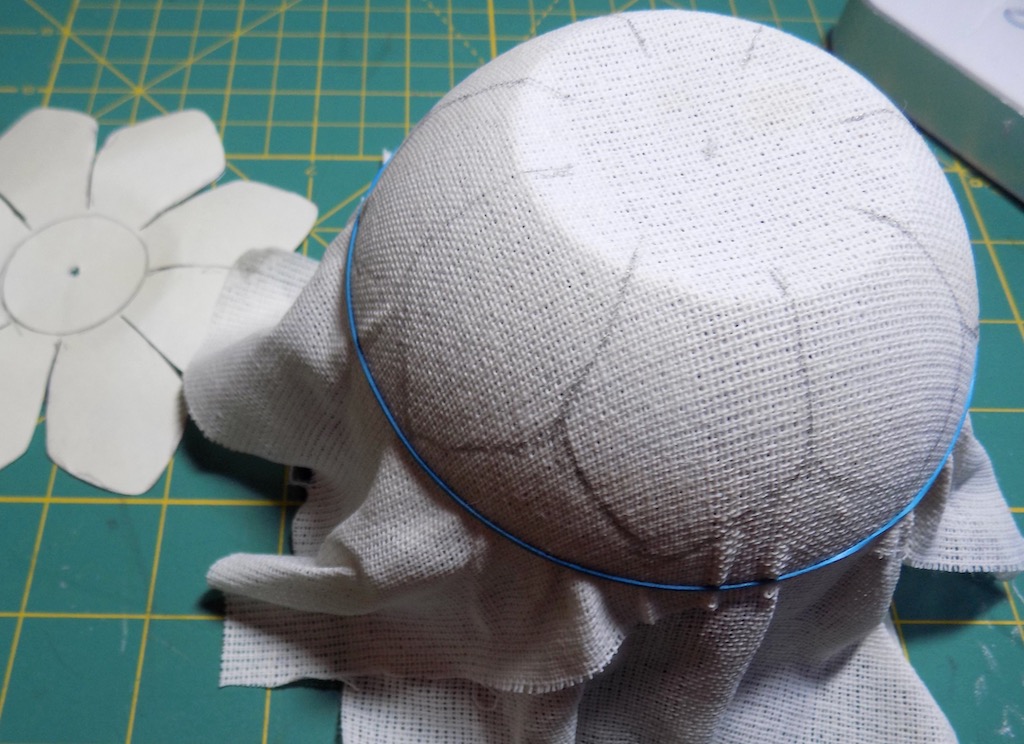
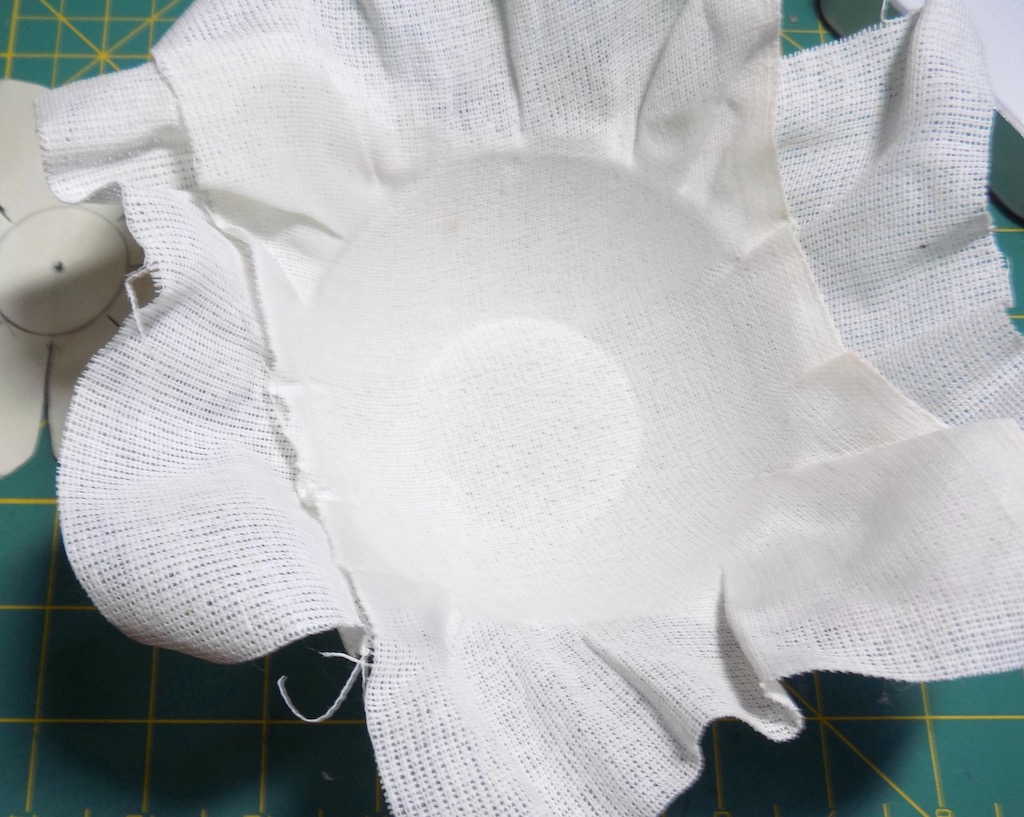
I then popped the buckram off of the bowl.
Trimmed it down to the rubber band level.
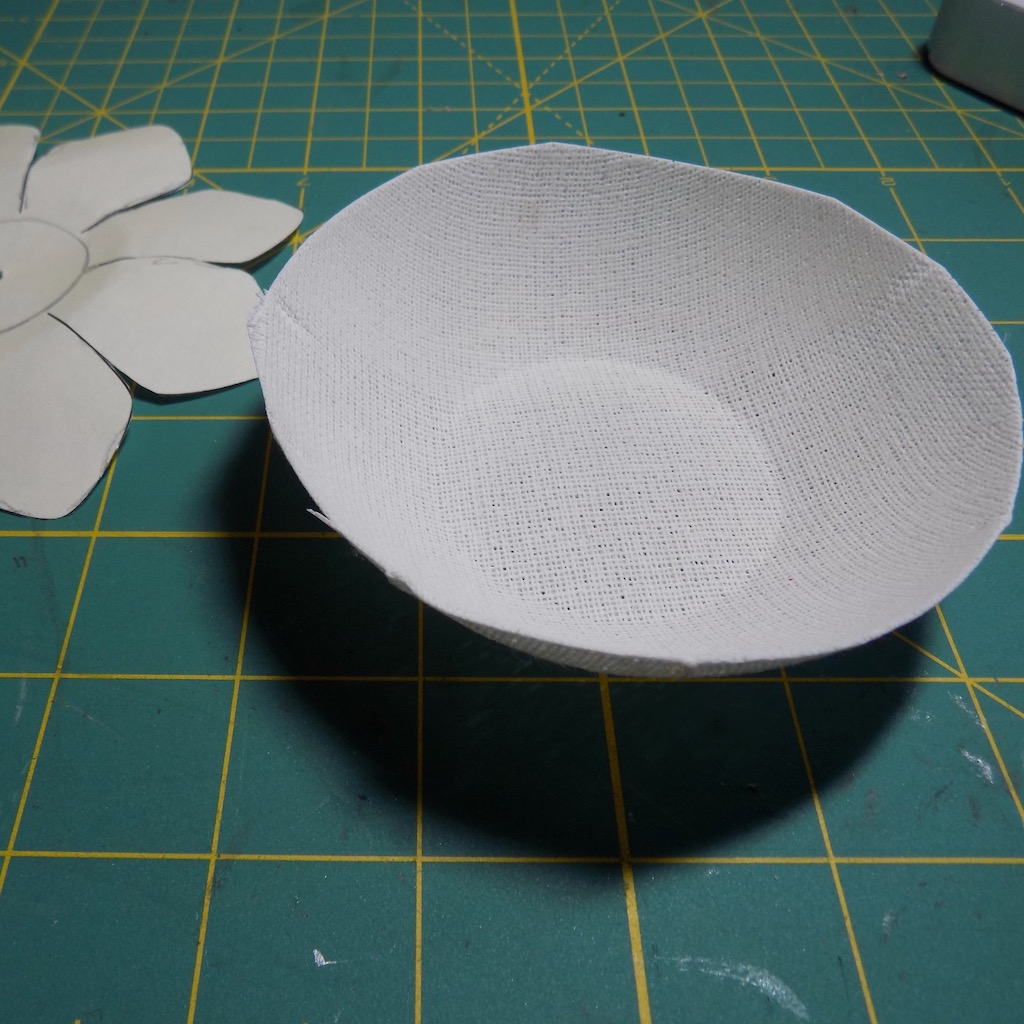
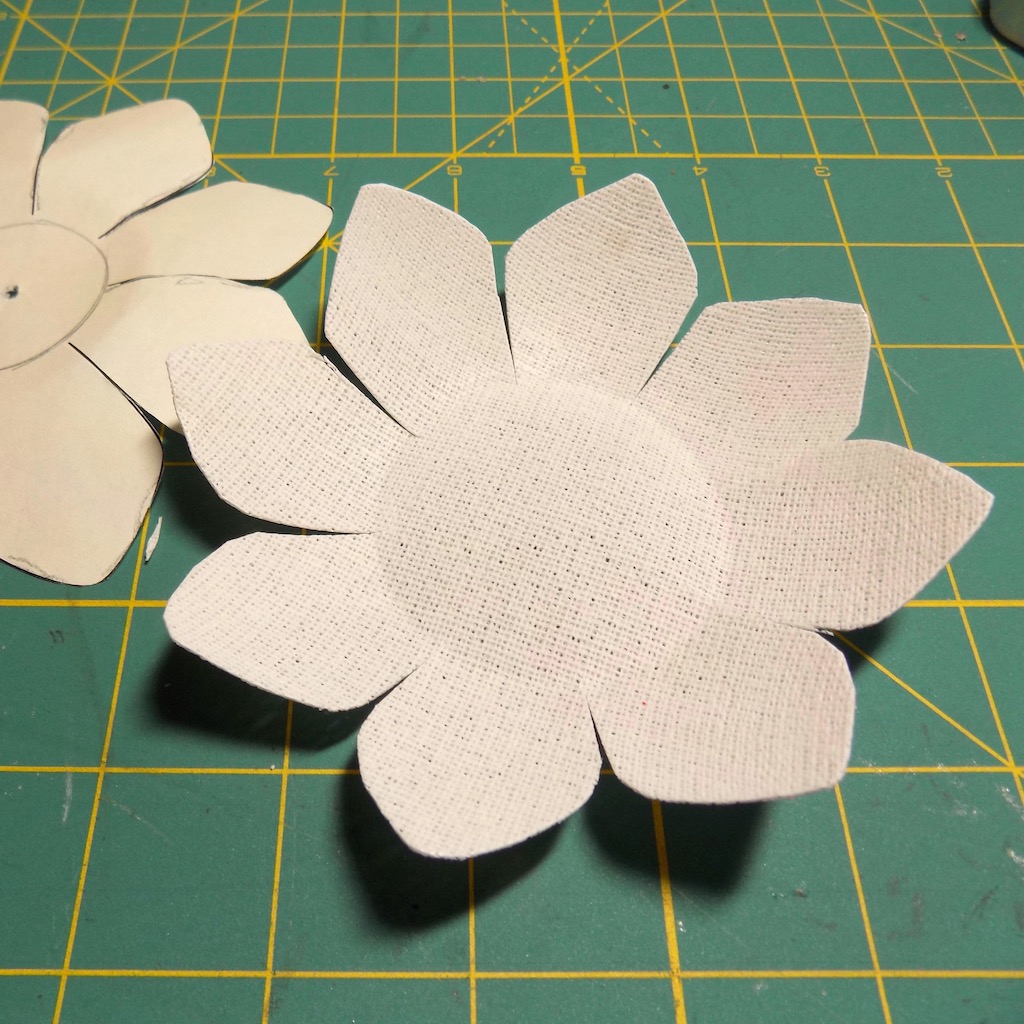
Cut all the pencil lines to get the shape.
I laid it out to get an idea just how tall I wanted the bag to be. About 8″ to the highest part of the frame. After a mockup, I decided that 1.5 times the distance across the frame which is about 5.5″ which would be 8.25″. I traced the bottom edge of the frame added seam allowance above that and stretched out that arc to 8.25″. I added seam allowance here as well. When sewn together the two sides will give a circumference of 16.5″. The fabric hinge purse here is somewhat similar and shows the steps for a fabric bag.
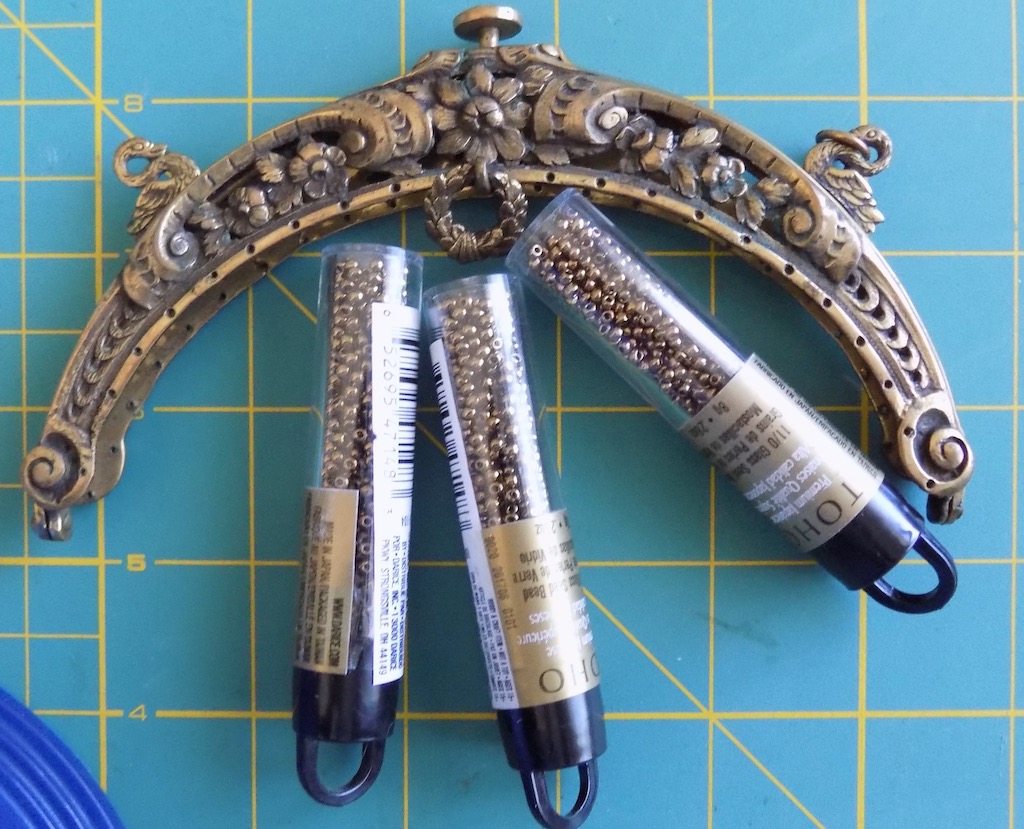
I tried to match the brass of the frame for some seed beads to decorate the edge of the footing and got these.
I forgot to take pictures of the covering of the buckram with fabric. I used a silk/cotton satin. I first covered the circular bottom them I covered each of the petals separately. If you notice this form has a little more room between each of the petals it not the same piece of buckram. I lost that and the pattern so, I started over. My first task was to sew the seed beads onto the edge of each petal. I’ve done a lot of this. You use two threads on separate needles.
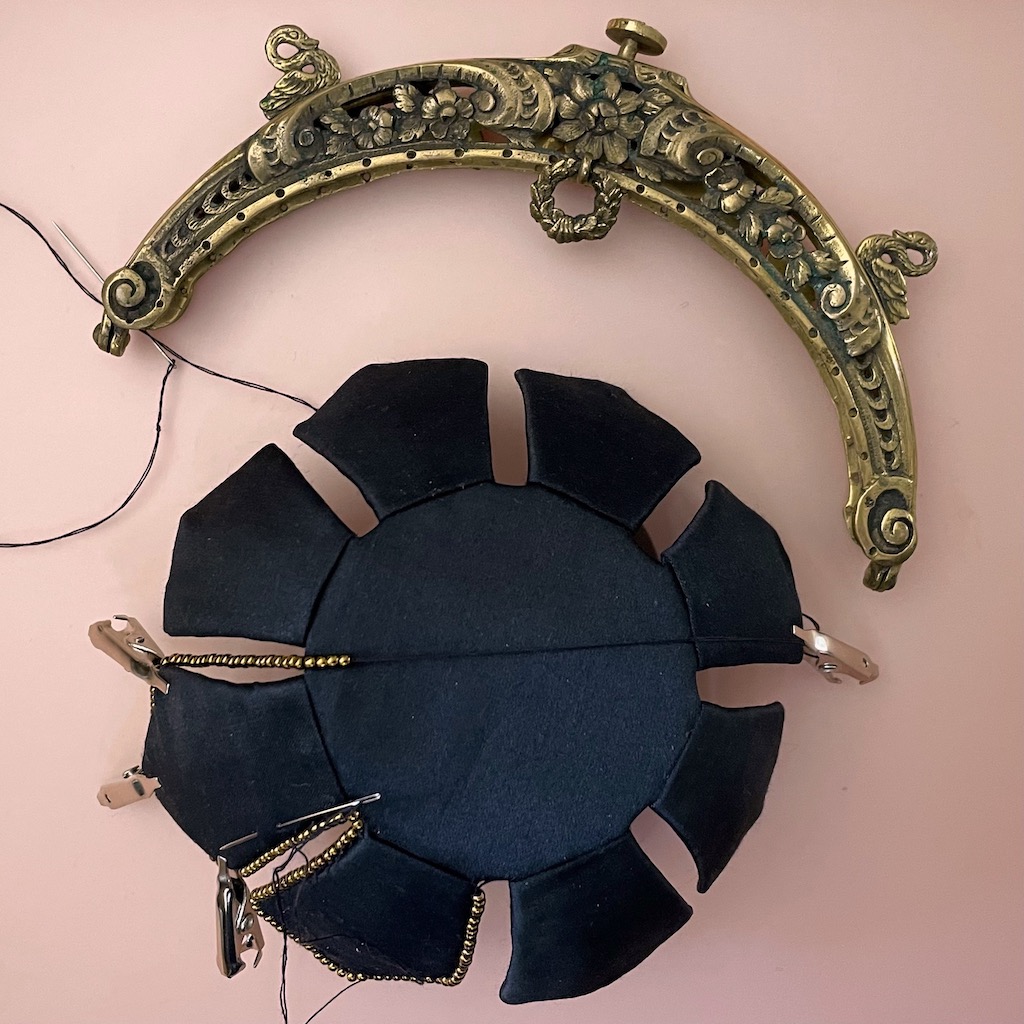
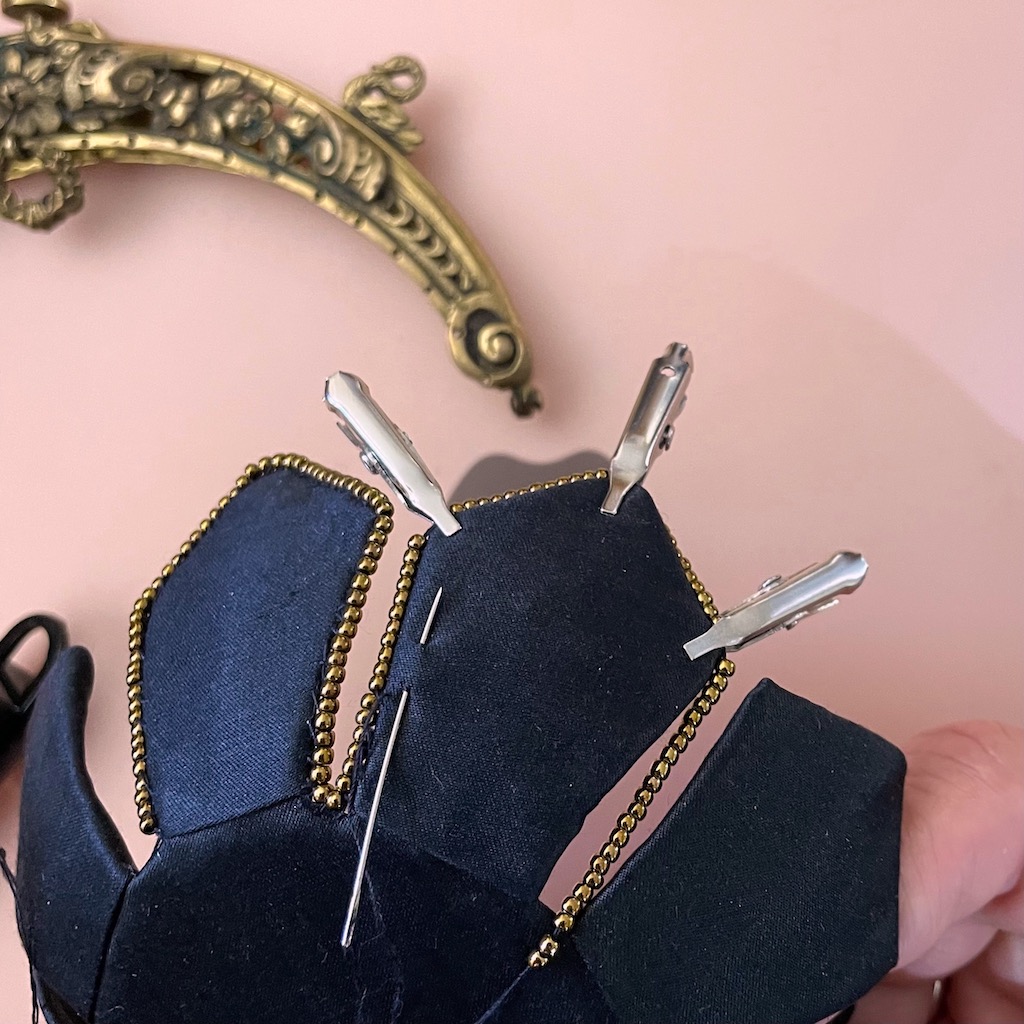
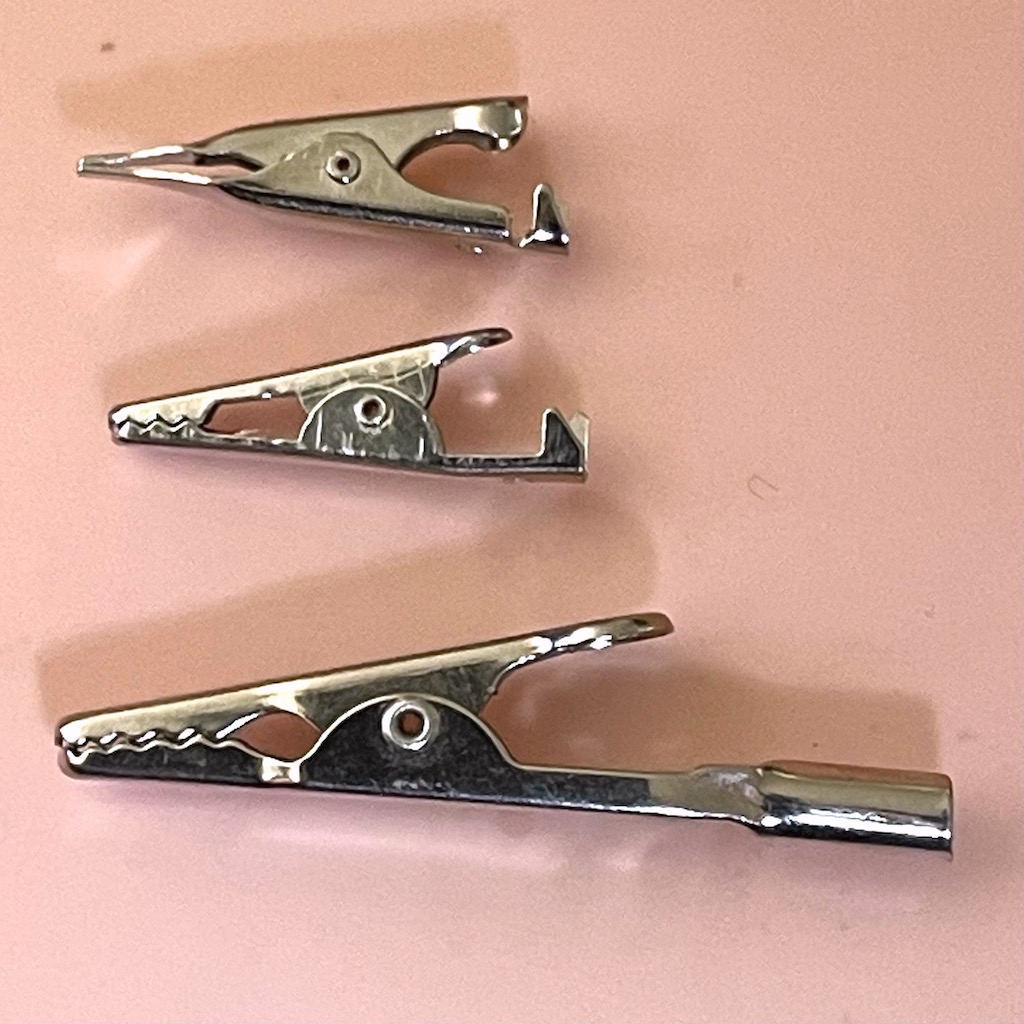
One is fine enough to string the beads and one is used to couch the strung beads. This time I found an easier way to keep the beads in place while couching. I’m using the mini-alligator clips to hold the threaded beads in place while I stitch with the other thread. I makes it so much easier.
On the bottom is a standard alligator clip then a mini clip then are the toothless mini-clips. I used these cause the others can leave tooth marks on your fabric.
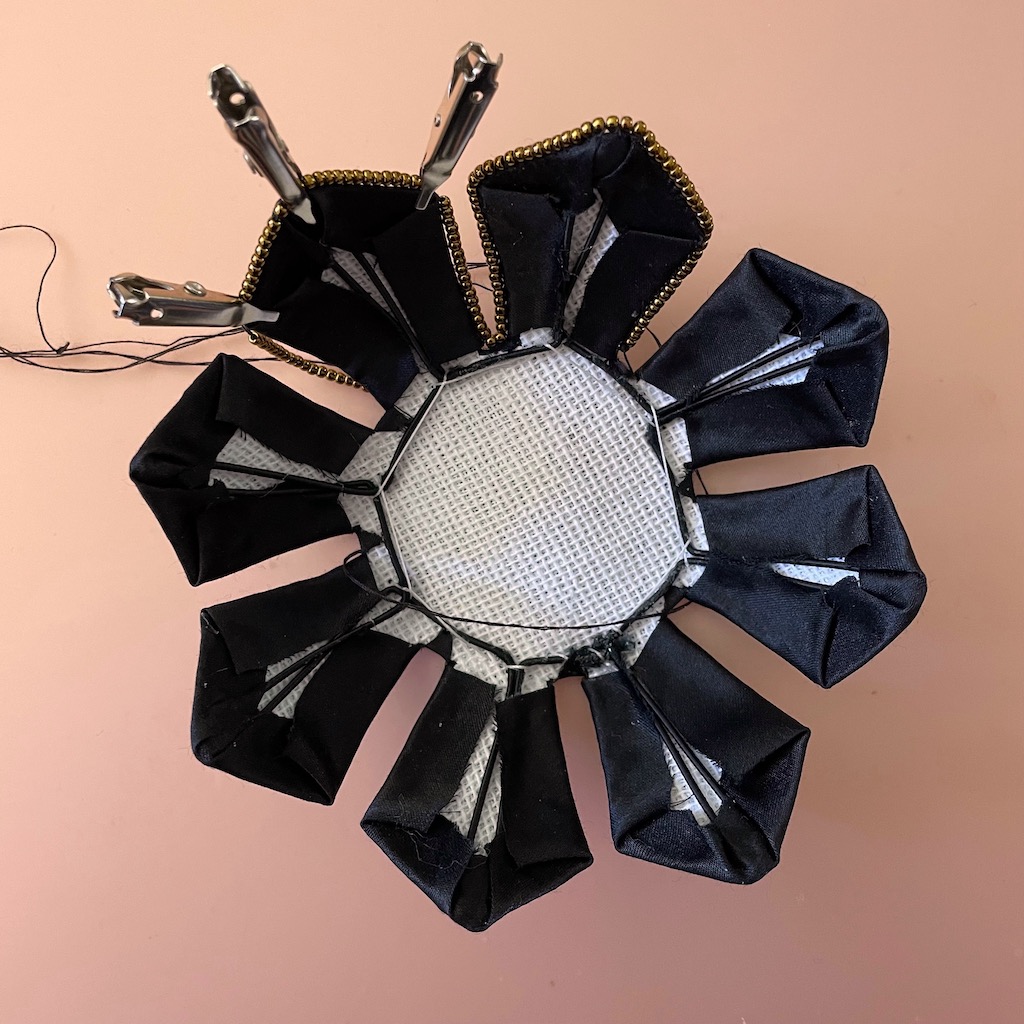
Here is a look inside the footing. I added some lightweight millinery wire to the inside because I wanted the footing to hold its shape over time. It ran around and up and down inside the center of each petal. Not along the edge like you might do with a hat. I did not want to add to the thickness of the petals.
When I finished the edge I added lines of beads down the center of each petal.
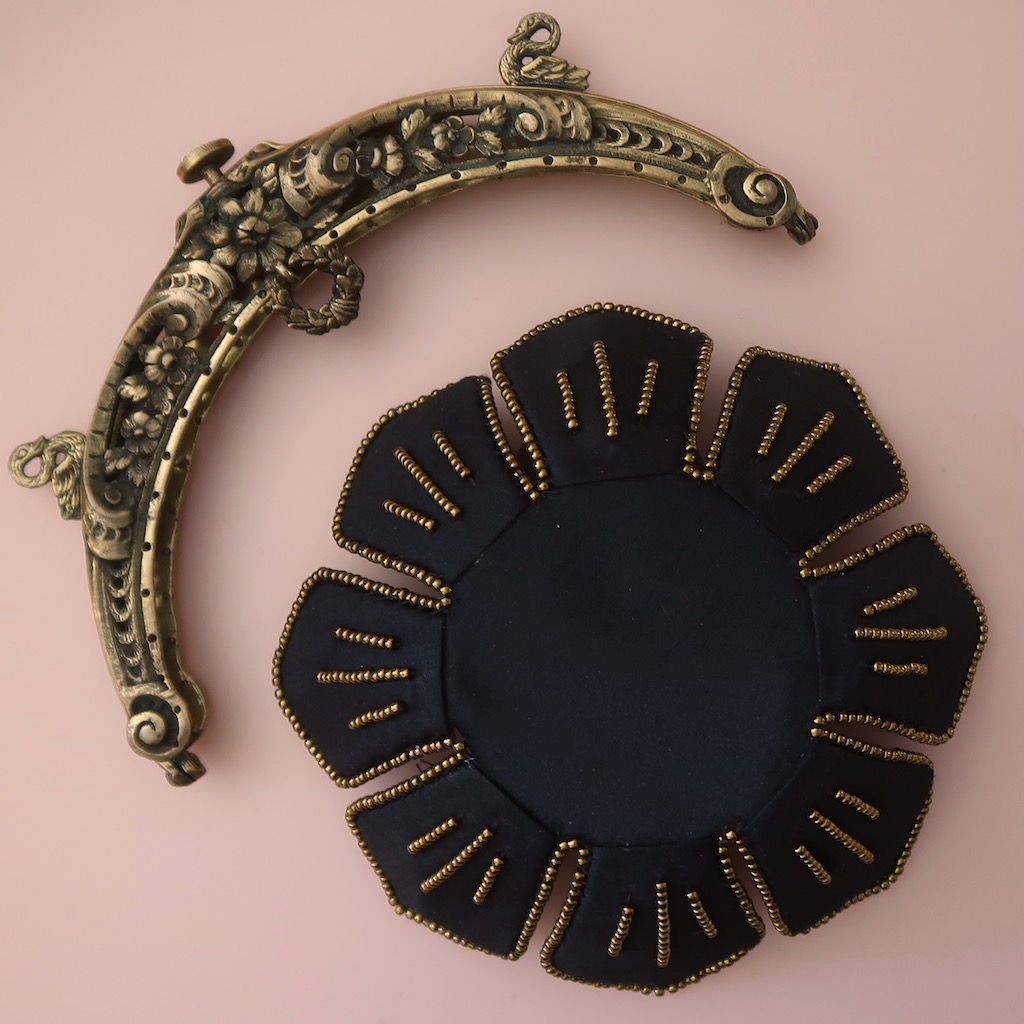

This gave it more flash.
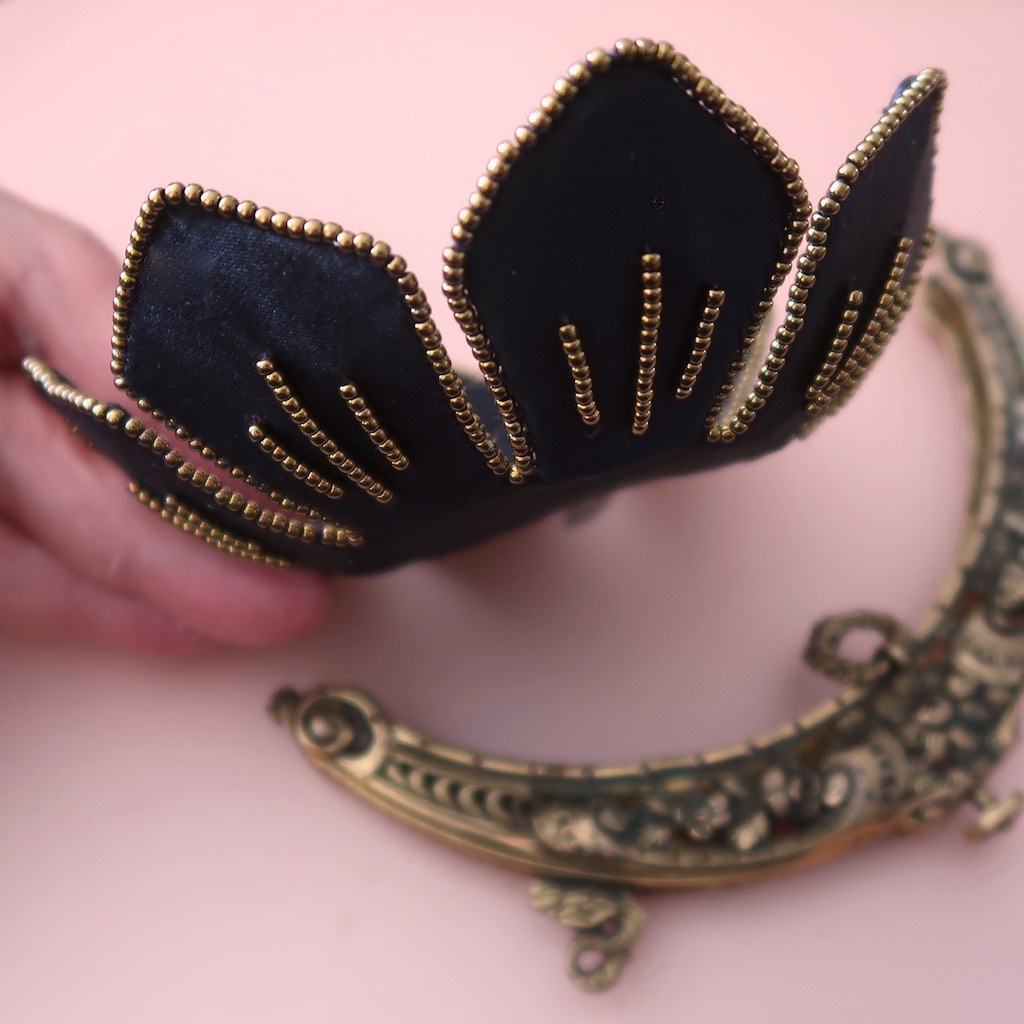
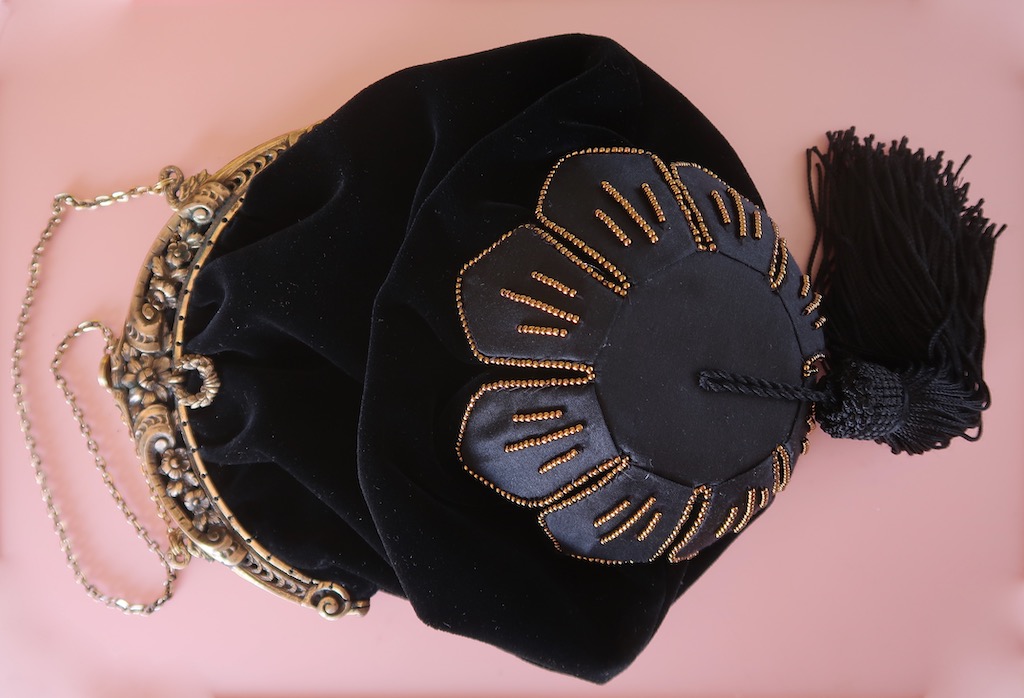
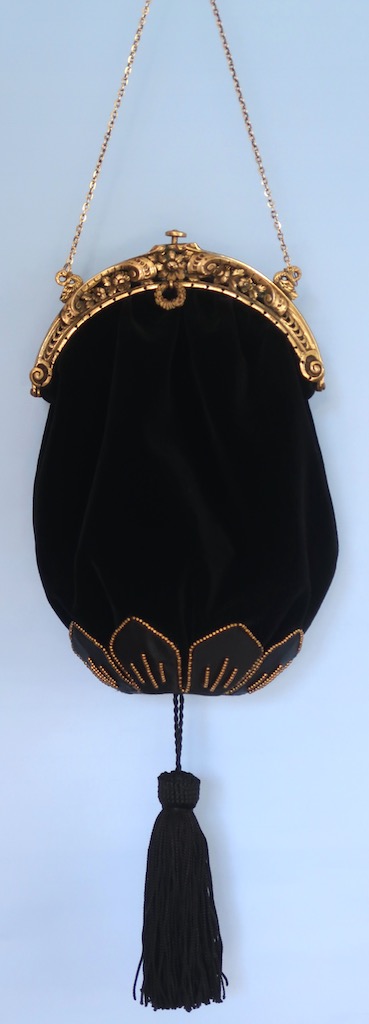
This is how it looked from the side. Now on to bag and tassel. I used a chainette fringe to make the tassel and sewed it to the center of the footing with a long enough twist cord so when you set down the bag the tassel was out of the way (see below). For the bag lining I selected a very thin silk and a really good quality cotton velvet for the outside. All scraps for costumes I have made in the past.
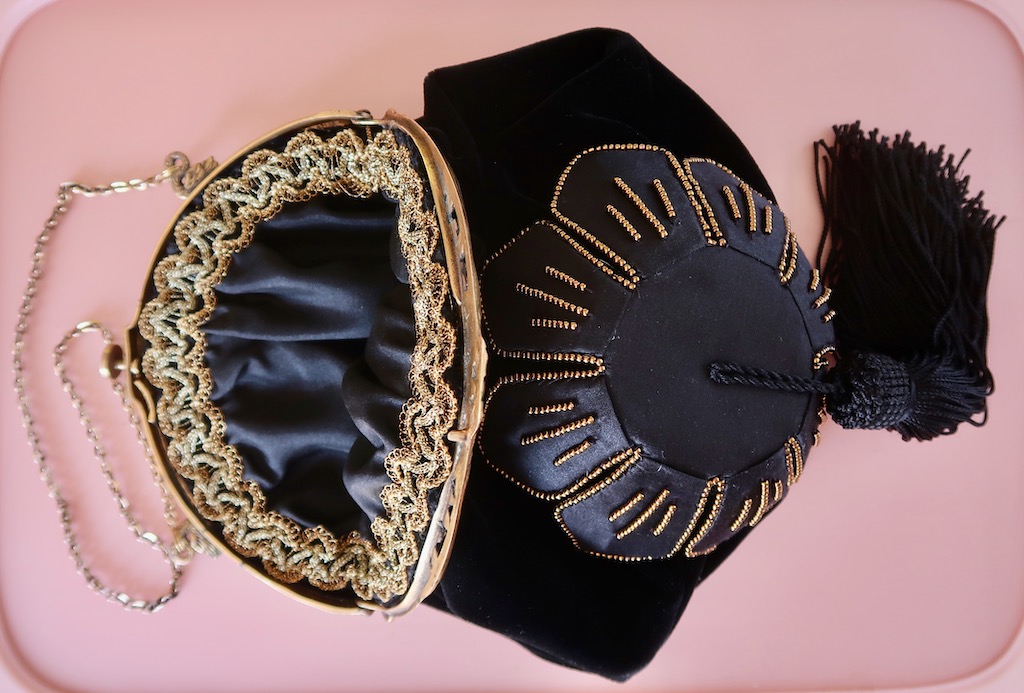
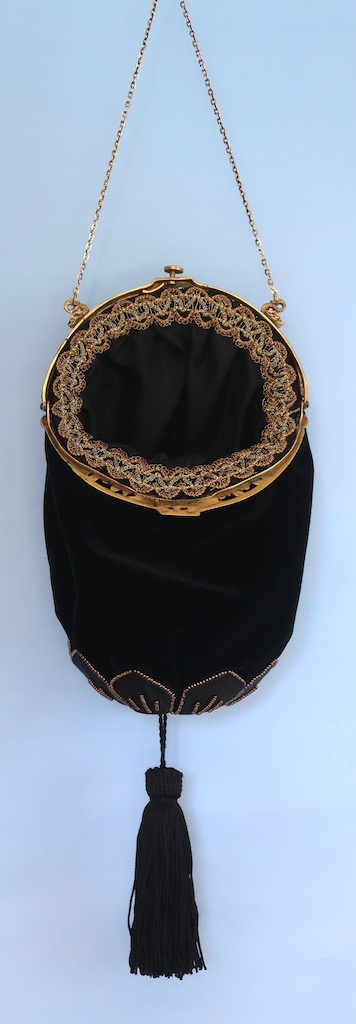
Once the bag was sewn on to the frame I needed something to sew over the stitching on the inside of the frame. I used the metallic trim it was thin enough not to interfere with the closing of the frame.
I want to thank Laurie Tavan for modeling the finished purse.