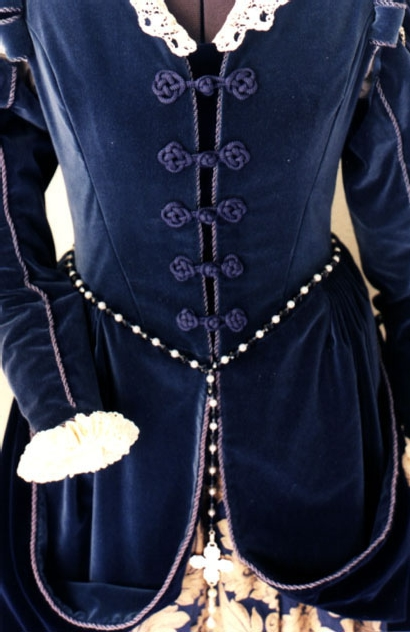
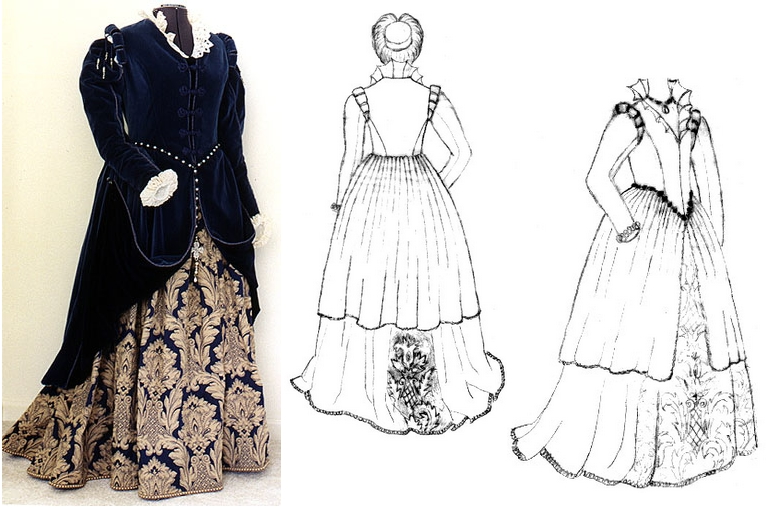
How to create frogs that gradually get smaller from the same size cord.
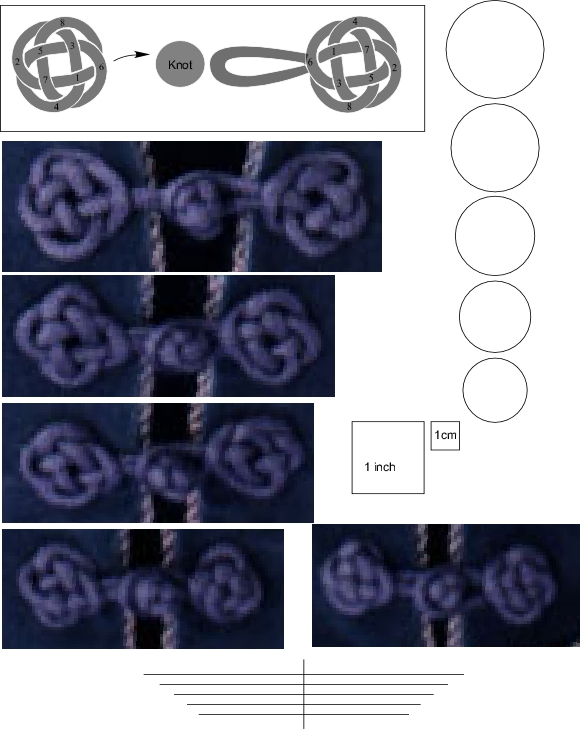
If you drag this image to you desktop and print it at 100% you should get a pattern for the frogs, circles that are the same sized of the non-knot/loop part of the frogs, some life size pictures of the frogs I made for reference and lines for how wide the frogs should be when they are closed.
Making the knot
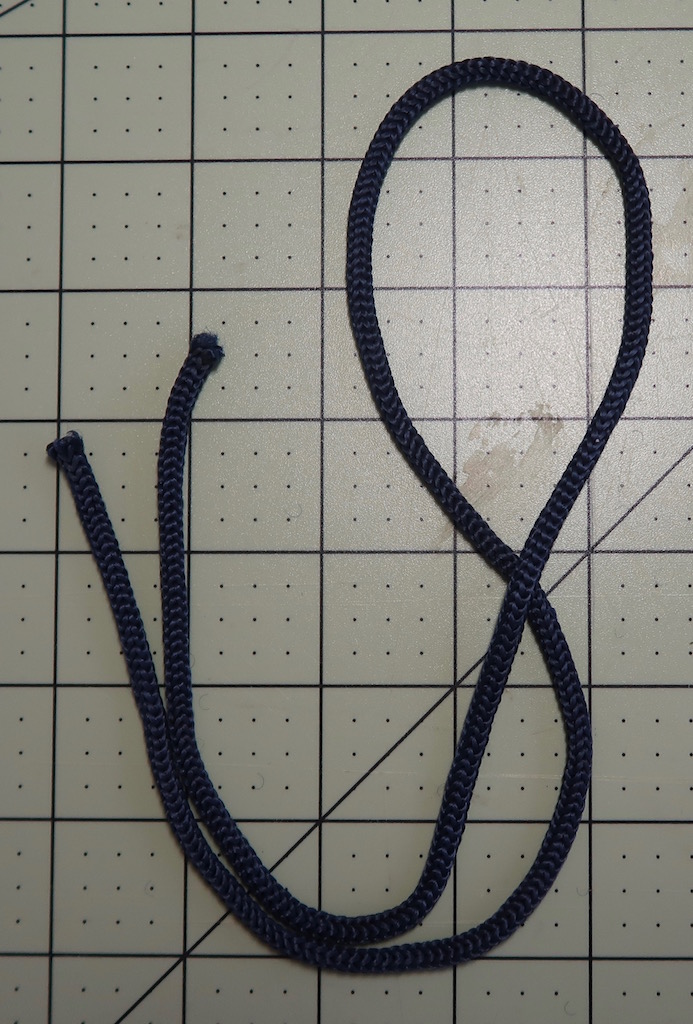
I started with 27″ of cord and followed the instructions from Chart 1: single button knot. Make a loop, step 1, chart 1.
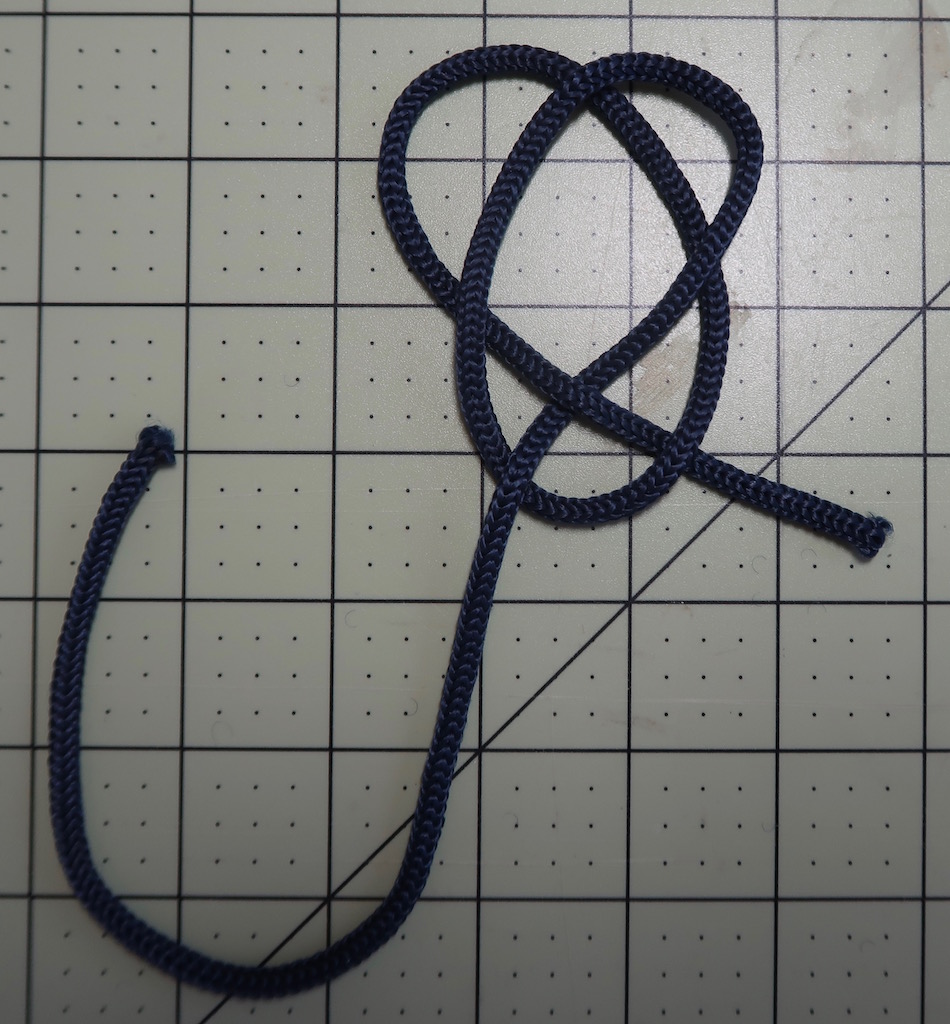
Using the cord on the right you create another loop. Step 2, chart 1.
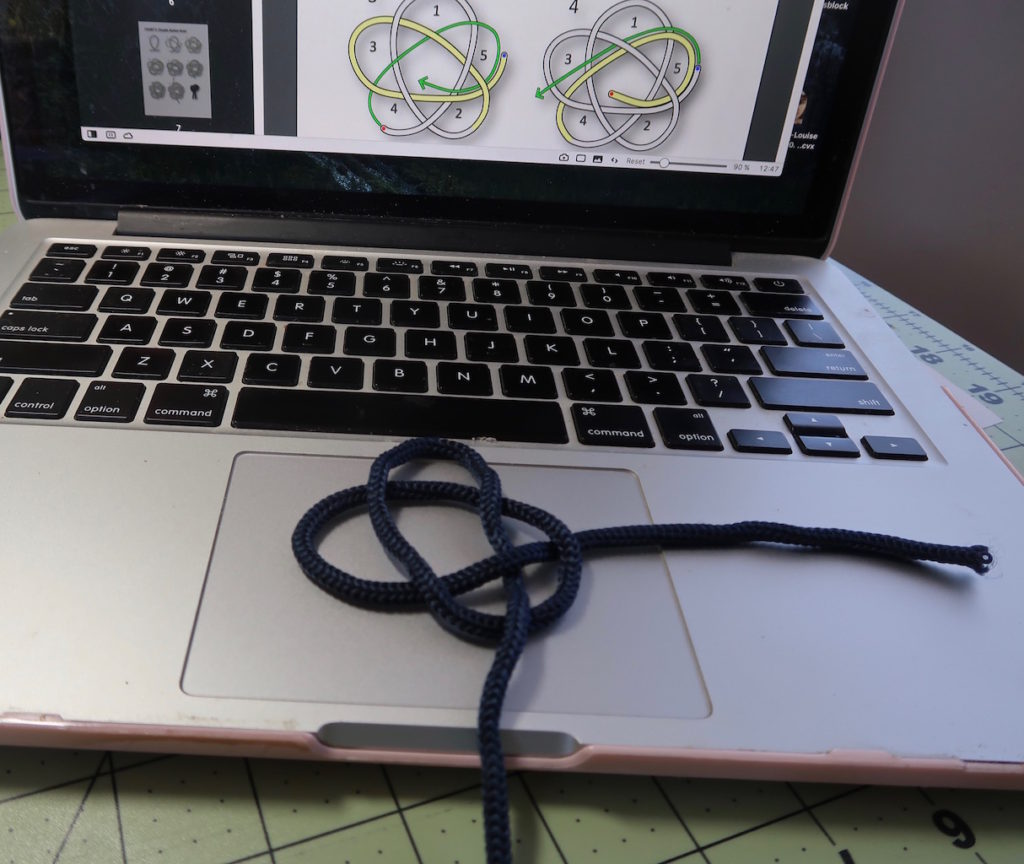
These are really good drawings so I’m following them. Step 2, chart 1.
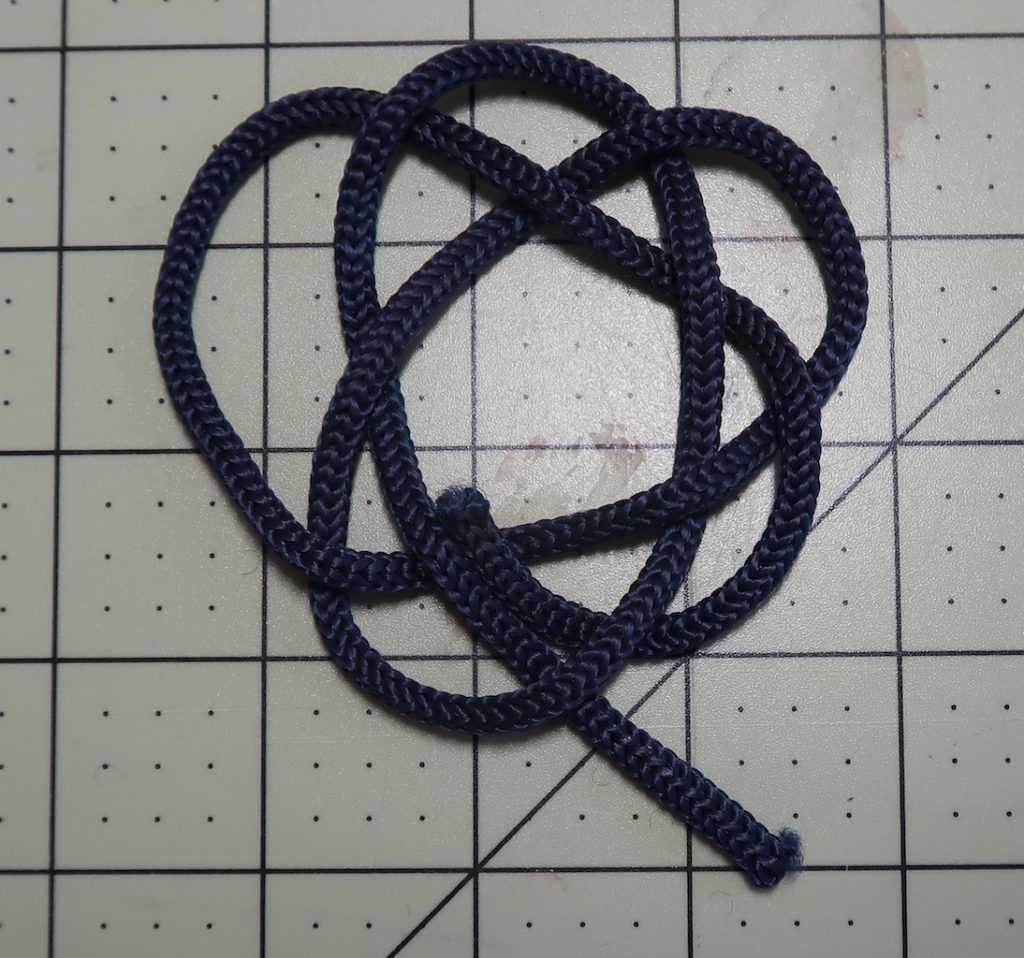
Using the cord on the left I create another loop. Step 3, chart 1.
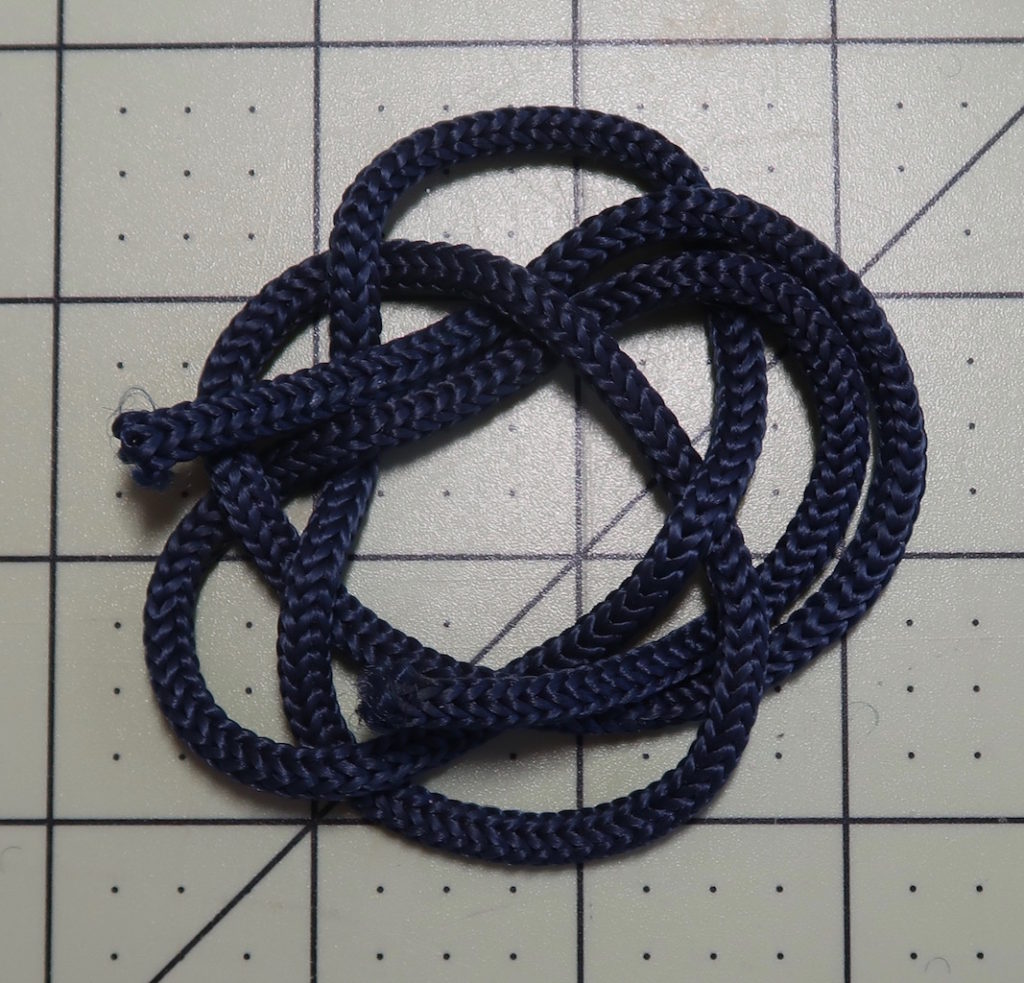
Then you have to tighten up the loops so you have enough cord on the right to wrap around a second time. Step 4-5, chart 1.
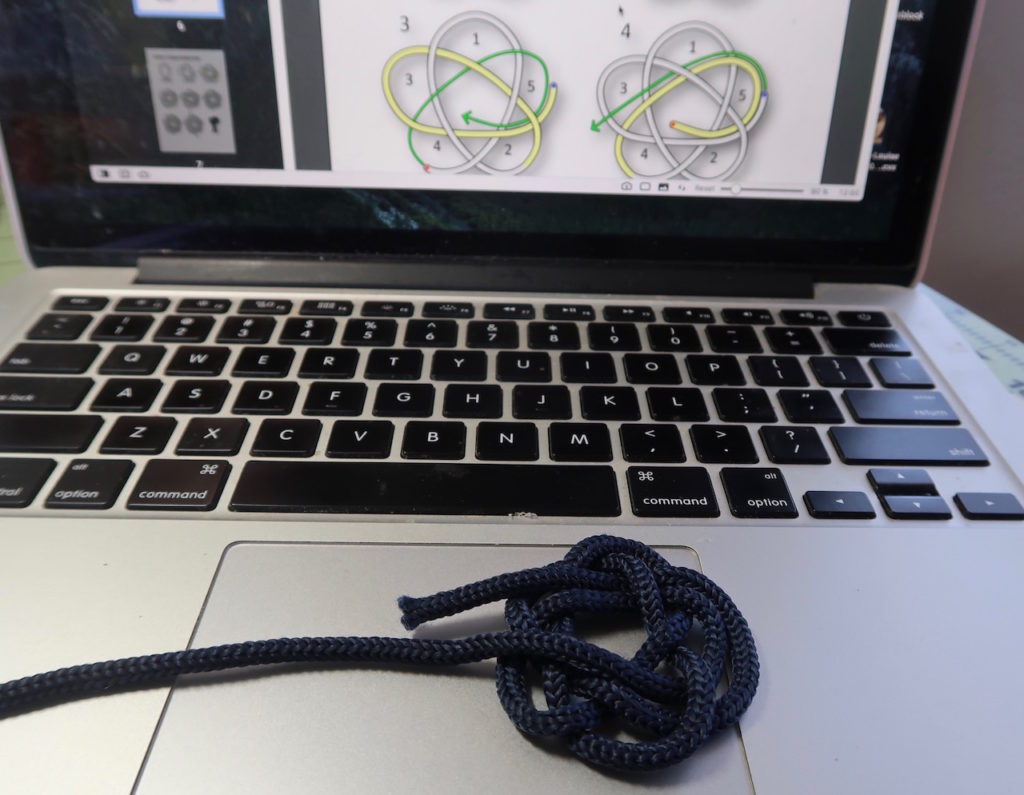
This is where I move away from the instructions and tighten up the entire set of loops by pulling and moving the cord to only one of the cord ends. This will leave a very short tail on one side and a long one on the other.
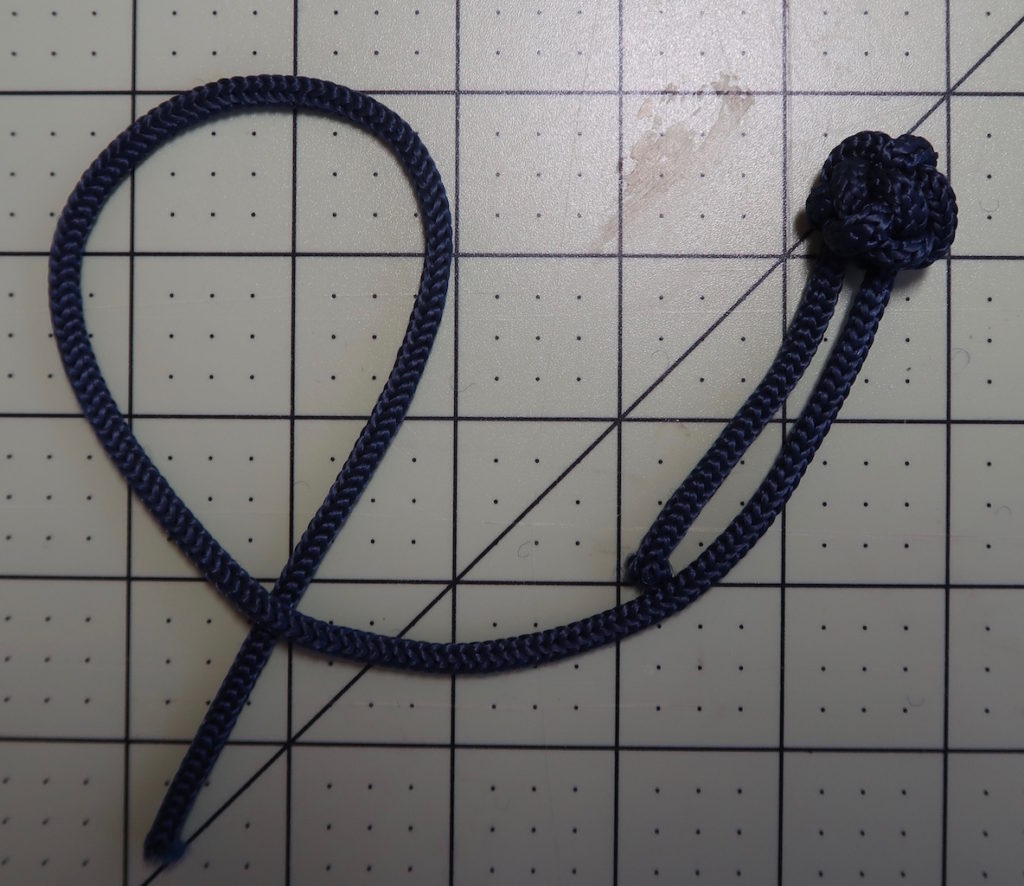
This is the knot fully tightened.
Making the decorative side
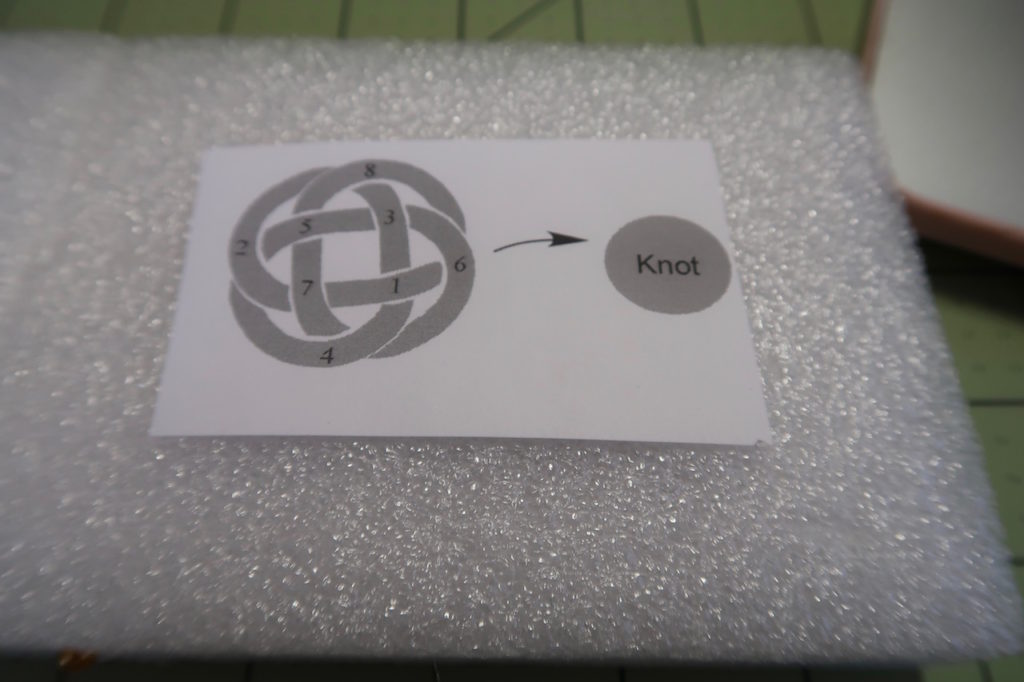
Now to make the decorative side of the frog. I cut out and put the layout illustration on a piece of styrofoam.
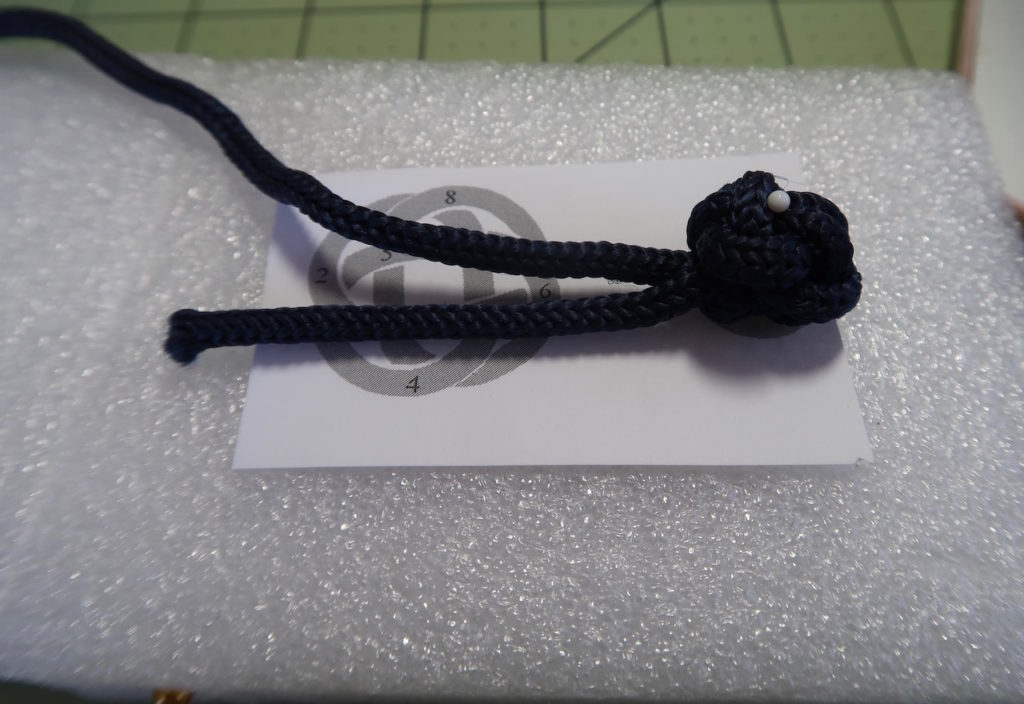
I pin the frog knot down.
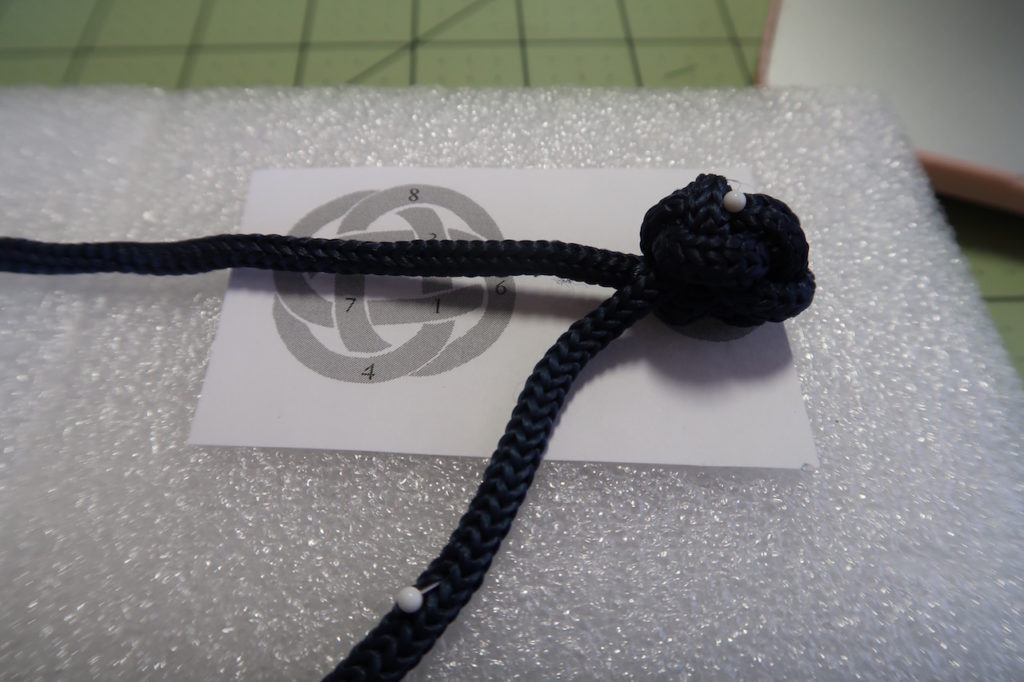
Then pin the short tail out of the way.
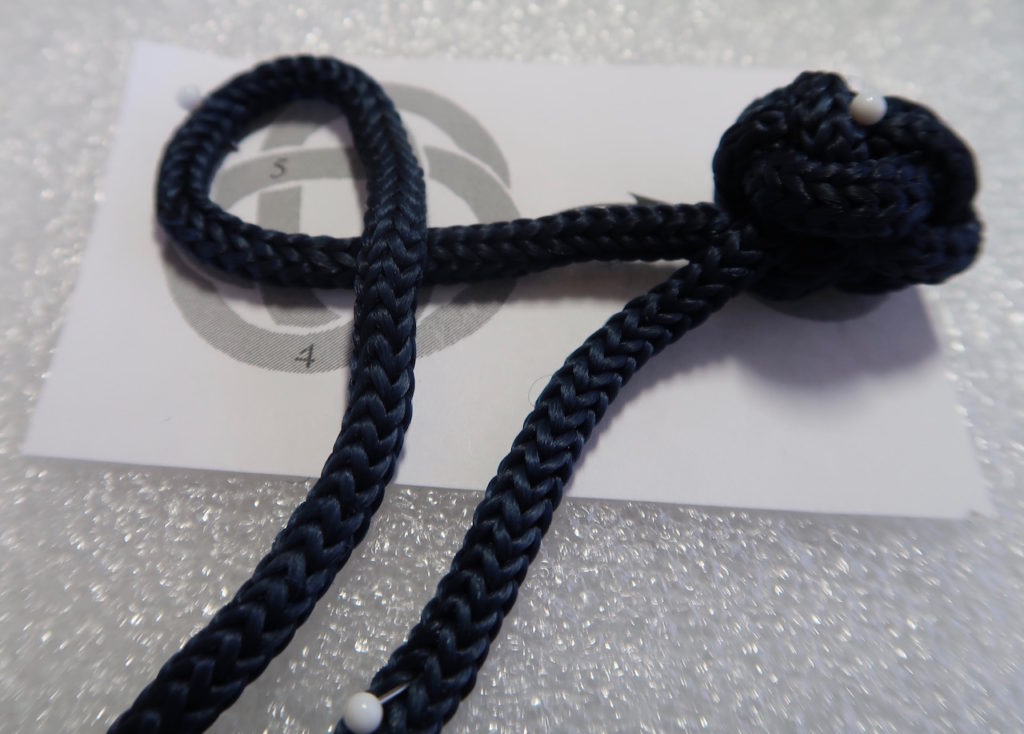
Follow the #1 an #2 to make the first loop, pinning it in the center of the loop.
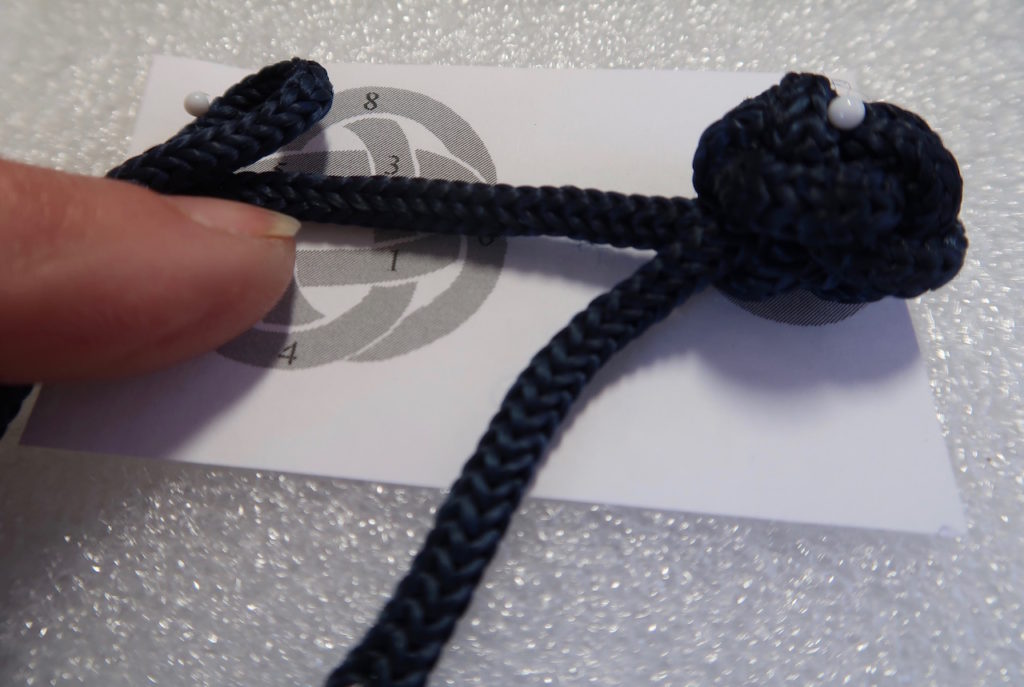
You might need to push the cord out of the way so you can check to see if the cord goes under or over the one that is already down.
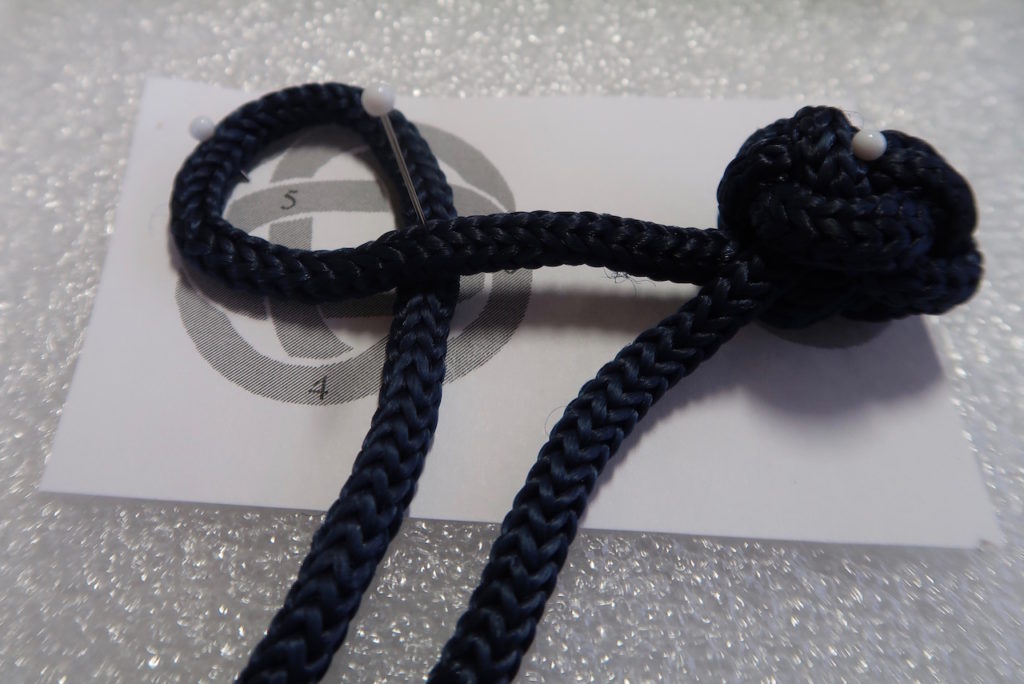
It is under so. ship it there and add another pin.
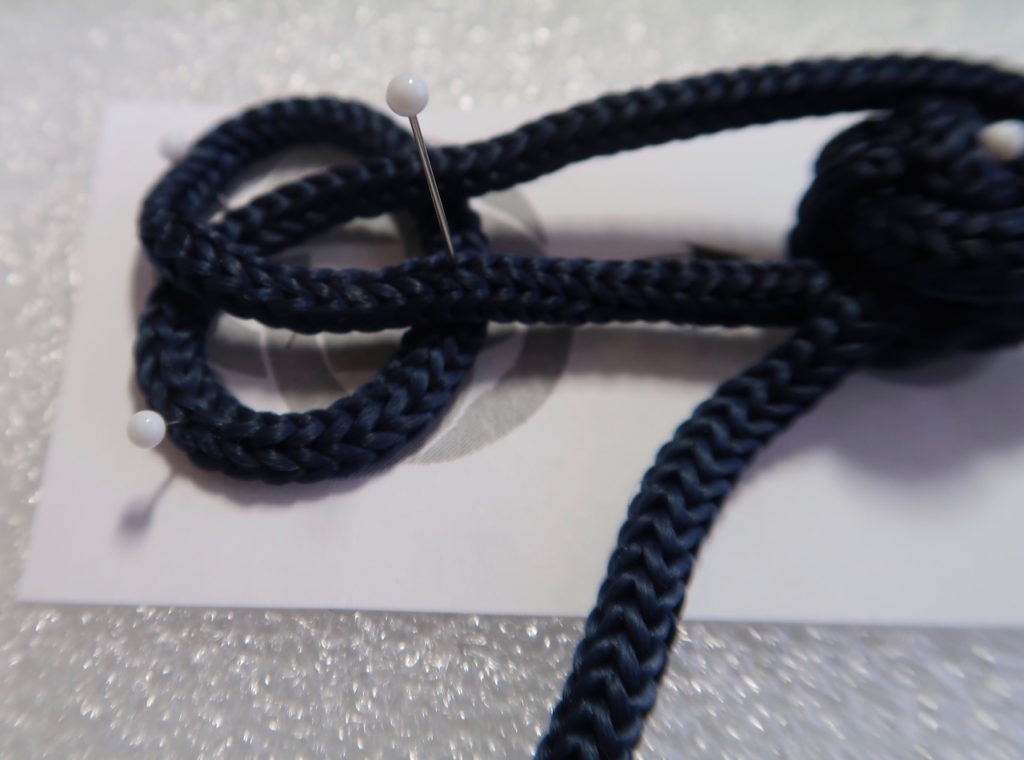
Follow the next set of #s to form another loop, checking for under/over position.
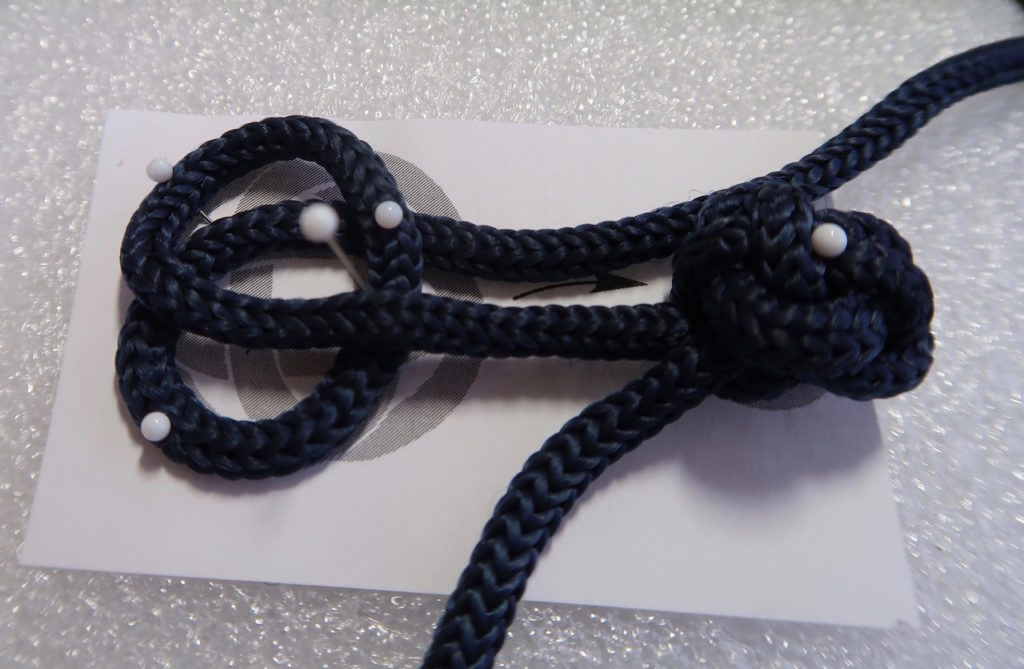
Continue in the same way. Small round jewelry pliers are very helpful for pulling the cord if it has to go under a cord.
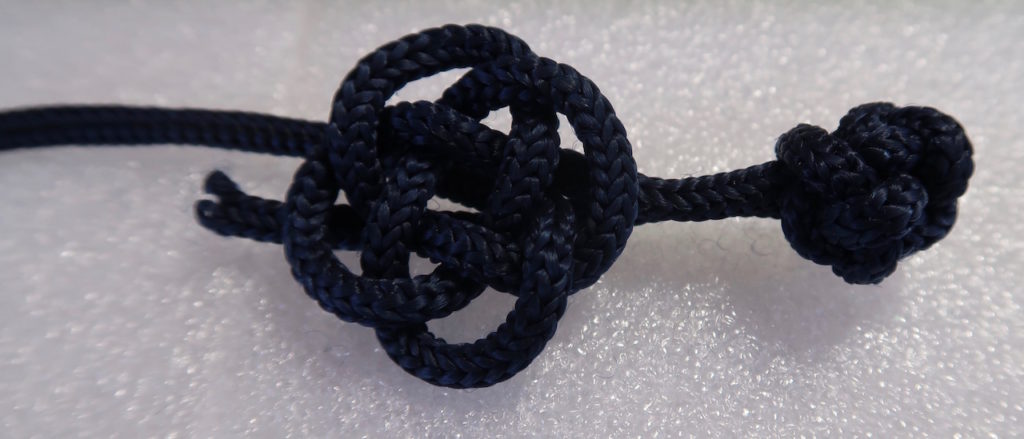
It will look like this when you have followed the pattern to the end an un-pinned it from the pattern.
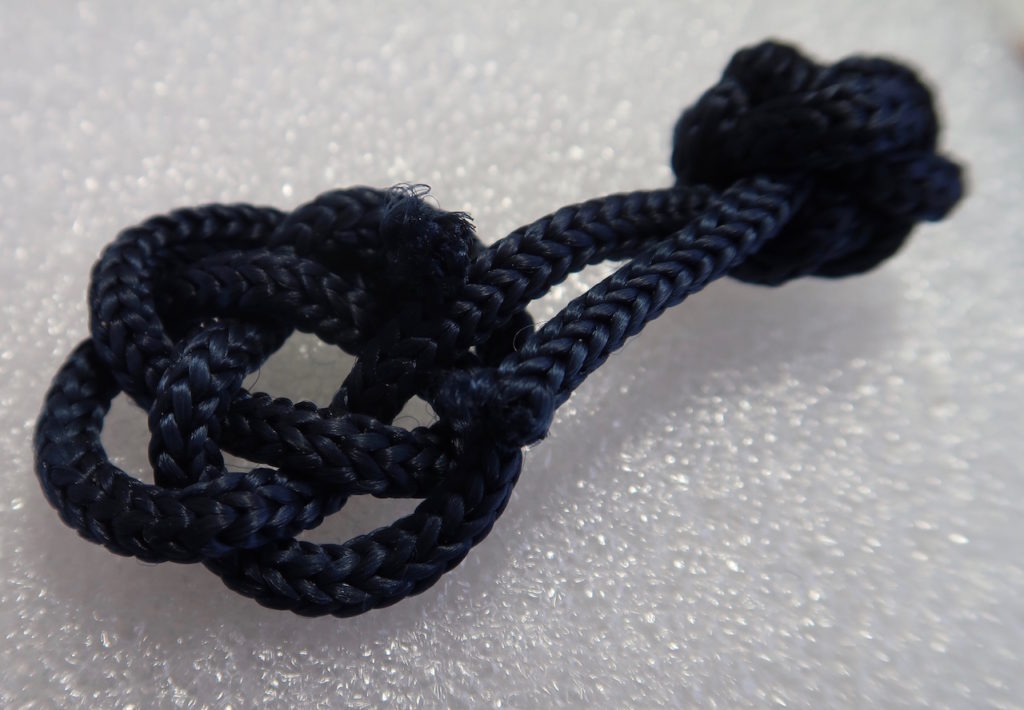
From the back, trim the cord ends and add some glue to the cuts so that it does not fray. Tack stitch near the ends so they stay in place.
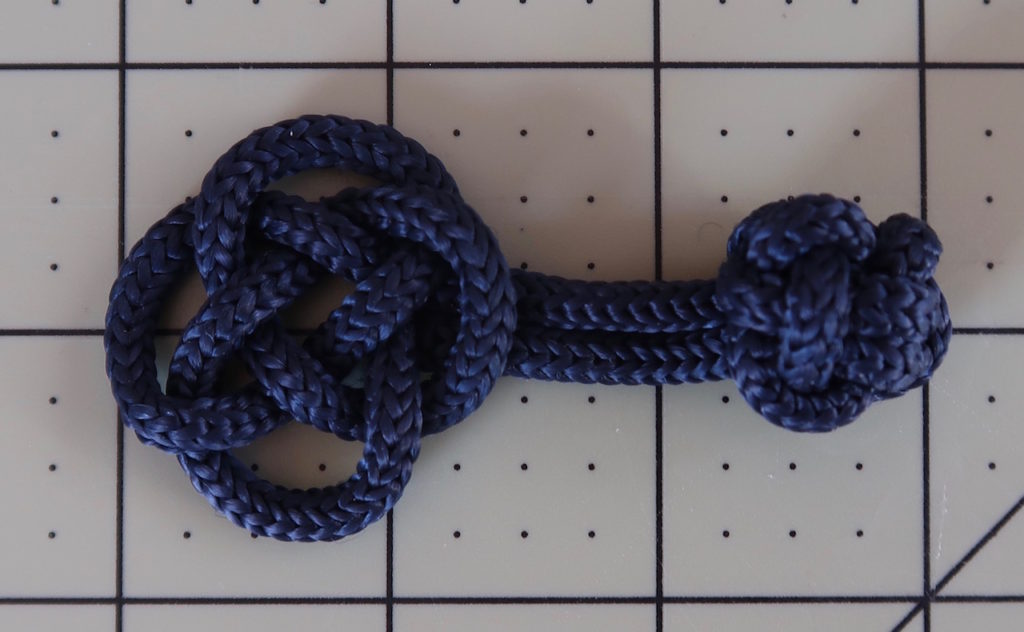
This is a large finished frog half with a knot. Now to make the loop side use the other pattern. After that, the steps are the same up to the part where you take it off the pattern board you then need to make the cord design tighter, making it smaller and also shorten the length of the cord leading from the knot and the loop. I would suggest that you experiment by making all your knots first and when finished, sort them by size. Then just start making the rest of the closures and see which one matches the pictures. The last few will be the most difficult because you will have to adjust things until you get the right size.