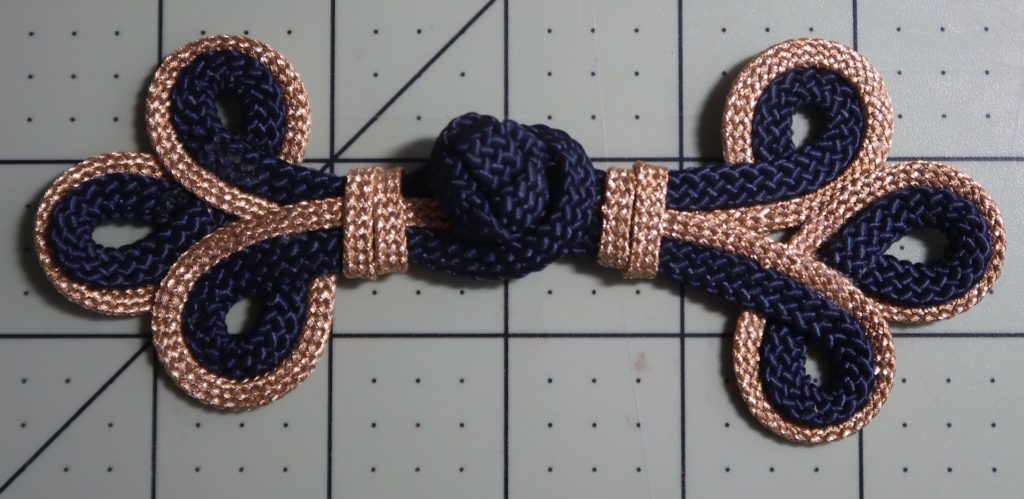
These frogs that to me look like Fleur de lis are a really quick way to add the military look to the front of a Regency Spencer.
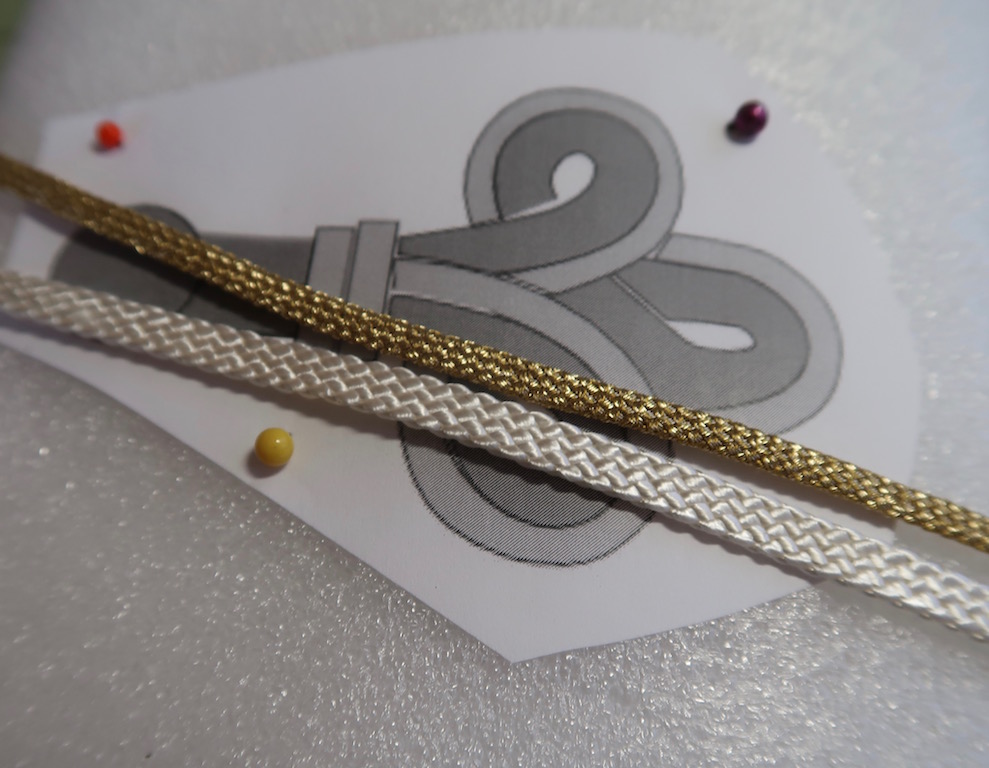
For this style Frog you will need two widths of flat braided trim. A 5 mm non-metallic trim and a narrower 4 mm metallic trim. If you have wider trim you will want to size up the pattern and the reverse it also true.
If you have wider trim you will want to size up the pattern and the reverse it also true.
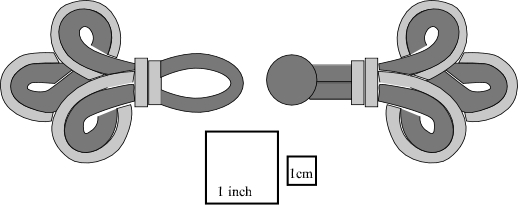
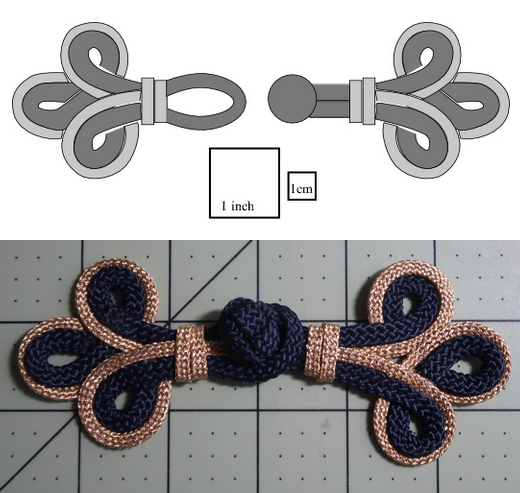
If you drag this image to your desktop and print it at 100% then you should have the correct size pattern for the 3 and 4 mm trim.
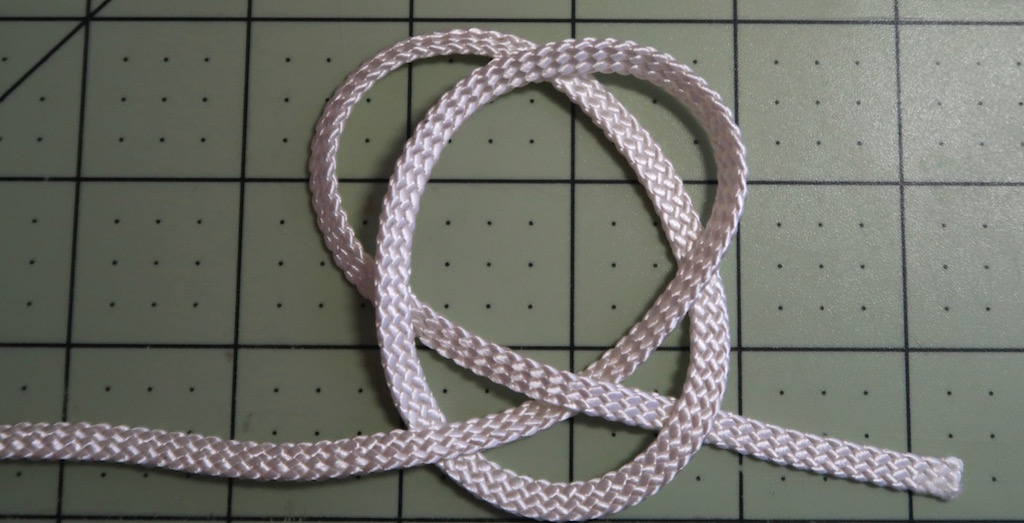
I started with 27″ of cord and followed the instructions from Chart 1: single button knot. Make a loop, step 1, chart 1.
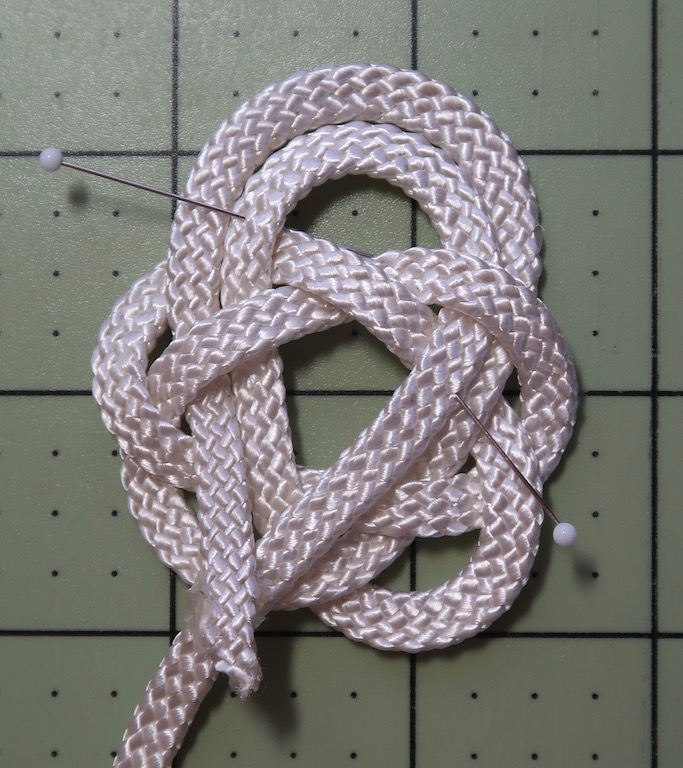
This cording is slippery so if you are having trouble keeping the cord in place you can use pins. This is how it looks before the frog knot is tighten. Continue tightening the loops mostly in one direction.
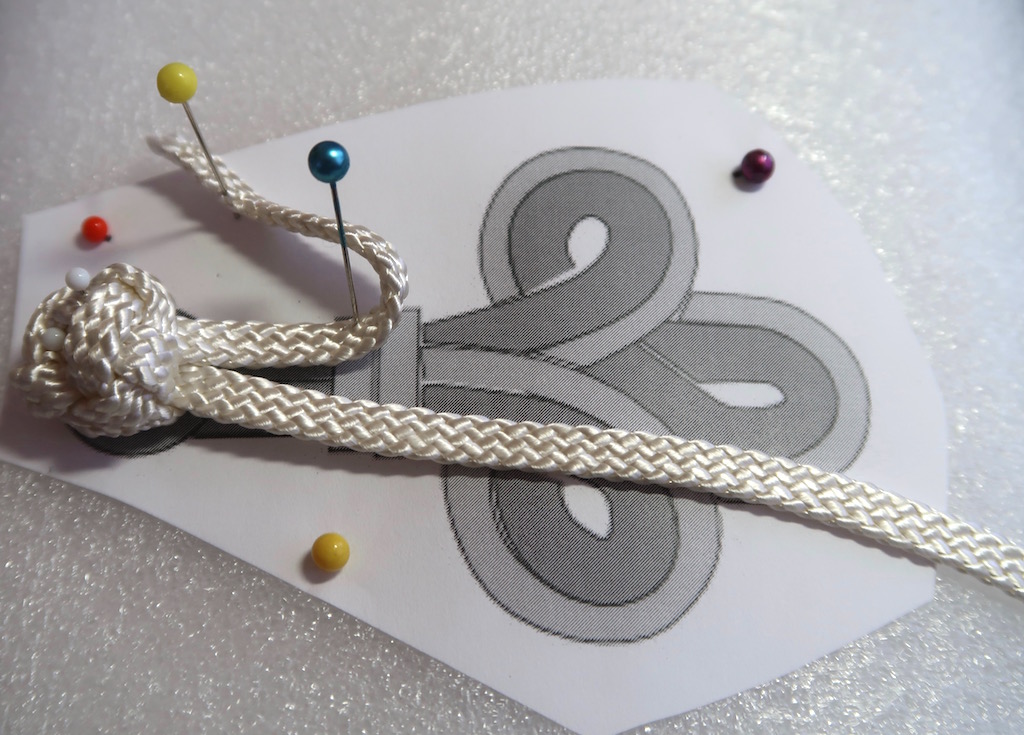
When the frog is tight you should have a 2 to 3″ tail on one end and much longer on the other. Pin the knot over the circle on the pattern. Pin the extra on the short side out of the way for now.
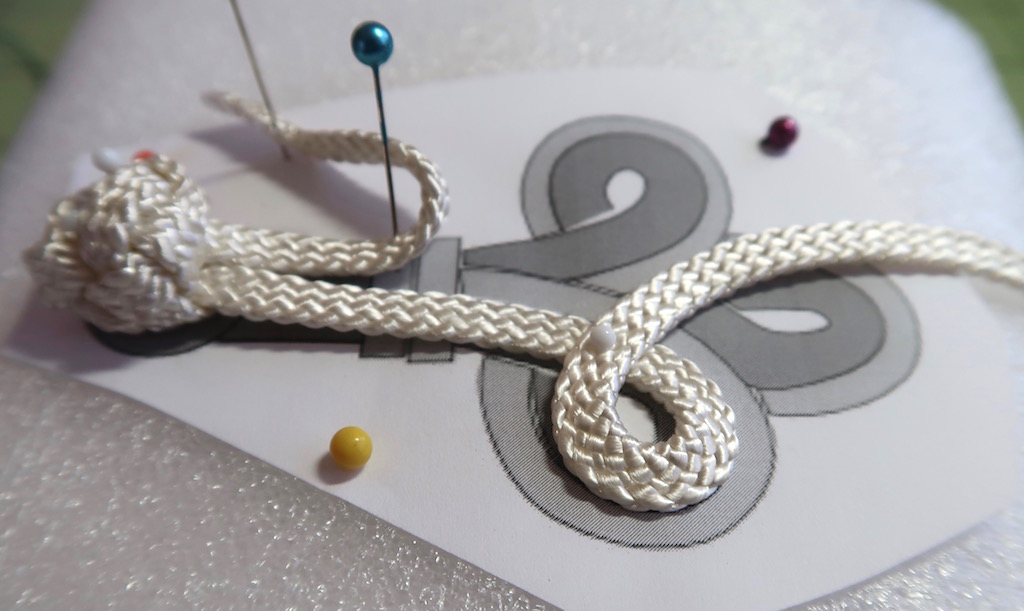
Follow the pattern and pin the cord down when needed.
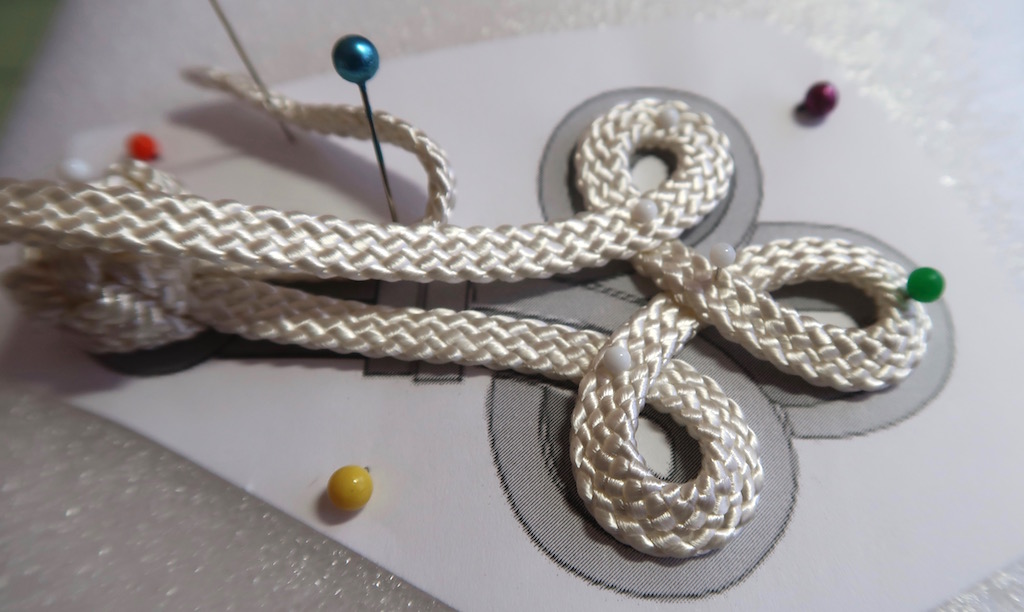
Continue following the pattern. Make sure you note where the cord goes under or over when it crosses an existing piece of cord.
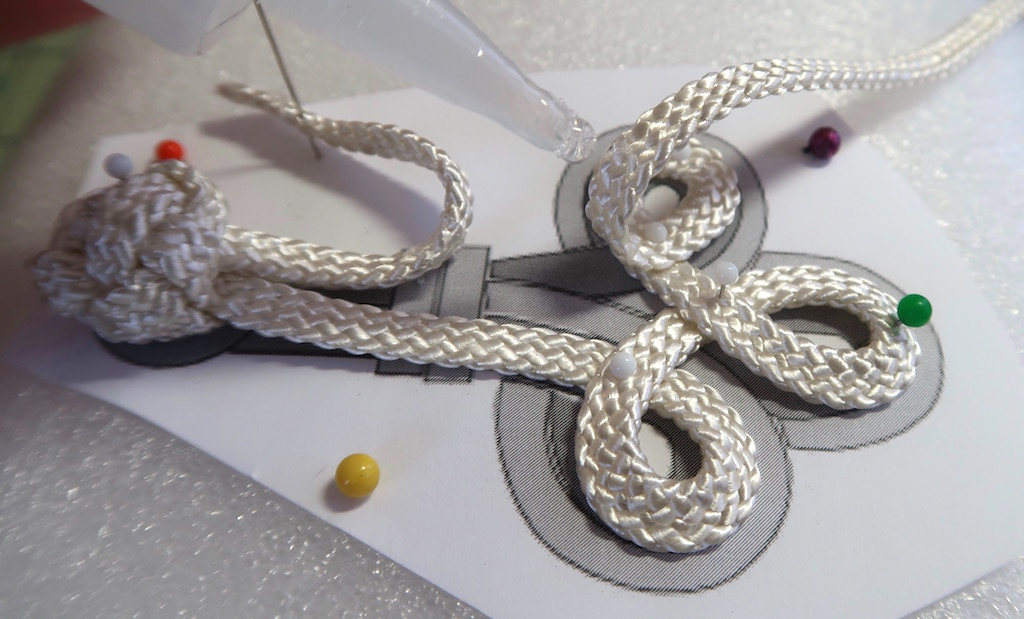
The end of the cord needs to be cut near the knot so you need to add some glue to keep the cord from raveling. Add some glue to both sides of the cord before you cut. Do the same to both ends. The short cord needs to be cut somewhere in the area of the two metallic cords.
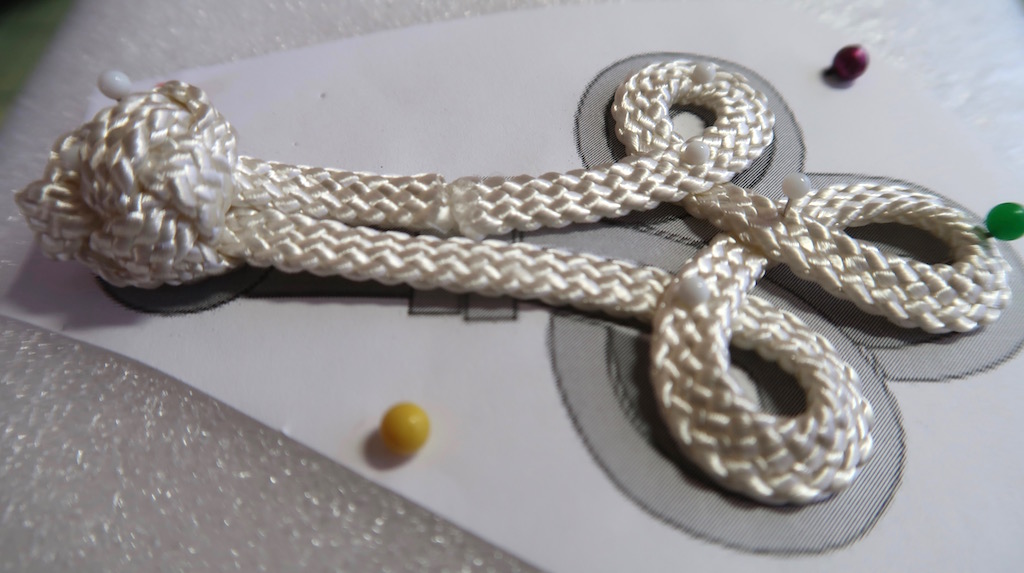
Cut them both, they should just about together or maybe slightly overlap.
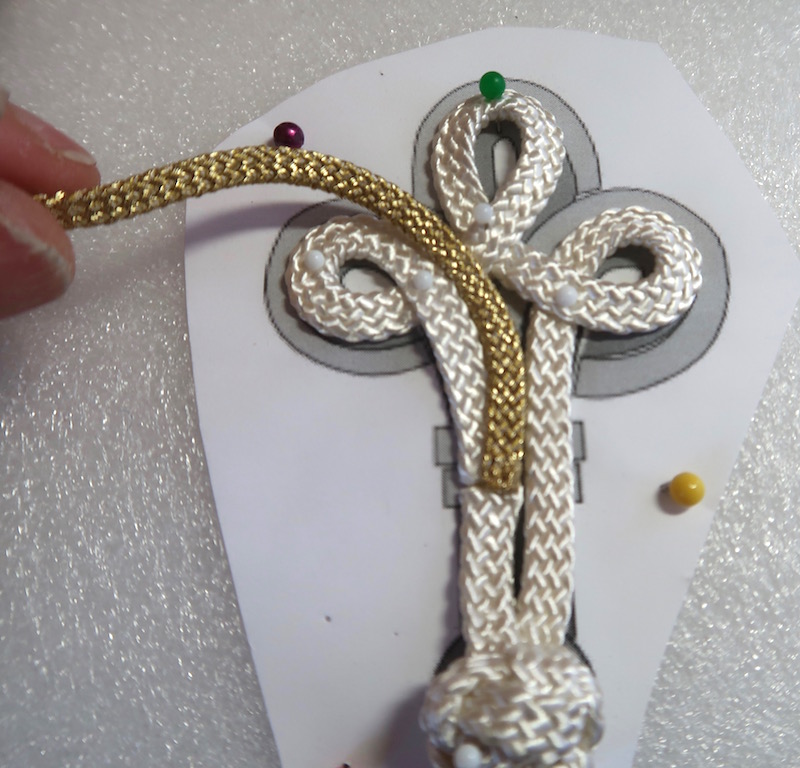
Glue one end of the length of the metallic cord in the area of the cut wider cords. You can glue down the place where the metallic cord crosses the first wide cord.
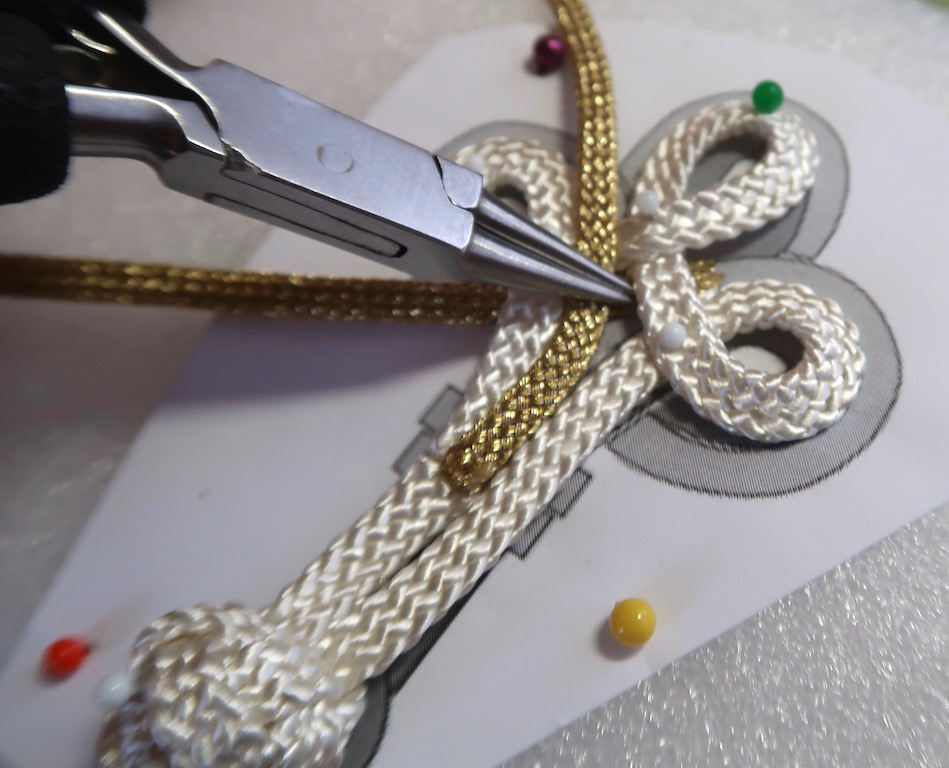
The metallic cord will outline the non-metallic loop and then go under the existing cords and come out to the right of the center loop. Jewelry pliers can really help getting the cord under those.
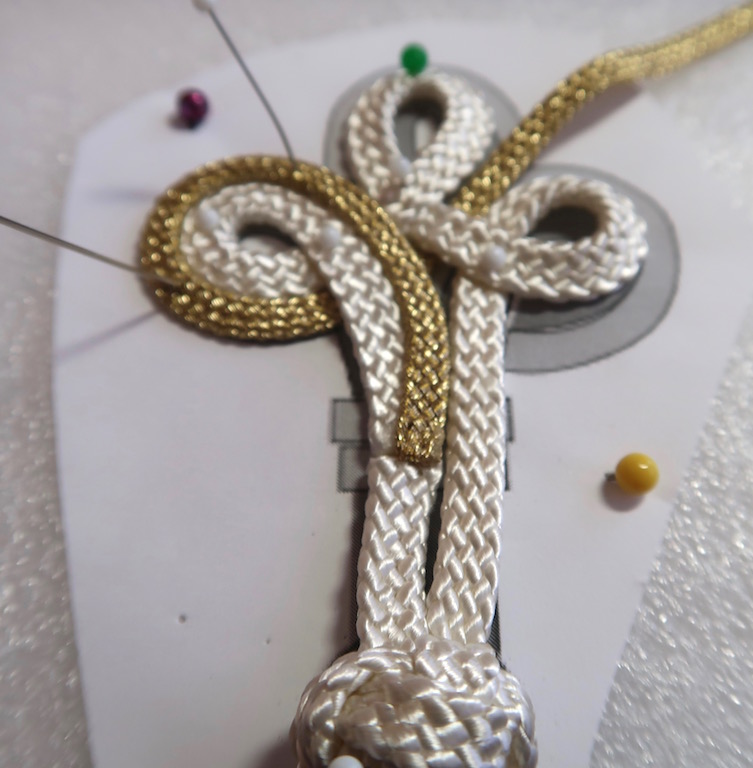
Pull the cord until the metallic one lines up and use a couple of pins to keep it there.
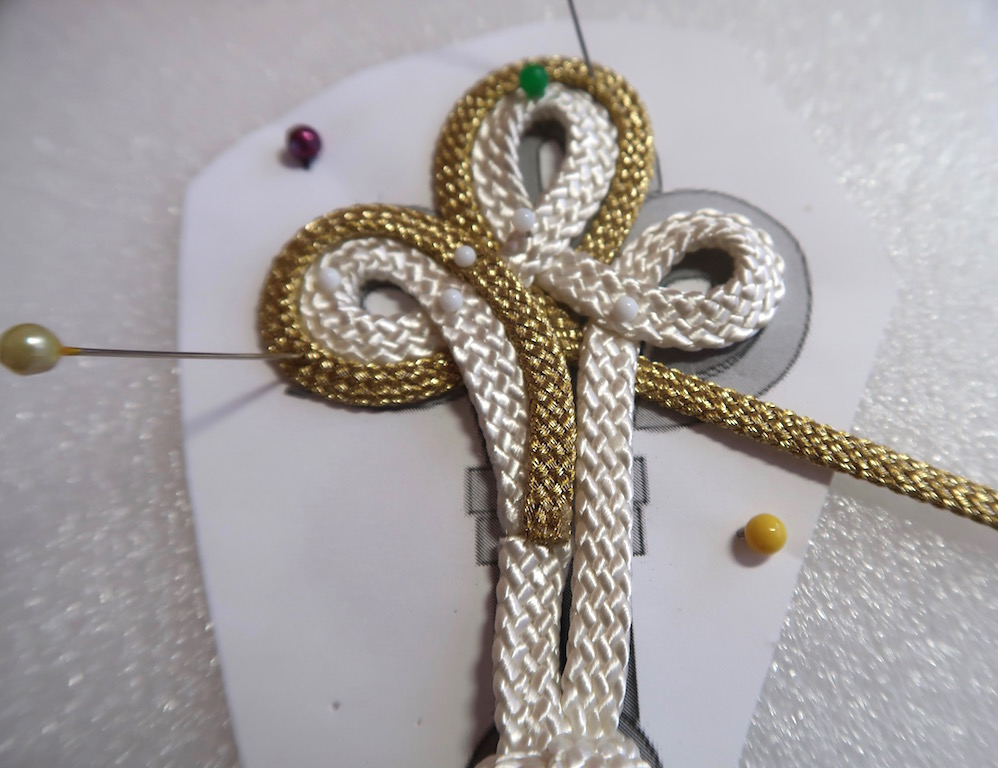
The cord not goes under the stack again to come out below the right hand loop.
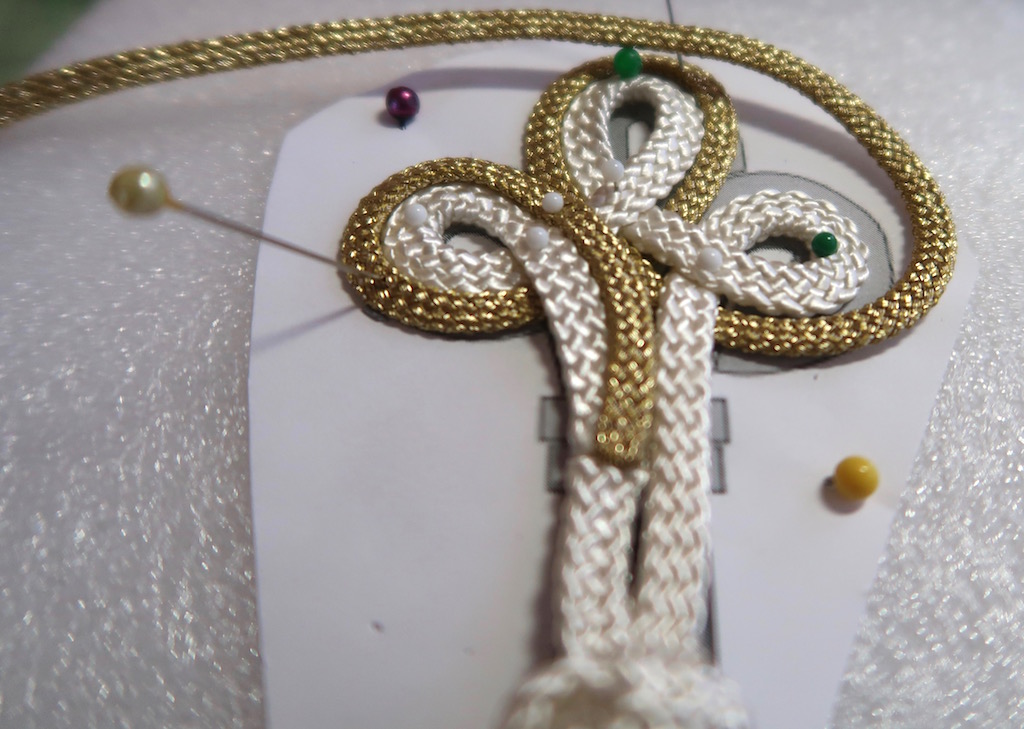
This time it crosses around and over the stack.
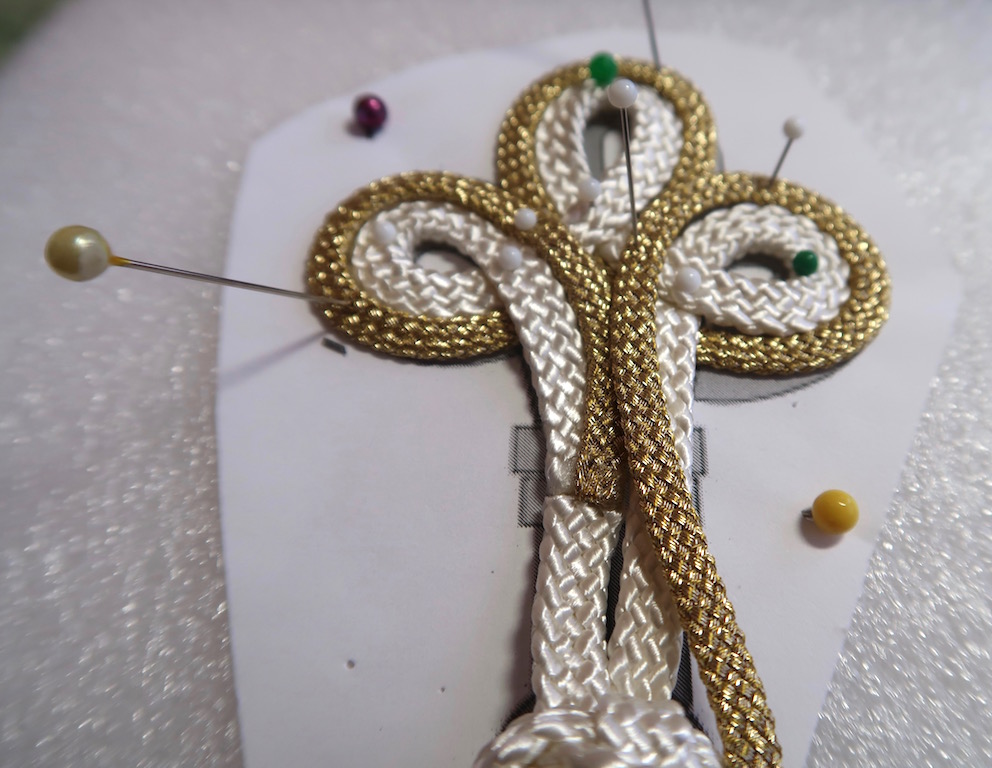
This is a good time to glue it down in the center front.
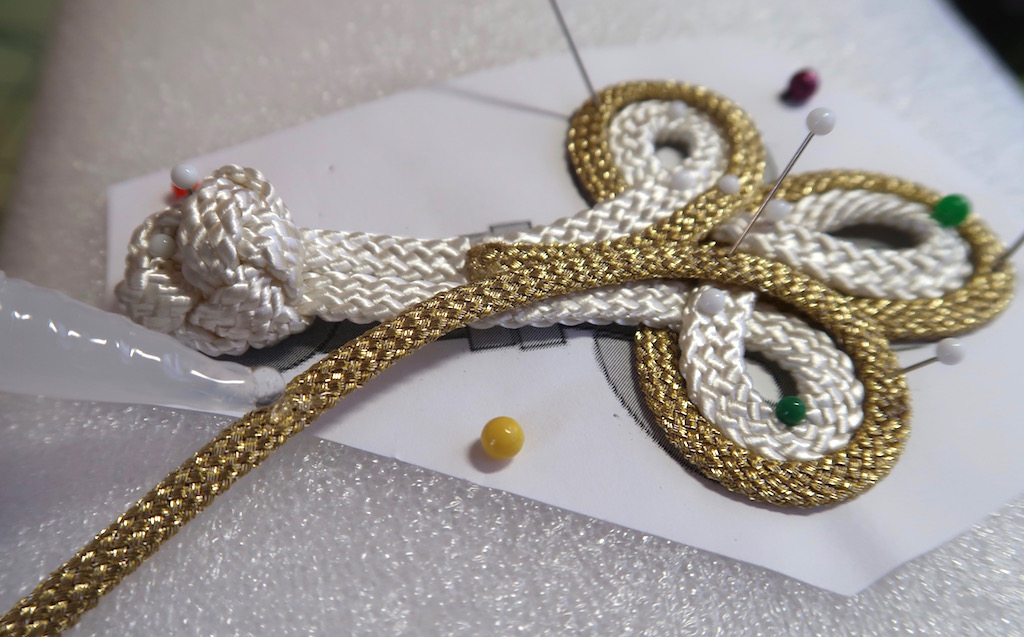
Add some glue to the cord where it needs to be cut which is about where it touched the frog knot.
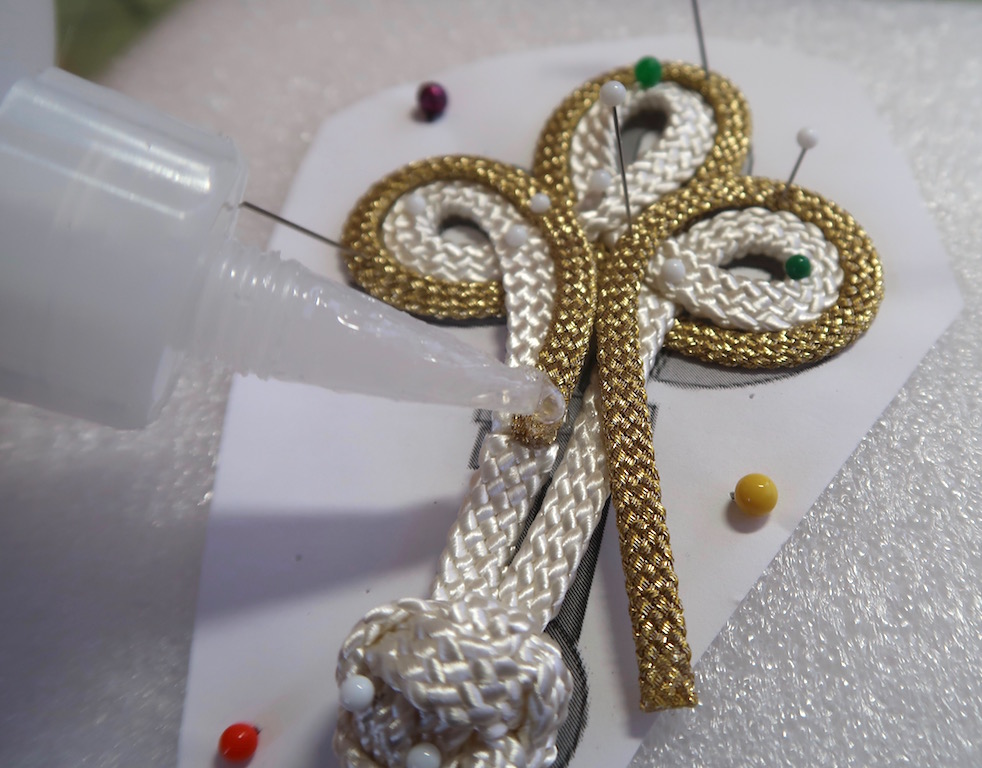
Cut the cord and glue the cord down over the cut end of the cord you started with.
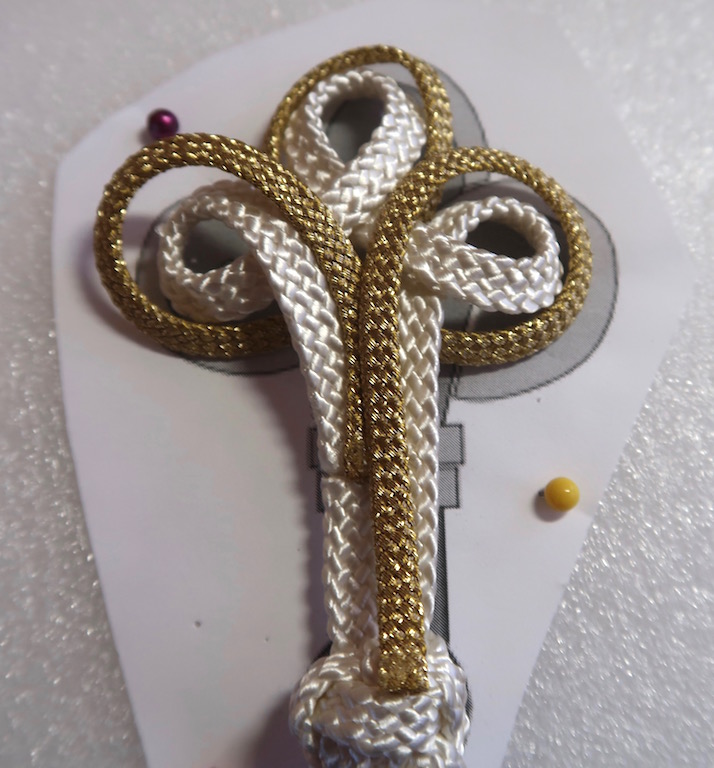
Un-pin the the cord from the pattern.
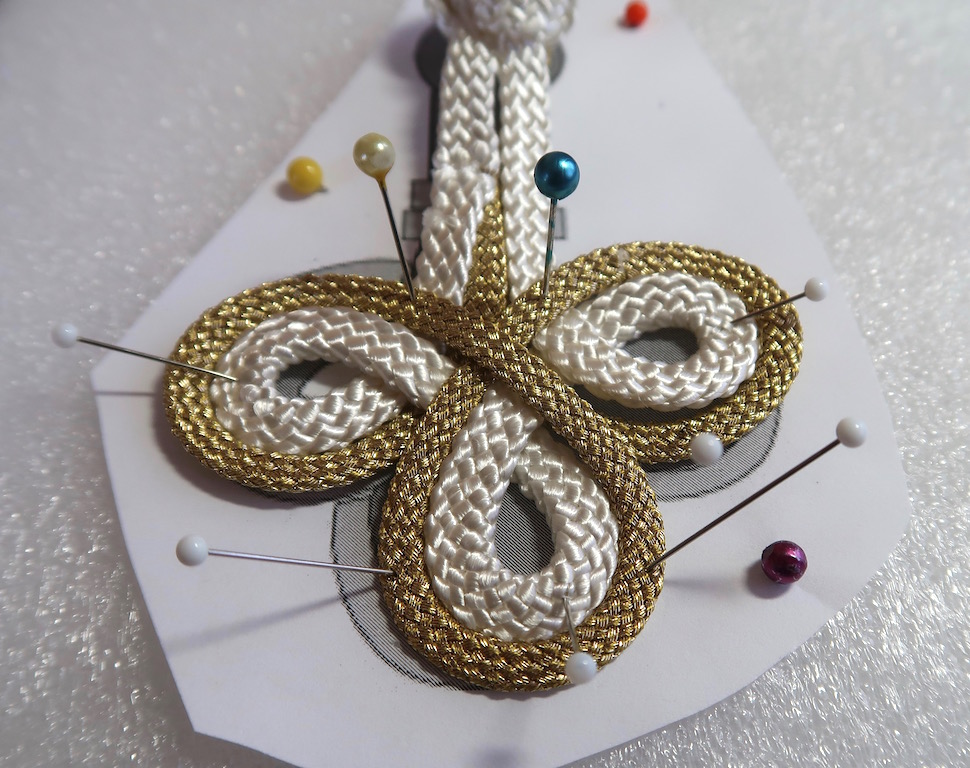
Flip it over and pin it down again. Glue down and crosses of the cord that are not glued already.
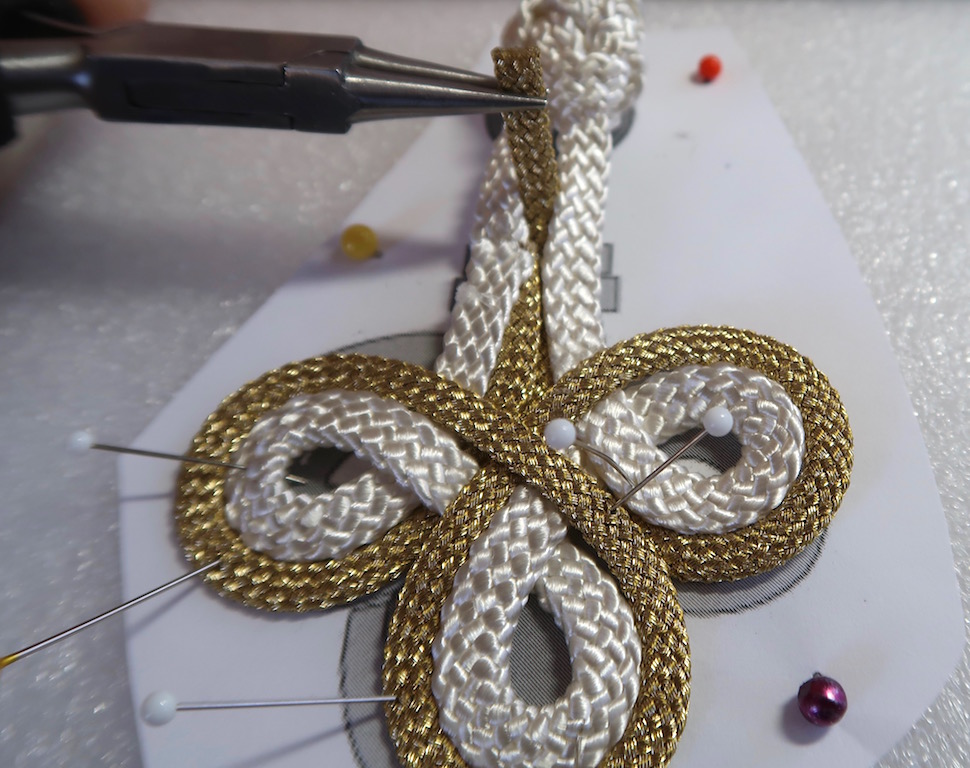
Using the pliers pull the cut end of the metallic cord up between the two non-metallic cords that come from the knot.
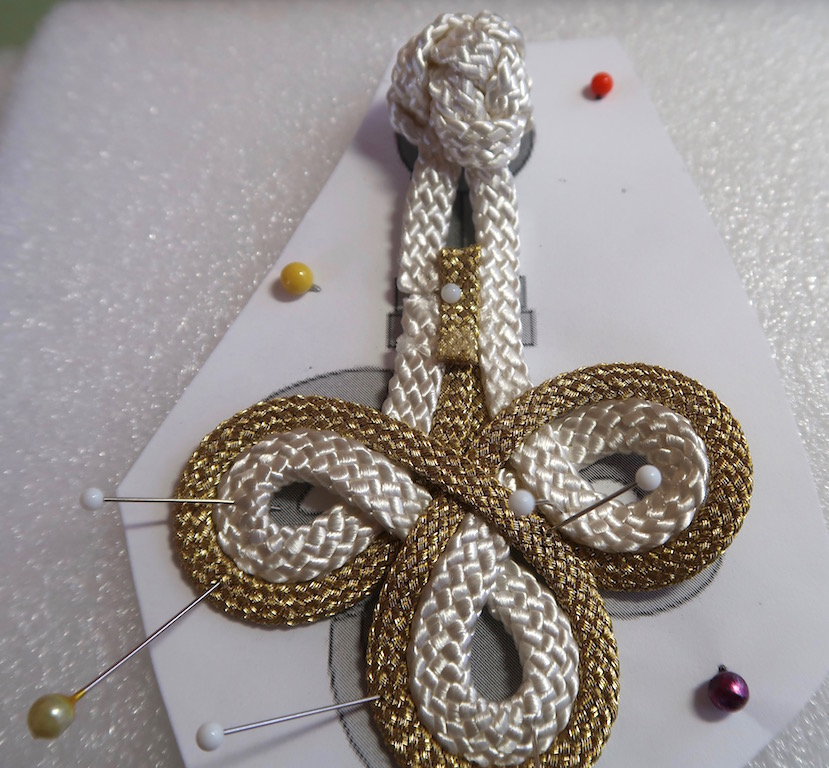
Fold it back. Glue it an pin it down until the glue has set.
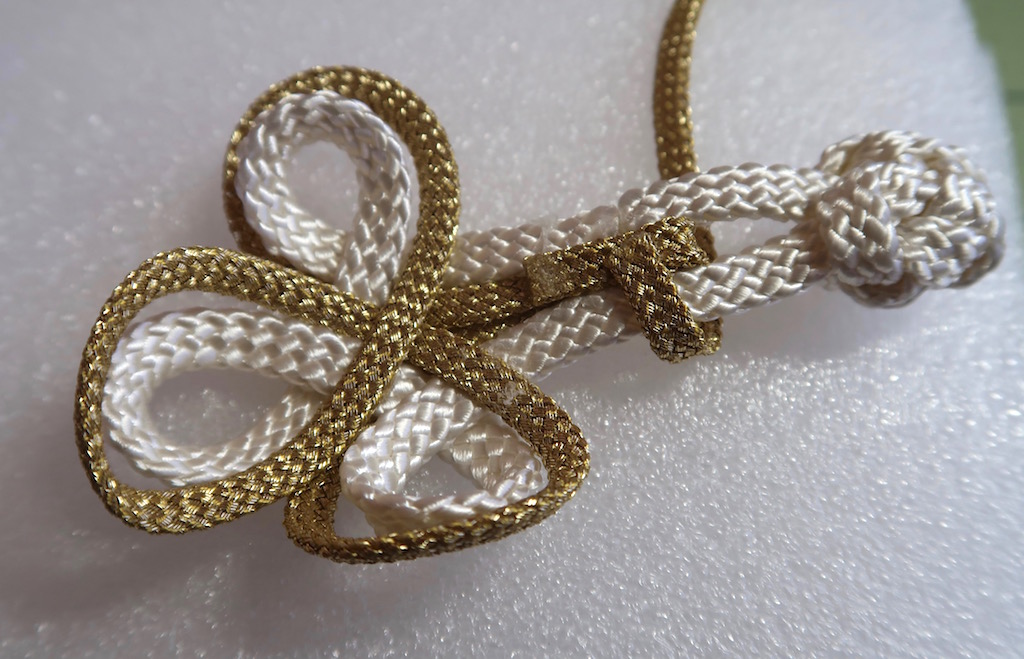
Un-pin it from the pattern and on the back side, glue a cut end of the metallic cord crosswise to the existing cords .
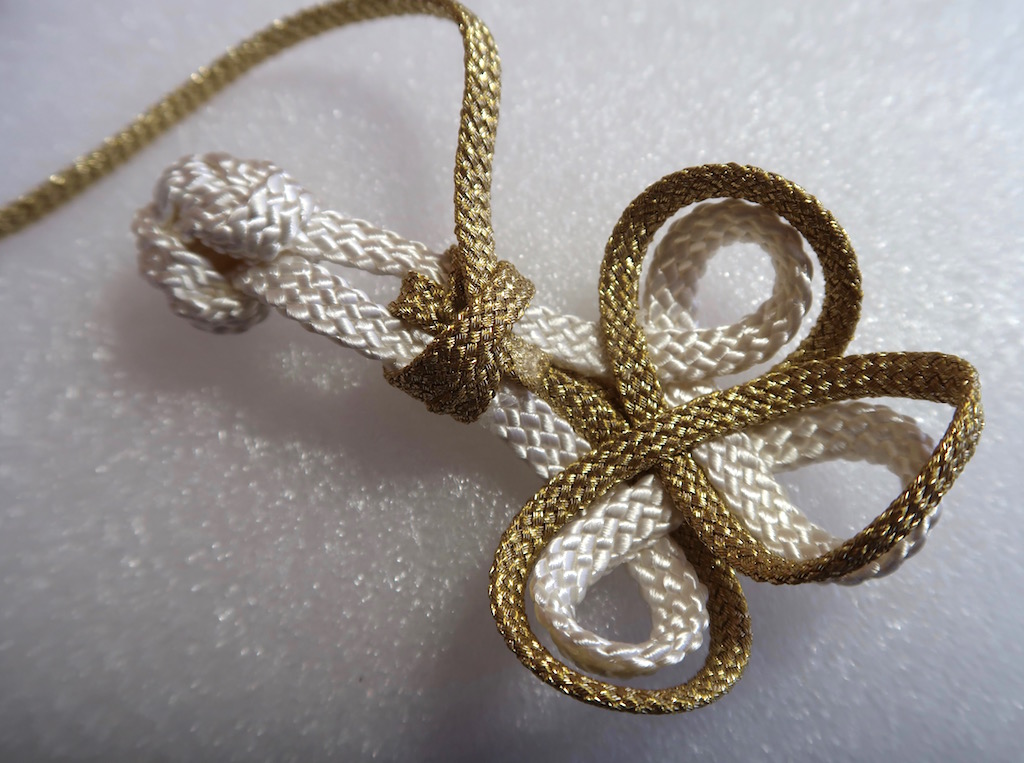
Wrap it around twice and the thread it under the wraps and glue and cut.
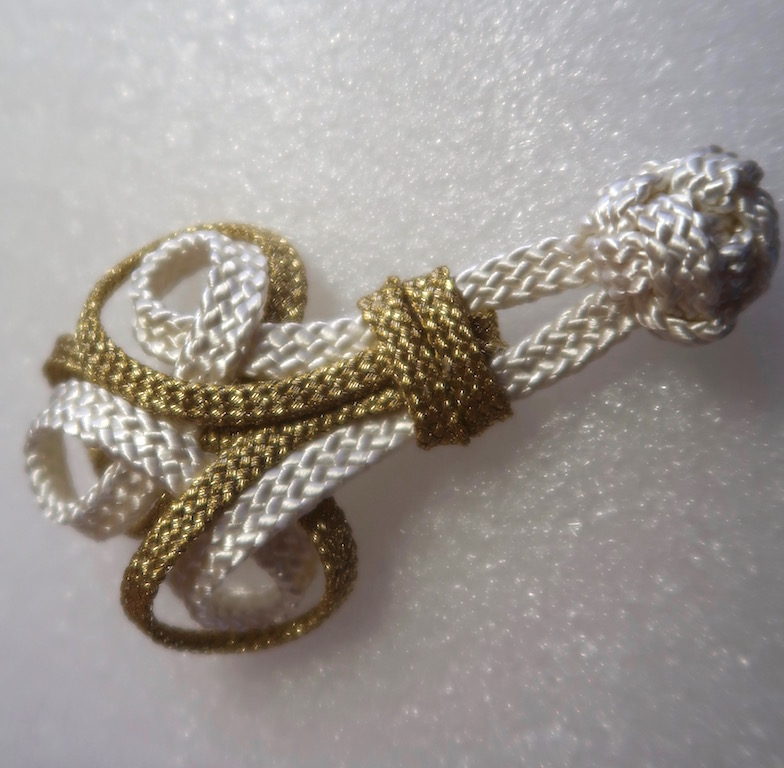
From the right side adjust the two wraps so they are in the correct place before the glue dries. I know it looks bad but,…………..
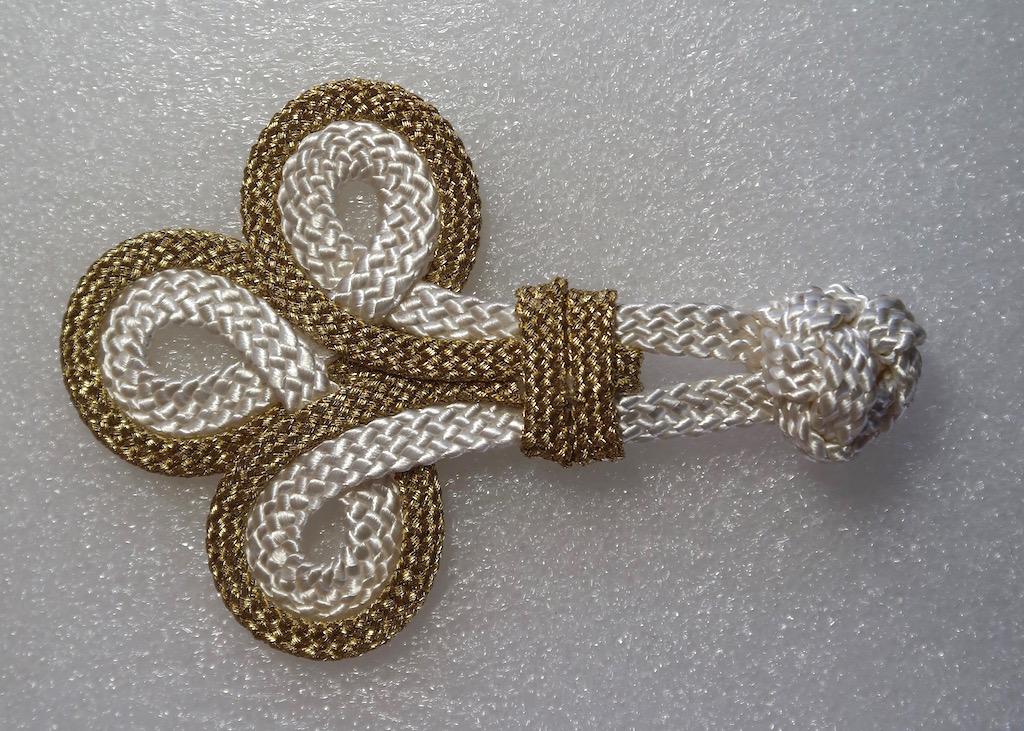
The loops not need to be steam pressed from the front with a press colth between the frog and the iron.
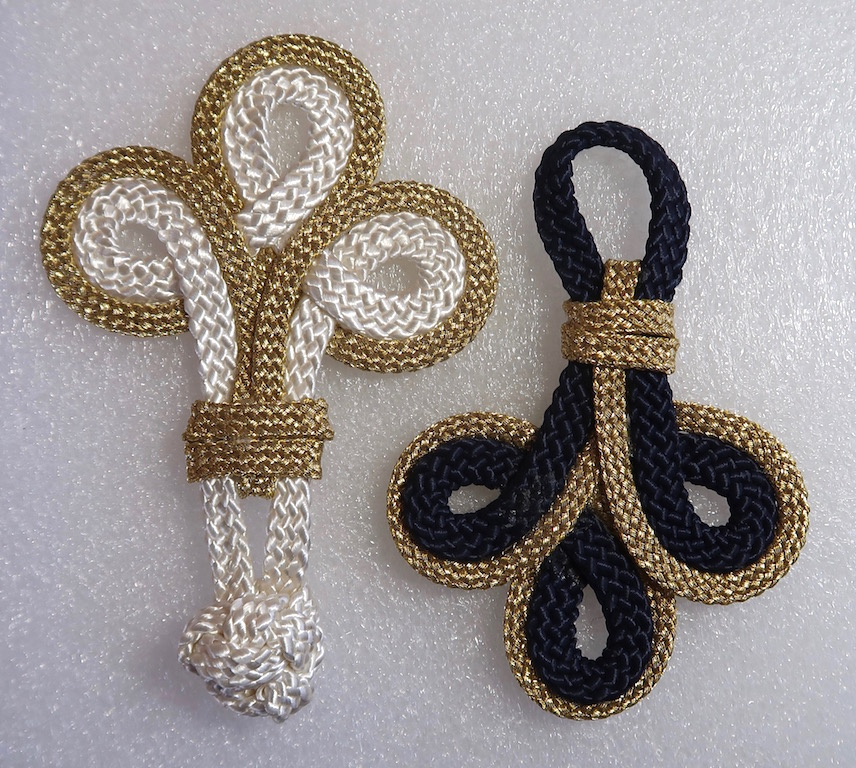
Making the loop is the same, just follow the pattern, except a little more of the metallic cord between the two sides of the loops shows than in the frog side. I did not have enough cord to demo that side as well. Note: that mine looks a little different that the comercially made frog. I took the time to keep the metallic cord from ending up under the edge of the non-metallic cord in the loops.
When you are sewing down the frog to your garment it will be important to make sure that the cords that come from the knot and the loop are well anchored near the double row of cross cord. This is where most of the ware will take place during buttoning and un-buttoning.