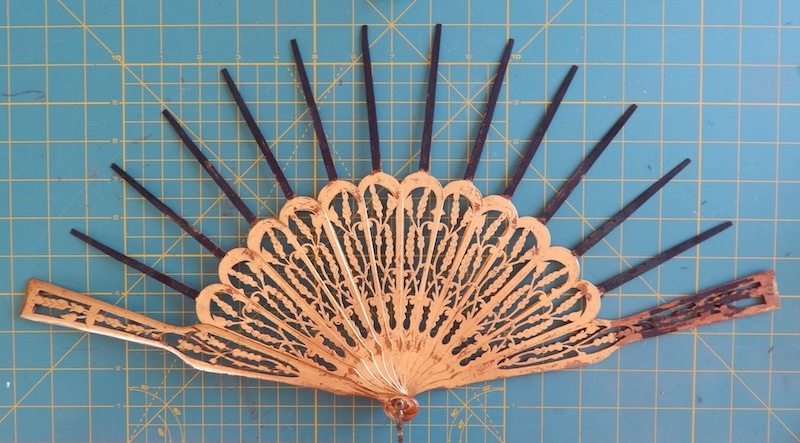
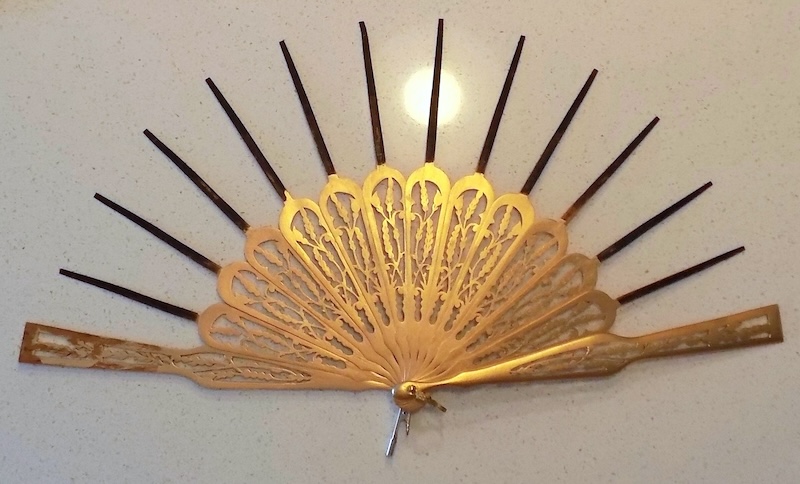
This 1870s gold leafed wooden fan needed some wood repair and a total re-paint and of course the black shear silk leaf was only a fragment. I got it on EBAY from a lady that was selling some of her G-G-Grandmothers stuff, I payed about what it cost for her to ship it to me.
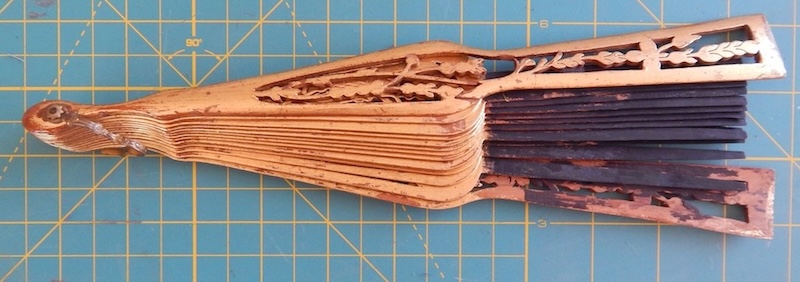
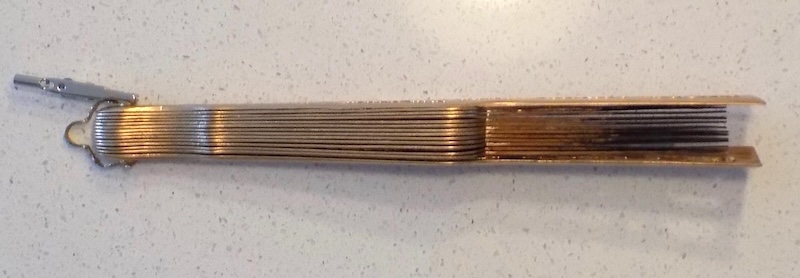
This is what it looked like folded after I removed the shards of the silk leaf.
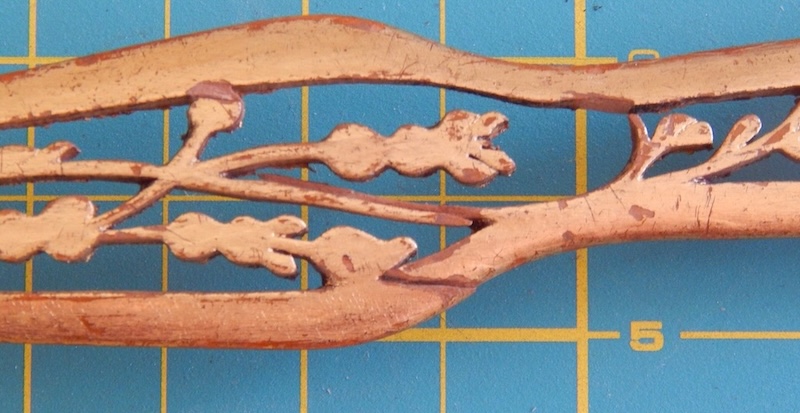
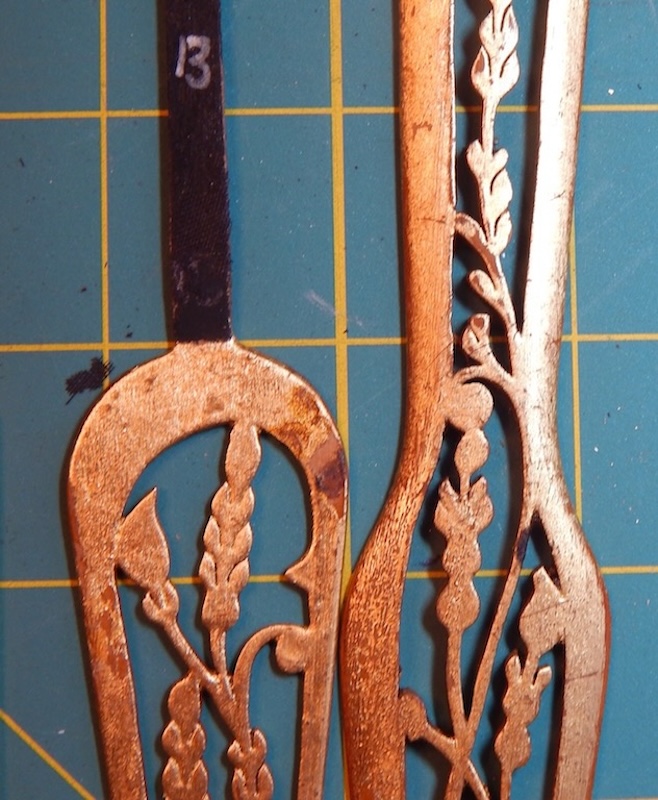
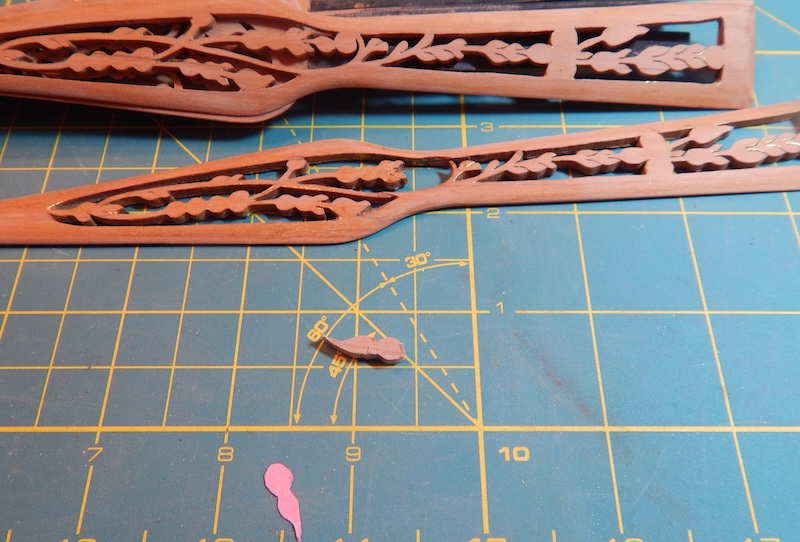
The fan was is really good shape except for one of the guards. There was a crack in the edge and a missing bit of wood in the center floral design.
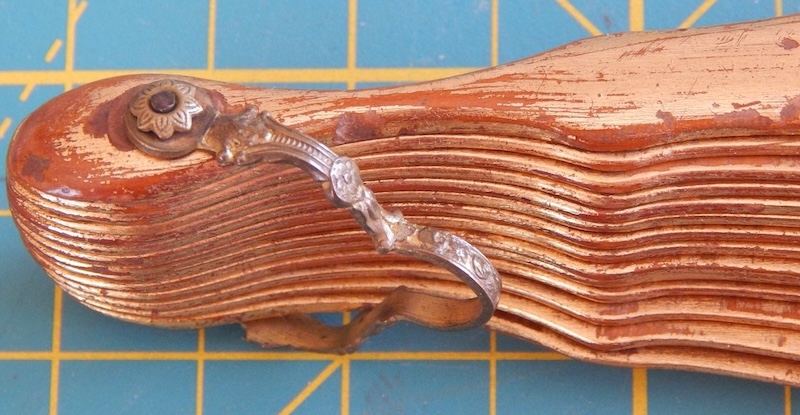
The “u”ring loop was beautiful and the decorative washer also more decorative than any I have owned.
I asked for a picture which she sent. Here she is about the time period she would have been using it.
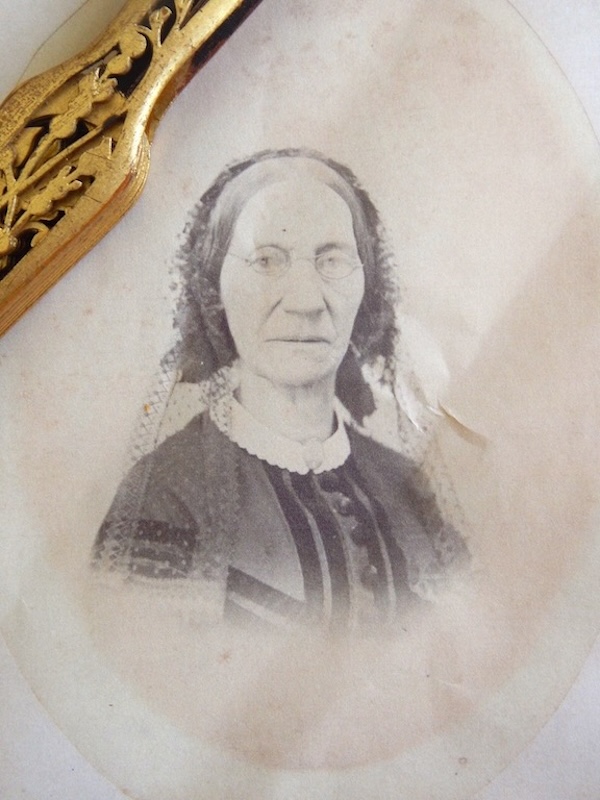
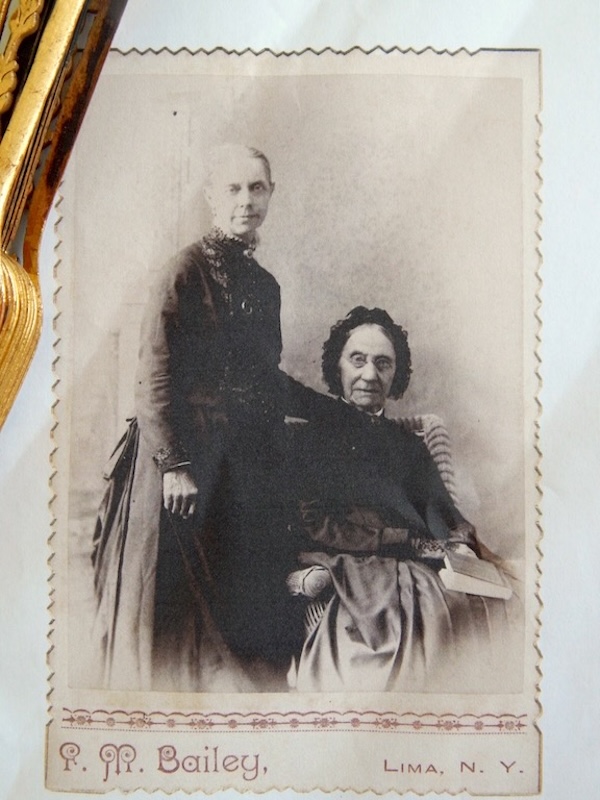
I think this might have been when she was a little older but she was coloring her hair.
I cut the rivet with a jewelry saw. and then I could take it apart.
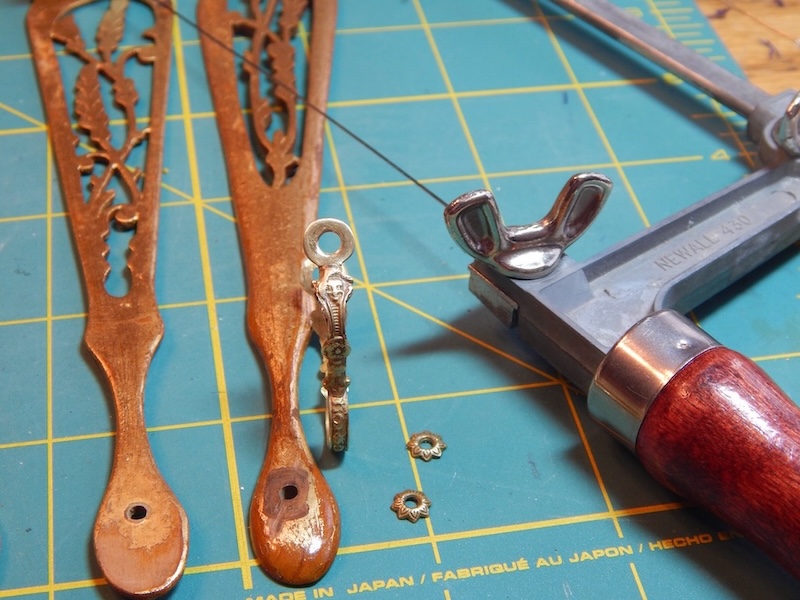
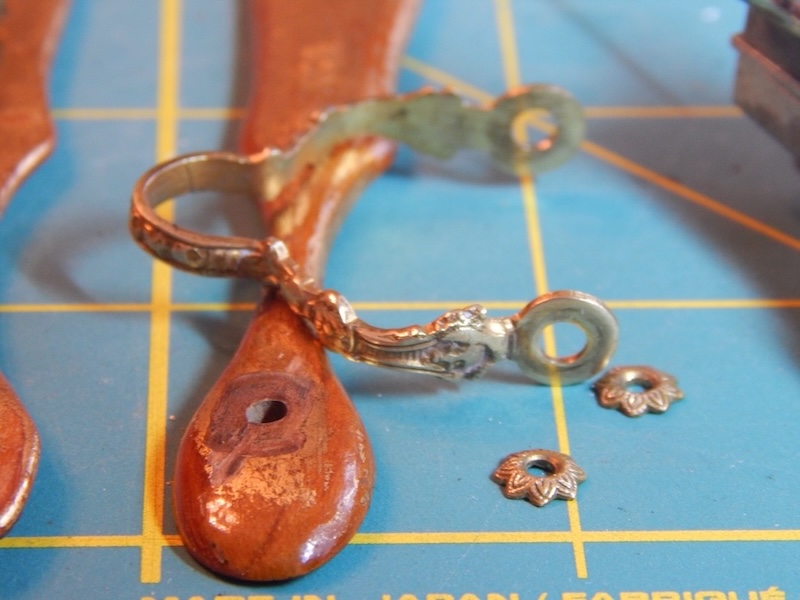
I did clean the brass. Because this was a fan I was going to repaint, and replace bits of wood I had no problem removing the patina on the brass.
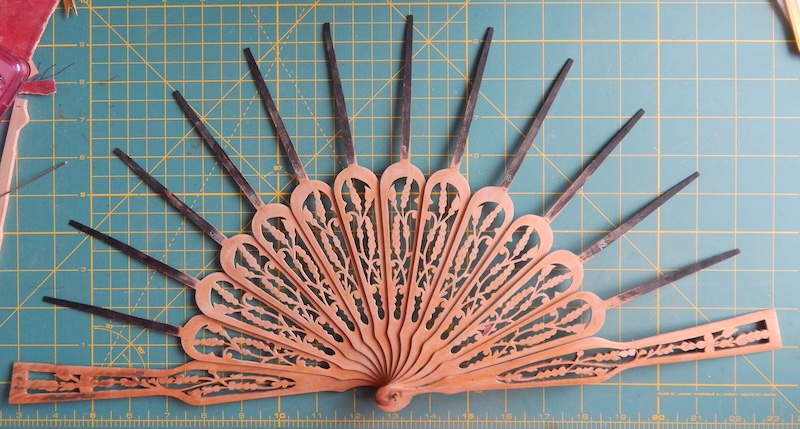
Here are all the bits laid out. I did number the ribs.
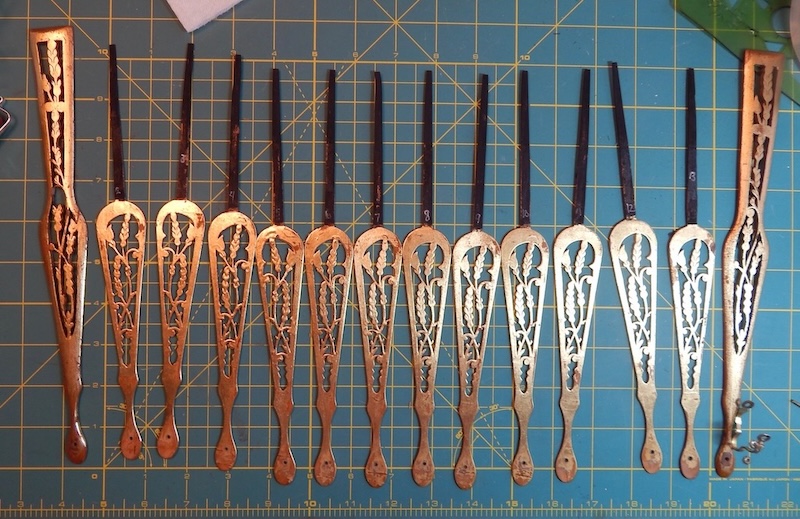
See the 13 in white heat-a-way pen. I started sanding two parts the unbroken guard and #13 rib.
I used a find grit sandpaper. I sanded the lower parts of the ribs only, the upper parts being thinner are subject to breaking and I will be blacking them later.
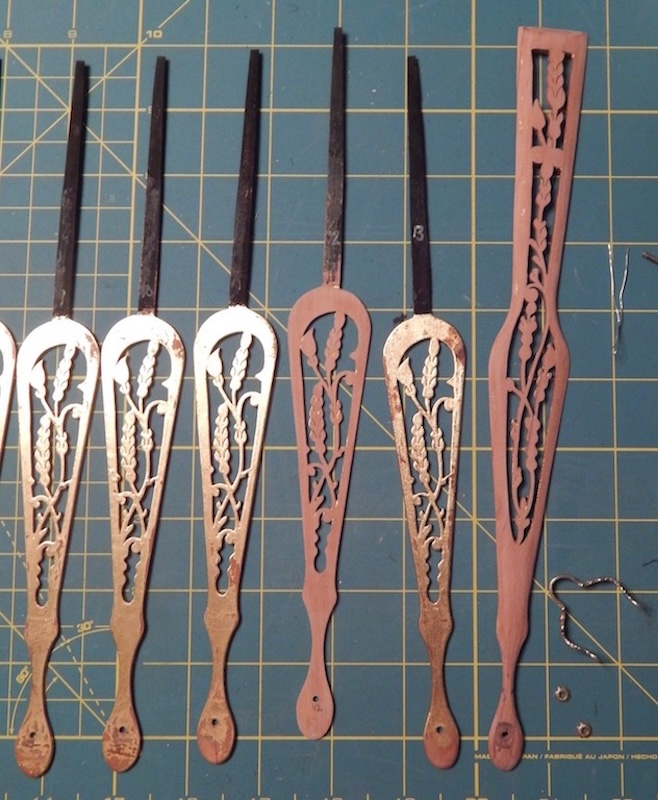
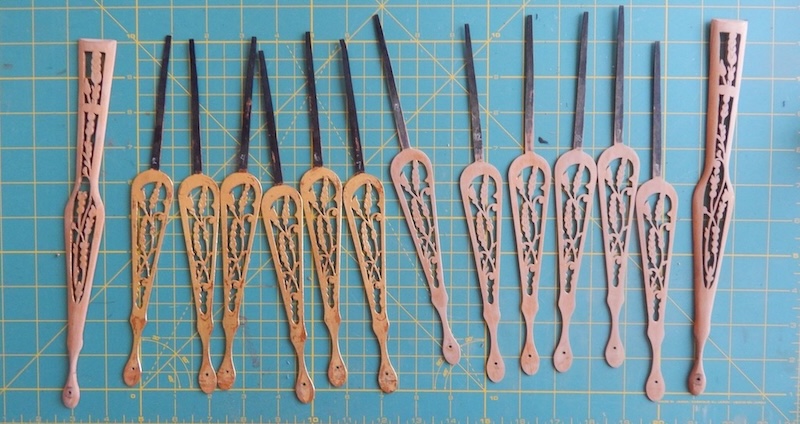
Half done!
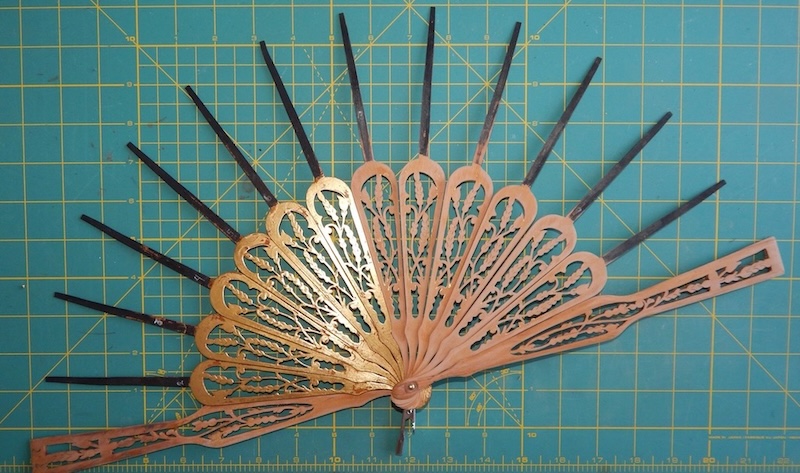
I just had to put them together for a look and to store them.
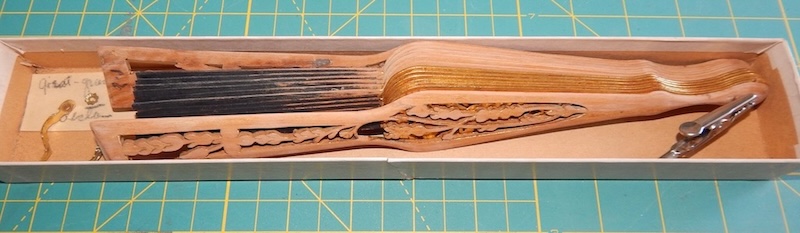
I stored the fan and bits in a box. I thought I was being careful. Then I lost one of the decorative washers and that stalled me. Good news, I found something I could use at FINDINGMORE on ETSY and I was able to put them together, picture later.
I glued the split in the edge and added some wood fill to make it even.
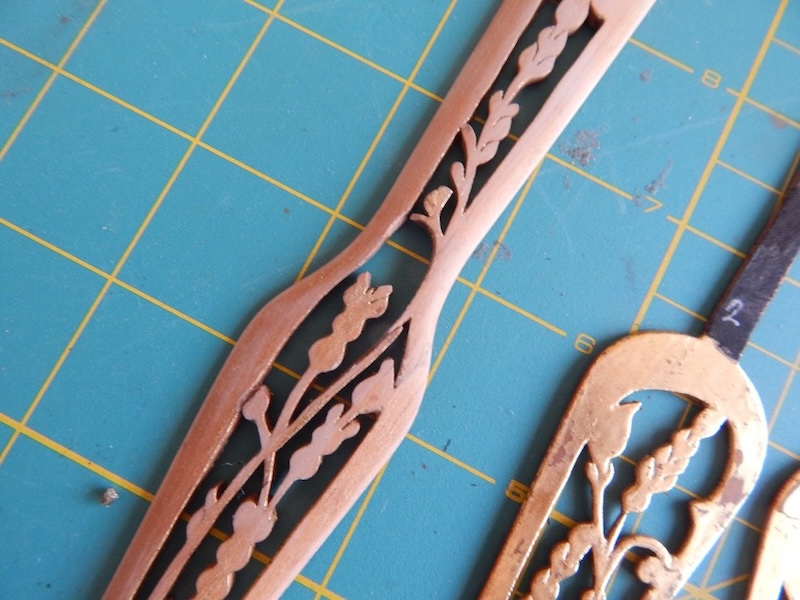
Using the unbroken guard I traced a pattern onto pink card stock. Then traced it onto a 1/8″ thick piece of cherry. Cut that also with the jewelry saw.
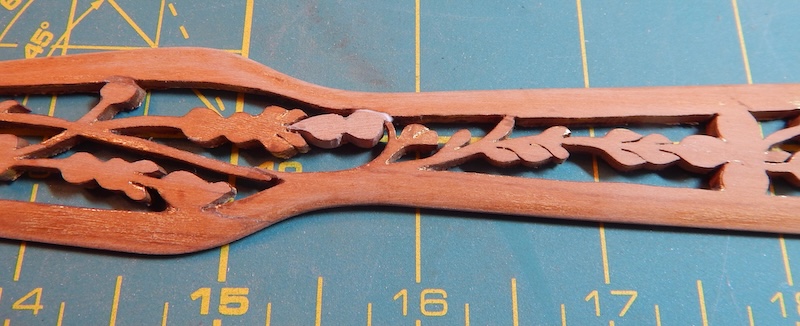
I glued that into place. This is it from the front.
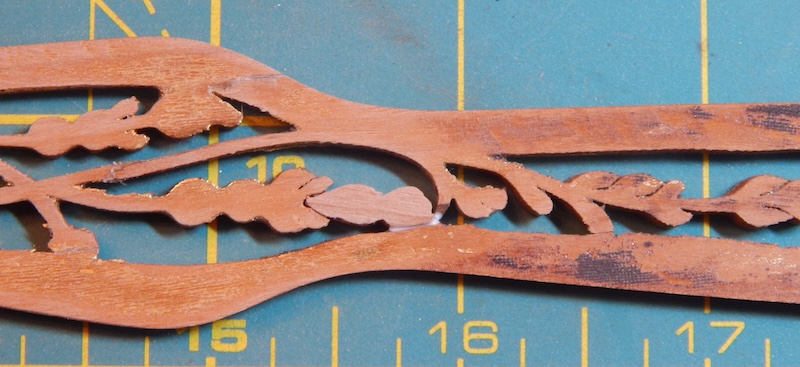
This is it from the back.
To hold it until the glue dried I pinned the guard and the piece to cardboard. Creating as much pressure as possible between the pins.

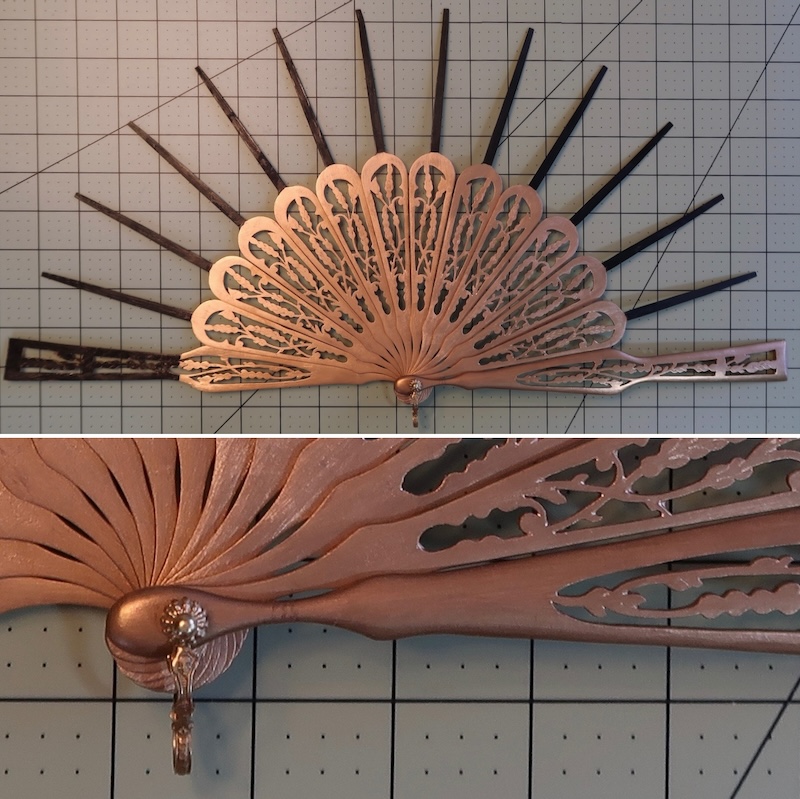
All sanded and ready to paint. I just gold leaf paint, a couple jars. I made a very small very tall container out of aluminum foil propped it in a tall vase and filled it until I could dip the full length of the guards into it with a wire hook I formed from stiff wire. I then very carefully transfer each guard to a nail so it could drain.
The ribs were much easier because I could hold them by the upper rib and also transfer them to clips to drain. It could not have worked better.
This is the fan closed when it dried.
I put it aside for quite a while because of the lost washer but I did finally re-rivet the fan when I found these decorative caps on Etsy.
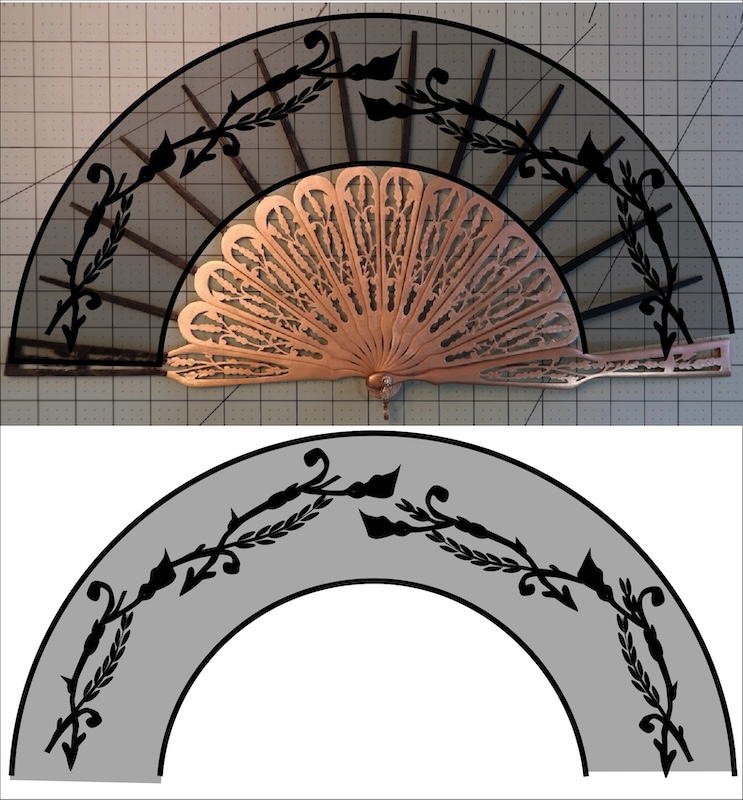
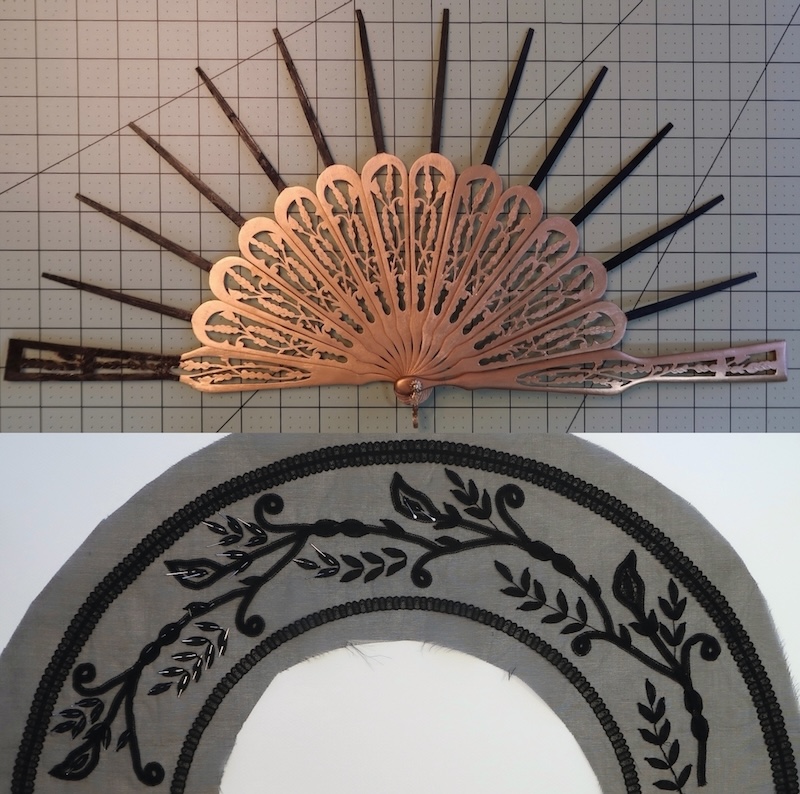
This was my artist design based on some of the floral elements in the wood carvings. I repeat the same bit 4 times. Above is just an computer trick where I took my drawing and layered it over the picture of the fan.
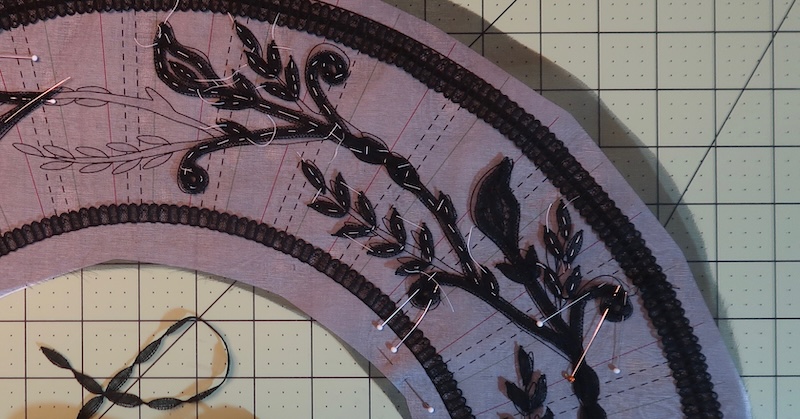
I started for real over the fan. By pinning then sewing lace tape onto silk organza. I know the original fan had silk organza and silk Marquisette because there were traces of it left glued to the sticks.
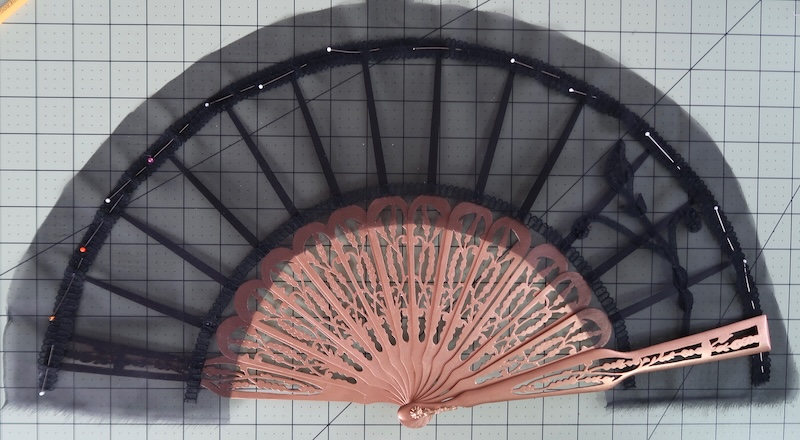

Here it the real start I’m sewing lace tape over silk organza. Called “Princess” lace or “tape lace” it just works for the time period.
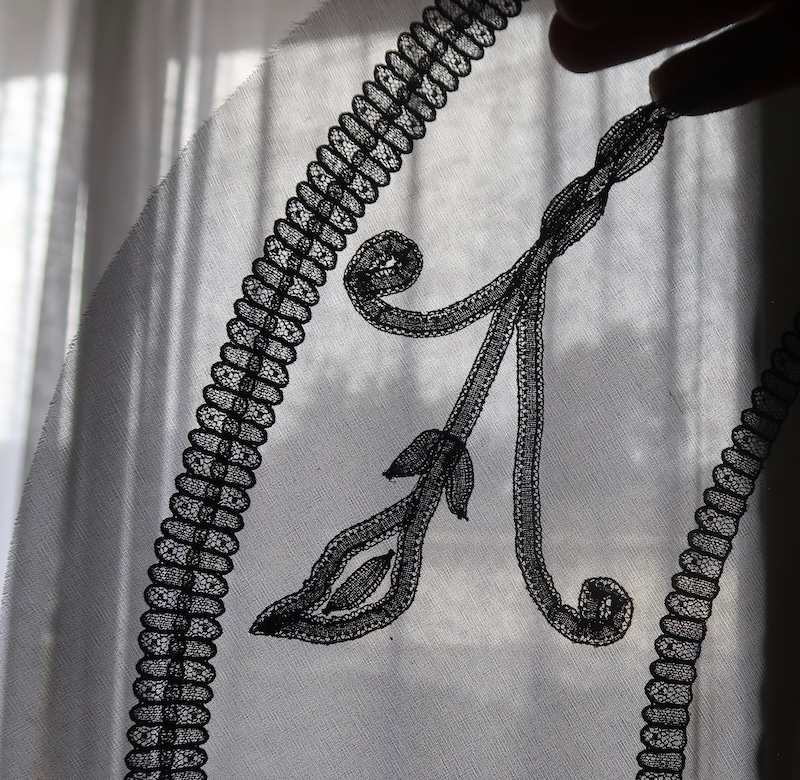
How the lace looks with light coming thru.

This lace tape comes in many different shapes. I ordered lots of the lace that is made up of many leaf shapes point to point. You can cut them apart and stitch then to made the compound leaves I have in my design.
Half way thru I ordered some 3/4″ silk pins, it made things much easier.
I’m almost done but for some reason I stoped at this point. I need to dig it out and finish.