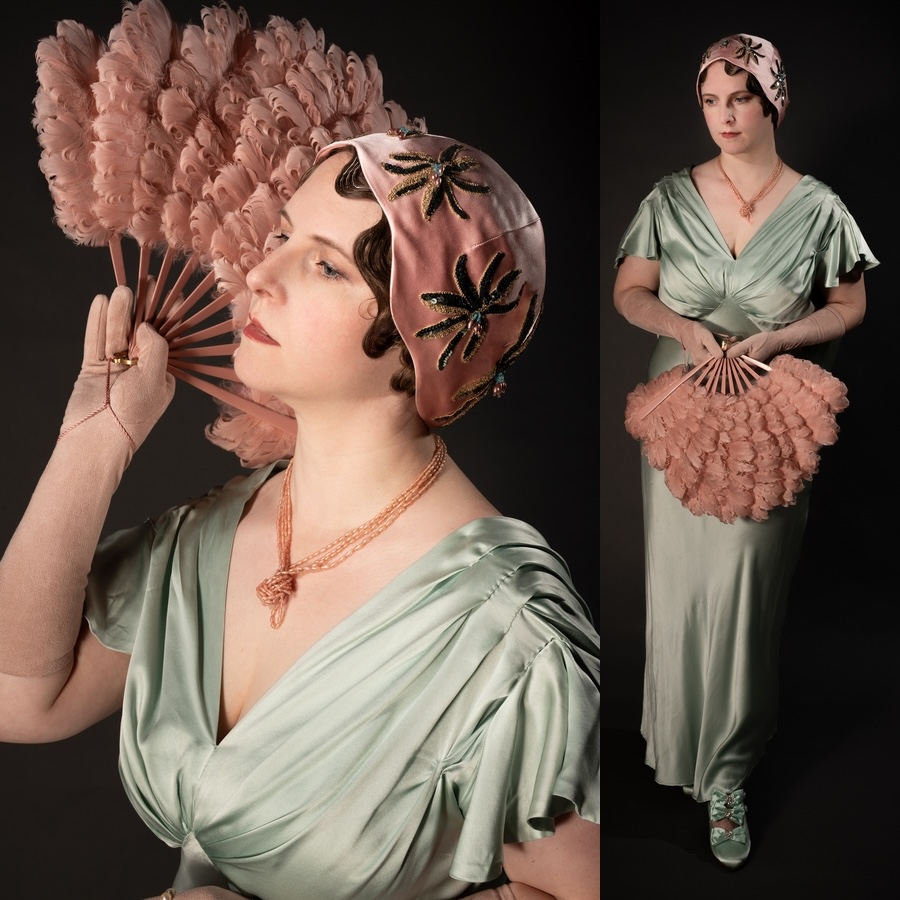
Part 2: Goose Shoulder Feather Fan
In many ways this fan is made like the first one. I used 1/4 lb. of strung goose shoulder feathers (more about that later).
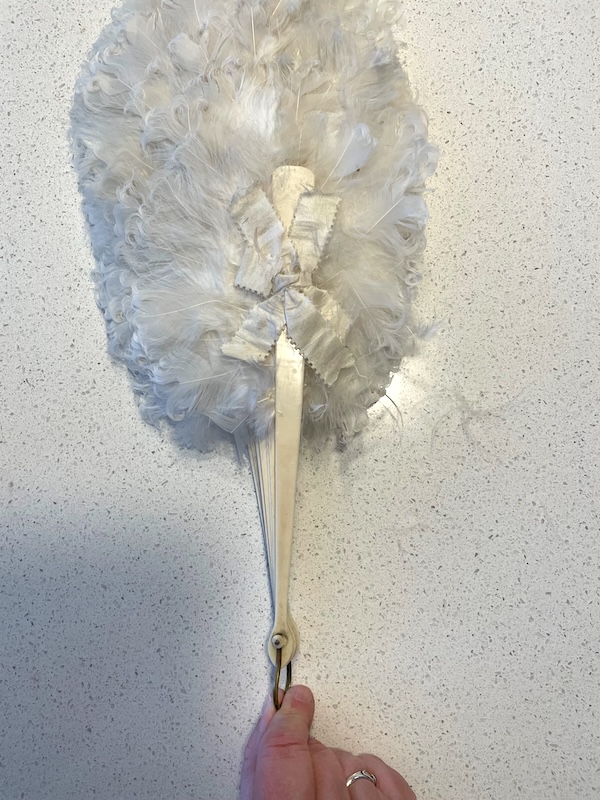
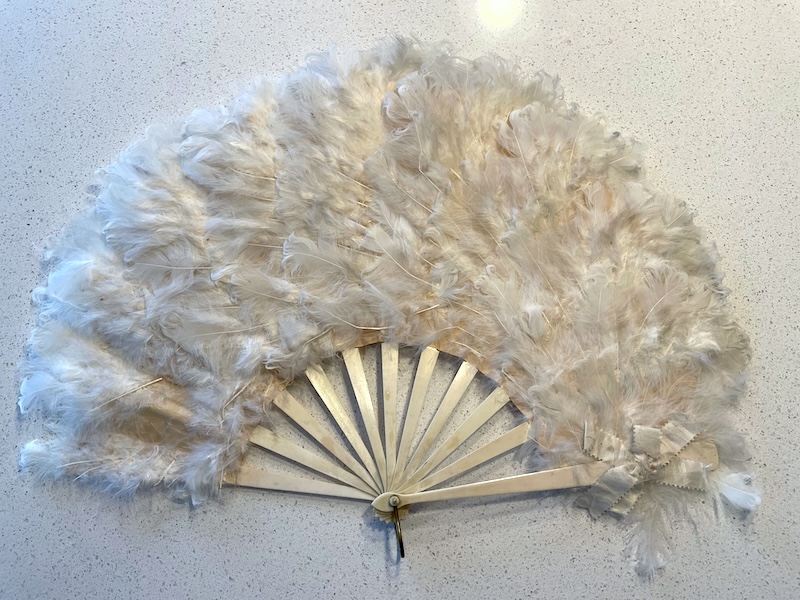
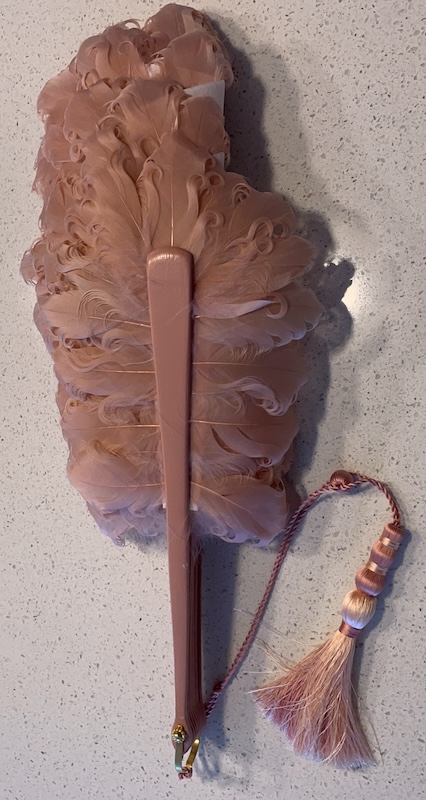
Below is my sample vintage fan. It is in very bad shape. But it gave me lots of insight into how these fans are made. I followed some of the lessons learned but not all……more later.

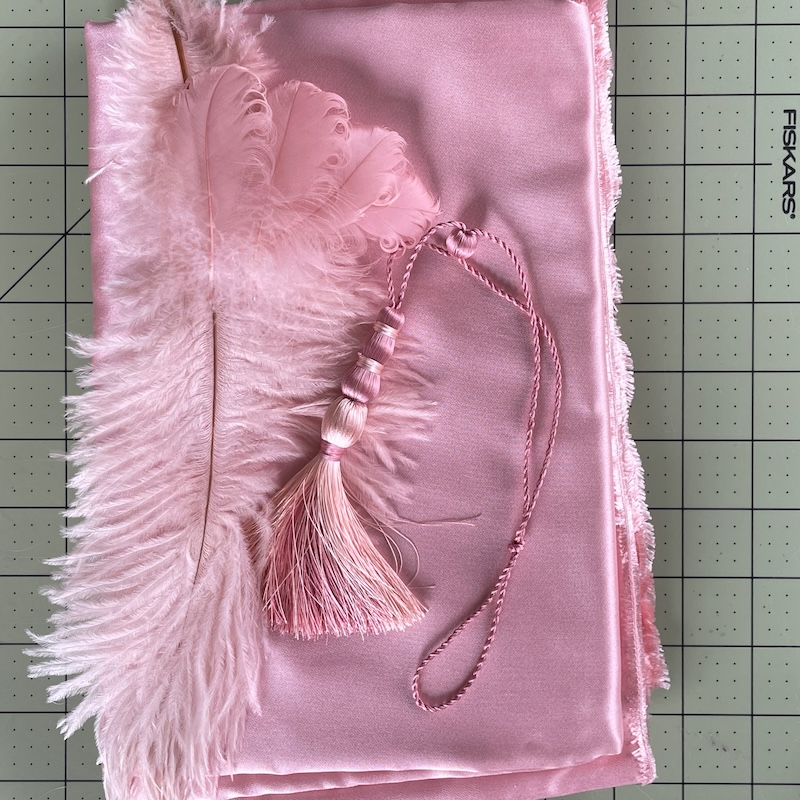
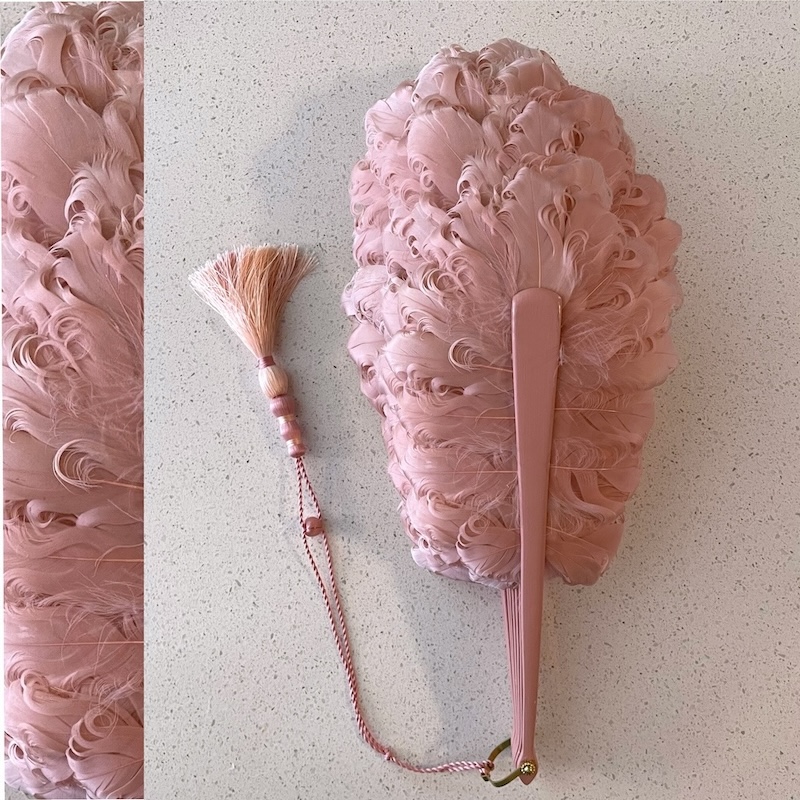
First was to make a “wrist tassel set” that would work for both fans and could be moved from one to the other. Wrist tassel sets are the best thing if you are likely to loose your fan at a ball or other evening event. It’s right there on your wrist you can open and use it without taking it off or let it hang from your wrist when not. They appear on fans from the Victorian era on. If you want to see how I make them check out here.
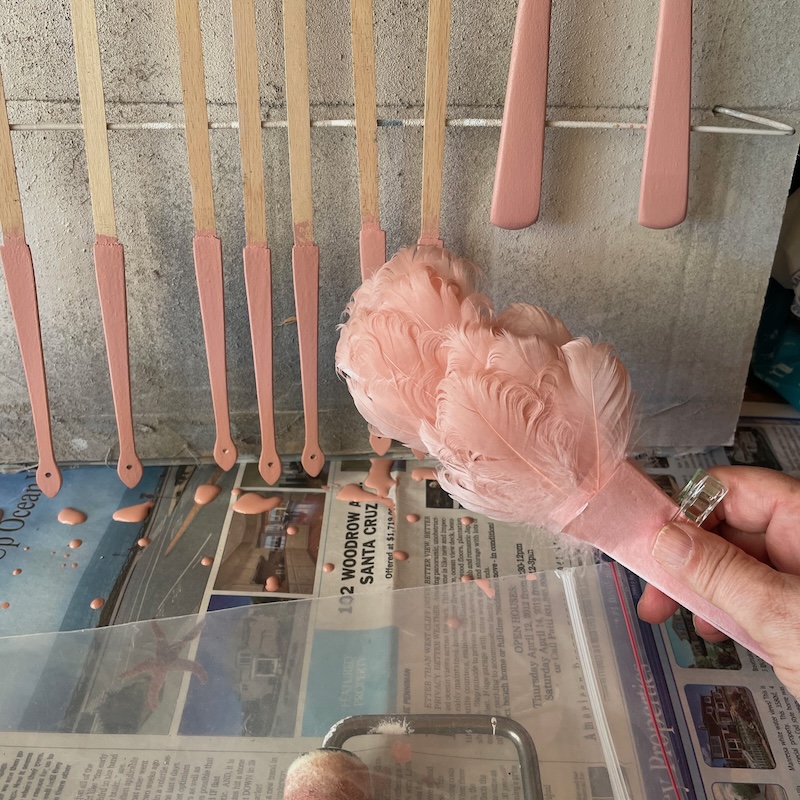
I took a cluster of the goose feathers with me to the paint store to get some paint to color match for my sticks. The paint guy gave me Door & Cabinet paint. When I told him I was painting a fan and that regular satin enamel paint never gets hard enough not to stick to itself when the fan was closed. Very good paint. If you can opt for a sample size jar of paint do it you will not need very much.
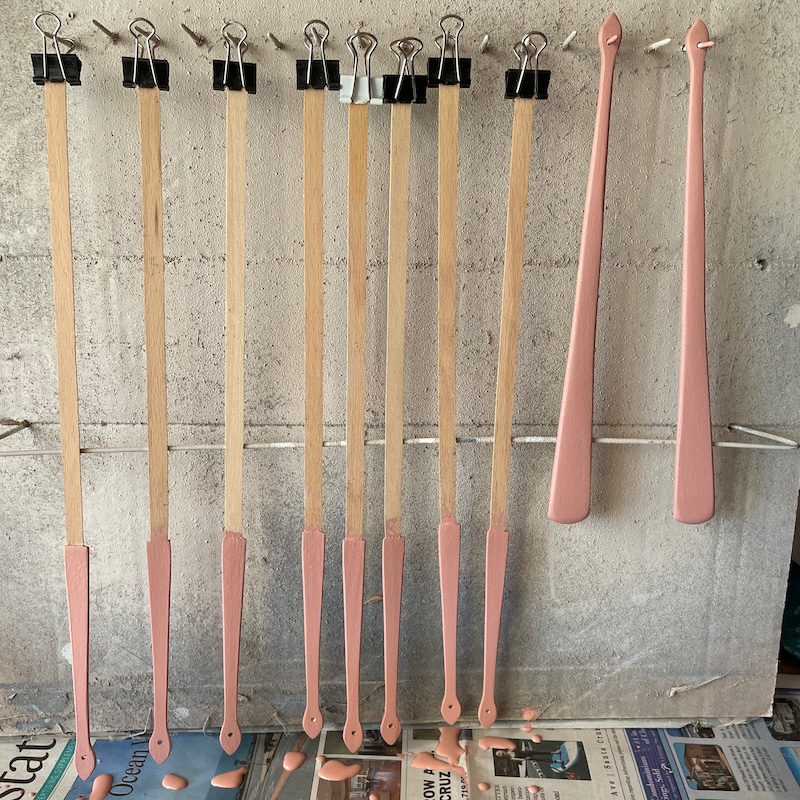
Two mistakes I made at this point I figured I could dip the ribs but the paint was too thick and pooled at the bottom. I changed to a brush after that. Second mistake I thought I could remove one rib and still be OK. But that cause trouble down the road.
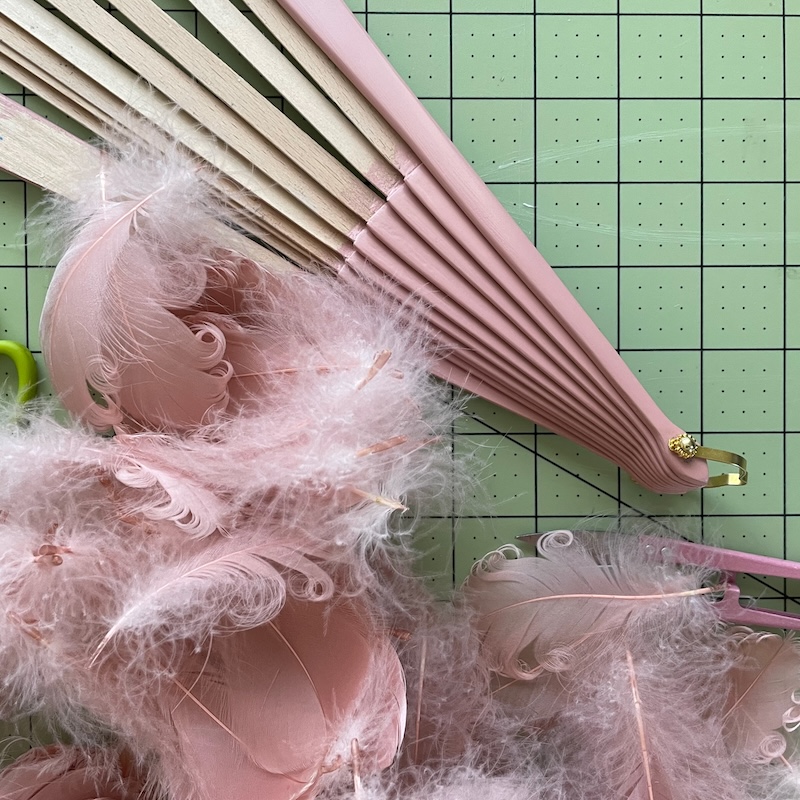
I painted 3 or 4 coats and when the ribs and guards were really dry I set the rivet and added the “U” ring. I also began the task of curling the Goose shoulder feathers. I have an article on how to curl longer goose shoulder feathers called Nigorie. Which leads me to another mistake I made I should have use Nigorie in stead of coquille which are more curved and shorter. But also more expensive.
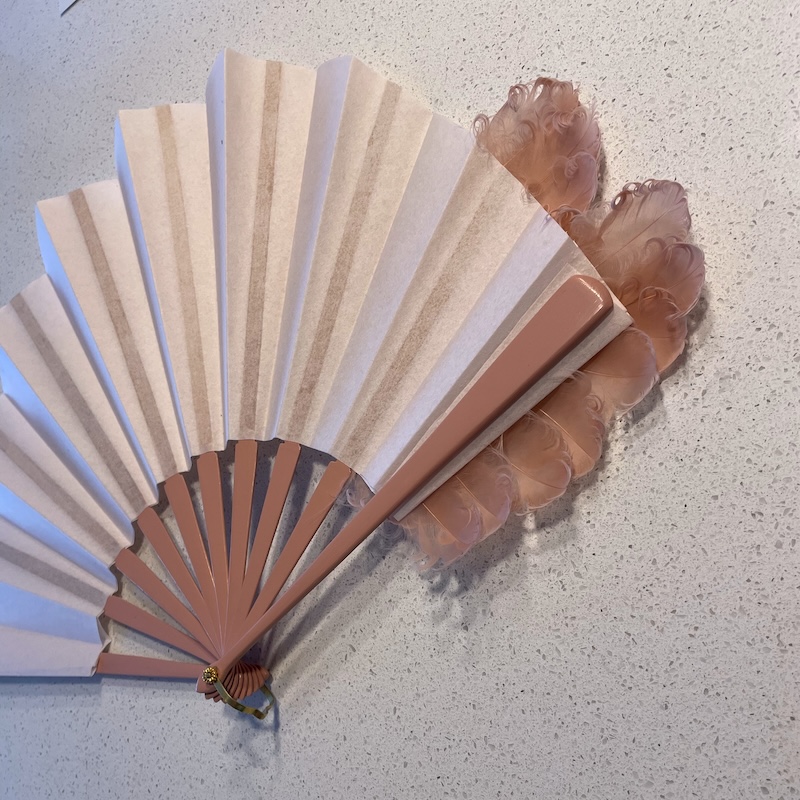
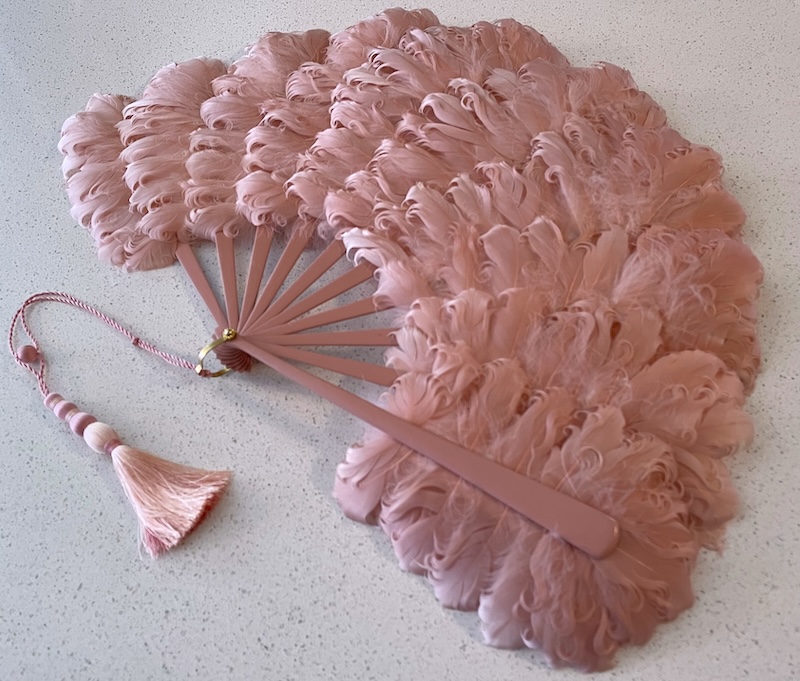
I printed and glued my rice paper leaves on to the fan sticks. Another mistake, I talked myself into a very light pink for the leaves but turns out that matching the feather color is best. As you can see this fan is wider In the center than near the guards. So I did have to leave the ribs long and trim then to length after the leaves were glued.
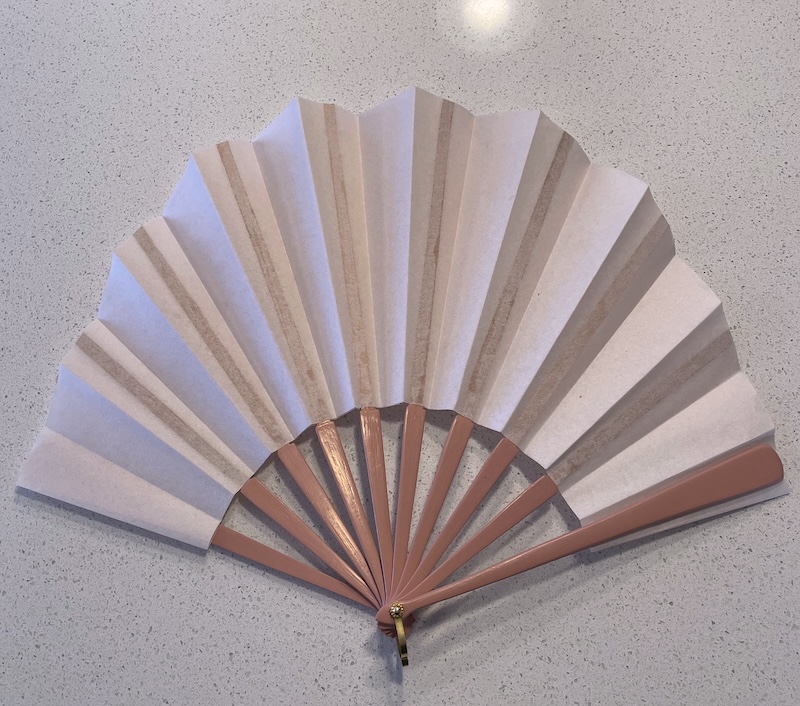
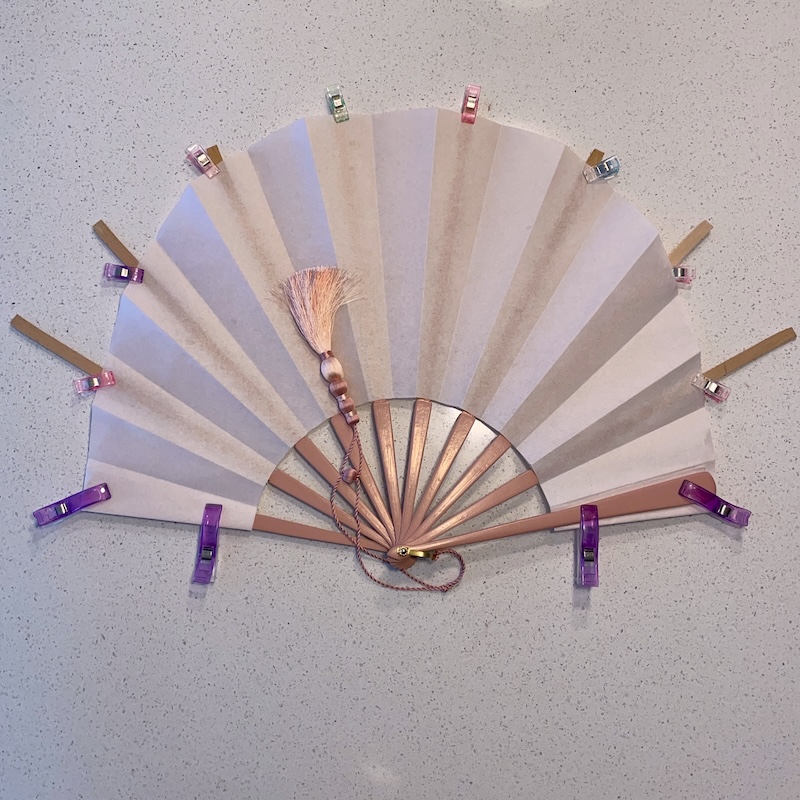
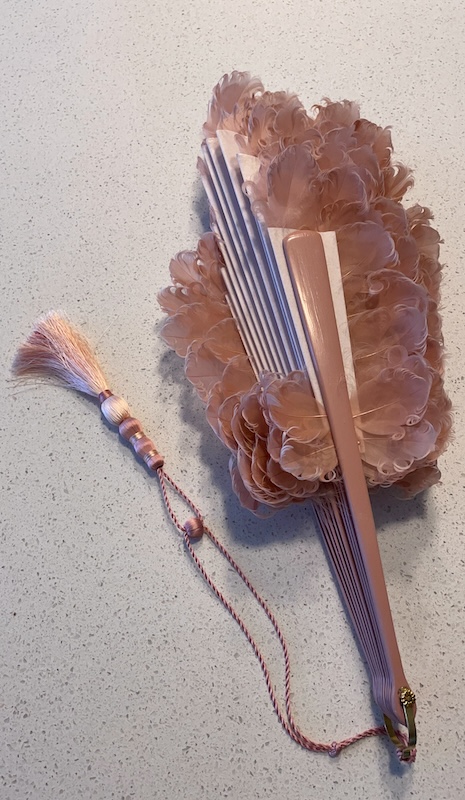
This is how the fan looked when the leaves were glued.
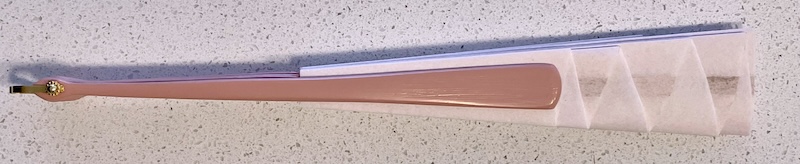
And how it looked when closed.
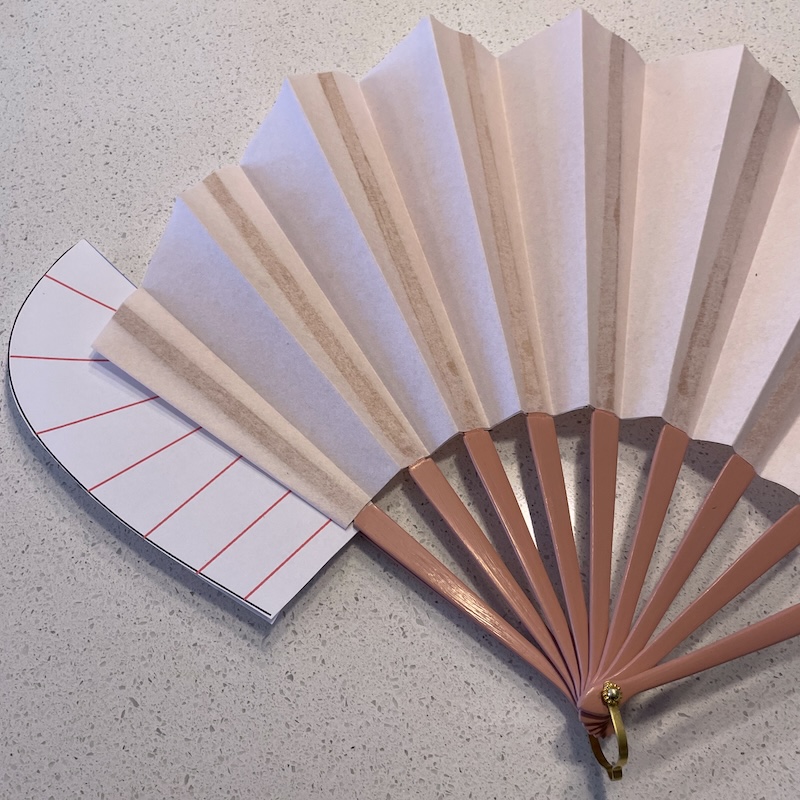
This time working from the left to the right I was ready to glue feathers on. I made myself a paper templet to use for how many and how much each feather should stick out for every section based on the vintage fan.
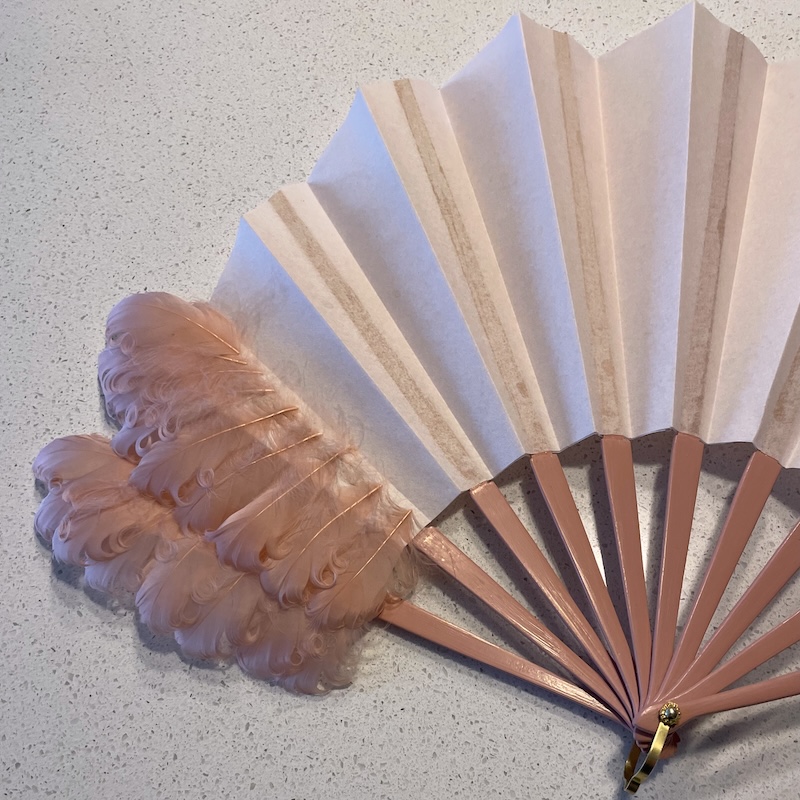
This is how it looked with two sections glued. Unlike with the ostrich fan I did not brush on white glue over the section I used Becon’s fabric tac glue and added that just to the stem of the feather where it was going to touch the paper (~last 1/2 to 3/4″).
The same two finished sections from the back,
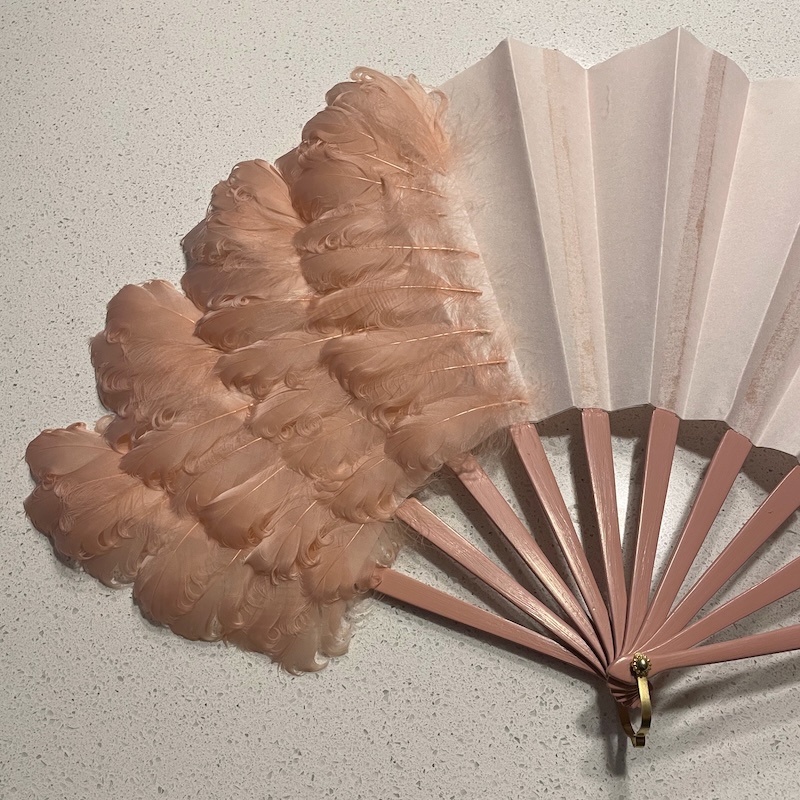
now I have 4 sections glued on,
here 6.
I switched to gluing the feathers that go under to upper guard.
Then went back to glue the last two sections.
the fan from the side.
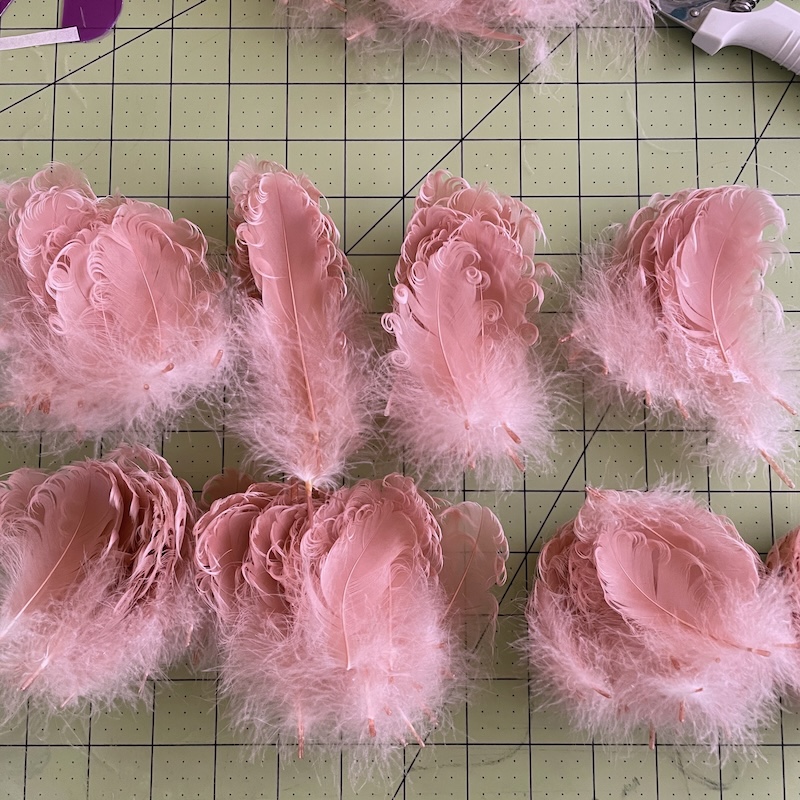
Now for the back. I decided it would save time if I organized the feathers into size groups.

I added to smallest ones to the base of the fan from left to right.
This is what that looked like with the fan closed from the back.
And what it looked like from the front.
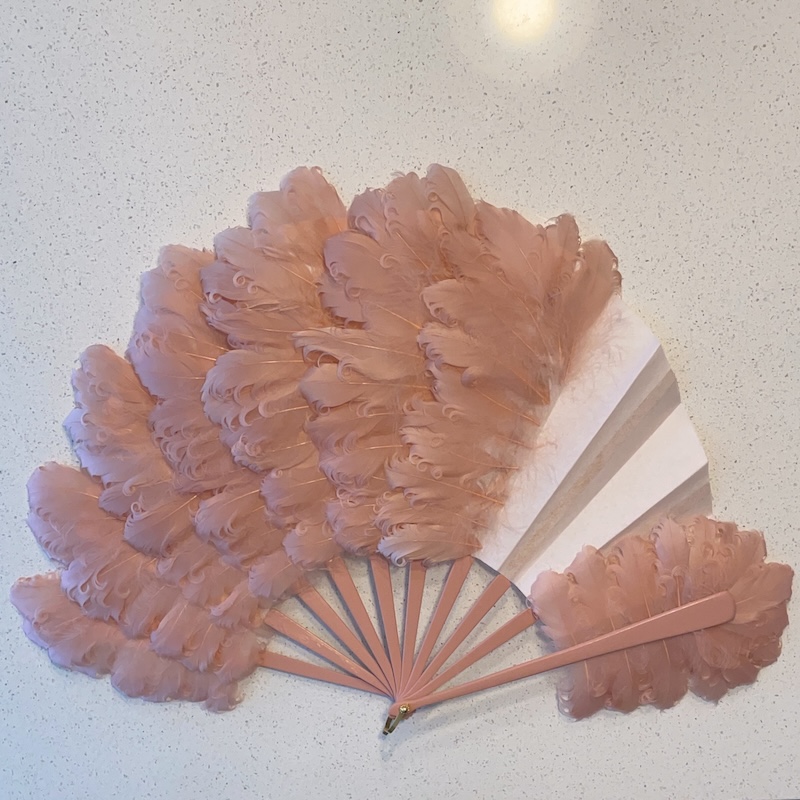
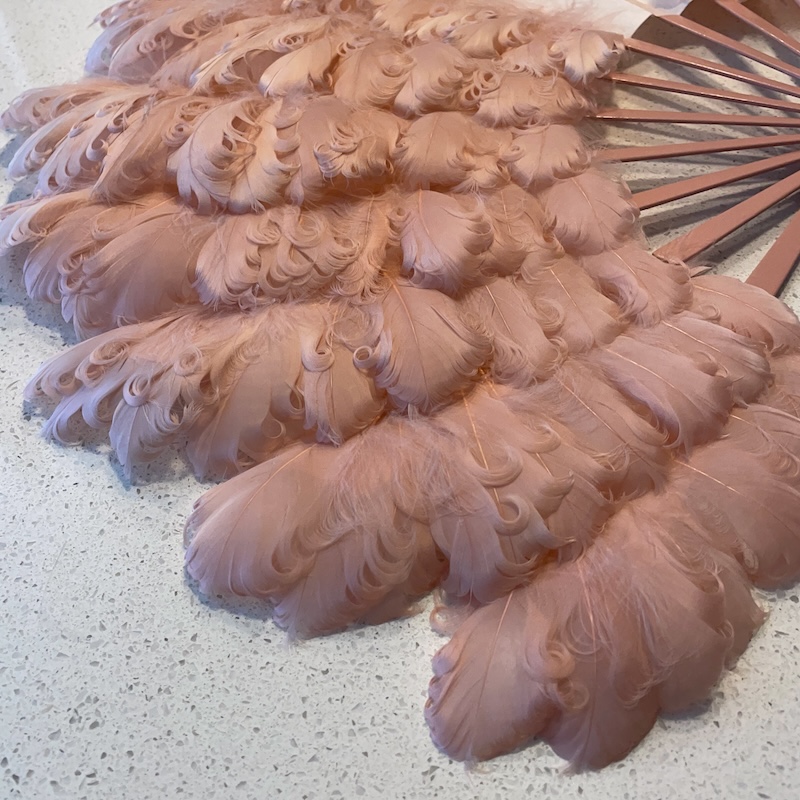
I continued adding longer and longer feathers to fill in all the sections.
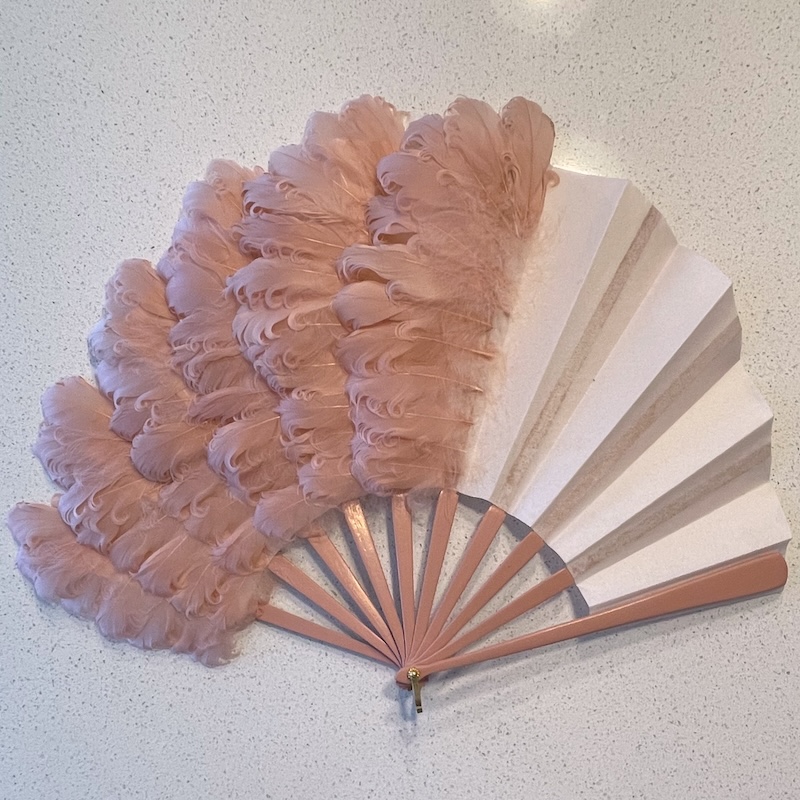
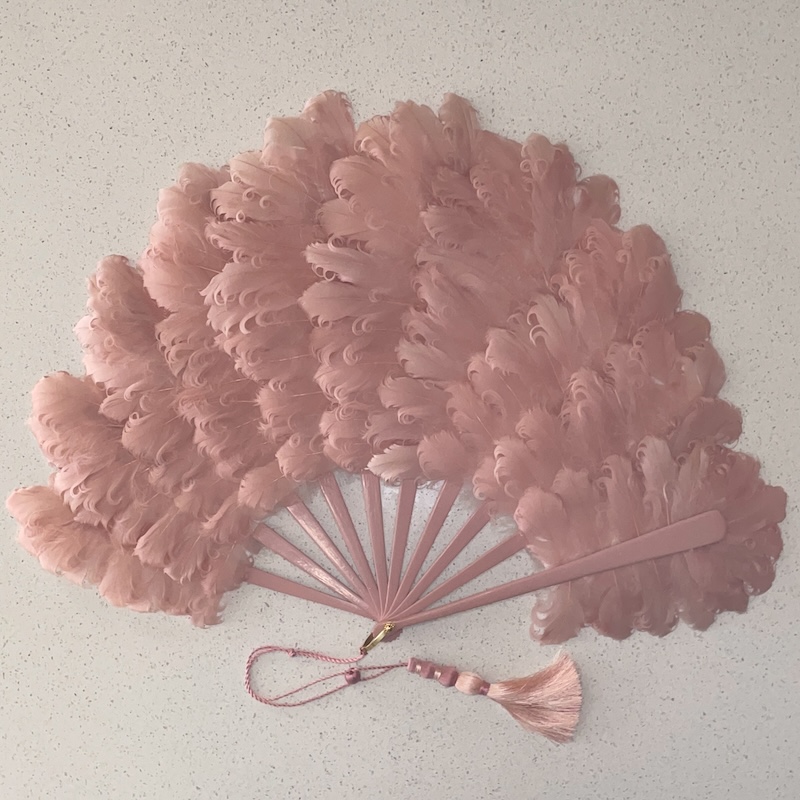
The finished fan from the front.
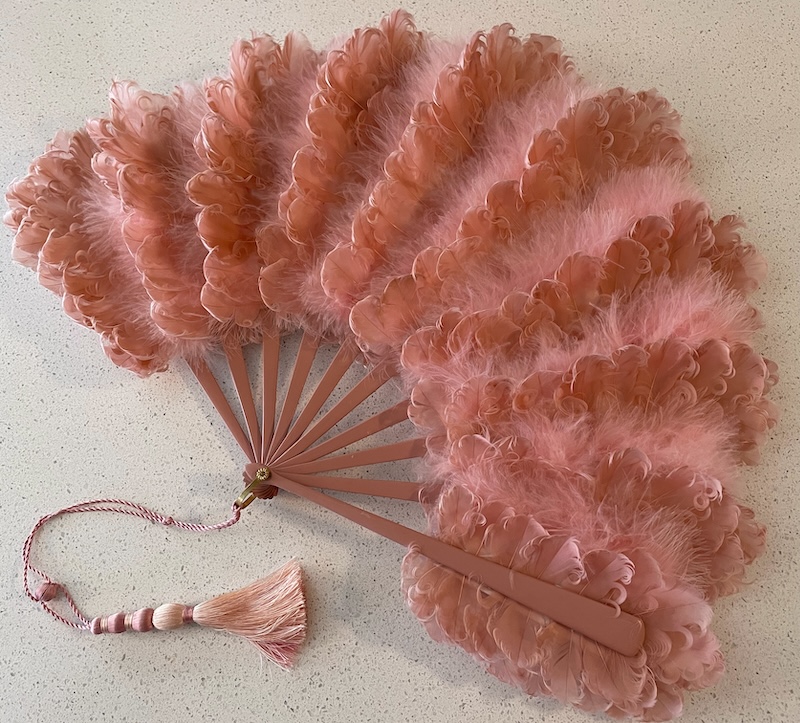
Because these feathers curl so much I had to fill in the fan sections between sections with ribs and feathers with marabou. I think if I had used Nagorie or even Turkey feathers that do not curl and I had color matched my paper leaves better I might not have had to. I chose not to use turkey flats because most that are sold are shorter and the long ones you can get are expensive. if I make another fan I will search for some and give them a try.
Things I would change next time; 1) make sure to have 9 ribs and the 2 guards, 2) make sure the leaves are the same color as the feathers, 3)use goose nagorie or turkey flats, 3) brush on my paint, 4) use my placement templet on both the front and the back. fun!