I just made two feather fans one with ostrich drabs and one with goose shoulder feathers. I’m writing these how to articles to record the process and let you know what I think I did wrong or could have done better.
Part 1: the ostrich fan
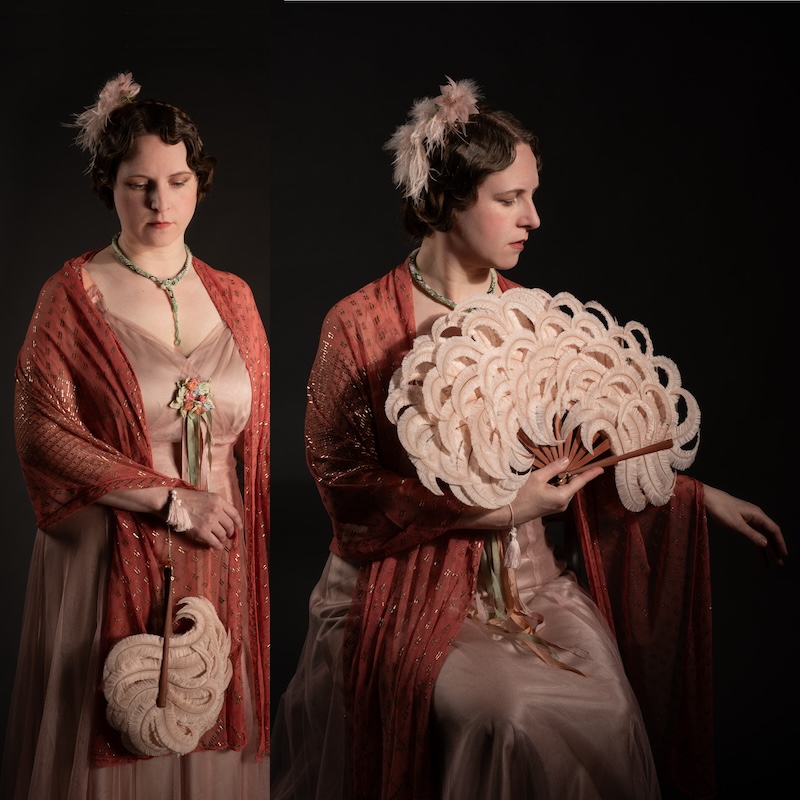
This fan was made from ~100 (1/4 lb.) 9″ to 12″ ostrich drabs. Laurie Tavan is modeling the fan open and closed and hanging from the wrist tassel cord.
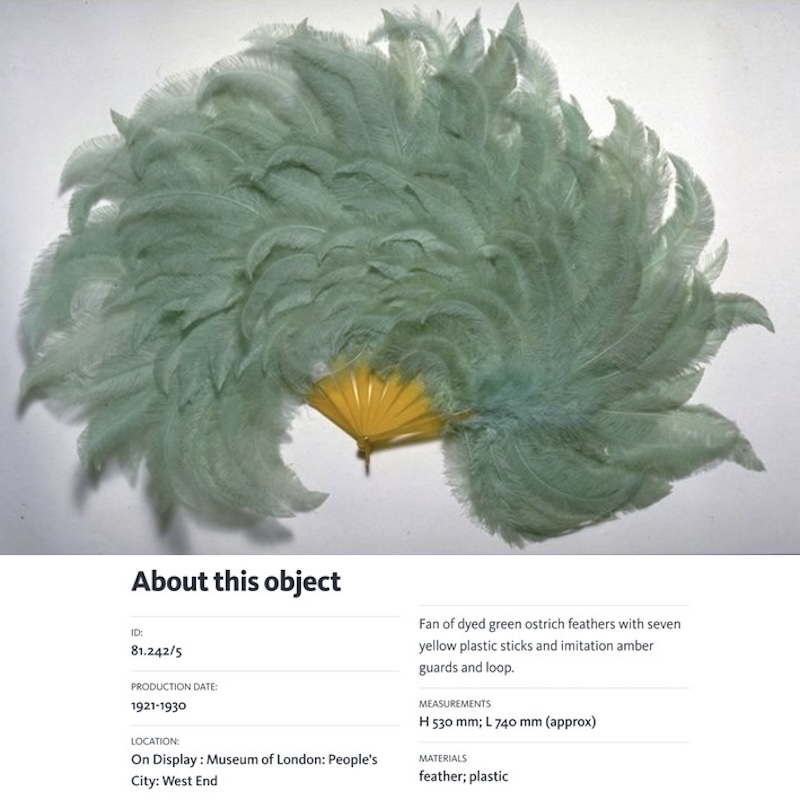
Making anything for me involves finding either a vintage item or a picture of a vintage item. This image was my starting point. It had measurements which meant I could figure how many and what shape to cut the ostrich drabs. I first enlarged this photo so the fan was full-size.
Cutting the ostrich drabs
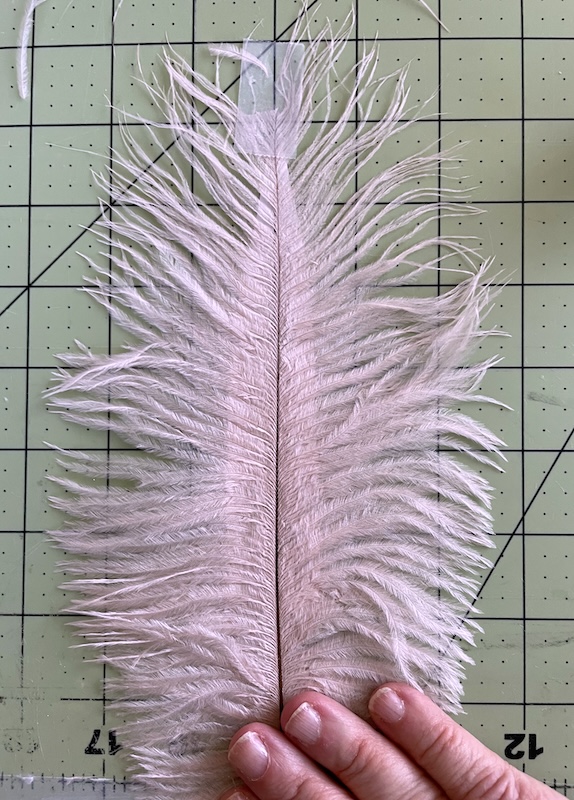
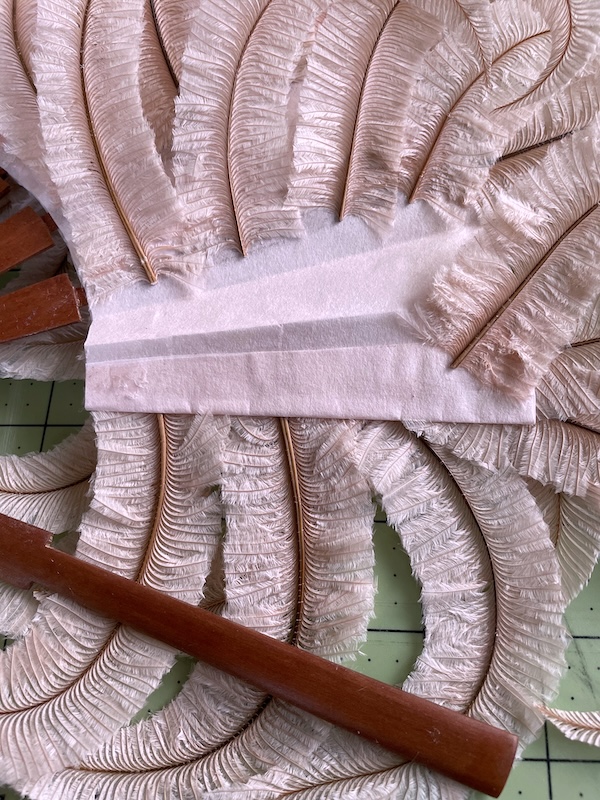
Once I had the shape draw out I taped it to my mat and tapped the tip of a feather to the board.
Then using my kitchen shears I cut the main stem at 6″ mark which was the base of the pattern.
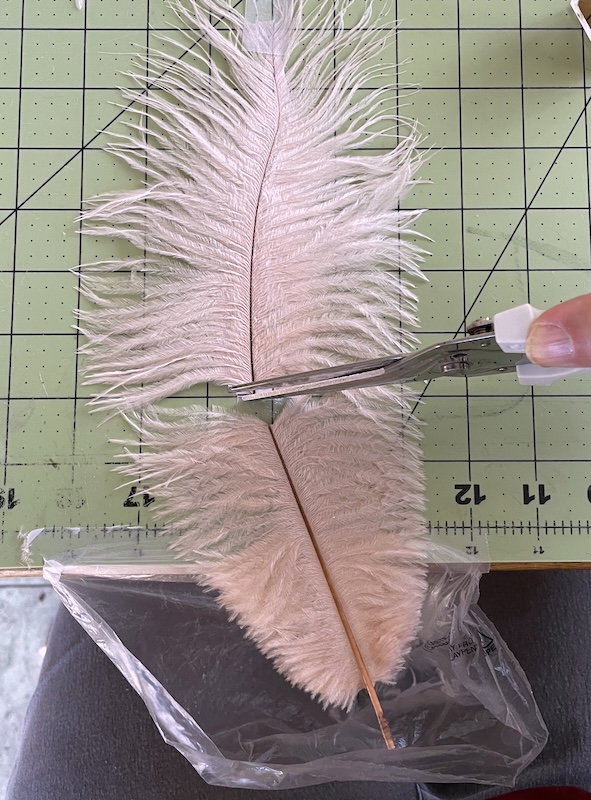
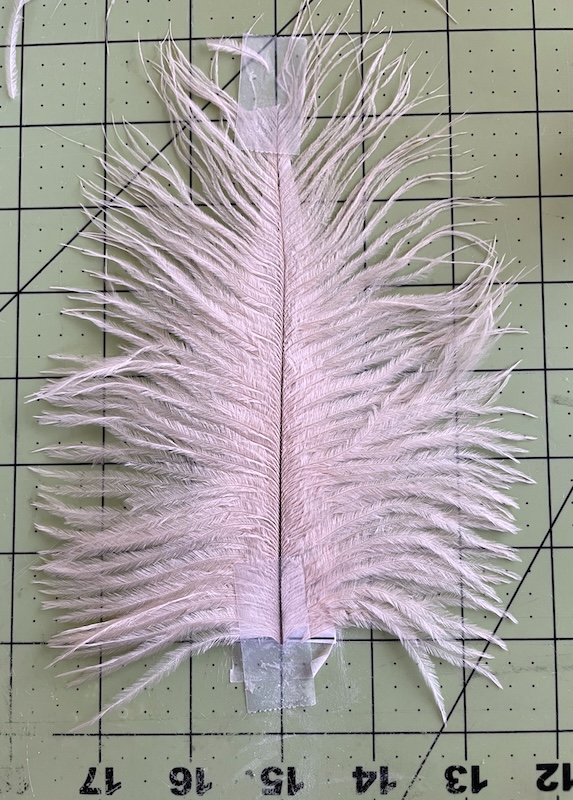
Then stretched the feather and taped it down.
Using a rotary cutter I cut along the outside edge of the pattern, which is visible thru the feather.
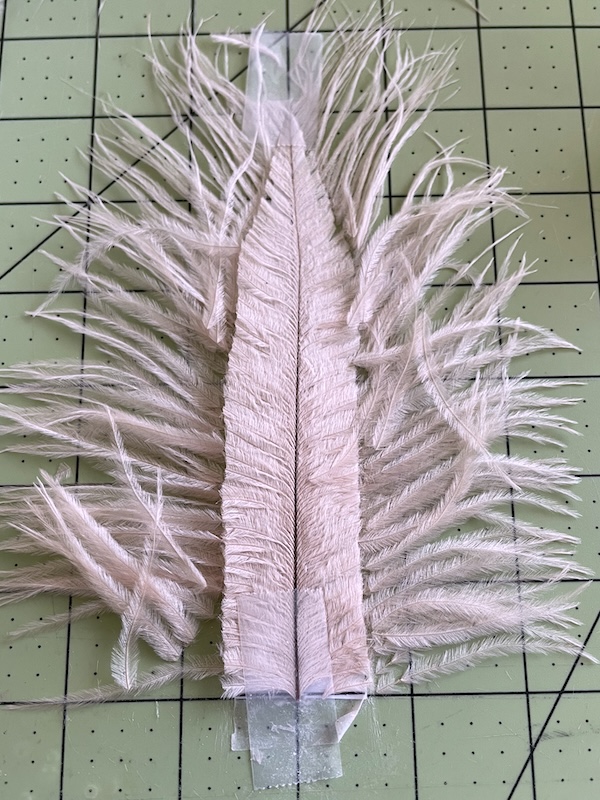
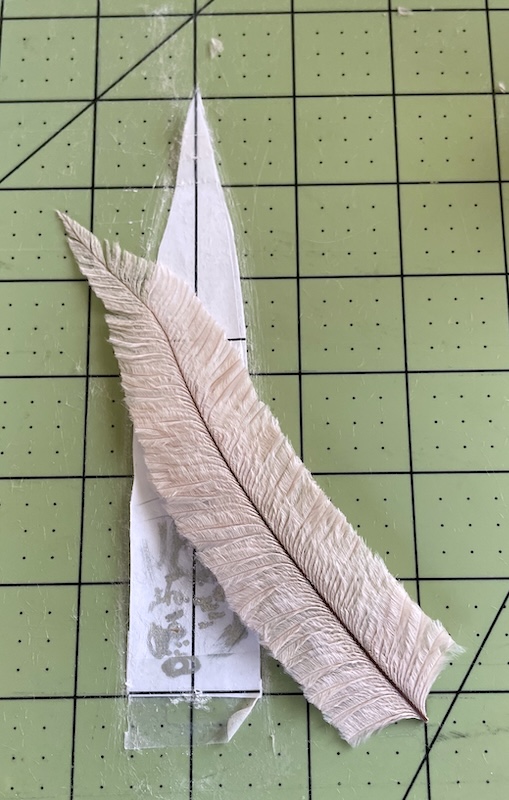
Untaped it from the board.
This is a picture of the cut barbs from ~6 feathers.
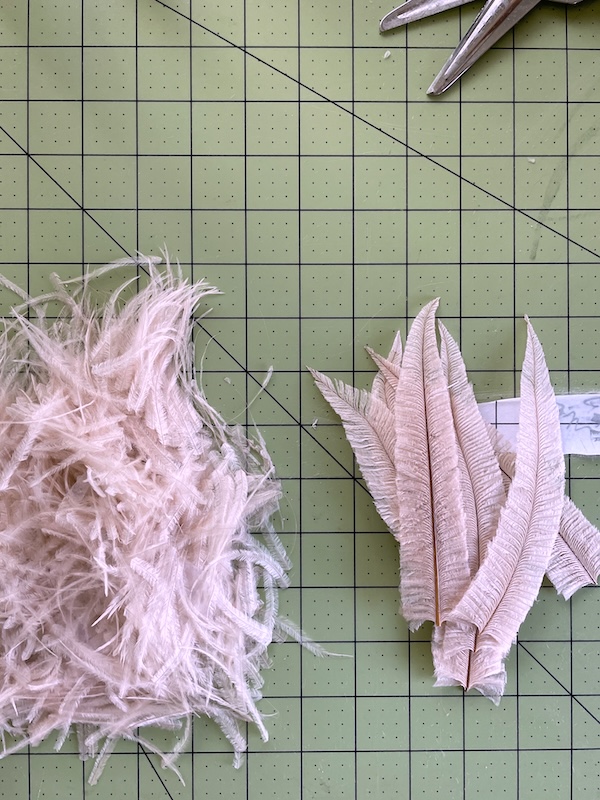
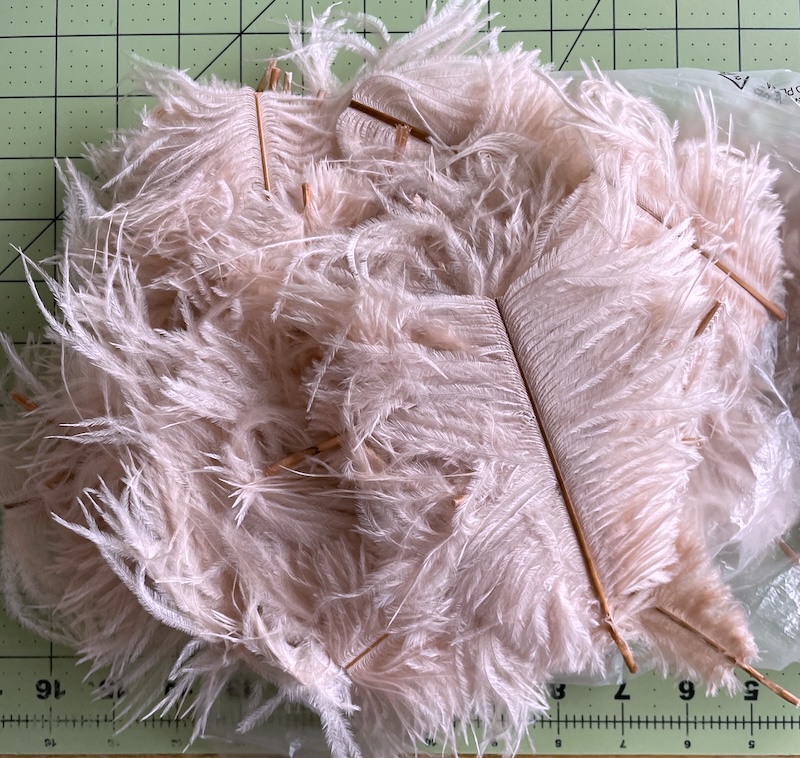
This picture is of all the base ends of the feathers, I’m saving them to use for future projects. Most likely some sort of pompom.
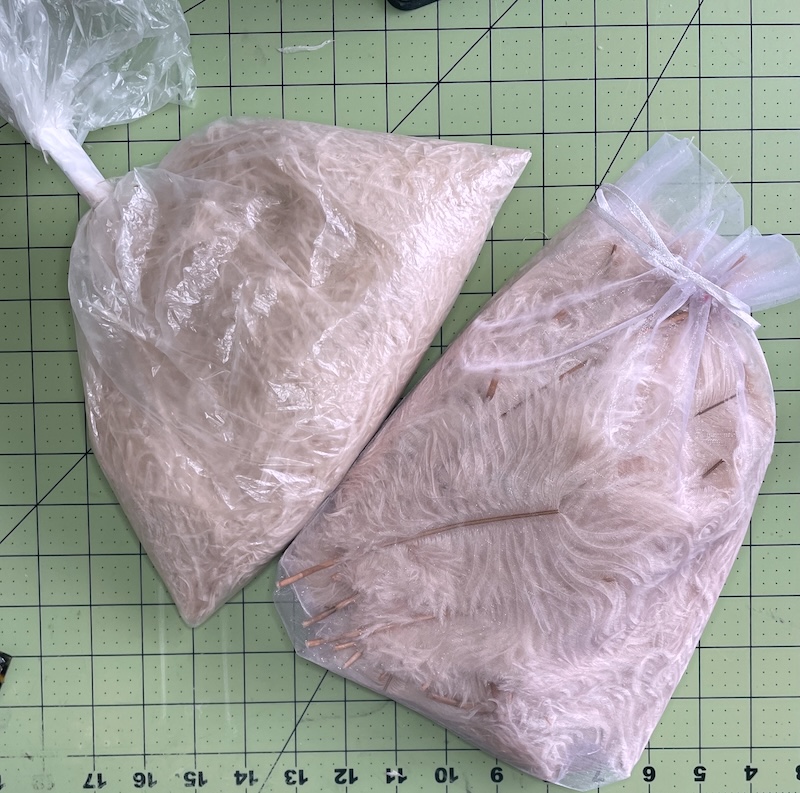
The upper bag are the cut barbs ready for the trash and the bottom one is all the base ends ready for storage.
Gluing the feathers
I used a set of wooden fan sticks that came with more than the 8 ribs and two guards I needed for this fan. That was a good thing because it meant I could cut the upper rib off of every other rib and glue the cut and un-cut ribs together. This worked out well because the thickness of all the feathers would have space. I’m sorry that I do not have a picture of this. I then drafted and printed out two rice paper fan leaves in a pink color close to the feather color. I glued them to the wooden sticks one on each side. I chose to do a double leaf because the vintage fan for part 2 had leaves in front and back. I need to try it but, I think it might be possible to make this fan with a single leaf.
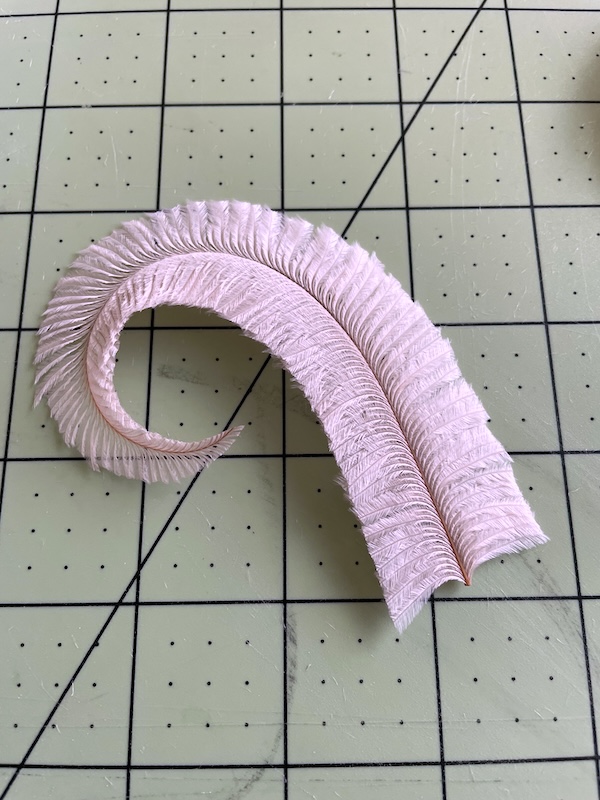
All the cut ostrich feathers need to be curled. By pulling the cut feathers along the outside edge of the closed kitchen shear’s blade fairly quickly I was able to curl the feather. The feathers need to be angled upright on their edges. If you want them to curl counterclockwise you need to hold the base in your right hand and use the thumb of your left hand over the feather. If it does not curl enough the first time you can repeat. The outside edge of my shears is narrow but really rounded and not sharp at all.
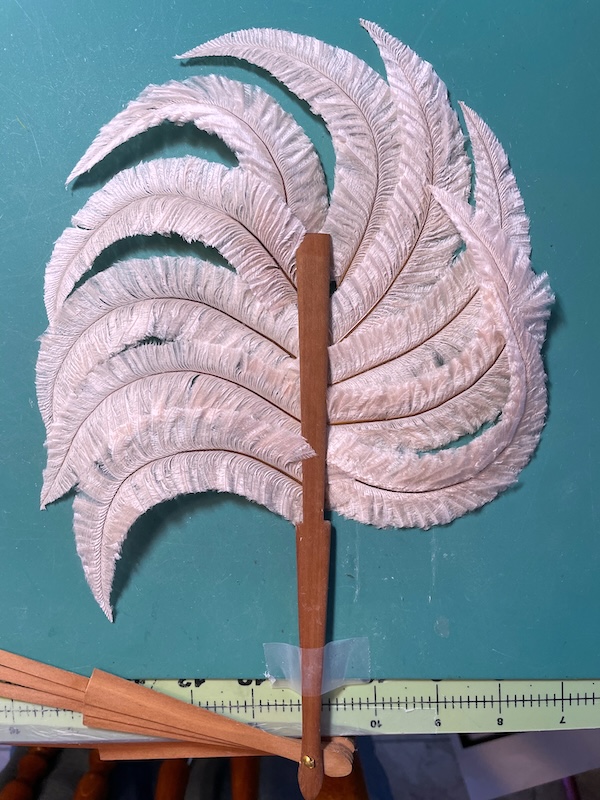
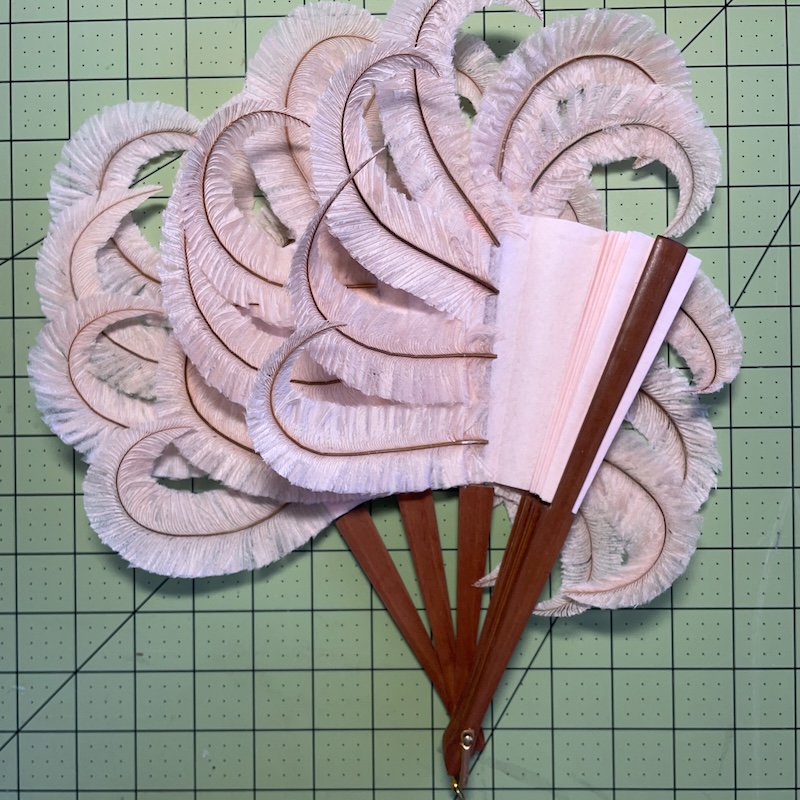
I taped my sticks down and did a test fit of the cut feathers with the bases slipped behind the upper guard. From this test I decided two things. One I wanted more curl in my feathers and I could do with one less feather per rib, 5 for the front (left side) and 4 for the back (right side). Which was good not all of the 100 feathers I had were usable.
I started off somewhat backwards. As I learned it is easier to work the front from the left side in sections towards the right. But I started by gluing the feathers to the upper guard then to the section of the leaf to the left of that on the front and then on the back. What I really wanted to learn is just how the fan can open and close with feathers glued to the leaf sections of each rib.
Success, I saw how it worked by opening and closing the fan once the glue was dry. The trick is that there are only feathers glued to the leaf sections that have a rib and then the sections without ribs do not have anything on them at all.
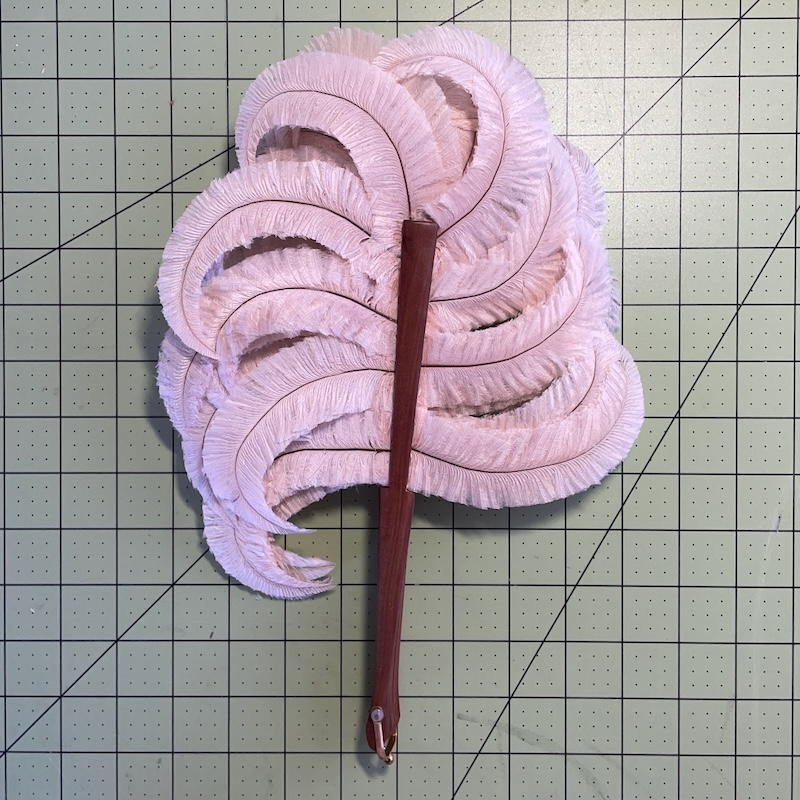
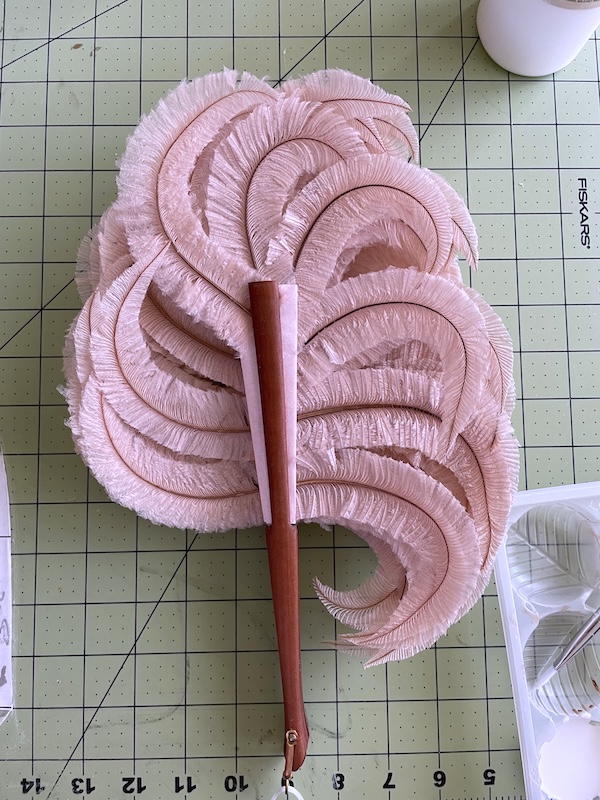
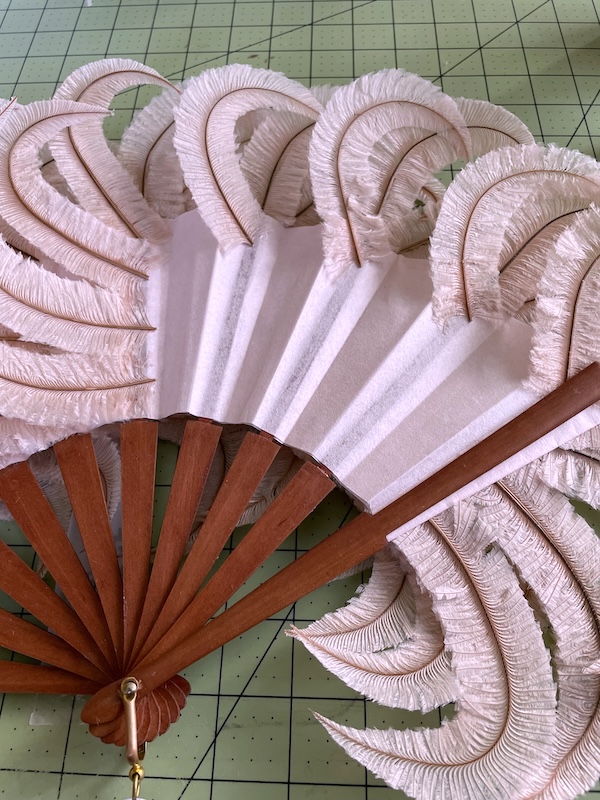
Here is the fan with feathers glued to the upper guard and two rib sections to the left. This is from the front with the fan fully open.
This is how that looked from the backside with the fan partially closed.
I went back and glued all the feathers on the front side, this time working from the left to the right. I then moved on to adding feathers to the backside which would make the fan look almost done.
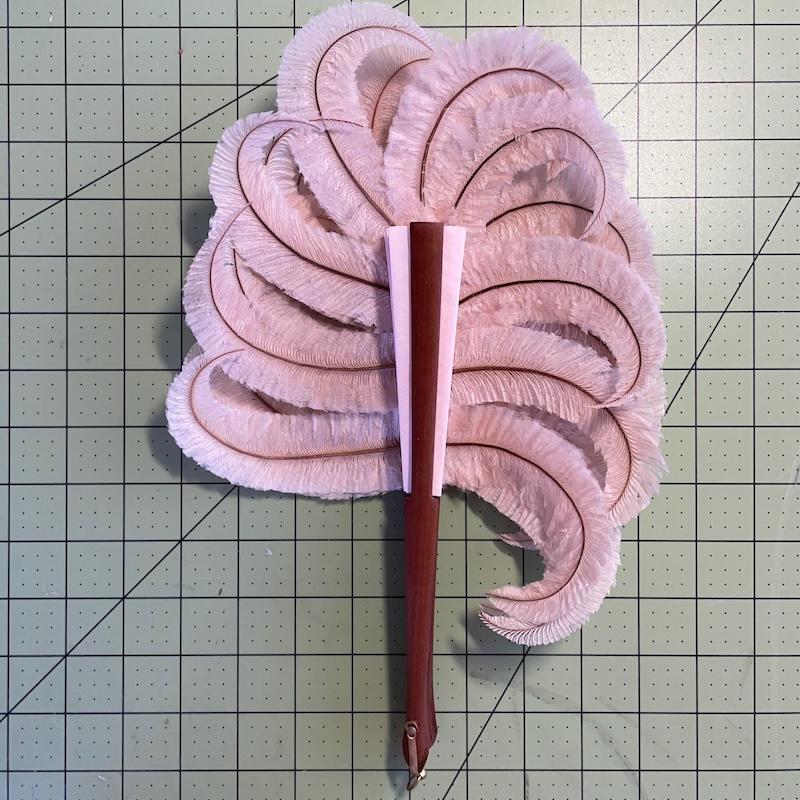
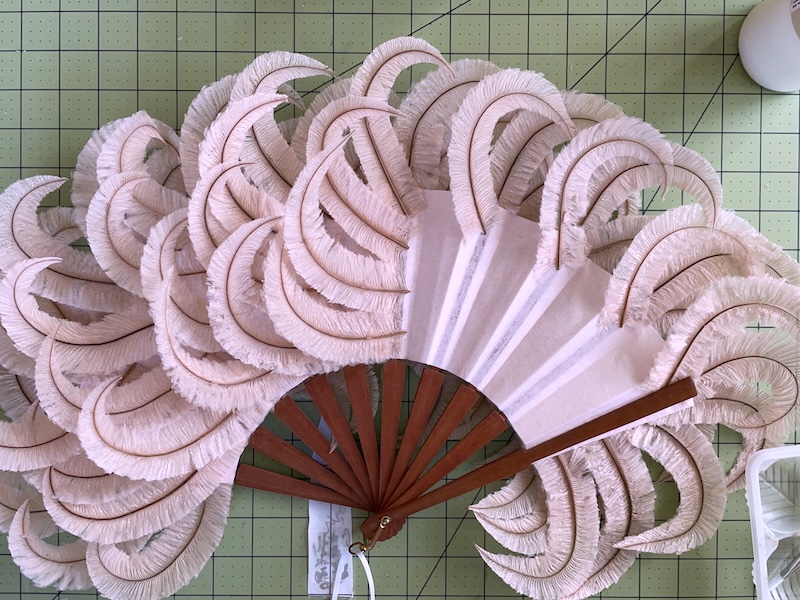
This is how it looked open after I added all the feather that are suppose to be glued on the backside at the top edge.
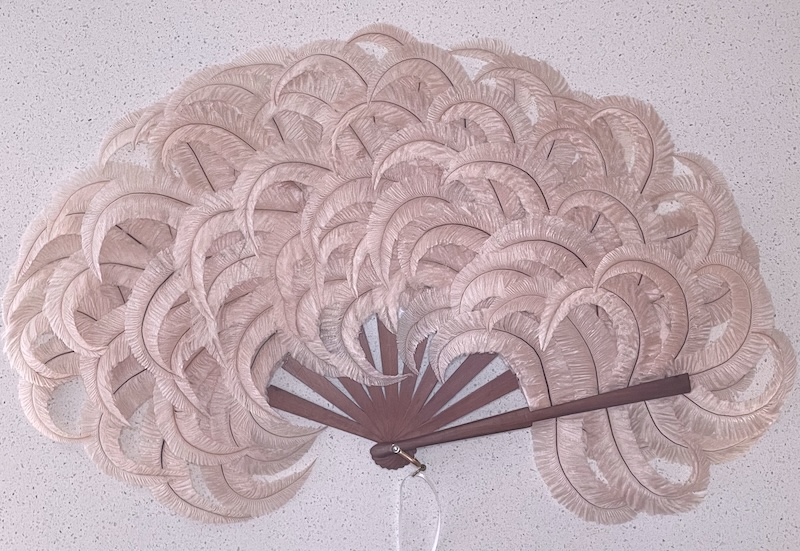
This is how it looked like opened up from the front. As you can see it looks a little thin on the upper right.
I finally began working from left to right as I should have from the beginning. From the start I have been brushing white acid free glue to the rice paper on the section I wanted to glue feathers then stuck them in place. From the front you stick the backside of the feather to the paper, on the backside of the fan you stick the frontside of the feather down. I worked three sections at a time.

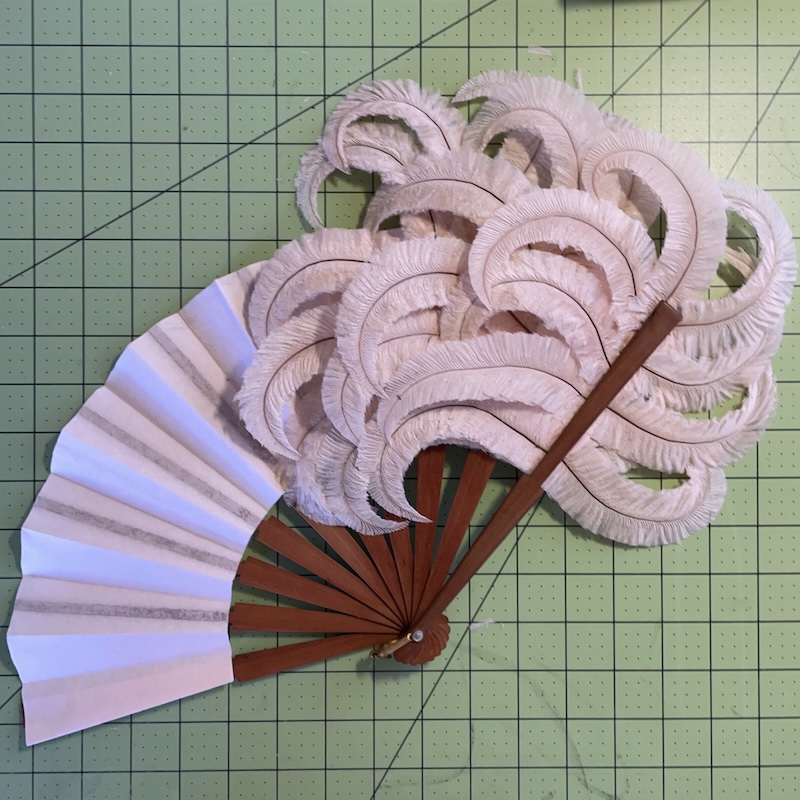
This is how the fan looked with the feathers added to those three sections.
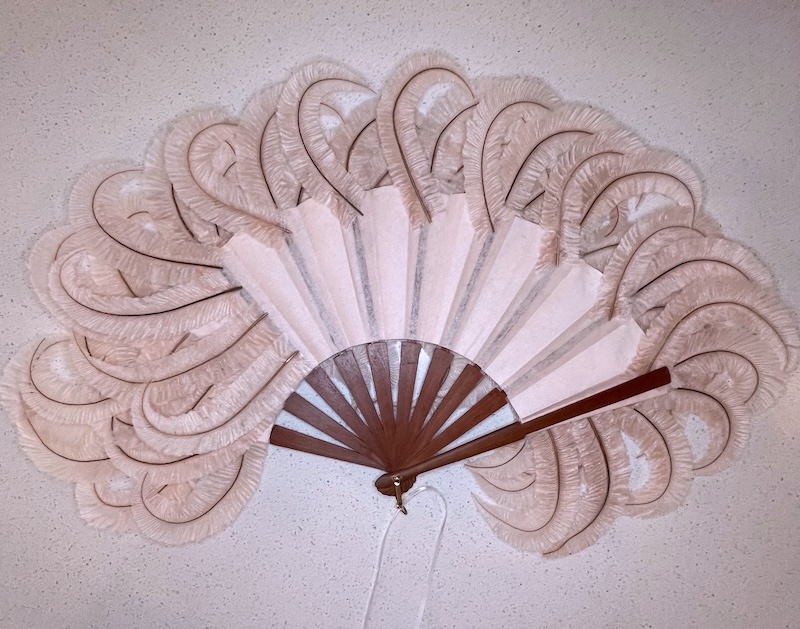
I closed the fan for a check, you can see I have three more sections to glue up.
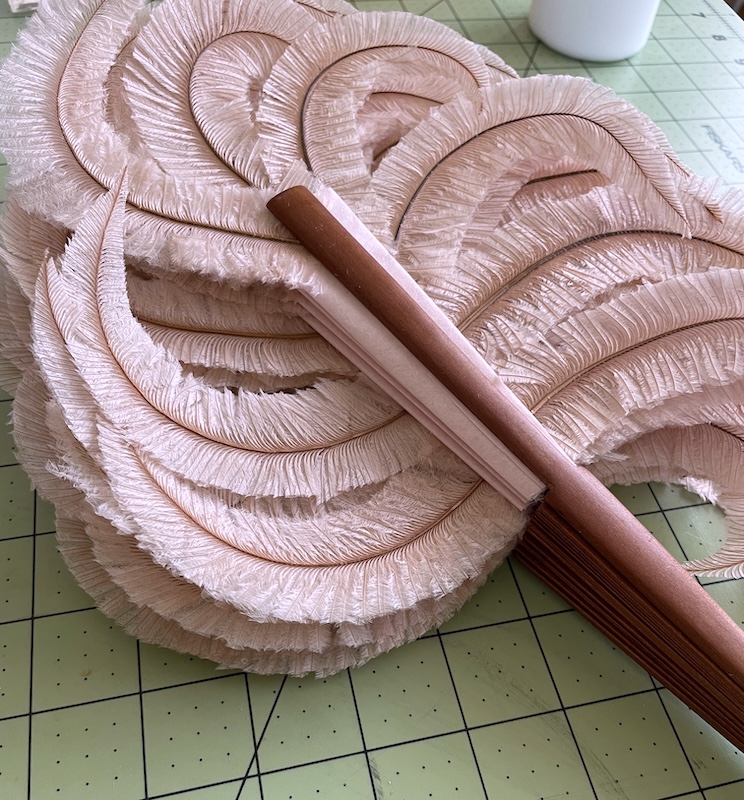
With this close up of the backside you can see the last three, plus the lower guard (right now it is not glued down but just glued with a dot of glue temporarily) need feathers.
At this point all the ribs are covered and the only thing left is the feathers that go under the guard.
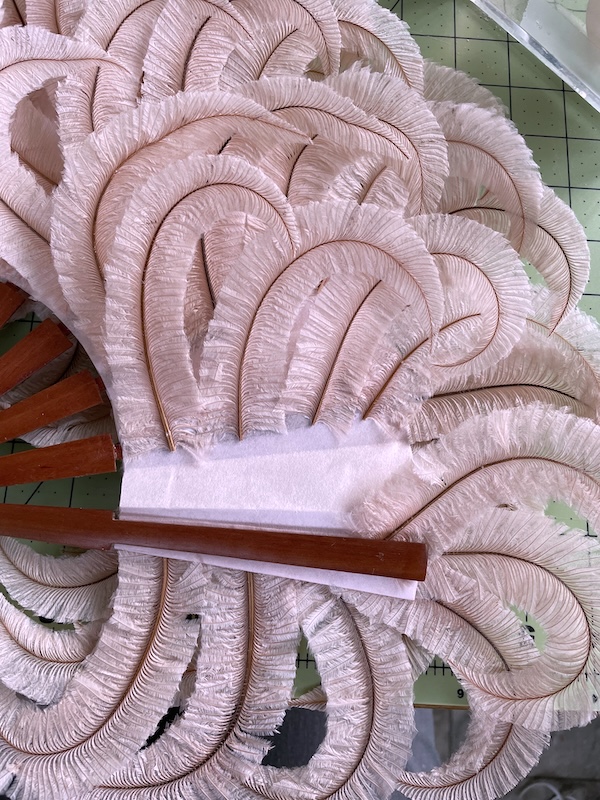
I loosened the tack glue on the guard and moved it out of the way so the last of the feathers could be glued into place. I only added glue in the area that the guard will cover when it is glued back into place. The fold of the fan leaf is wider than the upper guard so any glue on the edges would show.