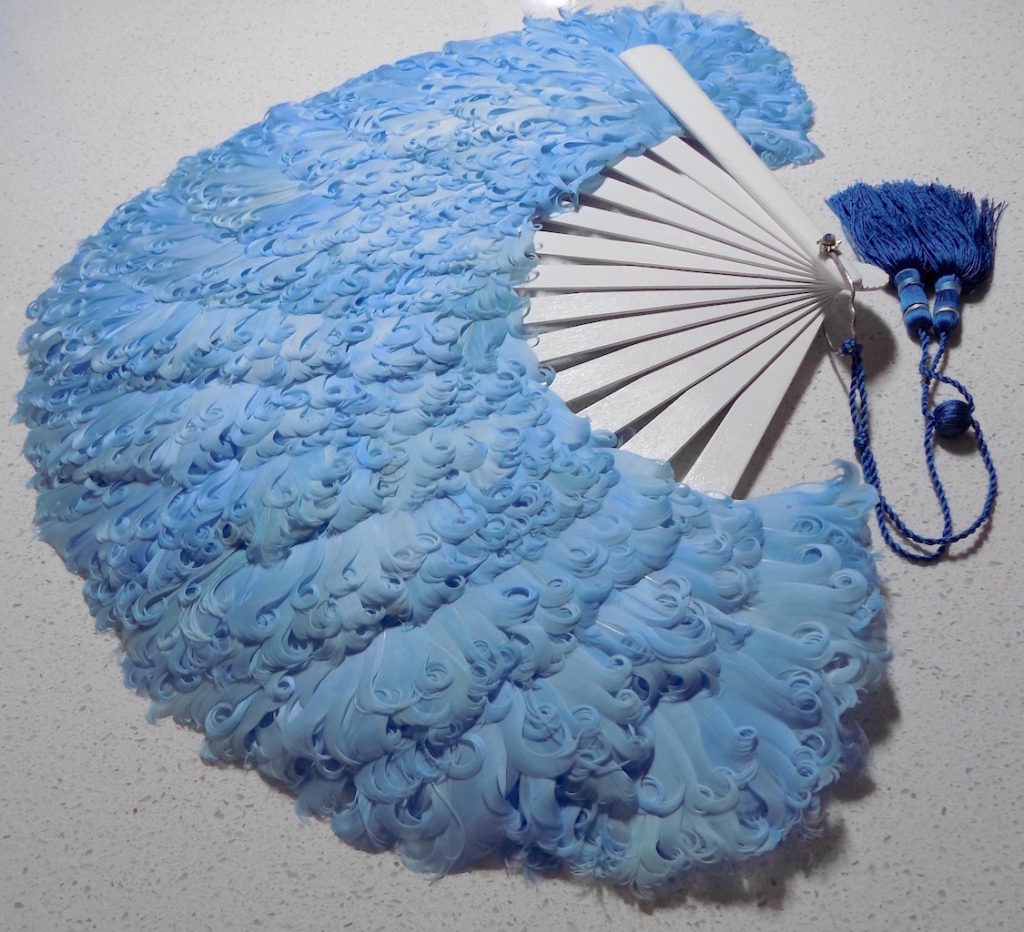
Finished fan.
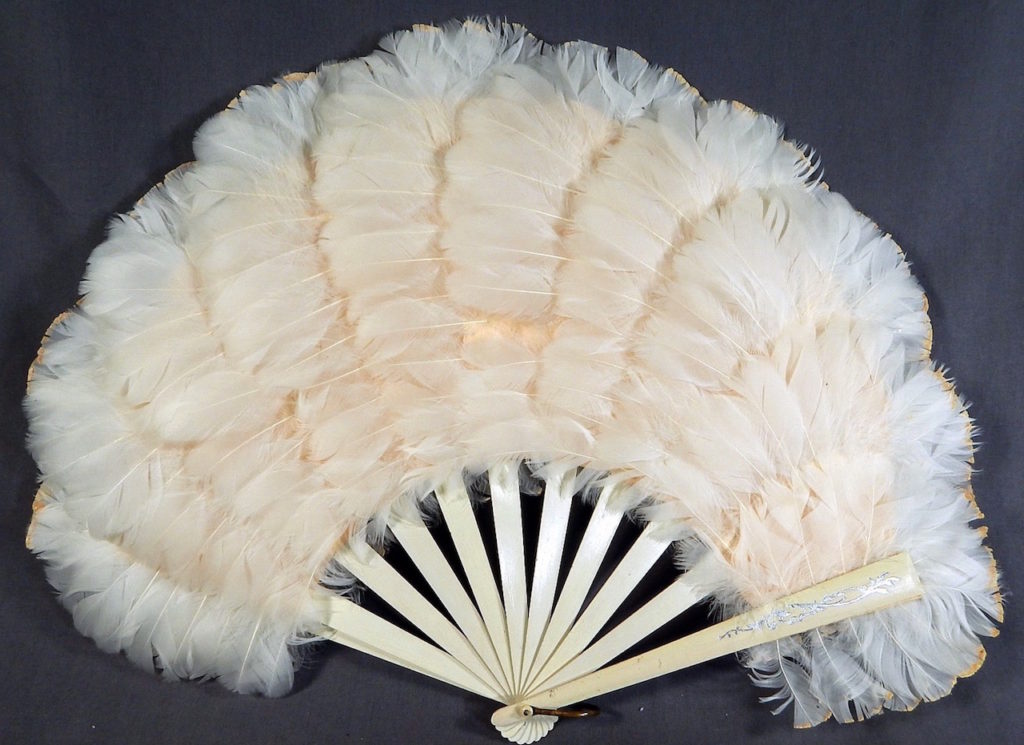
I had two vintage fans that were inspiration for this fan both Edwardian. This one is a little closer because if has curled goose feathers.
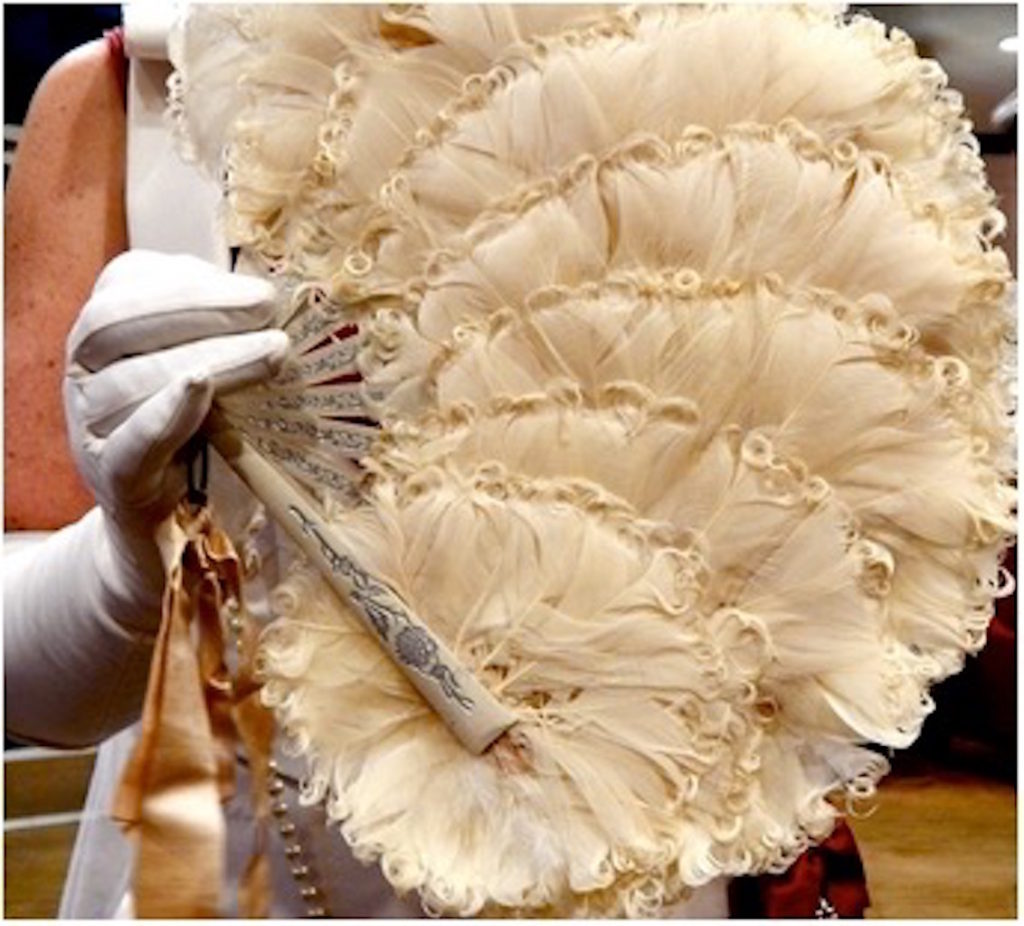
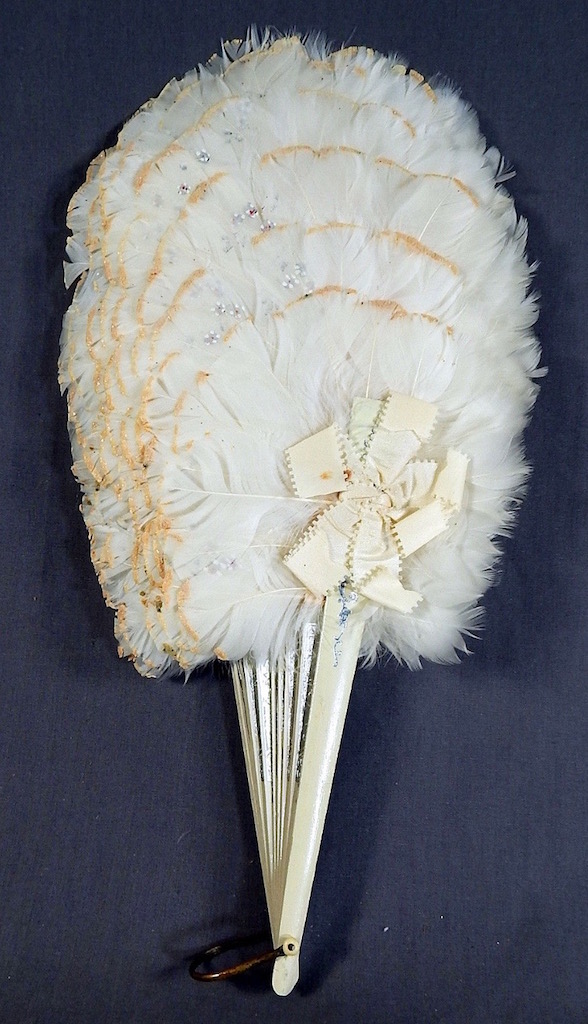
This is the second. It does not have curled feathers but I did use it for the shape of each of the pads and the overall size and shape.
This fan from the front it gave me the size and shape of every pad.
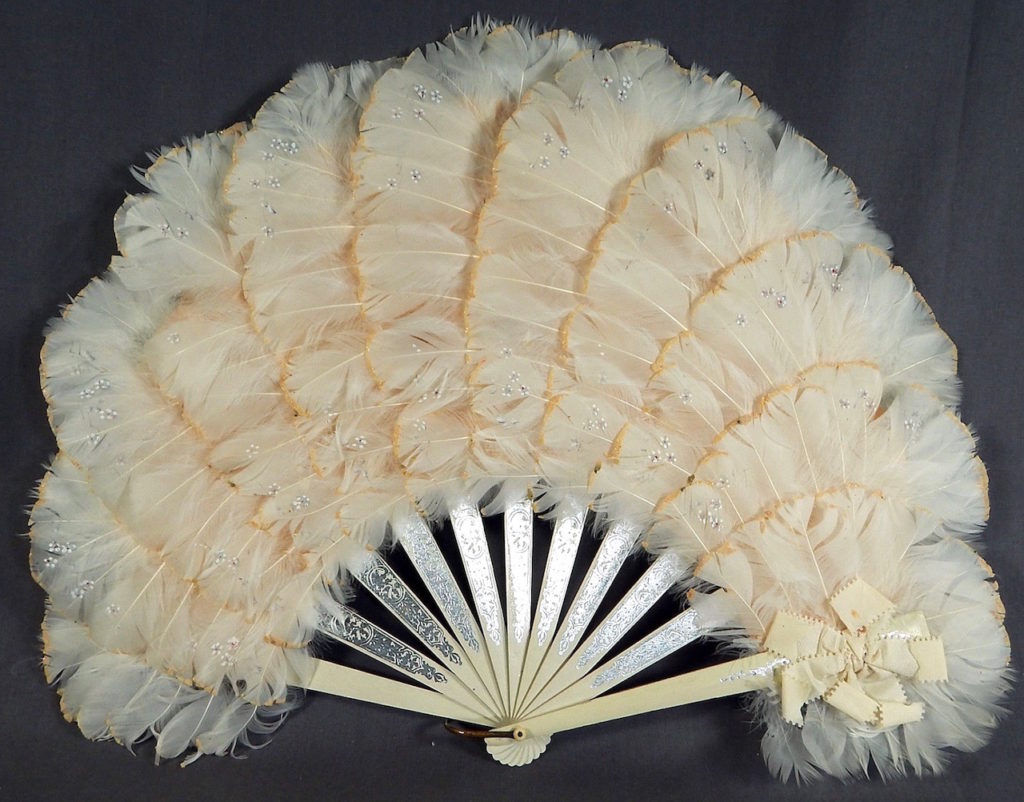
From the back (inside).
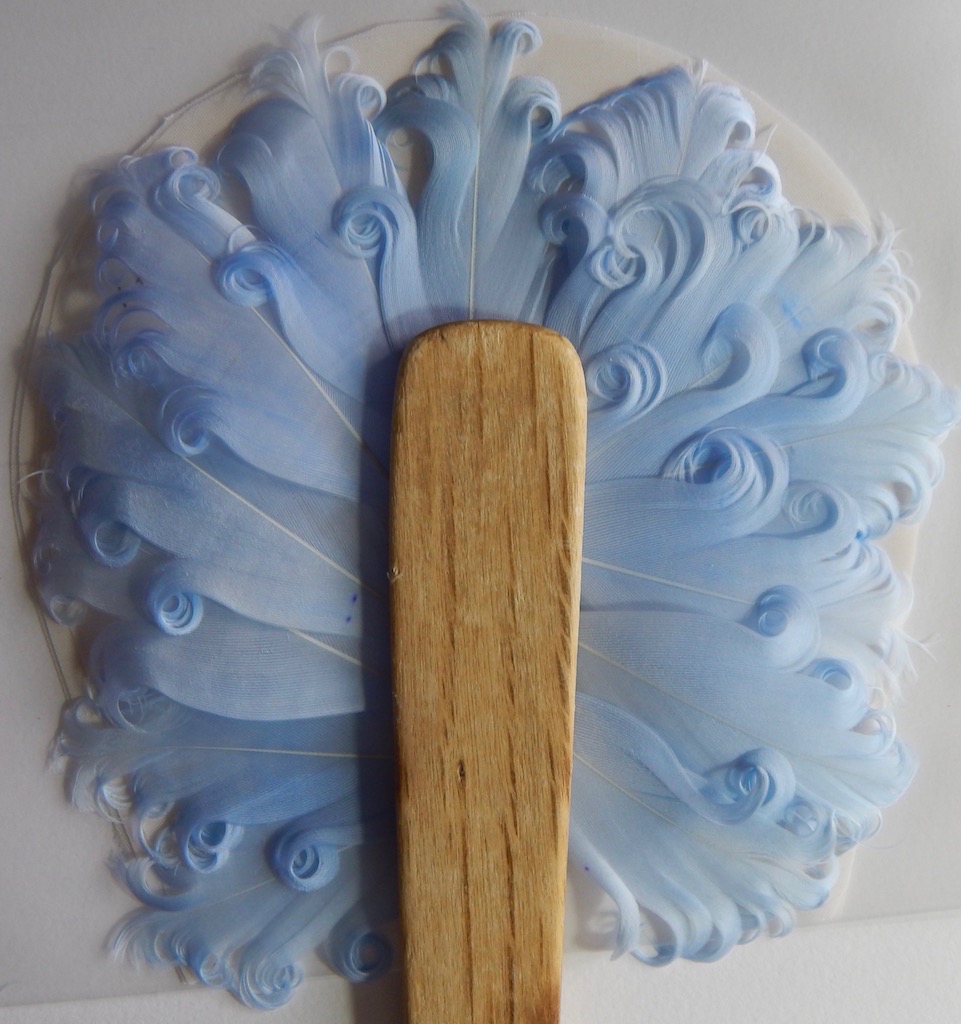
This was my first trial to see just how many feathers I would need to cover the smallest pad. That is a spoon handle. If you would like to see how we curl goose feathers check out this article.
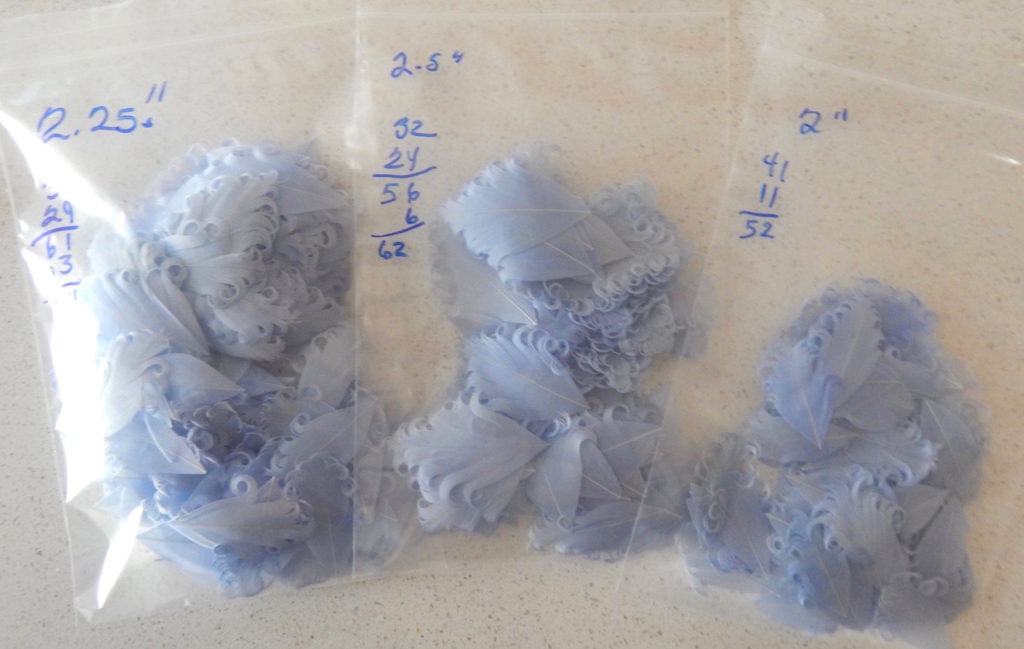
After getting a rough idea of how many feather I would I needed to cut and curl hundreds of feathers. There are three lengths 2, 2.25 and 2.5″.
I cut a frame from 1/32″ for the ribs and some 1/16″ for the guards.
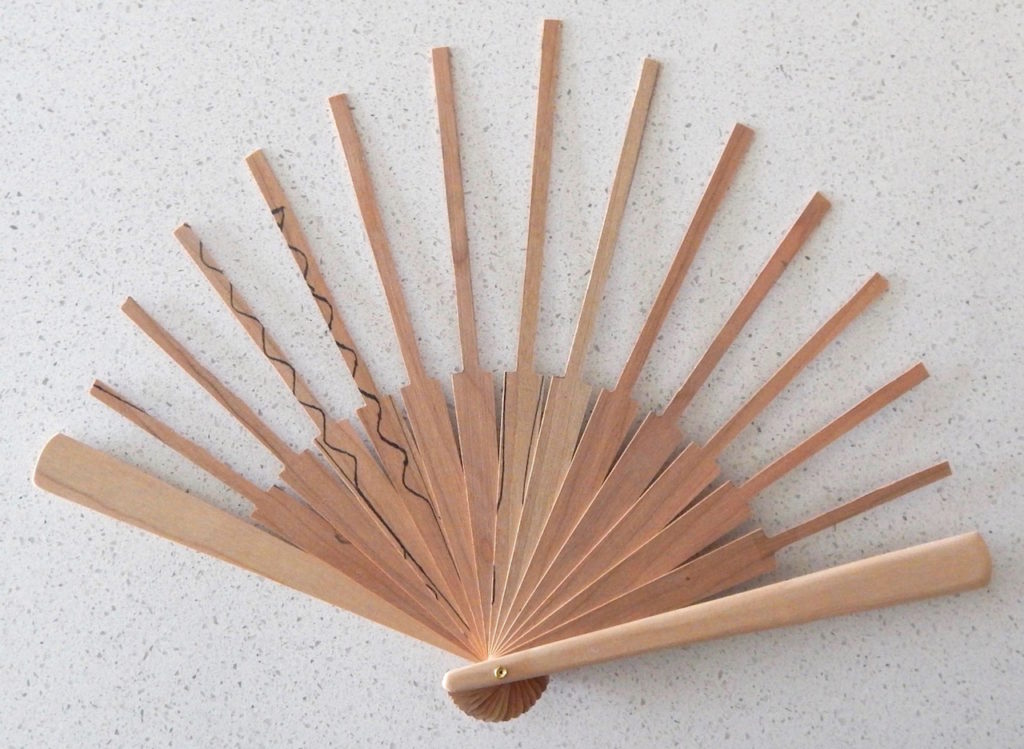
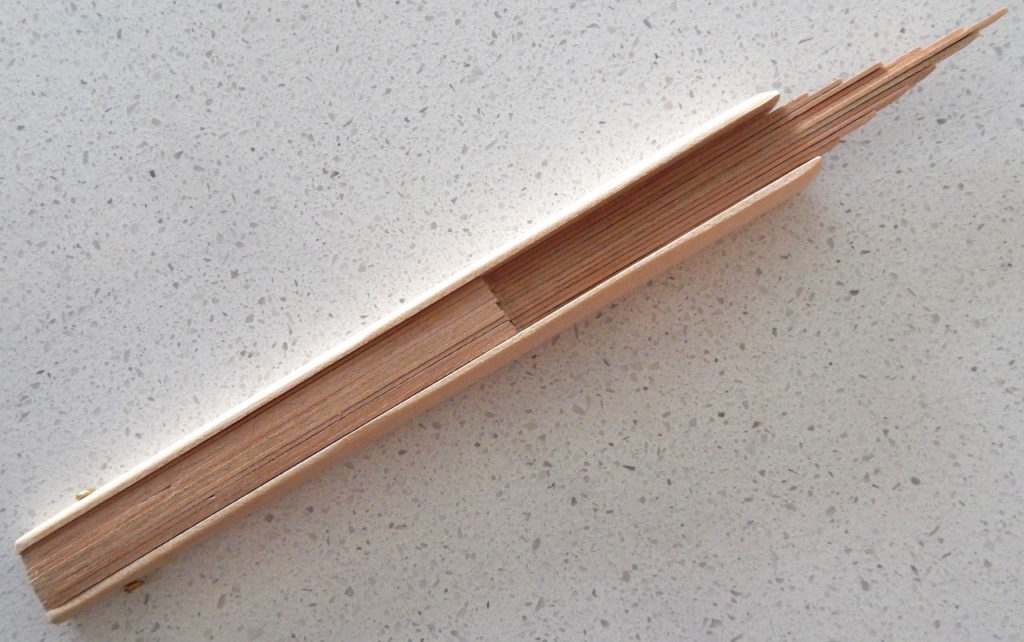
The fan closed. The center ribs are longer.
I cut stiffened silk fabrics to make the base for each of the pads. They are #ed so Steph can know where to sew feathers.
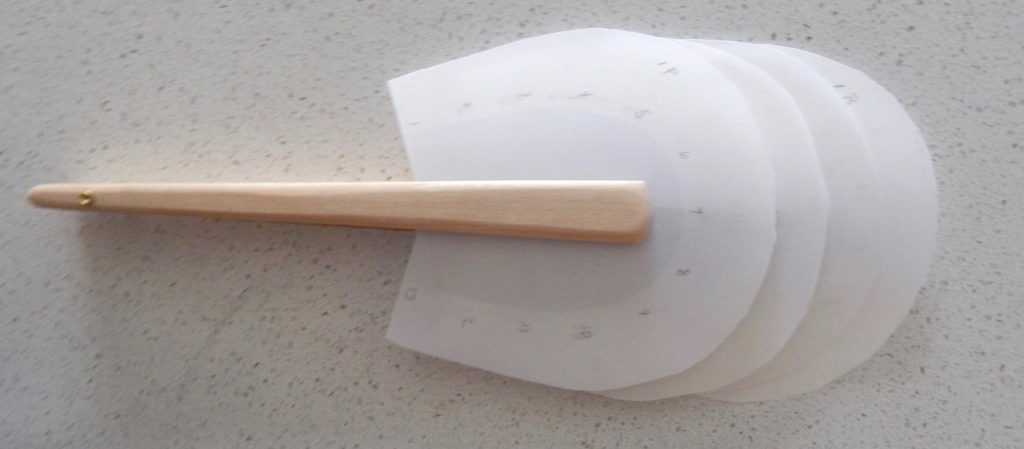
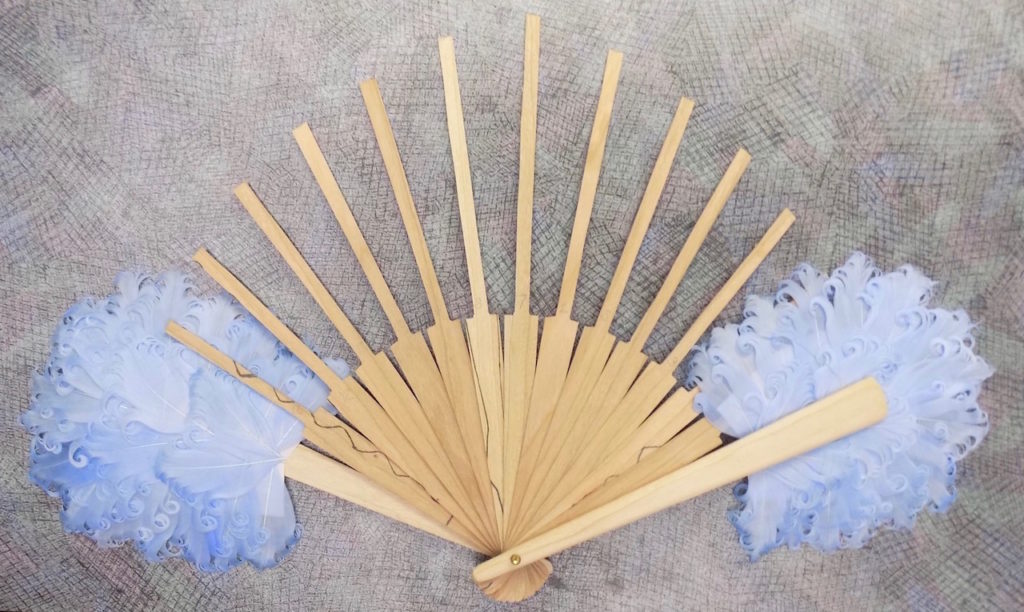
This is the start the two guard pads.
A few more pads done and the sticks are painted.
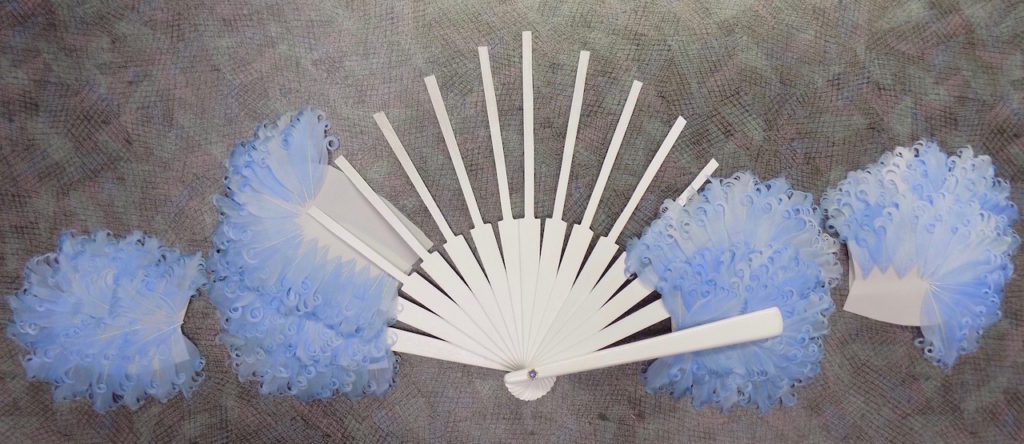
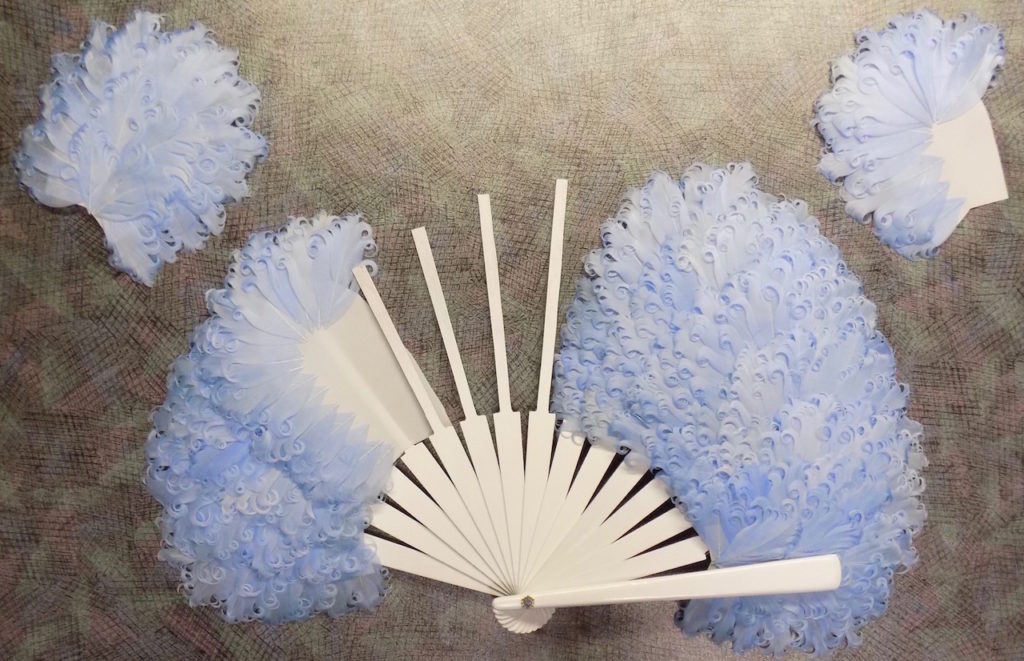
Even more. The two above are the back sides of the guards pads. At some point after this I figured out that both sides of the pads have to have feathers so I filled them in.
These are the two pads that go together for the lower guard.
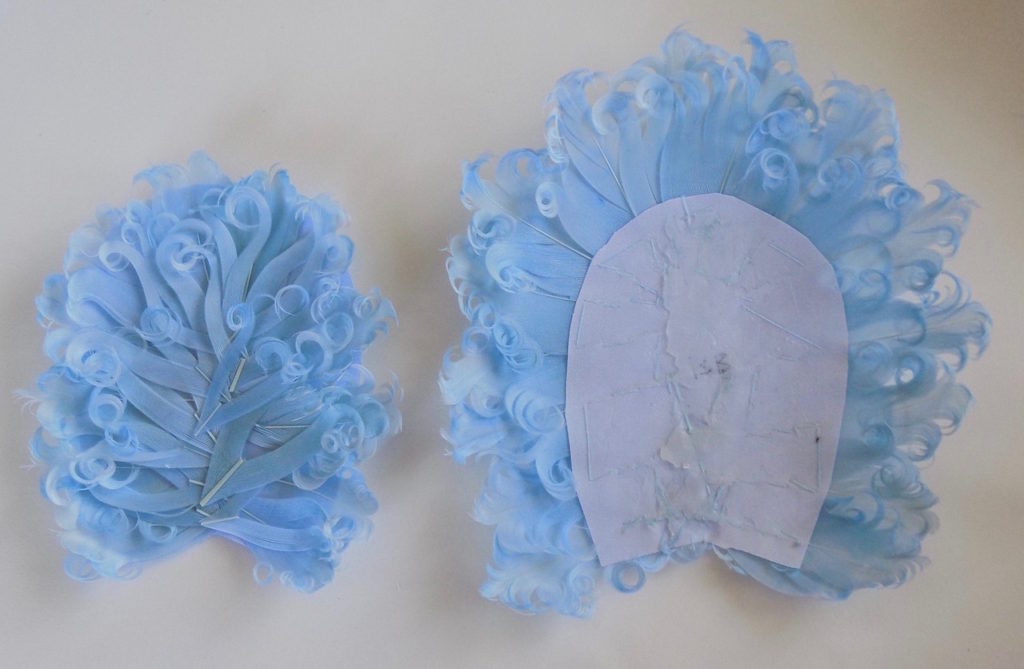
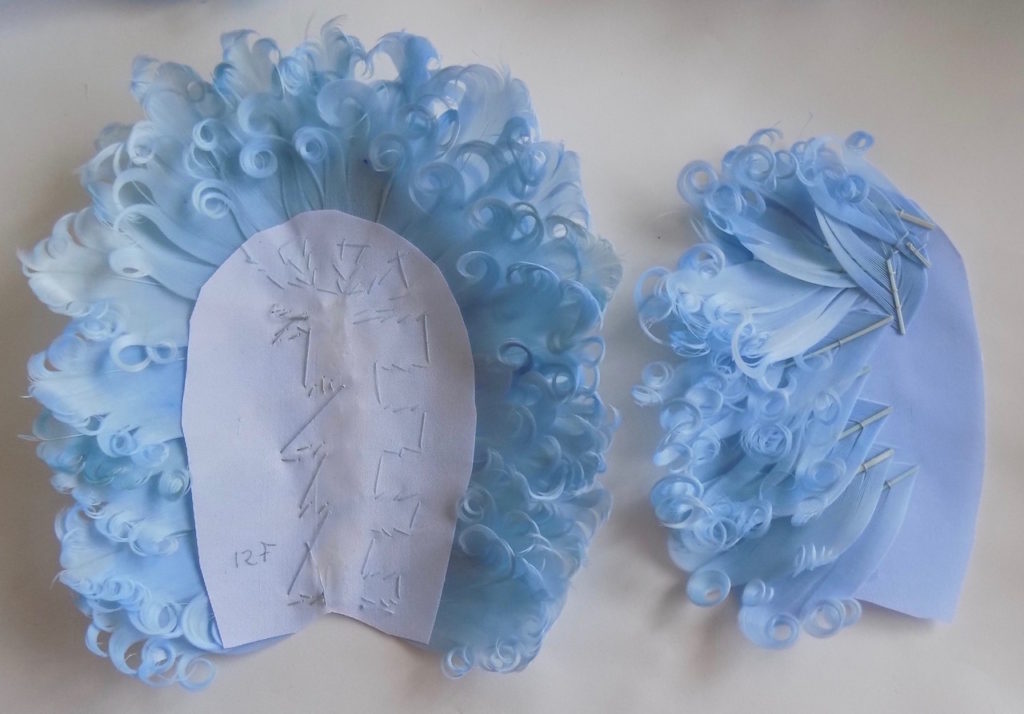
These are the pads that make the lower guard, They do not need to have feathers on the right side cause it will be covered by the next pad.
I cut and glued stiffened blue silk fabric pieces to cover the stitching on the pads for the ribs.
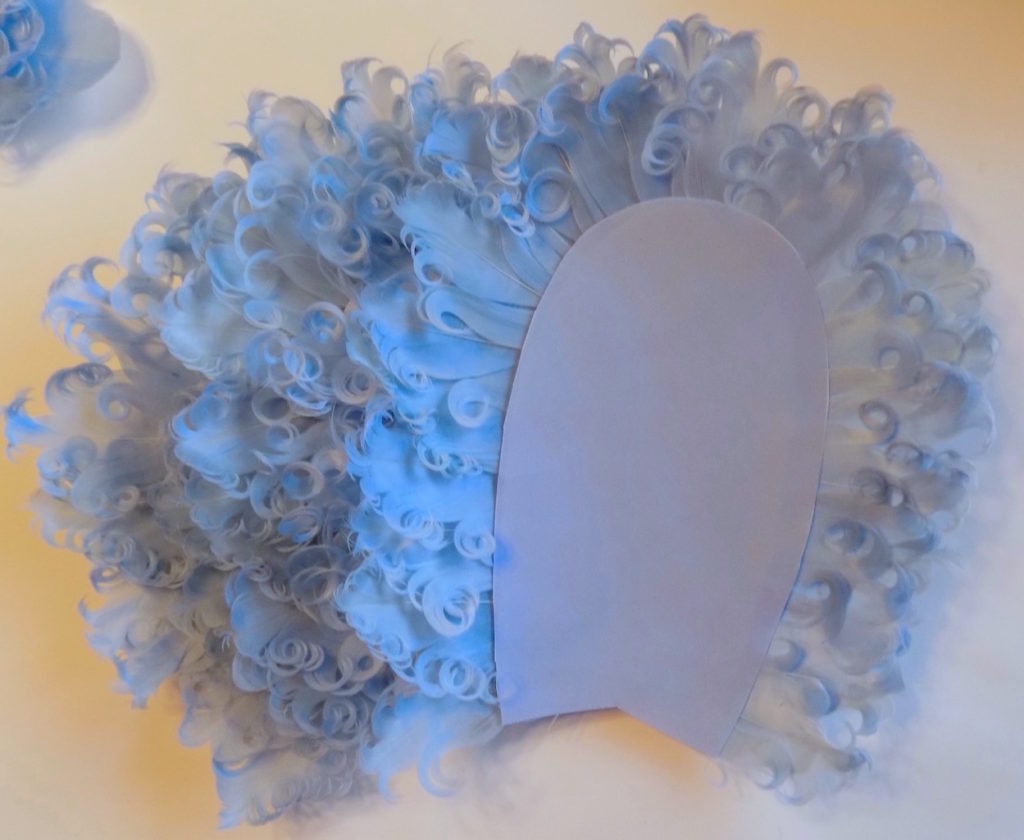
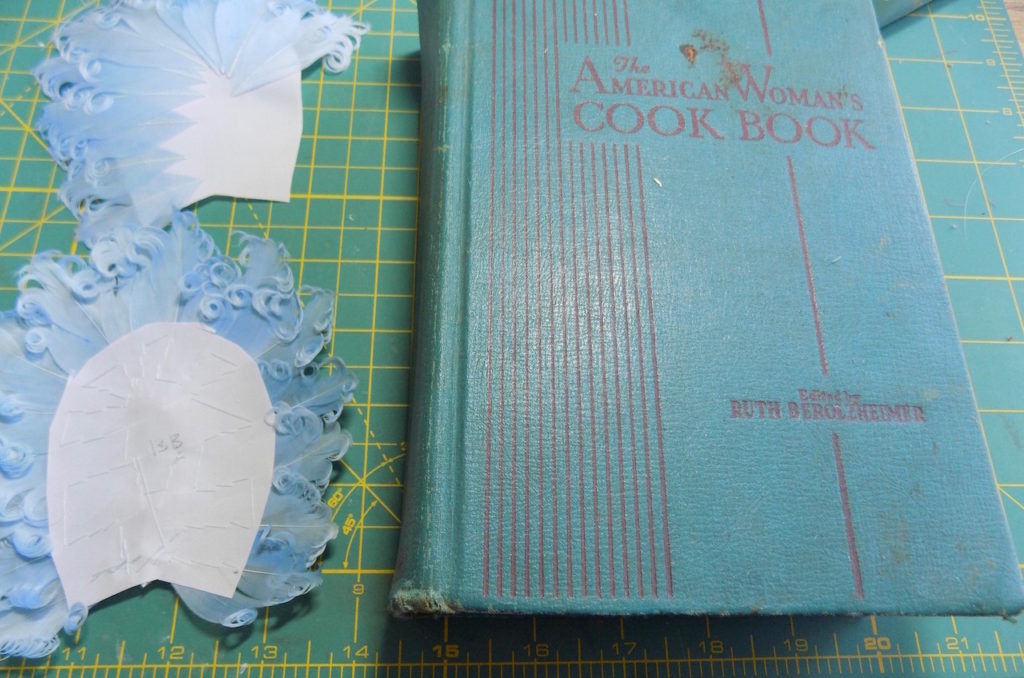
I glued the fronts and backs of the pads together and weighted them to dry with a heavy books.
Both guards pieces after they were glued.
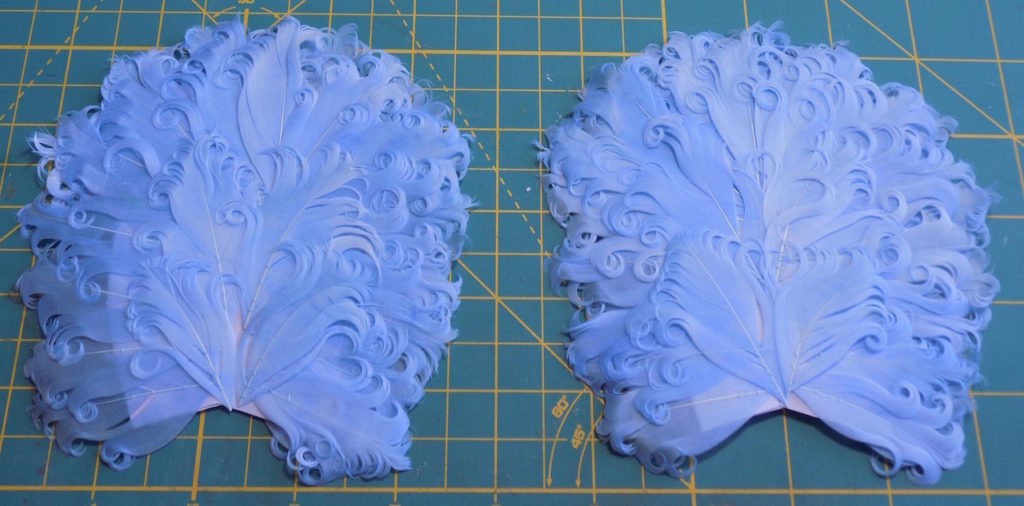
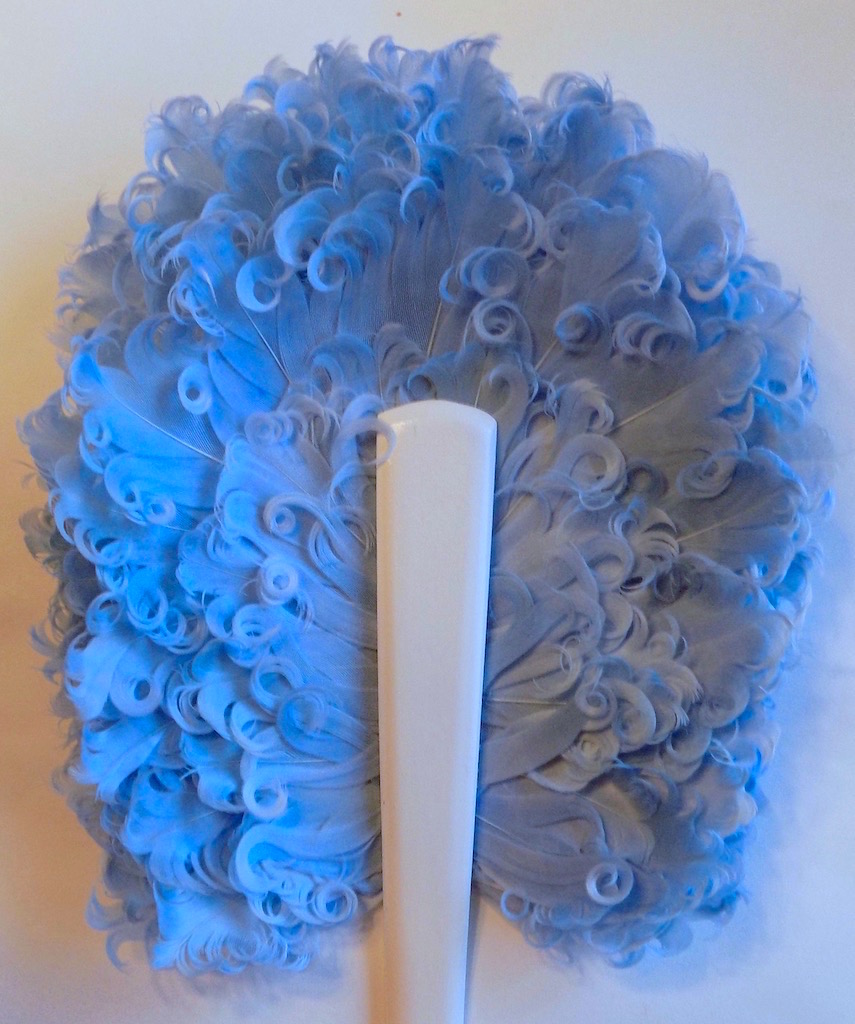
It was the time to glue the lower guard pad into place.
Then the upper guard.
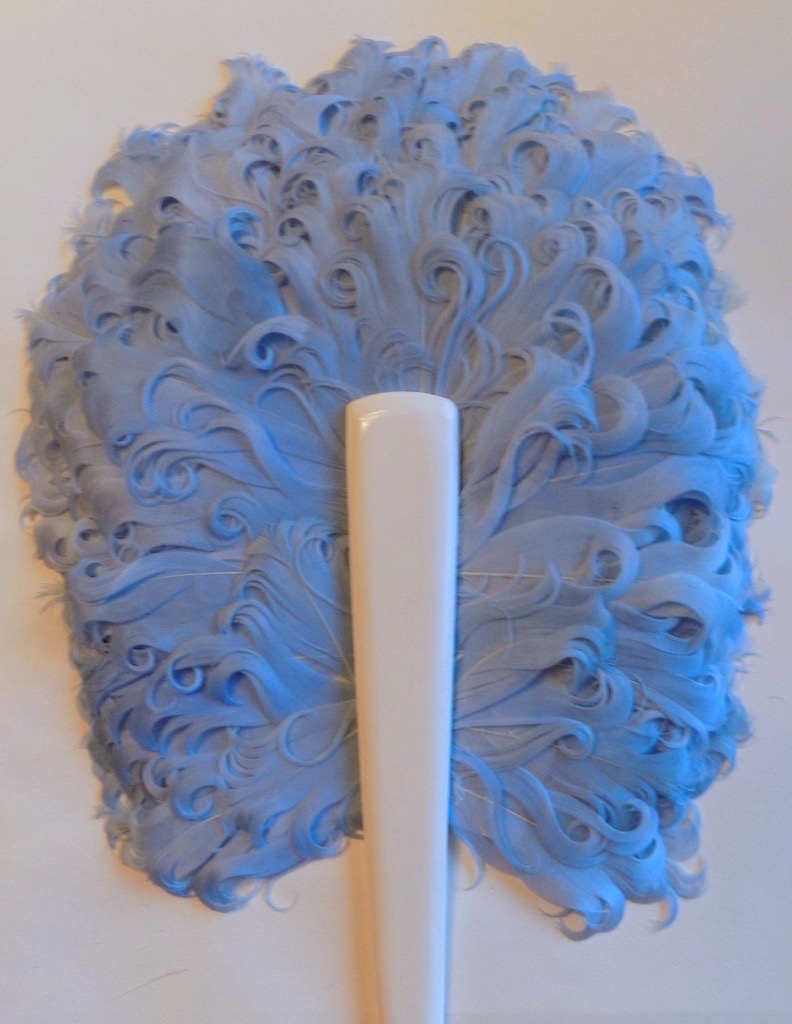
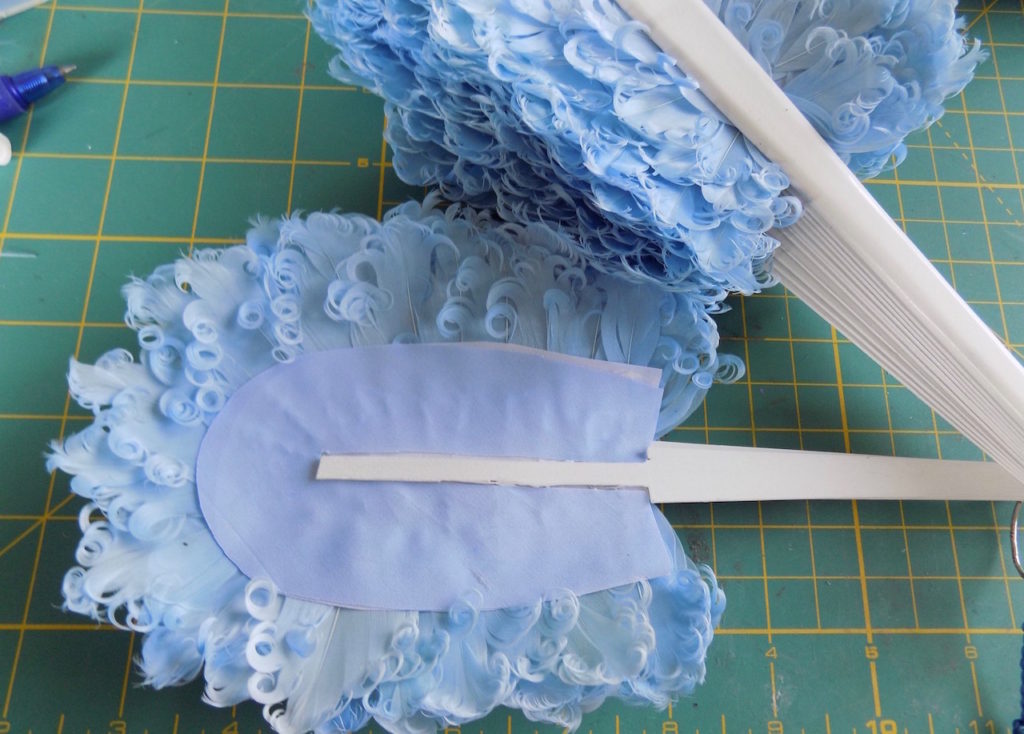
Each rib is glued down the center of the pads.
I waited this with a bean bag.
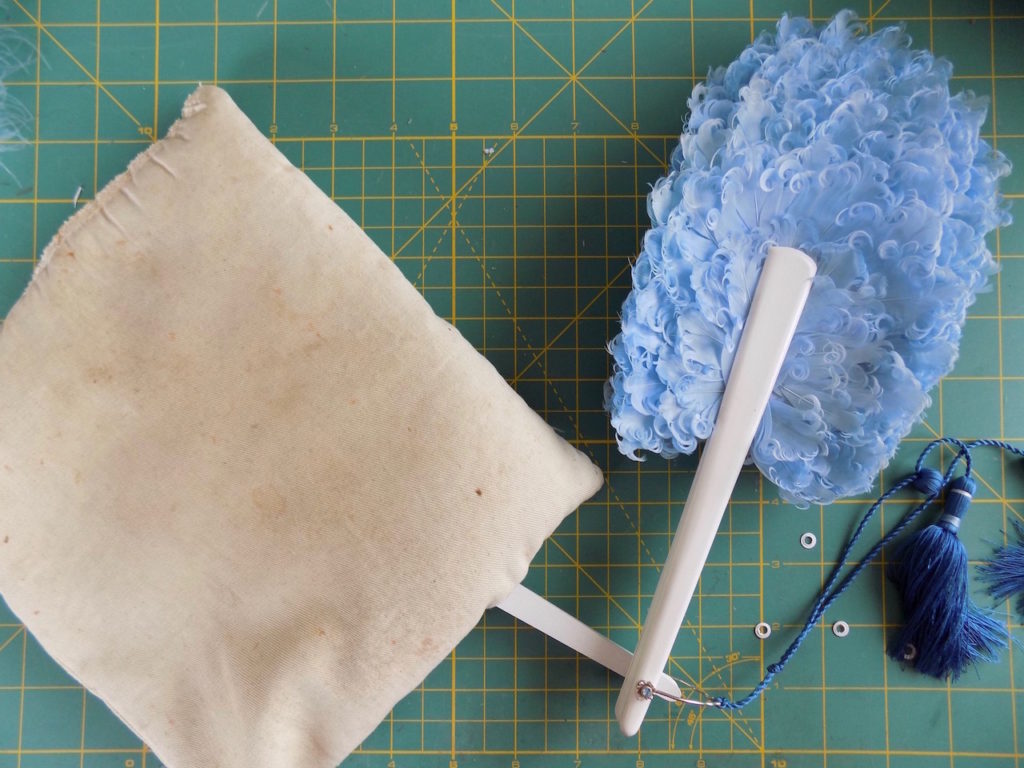
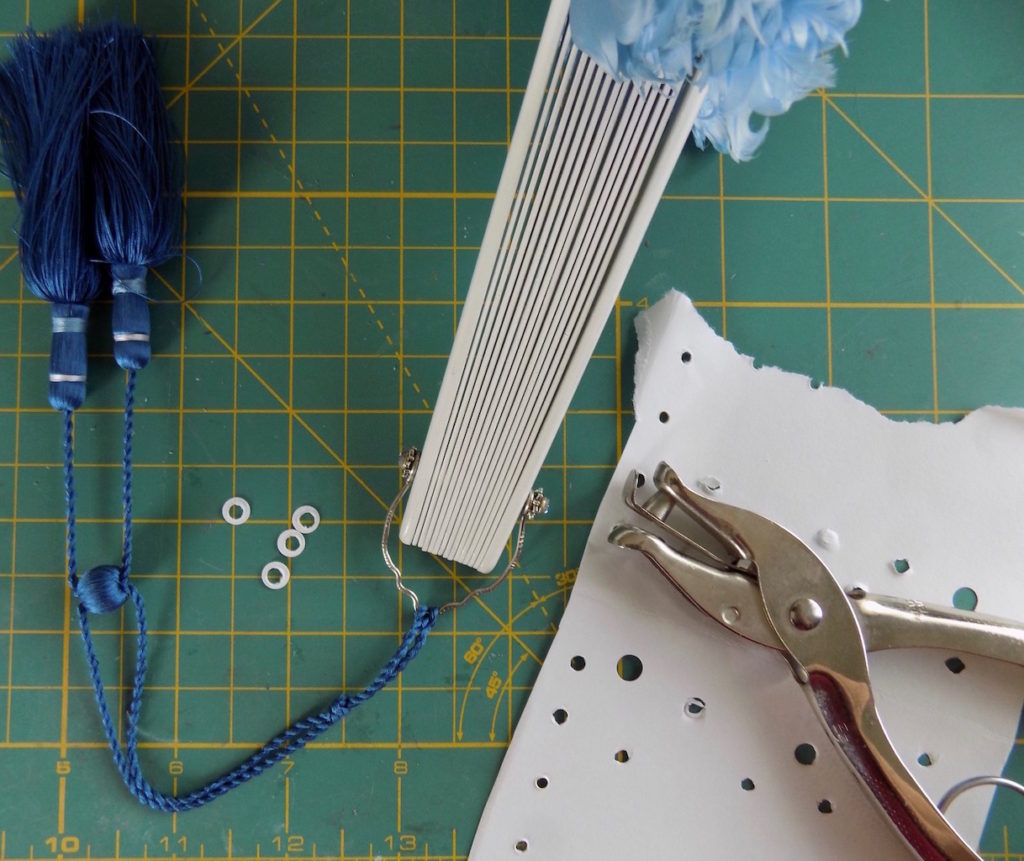
I glued the rest of the pads onto their rib and they were so thick that the fan could not easily open and close so I created some spacers with card stock. I use a hole punch to cut out small holes and then a large hole punch to cut larger holes. These become washers between each rib.
The fan from the side with light coming thru so you can see the washers up by the rivet.
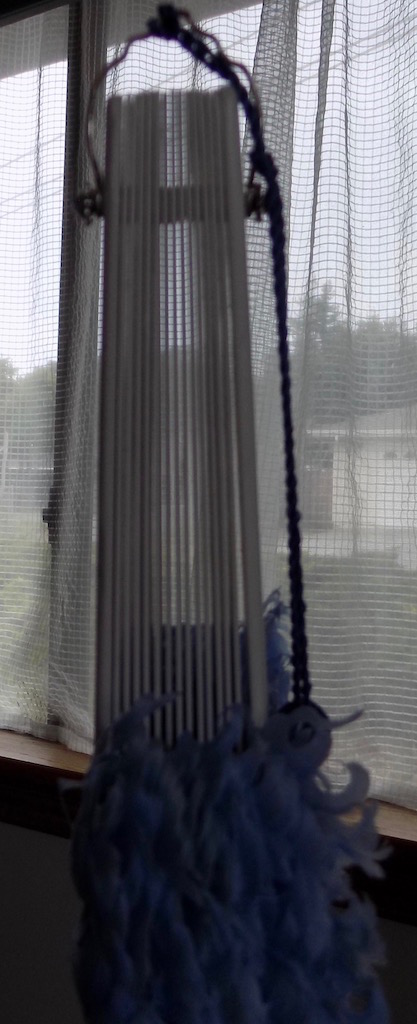
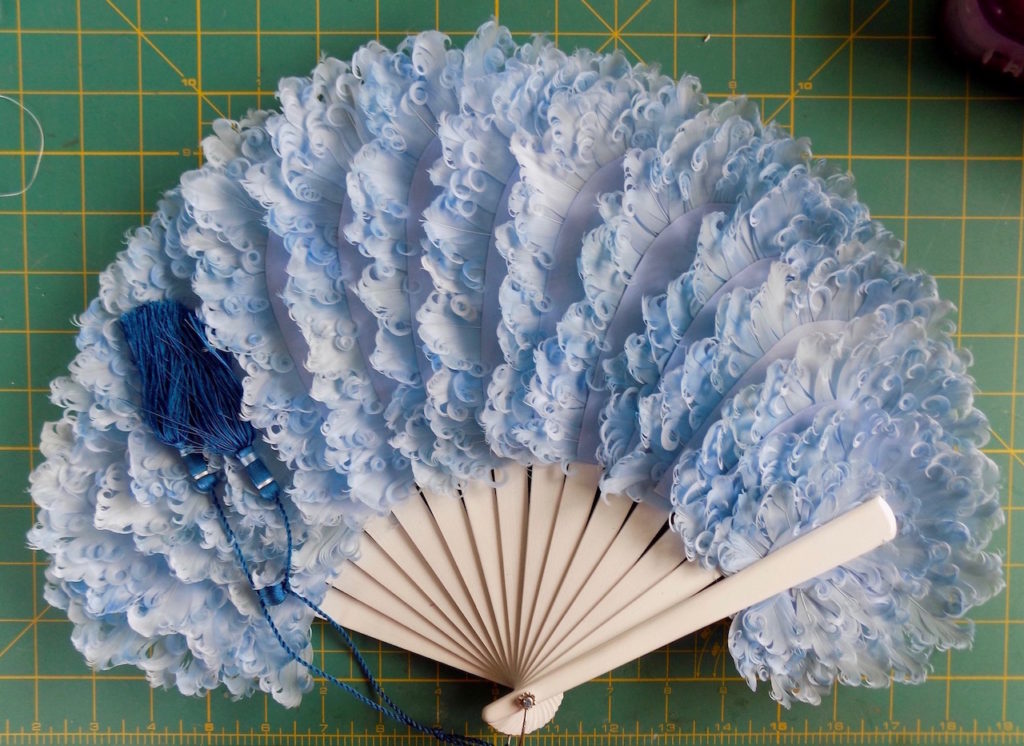
All the pads glued into place from the back side of the fan.
Now the fan needs to have a thread to control how much it opens. I started at the upper guard and sewed thru the feather and pad near the wooden guard.
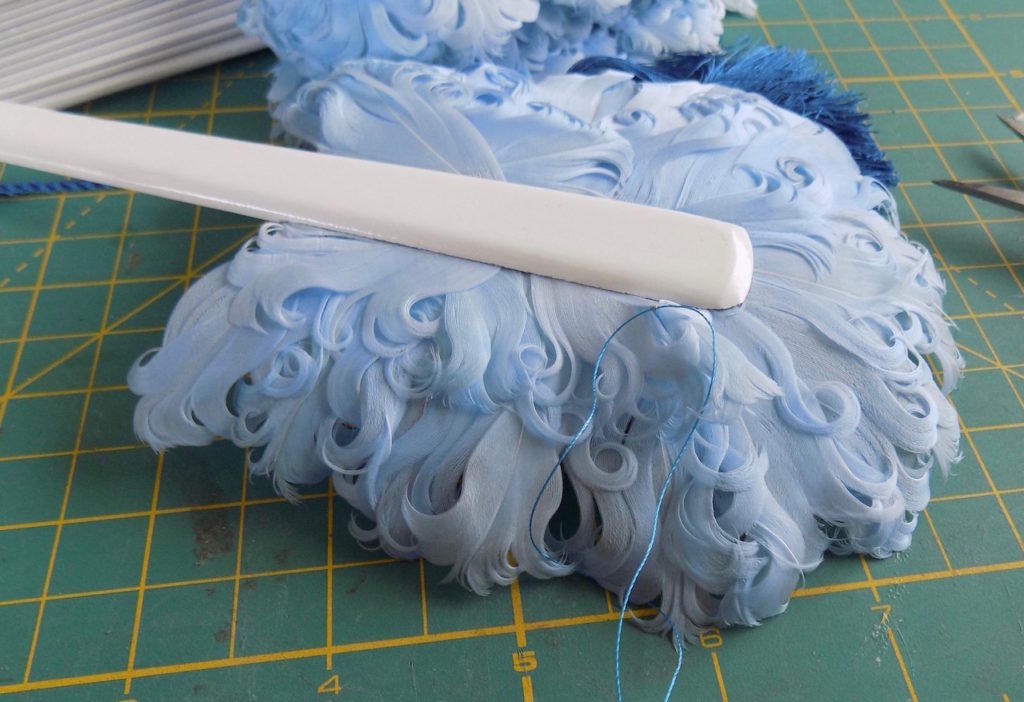
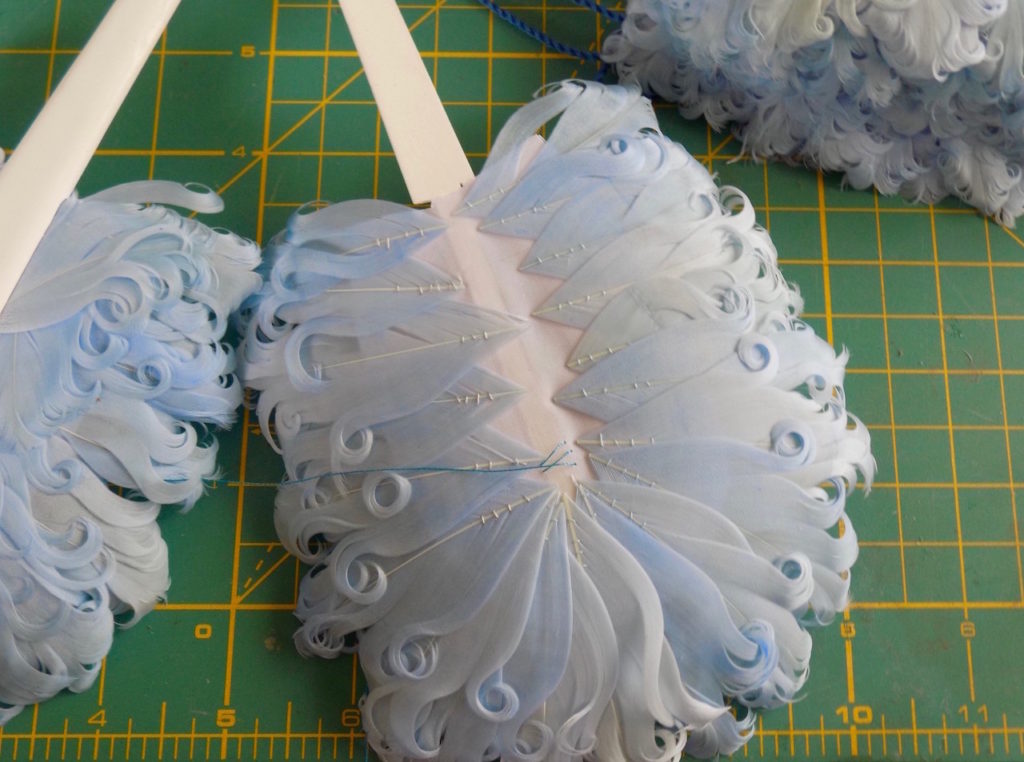
Then on to the first rib pad. I sewed around twice. If you remember I said I had to fill in the full pad so this is how they looked at this point.
This is how it looked from the back side before the threads are pulled taught.
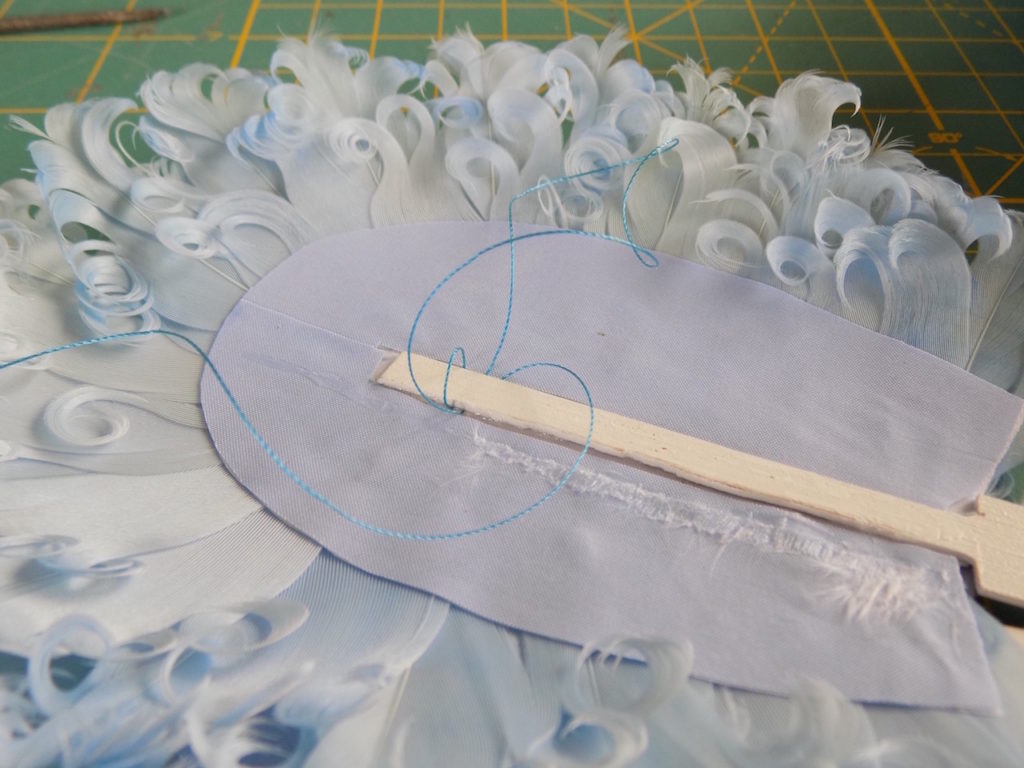
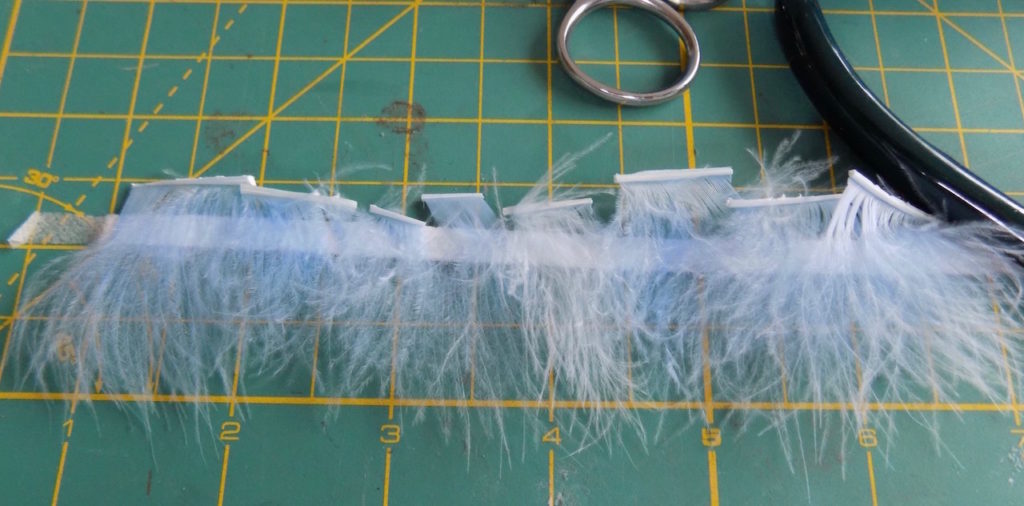
From the side you could see the blue silk so I made some lines of down to cover the edge of the pads in back. It was taken from the leftover feather parts.
After i glued the pieces down onto 1/4″ double sided tape I trimmed the ends.
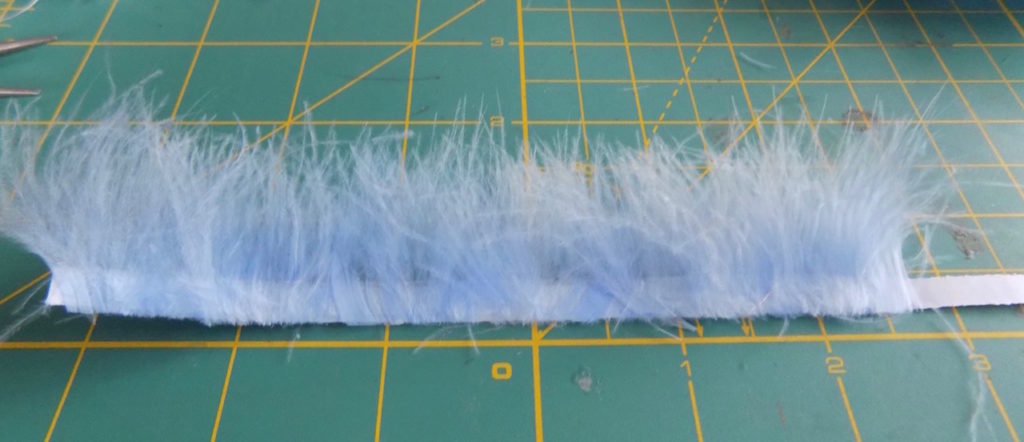
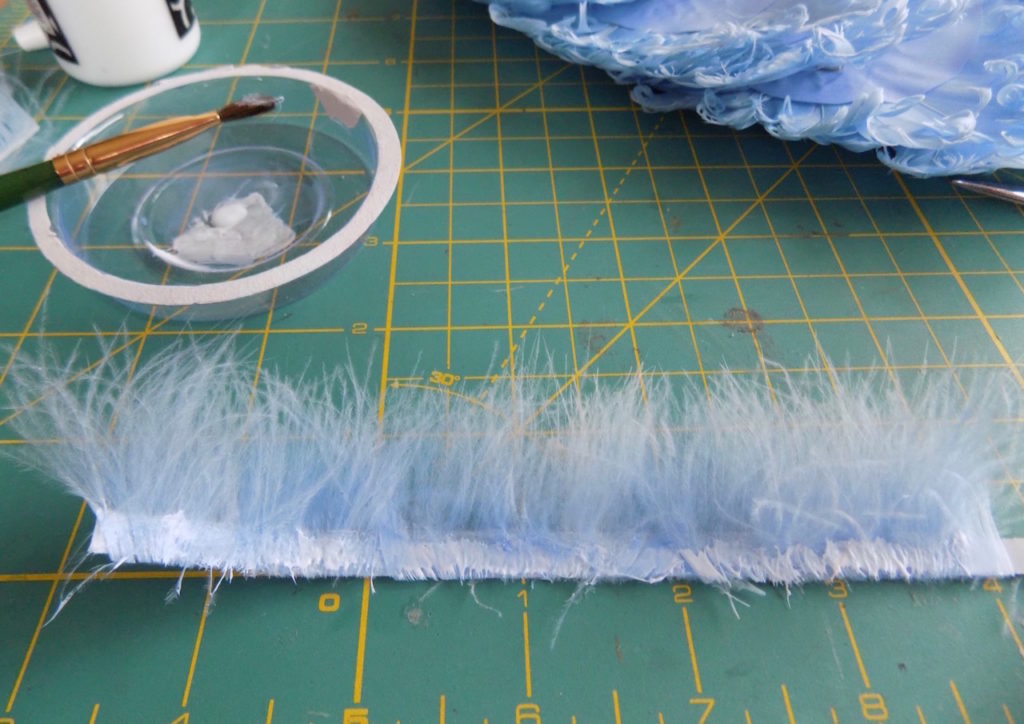
I then brushed glue over this. to make sure the down was stuck.
I used a thick pair of scissors to hold the sections open.
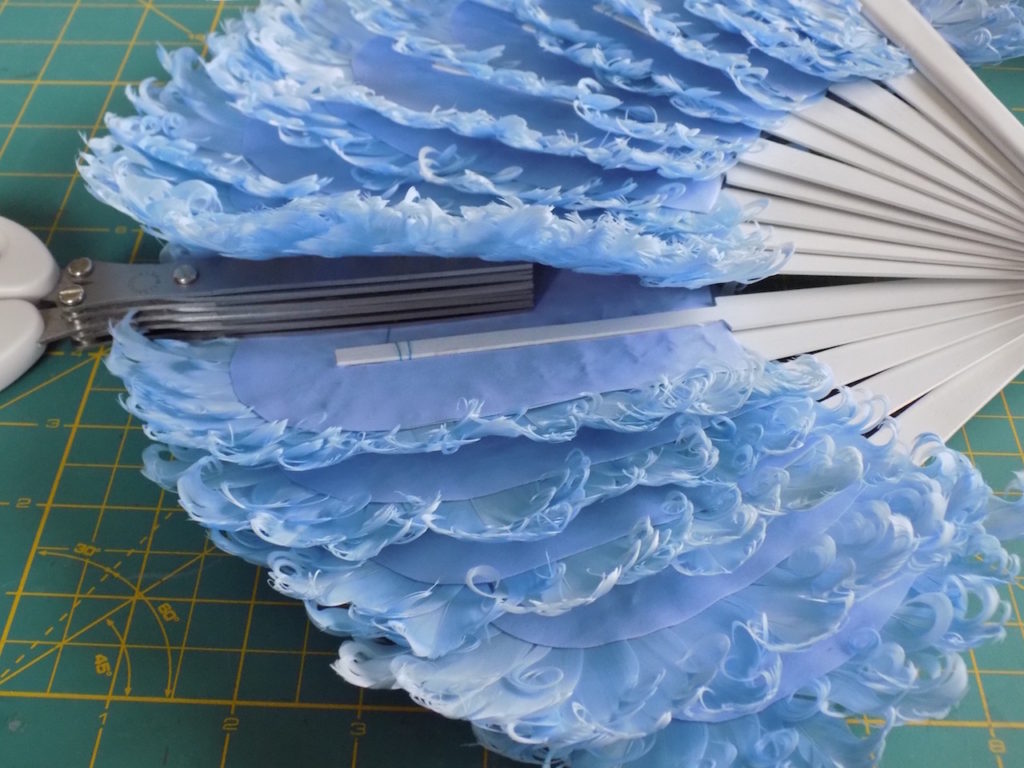
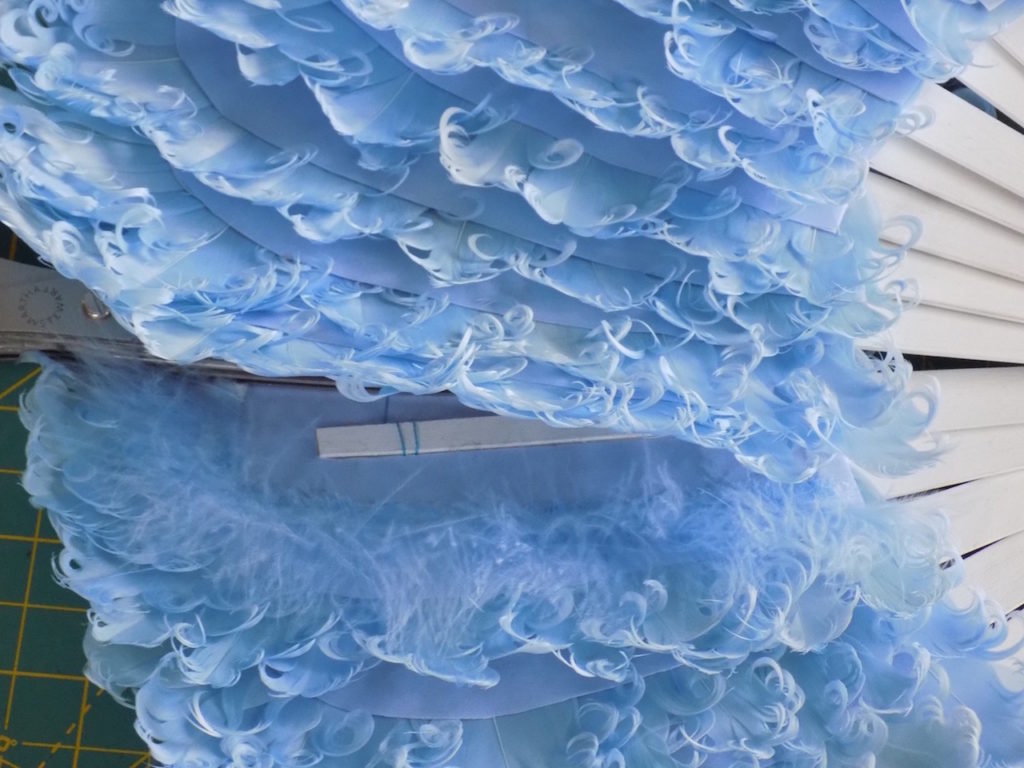
Then I glued the down in place.
It looked like this so you can see the difference between the one with down and the others.
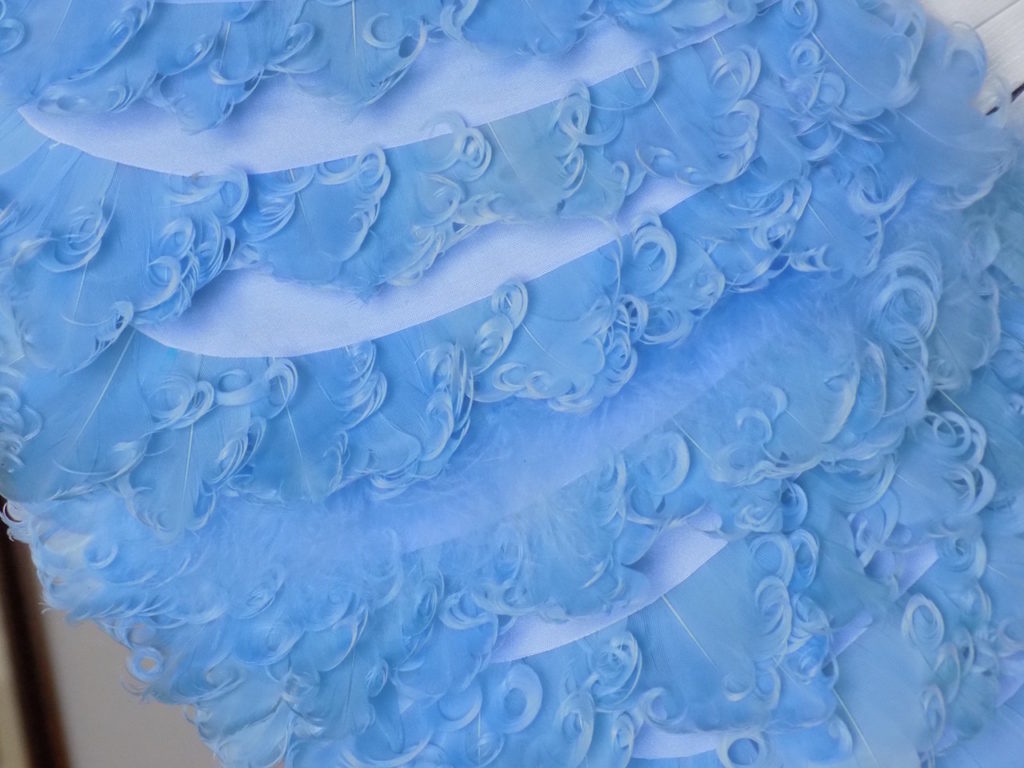
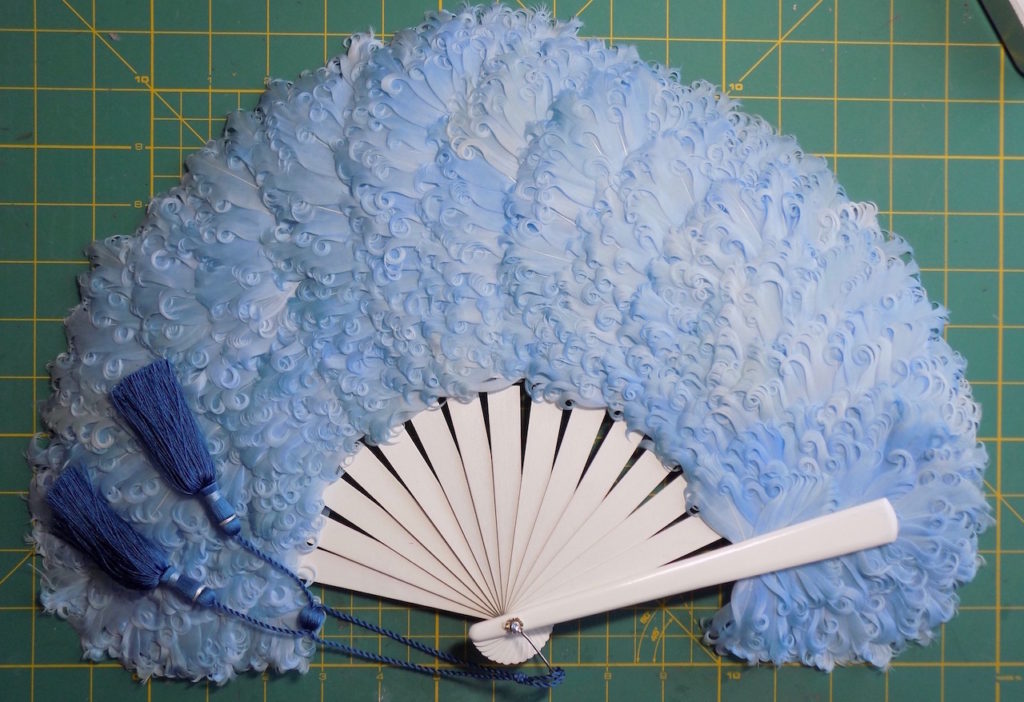
Finished fan.
Tassel set.

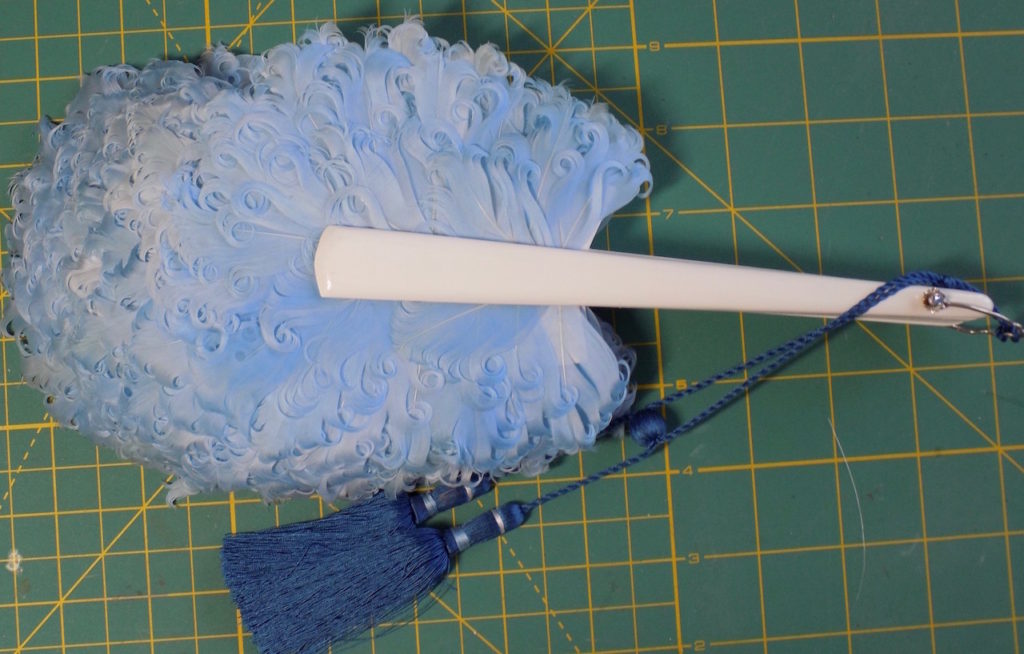
Closed.