The 1910s were a decade of rapid change in fashion and hairstyles. It included the rise of the hair salon for everyday women, greater circulation of fashion magazines showing hairstyles and the social effects of “The Great War.”
The Gibson Girl pompadour, of the preceding decade was less and less popular, even with the average woman, but held on only for a couple of years. It gave way to several classic influences. Among these were the “Psyche” knot or puff, the golden circlets of the Grecians, and the return of the Marcel wave of the 1880’s.

As an example, here is a 1910 photo of 22 women. These women were shirtwaist garment workers in New York City while on strike. Only 3 to 4 of them have a pompadour. The rest of the women have adopted the style that will become the signature style of the early 1910s, a front part (usually center front) with the hair brought down over the tops of the ears and the majority of the volume low in the center back. None of the women had bangs, but it was not unknown, and most women still had hair down to their waist or longer.

So, how can a modern costumer do her hair in the style of the early 1910s? As the majority of us do not have hair down to their waist, you will most likely need extra hair in the form of rats (or some sort of pad), a switch, and perhaps clip-in hair (or weft). Rats are simple, just save your own hair, ball it into the shape you want, and put it in a fine hairnet. Or, if you would rather, you can buy pads made out of foam in a hair supply store (just Google “hair bun styling tools” for examples of the kinds you can buy). I would recommend those for this time period to create the fullness you will need in the back, but small rats are best for the sides. My Natural Form Era Hair articles (part 1 & part 2) shows how to make both switches and weft from synthetic braiding hair and how to mix shades to get close to your own hair color. You can also buy human hair weft and add toupee clips to add fullness to your hair.
The steps to creating Early 1910s hairstyles:
The purpose of this article is to demonstrate how to create hairstyles of this time period that can be done in under and hour, without practice and without my hands-on help. The process worked well for my models with one or two small exceptions, which I will call out later in the article. Note that all hairpieces were done in advance. The majority of the photos were taken with the models in front of a mirror; therefore I could take a photo from the back and the front at the same time. In some cases, I cropped the middle of the photo to bring the important parts of the photo closer together. To save article space, I may refer to photos of previous steps with subsequent hairstyles, if I have already shown that step earlier. All of my models have some experience with doing their own hair in historical styles, some more than others, but they are by no means professional hairstylists. With practice, I think anyone could become adept at these hairstyles.
Evening versus day:
During this time period there is not a distinct difference between the hairstyle worn for everyday versus evening, except that an evening headdress would be slightly more elaborate and have fancier hair decorations (such as feathers and hair jewelry, like gold bands, combs and pins). Everyday headdress also had decorations like tortoise shell pins and combs, and less elaborate headbands. I will illustrate both of these hairstyles.
Step by step Deborah’s daytime hairstyle:

Deborah has slightly longer than shoulder length hair that is cut in layers
She started off with wet hair that was set in small curlers all around with slightly larger ones on the top of her head.

Her set was dried in an old fashion hair drier this gave her time to look over some 1910 hairstyles from one of the reference books listed below.

Once dry, she parts her hair (she chose to part a little off-center), and then she applies an even coat of hair spray. That step is the start for any good period hairstyle, and if your hair is really clean, it’s even more important. Hairspray helps pins to grip and irons to set curls.
(I try to avoid aerosol sprays but I have never found a pump hairspray that is fine enough.) I usually recommend not using conditioner as it makes hair too slick to style. If you wash your hair the day of, only add a little conditioner to the very ends.

When the spray is dry she combs out her hair.

She slips a foam hair tube with an elastic band down over the crown of her head.

She takes the side hair in front of her ears and tucks it under the elastic band (from the outside top of the elastic down and under the elastic). Making a clockwise half circle on the right, and then a counter clockwise on the right.

She then takes the next farther back section of hair and does the same thing.

She repeats those steps on the other side of her head.

She tucks the remaining hair up and behind the pad.

She adds some long bobby pins, as necessary, to support the tucked hair


She tucks both ends of the switch under the roll and pins them to her hair.

She adds a few extra pins so that it does not slip backwards. Now all that is needed is a little smoothing and a little more hair spray.

Step by step Laurie’s daytime hairstyle:
Laurie has very long hair, you might say “period long” hair.

Laurie skipped the overall spraying of the hair, but did spray the section that was to be heat set.

Laurie makes a center part.

She then divides her hair into three sections, from the center part down to each ear, and the back.

She isolates the back section by twisting it a pinning it into a bun.

She separates each side into three sections and clips then with long hair styling clips.

She uses a wave iron on the uppermost section.

She adds the next section to the hair she is adding to the iron. When she makes the second wave she moves the last down wave of her hair in the iron to the first down wave position.
(Note: each clamp of the iron has two down waves and one up wave between them, therefore to create a continuous wave you have to repeat 1/3 of the hair each time.)

She adds the last section of separated hair to the hair she will be putting in the iron.

This is the third wave in the iron.

This is her hair just out of the iron.

This is her hair after the fourth and final wave was set. If a hairdresser were doing Laurie’s hair, they would continue the wave ironing over her entire head.
If she was doing this early in the day for an evening event, she could use the clips to clip the waves in place and leave it for a longer time perhaps even using the steam from the shower to set them even more, but we had to move right on to the next step.

Laurie is now dividing her waved hair to add in a set of hair extensions that she uses to add volume to her young Queen Victoria hairstyle, and they will be perfect for this style as well. They are just wide enough for the section of hair in the front.
One has two rows of human hair weft and the other has two and a half rows. This is because her hair is a little thinner on one side. The wefts are sewn to a toupee clip.

Here she is clamping it down.

She is checking to see that both sides look correct and the clips do not show.

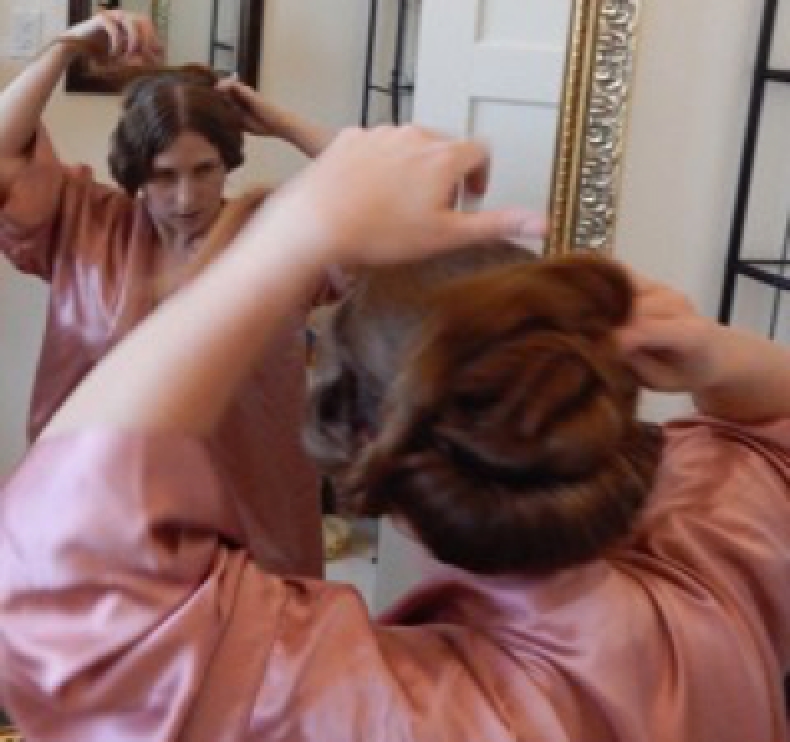
Because she has so much hair, not all of it can go into the back roll so she separates the upper half from the lower half first with a clip, and then two long bobby pins one from each side.

The clip is taken away and the hair is twisted and clipped up, out of the way, so the lower section can be rolled.

Laurie is pinning the rolled hair from the side between the roll and her scalp.

The upper half is then twisted into a spiral and pinned down and she applies some hair spray.

She now has loosely twisted the hair in the front, that she brings over the upper bun and tucks in. (The hair on the left is twisted clockwise and the one on the right is twisted counterclockwise. It is important to start the twisting past you ear.
You can anchor with a clip or bobby pin after the first half twist. This was the place where an assistant came in handy. It was difficult for her to see where to tuck in the loose ends of her twists. I helped her with that.)

She added some small hairpins to keep everything in place.

She is smoothing things and applying a little more spray.

She is checking the final do.
