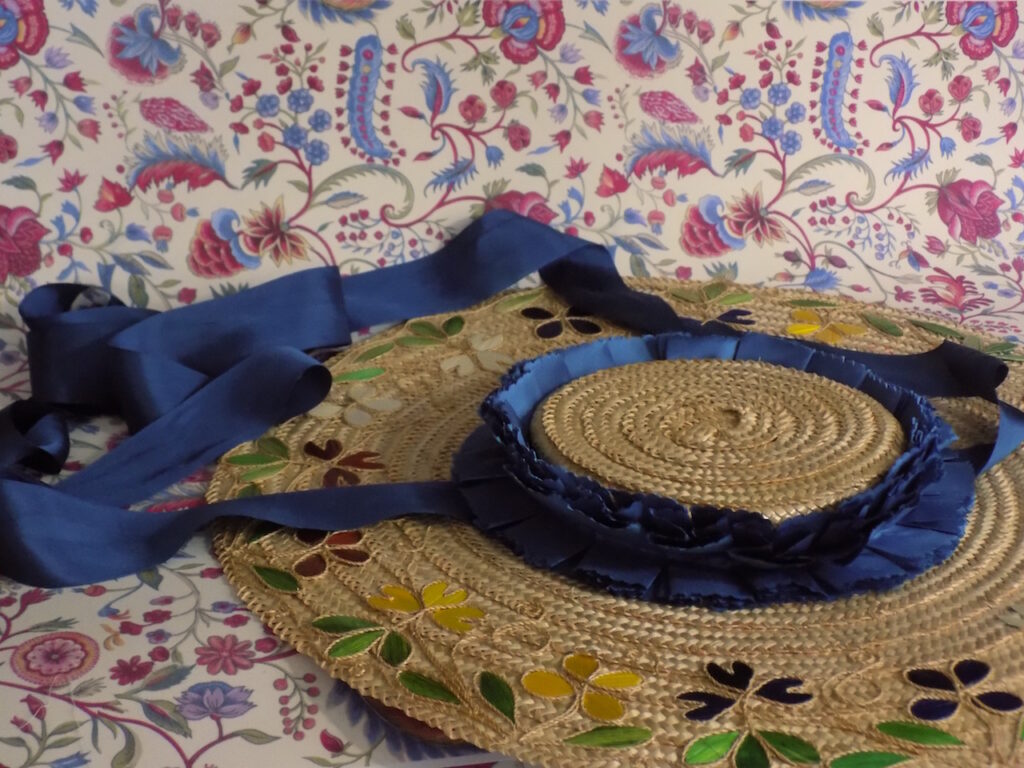
How to make double box pleats.
A double box pleat is different from a normal box pleat because there are two returns under each pleat rather than one. A normal box pleat takes 3 times the length of material to make the finished length you want. With a double box pleat it takes 5 times the material.


These instructions are for doing double box pleats using freezer paper so you can do multiple lengths of pleats without marking each length.

First you should fold your master guide make sure that it will release from ironed on freezer paper. My grid is 1″ for each upper section, then three 1/2″ sections then one 1″ lower section then, another three 1/2″ sections. Repeat from there.

After folder then I open it up and press it flat. The creases will remain.

Then I iron a strip of freezer paper to the back of the master guide with the wax side down.

Then I re fold the master/freezer paper strip \.

I fold it so that all the pink sections are up. If you are drawing out your own master you should note Up on every other 1″ wide section (pink) and than down on every other 1″ section (blue).

You strip should look like this after folding. I started with a 36″ master. Now it’s ~7″.

Now I pull the wax paper from the master. You can use the master many many times and should be able to use the wax paper strip 4 or 5 times.

This is the wax paper strip with the fusible side up. It should make up to a yard of double box pleats the width of the paper but you can fuse two or three narrower strips side by side.

Fuse your fabric/ribbon strip to the wax side of the strip. With the iron on the highest heat the fabric/ribbon can take.

If you are doing two flip it over and fuse another to the other side.

Refold the paper with the fabric and clip the folds as you go. Press the pleats on the other side from the clips and move the clips to the pressed side and press again.

Remove, pull off the pressed pleats and repeat with any other strips you need.

Join the lengths of pressed pleats to make up the finished length you need.

Mark a line down the center.

Run a gathering stitch down the center. This will hold the pleats together and let both sides flair out.

Here is a shot of a test of some scallop scissors I have. You will want to either pink the edge with pinking shears or use some scalloping scissors like this. This needs to be done after the pleating and not before.

After pinking I gathered the stitch down the center a little to fit the crown.

Then pressed it in half.

Finished hat

