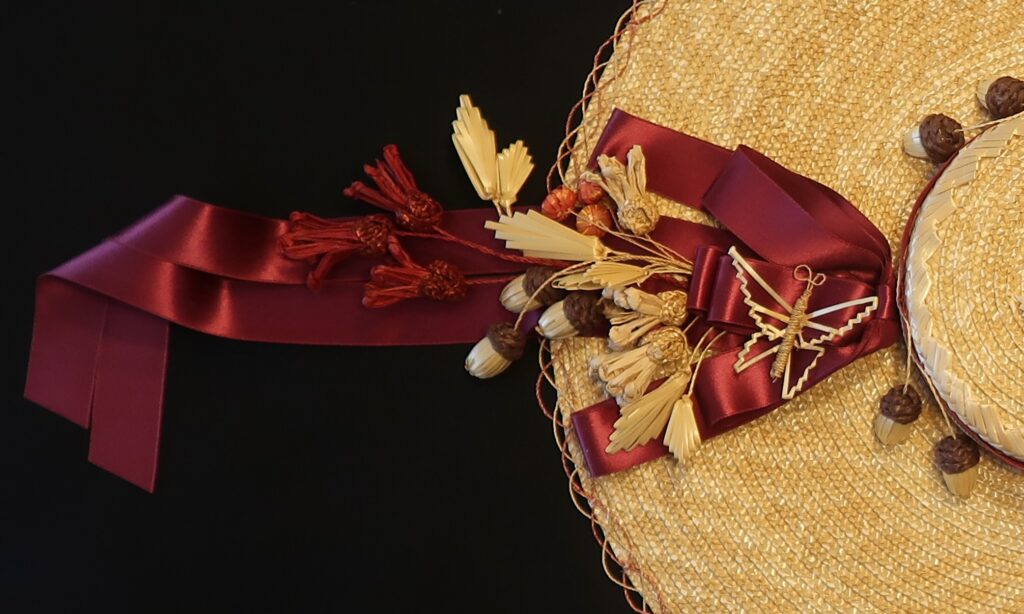
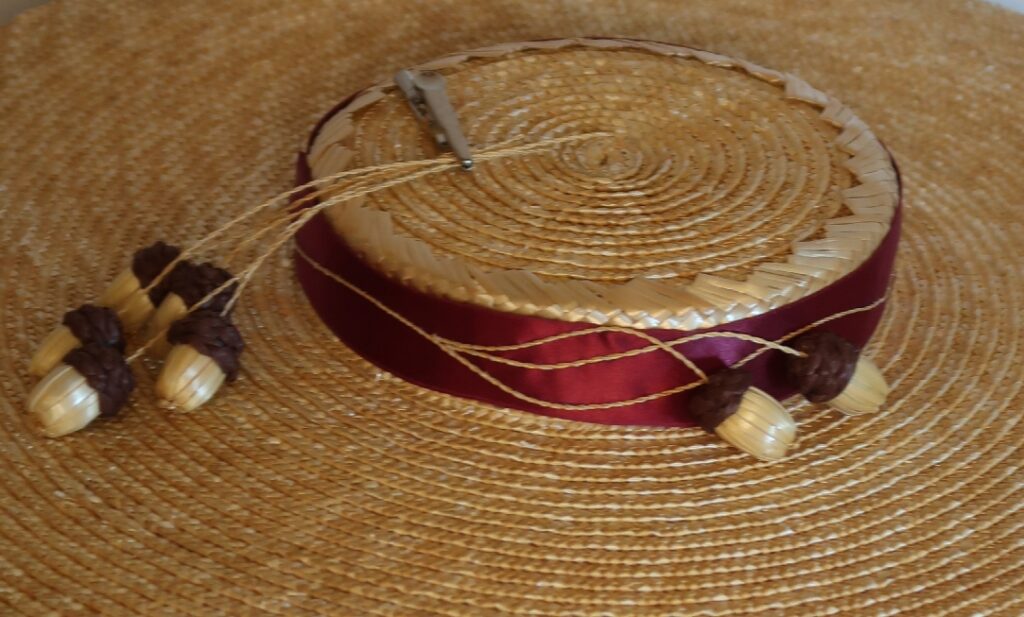
Making acorn with straw is much like the cherries. Except from two things, the shape of the wooden bead you make it over and the cap that covers the top half of the bead is made of braided raffia and is added after you cover the bead with straw splints.
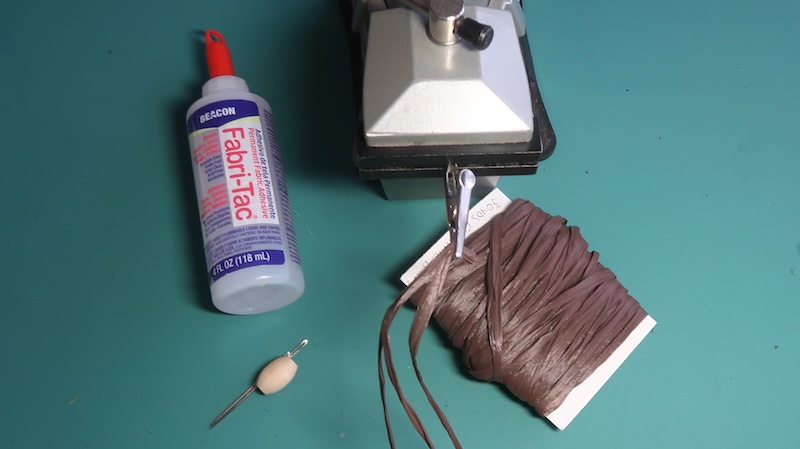
You will need an oval (football shaped) wooden bead (1/2″ by 1″) with a large hole. They do usually do not come that way but have to be drilled out to 3/16″. Dark brown raffia, some Becon’s Fabri-tac glue, matching thread to the raffia. A large eyed darning needle and a regular sewing needle. A table top vice or sewing bird.
Cut 2 lengths of the raffia ~20″. Split them in half. Take 3 of the split pieces and clip them together and braid them.
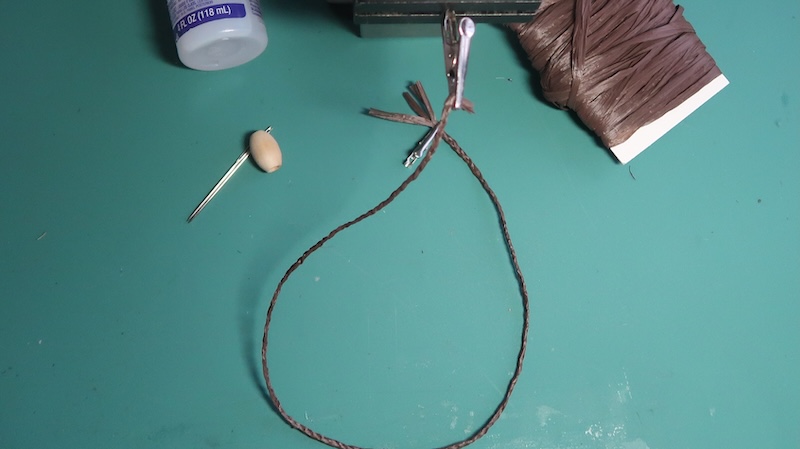
When braided clip the end.
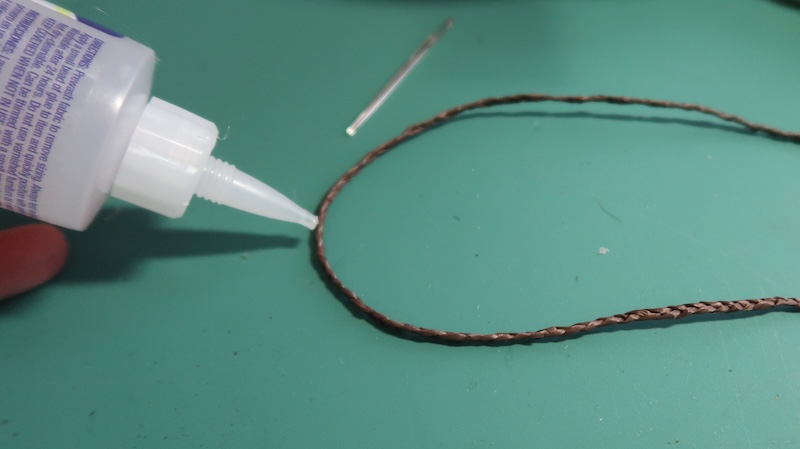
Fold in half and add glue there.
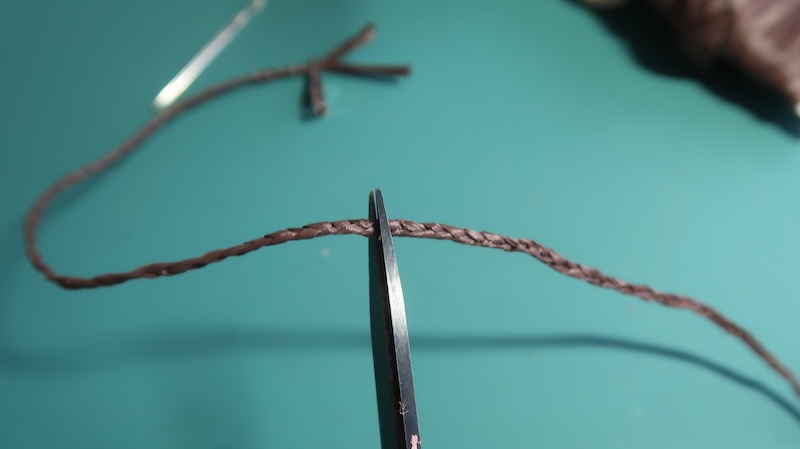
When the glue it dry cut the two lengths in the middle.
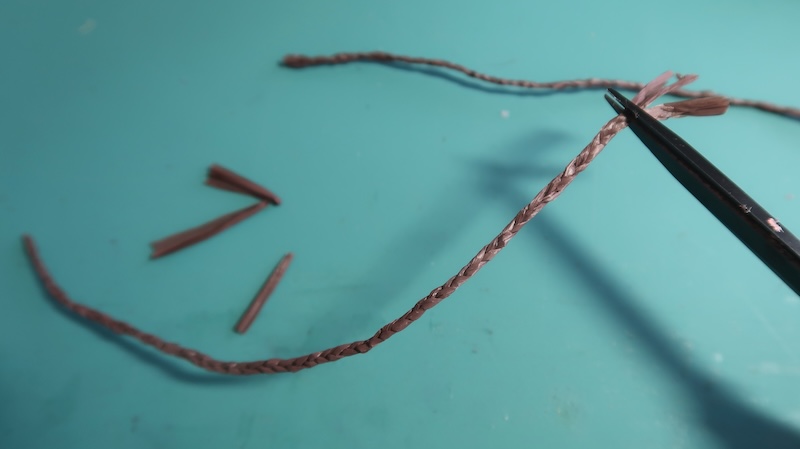
Add glue to the start and ends and clip away the un-braided
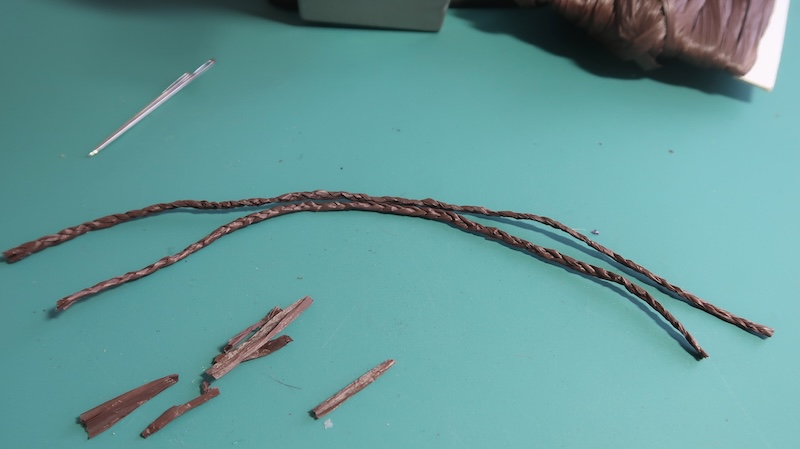
Set these aside and follow the instructions for covering the cherry with your acorn beads. Note: The only difference is how the stem is added. instead of being glued to the top of the cherry the stem is pulled thru the acorn bead from the bottom to the top. The knot needs to be fairly large so it does not slip thru the hole. Most likely a double knot (but it does depend on the thickness of your straw thread).
Sorry but I don’t have any pictures of this but once you have covered the bead and added a stem you need to cover the top half of the bead with the braided raffia. Starting near the top hole glue one end of your raffia braid to the bead. If you can you should use your darning needle to tuck the cut end of the braid into the hole. When the glue is dry and secure start spiraling the braid around the top of the bead. Use some small dots of glue to hold the spirals and when you have covered 1/3 to 1/2 of the bead trim the raffia and tuck it under. Use the matching thread to secure the rows of raffia the the straw and to each other with small stitches here and there where ever they are needed.
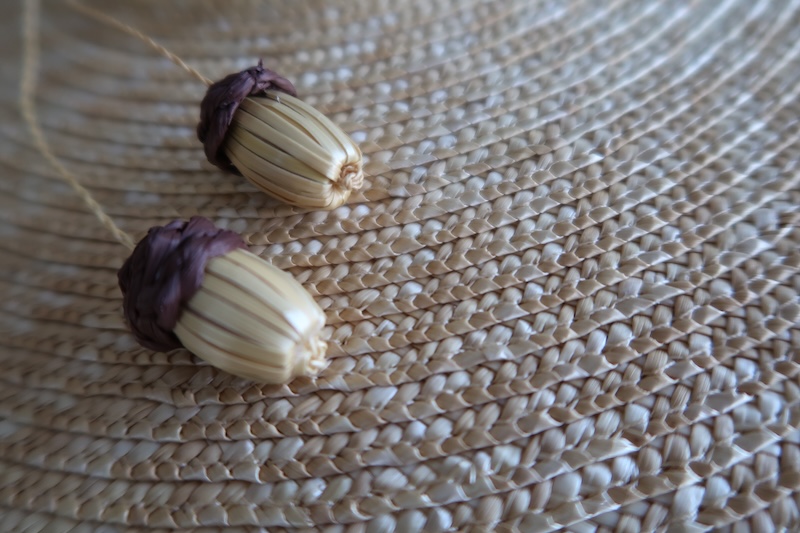
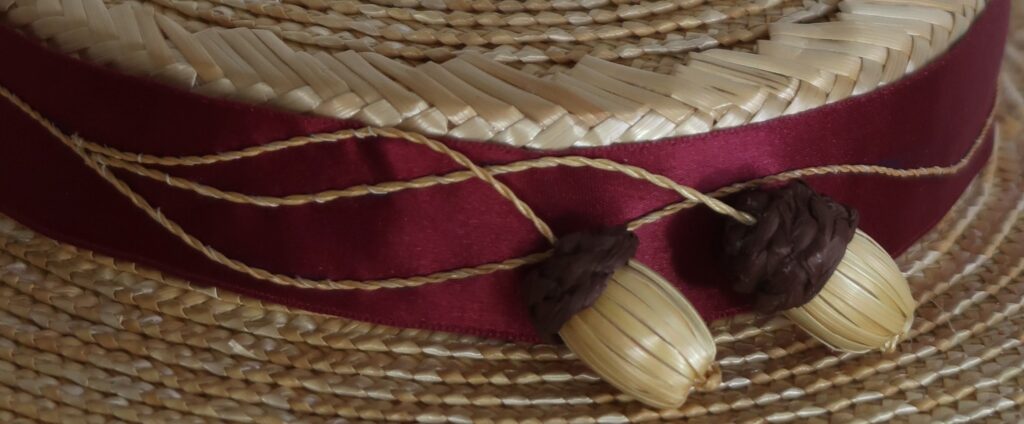
This picture shows the knots in the straw threads really well. You should leave a little tail before the knot this can be tucked into the hole as you pull it into place. A dot of glue inside the hole will keep the bead from sliding up and the knot in place.
