This frog with a woven Celtic design on the other end of a knot or loop can be made with most any kind of cord. I’m showing modern frog cord but it could be made with a narrow flat braided cord, round cord or even twist cord. I notices the other day when I was watching “Victorian Farm Christmas #3” that Ruth Goodman was wearing a half cape with this style of from with the spirals made up in a round braided cord with a standard knot. Not the knot I using for these frogs.
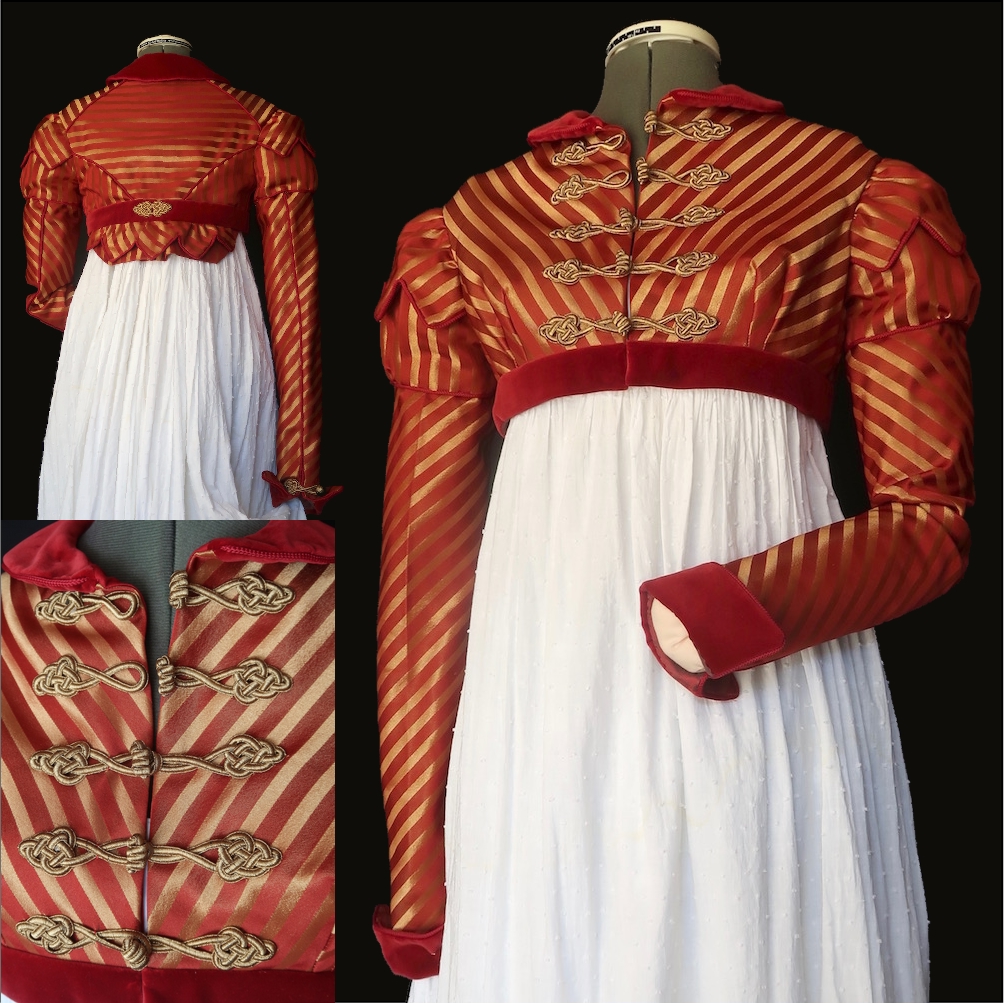
Celtic design frogs without spiral on a Regency Spencer and a double Celtic design decoration on the belt’s center back.
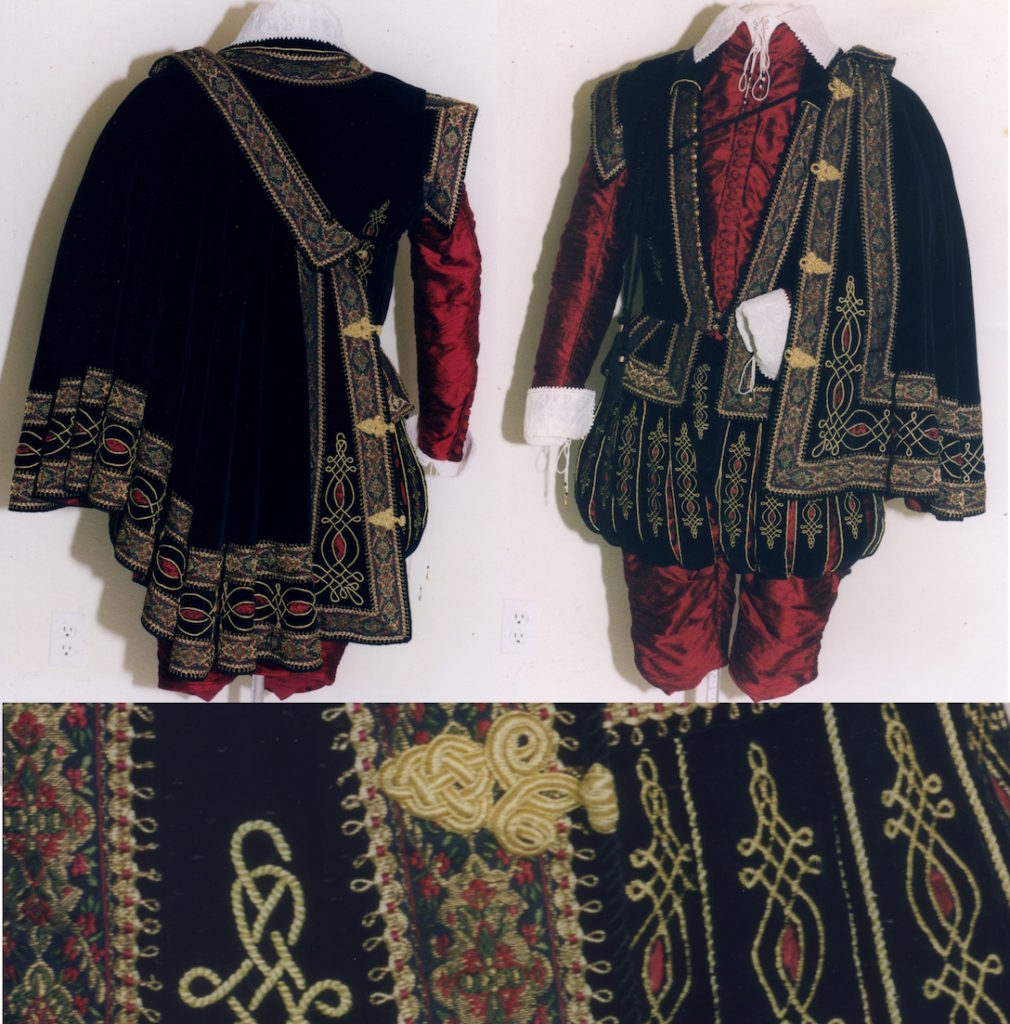
Elizabethan Man’s Cape with the Celtic Design Frogs with the spiral.
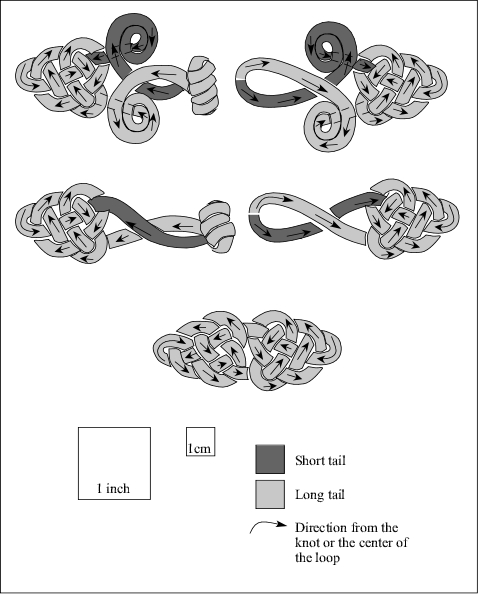
If you drag this diagram to you desktop and print it at 100% you will have a pattern to make any of the above.
Frogs from the Spencer.
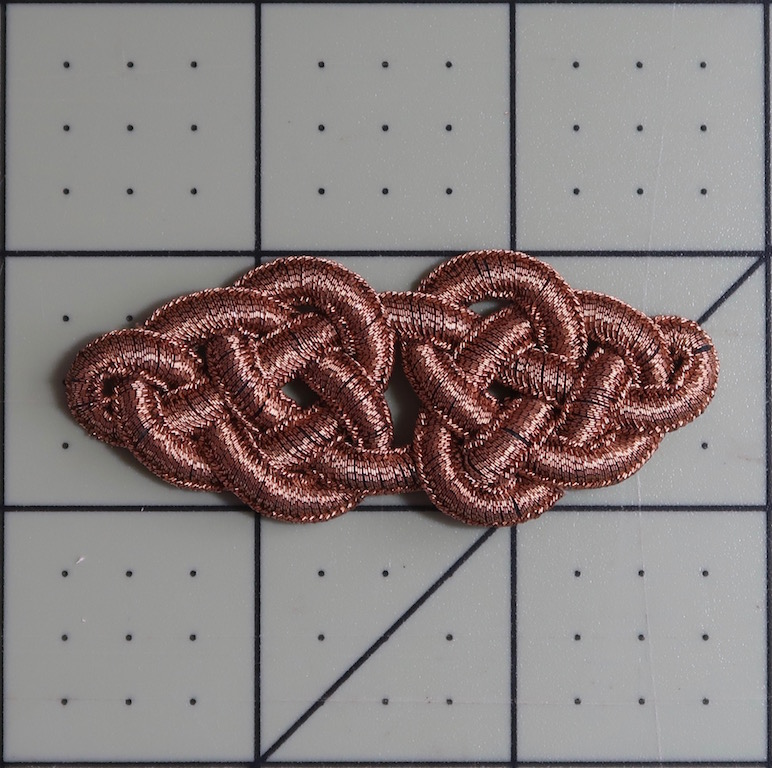
Decorative design from the Spencer.

Back side of the Spencer frog.
Knot
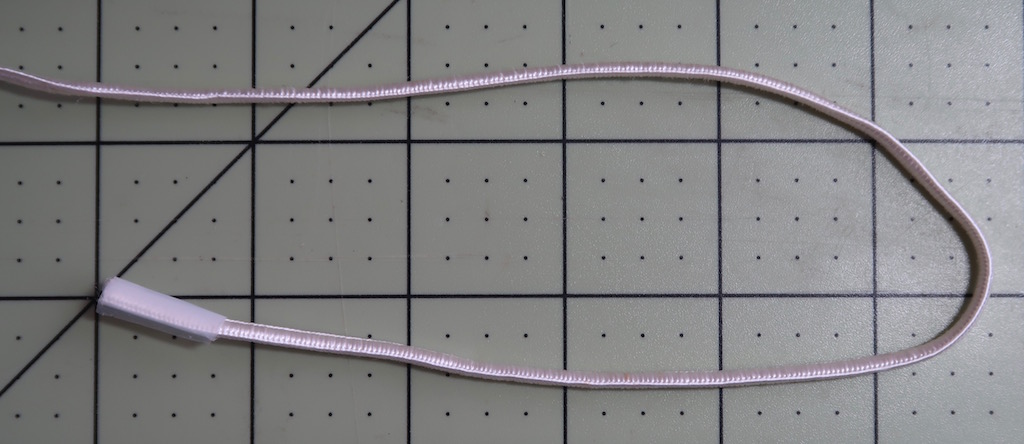
As making the frogs without the spirals is much the same as the ones without and the decorative one then I going to show the one with spirals. Start with ~28″ of cord, fold the last ~5″ back on itself.
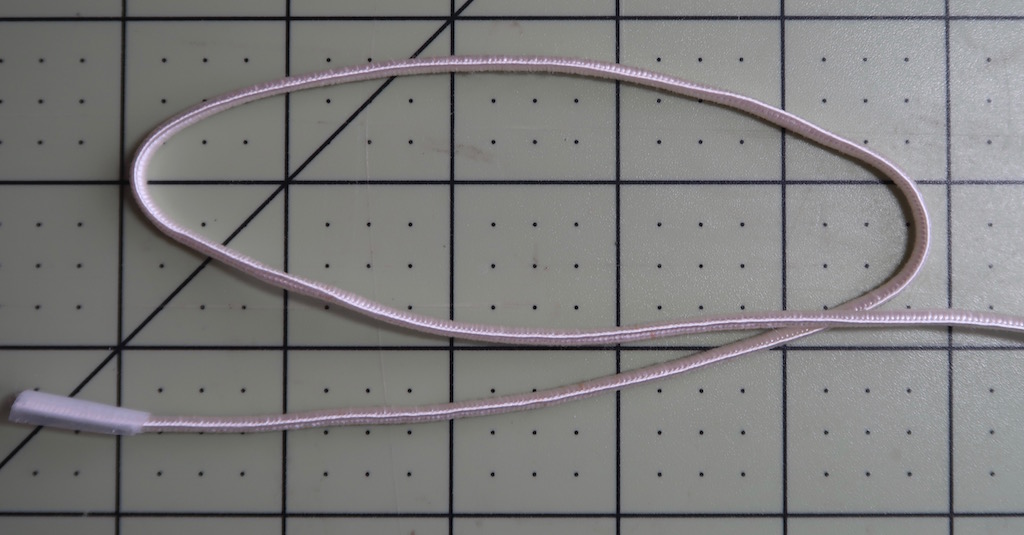
Fold the long end back across ~5″.
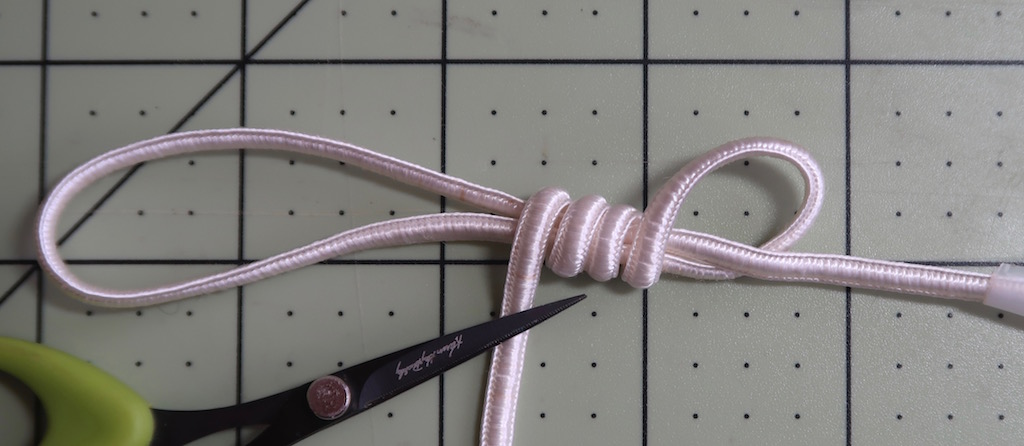
Take the short end and wrap it around the other two cords 3 or 4 times. I used 3 for the Spencer and 4 for the Cape.
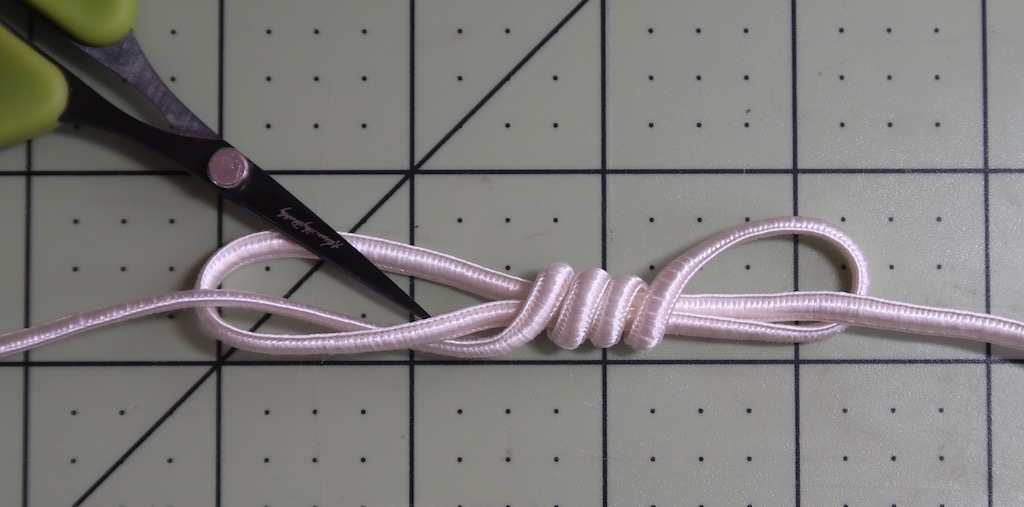
Bring the short end up thru the loop on the left.
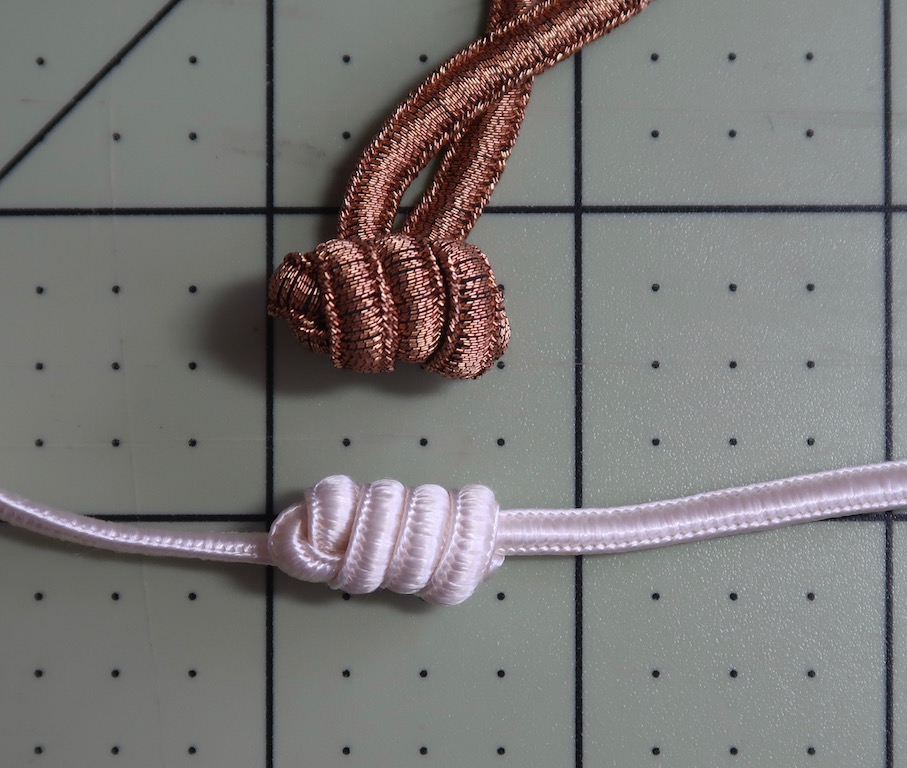
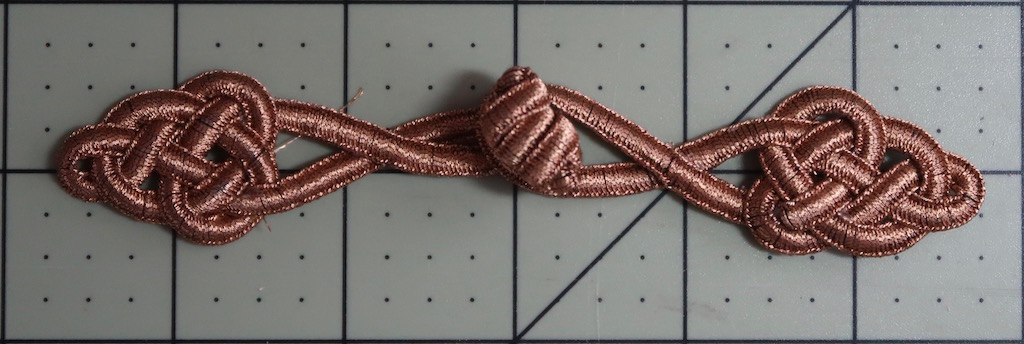
Snug up the loops by pulling on the ends of both cords. The upper metallic knot had 3 wraps and the lower white one had 4. Because the width on the white cord is a little thinner than the metallic cord which is what the pattern is for above I’m going to print my pattern out at 90% not 100%. This way one can use the pattern with different widths of cords.
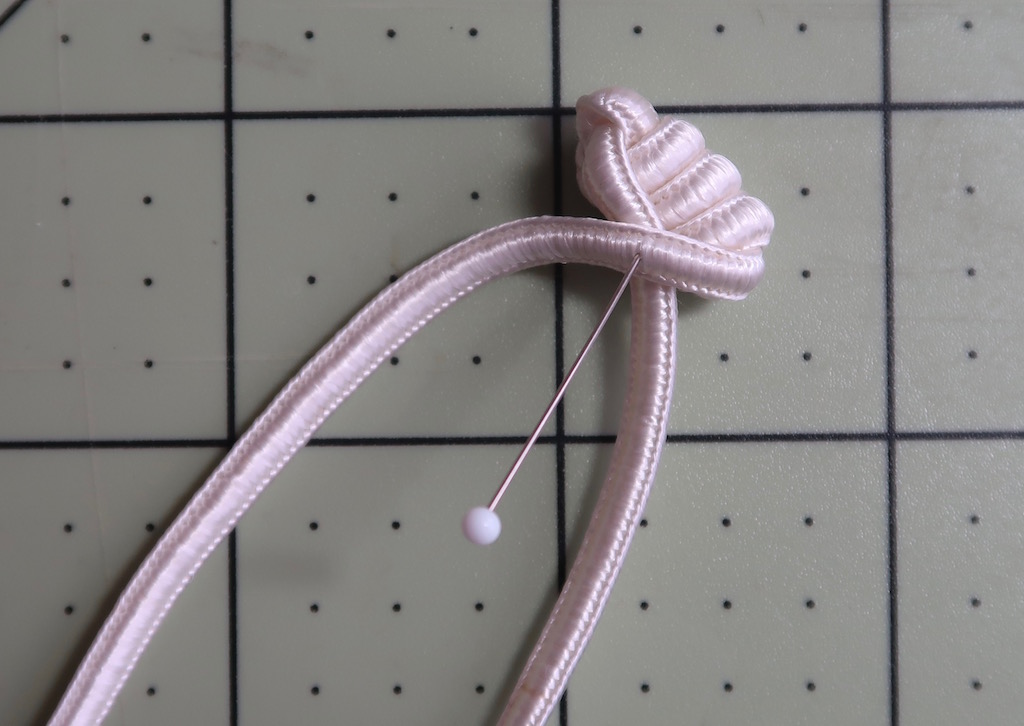
Cross the long and short end over the back of the knot and pin it down.
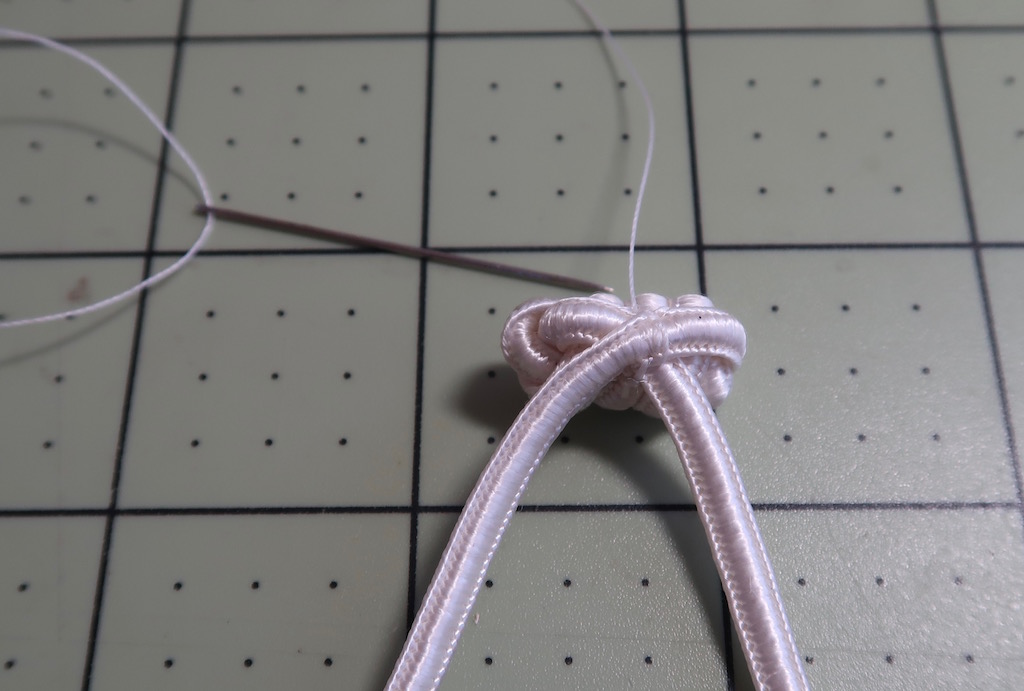
Tack stitch it down with a needle and thread. It’s a good idea the go thru the knot between the wraps so it can’t be seen but will keep the knot well in place.
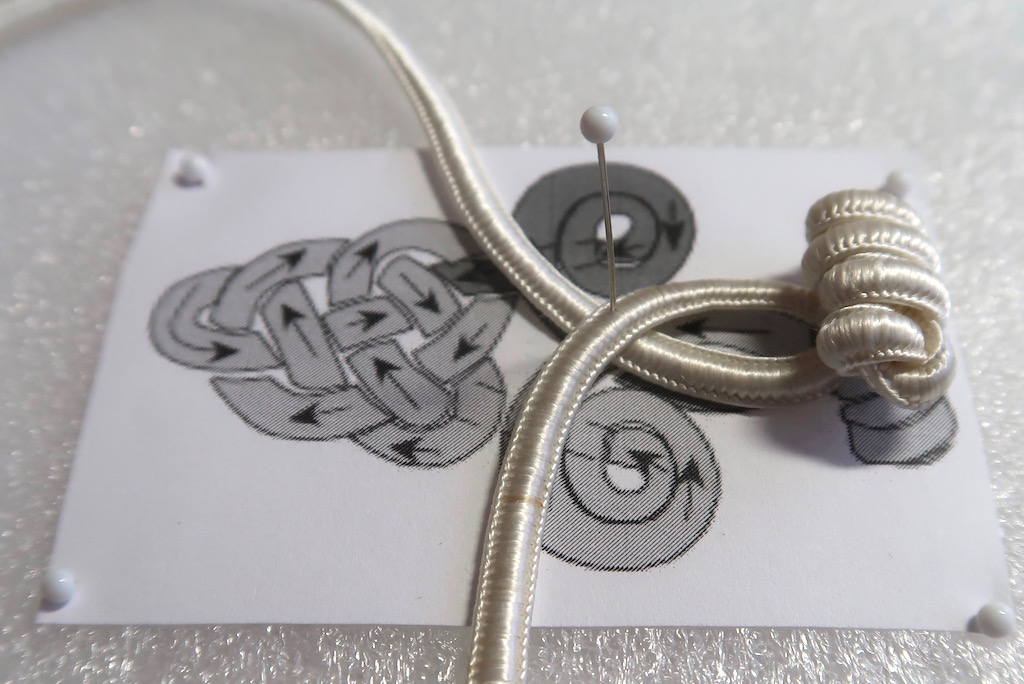
Working on a block of styrofoam or anything you can pin into pin the pattern to the surface and pin the knot over the drawing. Create the first cross over with the short and long tails and pin it down.
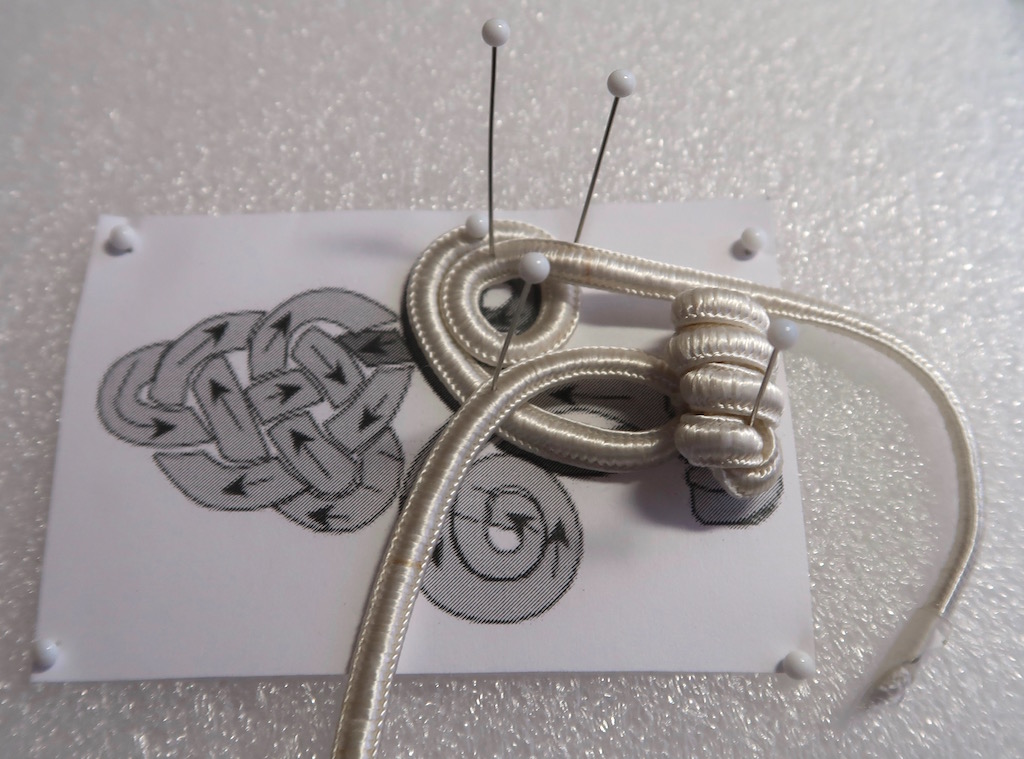
Twist the short cord over the spiral on the drawing and pin where necessary. Pull the tail inside the spiral and under the cords.
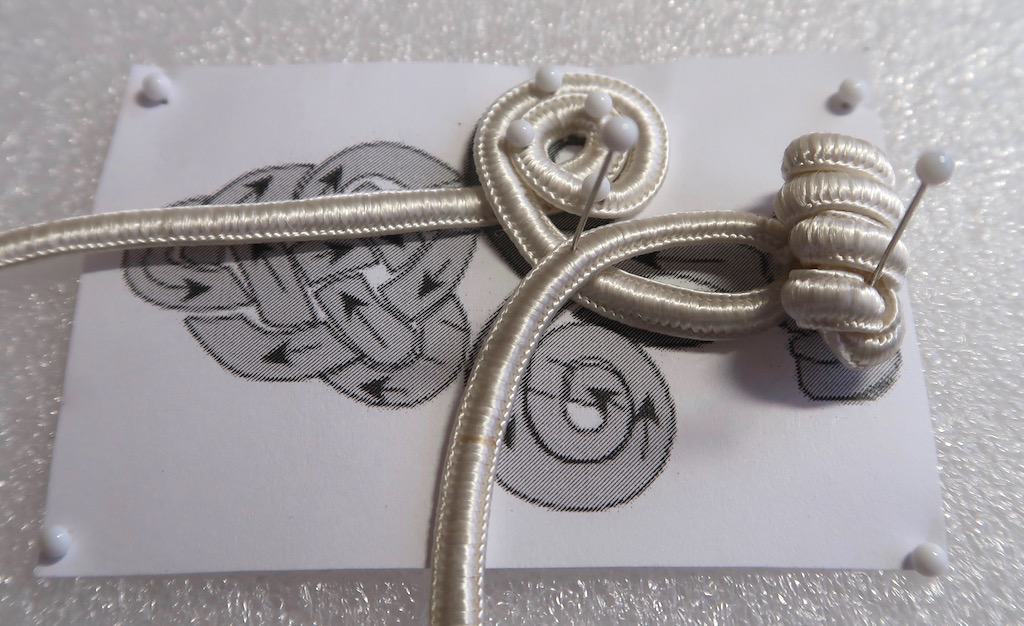
Do the same with the long tail on the other side.
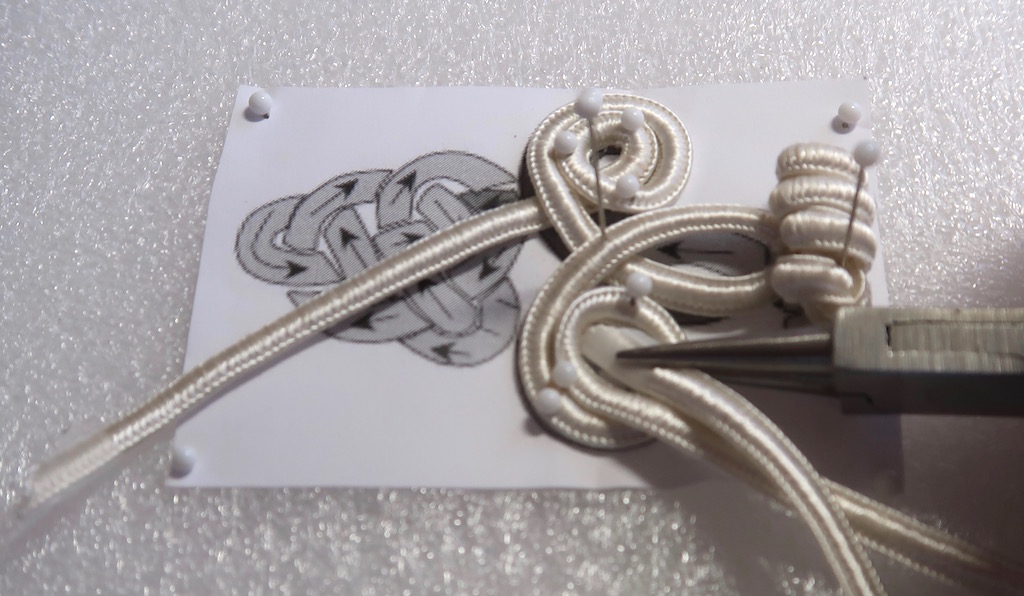
Using round nose jewelry pliers really helps thread the cord when it needs to go under an existing cord.
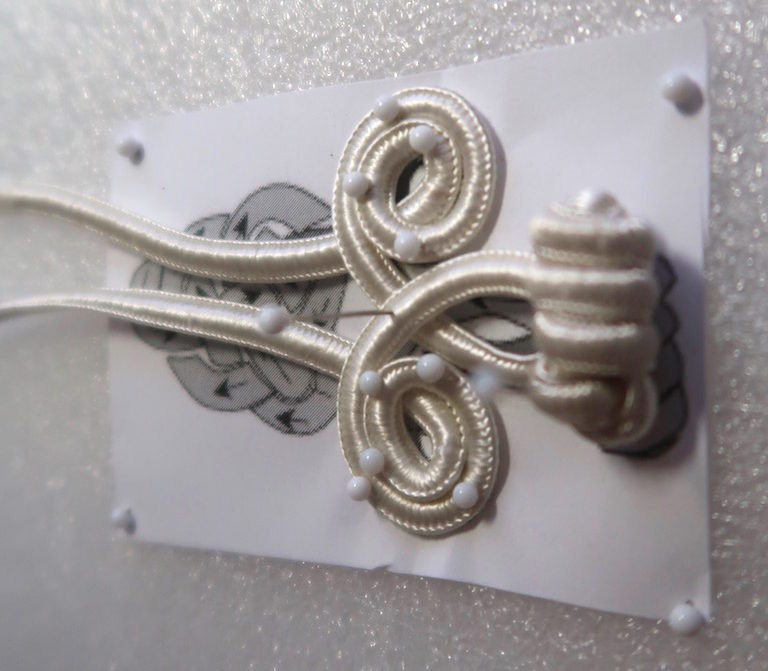
It should look like this now.
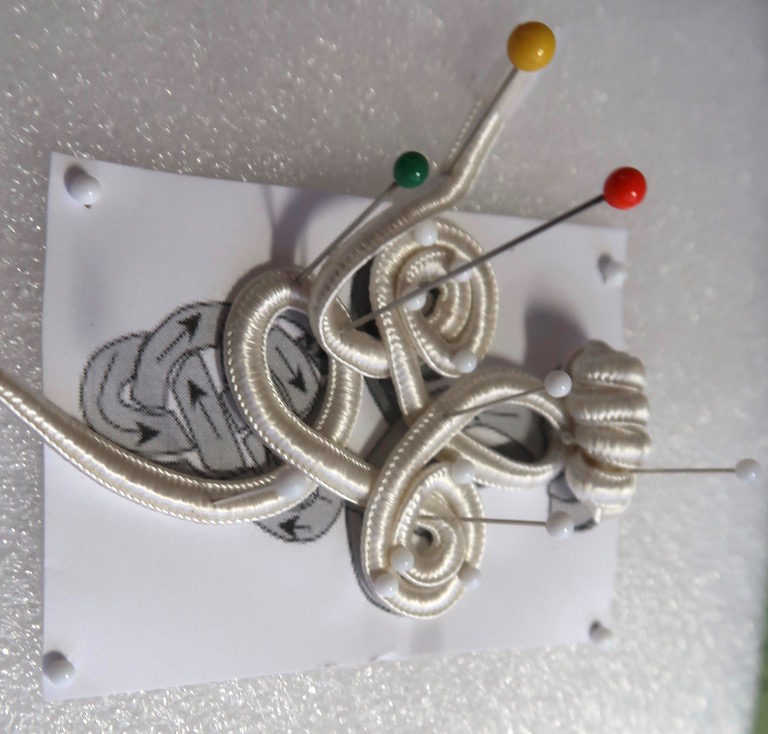
Continue working the long tail, just follow the arrows adding pins as needed. Pin the end of the short tail out of the way.
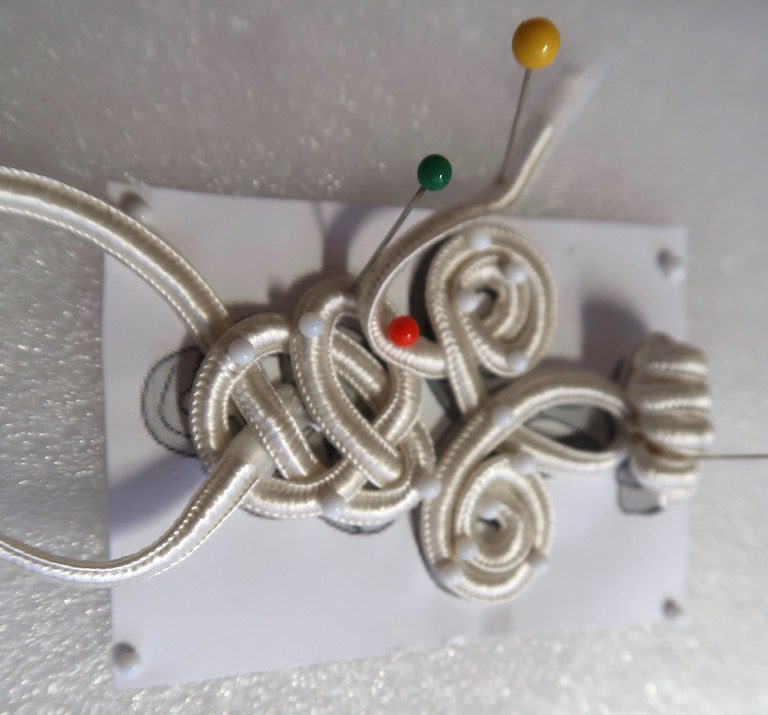
Continue weaving it in and out following the arrows.
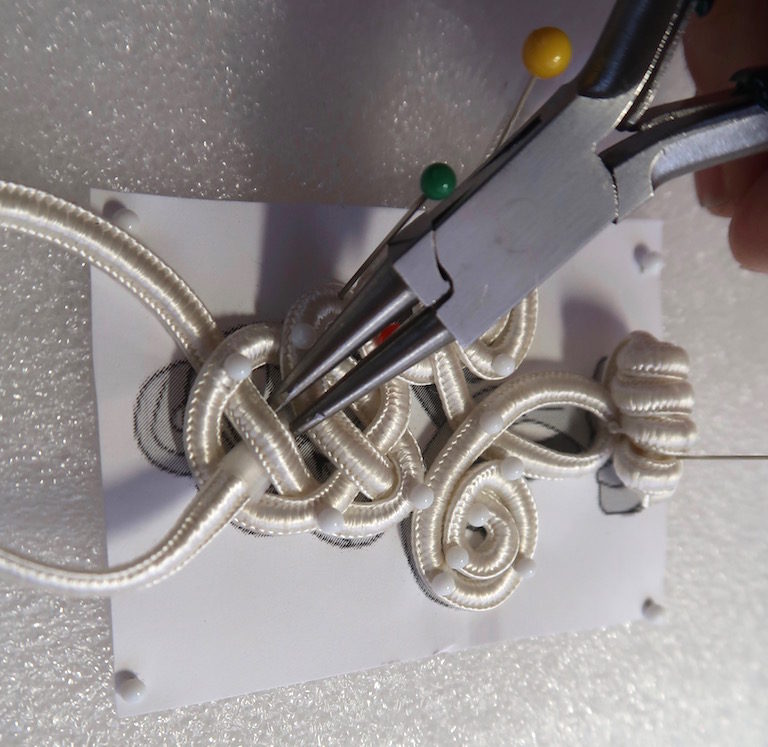
When you have to go under another piece of cord the pliers really help but also if you tape the end of your cords with office tape and cut an angle they are much easier to thread though.
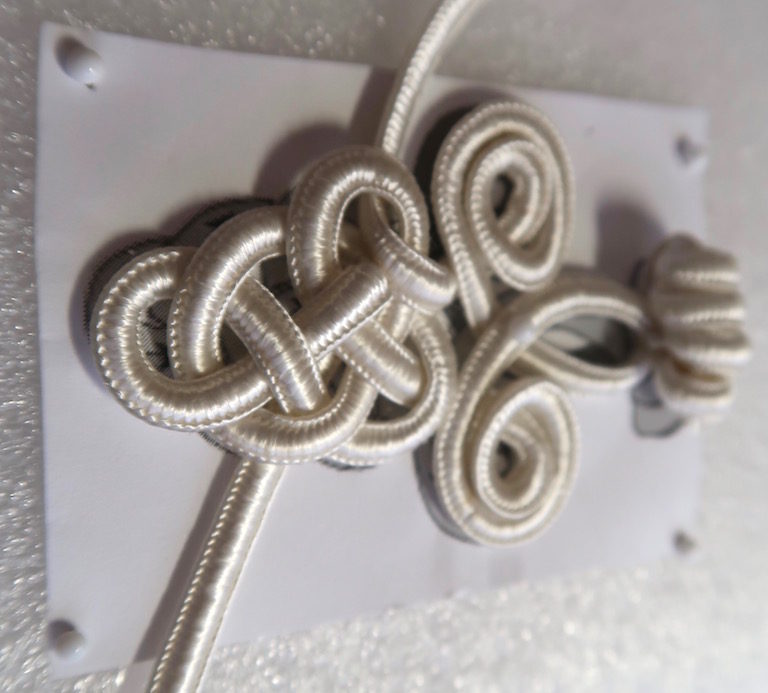
When you have done all the sections remove all the pins except for the one in the cross just after the knot or loop.
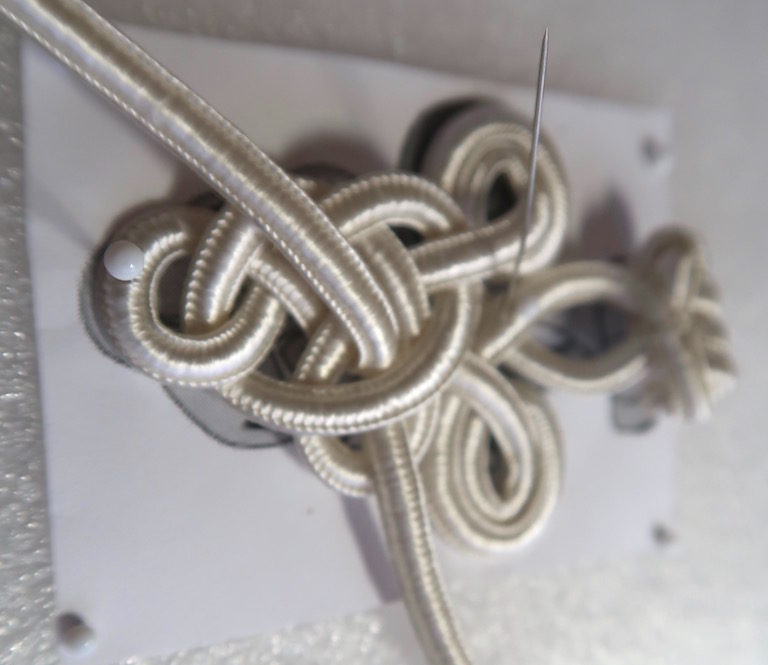
Pull it off the drawing and flip it over keeping the pin in place. Re pin it down with a few pins and slip out the pin that is sticking up.
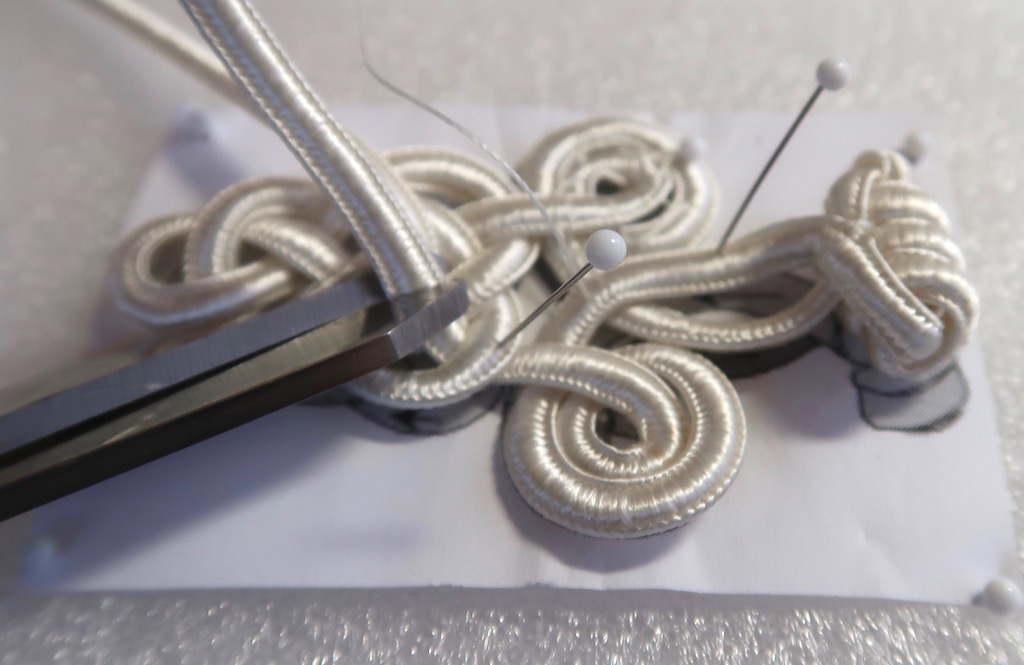
Cut the short end even with the middle of the second cross it went under. You do not want your splice to show so it has to be under a cross piece.
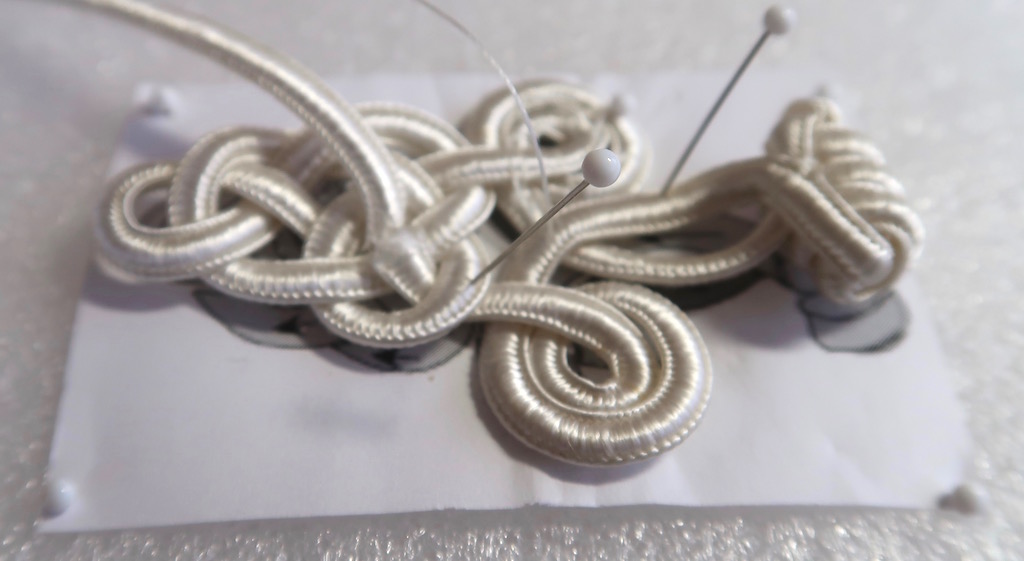
Add some glue to the cut so the cord can not fray.
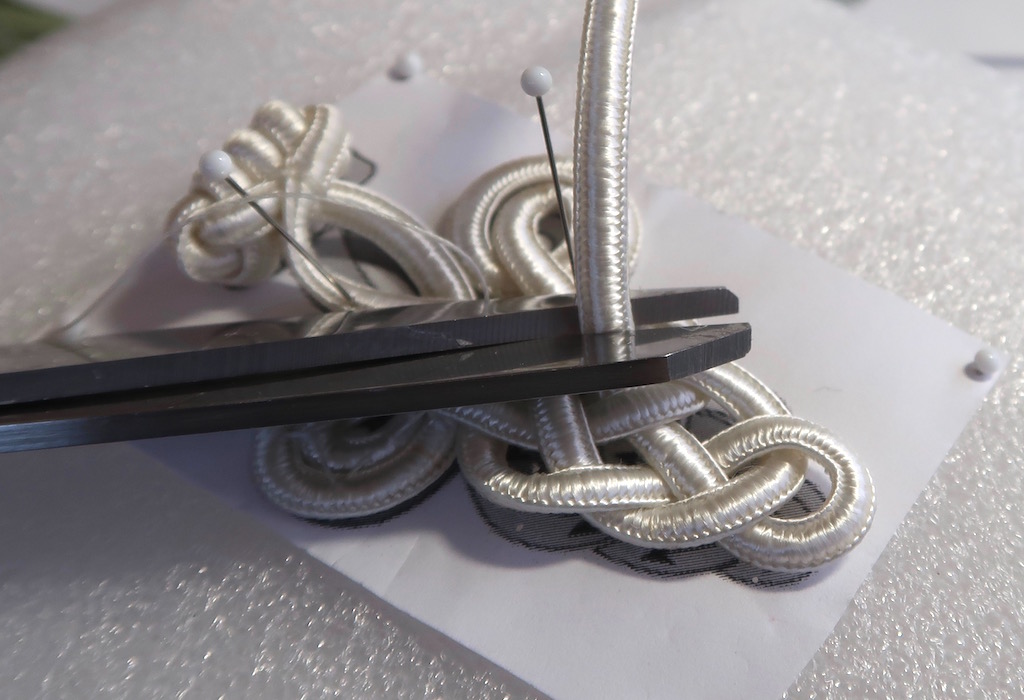
Cut the end of the long tail in the same place.
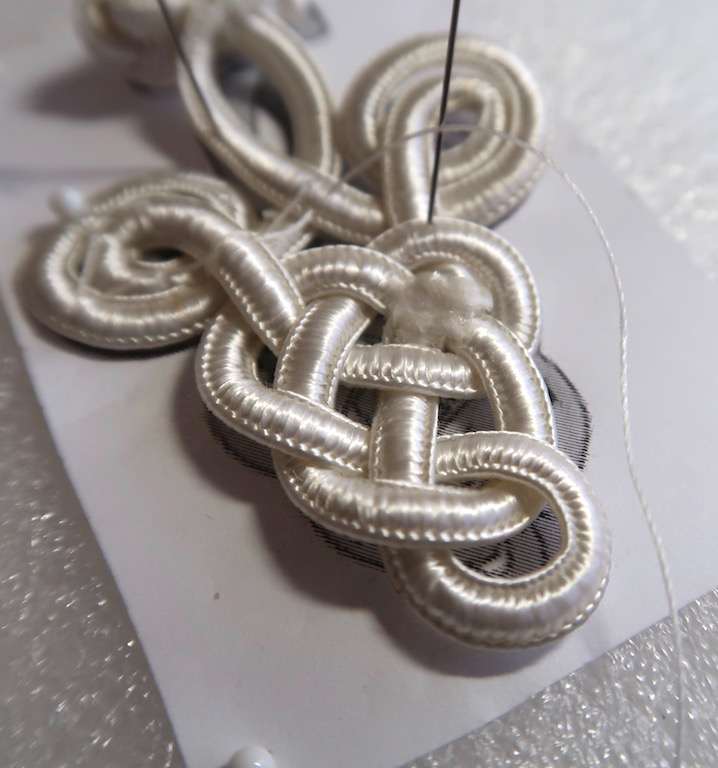
Add glue to this too. Before the glue dries make sure the two ends line up and all the threads in the cord are glue in place. Now you can tack sew the sections of the spiral together.
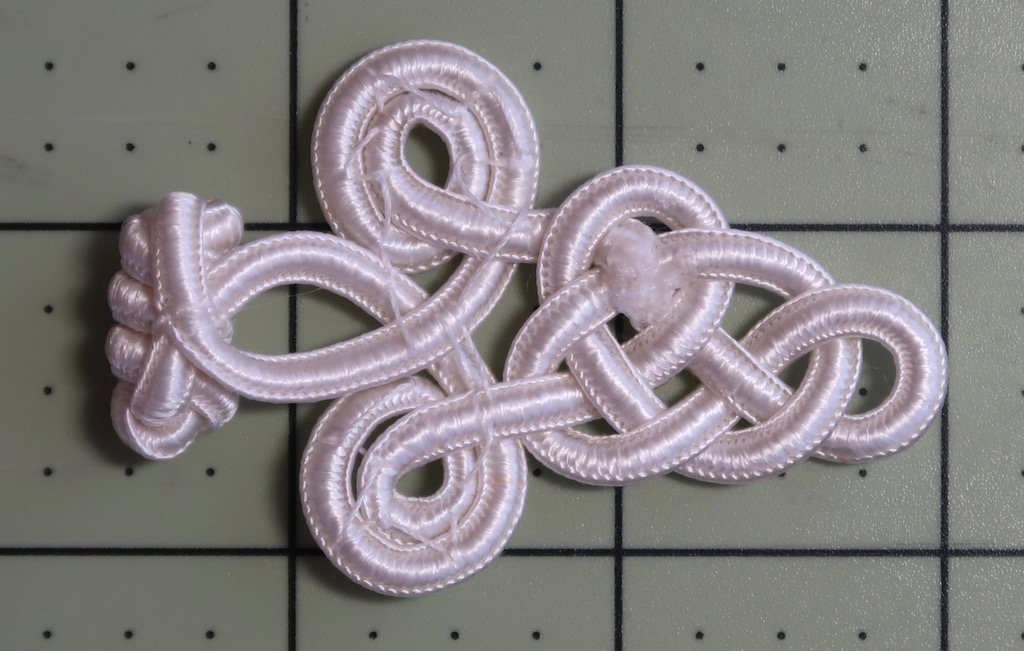
It should look like this from the back.
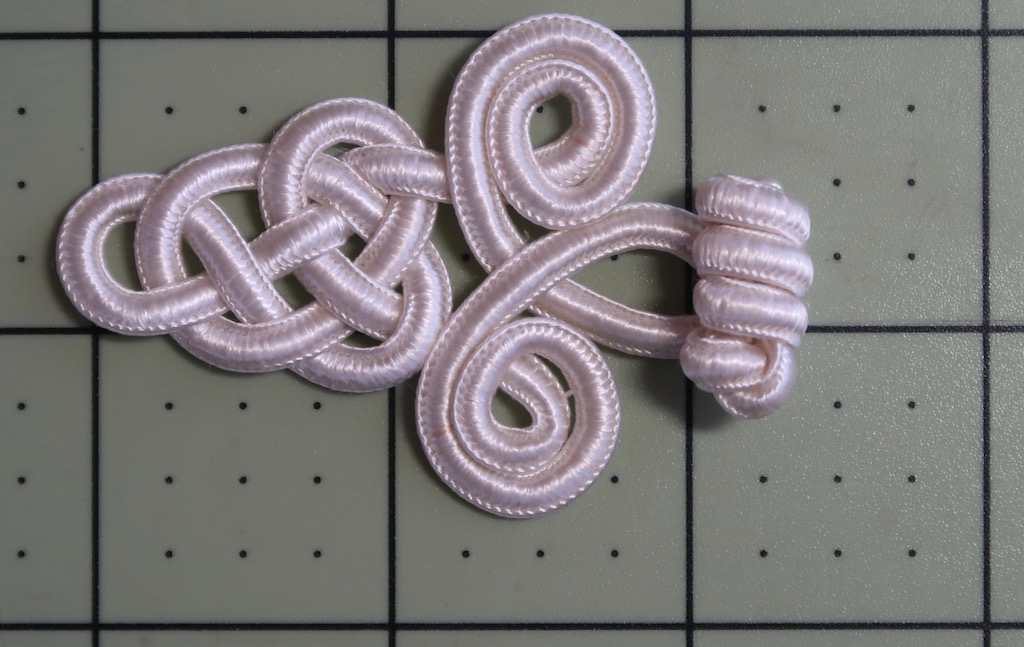
And like this from the front.