This style can be done with a combo your own long hair and synthetic or with almost 100% synthetic as long as you own hair is long enough to go into a small high ponytail.
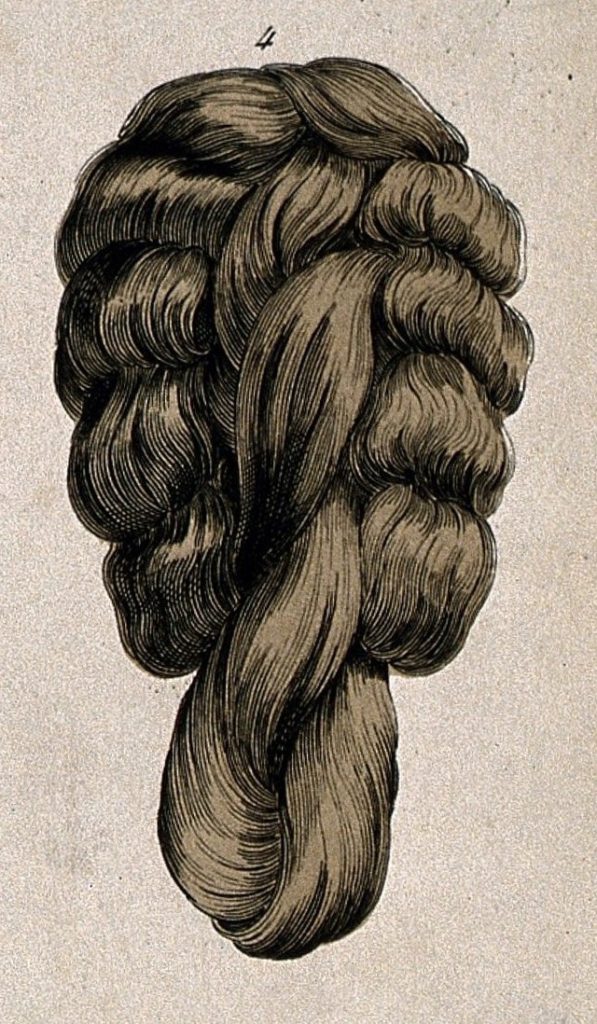
From the Revue de la Coiffure magazine, around 1878. This is a “real do it before style.” and finishing it off on the day can done in about 15 min. If you do the steps from getting started you can just move to twisting you ponytail to make the center loop and sliding the comb with synthetic hair over and pin it into place. I was not 100% happy with the hair we used in the photoshoot so I working on redoing it and will post later. It will look a little different but not much more like the period drawing.
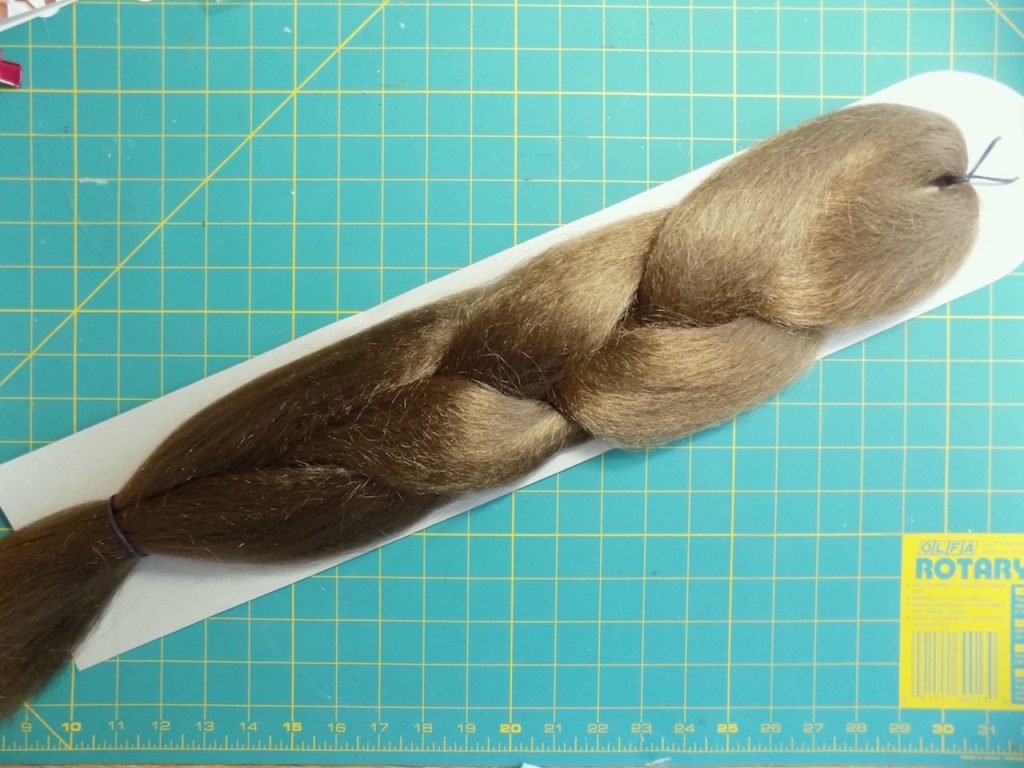
You will need 1/2 of the hair in one package. If you have short to medium length hair you might want to follow the next few steps with both halves of the package and make two pieces of weft. One for the comb and one to make a long twisted ponytail down the middle to cover or augment your own.
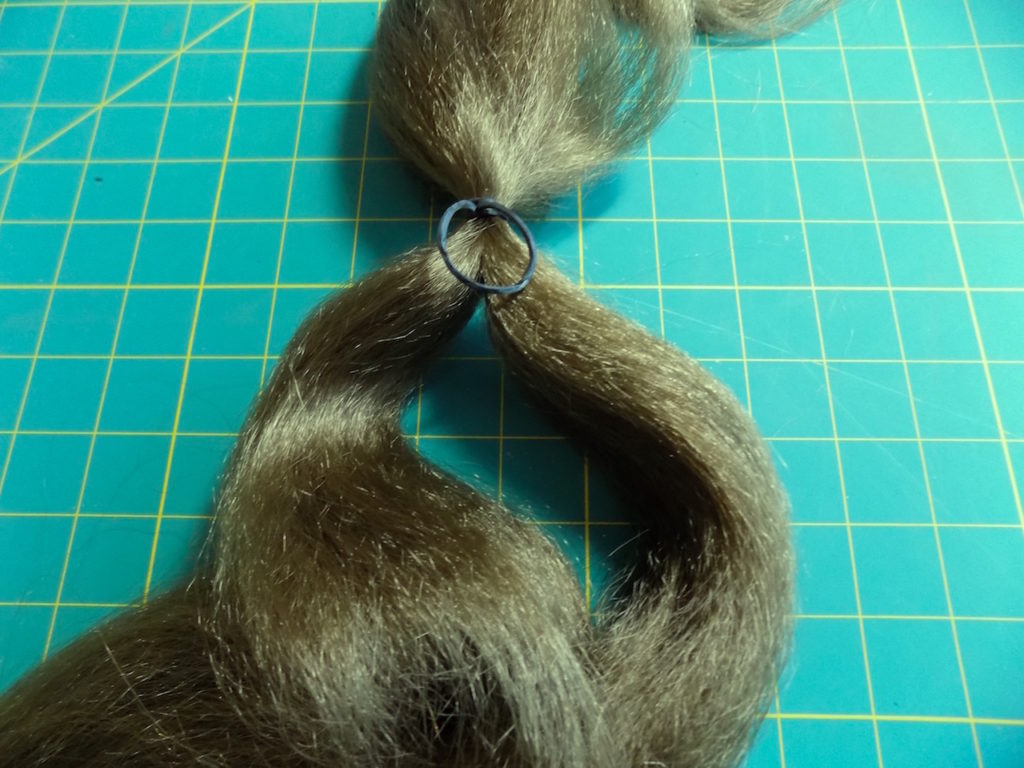
Take off the bottom band, unbraid it, and divide it in half and then remove the center rubber band.
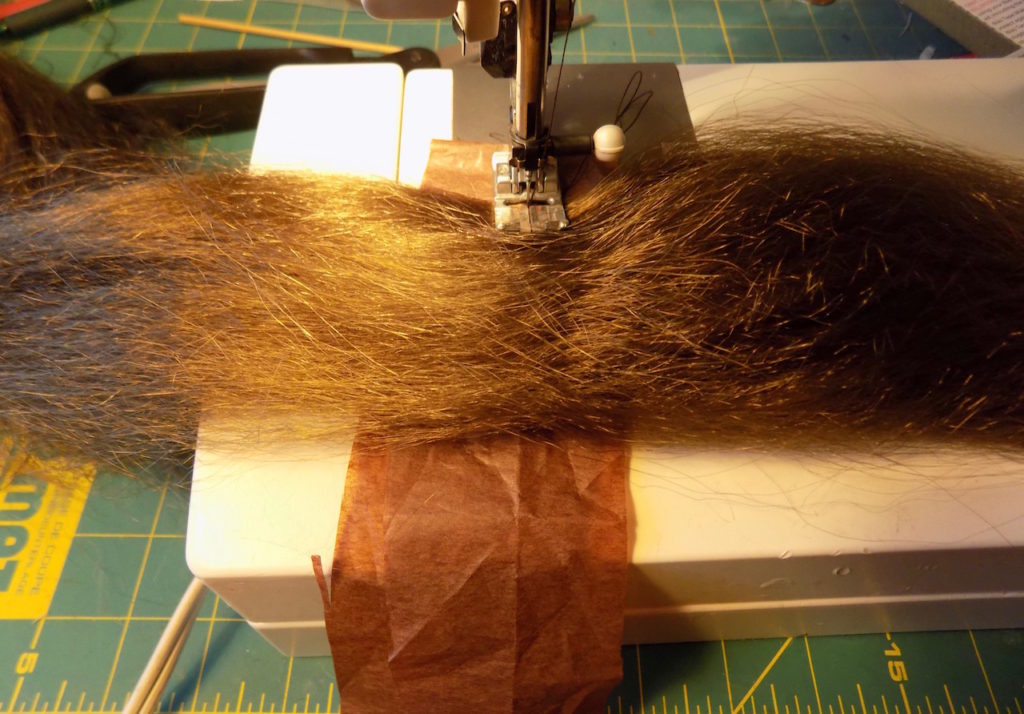
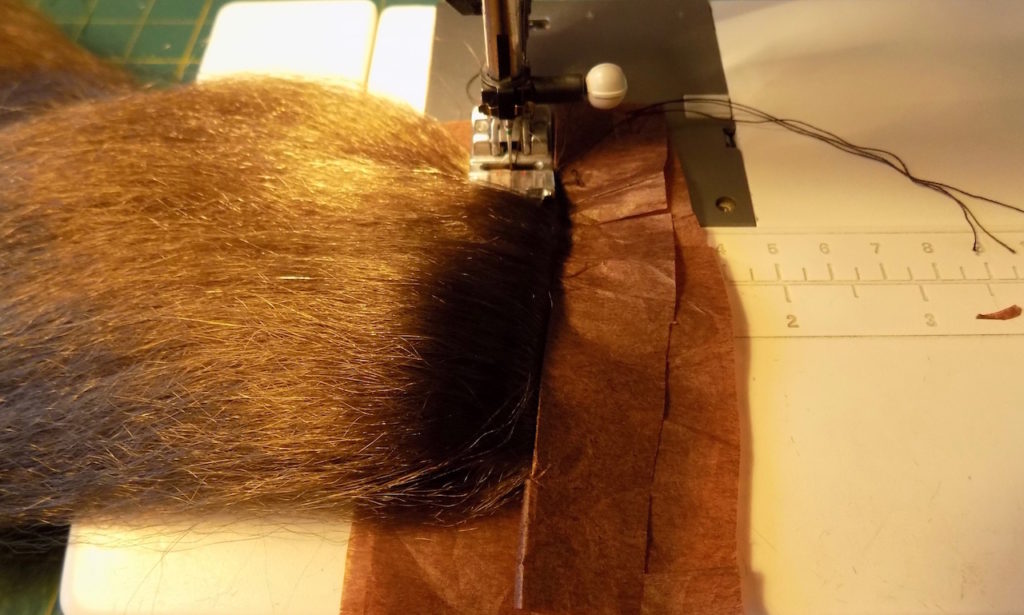
Over two pieces of tissue paper (color matched to your hair), spread out the 1/2 package of hair and sew down the middle.
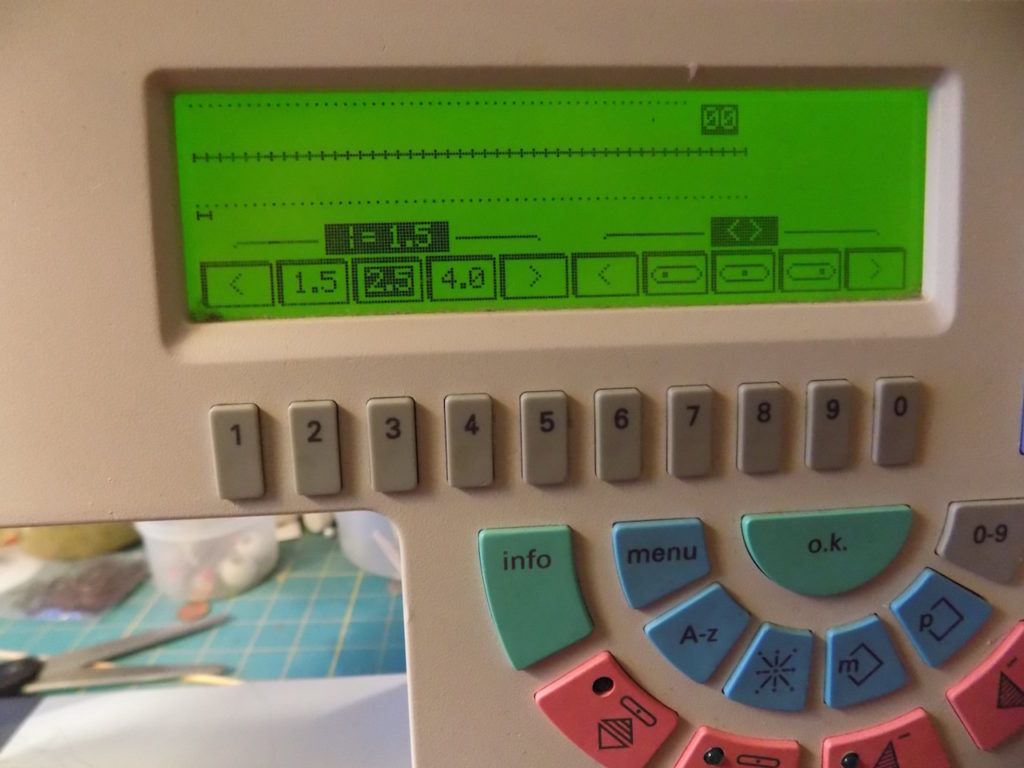
Use a short stitch, I used 1.5 cm.

Sew across and then reverse.
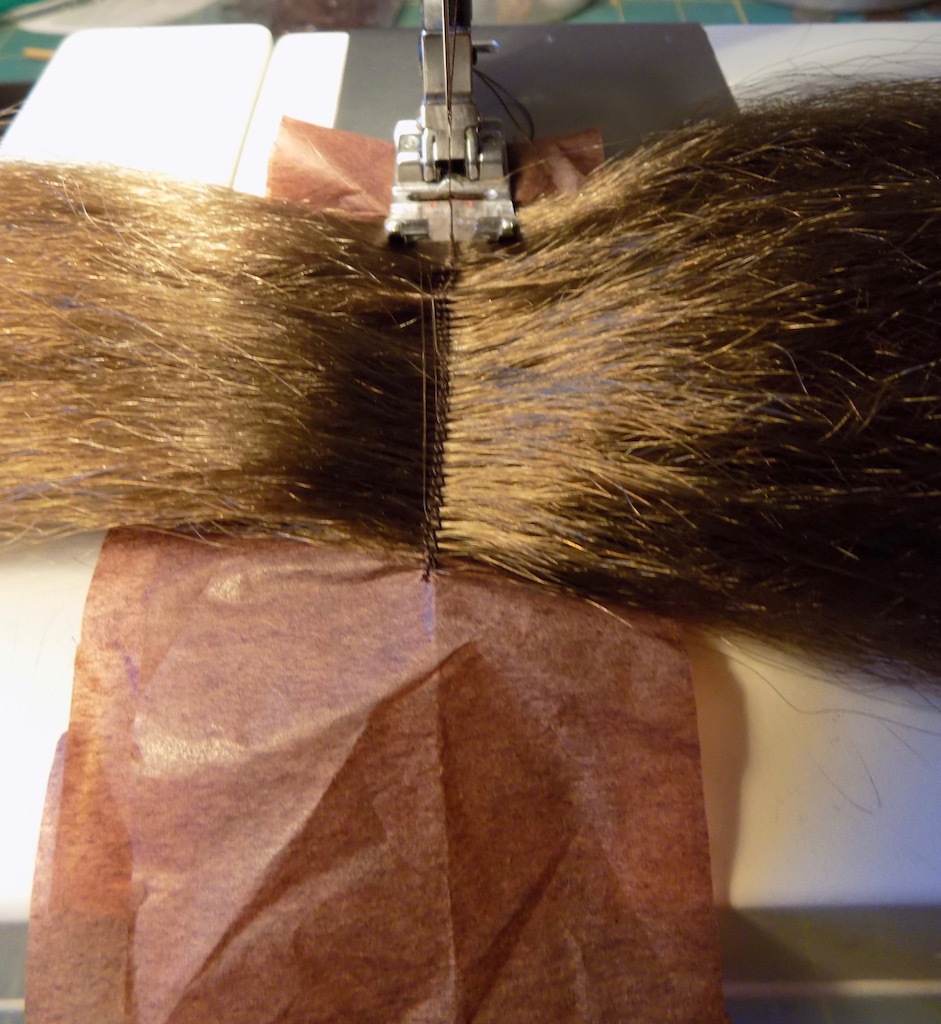
Like this.
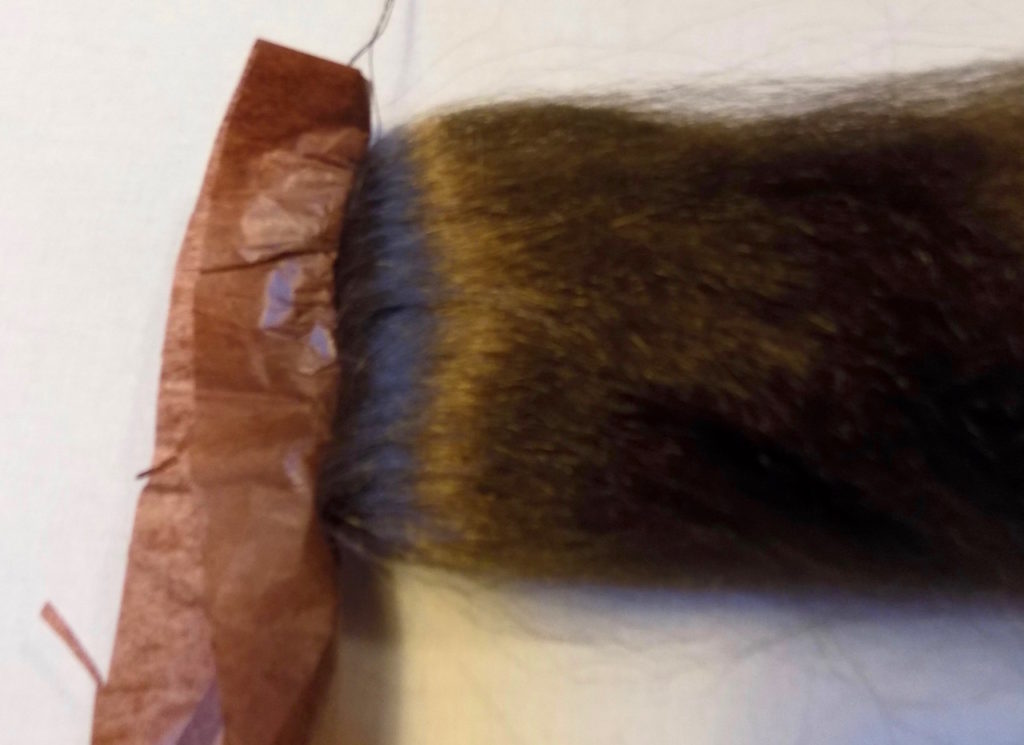
Fold the paper one way and the hair the other. Steam iron near the sewing line with an iron set to synthetic or as low as your iron will go and still produce steam.
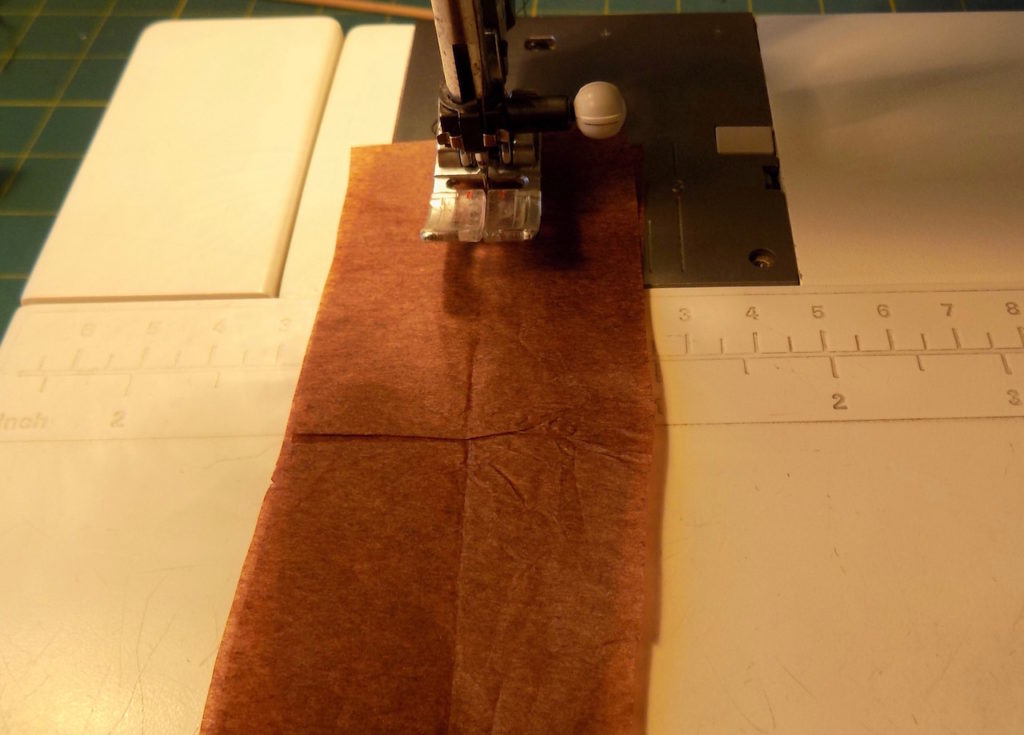
Add another two pieces of tissue paper and hold it in place by putting the needle down.
Sew a line of stitches near the fold.

Reverse and move the needle and repeat.
Carefully comb out the hair. Always hold it at the stitching and comb from the free end towards to stitching. Then by hand sew the weft across the top of the comb with the weft on the back.
Divide the hair in half across the weft.
Fold the back half under the comb and the front half up.
Twist and bundle the lower half to help keep it out of the way while you work on the left side of the comb.
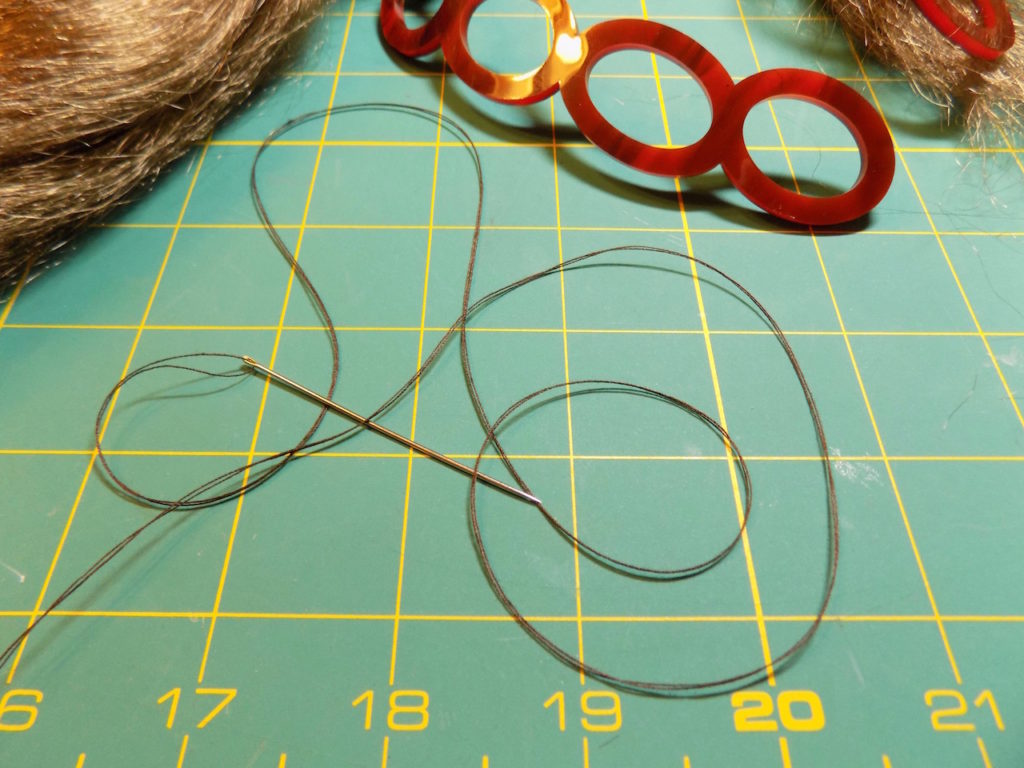
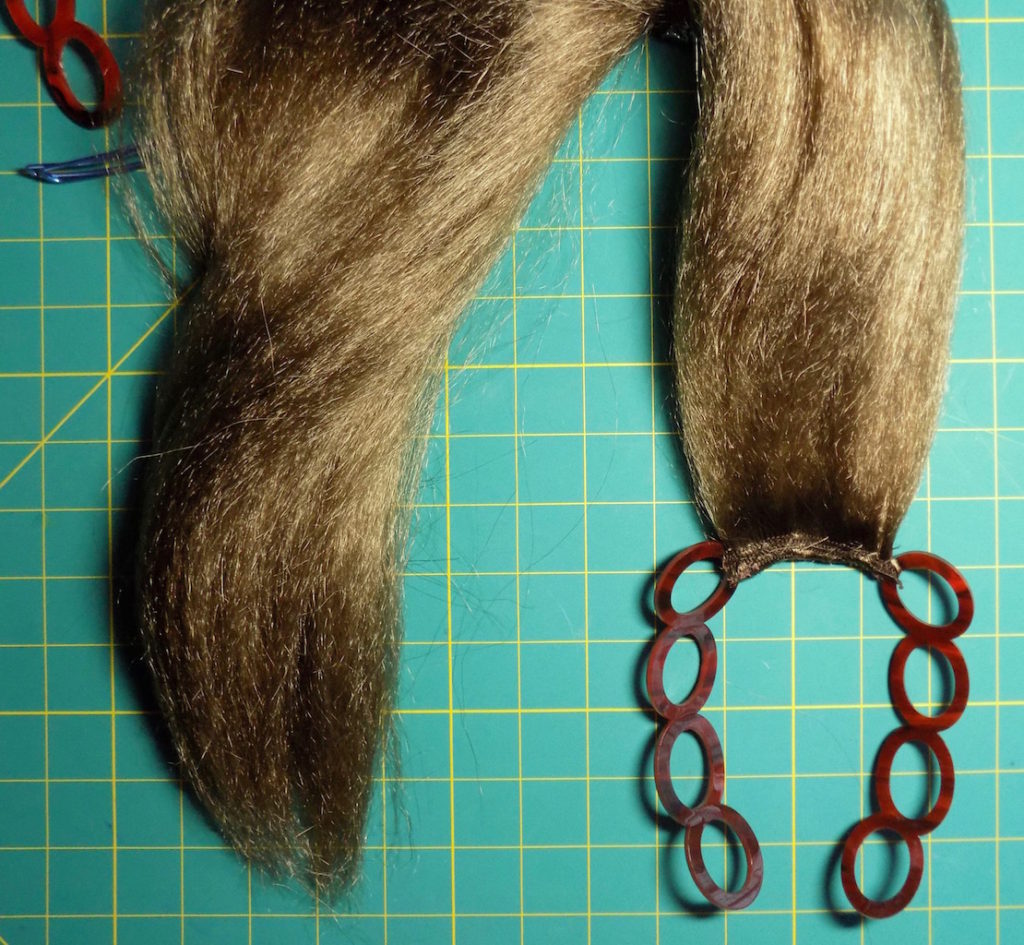
Thread up a long two strand color matched thread on a long tapestry needle.
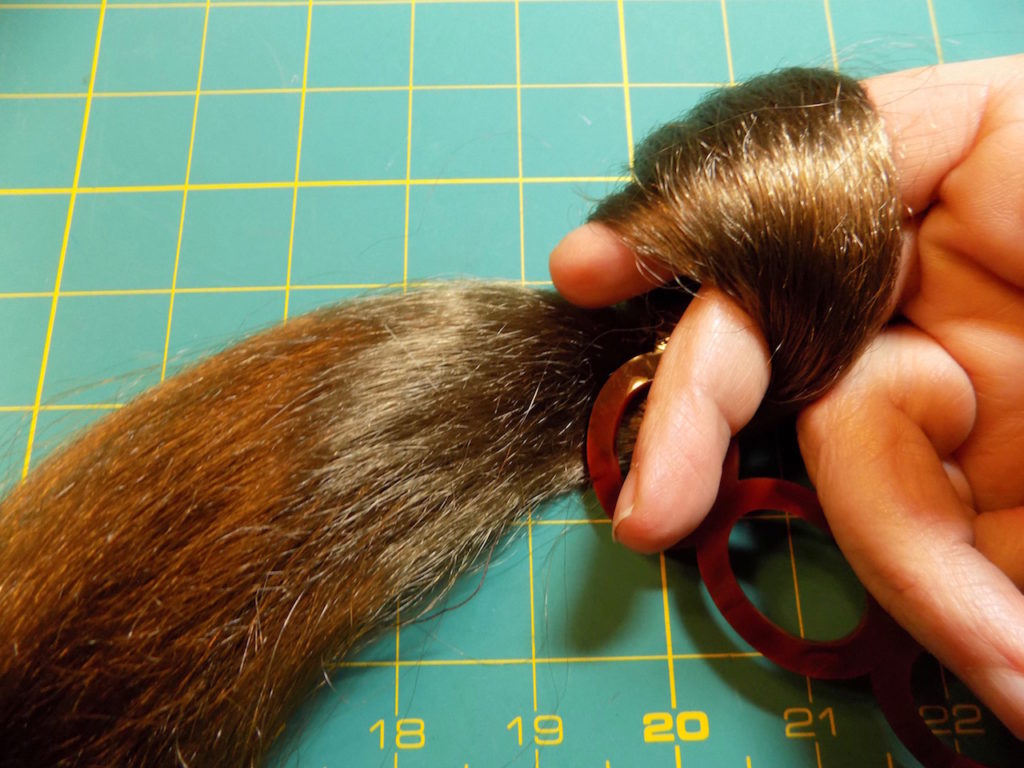
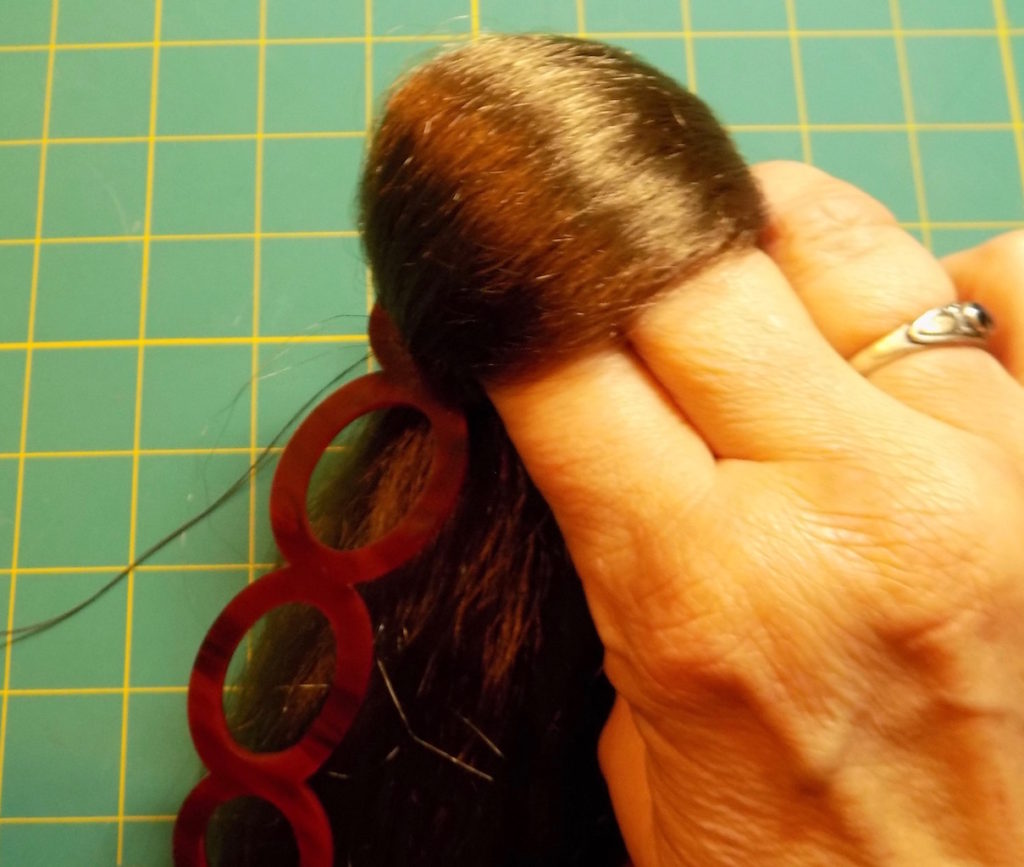
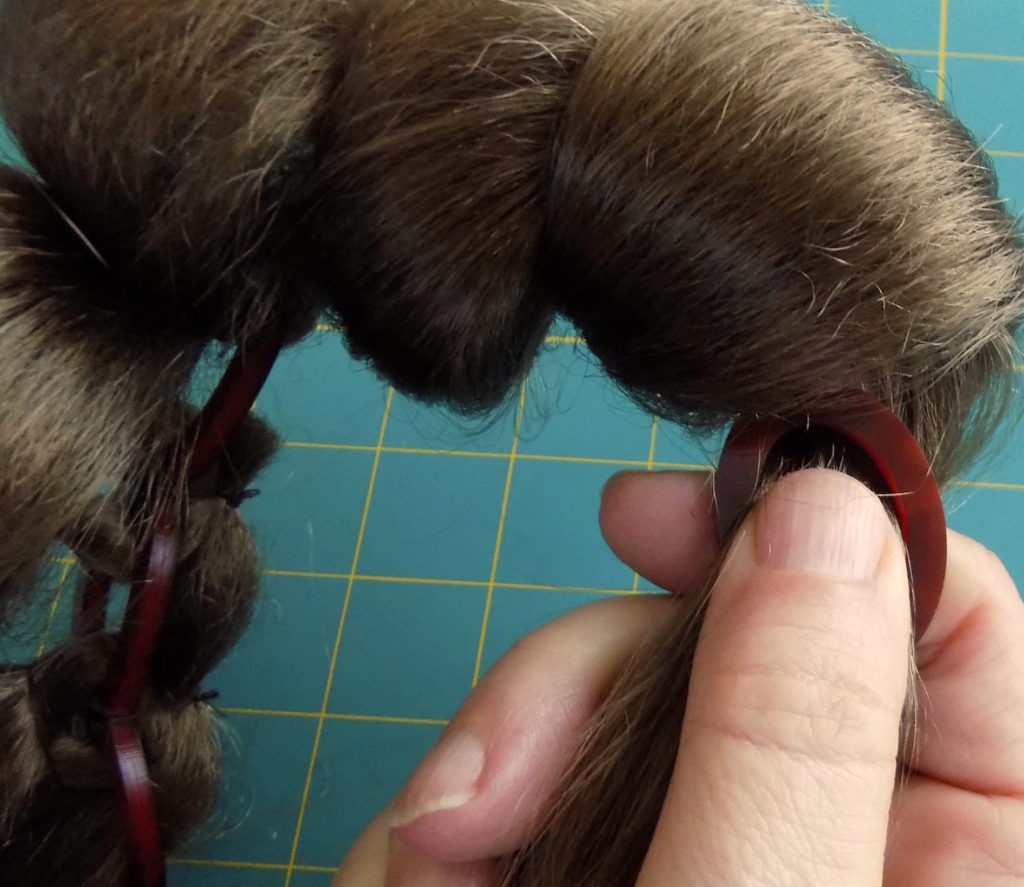
Fold the upper 1/2 hair around the first two fingers of your non-domanite hand around and under the comb.
Hold it in place with your dominate hand then transfer to your non-dominate hand. (I’m left handed).

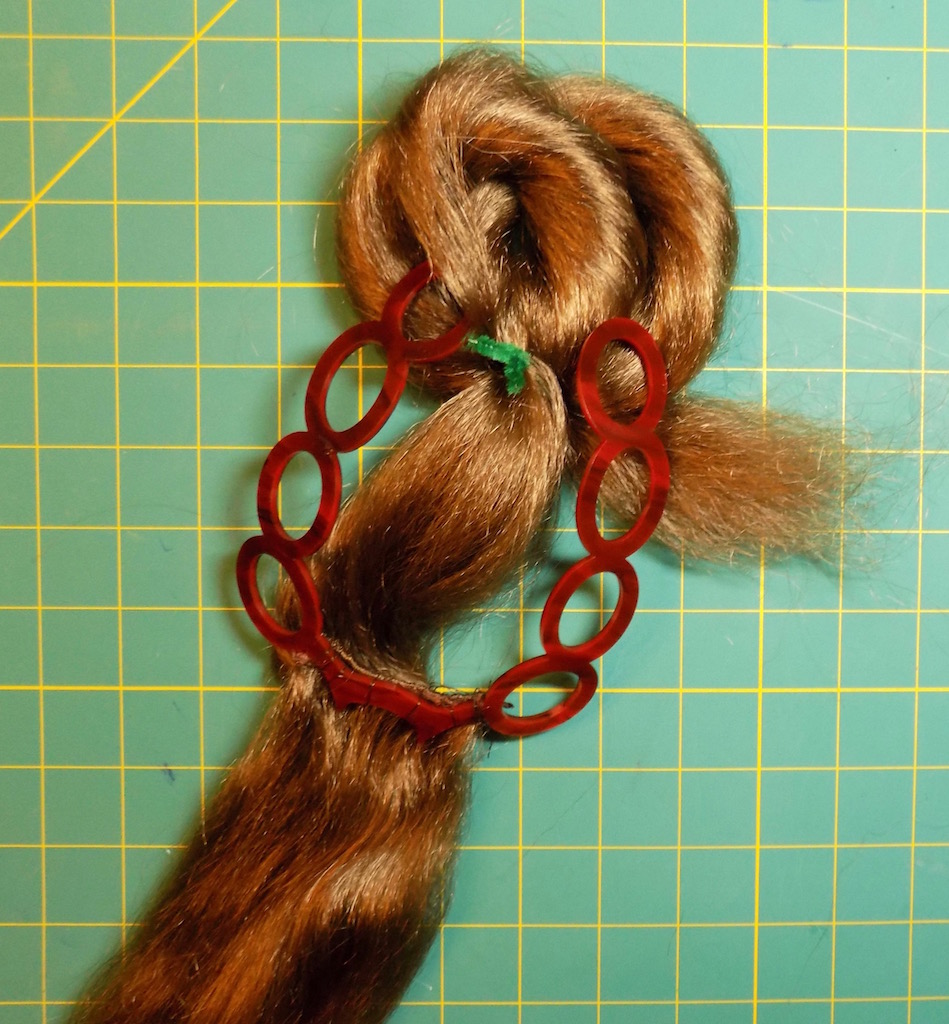
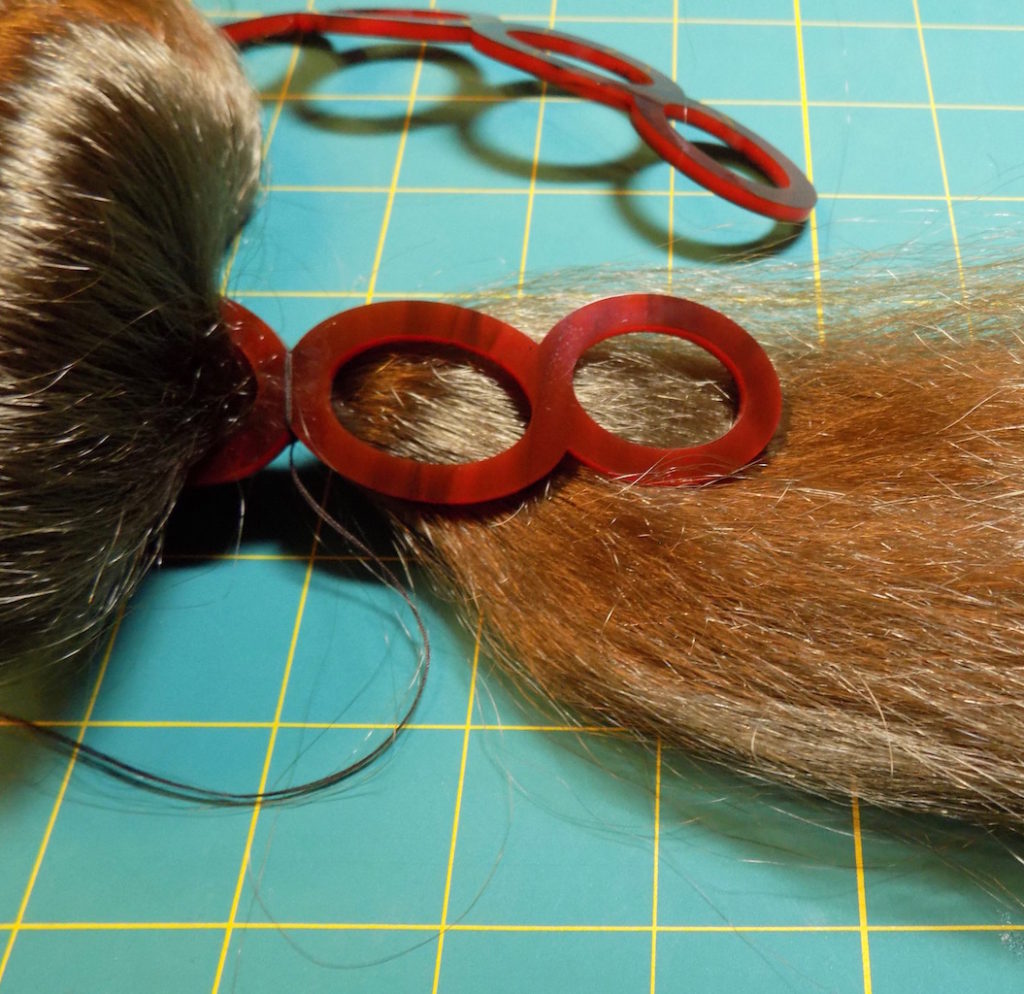
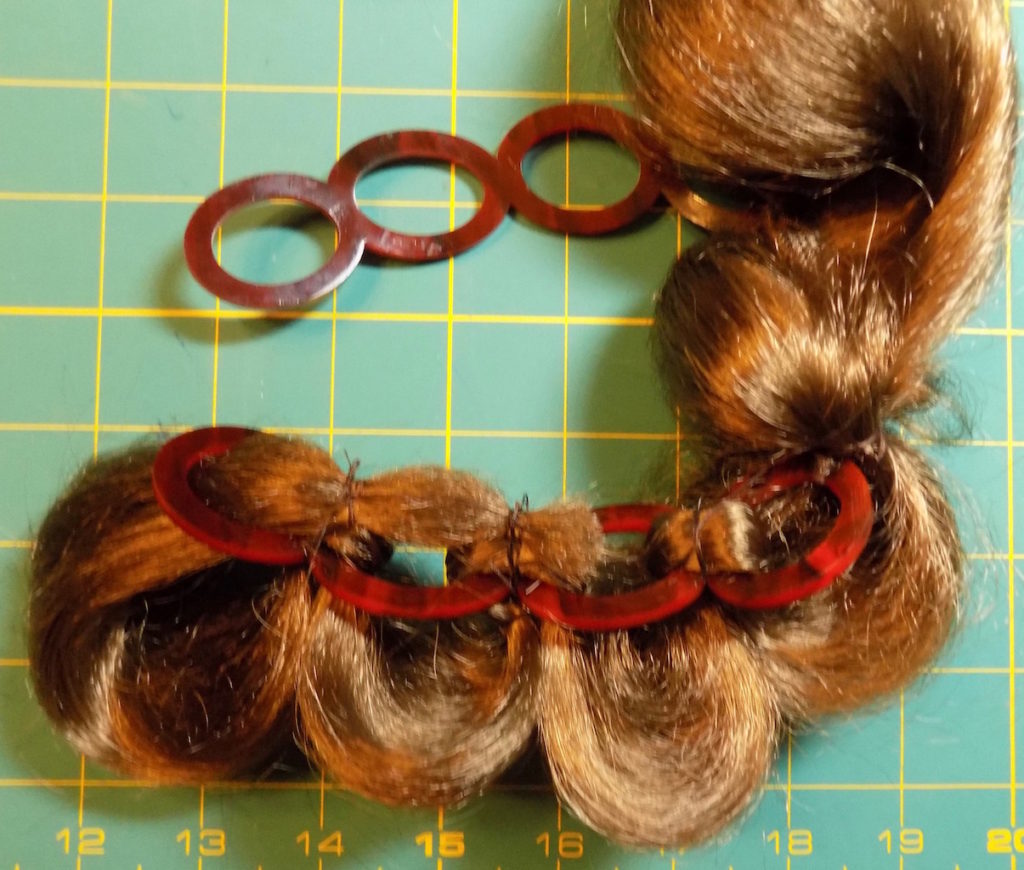
Using the needle and thread wrap (sew ) the loop in place just before the first oval. Make two buttonhole stitches around the hair bundle.
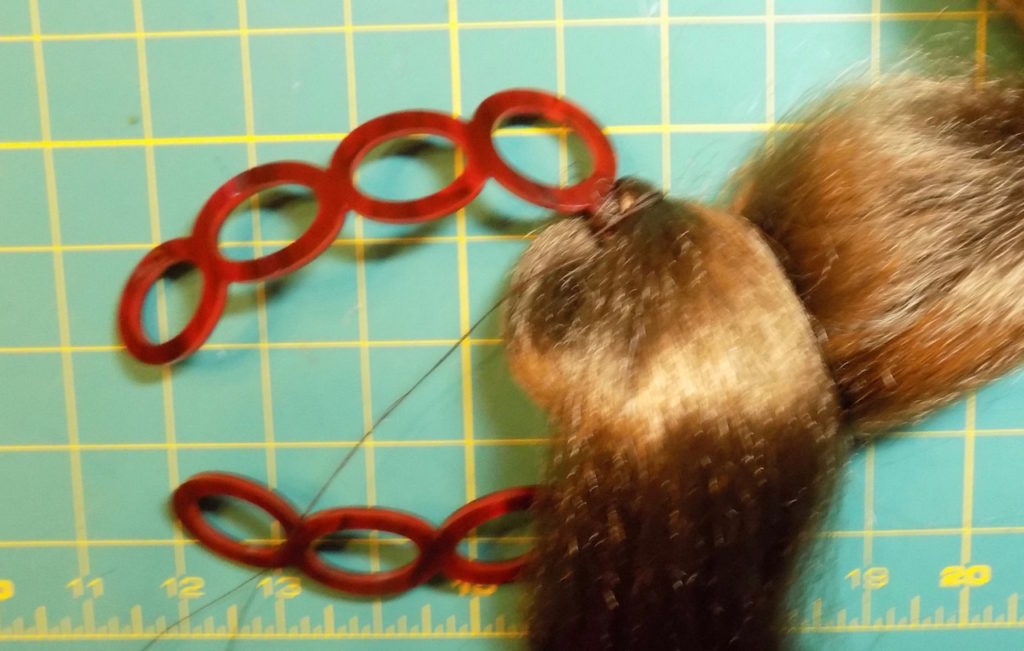
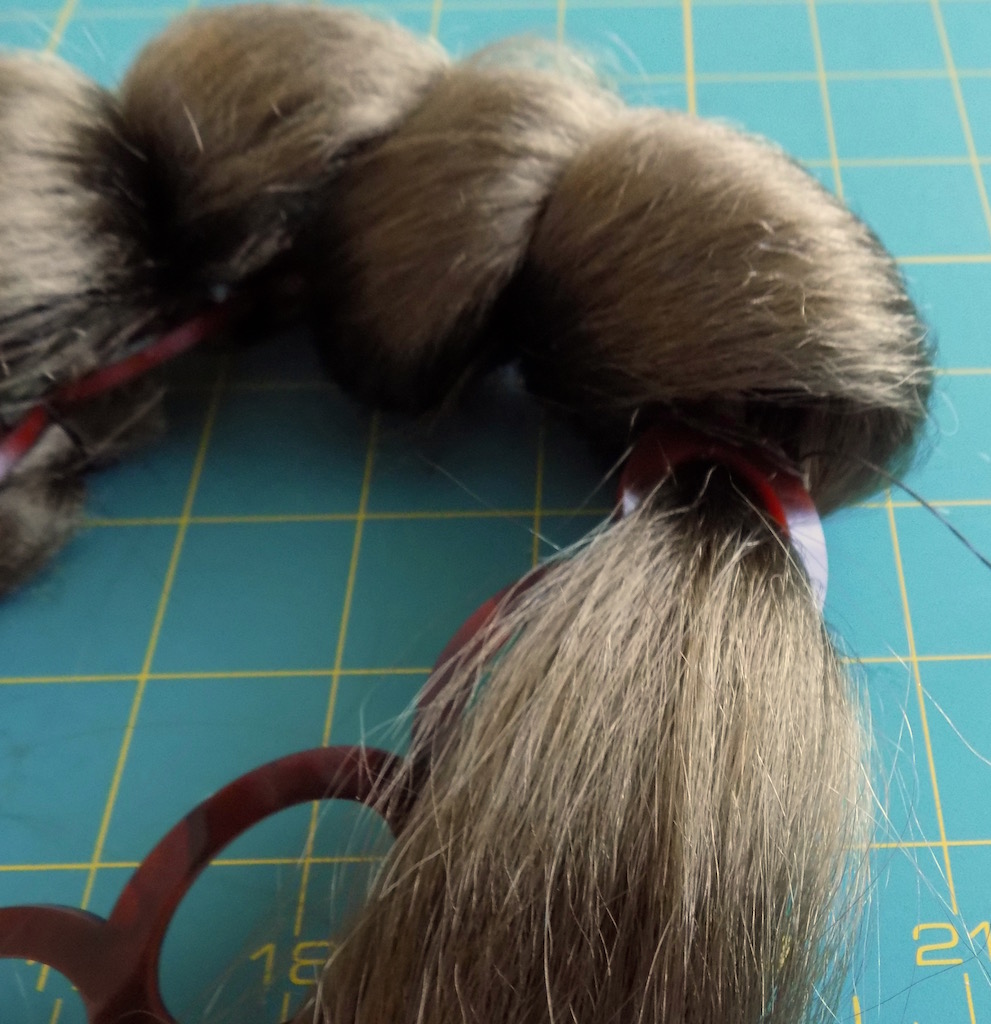
Fold the bundle of hair back towards the loop you just made and stitch around it two times. This will help any gap forming between the first loop and the second.

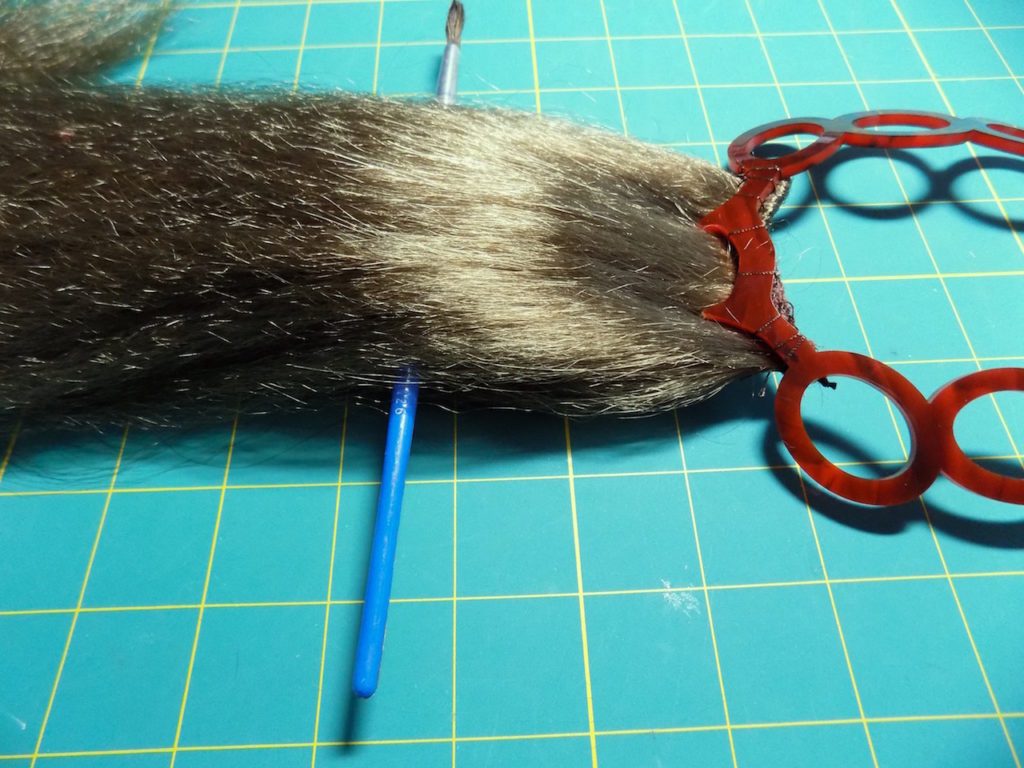
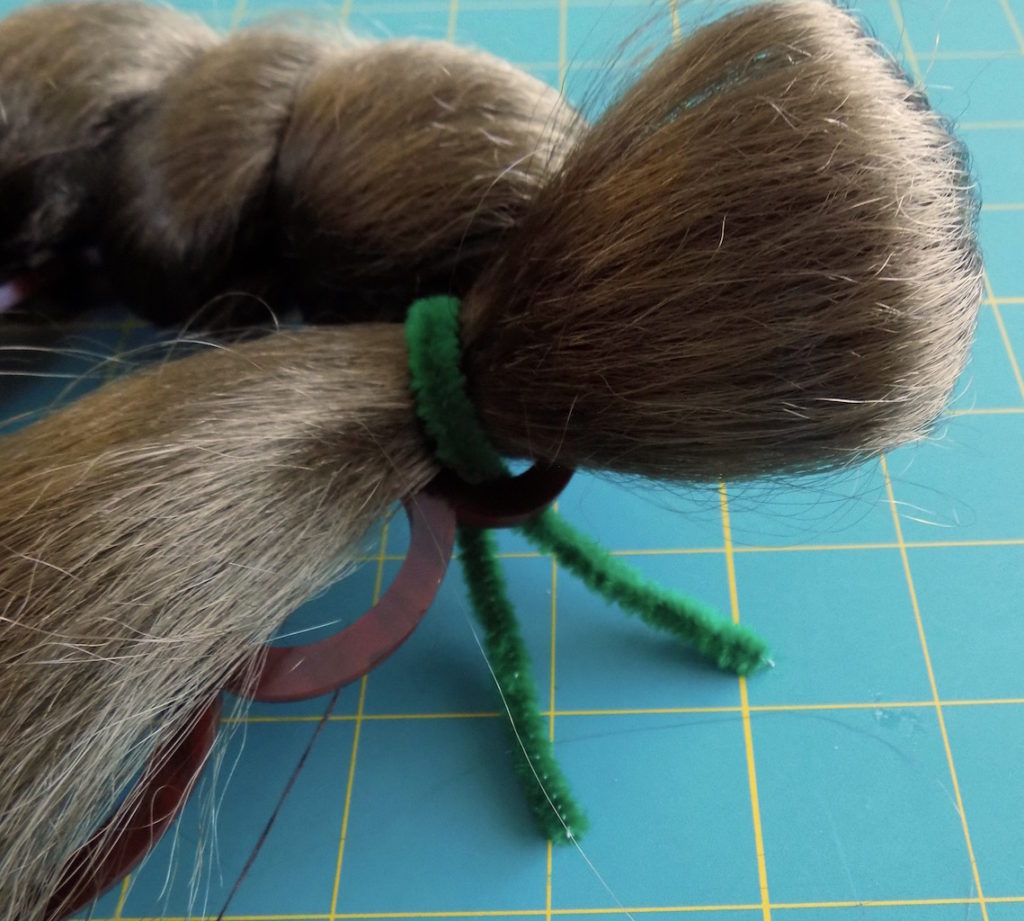
Use a piece of wire or a pipe cleaner to help pass the hair bundle thru the first oval. Keep a thumb thru the loop so it does not get drawn down too much.
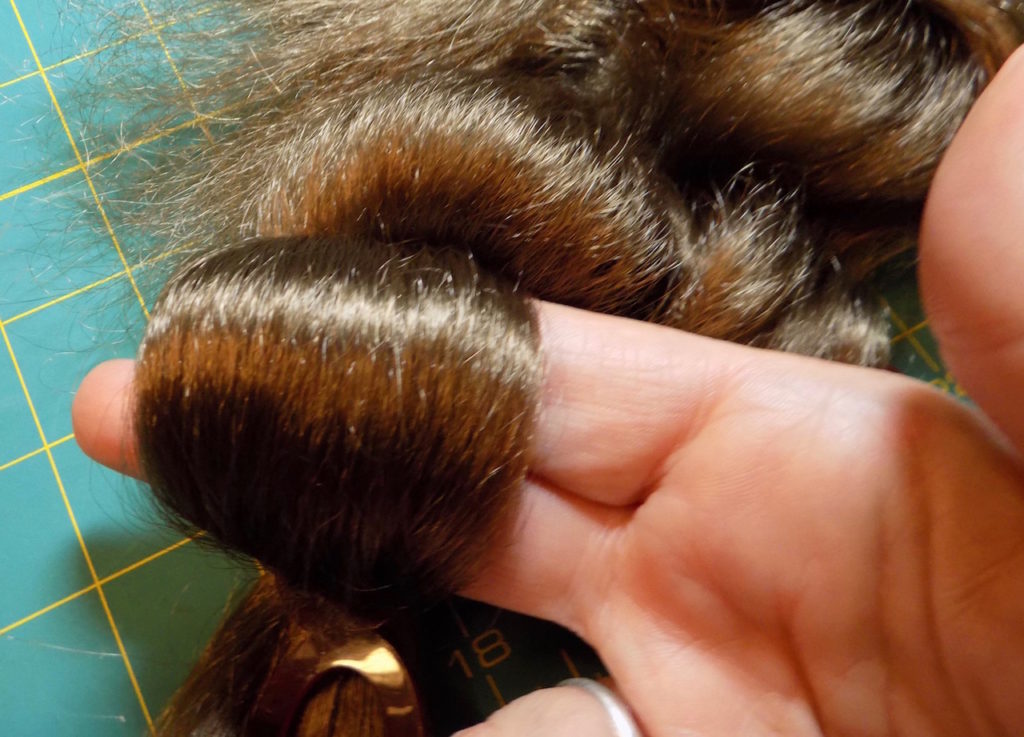
To control the size of the loop.I use two fingers parallel to the comb.
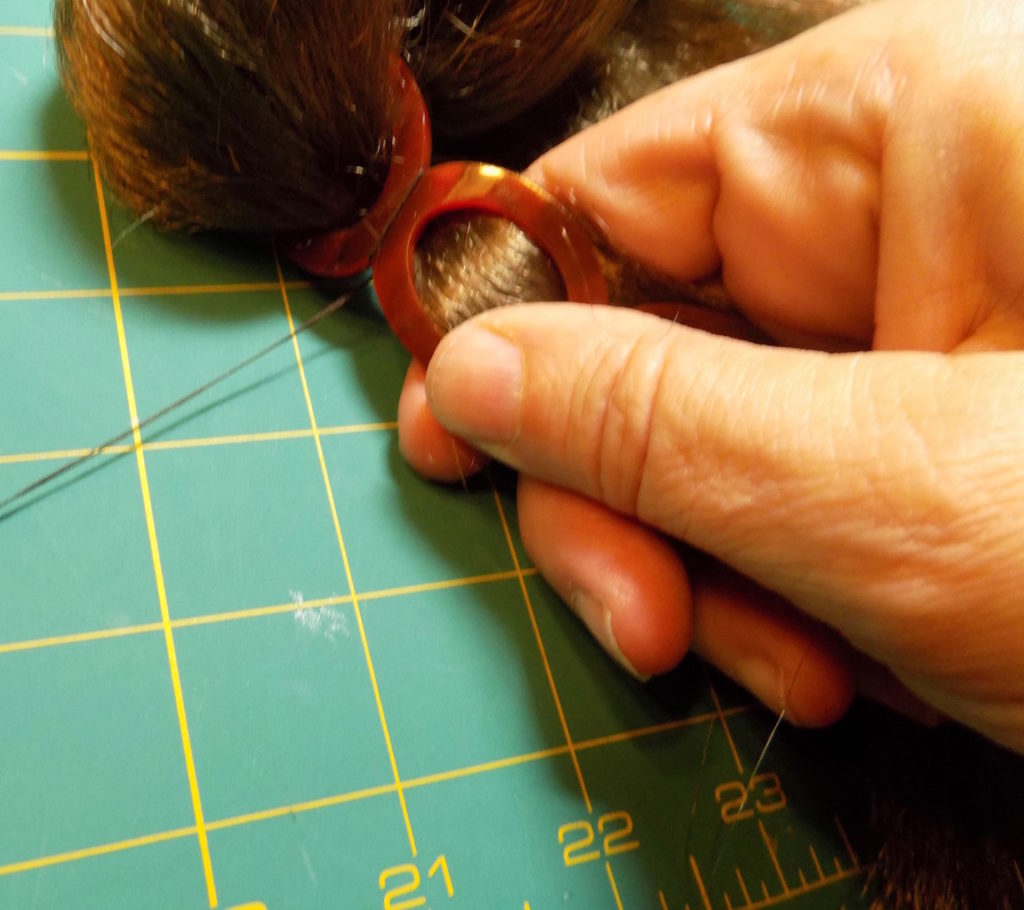
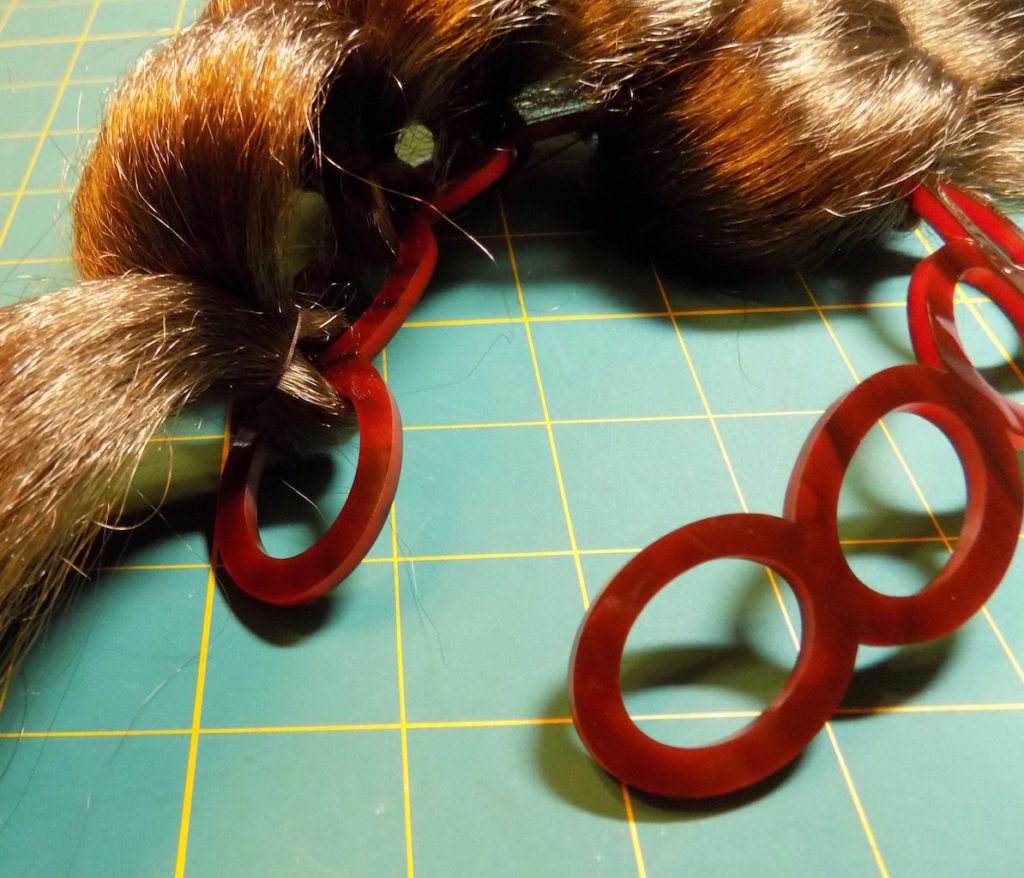
Do the transfer until the bundle is held to the back of the comb. and make two buttonhole stitches around the narrowest part of the comb.

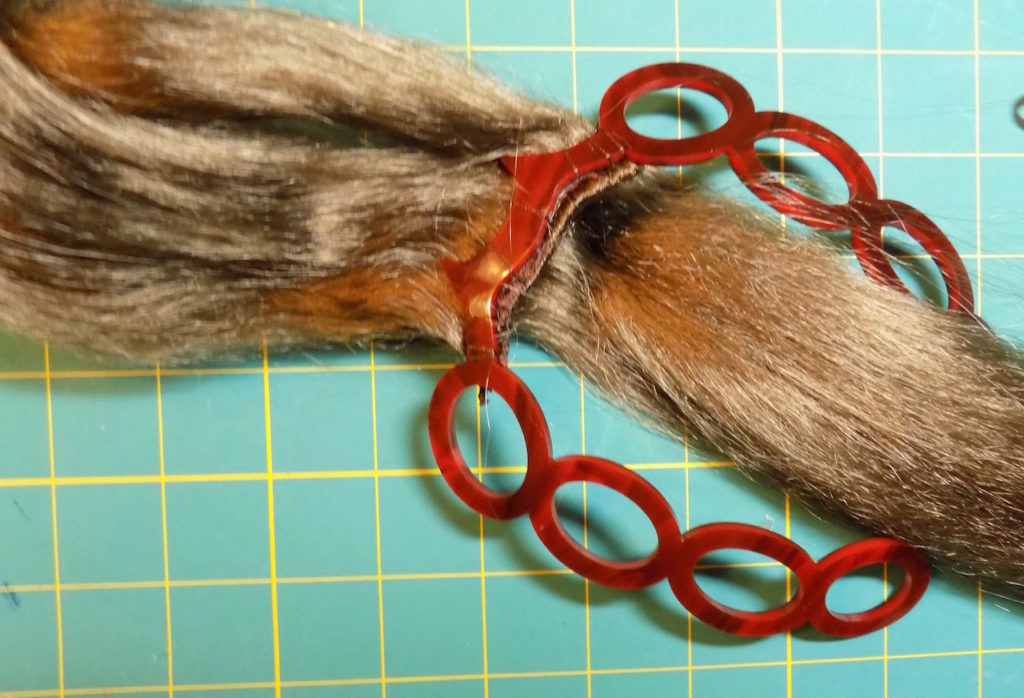
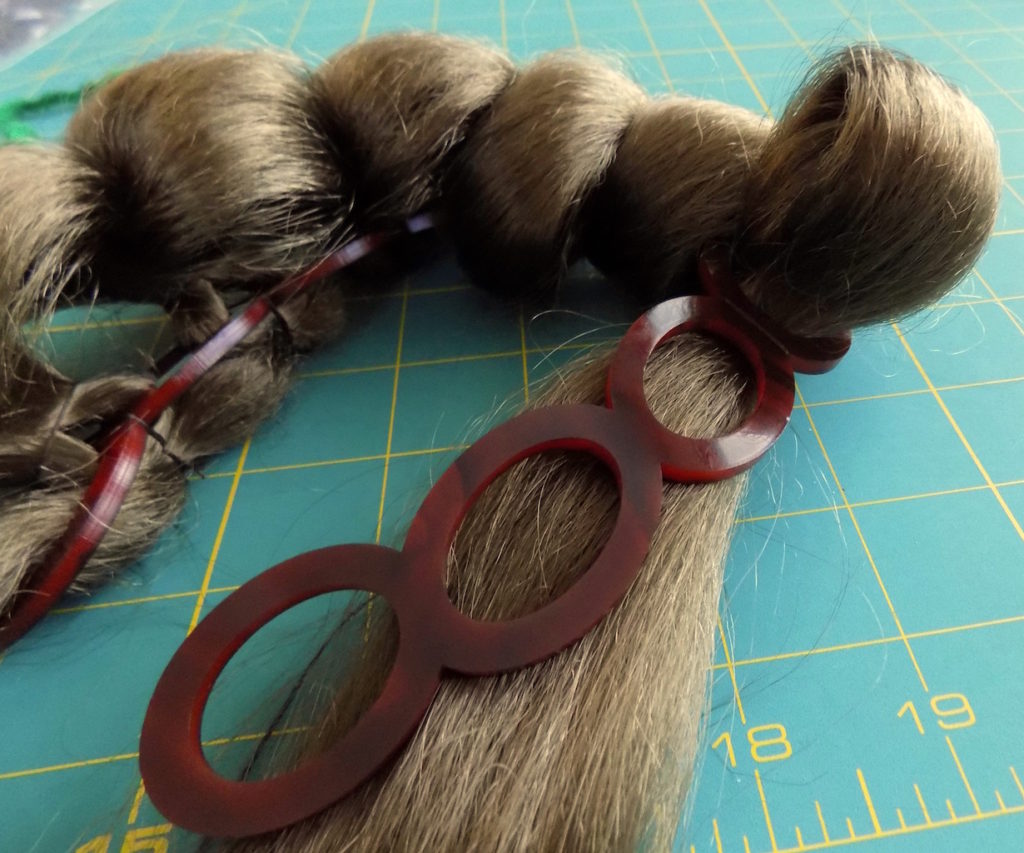
Pull the bundle thru the second oval , fold it back over the last loop and make two buttonhole stitches just above the comb. ***
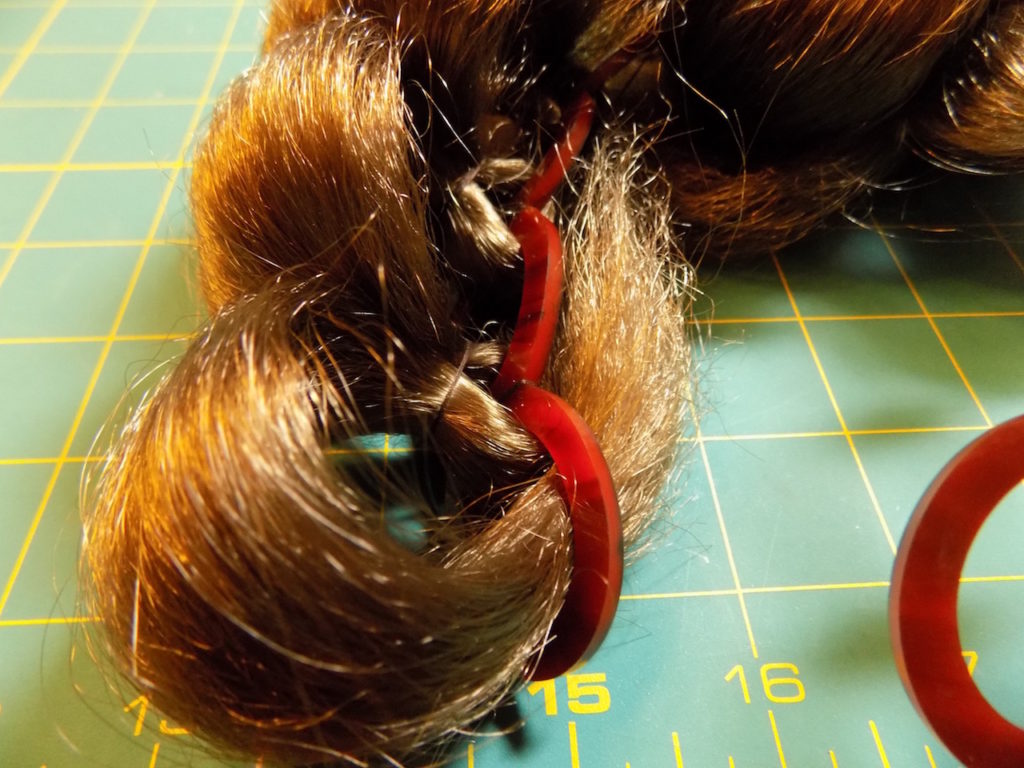
Pull the next loop as before.
Make the buttonhole stitches around the narrow part of the comb.
Keep repeating the two steps until you are at the last oval.
This time pull the hair thru to the back.
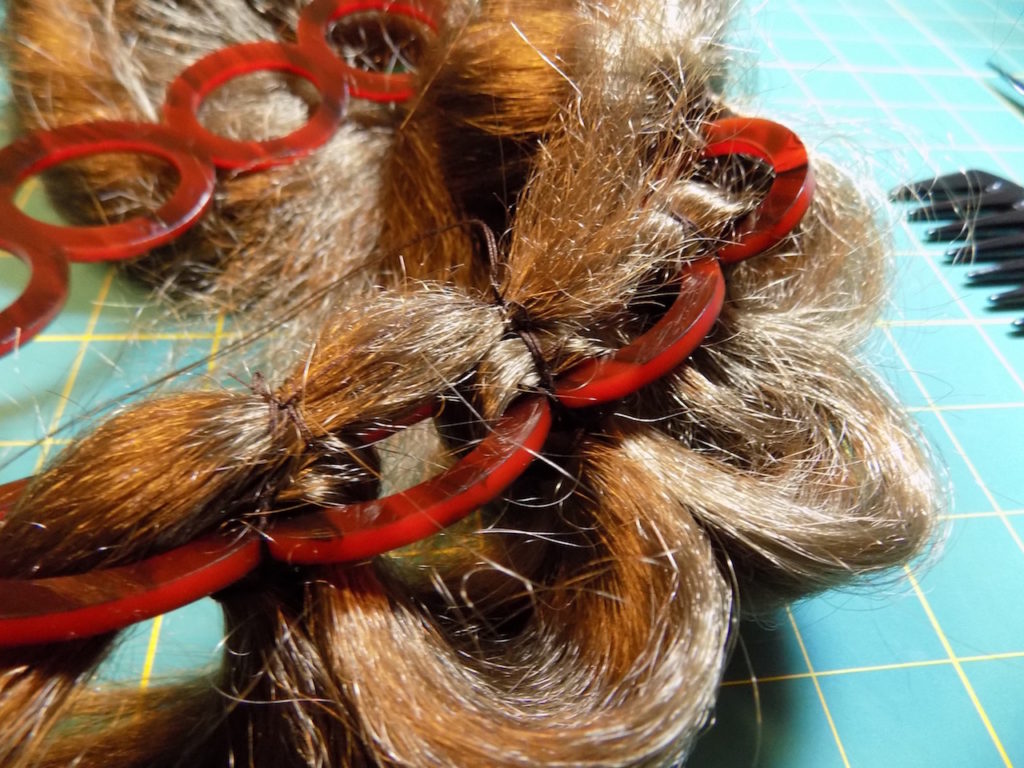
Sew the remaining hair to the back.
Trim about 1/2″ past the last stitches.
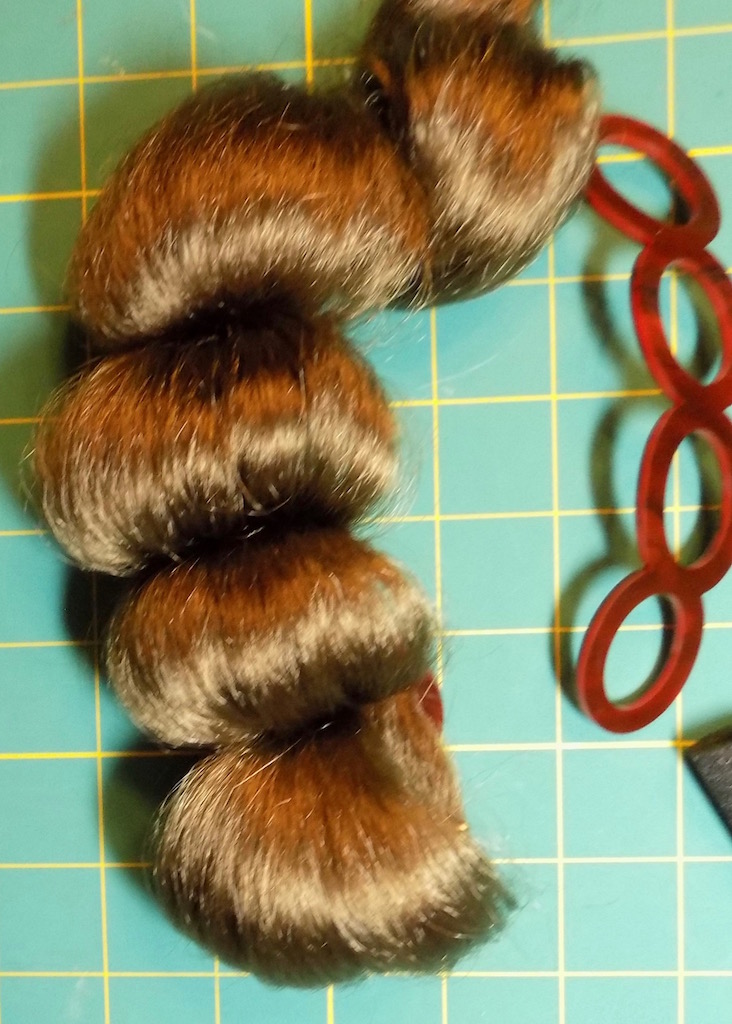
Fan out the loops as much as possible. Repeat for the left side. IF you make it this way it will look more like the period illustration and not like the one we used below.
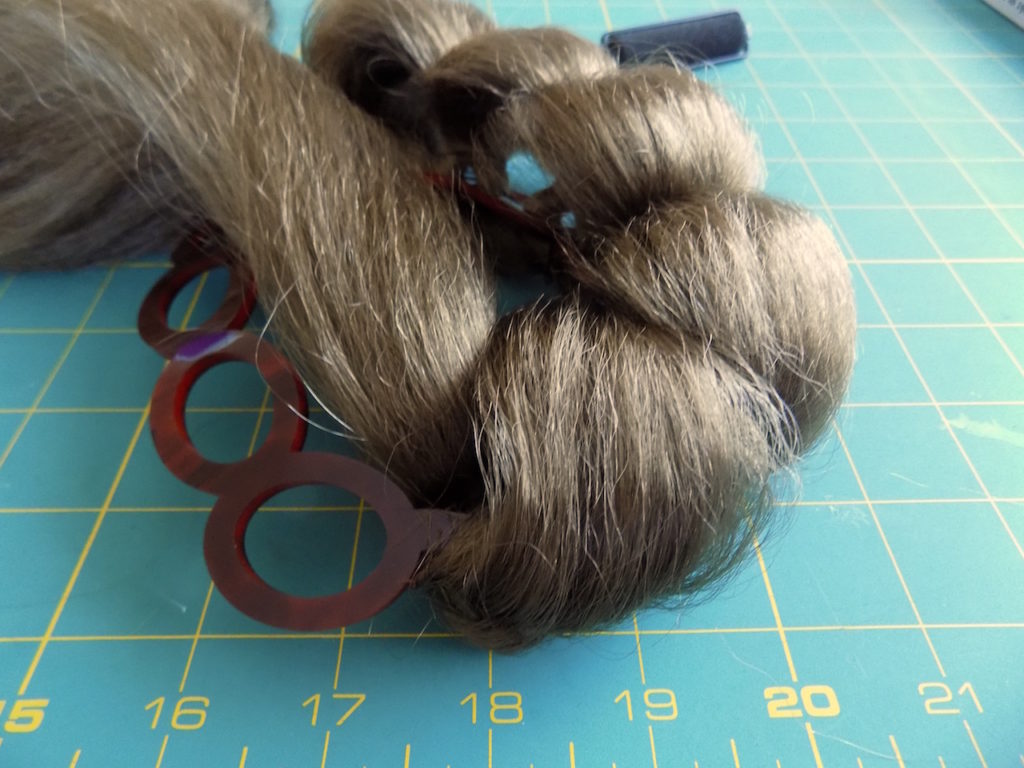
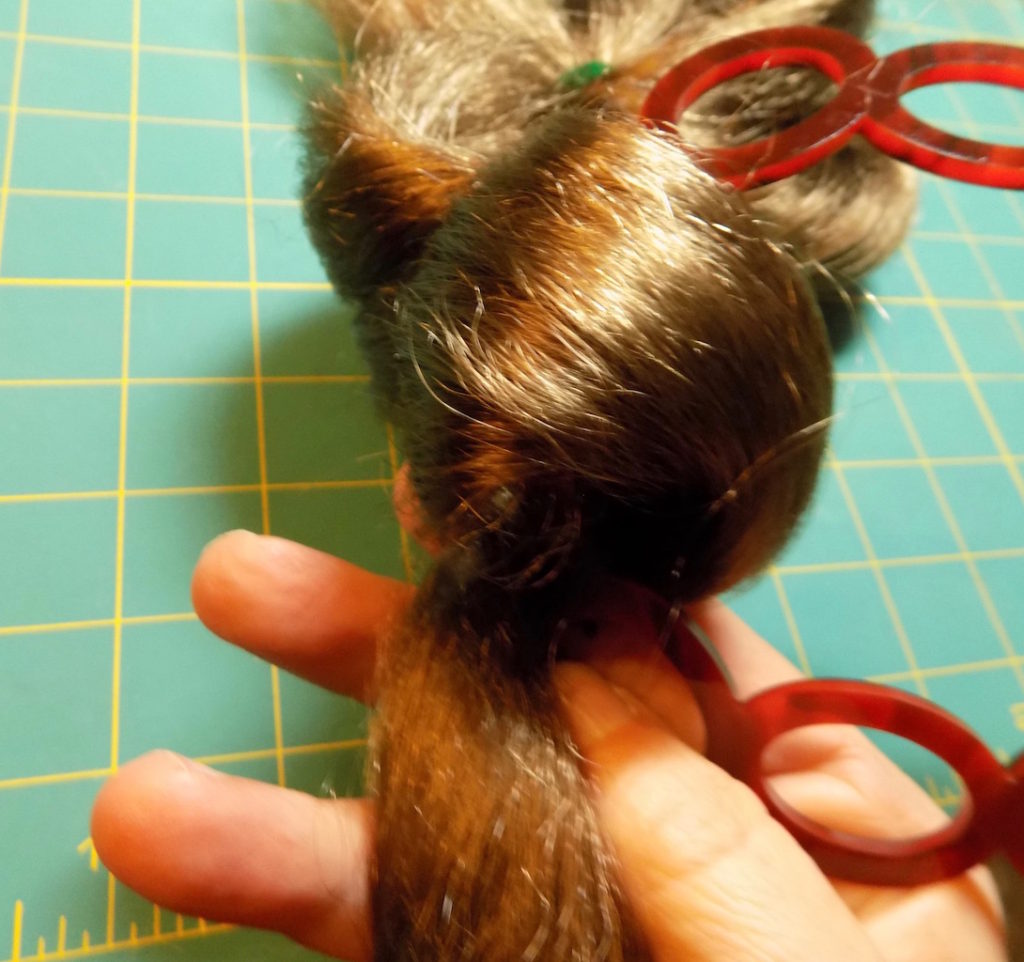
To begin the right half take the remaining hair and bring it down from the back side.
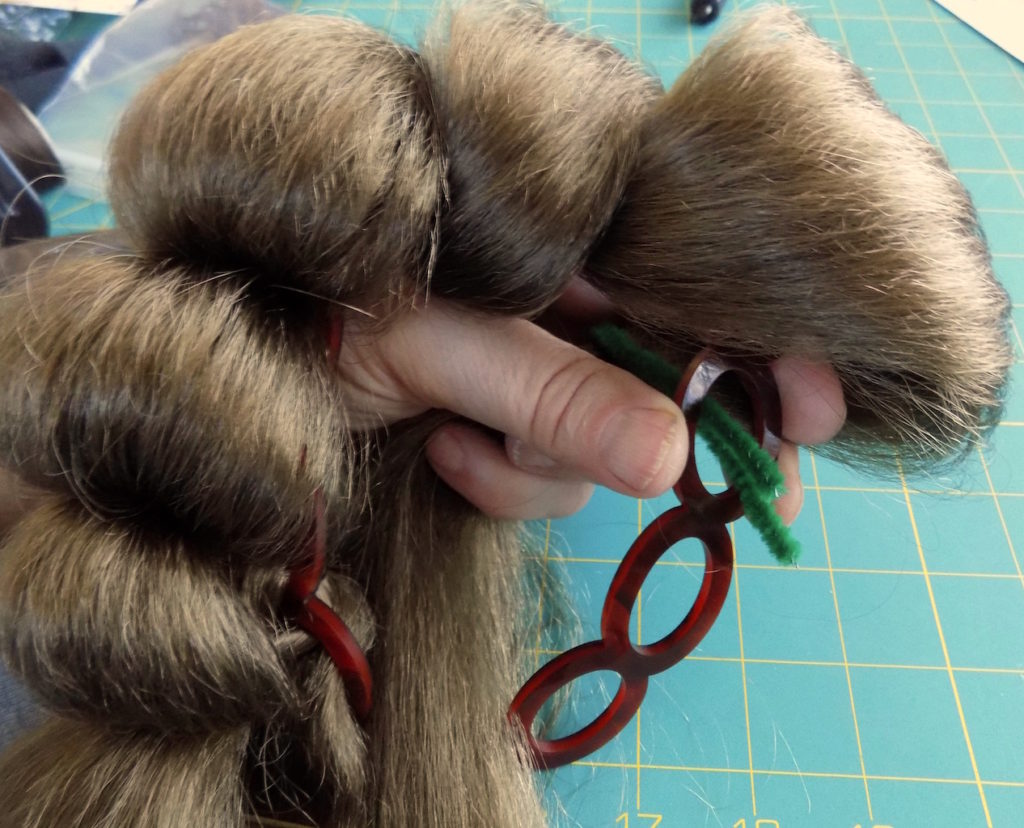
Flip it forward and over the top and to the back side again. Keep two fingers in the loop and use the wire loop (pipe cleaner) to pull the bundle thru the oval.
With one hand hold the bundle close to the comb and with the other sew the bundle to the comb with two buttonhole stitches around the entire bundle.
It should look like this.
Use the wire loop to pull the bundle back down thru the same oval.
Do not pull it all the way down. Just to a loop that you can put two fingers into. As before. Continue from *** above as you did on the left side.
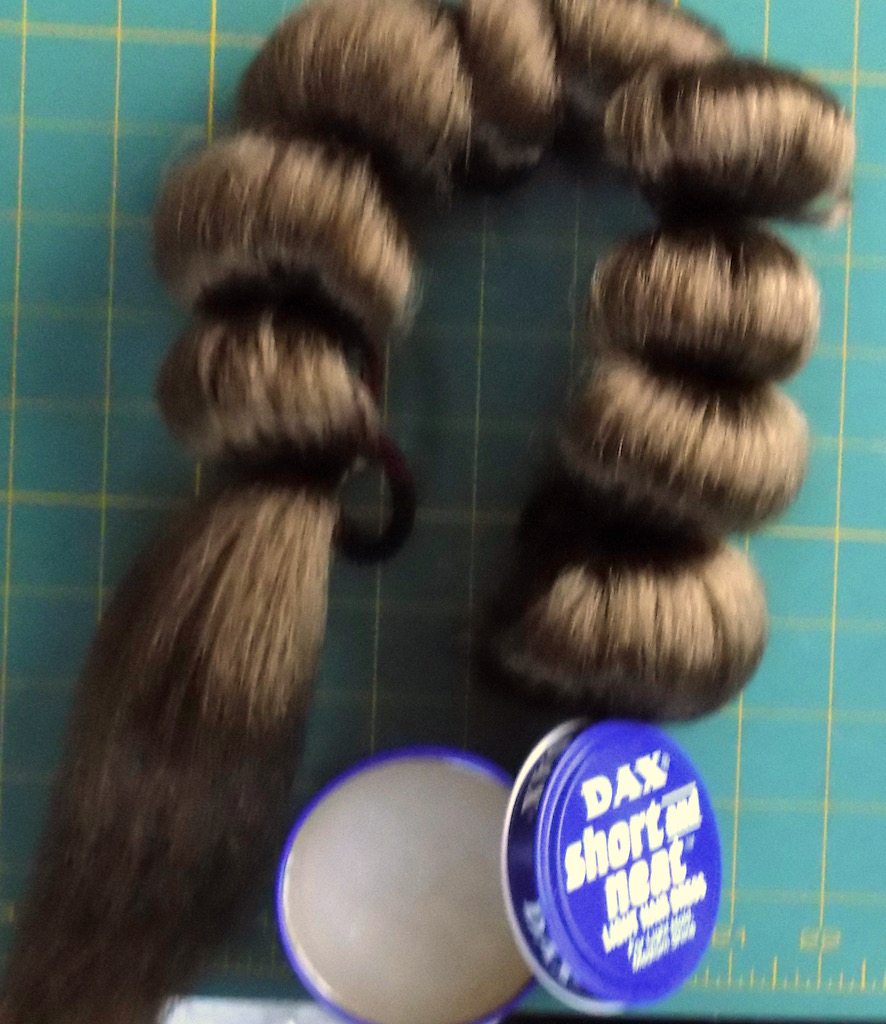
Sorry for the out of focus picture but I wanted to show that I used some pomade on the lower section and I thing it works fine. I asked at the hair store and they said a light pomade was good for synthetic hair.
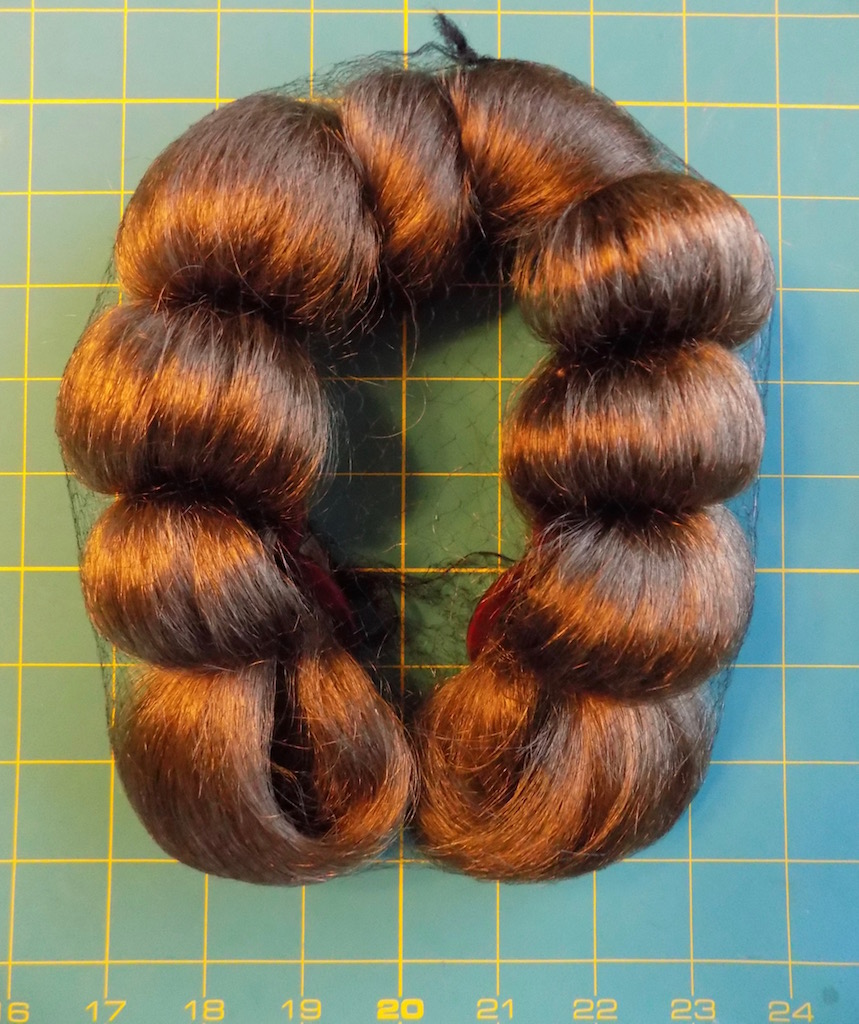
The finished comb with a net over it. I don’t think you could use the net when wearing it but it good for storage.
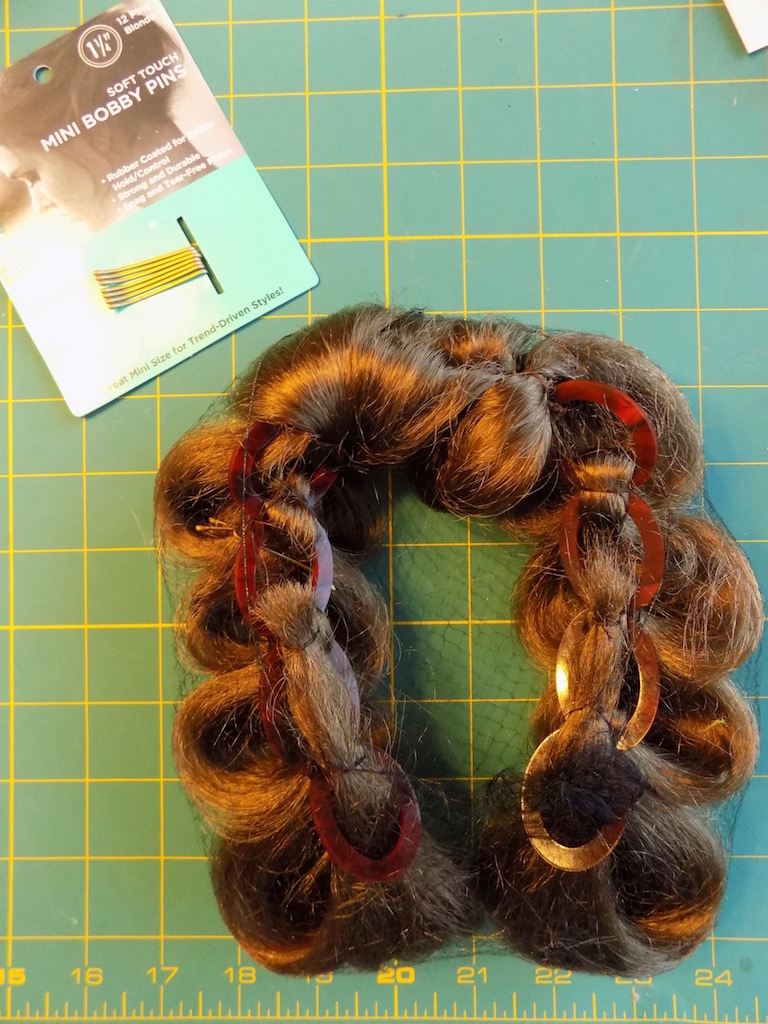
This is a picture from the back. To get the first loop on the right to lay down I used two of these short bobby pins. Good because the longer ones stick out too much.
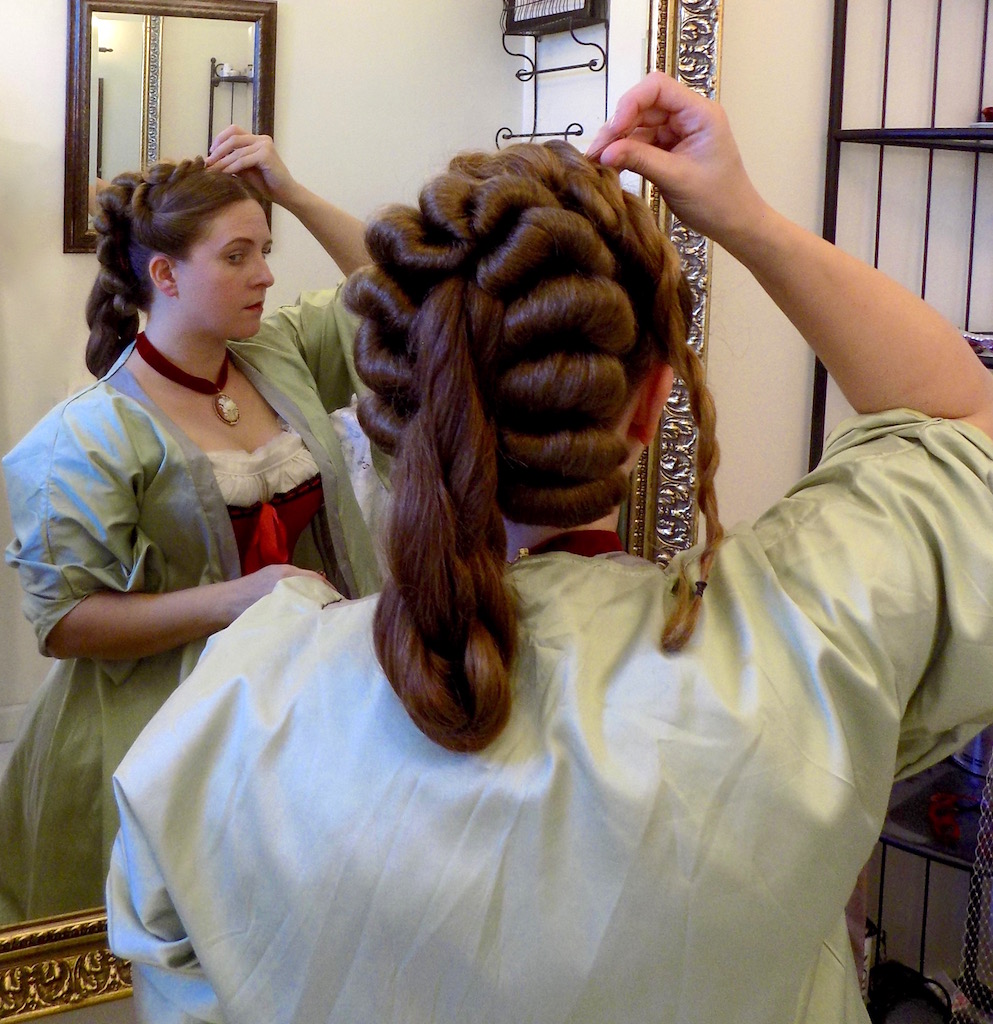
We slipped the comb over Laurie’s ponytail, twisted it, rubber banded it and pinned the end of it up near but, under the base of the ponytail. We then added a few large hairpins on each side to keep the comb close to here scalp. If you do not have long hair you can do this same style by adding a switch around your own short ponytail. You can pin it to your ponytail or sew on some toupee clips and clip it into place..
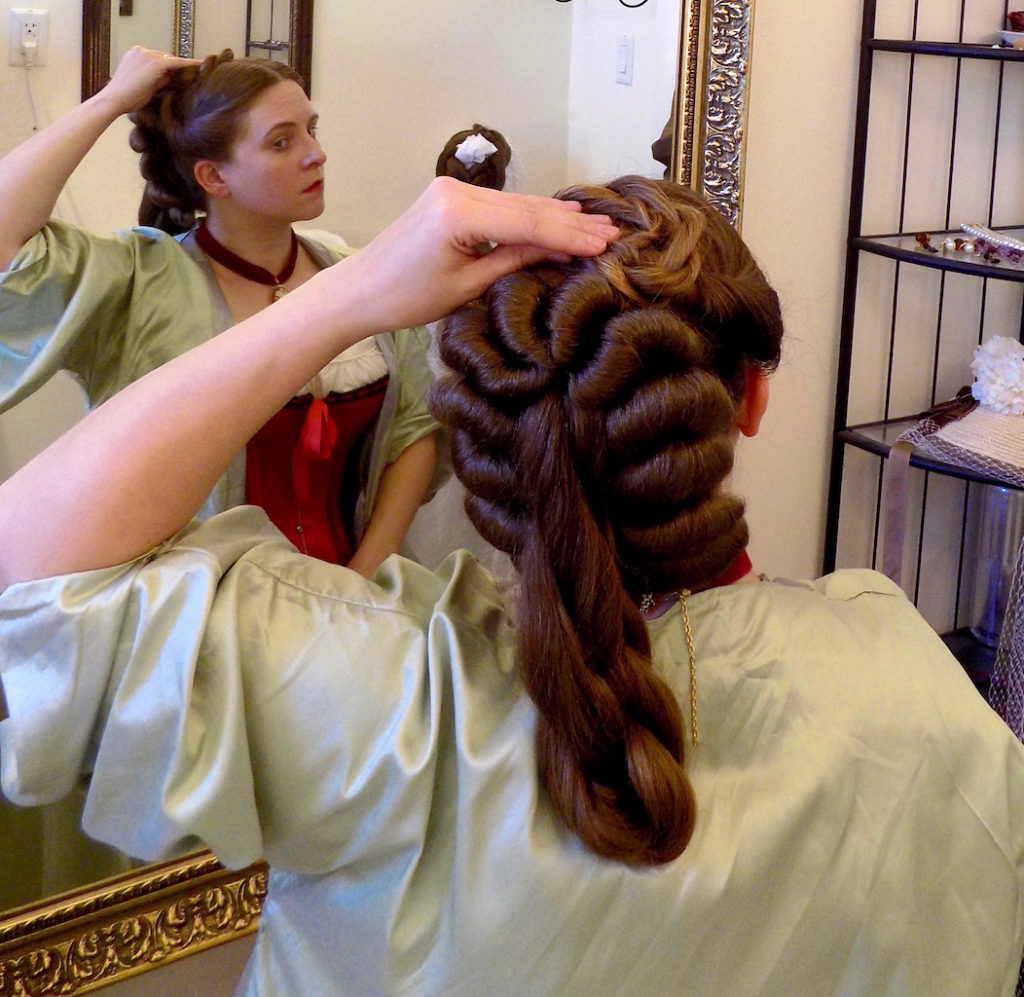
She spiraled the hair from her side hair into a small chignon at the top of her head and pinned it down with large hairpins.
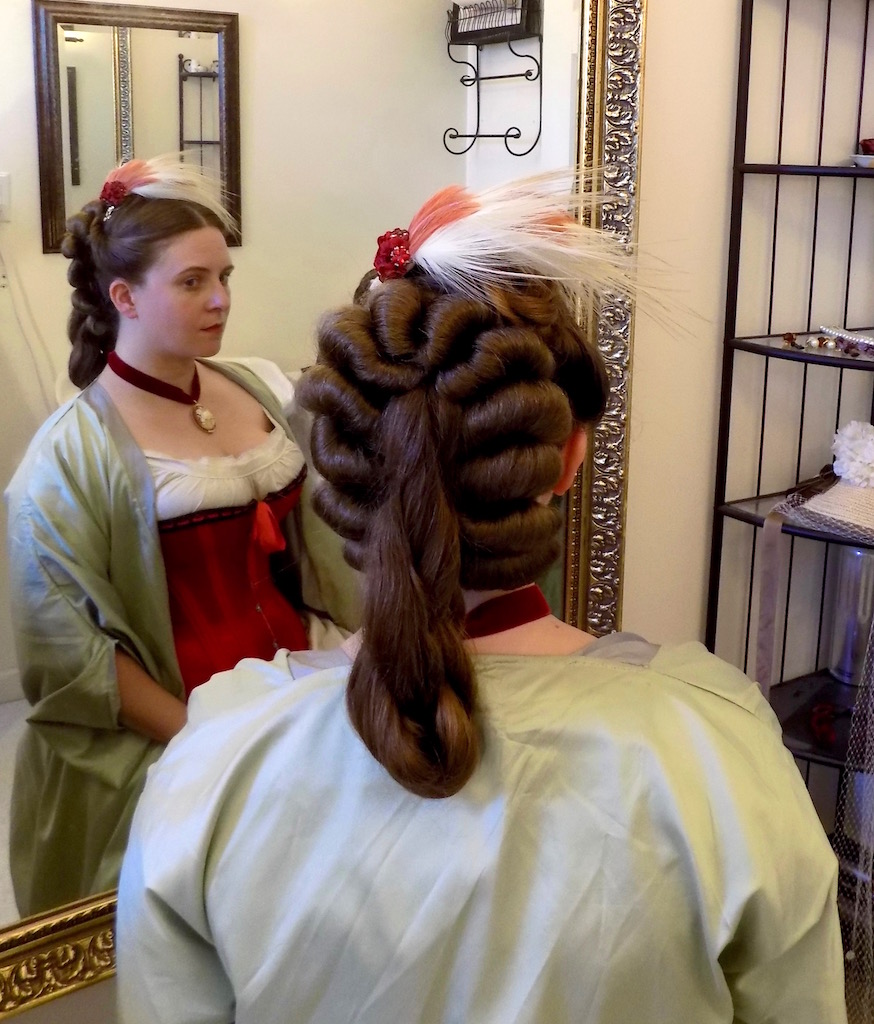
To turn it into an evening look she added a feather and flower ornament on a brass hairpin.
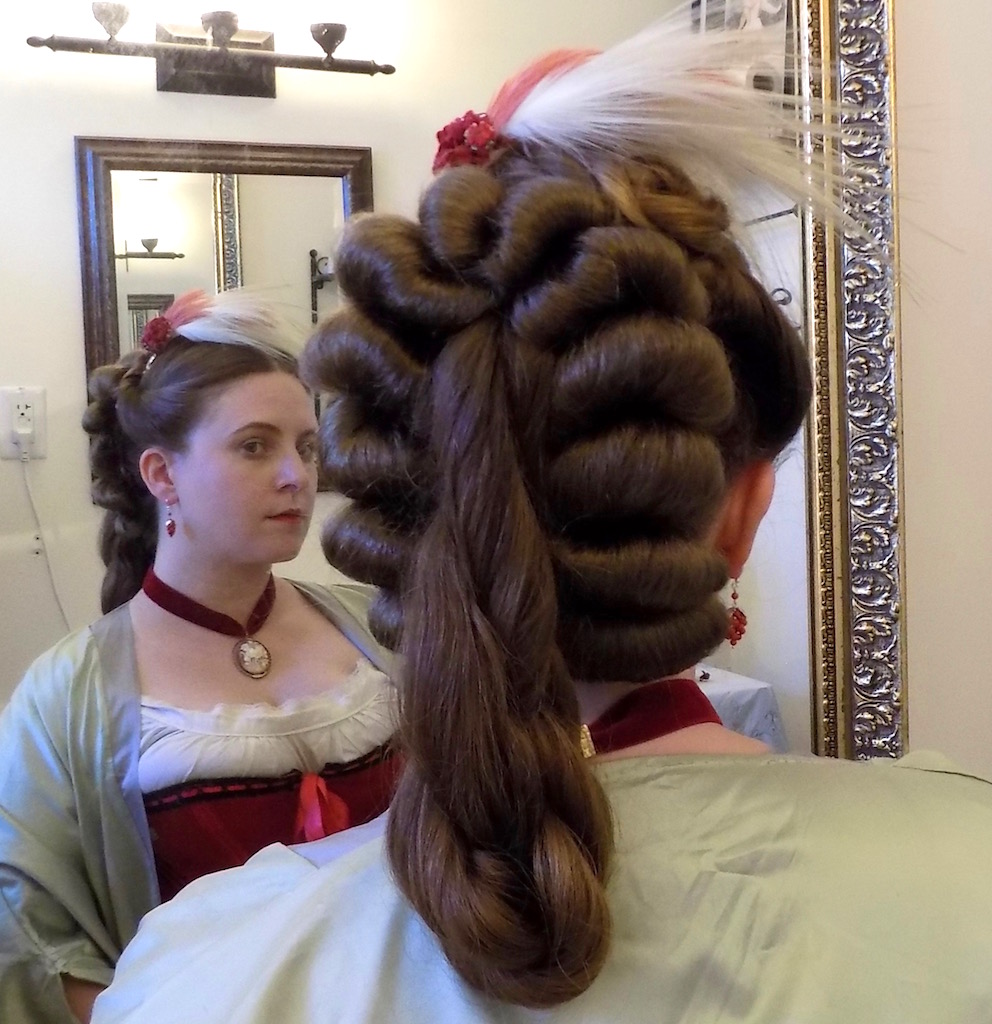
The finished hairstyle from the back. This could be turned into a day style if the looped pony tail only reached the bottom of the comb hair and the feather decoration was removed.

For this hairstyle I think it would look better if the ponytail was higher so the comb rested 2-3 inches higher.