I recommend this braiding hair “Rastafri Freed’m-silky-Braid”. You will need parts of two packages. All of your switches will be 1/2 the thickness of a package. From one package make a switch 42 to 44” long from the other make three switches; one 26 to 27” long, one 28-29” long and one 31-32” long. Follow the following instructions.
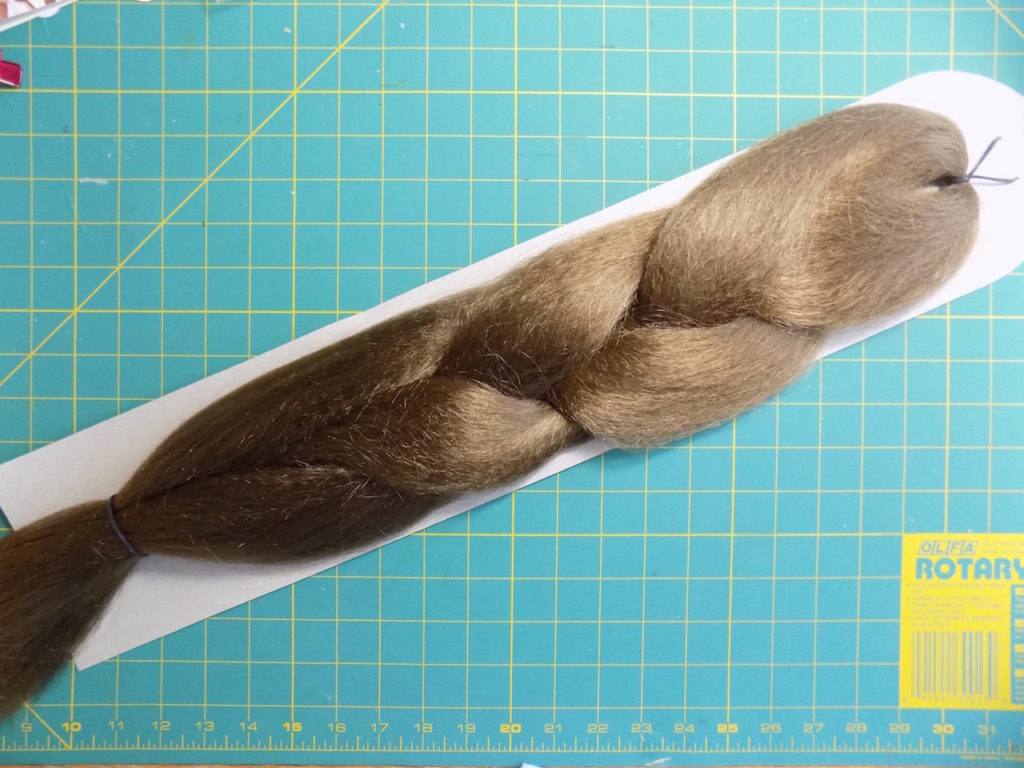
When you open the package it is rubber banded at the center fold then braided and then rubber banded at the bottom.
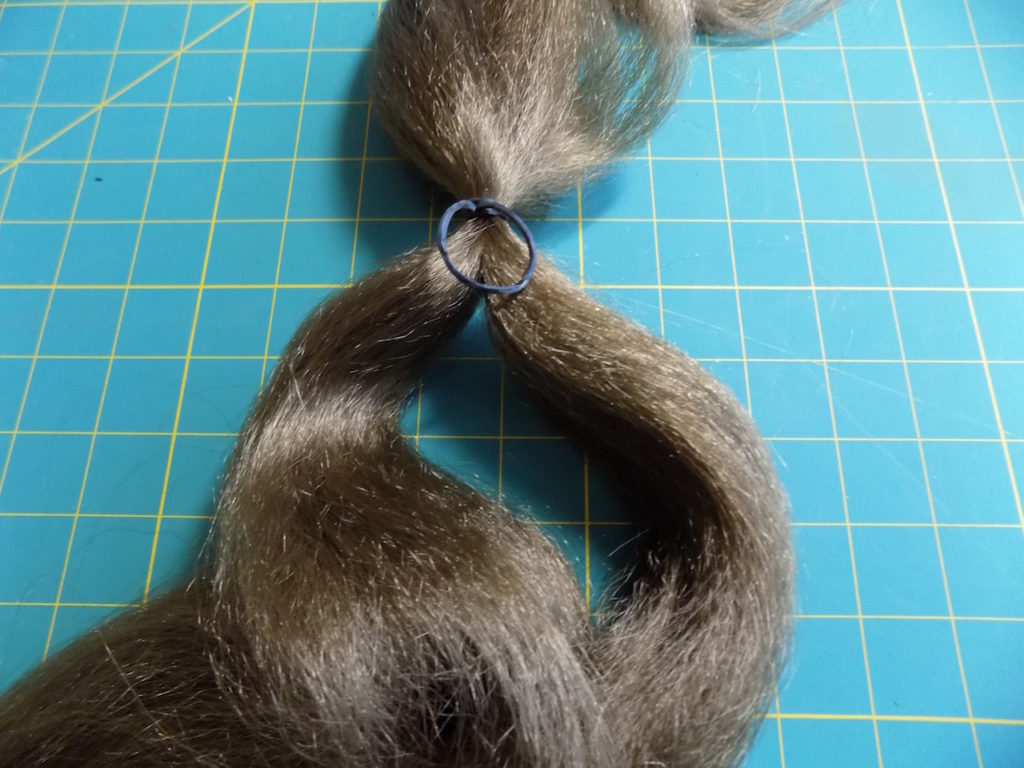
Take off the bottom band, unbraid it, and divide it in half and then remove the center rubber band.
Add a rubber band at both ends about 3” up from the end before the last wrap of the rubber band pull the hair only part way thru the band. It should look like this.
Find the place you need to cut to give you the correct length and cut it at this point.
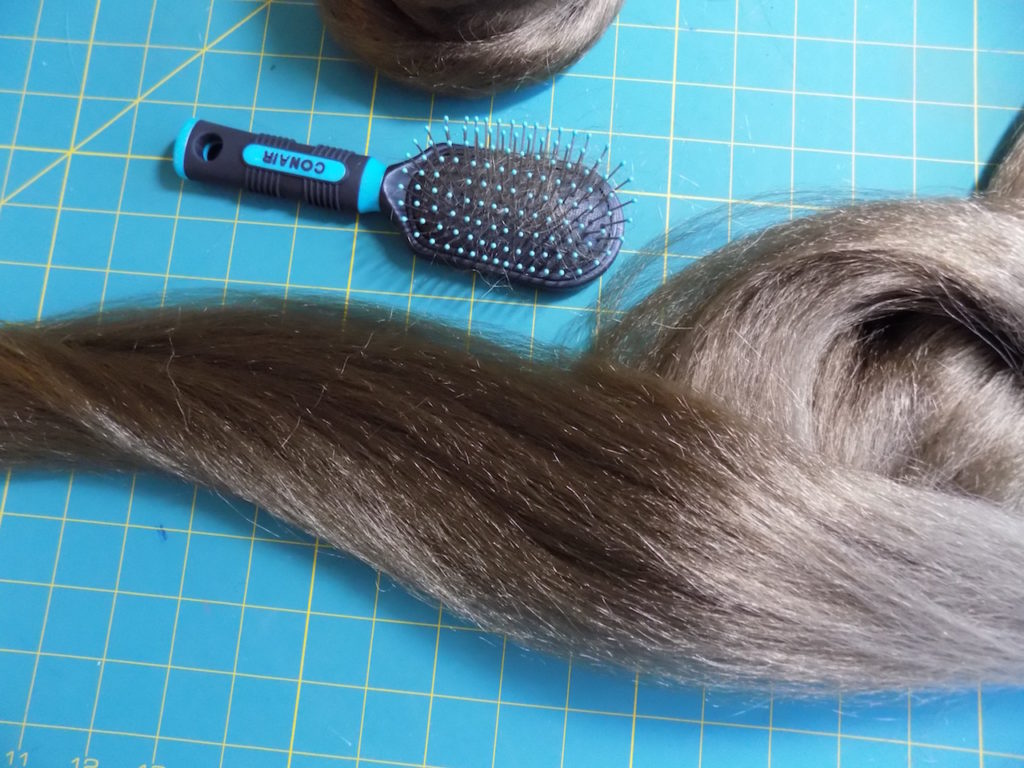
Carefully comb. I usually finger comb it and then use a wire brush. Always hold on to the rubber band and comb from the bottom to the top (banded end).
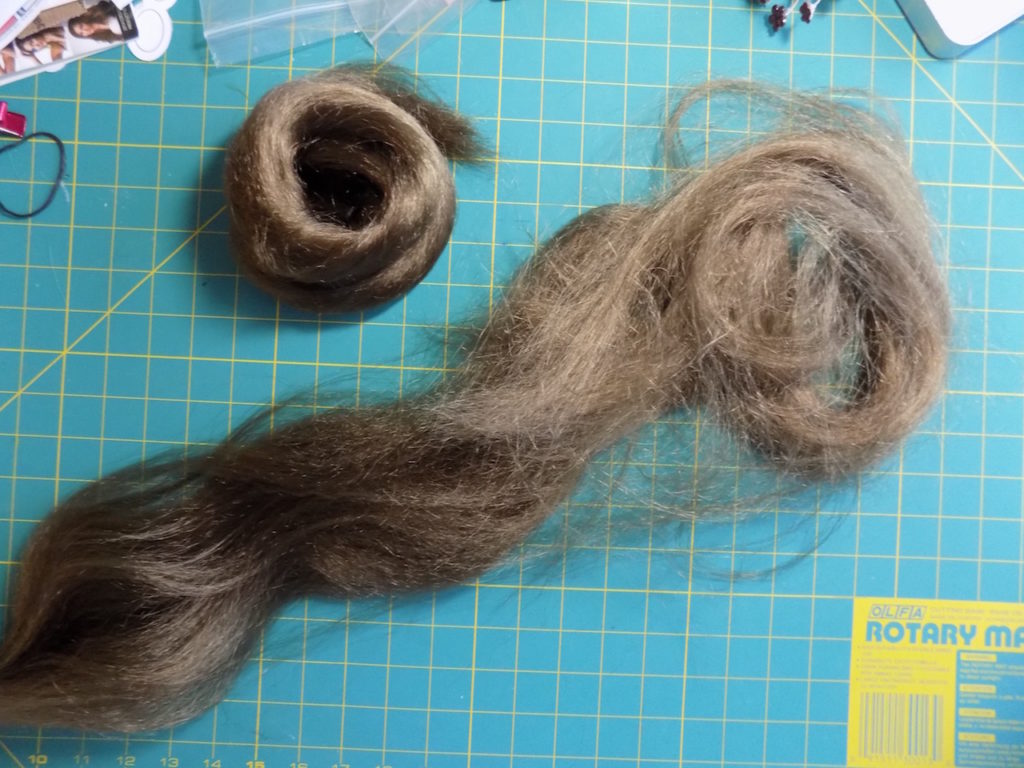
You will loose hair. Coil the combed ones.
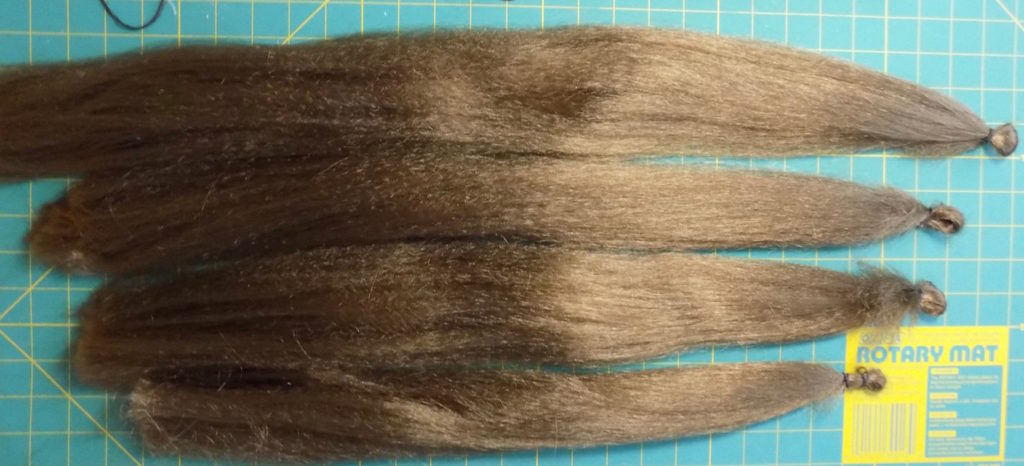
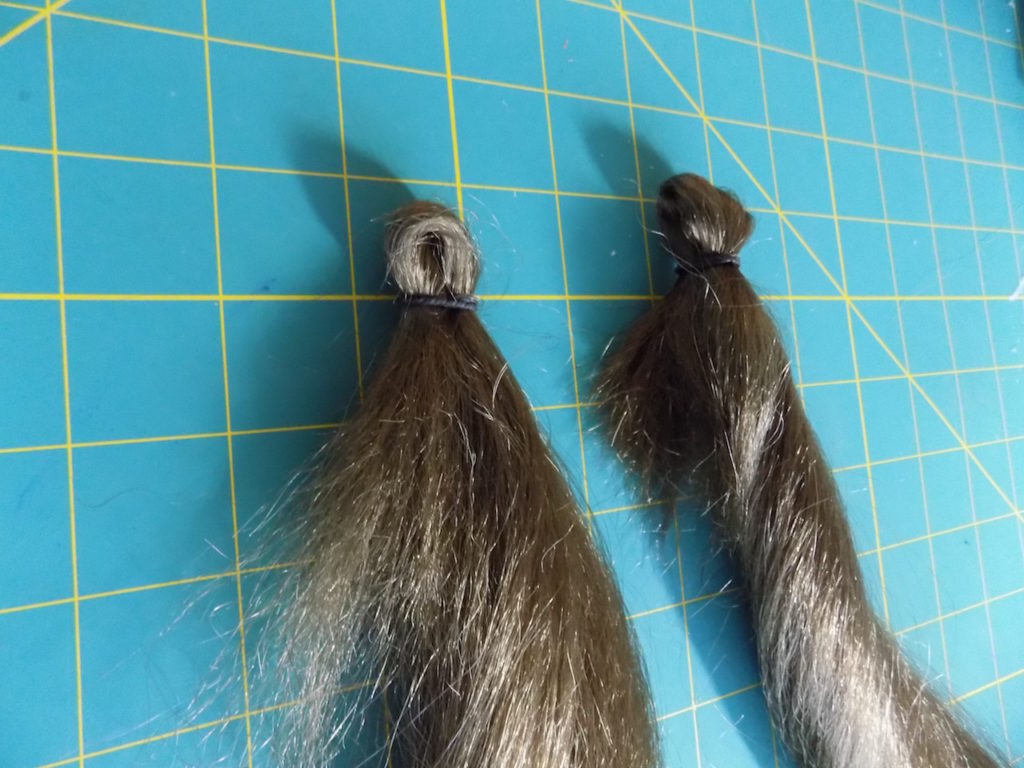
You should have 4 switches. Three of them are each slightly longer than the one before with the 4th much longer. Add a rubber band to the free end as you did before.
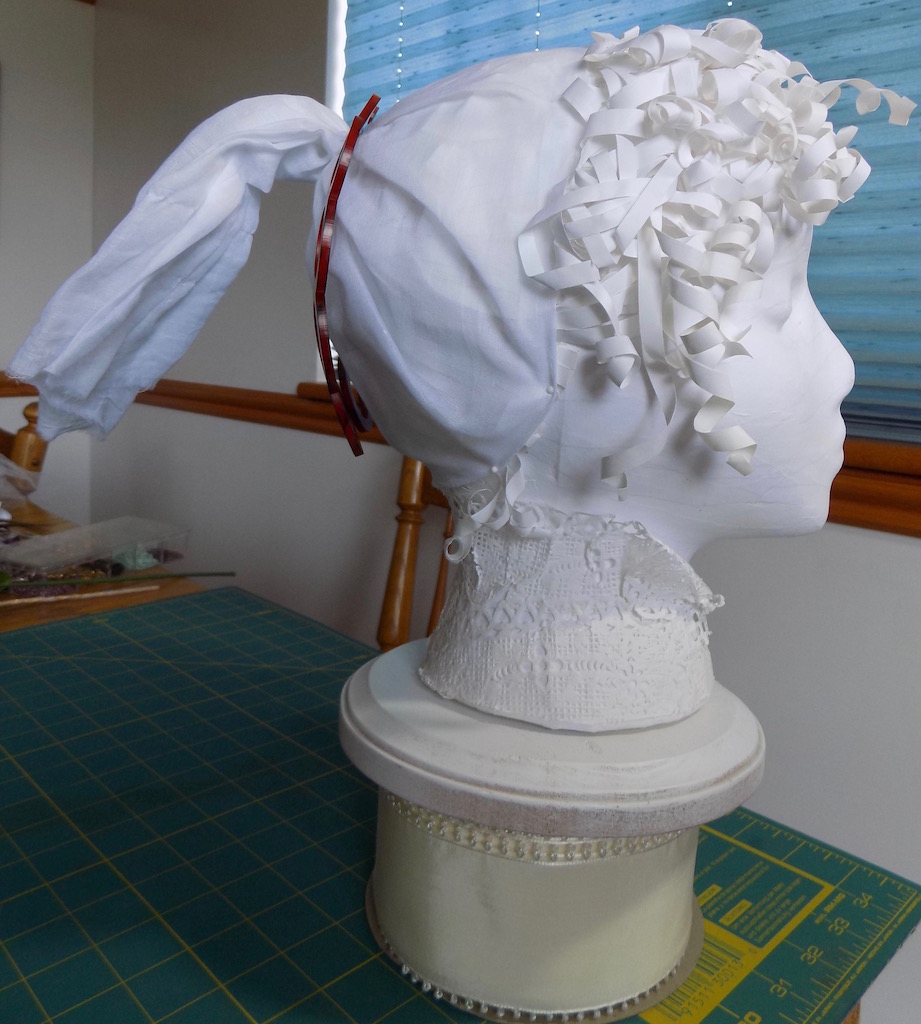
To make this do you will need a wig head or foam head. Use something to support the comb on the head where your pony tail will be. Long T-pins will work.
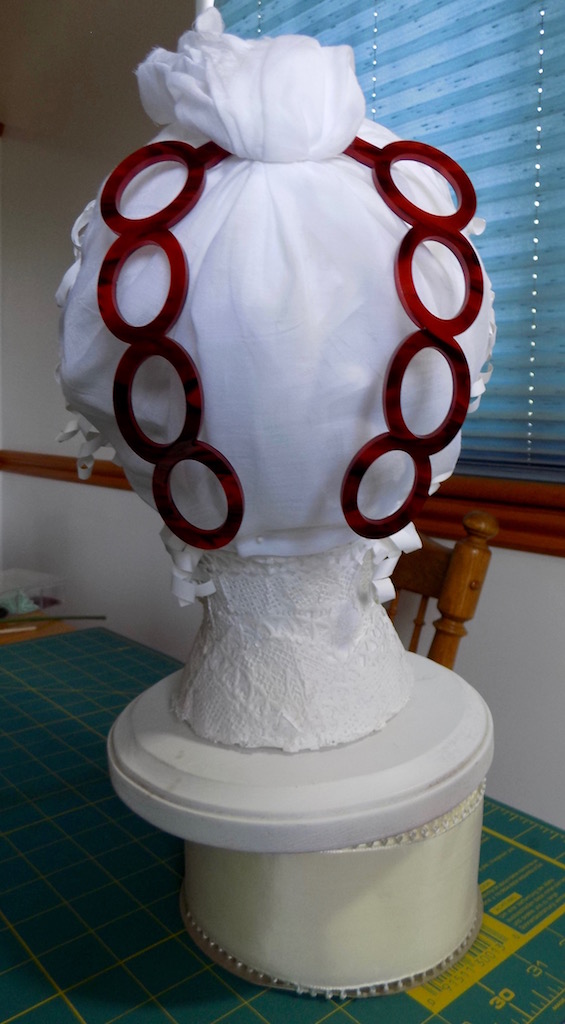
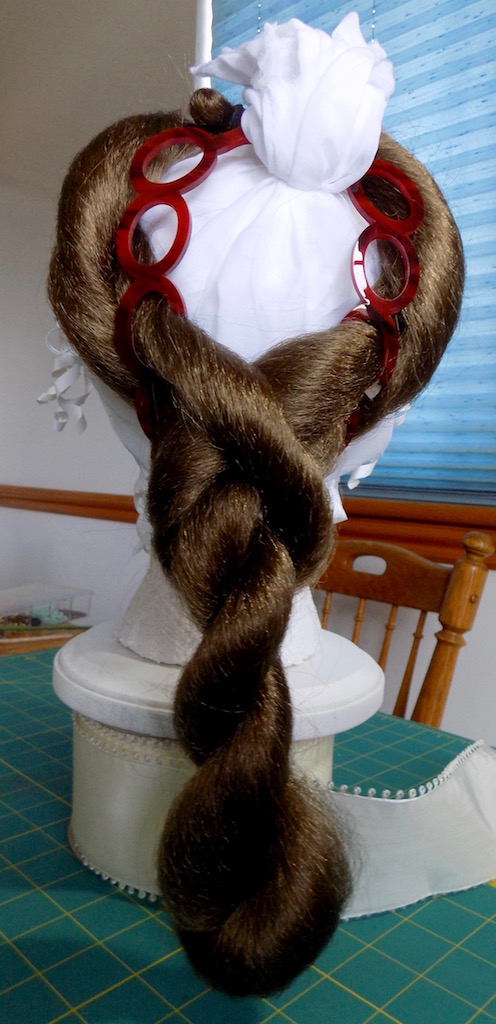
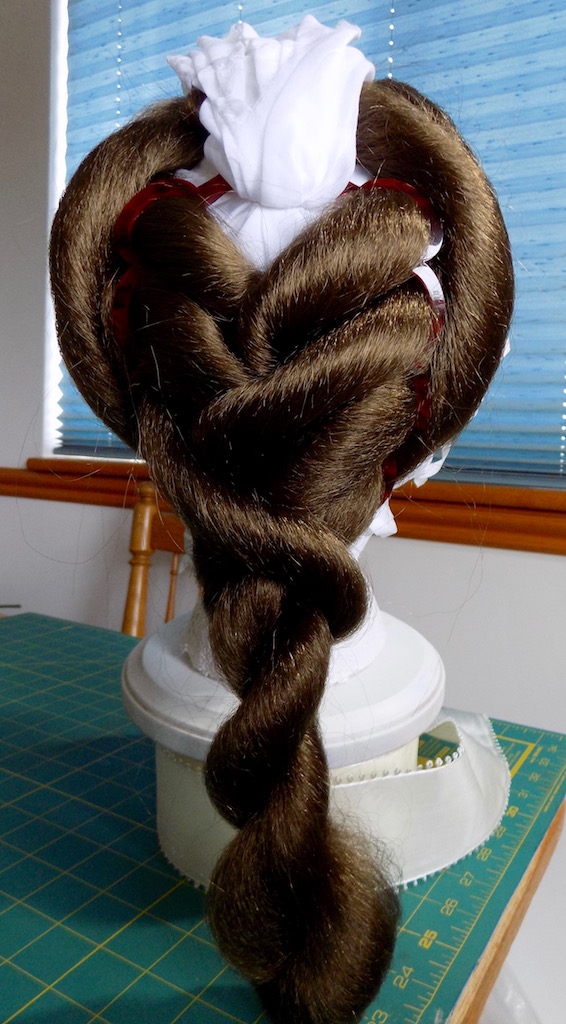
This is how it will look from the back.
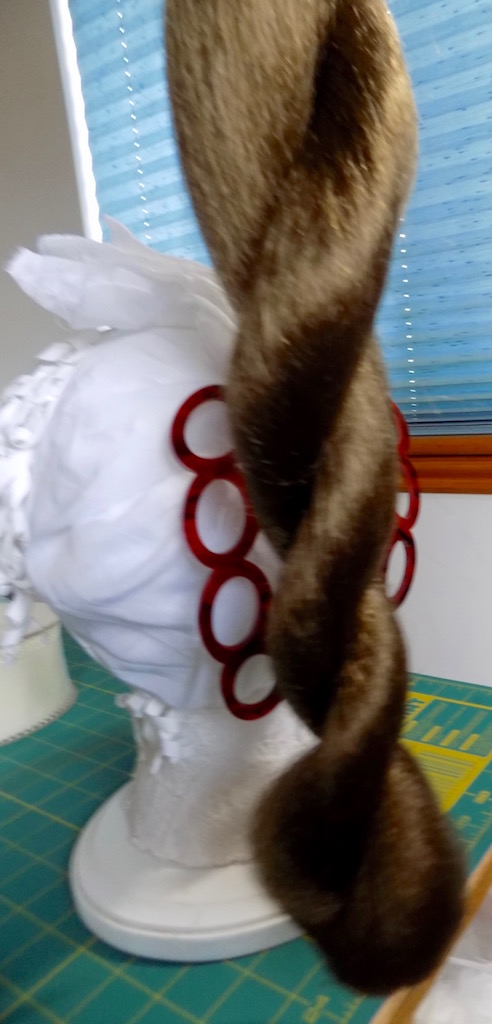
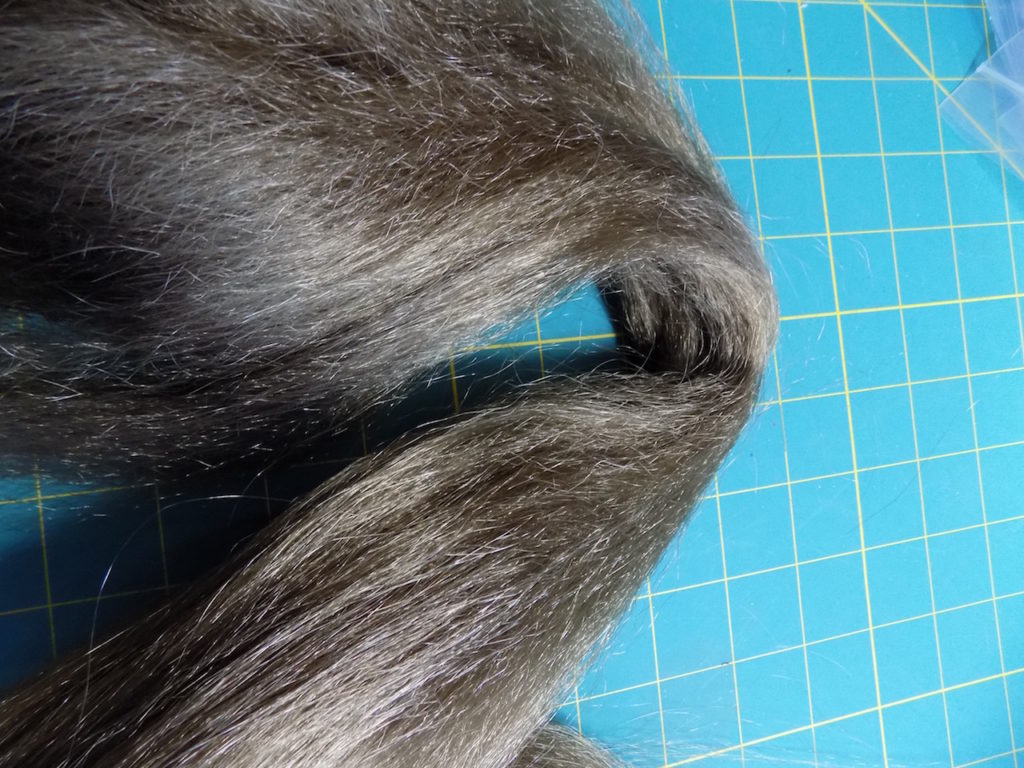
Starting with the longest switch twist it until the center forms a twist like this.
Thread the banded ends thru the bottom two holes in the comb, one on each side. Bring the banded ends up to the center and pin then to the head.
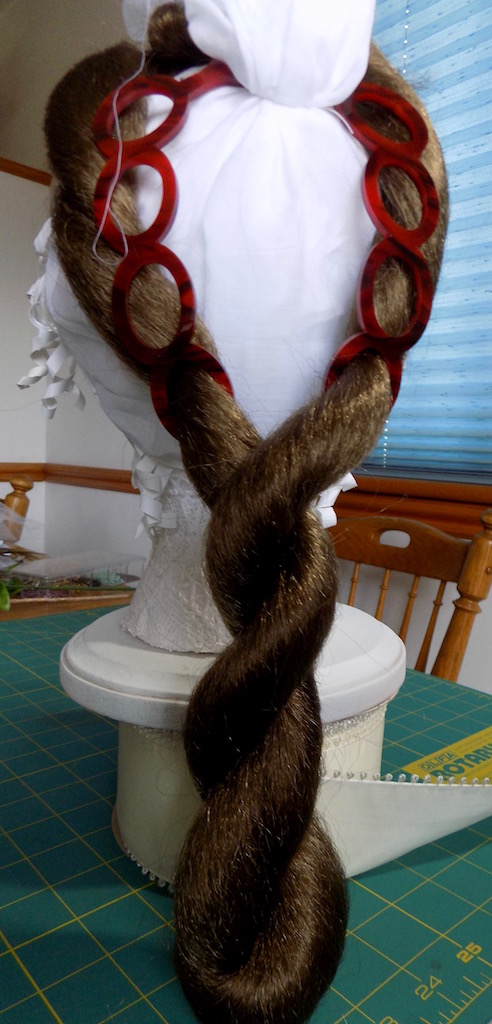
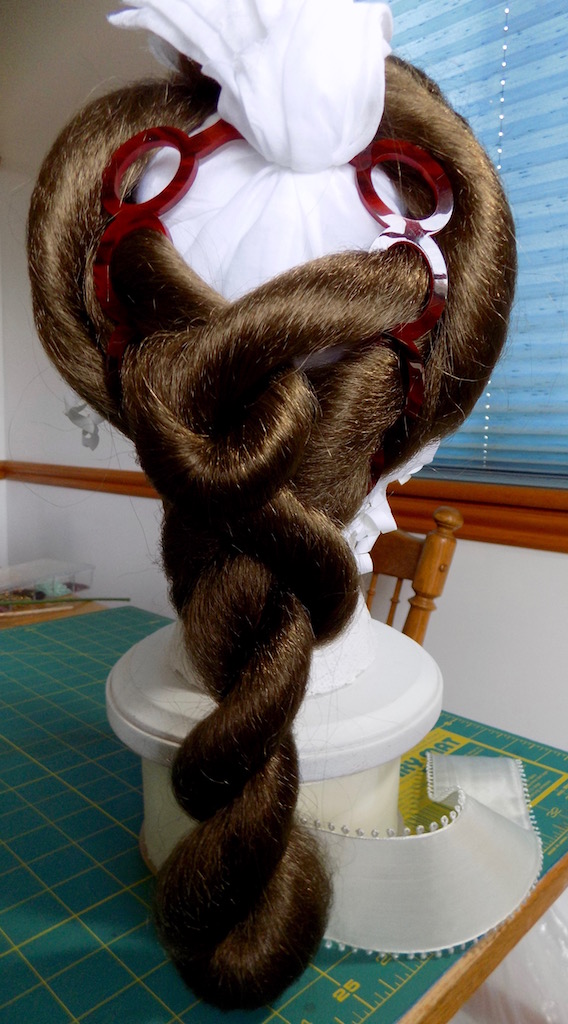
Take the next longest switch and repeat with the next holes on each side.

Twist the free ends of the switch around the first and pin it down.
Optional: pull the twisted end of the first switch thru the loop of the second switch. I decided that it looked better with the twist of the second tucked under the twist of the first. You will see that in the finished hairstyle.
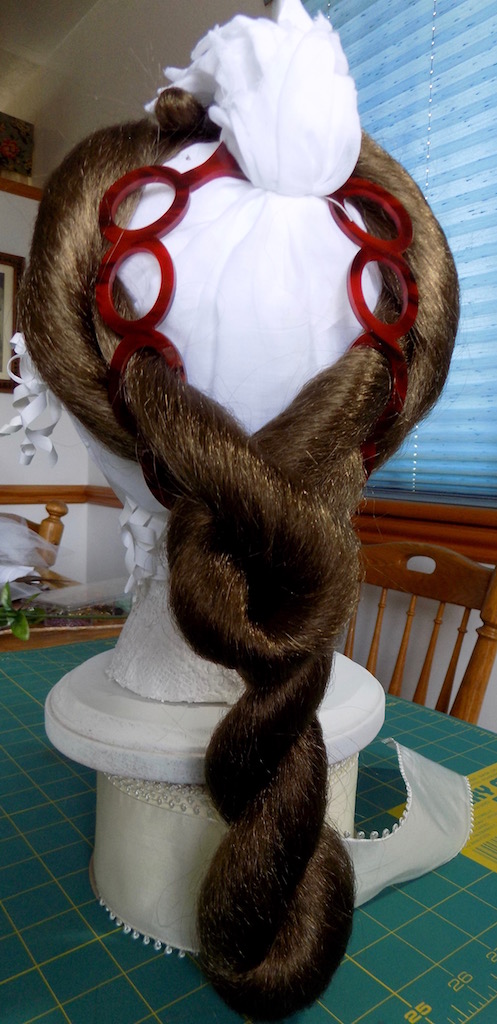
Do the same with the next switch.
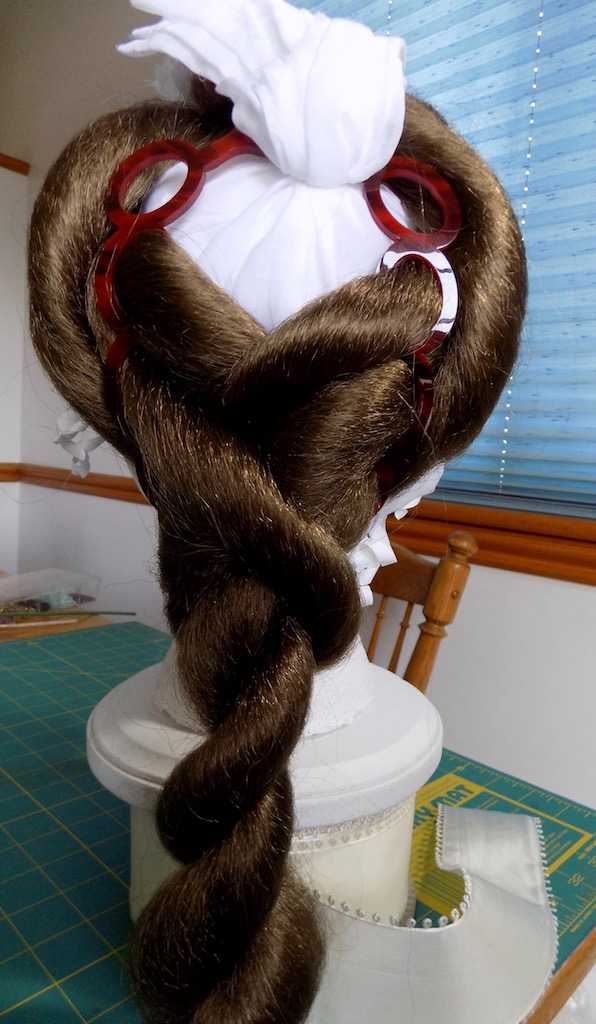
Tuck the center twist under the previous centers.
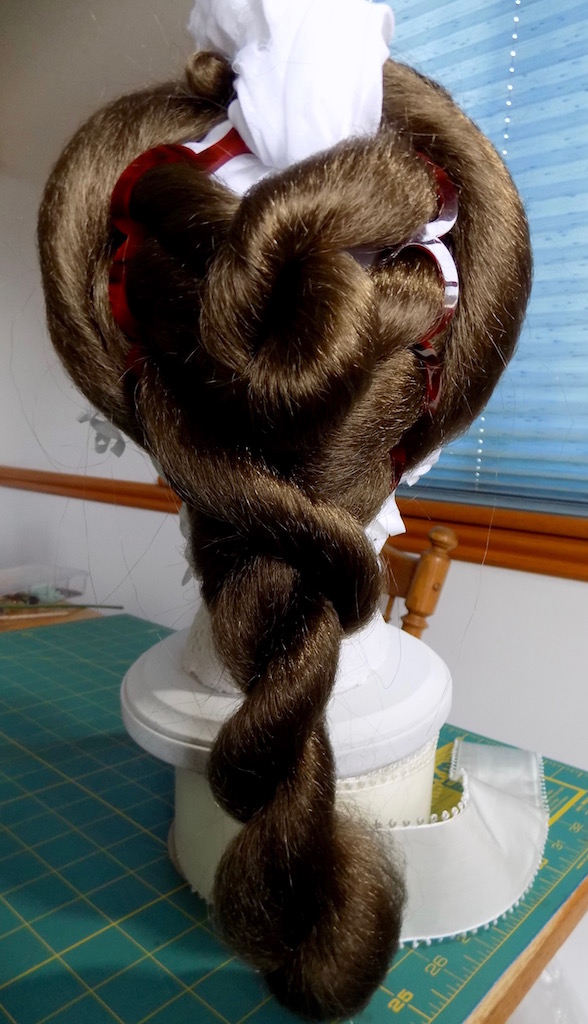
Do the same with the last switch.
Tuck the center twist under the previous centers.

Start with the basic hairstyle. Pin both twist near the top edge of the comb with large bobby pins and twist the rest of the hair together and rubber band it off.
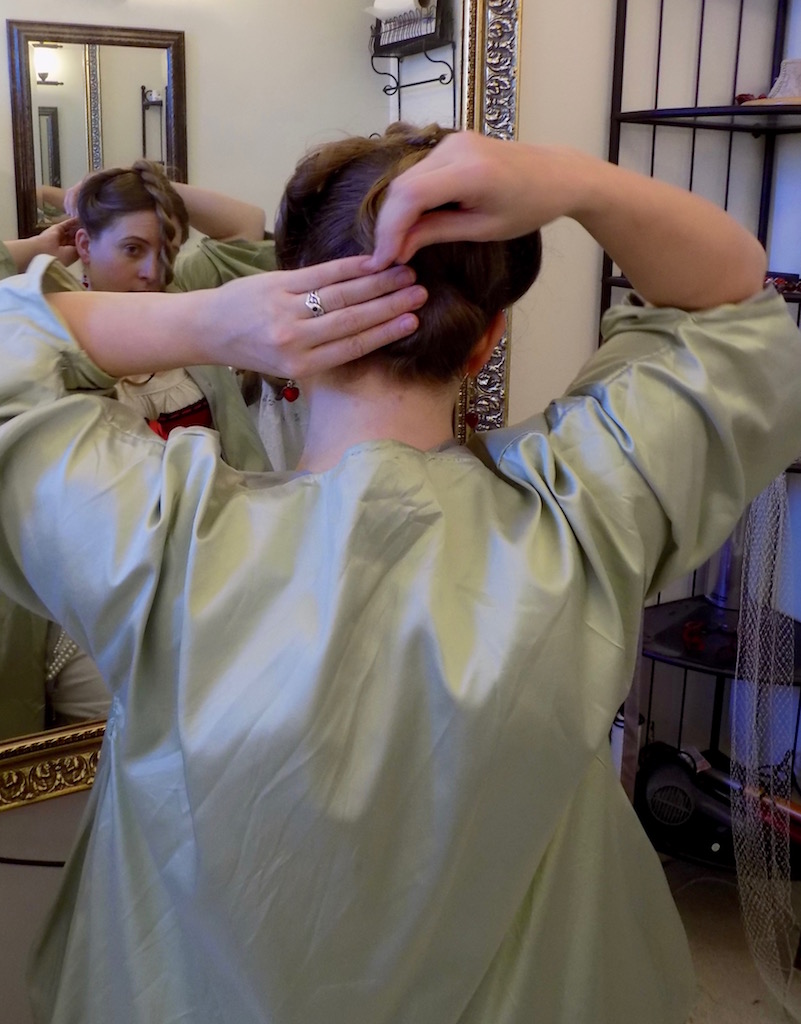
Take the hair from you ponytail and twist then make it into as small of a chignon as possible. Pin it down well.
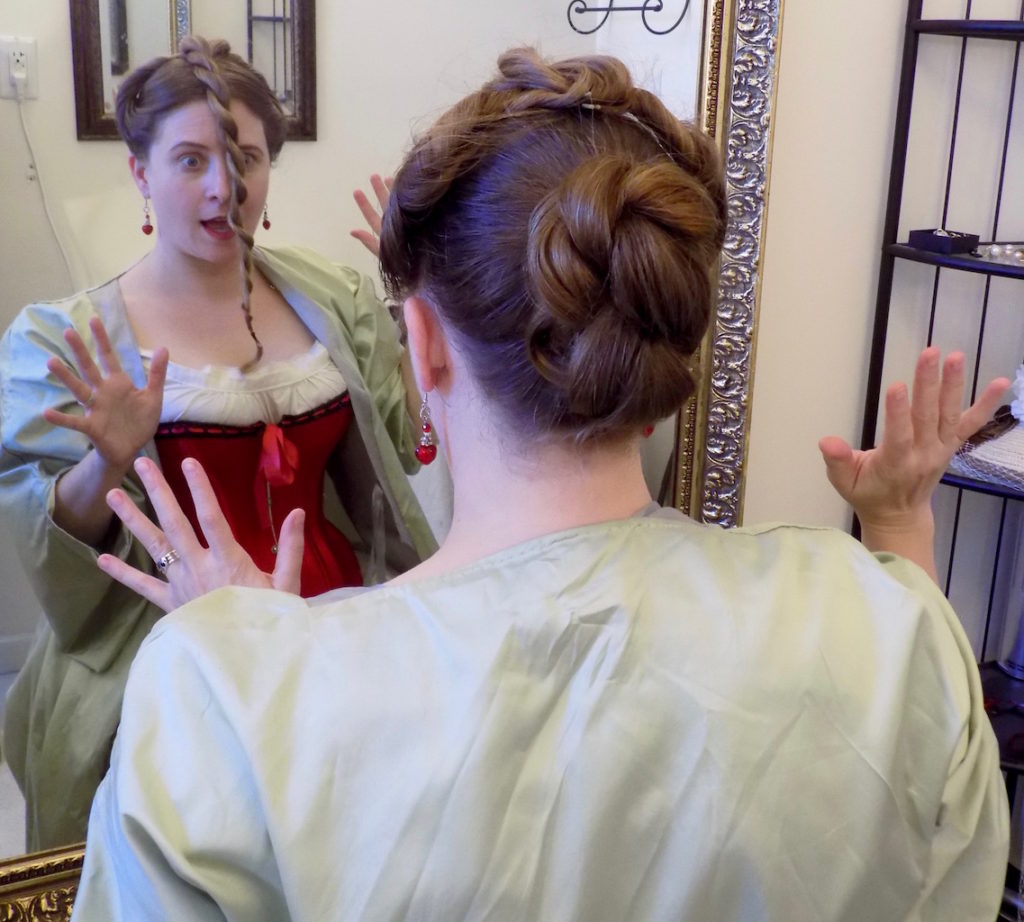
Laurie is now ready to add the faux hair already in the comb.

Place the comb/hair combo over you chignon and use some large hair pins to anchor it.
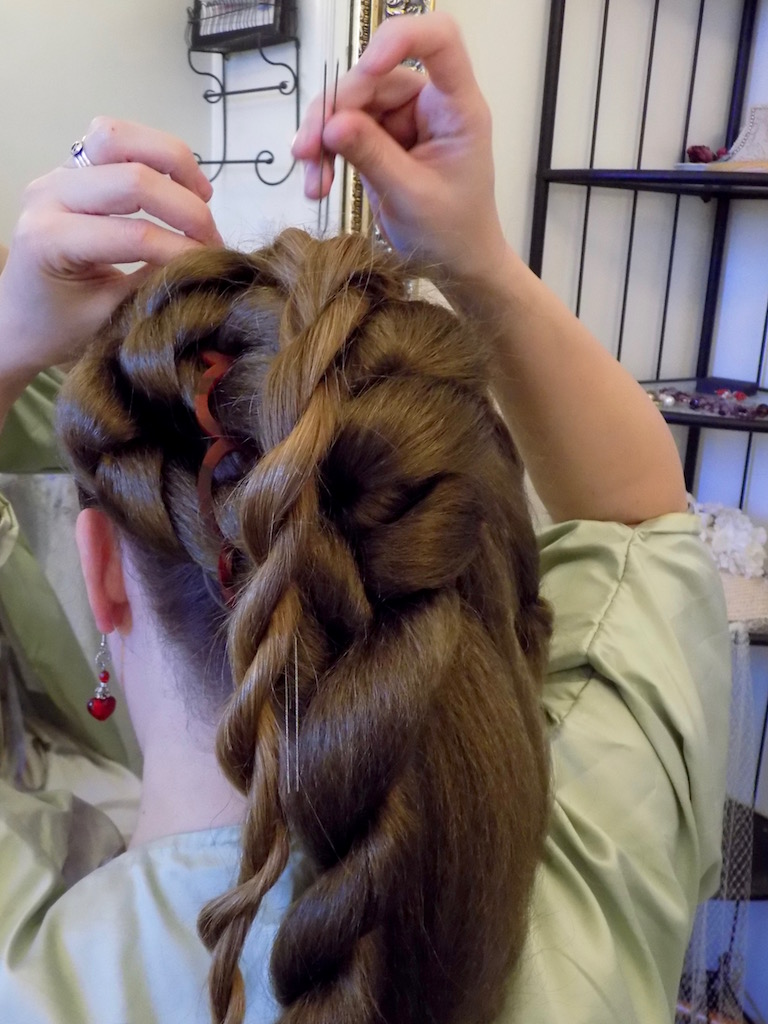
Flip the twist from you front hair out of the way. Twist the ends of #4 and #3 twisted switches together and pin then at the top of your head. Repeat on the other side. Then twist #2 and #1 on each side and pin them down as well.
Use the twist from your front hair to make a small chignon to cover the ends of fake hair twists. We realized at this point but did not have time to redo that we could have used all the hair from the pony tail to make the chignon in the top. That type of hairdo would be great for the early bustle era.

Add an ornament on a comb and this would be a nice evening hairstyle. For a daytime hairstyle you could shorten #4 by pulling on the twisted ends on both sides and using the extra at the top for the chignon. Also add a strong large bobby pin to hold the loop of #3 closer to the hairline.
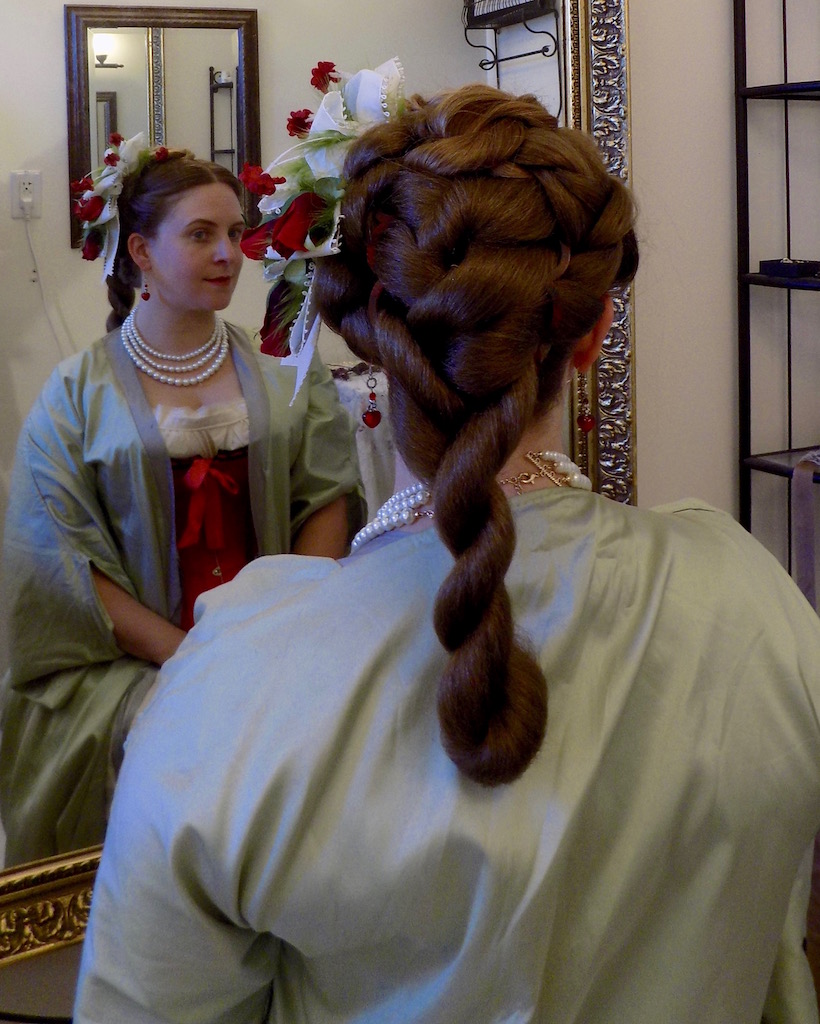
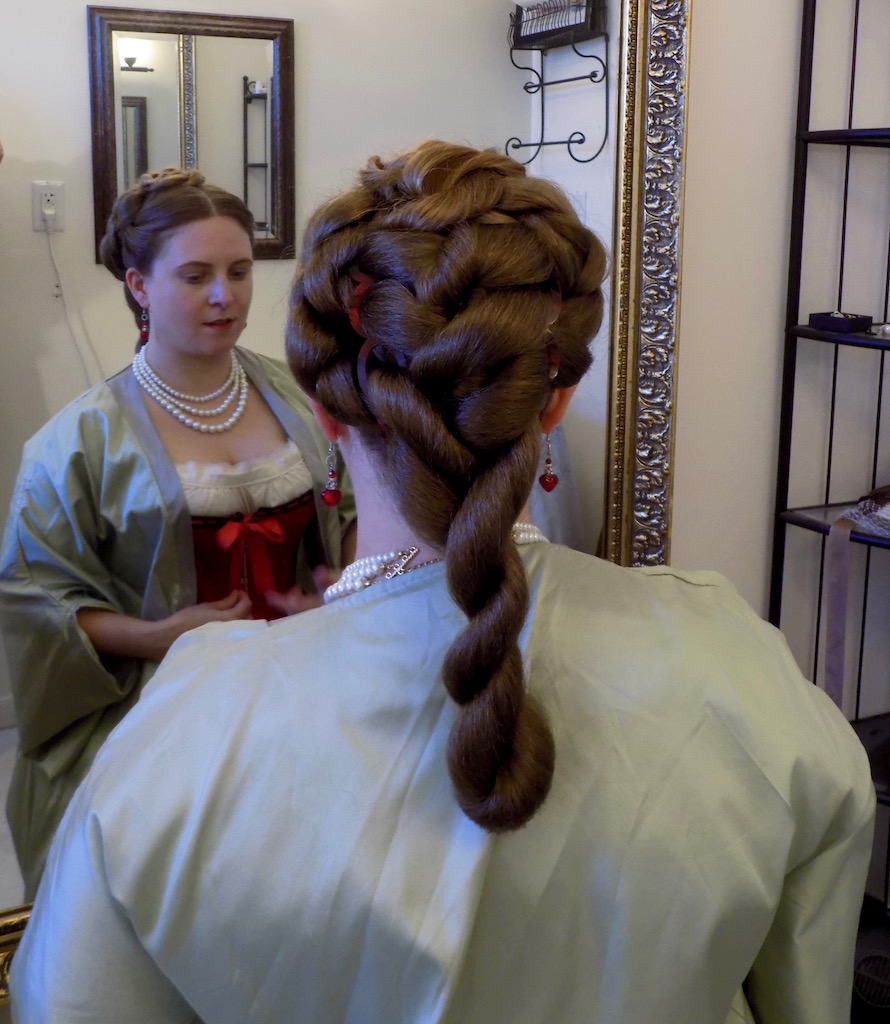
Finished hairstyle from the front and back.