Clip-on curly bangs are something that is a very quick way to get a period look for several time periods. You can use them for Regency or Late Bustle period which includes the Gilded Age and most of the last quarter of the 19th C. You can make them narrow or wide like the set I’m adding to this article. They can be worn with daytime hairdo or evening as shown below being worn with an evening version of a Victorian small bonnet.
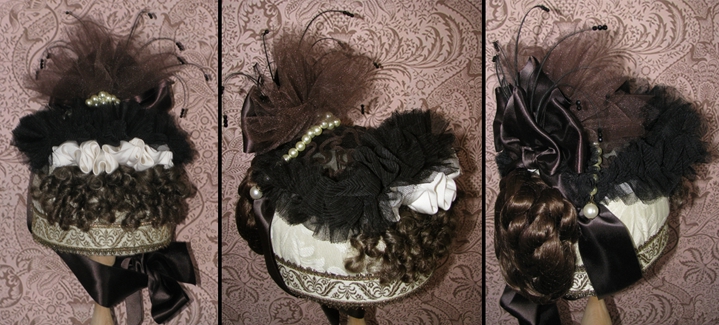
Before I started these bangs, I looked at several sources on how to make wigs. I came up with this simplified method based on how real wigs are made. If you can make a hook rug, you’ll have no problems here.
How to make Faux Bangs
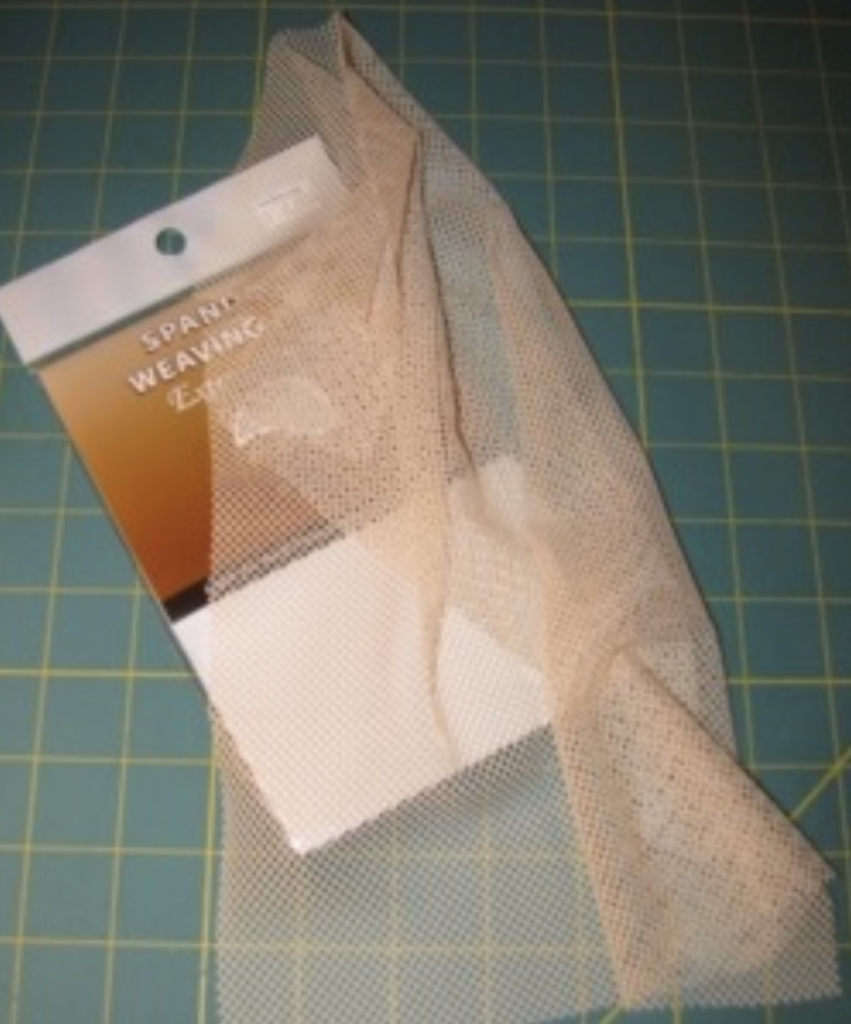
You first need a mesh to add the hair to. You can get this on-line or at most hair stores. I got this flesh colored stretch mesh at my local beauty supply store (the same place where I get the braiding hair). It came in brown and flesh, but in future I think it might be better to match the hair color. In the end I used a marker to color the mesh. This type is stretchy which I like.
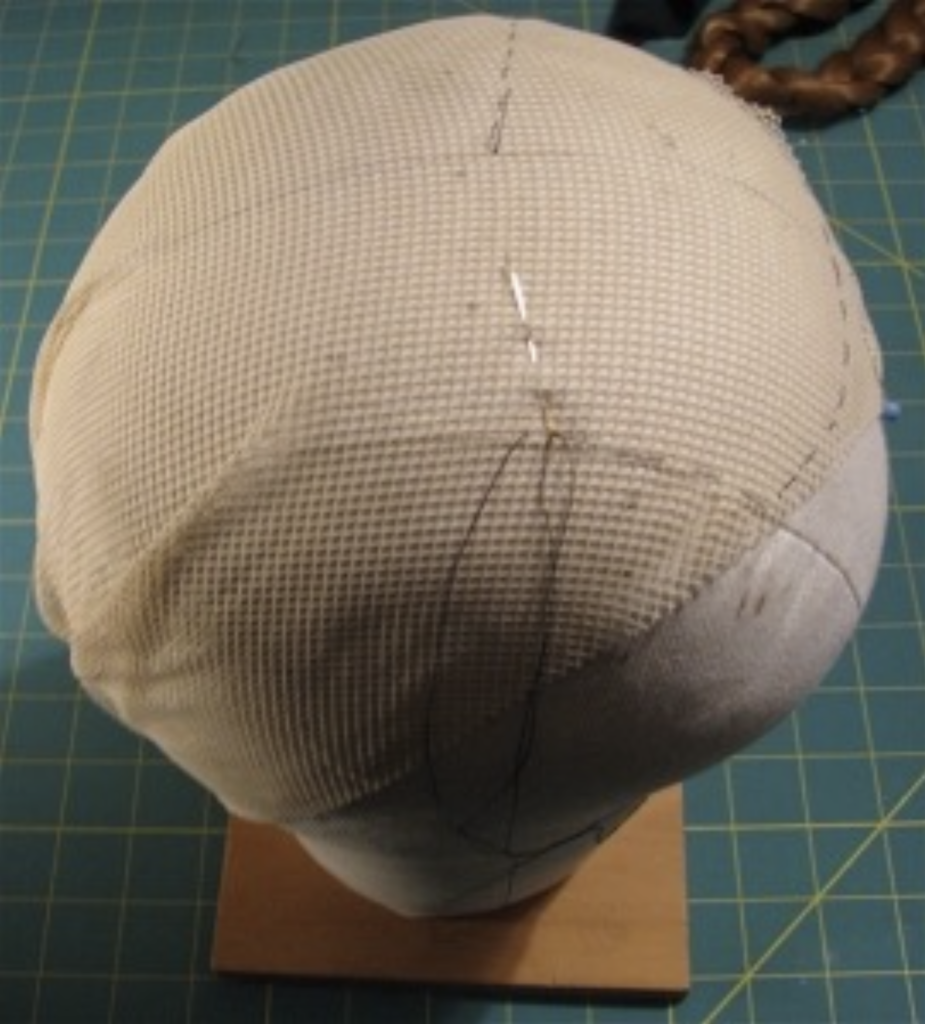
The first step is to slightly stretch and pin the mesh to a head form or shorter chignon block. If you don’t have one, I have a pattern on my site for them.
Then baste the mesh to the form along the edge line of the final bangs.
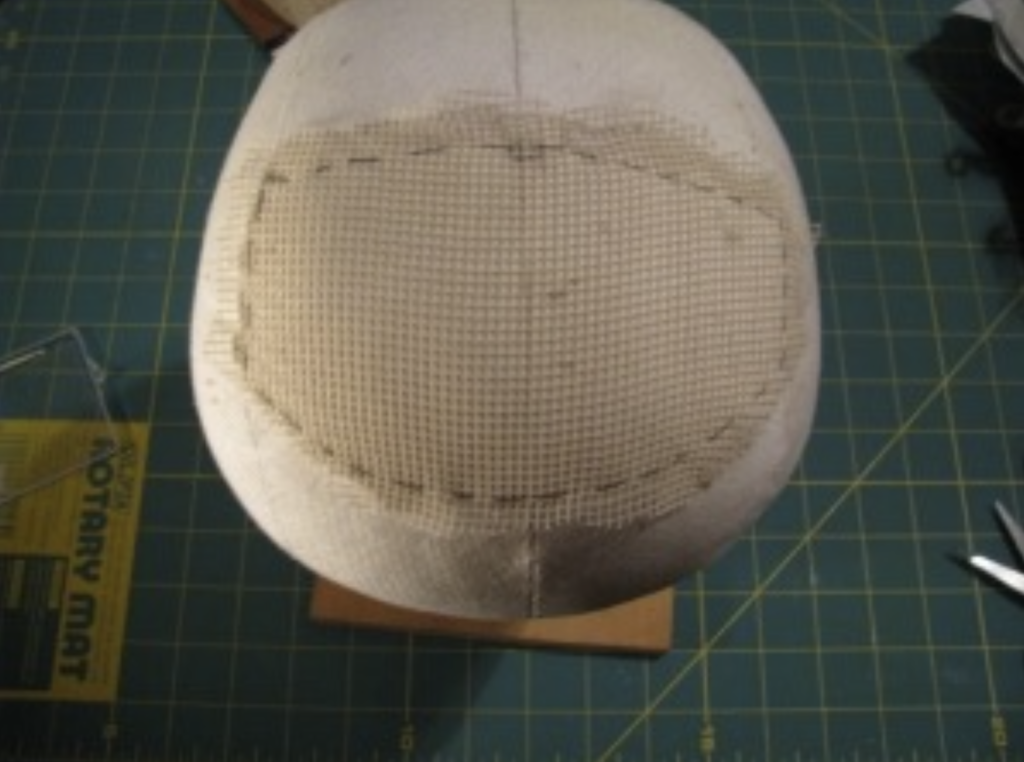
Trim the mesh. For Regency curls you would be something just as wide but about 1/3 the depth. With fewer rows of hair.
Cut off a length of hair twice as long as your bangs need to be, plus extra.
I cut mine 12” (30cm) for a finished, uncurled length of 5” (12.5cm).
Use ribbon or a length of bias to bundle the hair at one end.
Use two stiff brushes to hold the hair at the other end. I used two $4 wig combs, which have metal teeth set far apart.
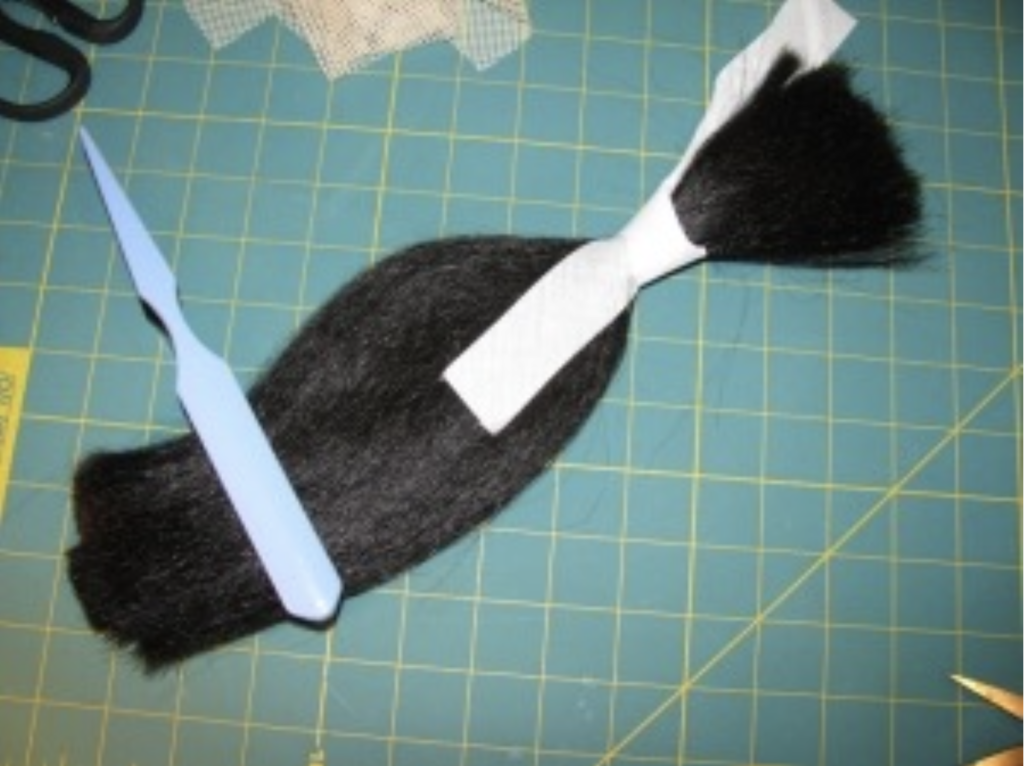
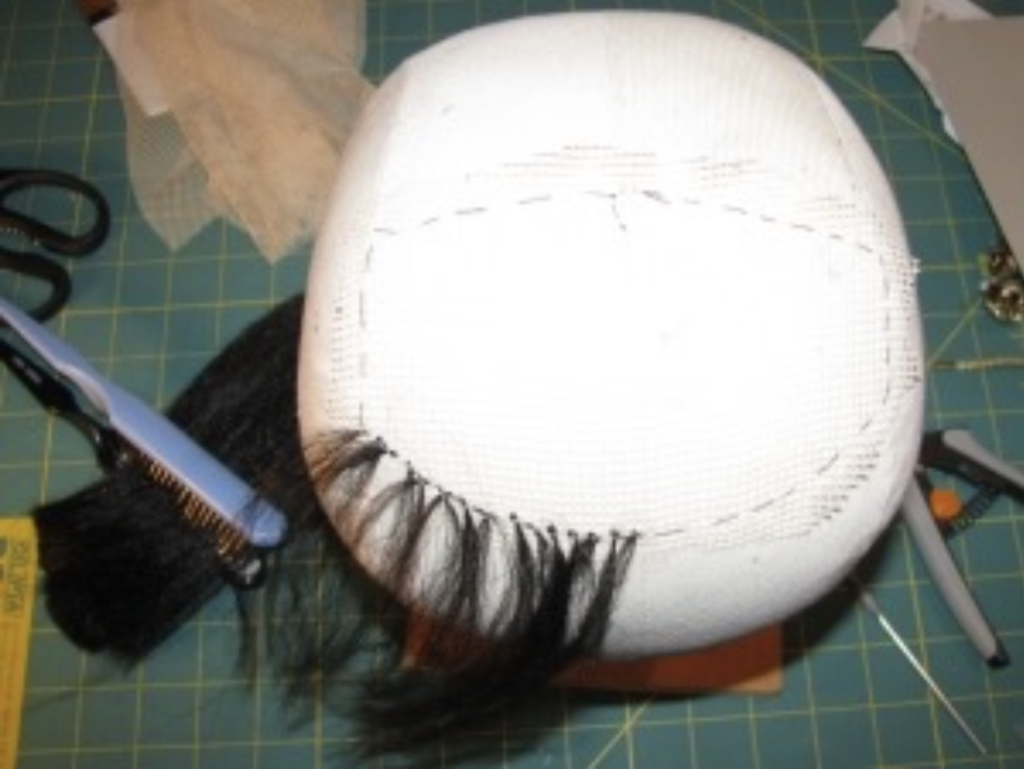
- Slip a small crochet hook (or similar) into one hole of the mesh and come out about into the next. Have the tip of the hook go in only about 1⁄4” (6mm).
- Pull a cluster of 5 to 8 hairs from the bundle and fold it in half, forming a loop on the folded end.
- Use the crochet hook to pull the loop of the hair through the mesh then, use the hook to pull the free ends thru the loop.
- Pull on the free ends of the bundle to tighten the knot.
- Add loops to every other hole along the front edge of the bangs.
Continue adding rows but alternate the spacing every other row.
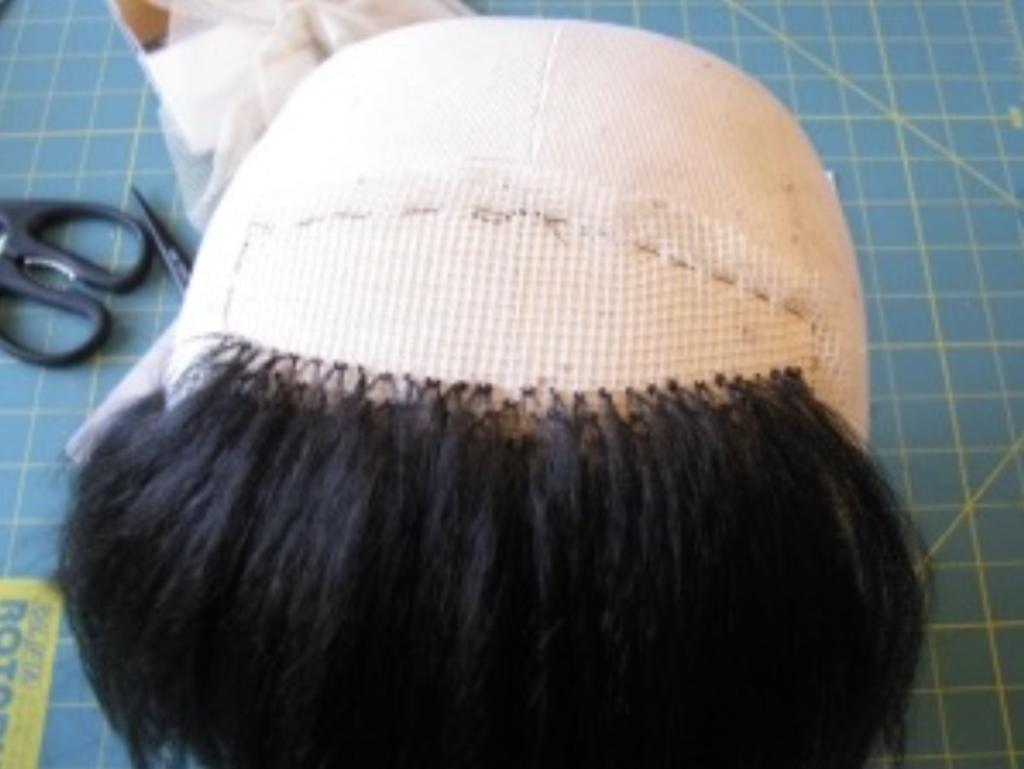
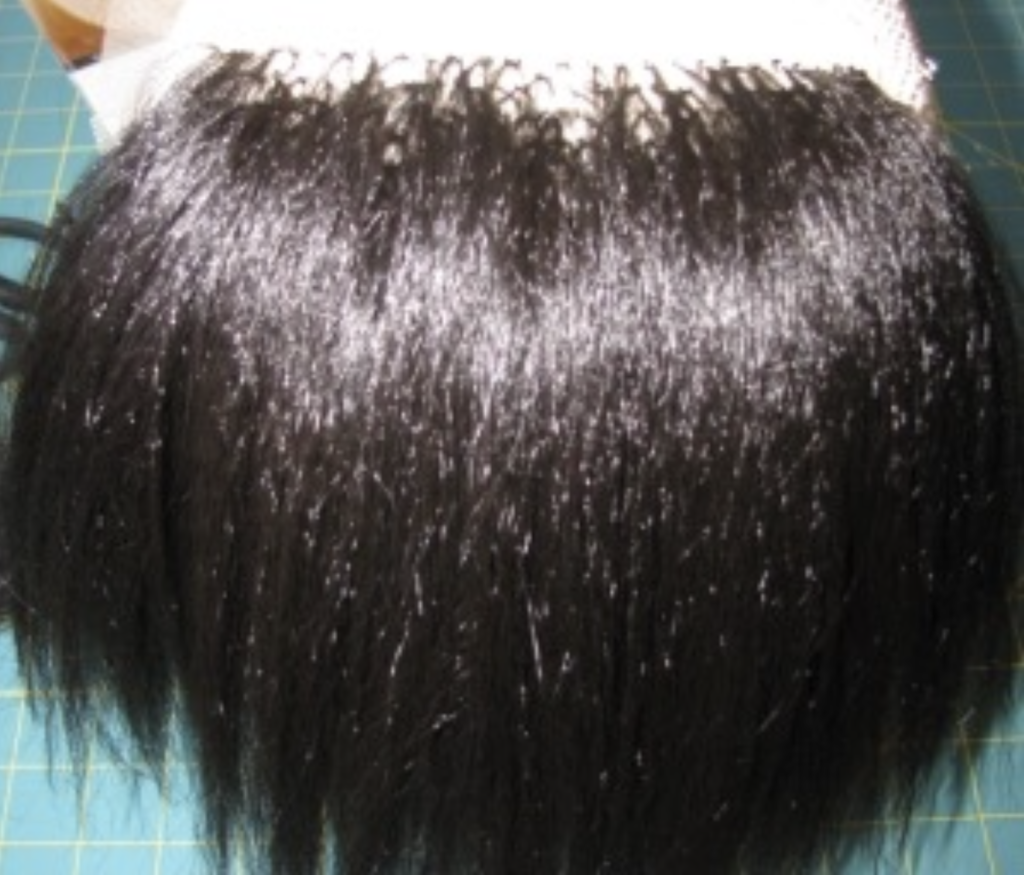
At about an inch and a half (4cm) in I decided I had enough hair, so I filled in the spaces until I had a straight line.
I flipped the head form around and added hair to every other cell to fill in the back row. Since I was coming from the other side, the hair lays down towards the back.
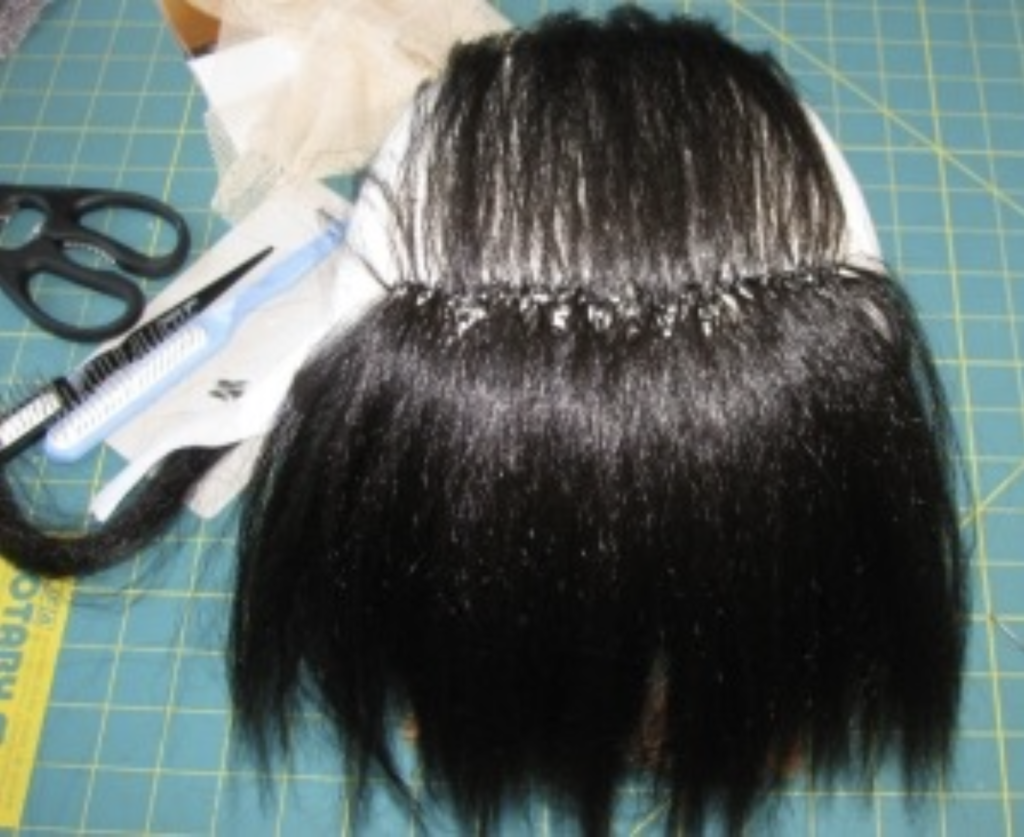
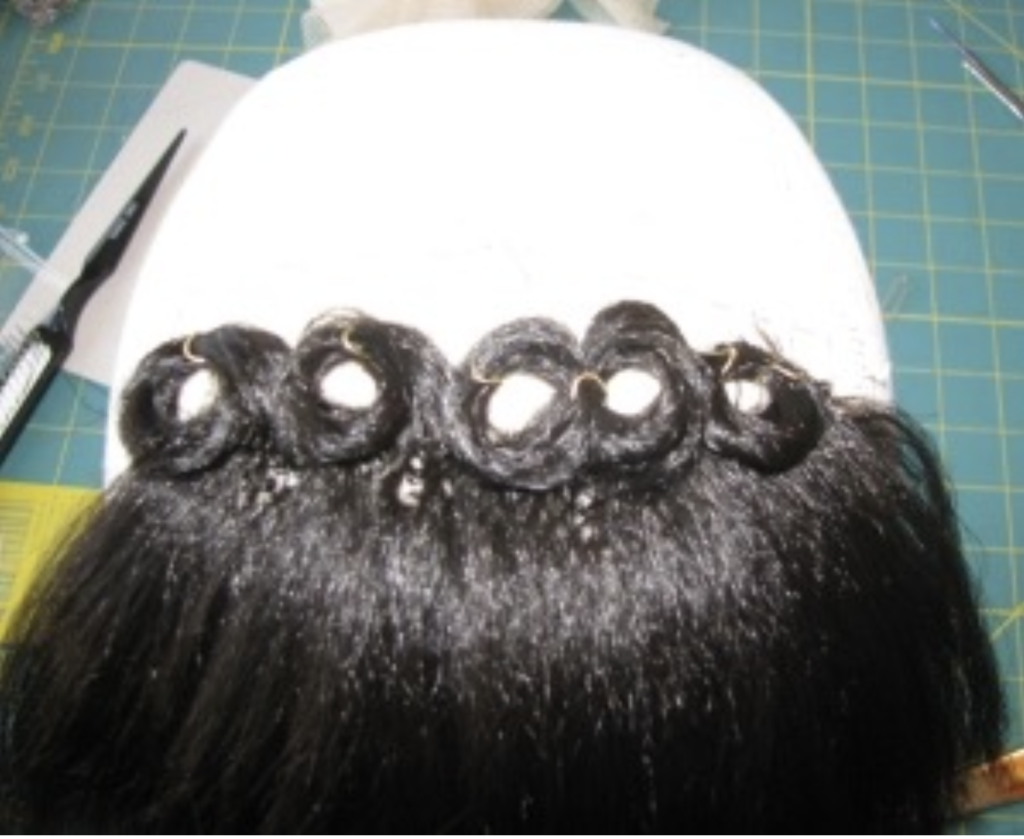
Now it is time for a haircut. I trimmed it to a 5” (12.5cm) length, then I curled the last row (the one I made first).
I added another row of pin curls along with a row of finger curls (on the pink rollers). Below that are four parallel lines of plastic tubing being used to set a wave in the hair that will be right over the forehead. The plastic tubing is 1⁄2″ (13mm) in diameter and the pieces are about 8” (20cm) long.
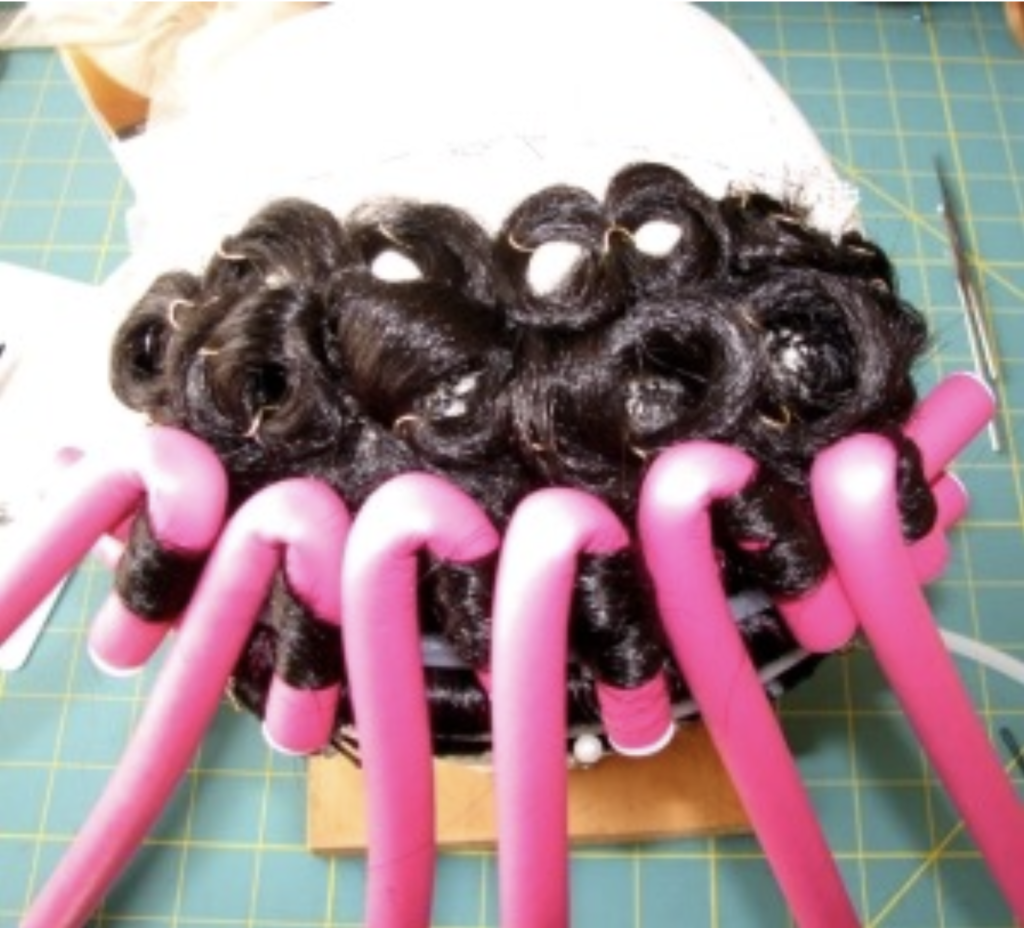
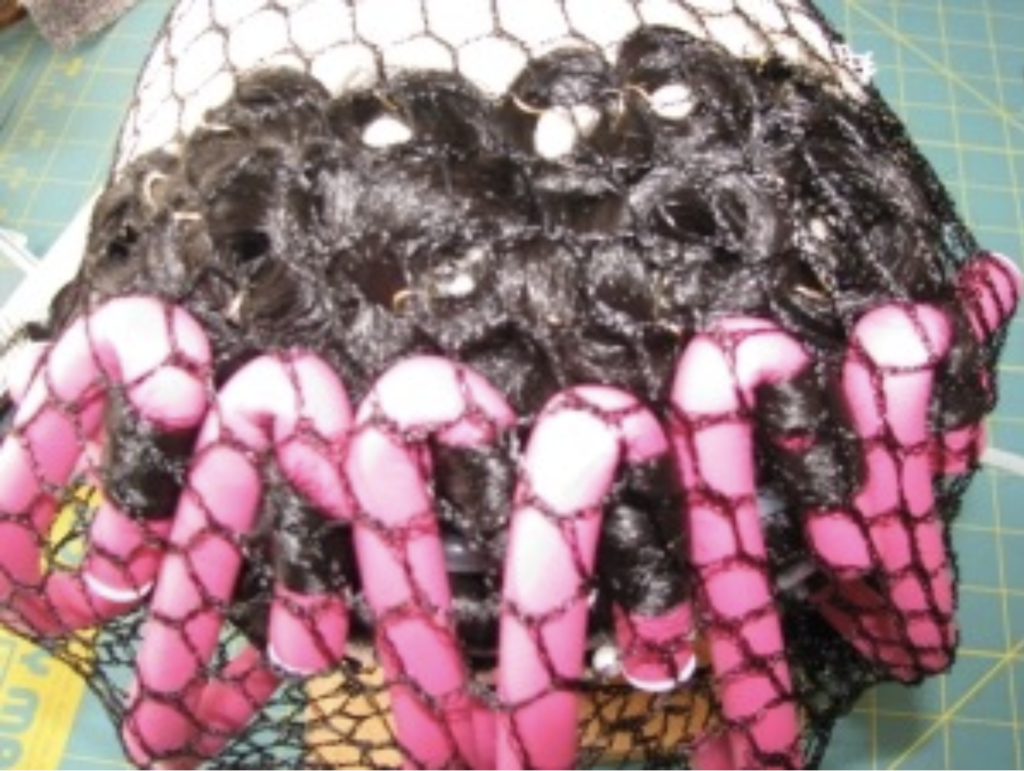
I covered it all with a hair net, placed it in a steam bath for three minutes, and then in the freezer until it was cool.
This is how it looks with the curlers taken out.
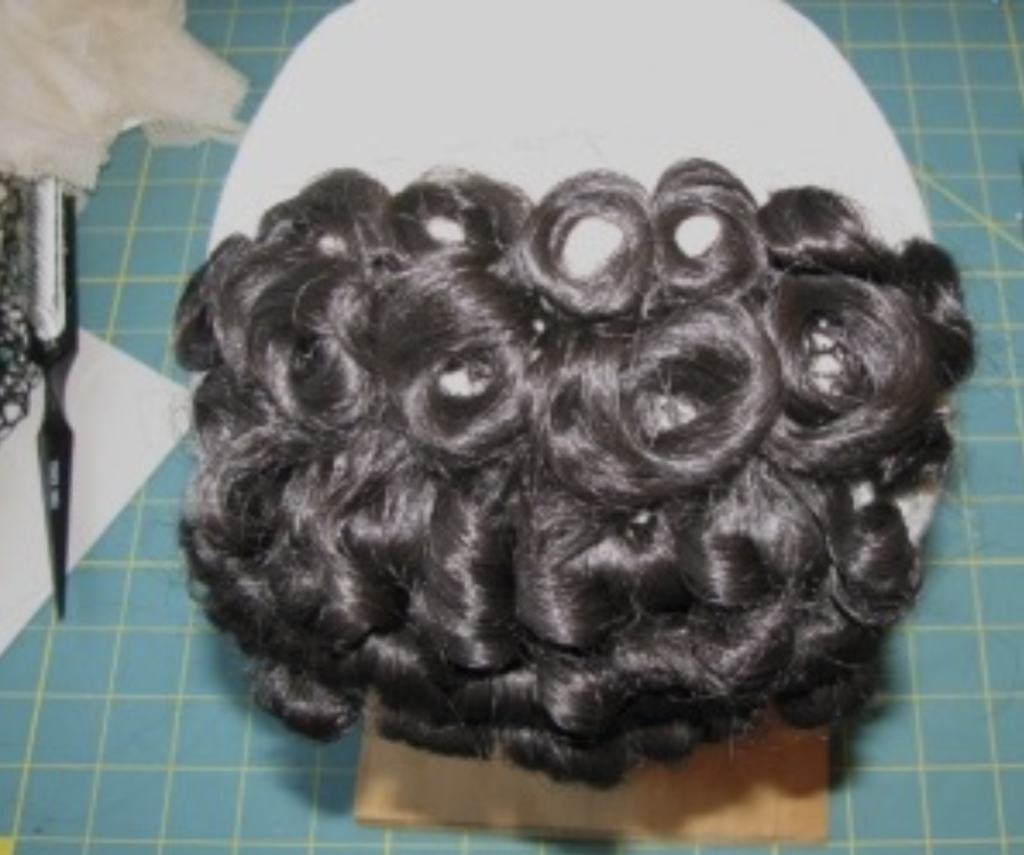
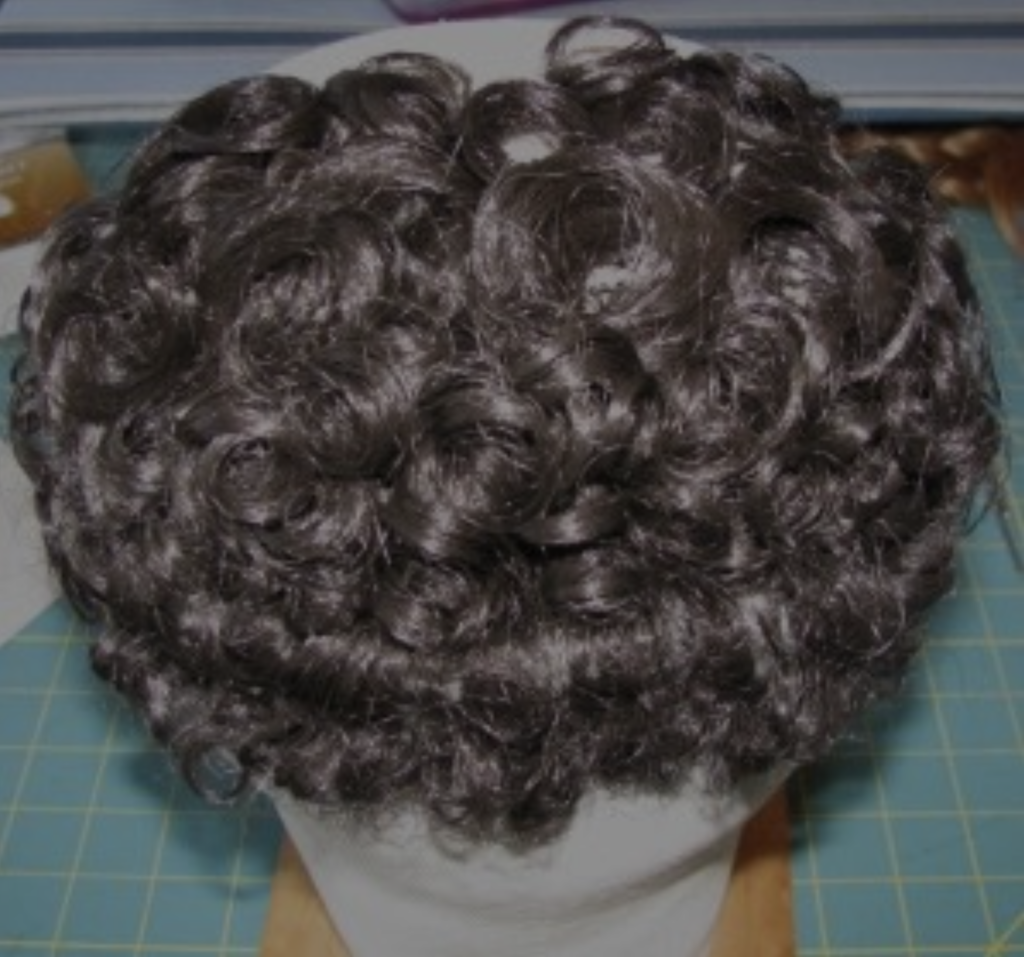
I carefully divided each curl into two.
The extra netting is carefully cut away. After this I used a permanent marker to color the mesh. These can be held on with bobby pins but Toupee clips work much better. You can add one on each end in the long direction.
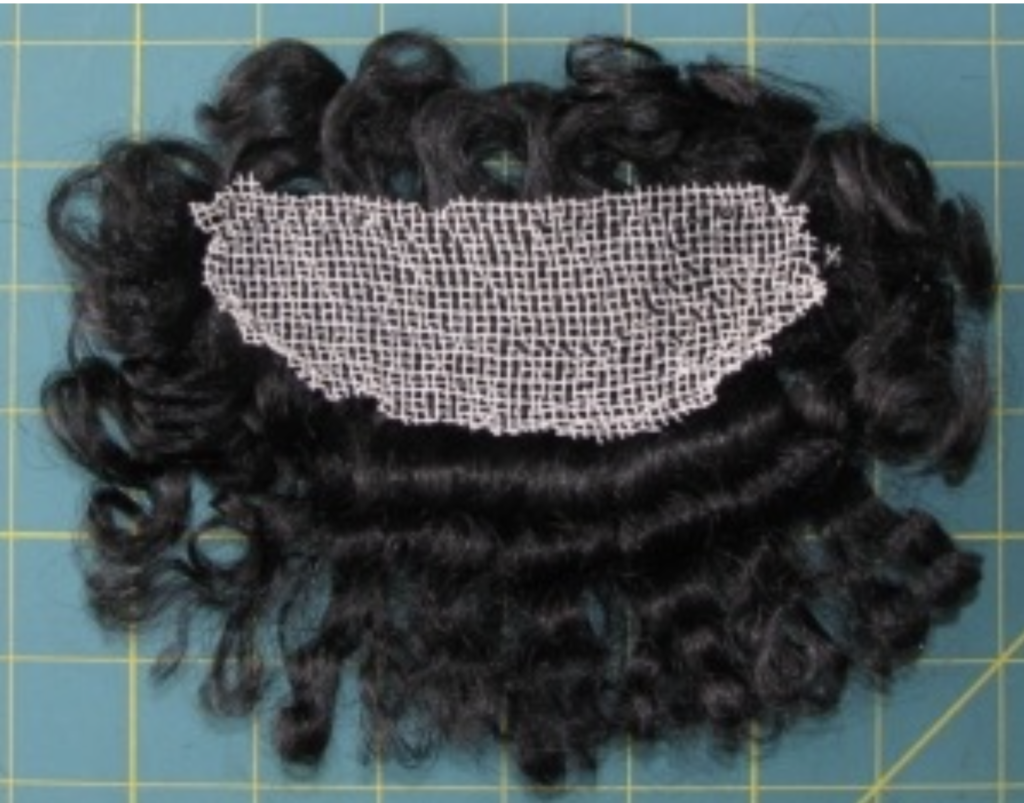
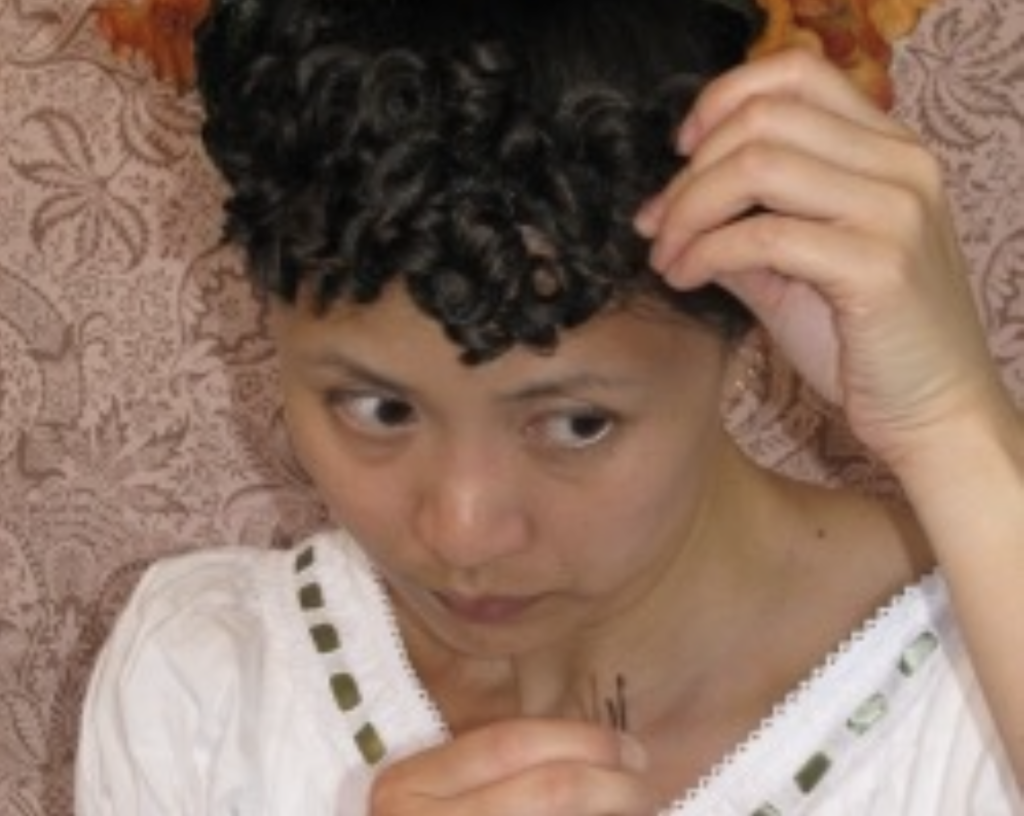
Claudine is using small bobby pins to pin on the curls.
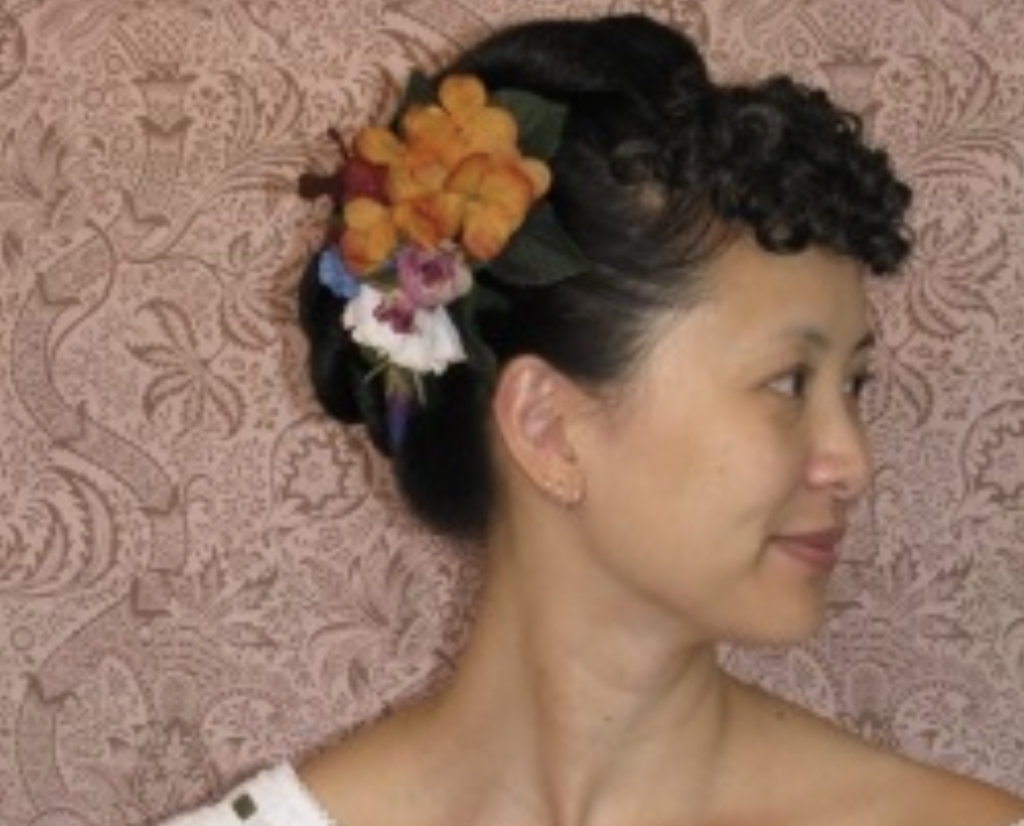
How her Bustle Era hair style looked in the end.