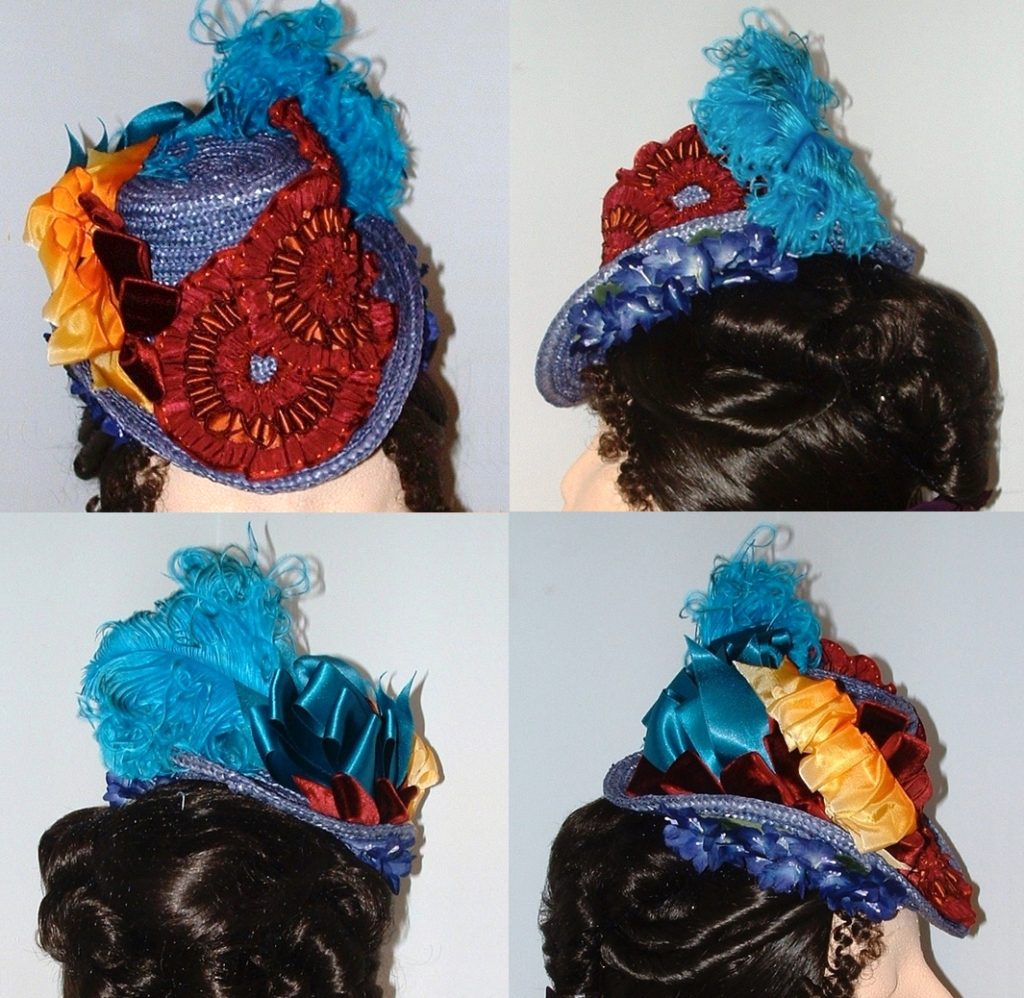
It is a joy sometimes to be able to use a riot of colors. This style of hat from the 1880s puts it right into the time period after the invention of aniline dyes which made very bright colors possible therefor, they became very popular in the “Fashions of the Day.” The period fashion plate that inspired this hat even shows flowers on the under brim, this is how I did it.
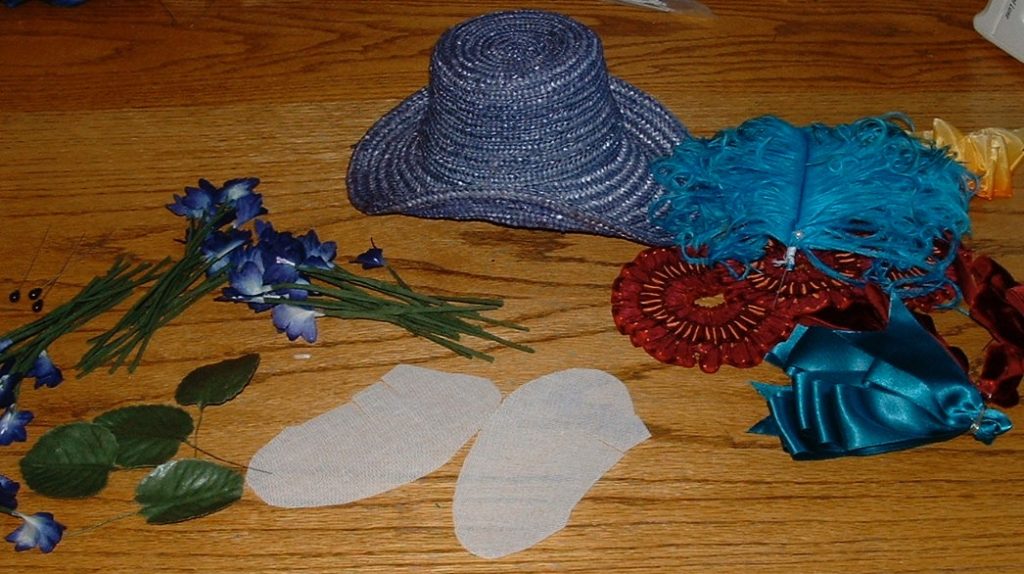
All the bits for decorating the hat, including two pieces of crinoline cut into the shape of area of flowers I want.
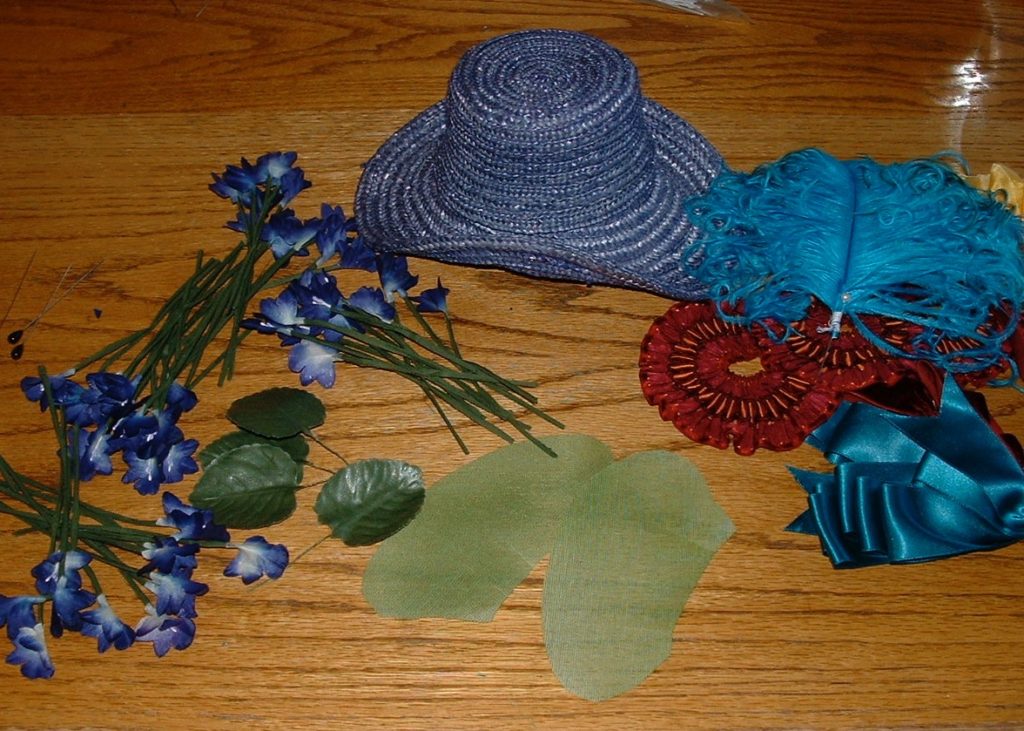
I colored the buckram green to match the leaves.
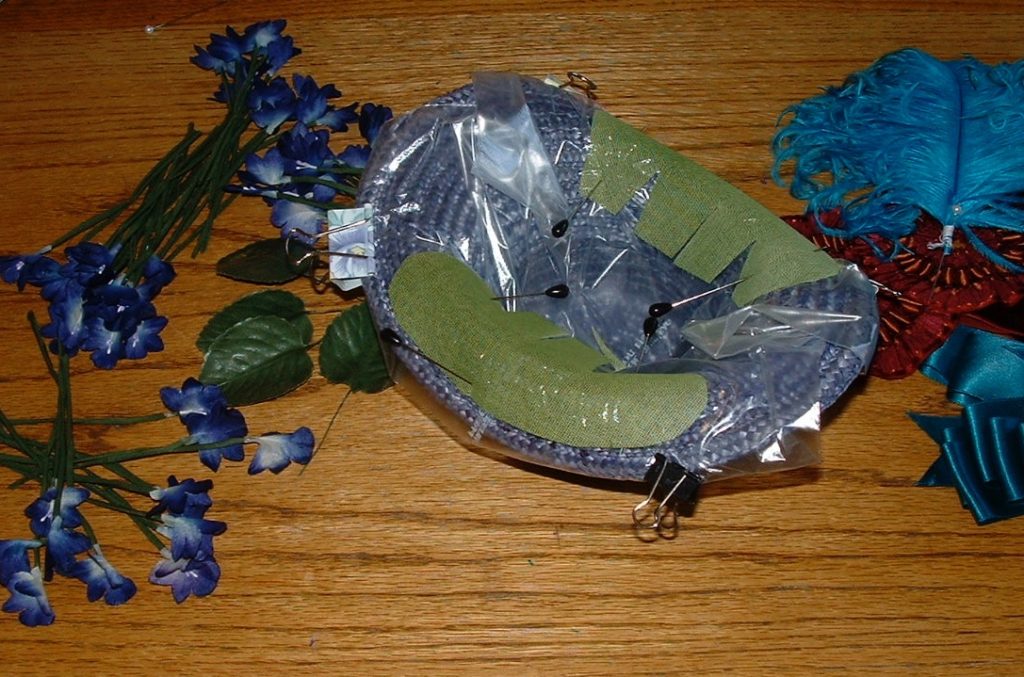
I covered the underbrim of the hat with plastic wrap and clipped and steam shaped the crinoline pads.
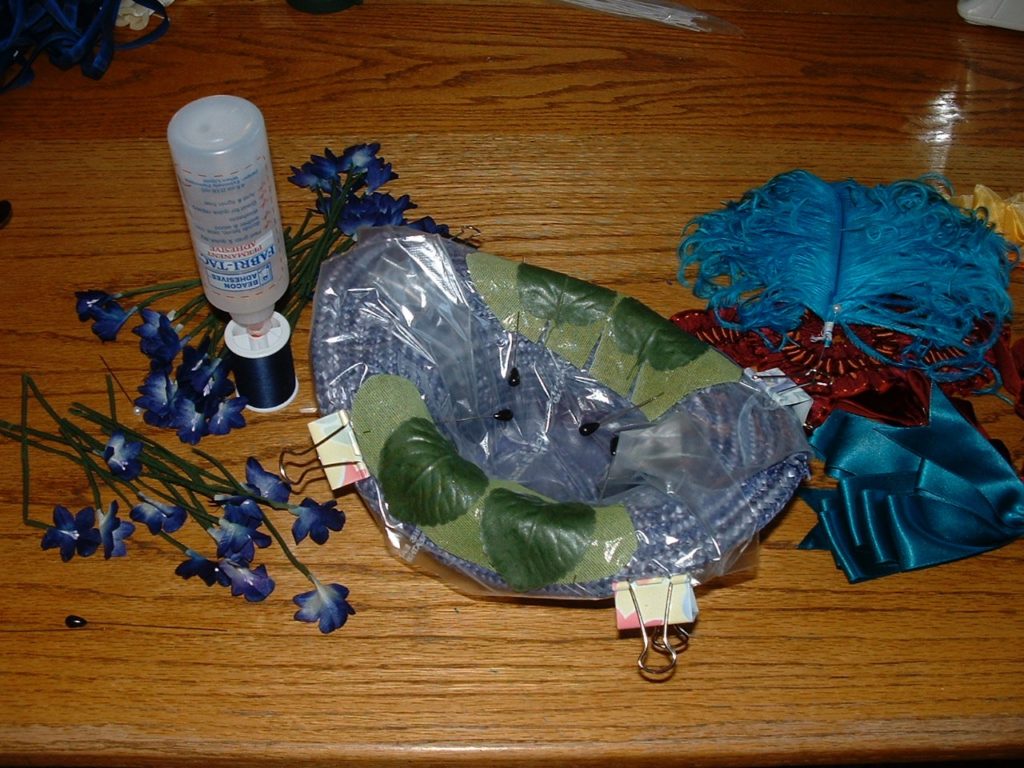
I started by adding the flat leave as a base. I like a permanent but always flexible glue like Beacon’s Fabri-tac®.

Then added two or three flowers between the leaves.
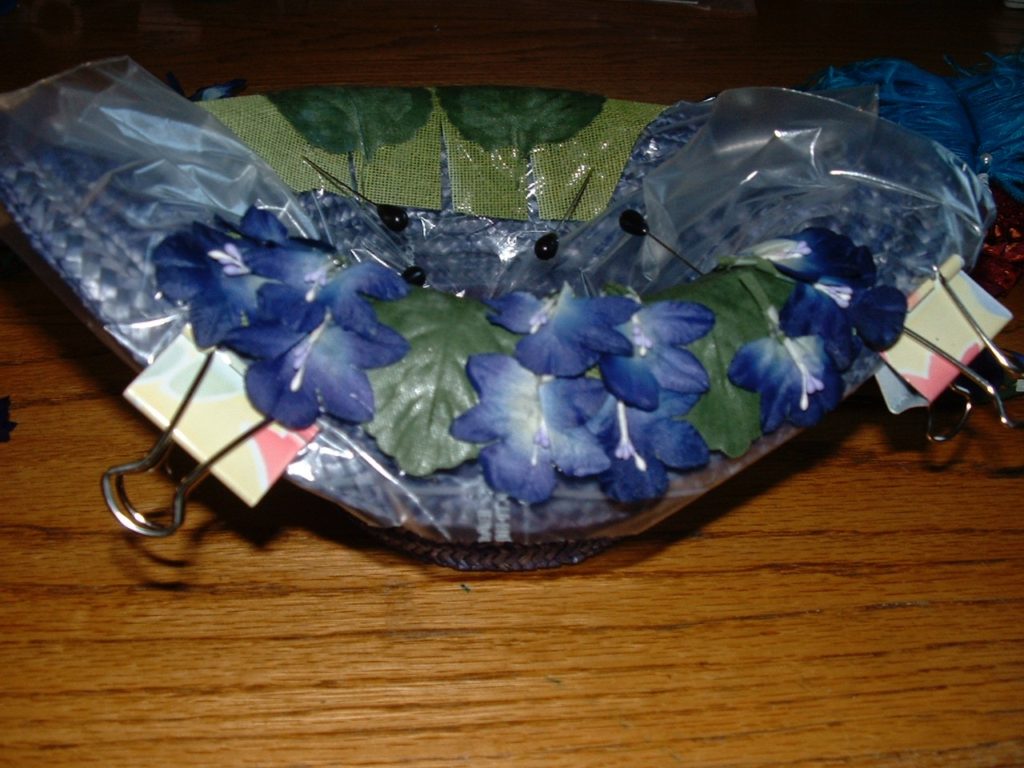
I added three to cover the other side.
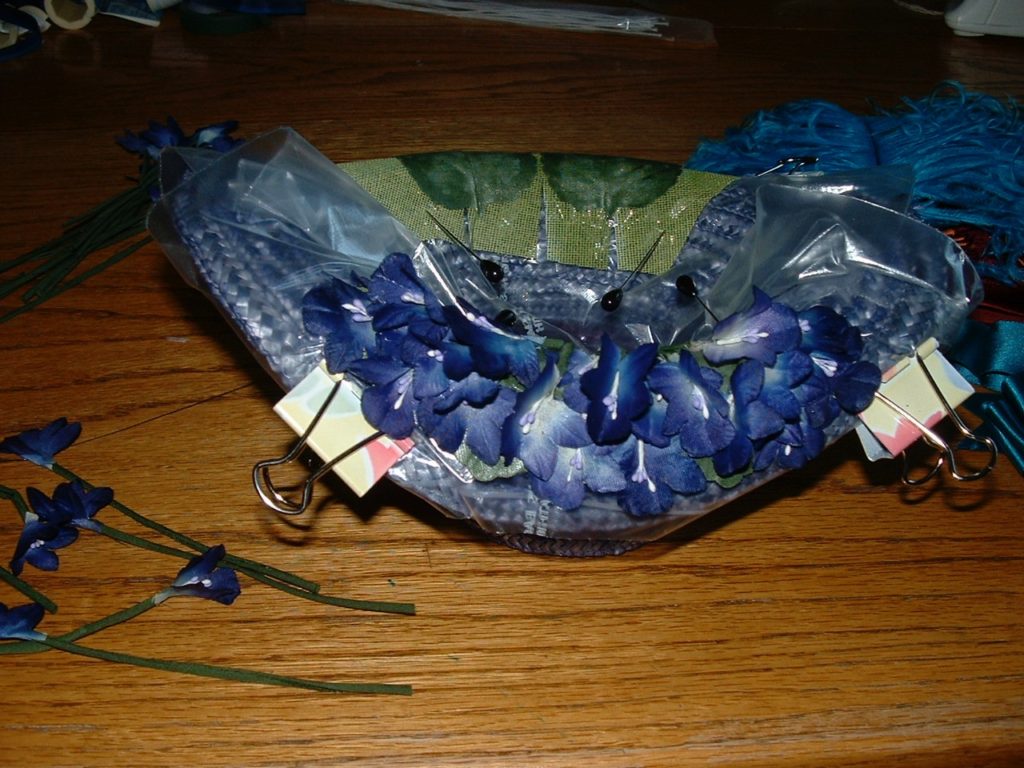
I added a few more making sure that just a small amount of the leaf showed.

I turned the hat around to do the other side.

Second side in progress.
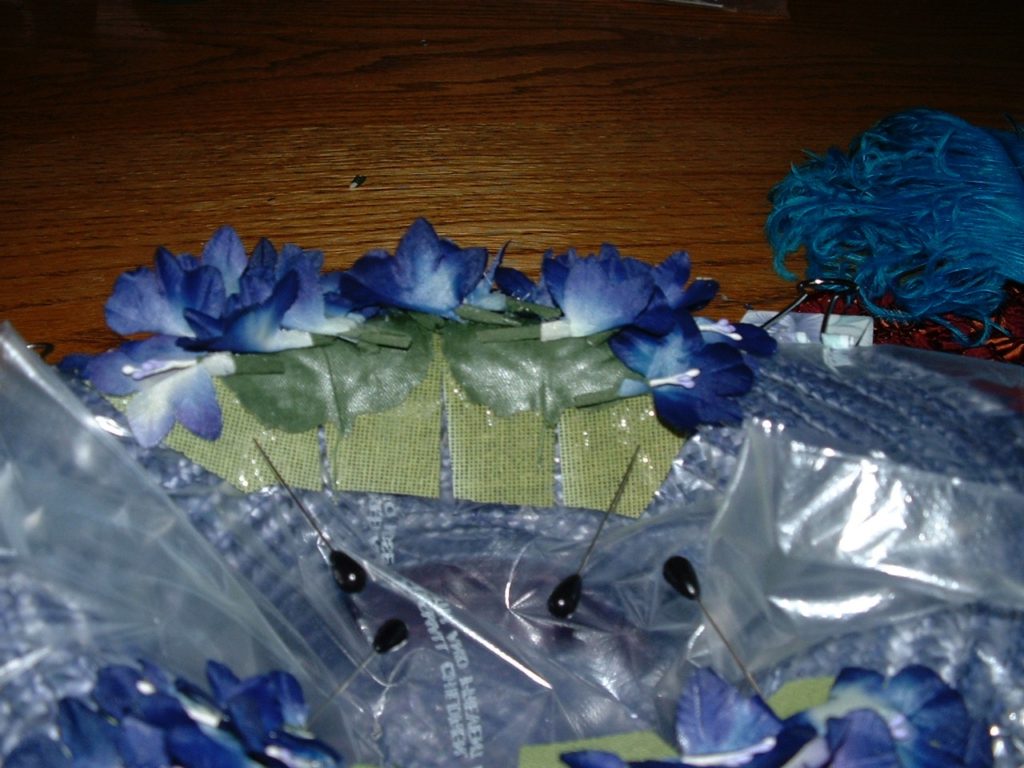
Time to un-pin the pads.
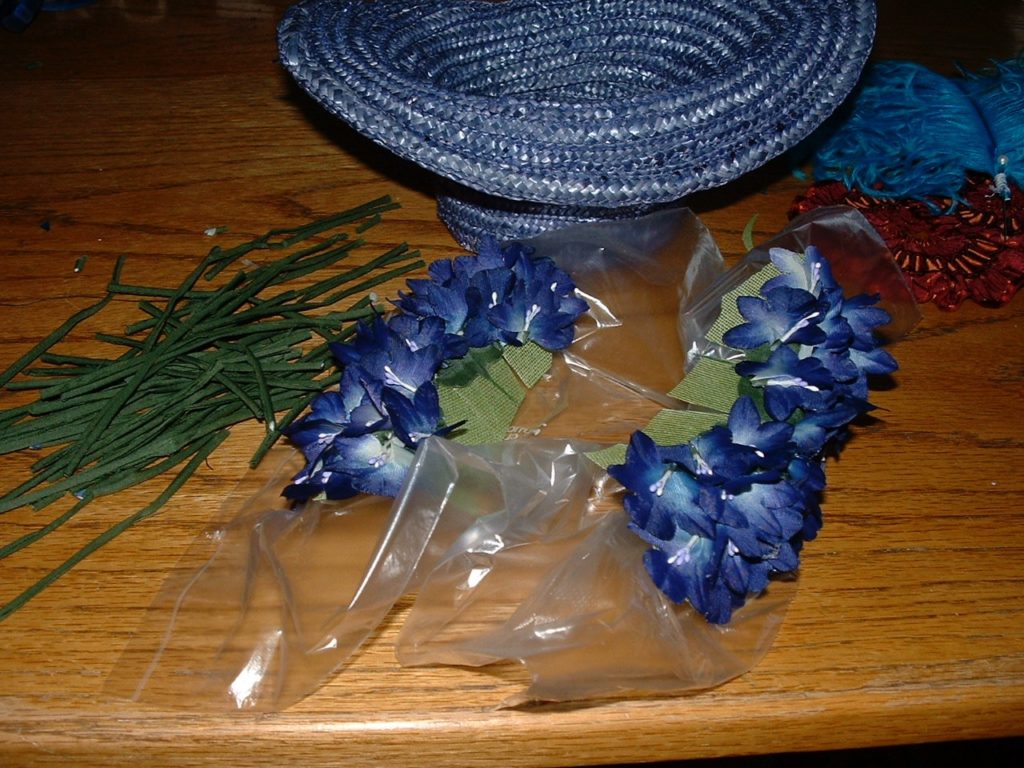
And pull them off the hat. As you can see I just had a stack of stems left, I used all of the flowers.
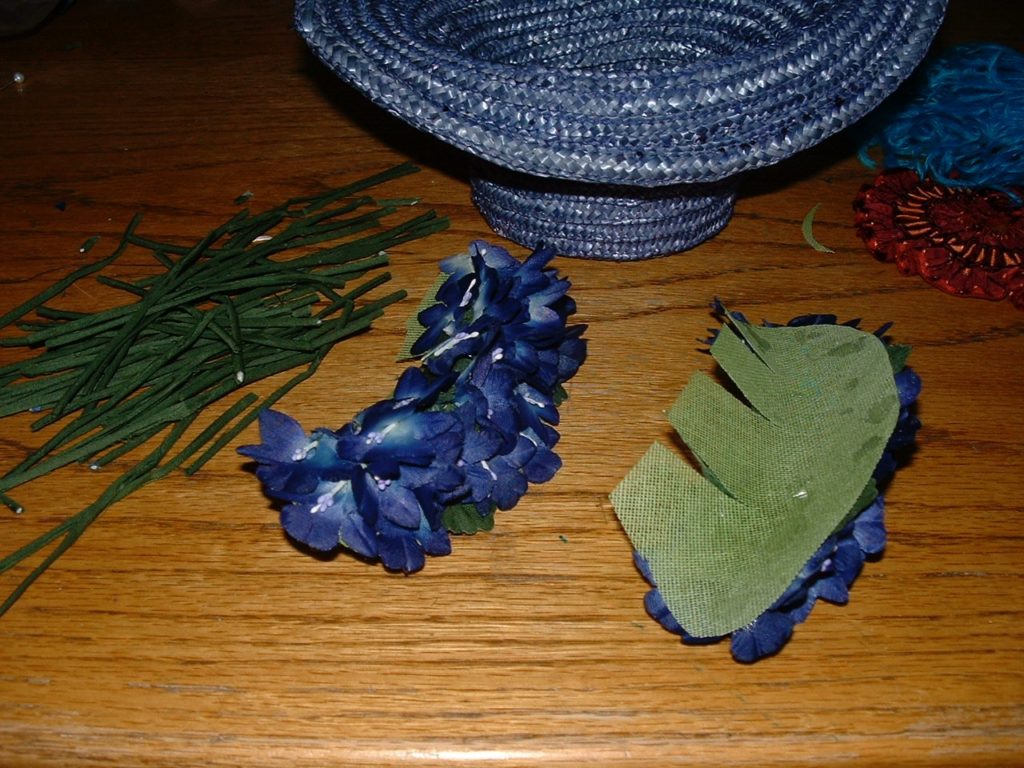
I pulled off the plastic.
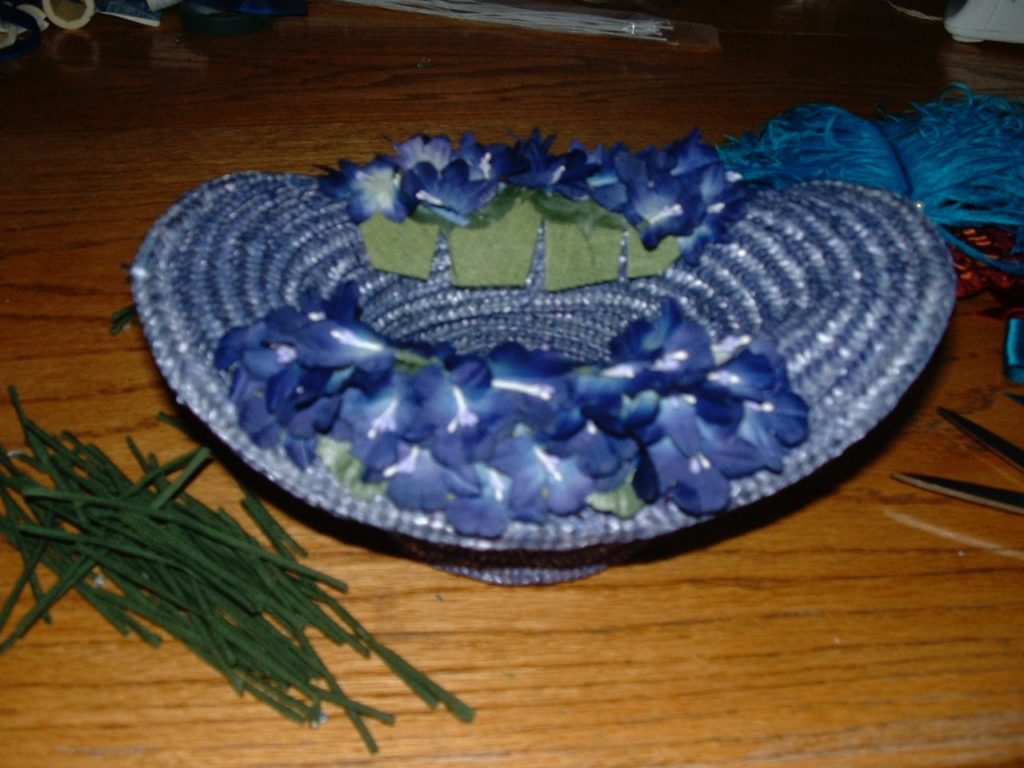
Any crinoline that shows can be trimmed back and now the pads with flowers can be tack stitched to the brim.
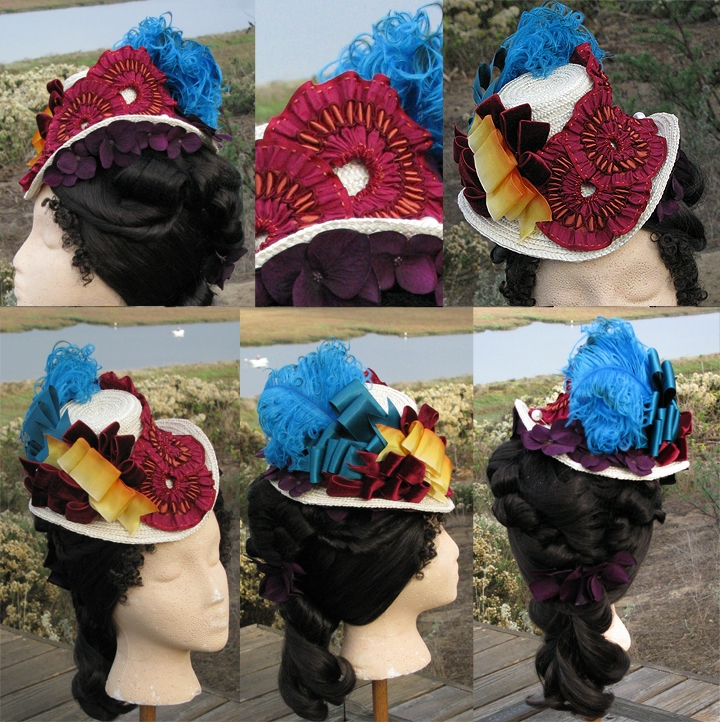
Folks ask about the red ribbon decorations. They were made by cartridge pleating some decorative ribbon. I pulled the edge gathering thread as tight as possible. I think the center one was a full circle but the other two are 3/4 circles.
Hi,
I’m interested to know if you used a liquid dying method to turn the base green or if you used a “paint” or “maker”. I know very little about dying things.
Congratulations on your milestone number of followers.
TY,
Laurie
Spray. You can’t get crinoline wet as it will take out the stiffening out.
So creative! It is always so difficult to sew flowers under the brim and this is brilliant. And the color flowers can be changed easily too! Thank you for sharing!!
That is BRILLIANT! I knew to tack the flowers to the hat, INDIVIDUALLY. A tedious thing to do. Creating a Curved PAD of flowers~Wonderful.
Wonderful! I want to try this.
I love the vibrant colors!
This is a clear step by step method to making this underbrim millinery decoration. Now, I want to make a highly decorated hat to go with my all black outfit.
I am curious about the straw hat. How did you make that classic 1880’s shape?
Thank you for the well researched, tested and step by step tutorials.
Jill, I sewed and blocked it. It’s in my Bustle Era Hat pattern.
Please add my name to your giveaway! Lets push those numbers up!
So, did you use spray paint or spray dye?
I’m wondering if permanent marking pens might work.
Brilliant solution, btw 😊
Brilliant! I think this is going to solve more than just under brim problems, I’ve had issues with getting sprays to stay on the crown as well, making a pad to sew them to and then tacking it on seems obvious in hindsight. Tytyty and congrats!
Yes, it can be used for all sorts of different additions.
This is a really smart technique! So much better than hot glue!