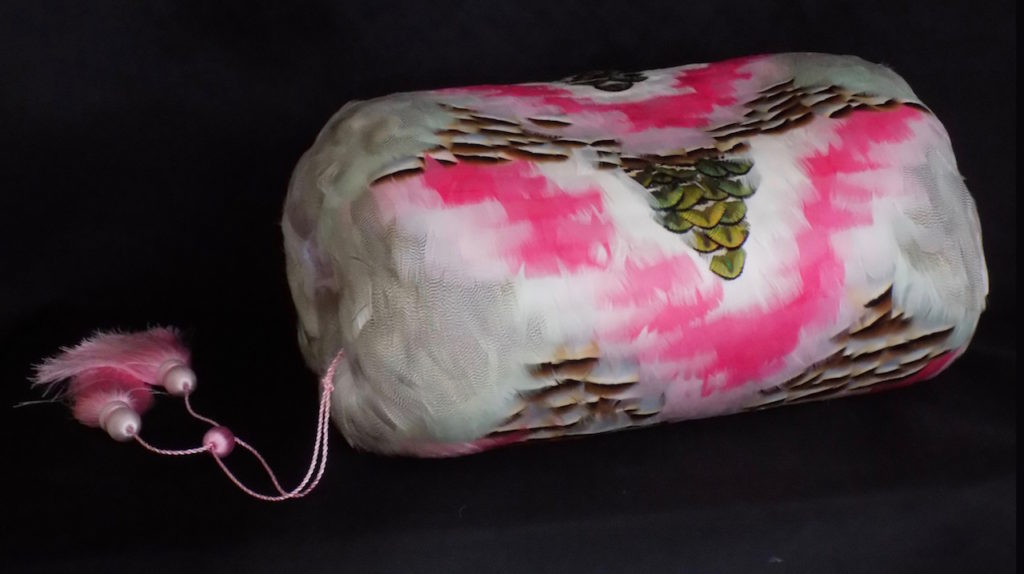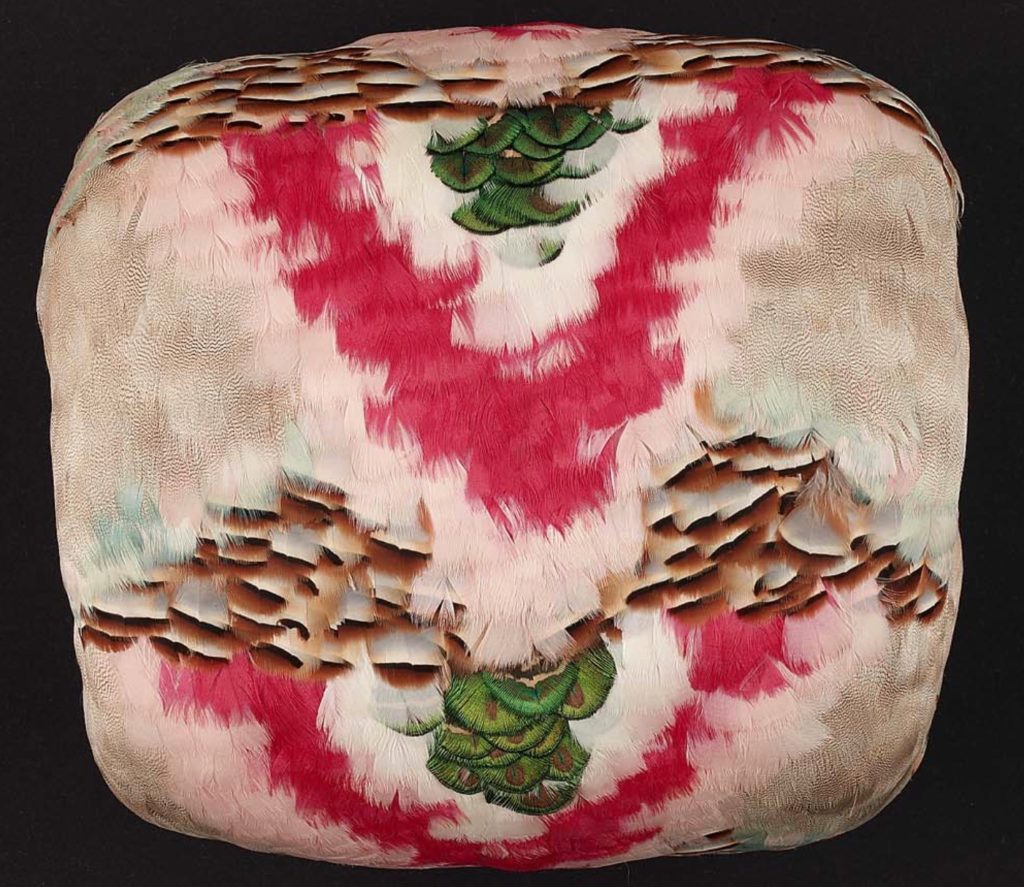
Extant European Muff from the Museum of Fine Arts Boston. I spent lots of time studying this picture trying to figure out what feathers were used and the layout.
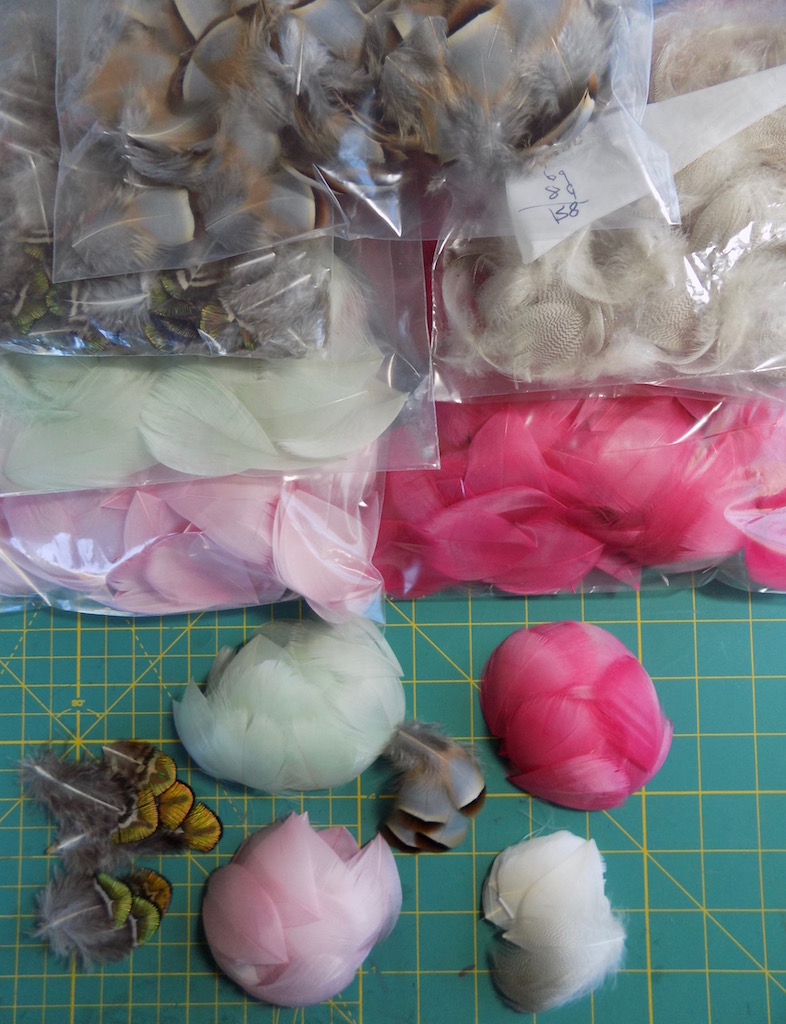
There were 4 species of birds on this muff. Goose shoulder feathers, Peacock body feathers, Partridge body feathers (both left and right) and Mallard plumage.
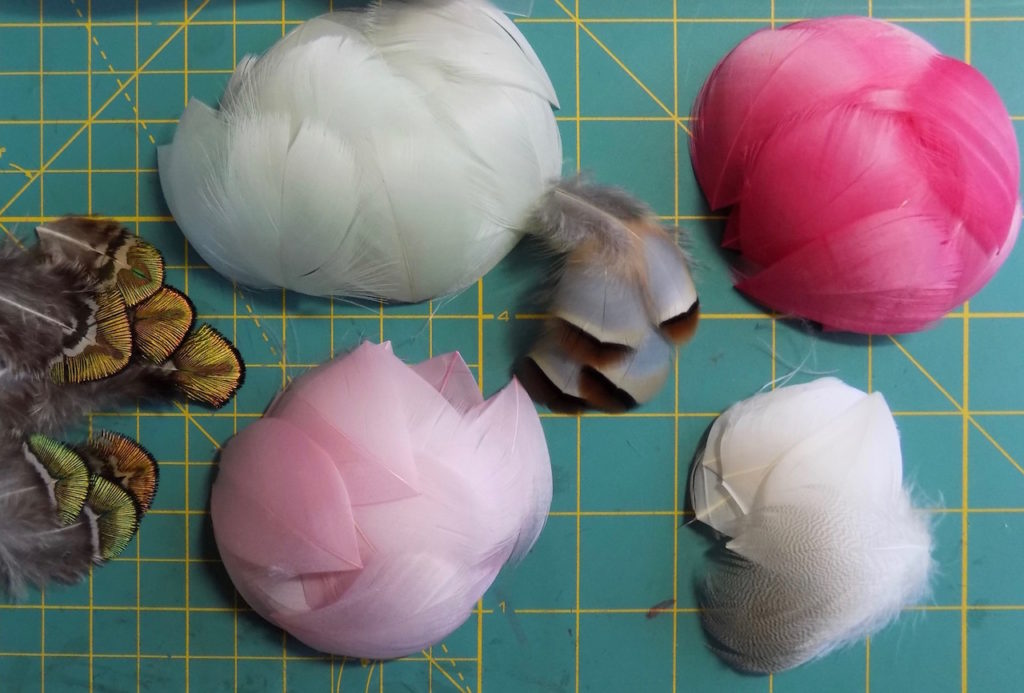
All the feathers needed to be sorted and cut to a 2″ length.
This project was done to test if a hand sewn technique would match a machine sewn technique as much as to make the object. I patterned the muff with color coated circles for each type of feather and its position. The hand sewn 1/2 of the muff was broken down into two sections so Steph could get her hands around the fabric and I left the machine sewn 1/2 in one piece.
Hand sewn 1/2
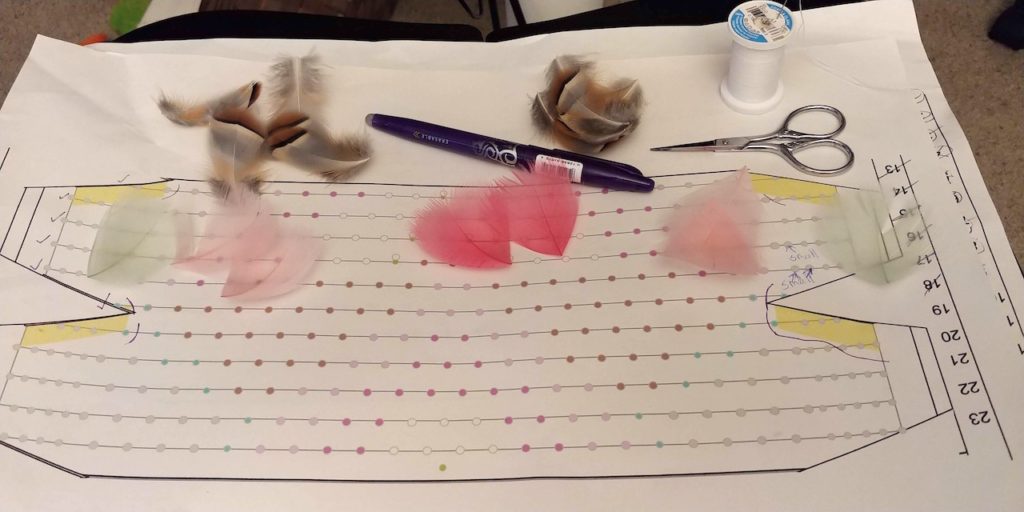
This is one of the hand sewn patterns. The dots were marked onto the fabric and Steph looked at the color key as she added feathers. The yellow areas are where feathers have to be hand sewn on after the darts are added later.
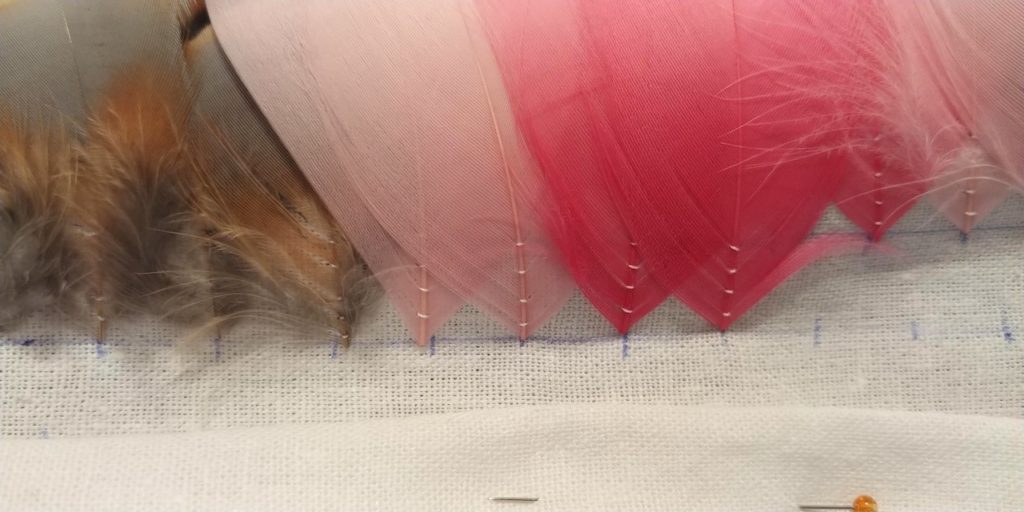
This is a close up of the stitches she used. She adds 4 very small stitches along the stem on every feather. We both used a heavy course linen as a backing fabric.
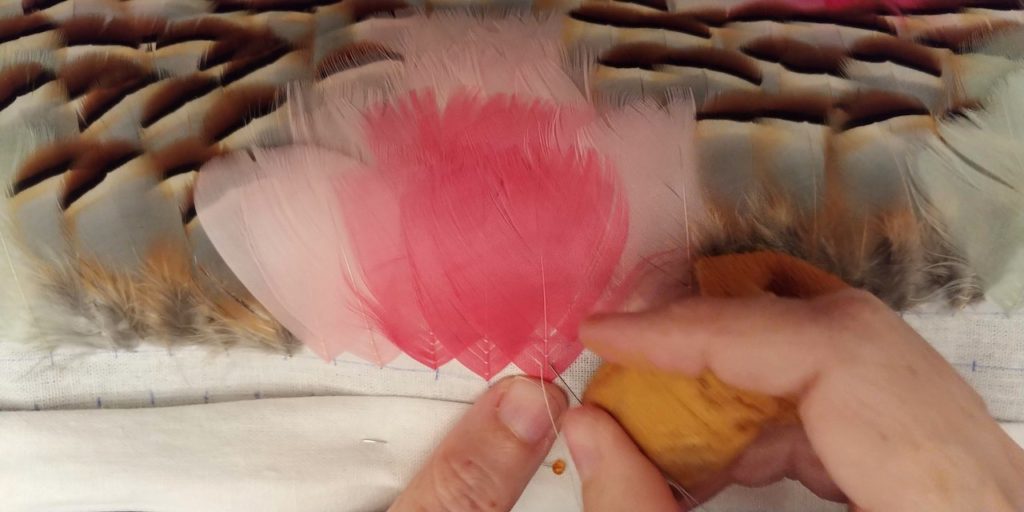
Adding feathers after lots of rows.
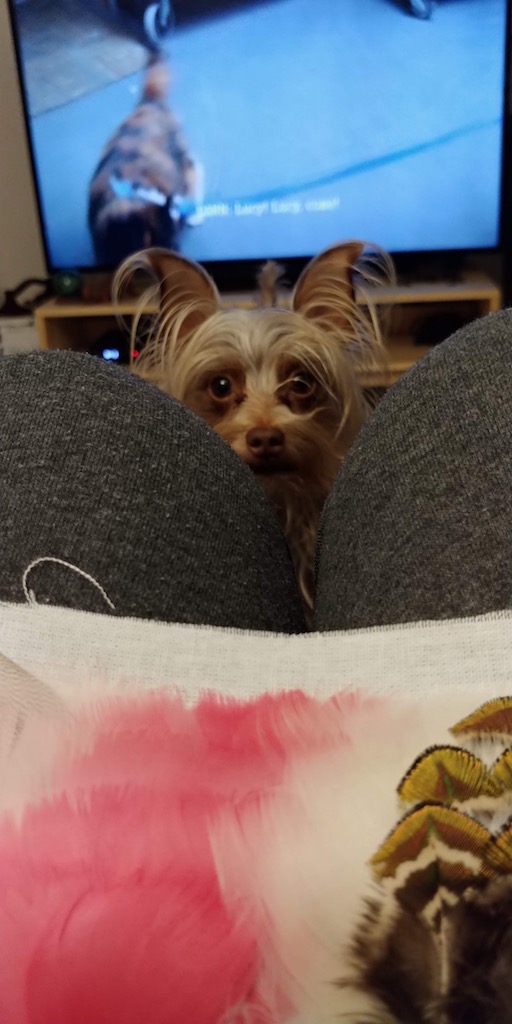
Sewing feathers is more interesting to dogs than cat videos.
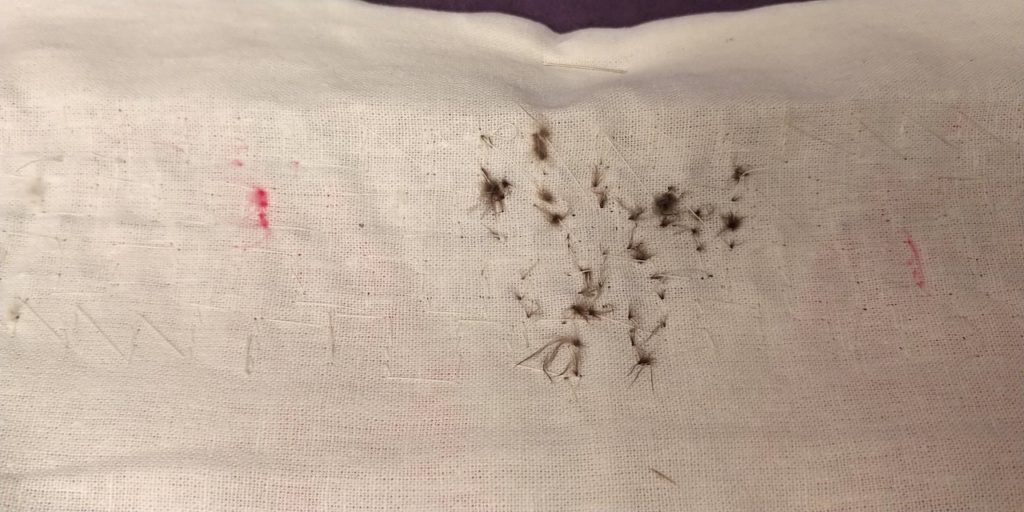
Stitches from the back.
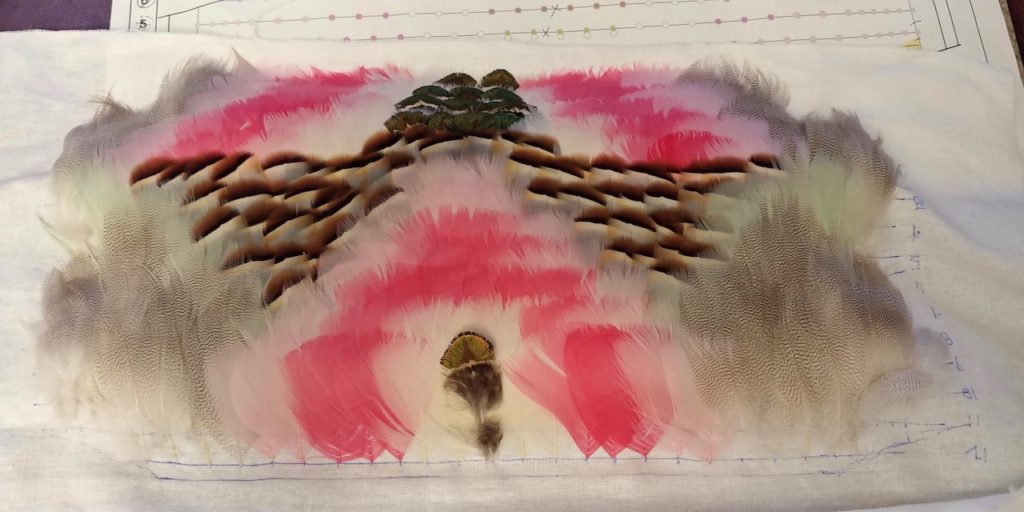
one 1/4 done.
On to the machine sewn 1/2
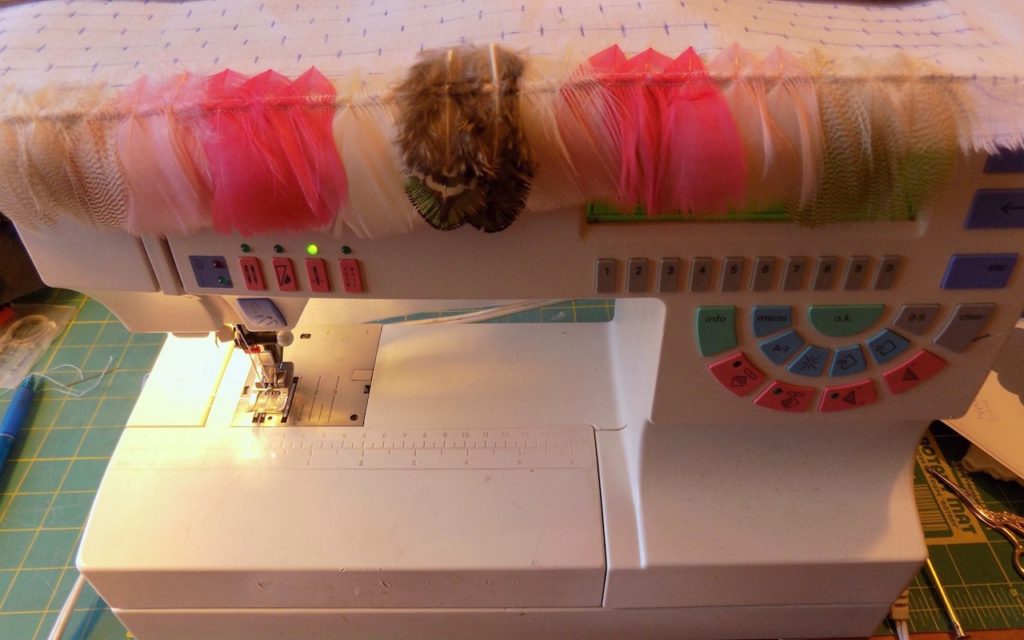
First row on the machine. I used a zig-zag stitch over the line one back from the cut ends of the feathers.
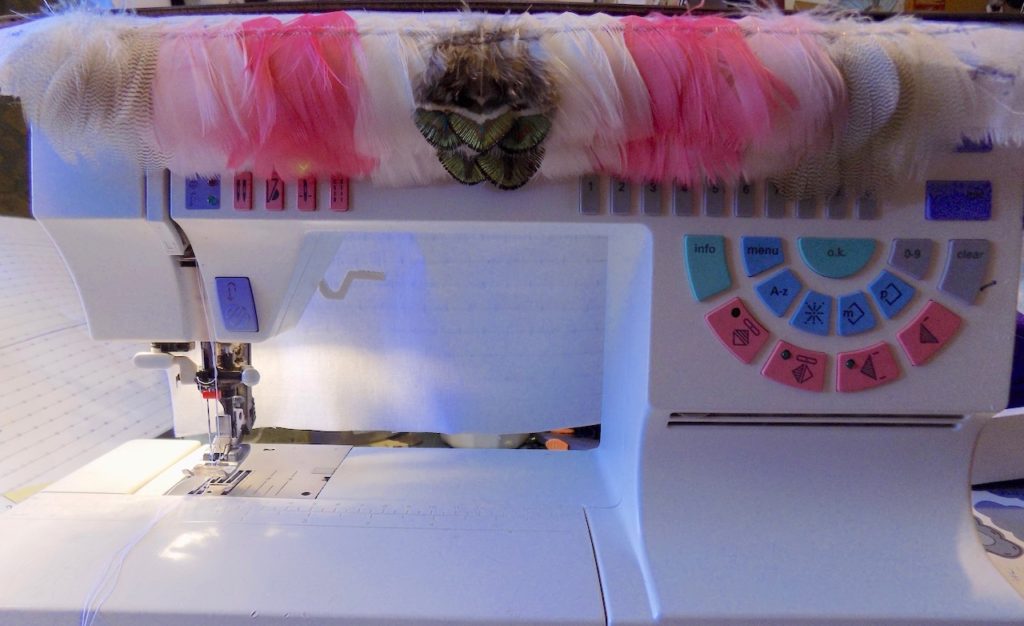
Second row added.
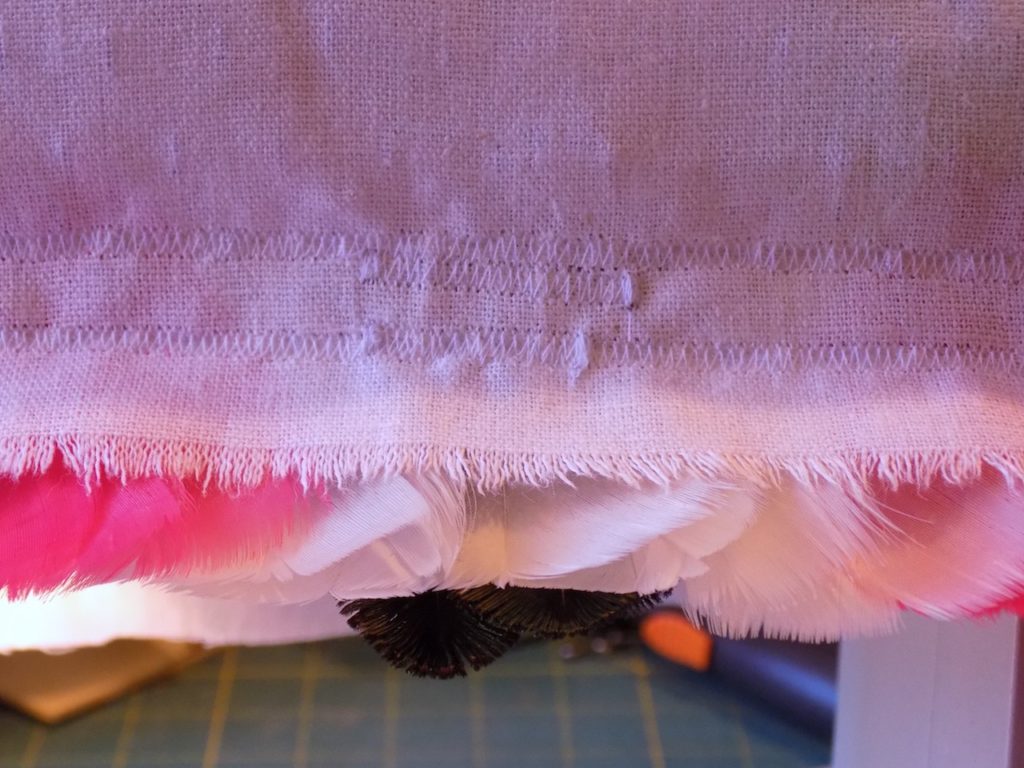
I had to add a line of stitching for the peacock feathers because they were shorter than 2″.
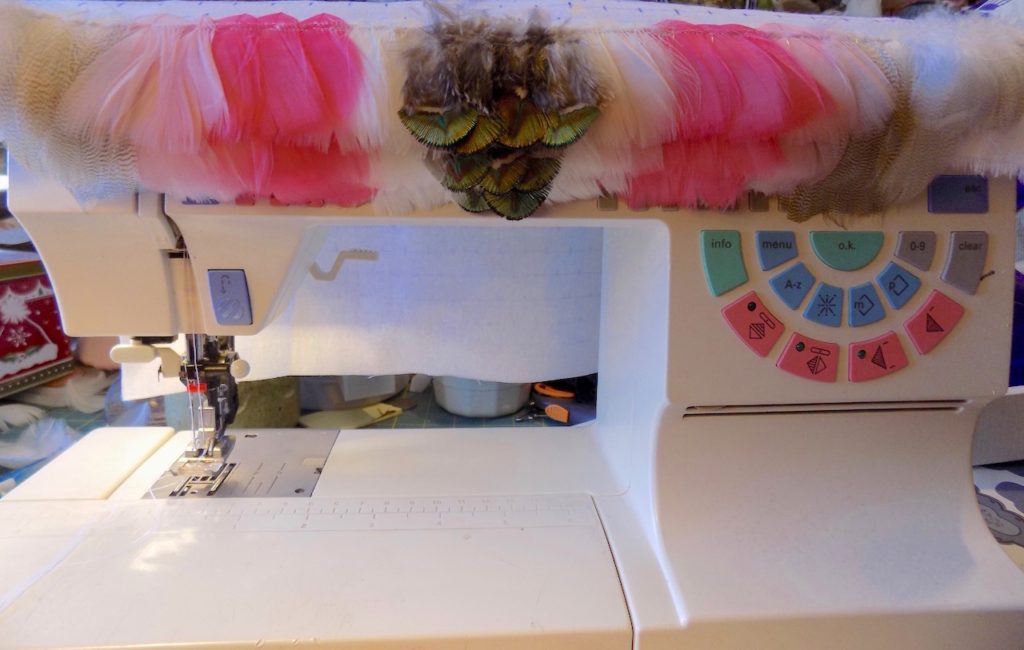
Three rows, the peacock feather needed to be added over plain white goose feathers because they were so narrow.
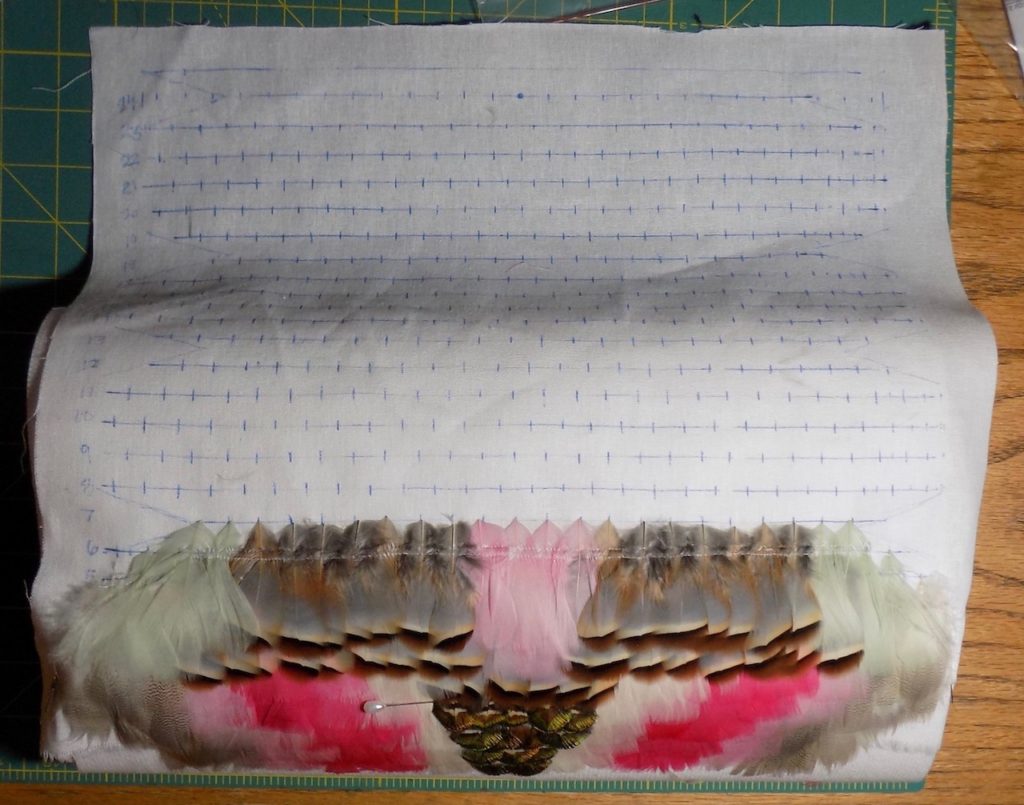
This is after about 5 rows you can see how much I had left to sew. You can also see the empty areas which will in the end be inside the darts that form the side walls.
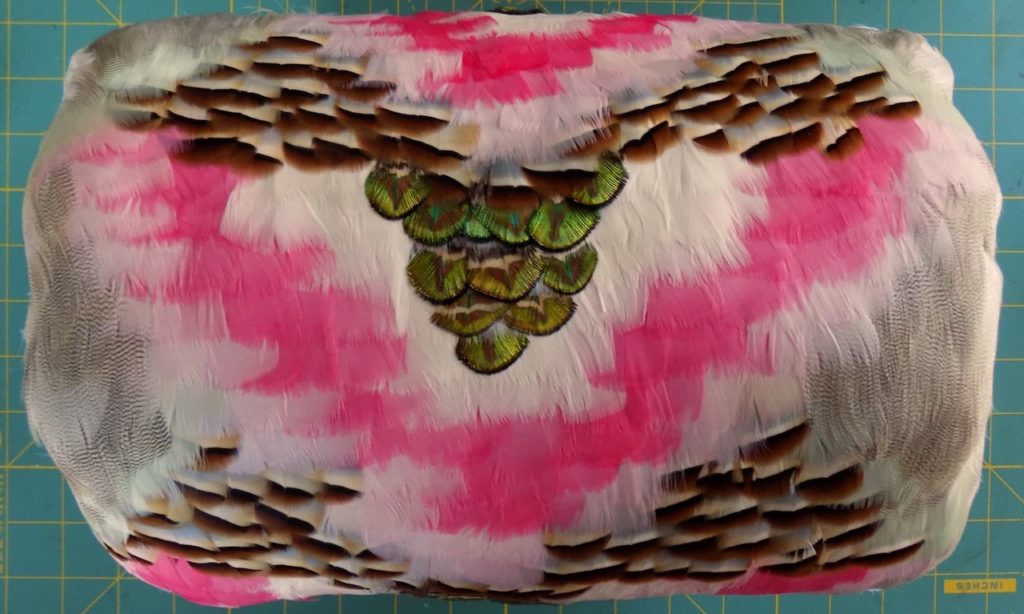
One half finished, and laid over some batting so I could see how the finished product will look.
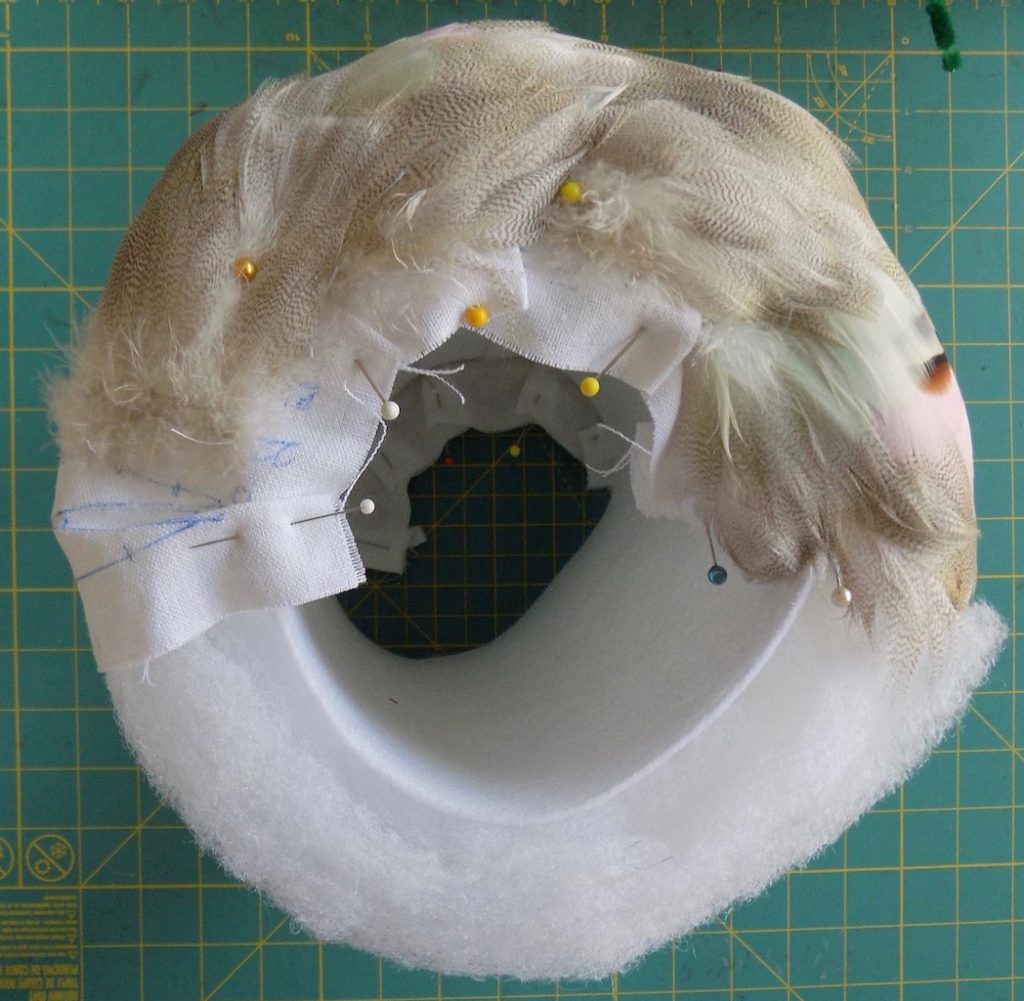
Finished half from the side with the darts pinned .
Putting them together
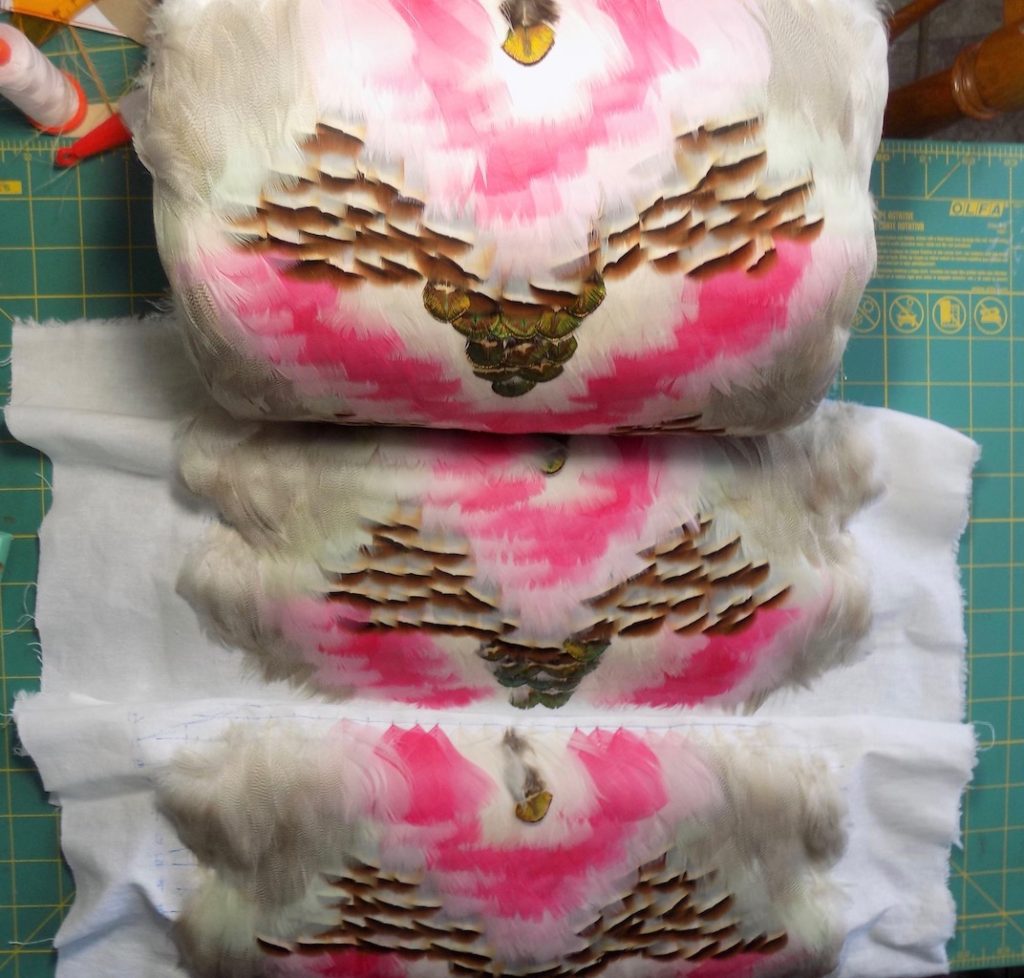
Steph’s hand sewn parts come in the mail an I can compare. They really look the same!!! Now I just have to join all three parts.
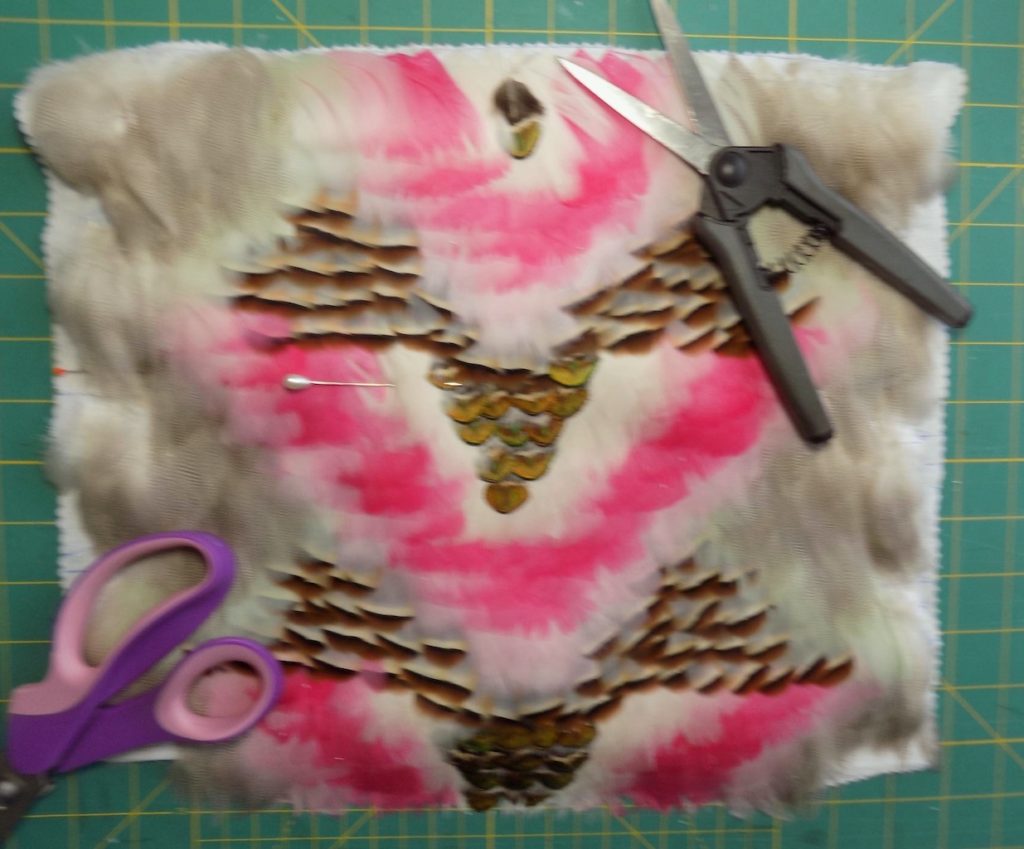
I lined up here two 1/4 and pinned them.
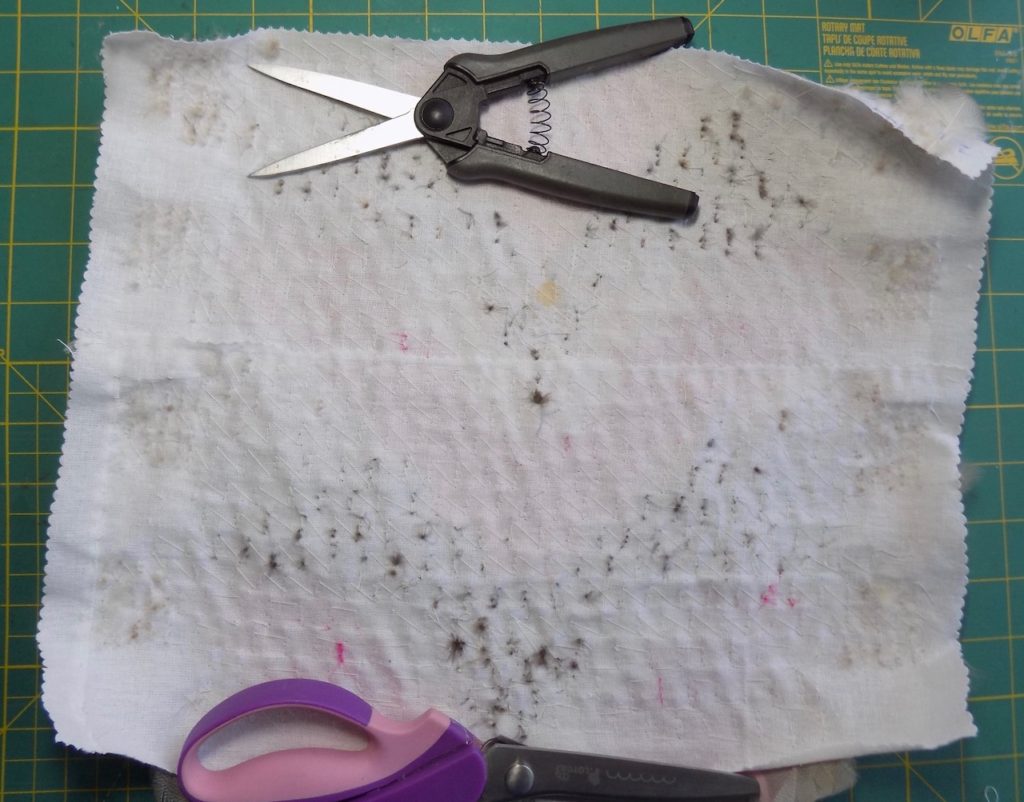
Then stitched them together from the back.
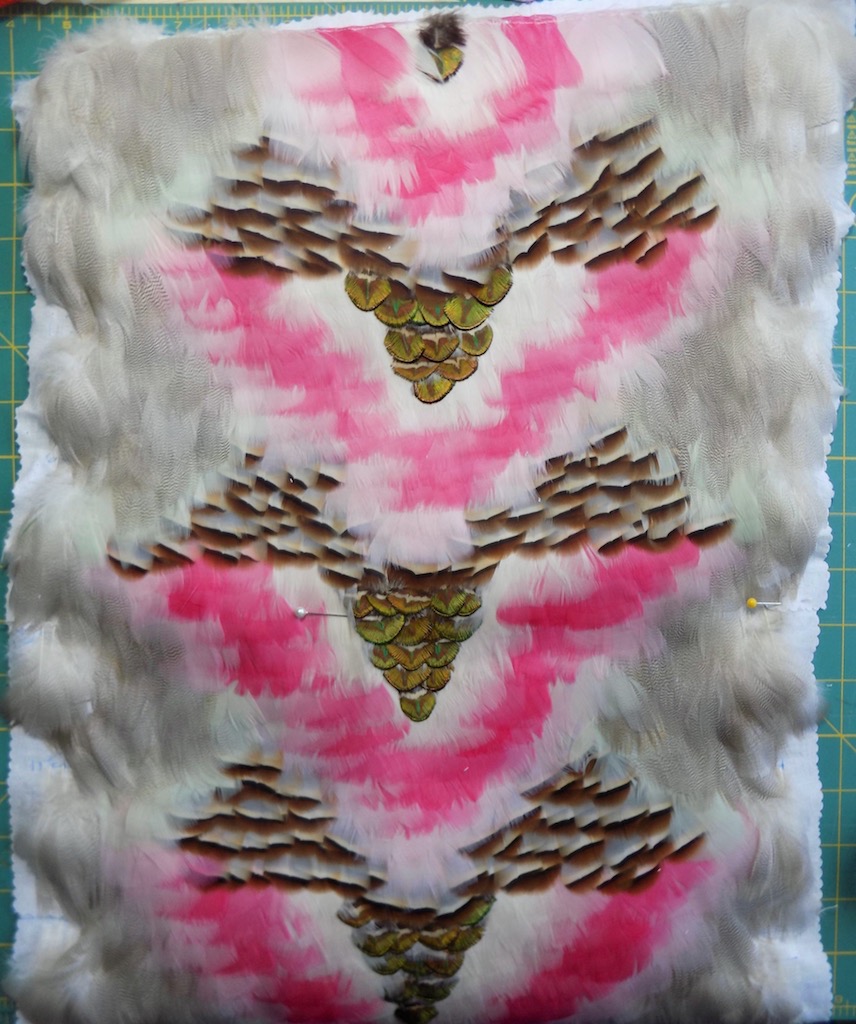
Then to pin that to my half and stitch together.
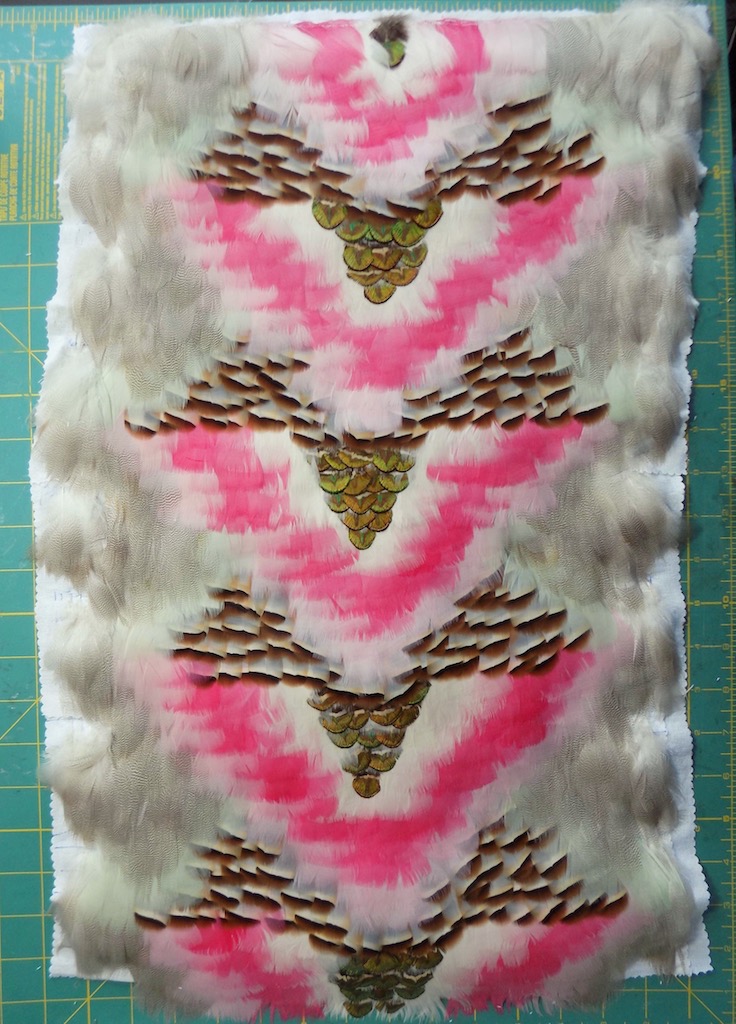
It looked like this. A little off straight but not an issue because the linen was so loosely woven it could be stretched straight.
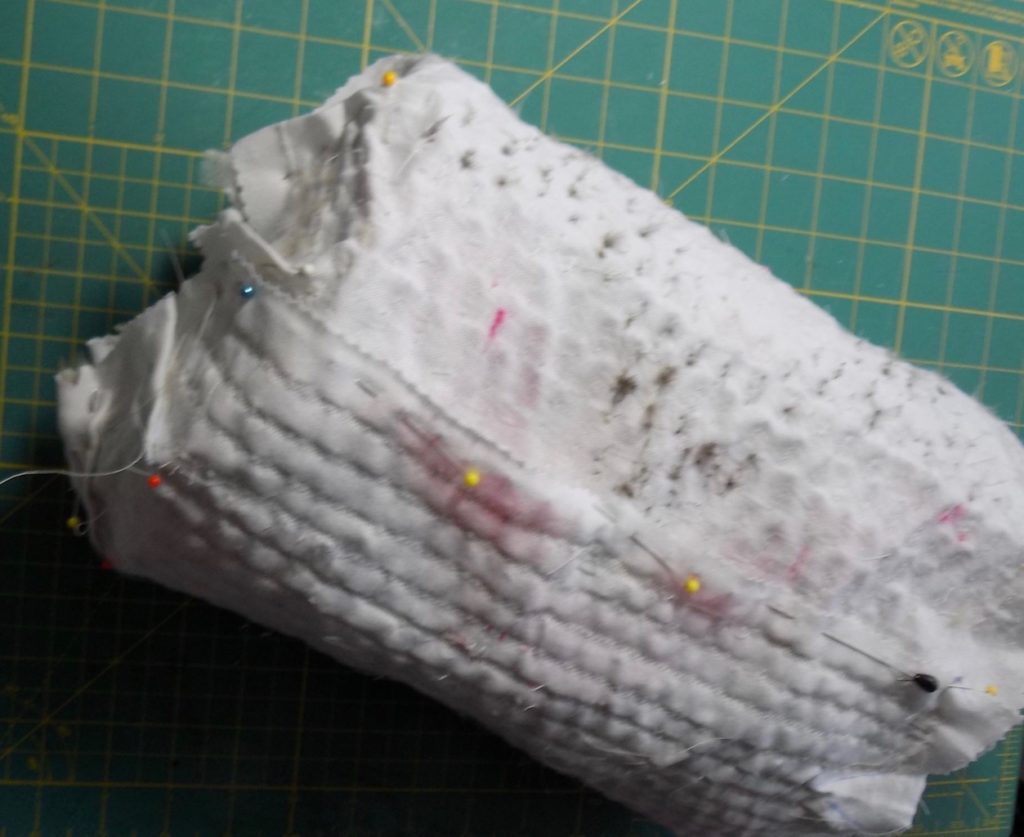
Then it needed to be sewn together to form a circle.
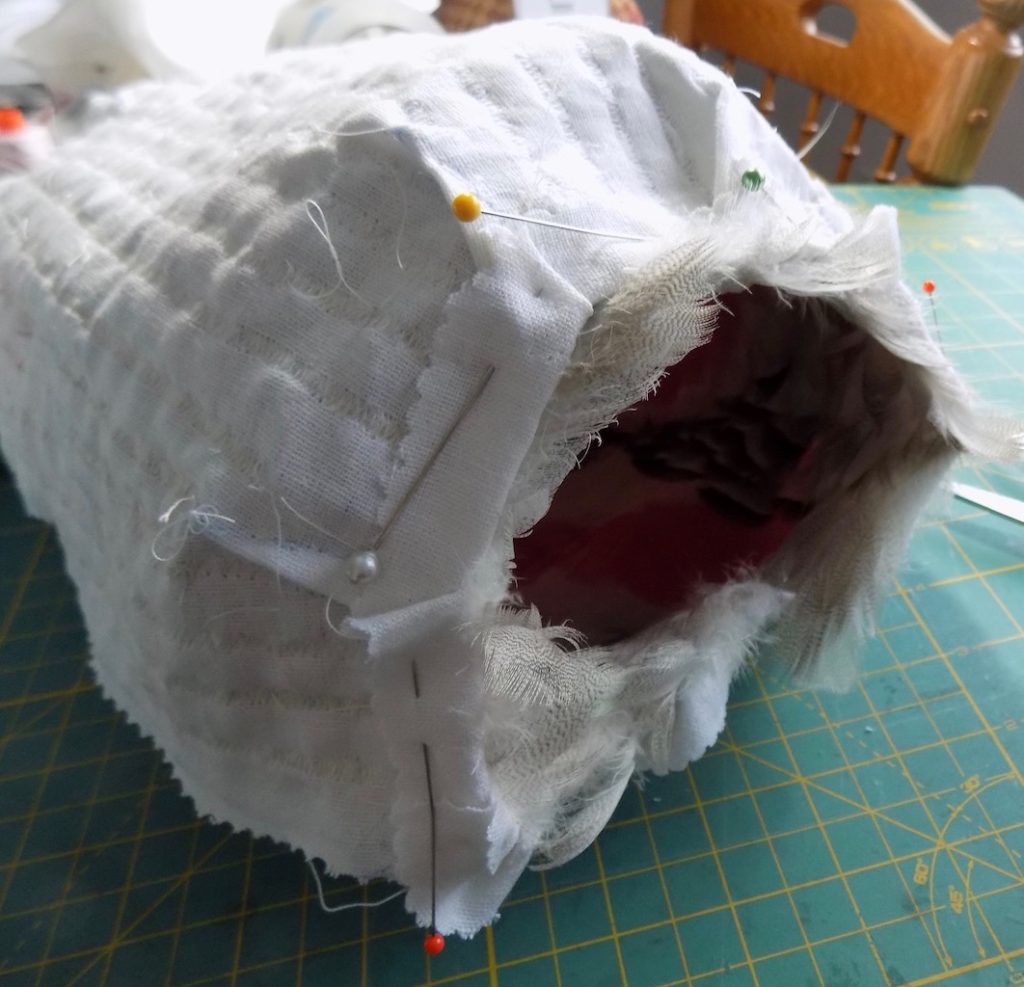
The darts and the seam allowance on the edge also needed to be sewn down.
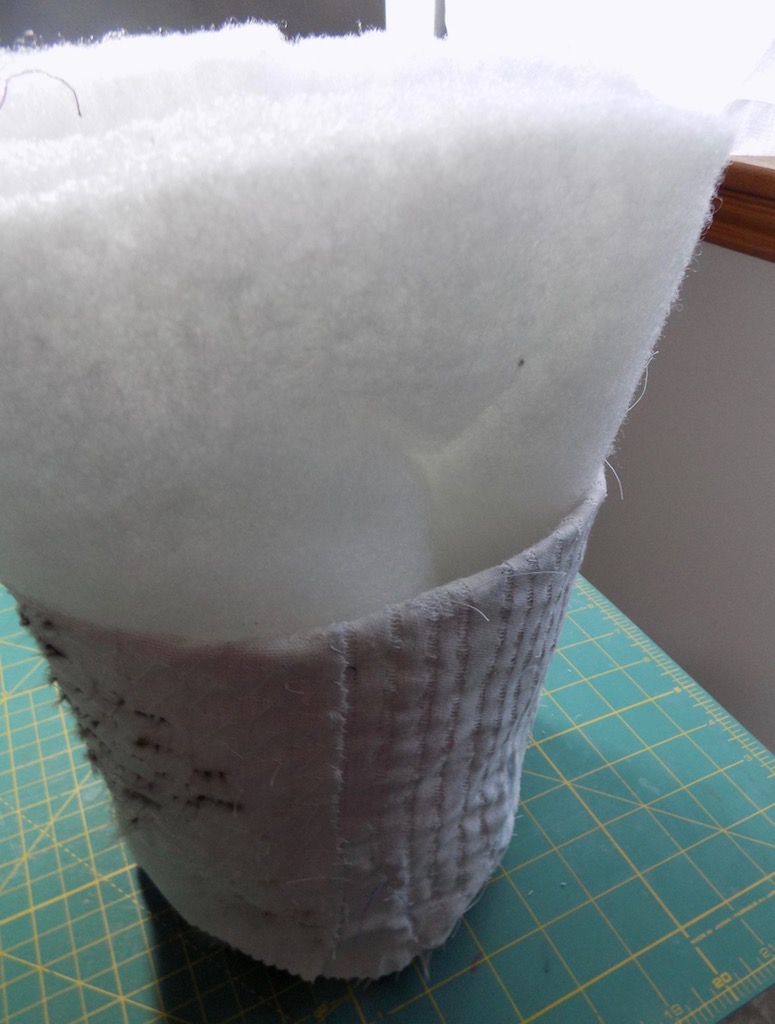
The whole thing needed to be turned right side out with the batting inside. Fun!
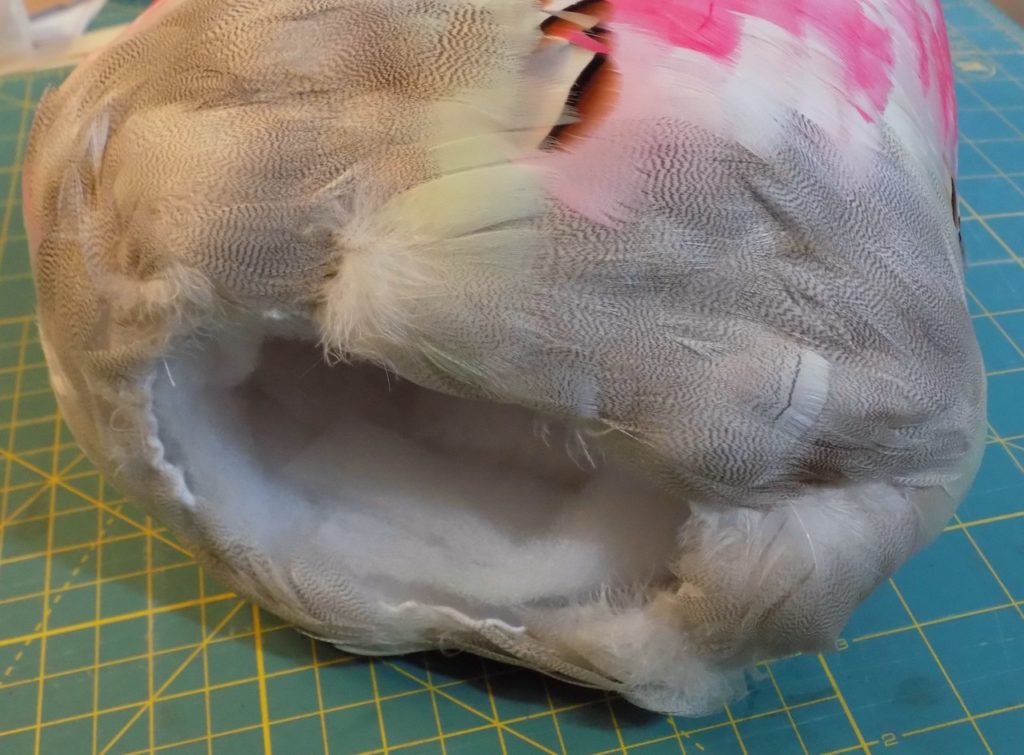
This is the end. You can see that just behind the darts there are voids that need to be filled with individual feathers sewn on by hand.
Lining
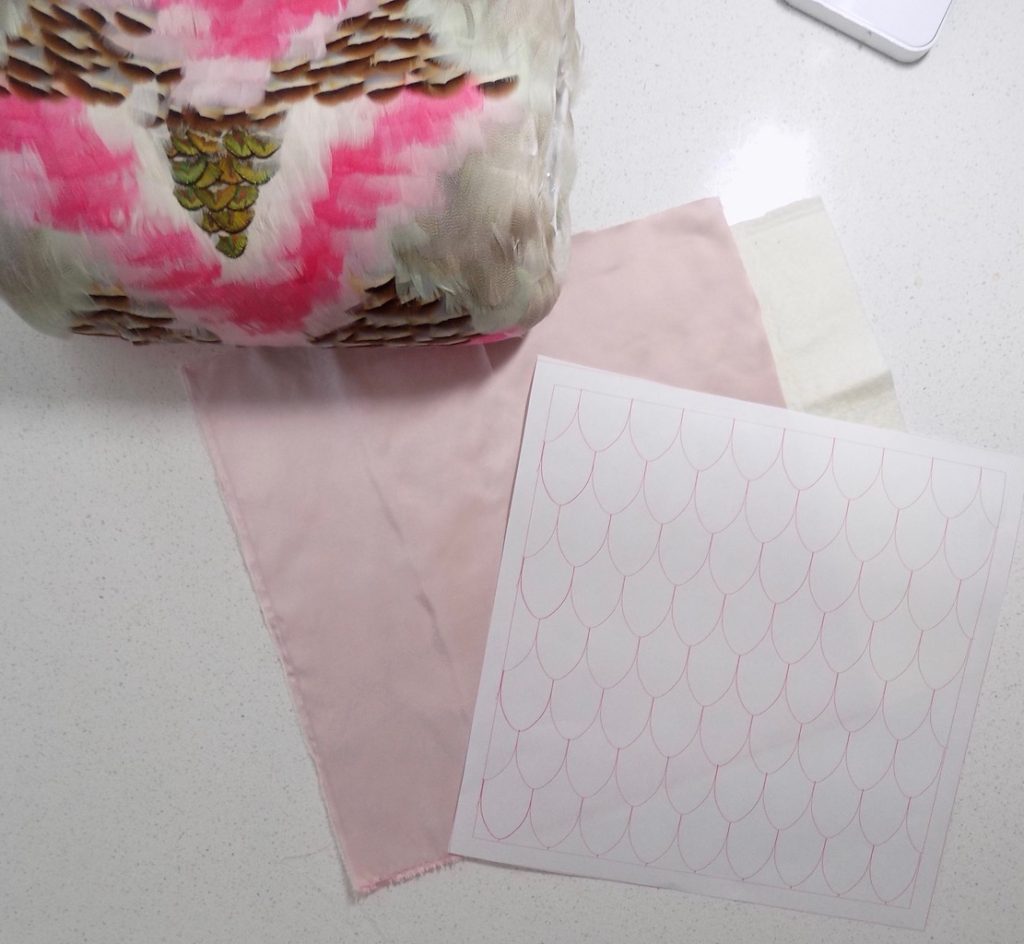
Now to the lining. I wanted to quilt it so it would hold its shape and not collapse on itself.
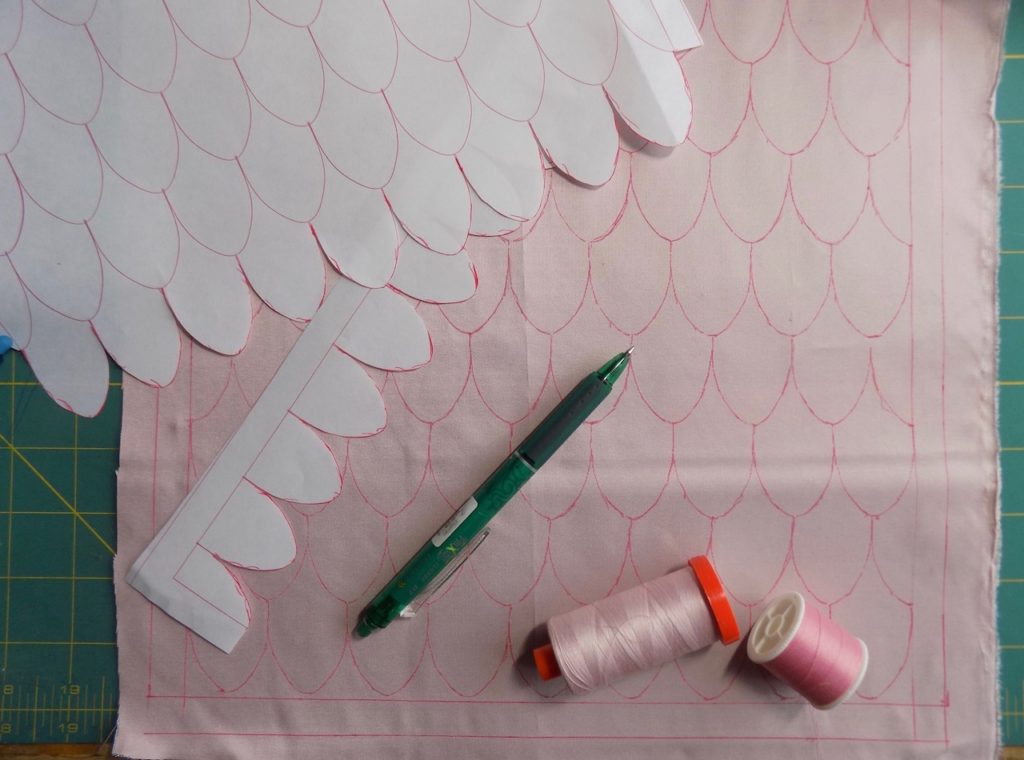
I made a pattern with feather tips and cut one out so I could trace them to the silk fabric with a disappearing pen.
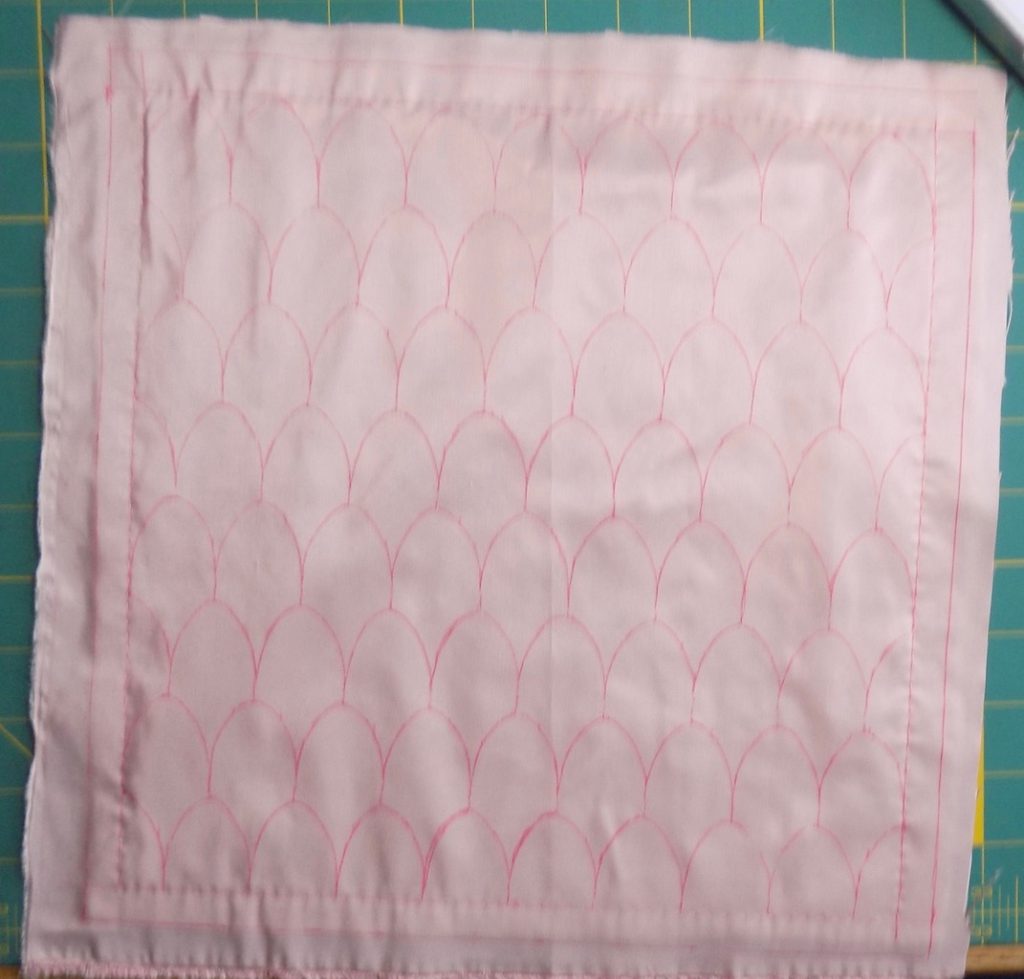
I sewed it around the out side edge of the quilted edge.
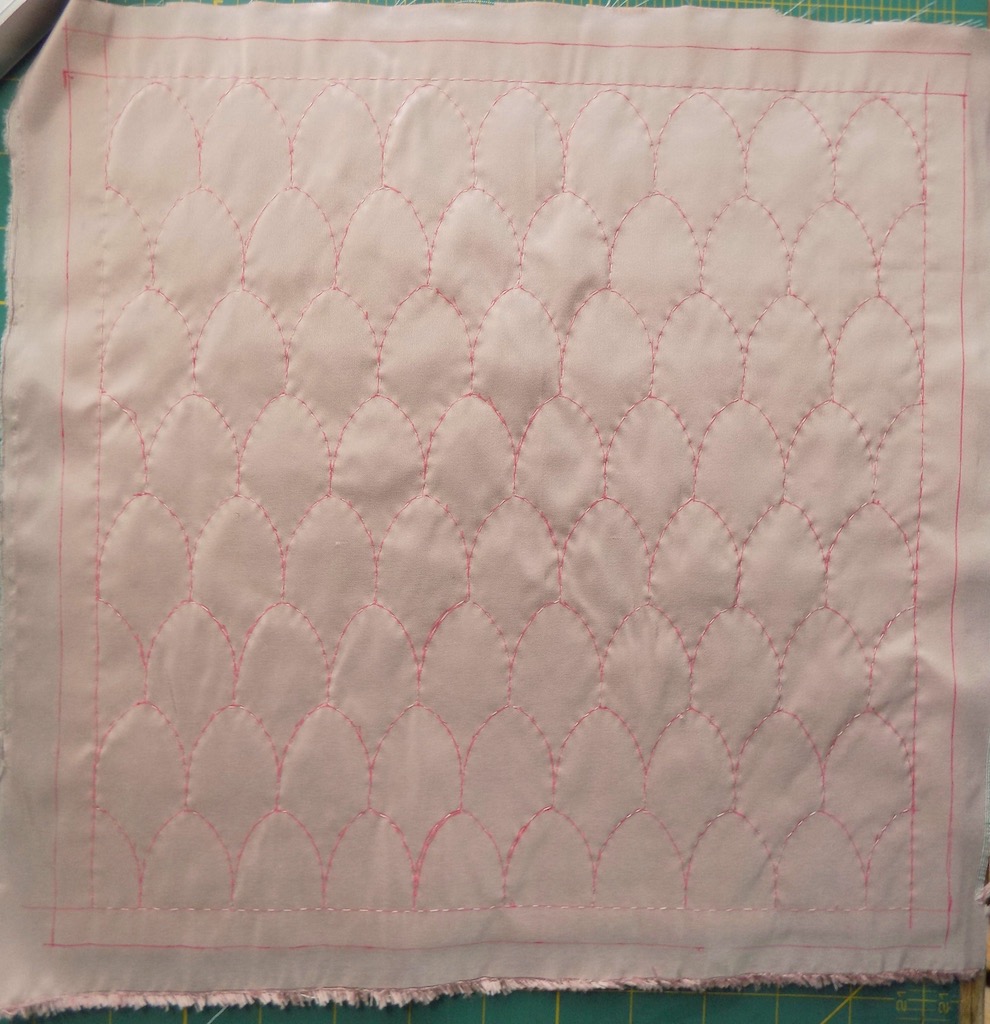
I quilted all the feather tip shapes.
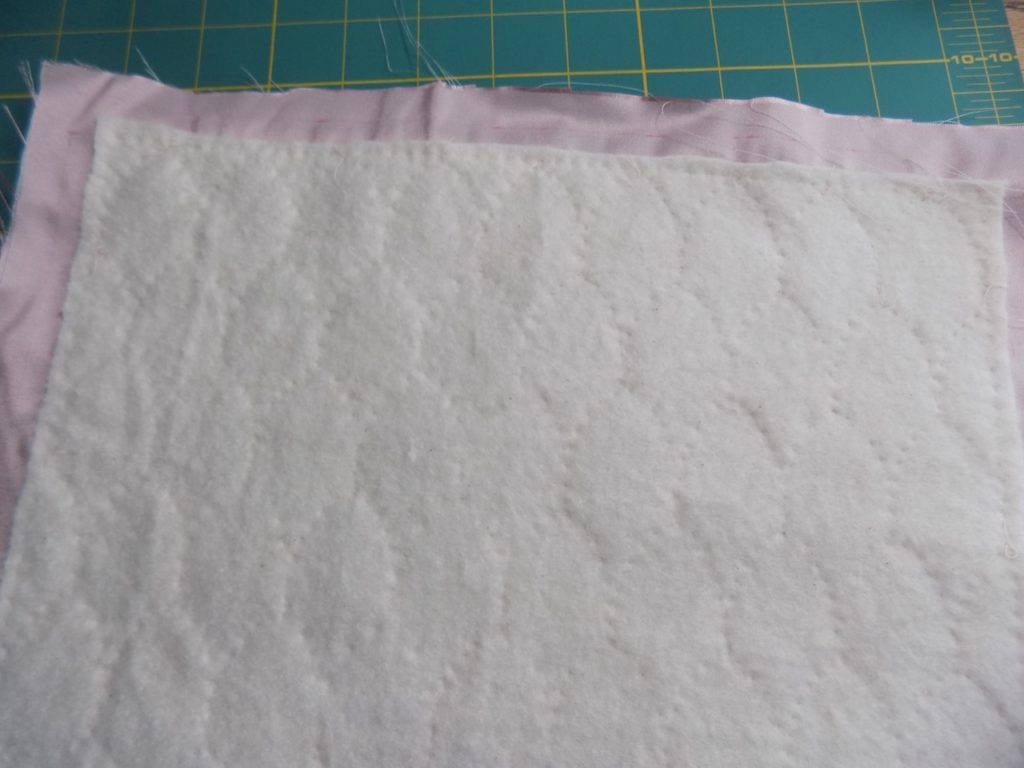
I trimmed the thin cotton batting away from the seam allowance.
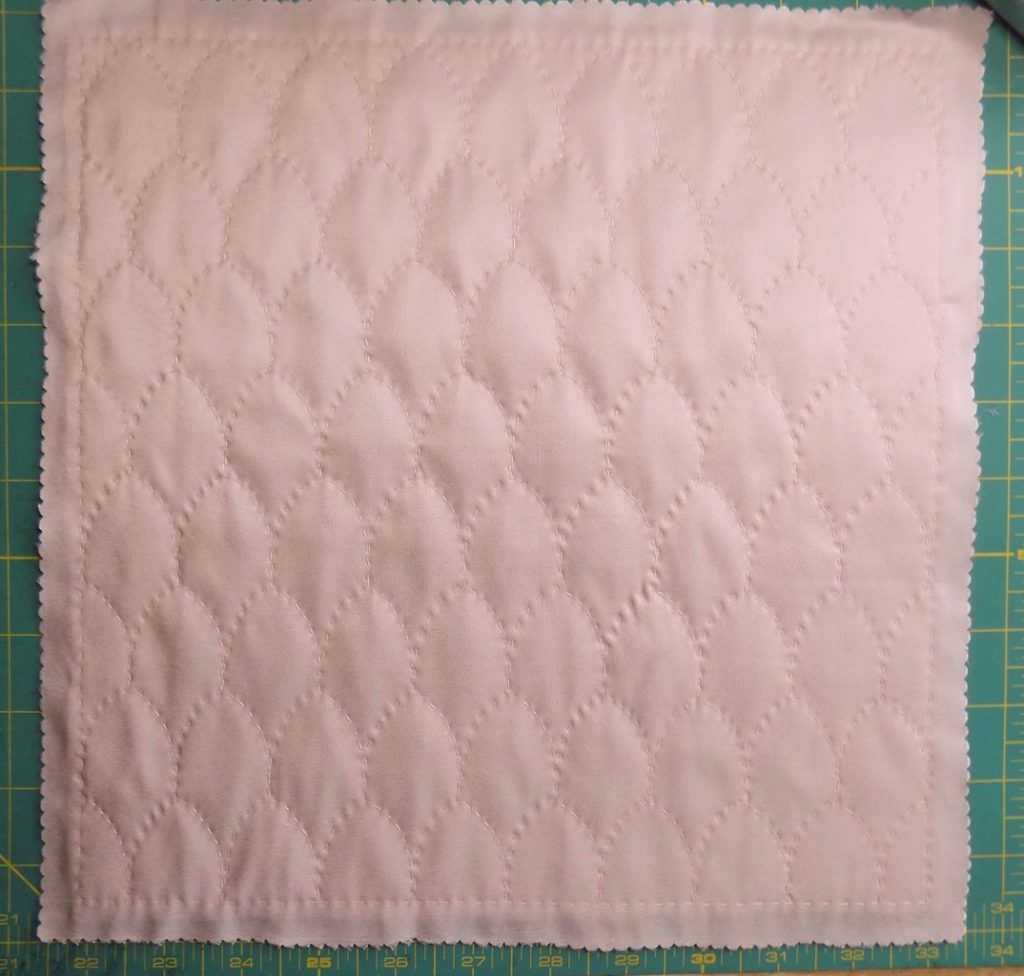
I ironed it to remove the pen.
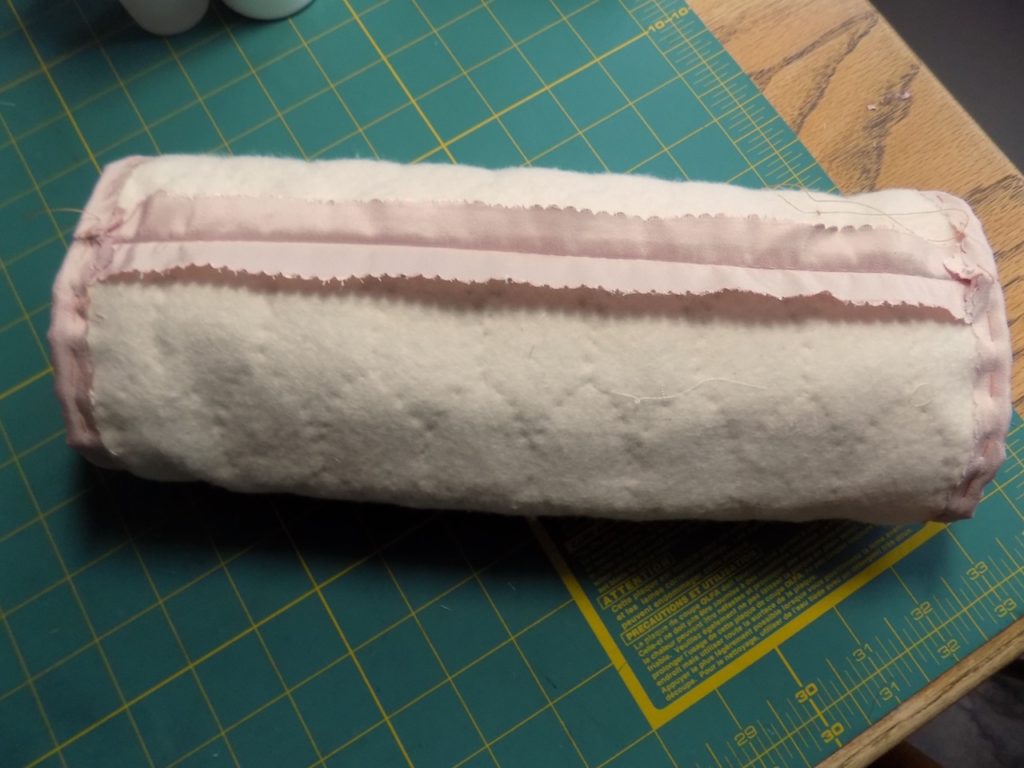
Sewed it together along the seam on the machine.
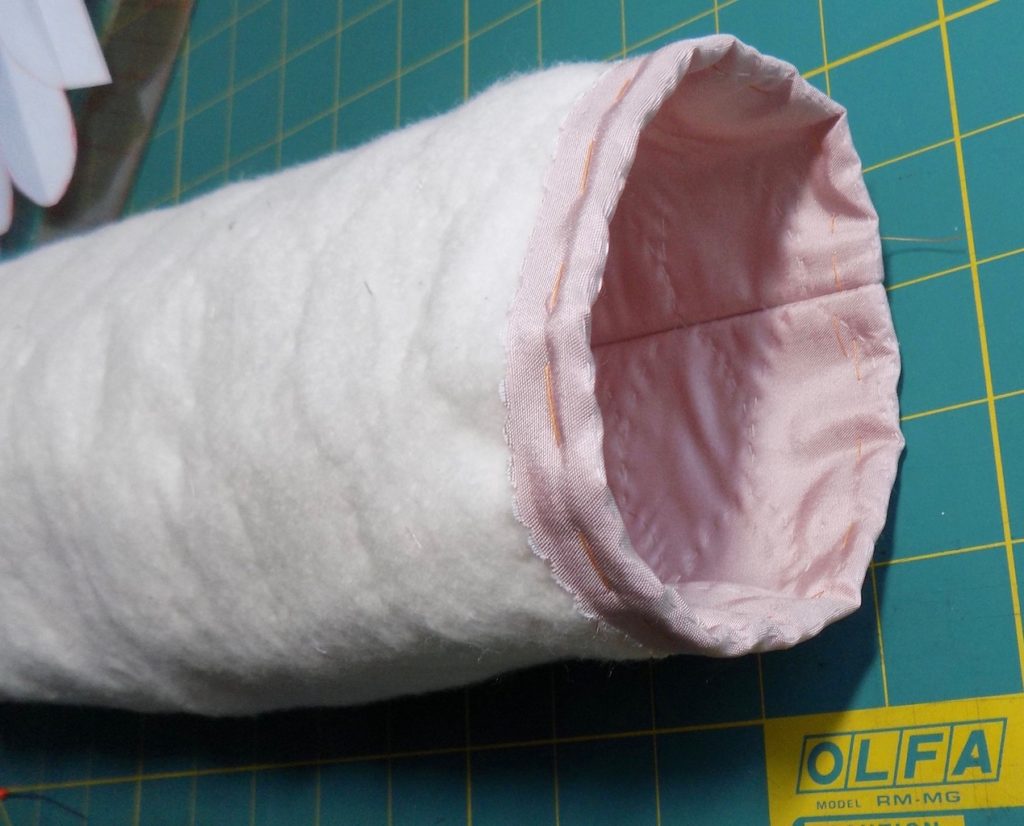
Basted the side seam allowances back by hand.
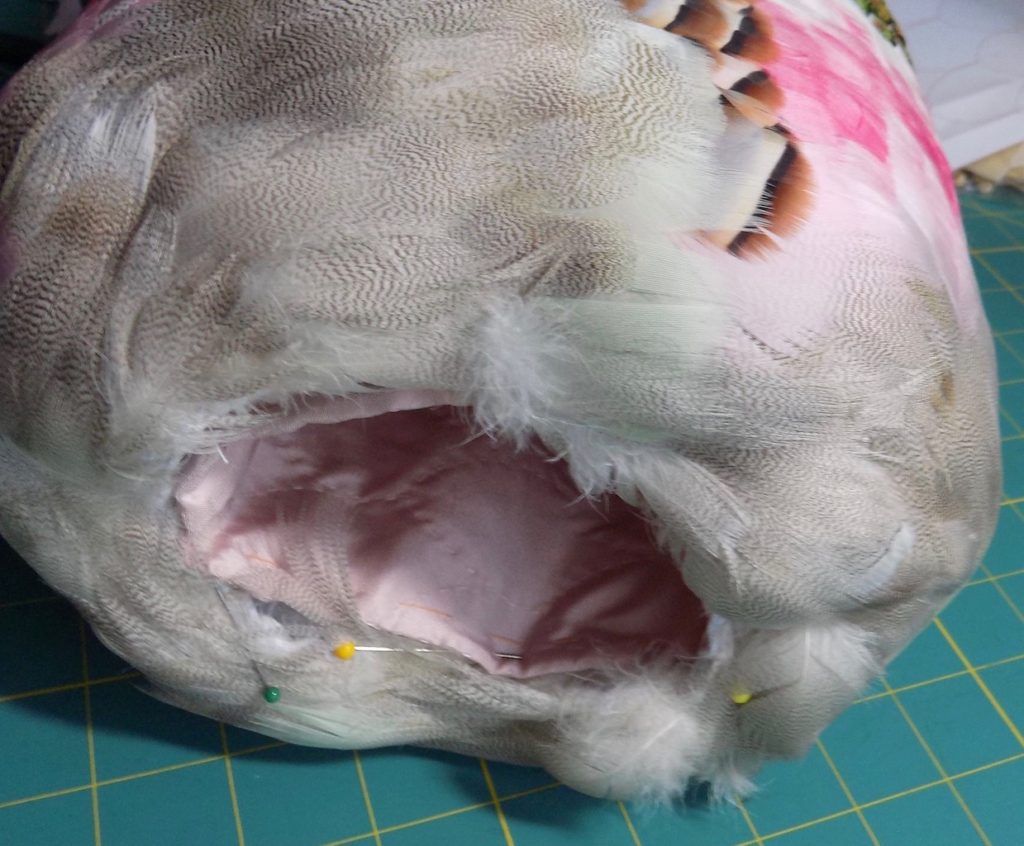
Slipped it into the hole and pinned it,
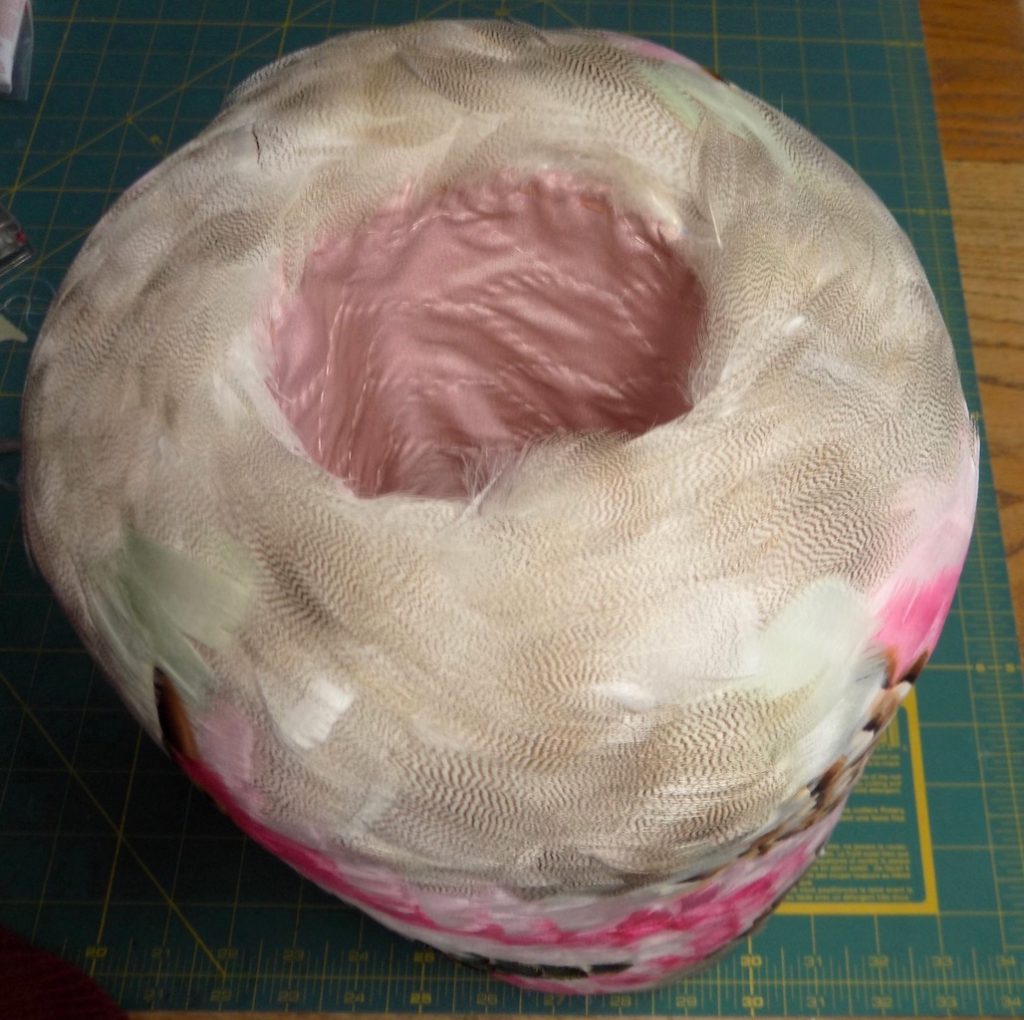
I sewed it in and added a few extra Mallard feathers in the voids.
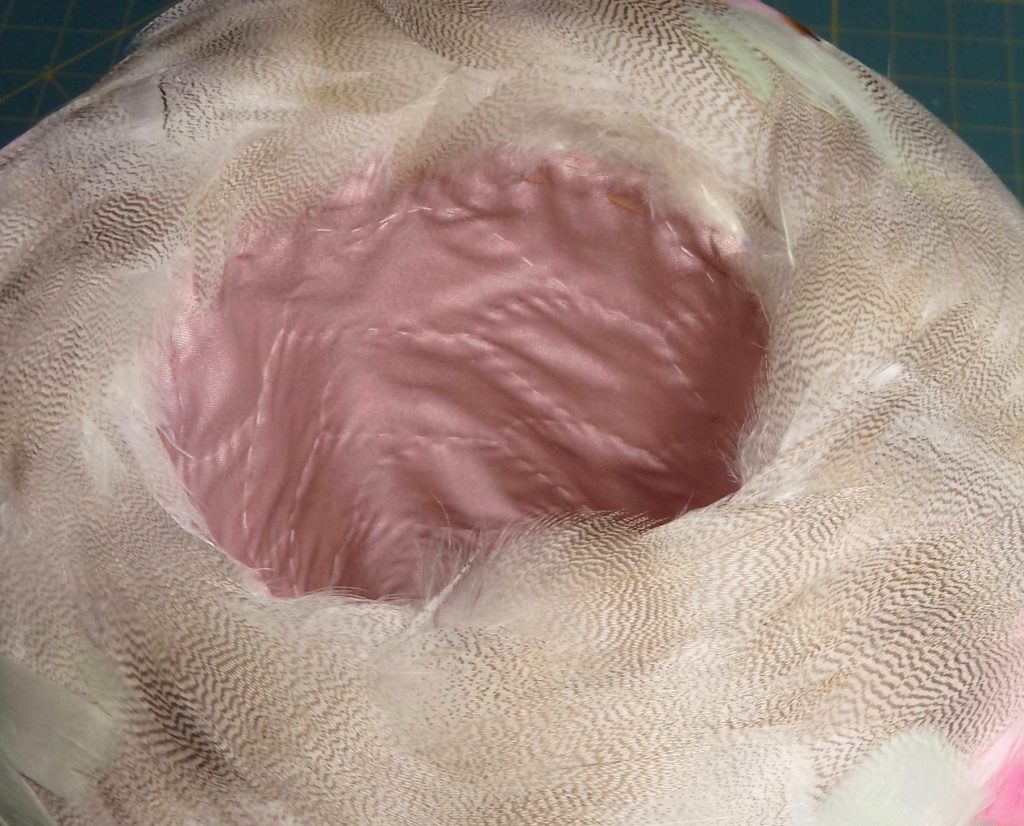
I could remove the basting stitches.
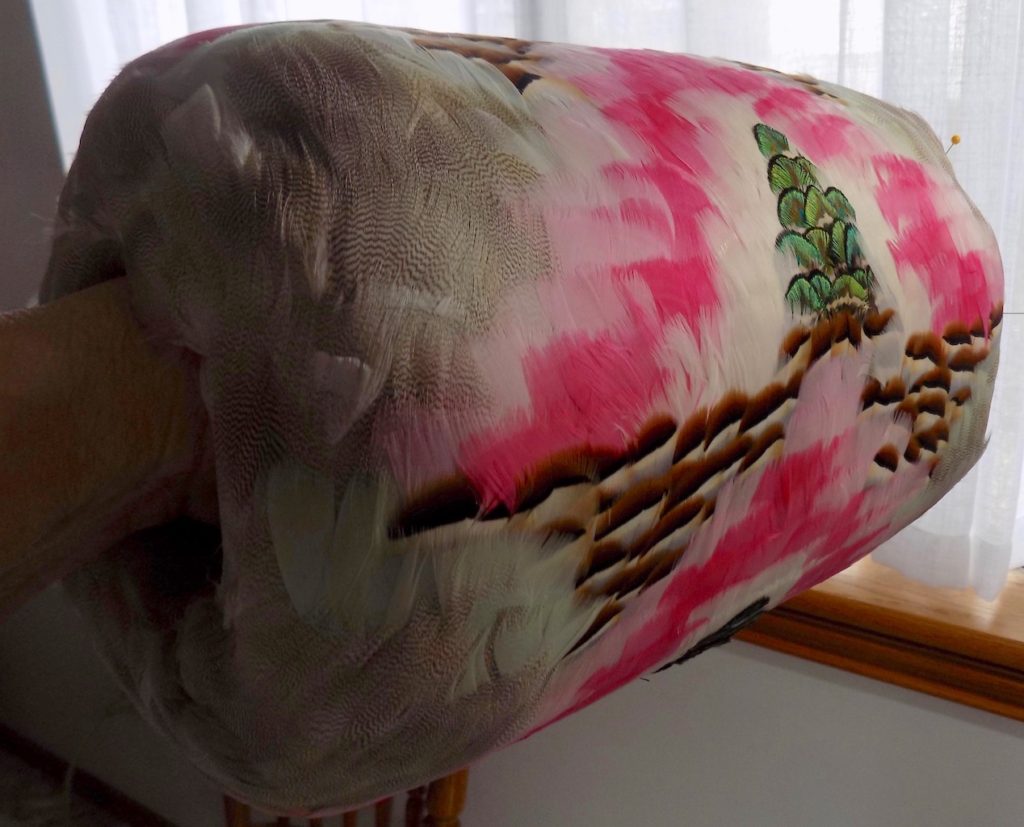
It is amazing just how flat the feathers lay down.
