A few techniques to make turban ornaments
One of the most delightful things, about writing this series of articles and making the turbans shown, has been figuring out how to make similar turban decorations to those seen in some of the period portraits and fashion plates. Along the way I have discovered some new products and techniques, at least new to me. I hope my article will introduce them to you and you will find them useful not just in making decorations for turbans but in millinery and costuming in general.
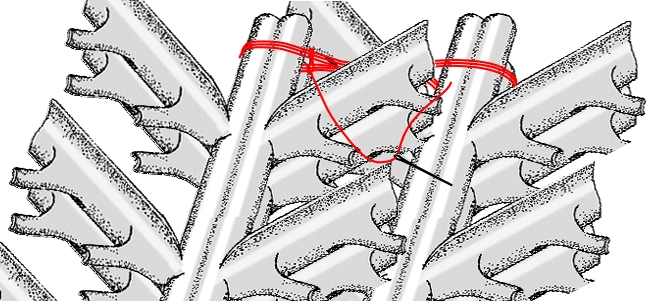
I’m going to cover three very different types of ornaments. Those made with beads and tassels that slip between the folds of the turban, those made with parts of feathers that pin into the turban and those made with whole feathers. The whole feather ornaments attach to a turban in a couple of different methods, which I will explain.
Ornaments made with beads and tassels
The ornament to the left was used in the second turban article on a wrapped turban. It is basically beads on a hatpin. Here is how it is done.
Elements needed to make an ornament; one hatpin (two shown), one large bead, one spacer bead, two tulip cap beads, one blue glass bead and a pierced earring clutch.

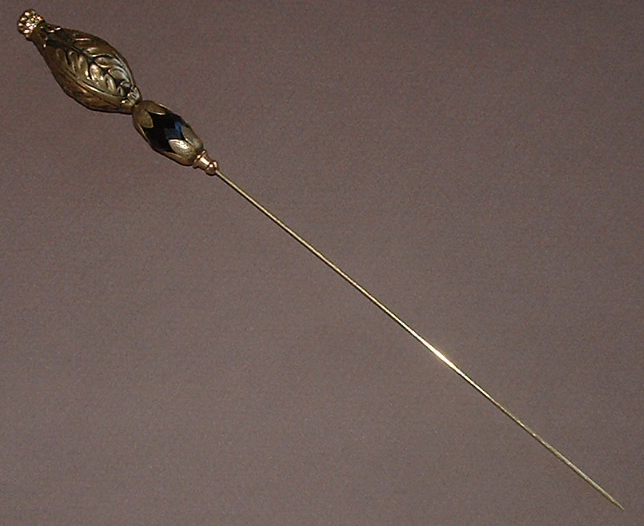
Beads are added to the hatpin and being held in place with a pierced earring clutch.
The remainder of the hatpin is bent much like a paper clip and the sharp point cut off. The bent part of the pin is slipped between the folds of turban and the angle of the first bend can be adjusted so that the ornament stand up correctly It will not flop over because of the paper clip shaped base if the wraps of your turban are tight enough and the beads you use are not overly heavy.

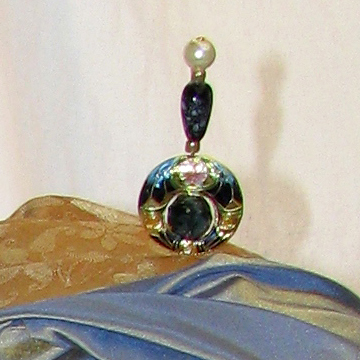
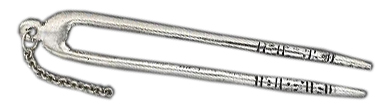
There are two ornaments on the turban to the left. The one in the front is made with a tassel that has three red beads and two small tassels. I purchased as is then, it was strung together with one small gold bead, one very large gold and silver bead and another small gold bead. This string of tassel and beads was added to a hairpin.
I got the hairpin from Fire Mountain and removed the chain. The hairpin shown to left was just perfect because it was the right length 4” and had a ring to attach the beads to. The ends of the pin slip between the folds of the turban. Note you can see the end of the hairpin where the beads attach to the ring in the close-up below the hairpin picture.
Ornaments made with parts of feathers

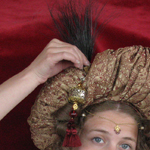
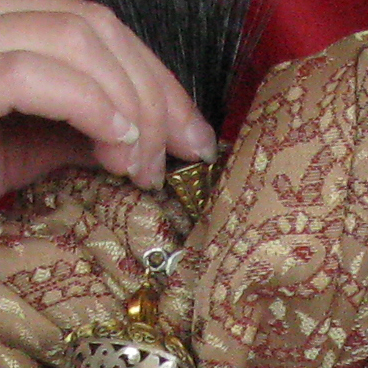
The Turban above and in the close up to the left show an ornament being pinned into place. Inside the cone shape bead is a bundle of black burnt peacock hurl. It is made in the same manner as the ornament below.
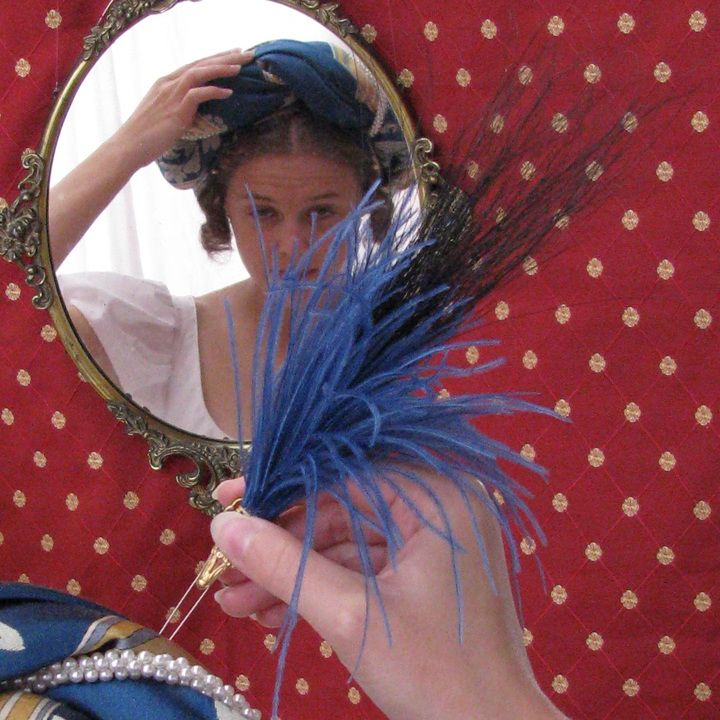
In this picture of an ornament made with blue ostrich vanes, black burnt peacock hurl and a gold aglet you can see that the pin has two points. See below for the steps to put one of these ornaments together.
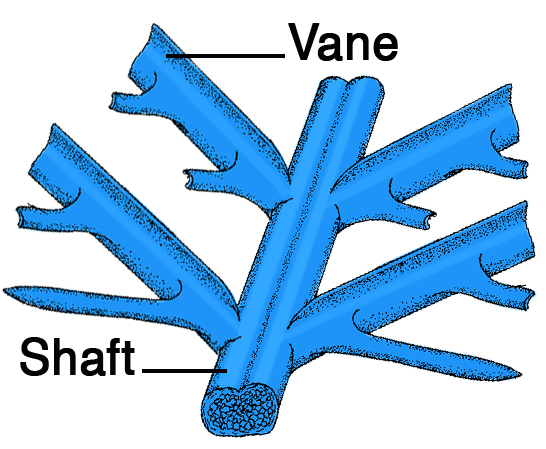
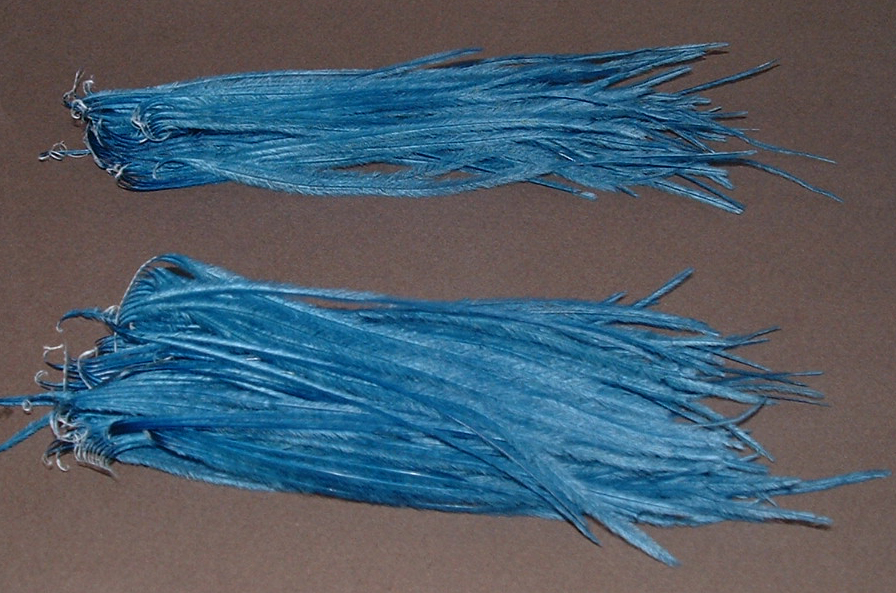
If you are using ostrich vanes (barbs) pull them from the shaft. Usually they come off in short strings of 4-10 vanes.

Here is what you will need. 50 to 100 ostrich feather vanes. I save these from other feathers that where just too long. Thin thread covered wire (in floral section of craft stores), Clover brand fork pins. Paper backed ¼” double sided tape and a cone shaped bead (shown in package of 6).
Line your vanes up into two groups.
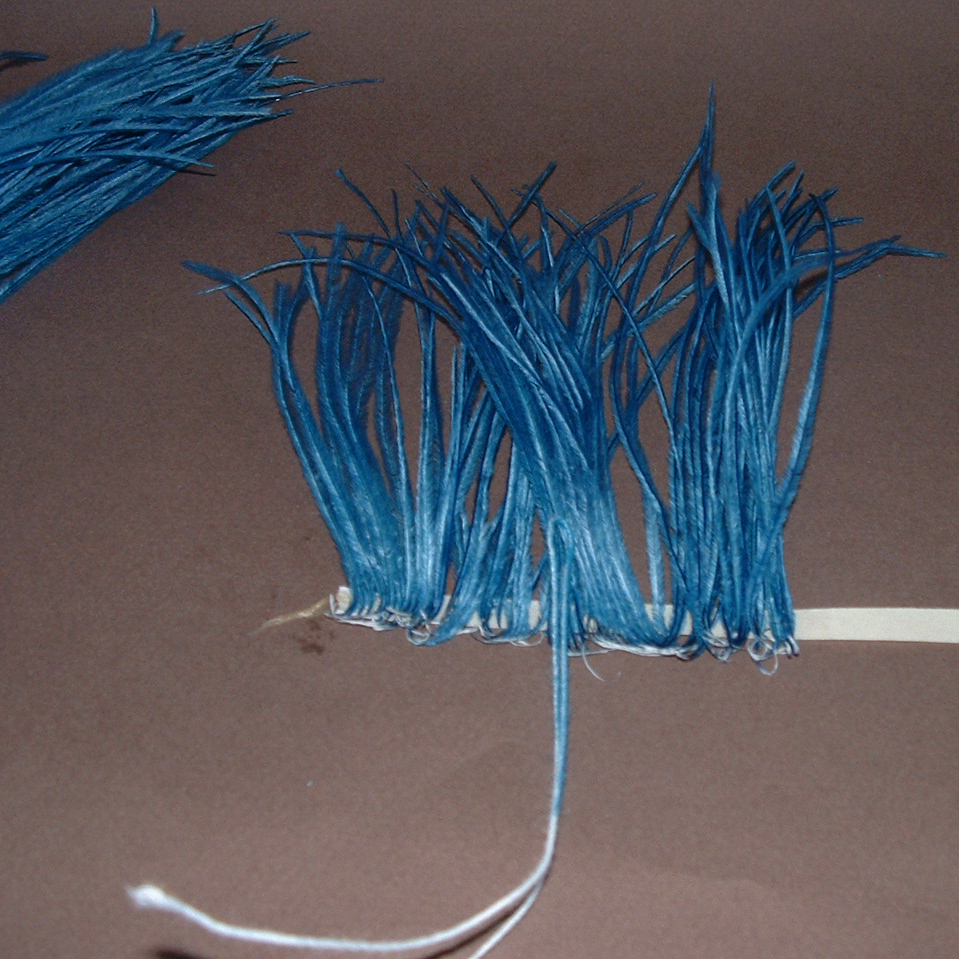
With the end of the tape anchored stick the vanes to the tape, leave then hanging over just a little. When you have used up your first group add a folded piece of the covered wire that has been folded in half and colored with a permanent marker to match the feathers. From the loose edge, roll the tape and vanes into a spiral. The wire should be inside the spiral with the fold about 1” above the tape. Trim the bits of the shaft that hang below the tape.
Wrap the tape area with a length of covered wire and color it with marker (left). Tape the remaining vanes as above and roll it into a spiral around the wire of the first bundle but an inch or two below. This gives the ornament extra height and makes it just the right diameter to fit the cone bead.


The glue I recommend for getting all the parts together is Beacon’s FABRI-TAC. It has the habit of bubbling out of the spout unless you keep it pointed down as you use it so I always wedge the tip (red) into a large spool of thread. But those drops that bubble out and partially harden are not wasted (white blob in the center of the picture to the left). I keep them to plug up the cone bead and keep the fork pin in place.
At this point the dried glue and some new glue and the fork pin are added to the cone bead see picture on the left. Use the free ends of the wire to wrap the base of the vanes as on the left and color the wire with marker. Add glue to the base of the feathers and stick the vanes into the top half of the cone bead.

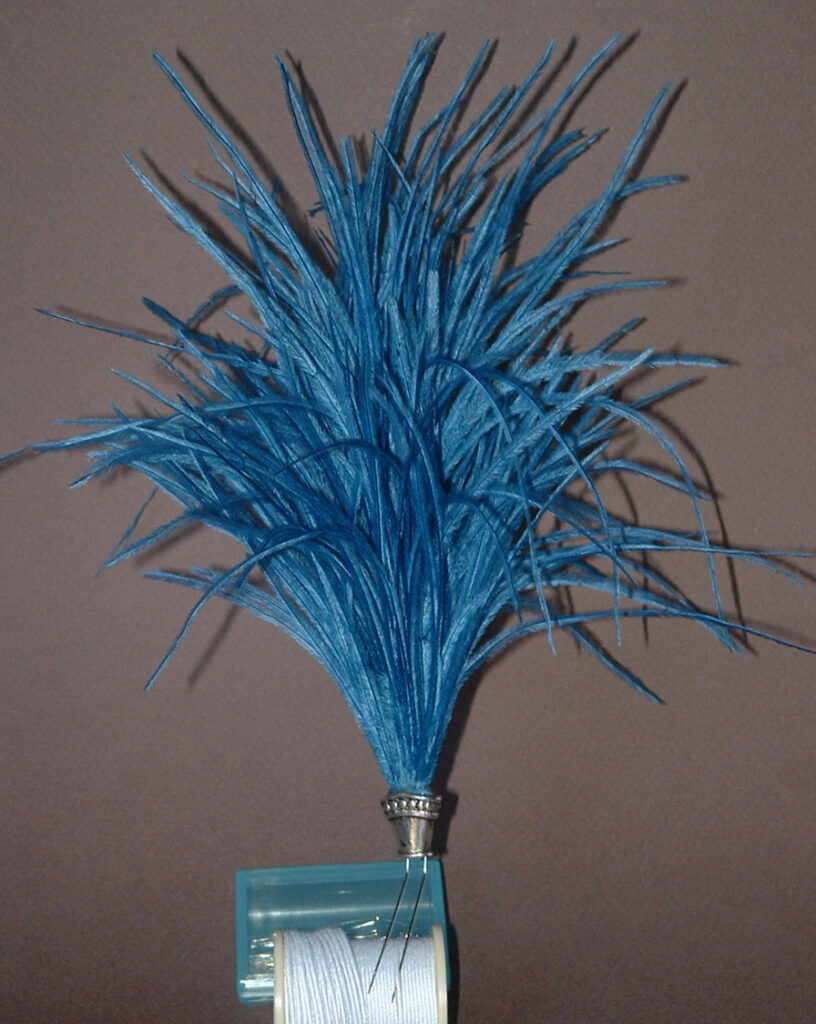
Here is a finished ornament pinned to the wire spool. You would use the same method with peacock hurl. These ornaments stay in place very well and even better if you spread the points apart just a little as you slide it into the turban fabric.
If you can’t find a cone bead here are some other choices. Top left are crimp beads for small hair braids. You can get those at hair supply shops. In the center are some light weight stamped filigree ornaments, if you cut a wedge away with kitchen sheers you can fold then around a pencil to form a cone, the fork pin can usually fit thru the holes in the filigree.

Another choice can be the short wide type aglets to the far left of the picture. They are in two halves and the fork pin fits down the center.
Ornaments made with full feathers
I have three different feather ornaments to describe here.
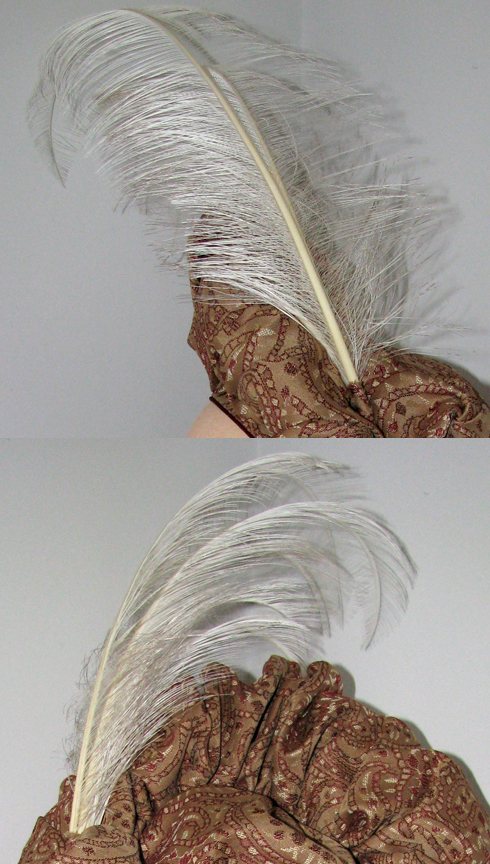
First the burnt ostrich ornament shown on the Romantic period turban from the third article. This was made with 6 feathers. It’s not necessary to purchase already burnt plumes. Burning feathers is fairly simple all you need is household strength bleach and a plastic tub. Cover your feathers with full strength household bleach and gently move then around until the small side hairs on the vanes fall out. It is best to ware a mask and not to breathe in the fumes. It only takes a minute or so to burn the small hairs if you leave the feathers in too long they will become brittle. Rinse the bleach off the feathers and fluff them dry. If the feathers have been dyed they might lose some color in the bleach or the color might change so test a small piece.
I trimmed and shaped the feathers and arranged then small to large. Then used Beacon’s FABRI-TAC to glue the last inch or two of the shafts together in a stack. I wired two long pins to the base of the feathers and covered this all with a strip of matching fabric. The strip can be seen in at the base of the feathers in the photo top left. The pins are stuck in the fabric of the turban and are what holds the feathers in place.
The next full feather ornament was shown on the 18th C turban. It was made something like the part-feather ornaments above except five 12” ostrich feathers are glued into the cone bead. Once the plums are glued into the bead you can use the back of a table knife to shape the stems so that they fan out as in the picture to the left. Just put the stem of the feather between your thumb and the knife and press down this will make a dent in the back of the shaft that will cause the feather to curl. Do it up the shaft until it curls as much as you want.

Here you can see the ornament being pinned into the turban.
From the back you can see two pearl, bead, pearl decorations on either side of the cone bead. They where made on corsage pins which each have a blue enamel flower bead and then a large pearl added to the pin. The remainder of the pin was glued into the cone bead beside the feather shafts.

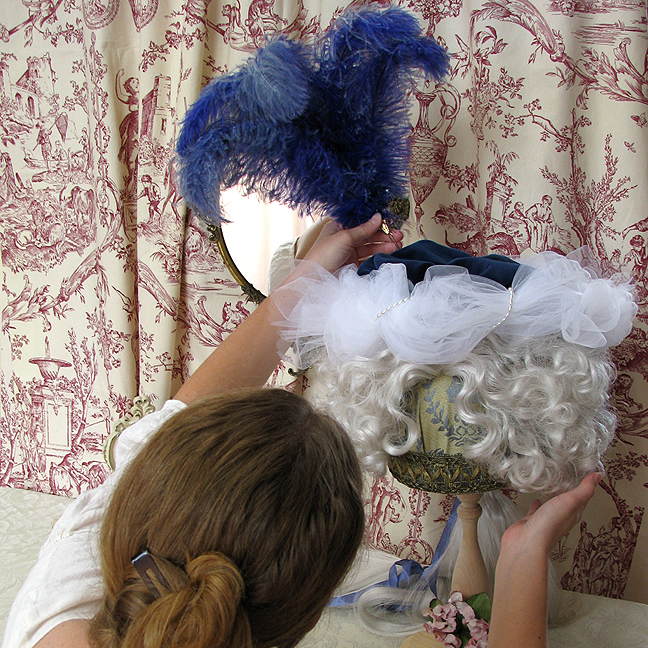
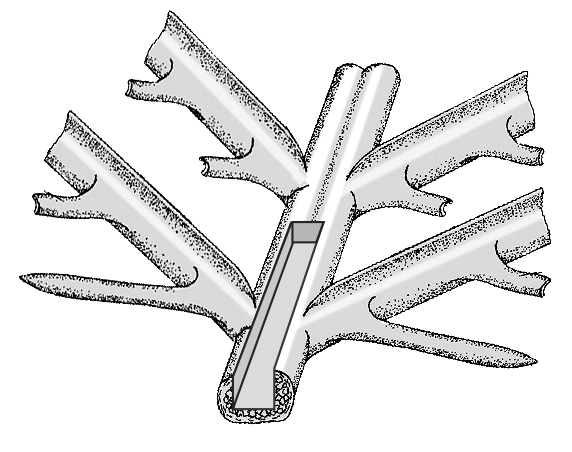
Last but not least the late 18th C two-foot high ostrich plume topknot. This was a challenge, getting ostrich plumes to stand straight up is not the simplest thing. Here is how I did it.
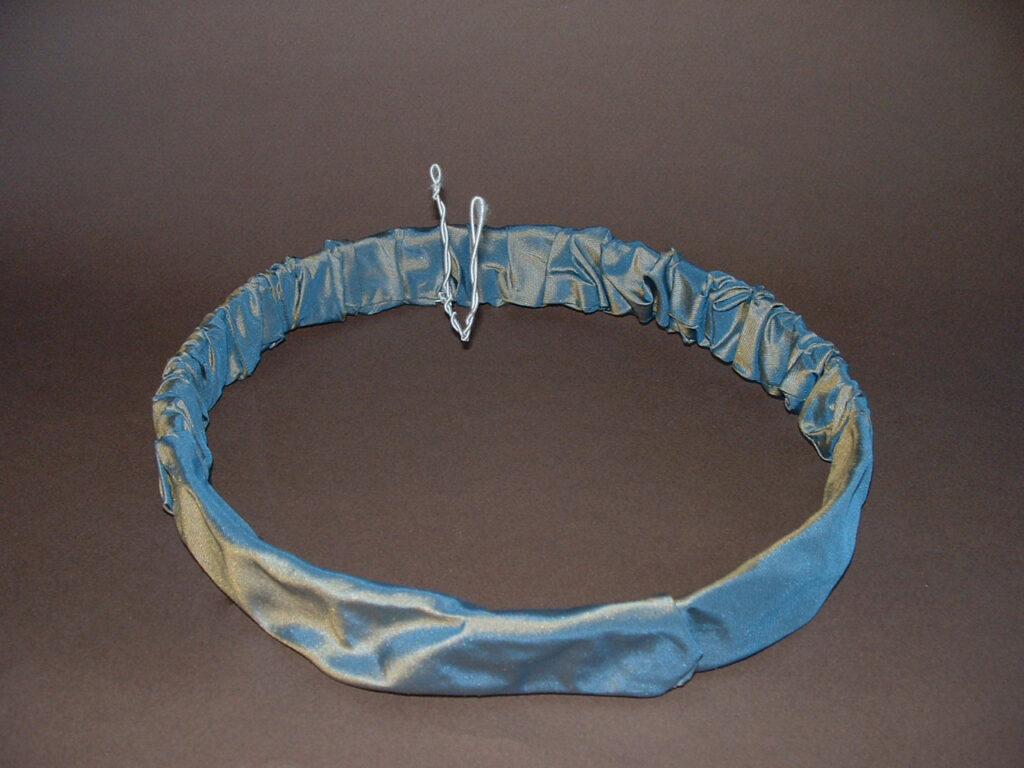
First and most important is creating a bandeau with wire supports for the feathers. You need to use millinery wire at least 21 gauge thick, thinner wire will not give you the support you need. I used a piece about a foot long folded that in half twisted it with pliers for about 4” then use one of the wires to form the front twist and then twisted the two wires together again for about one inch.

I spread the wires apart and sewed then to the bottom edge of the bandeau as shown in the picture to the left.
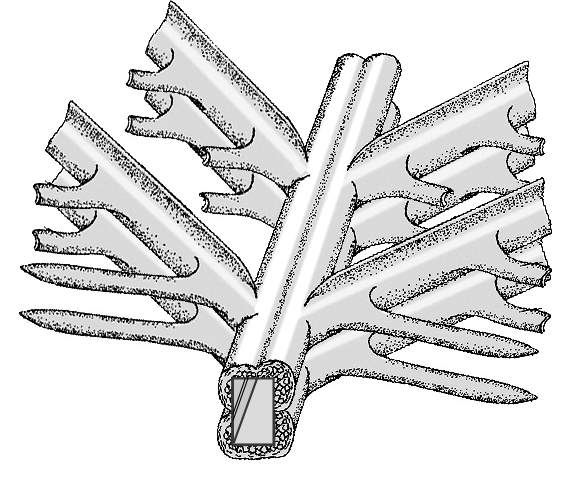
The bandeau is covered with a tube of silk fabric that was slipped over the buckram before the buckram was sewn into a ring. This silk fabric tube is pulled closed in the center front to cover the sewing of the wire to the base.
The bandeau is placed on the head and held down by the hair it is important to get the wire twist in the center front.
Each of the two plumes on the headdress is made up of two matching ostrich feathers that are sewn together along their shafts with a modified button-hole stitch. Check out the articles section on this site for more feather techniques.
Before they can be sewn together part of the base of the shaft needs to be cut away with a razor blade cutter. The front of the back feather and the back of the front feather. This hole needs to be large enough to slip over the twisted wire on the bandeau.
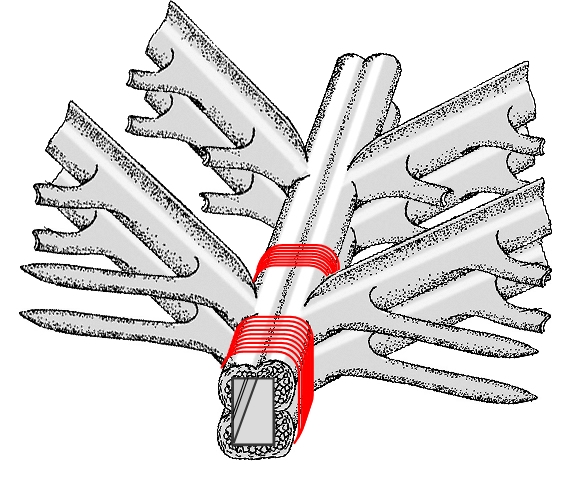
For extra strength bind the cut areas with fine covered wire. Then color the wire to match the feather shaft with a marker. Slip the feathers in place over the twist. It is not a good idea to glue the plumes to the wire but if you are going to face any wind then I recommend using something like poster putty in the around the wires.
At about 12” up from the base of the feathers it is also a good idea to add a swing tack to hold the two feathers at the same distance apart as at the base. You can make a swing tack in two ways. One is to anchor your thread and wrap it around the two shafts three times. Make sure that the shafts are not drawn together by the thread. Bundle all the threads together by sewing a button-hole stitch. Or check out this site for another type of swing tack