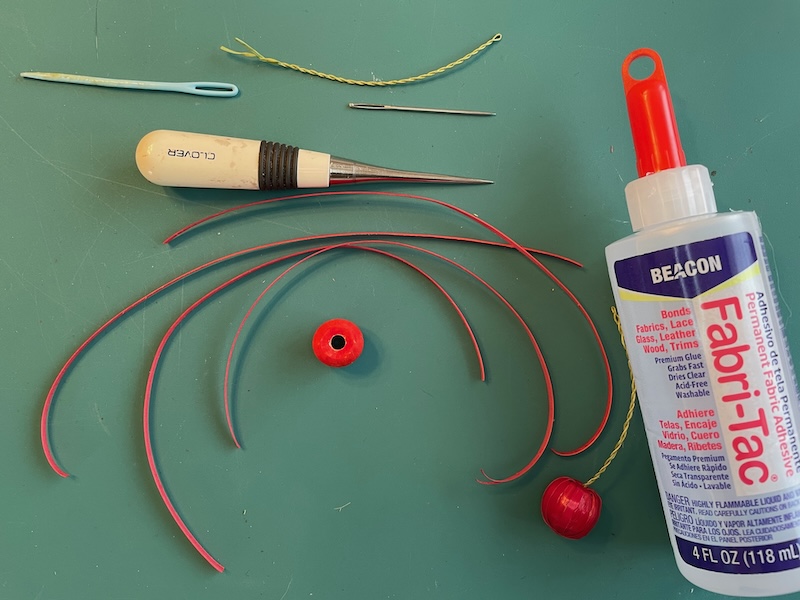
This is a slight change in the standard method of covering a wooden bead. The wooden bead (5/8″) is colored red and has a depression around the center hole. The hole is large (3/16th), it needs to contain all the straw from about 15 or 19 passes depending on how wide your straw is. You need two or three length of splints. Also, an awl, darning needle, two straw threads for stems and glue. The depression is made with a much larger drill bit sized 7/16th to 1/2″ it goes down about 1/4″.
Prep the straw as usual and leave it damp. Add a dot of glue to the pith side of the first splint.
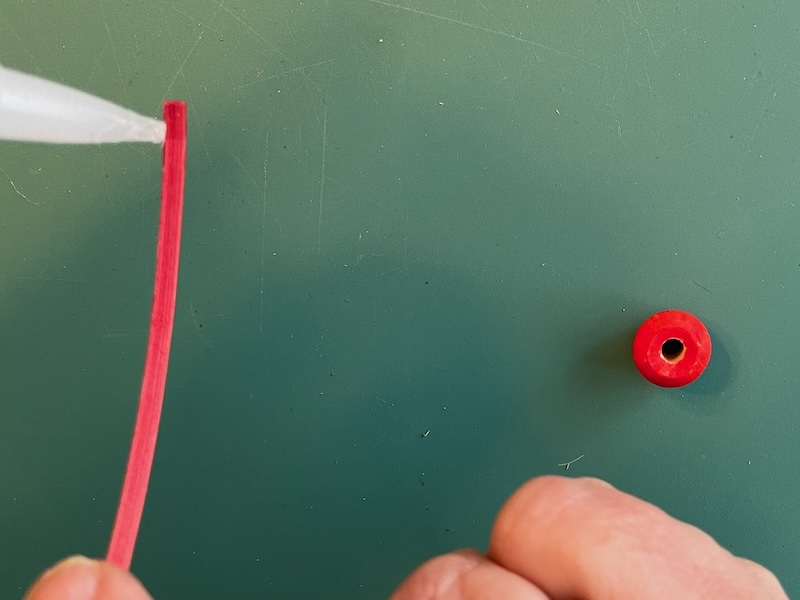
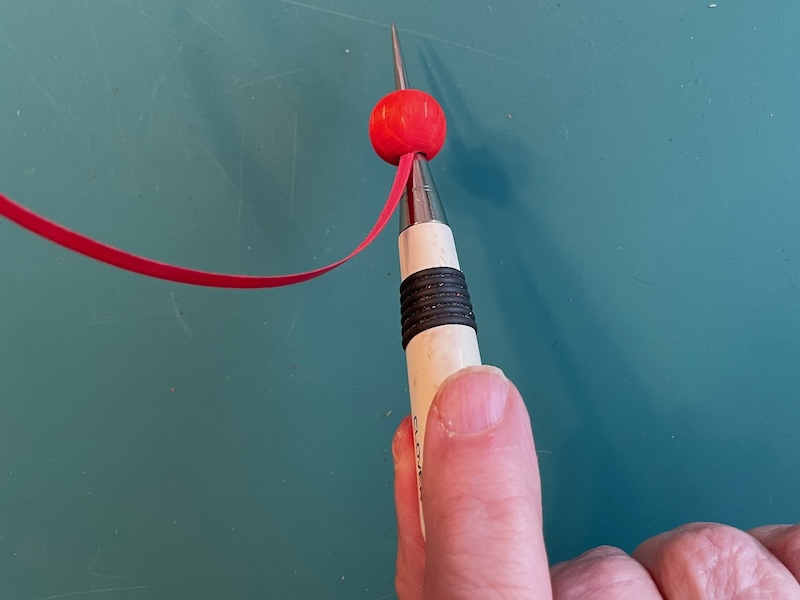
Press it down into the hole of the bead.
Let it dry.
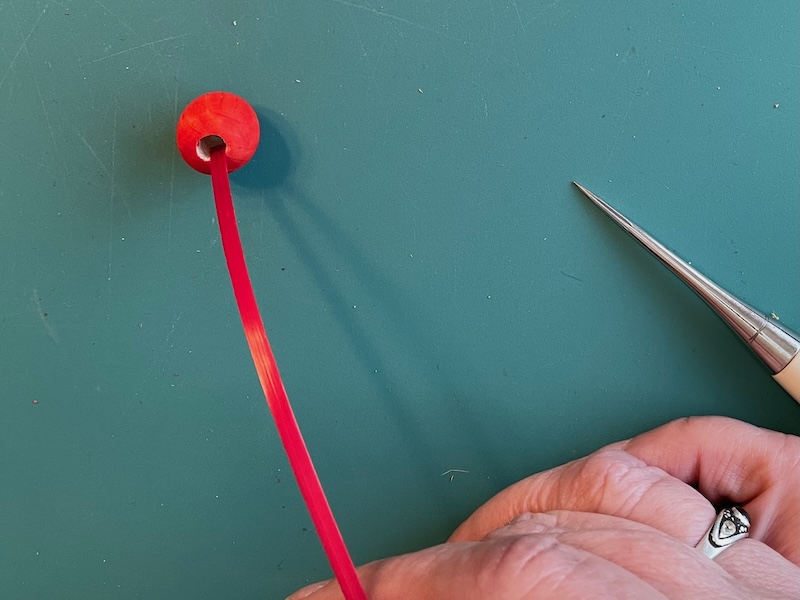
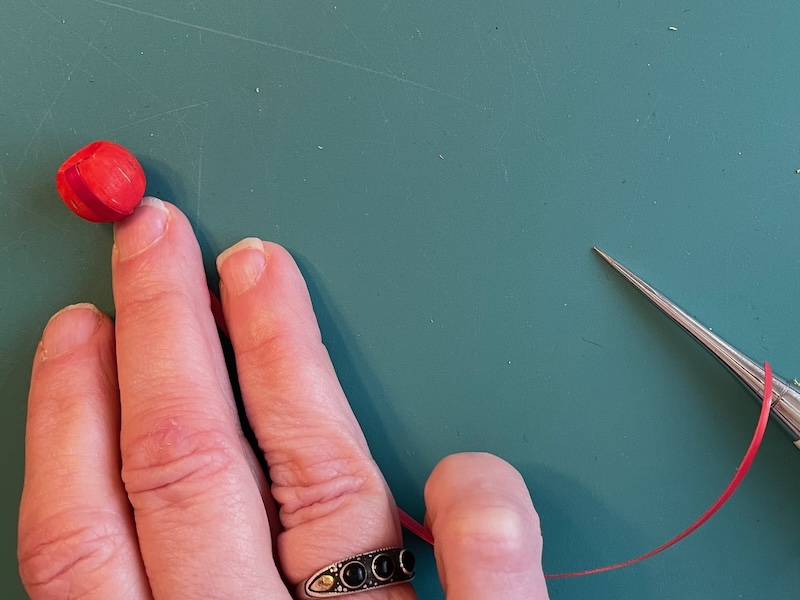
Start wrapping it around the bead and up the inside.
Continue doing that spacing each outside pass about a straw width apart.
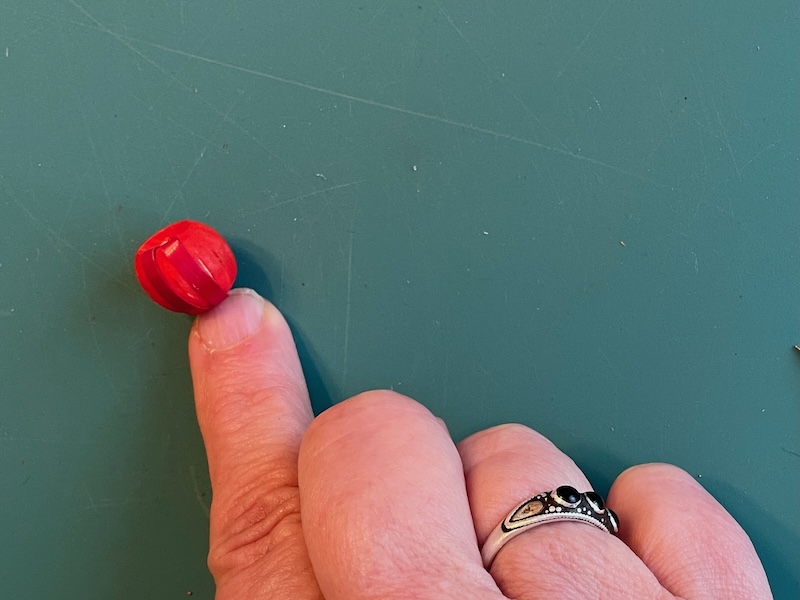
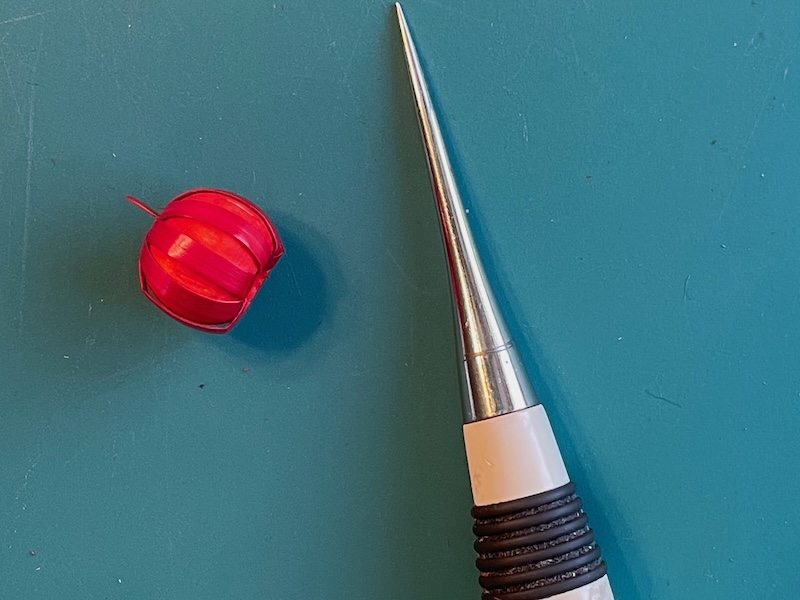
You should be able to wrap it 8 to 10 times. If you have not covered fully around with the first splint then pull the first one down the hole and began another one as with the first and continue wrapping.
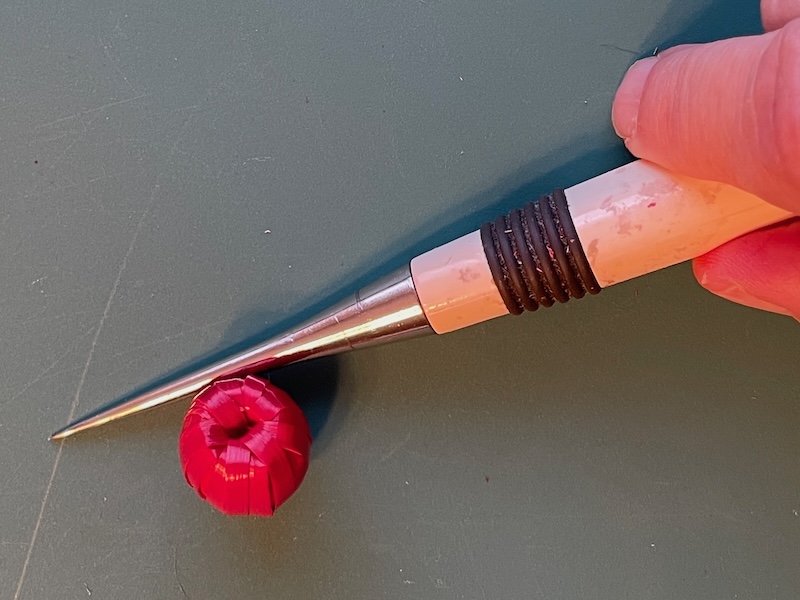
It’s really important to keep the hole open so the all is a perfect tool to do that.
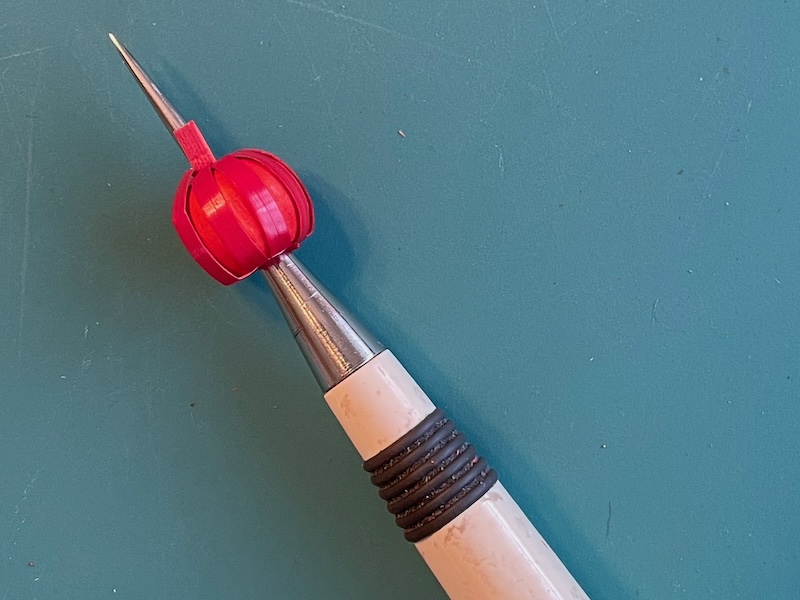
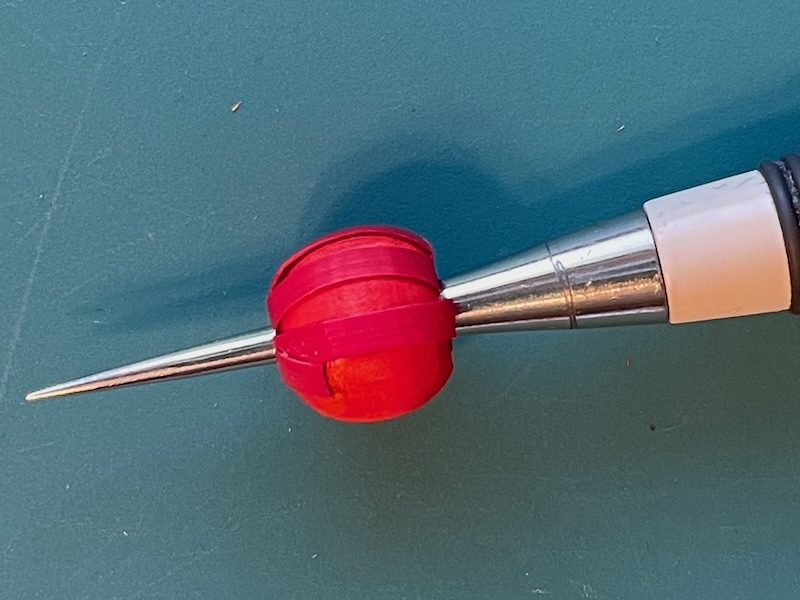
Insert it from both ends and twist it around a couple times.
Start another spline as needed. You will be covering the in-between spaces this time around.
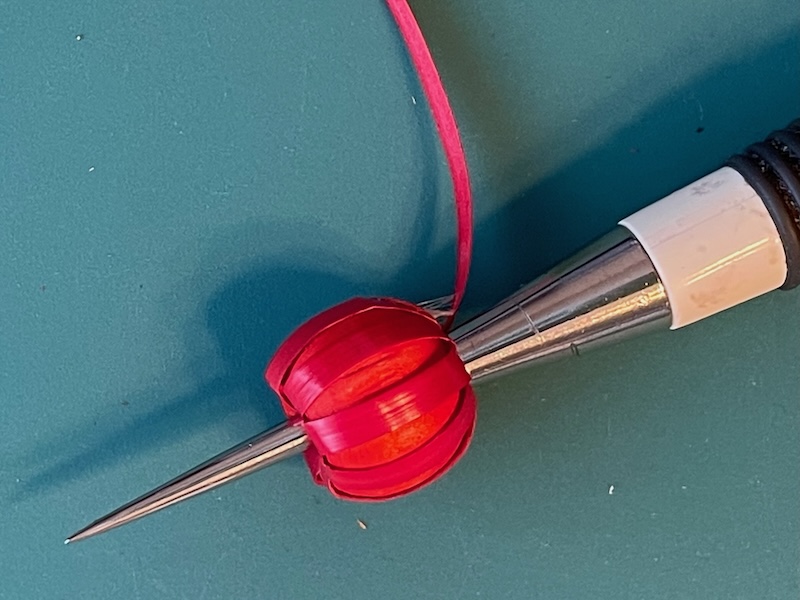
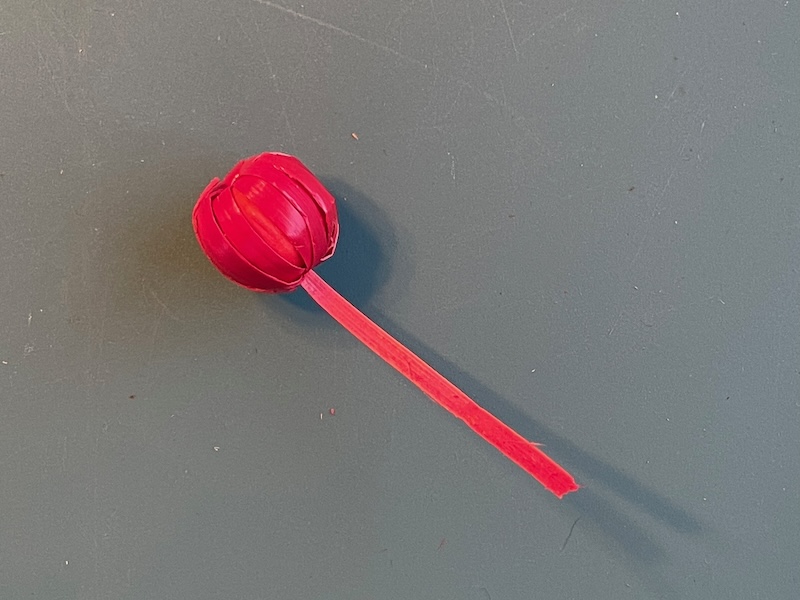
When you have covered all but the last two empty spots (they should be on opposite sides then wrap it around but not thru the hole. This into cover the hole on the bottom.
Use the darning needle to bring the last bit of the straw into the center hole. Make sure you push the bottom piece of straw aside so you do not pierce it. You can add a little glue to the straw as it goes inside the hole.
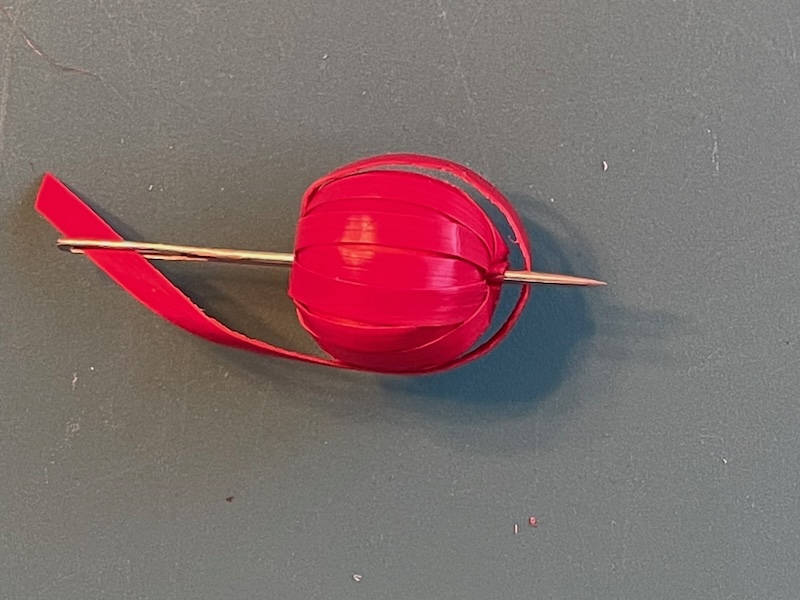
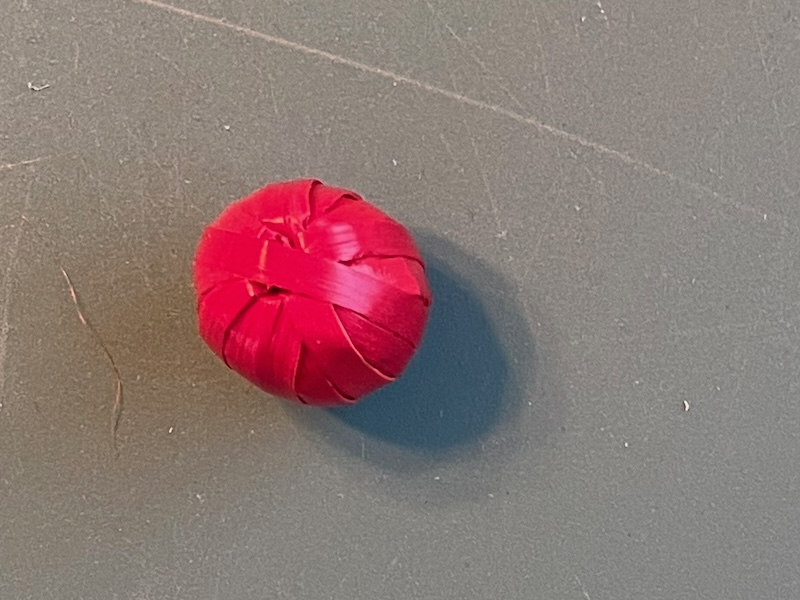
It should look like this from the bottom.
This is how it looks from the top side.
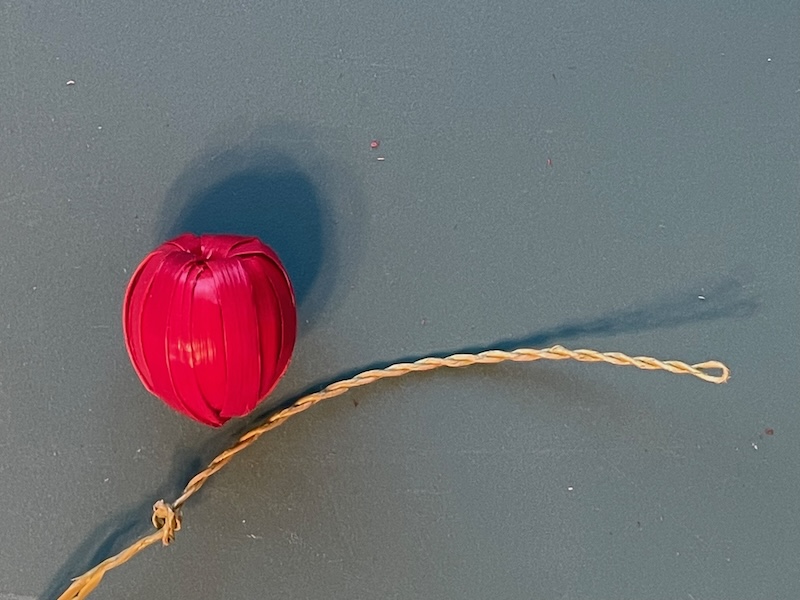
Tie a knot in the straw thread for the stem and trim it to about 1/2-1/4″ behind the knot. Add glue to the thread behind the knot and insert it into the hole.
When dry give it a tug to make sure it stays put.
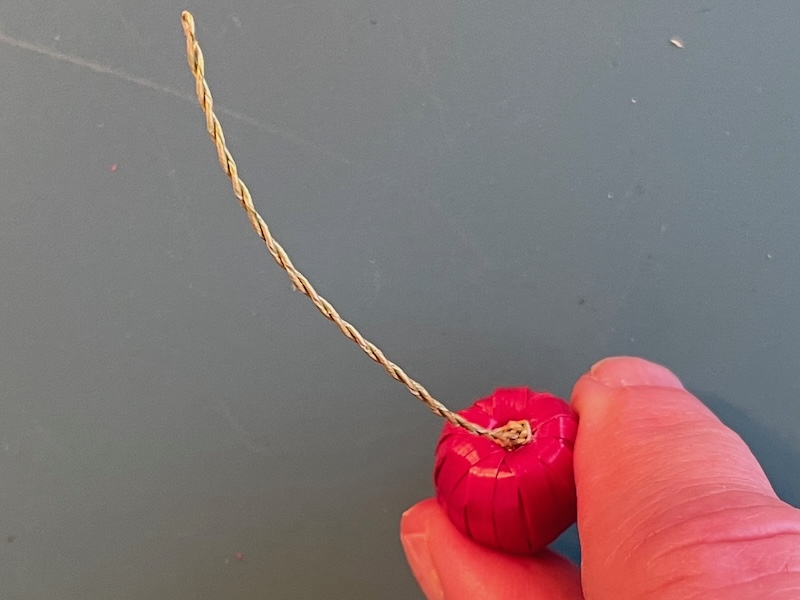

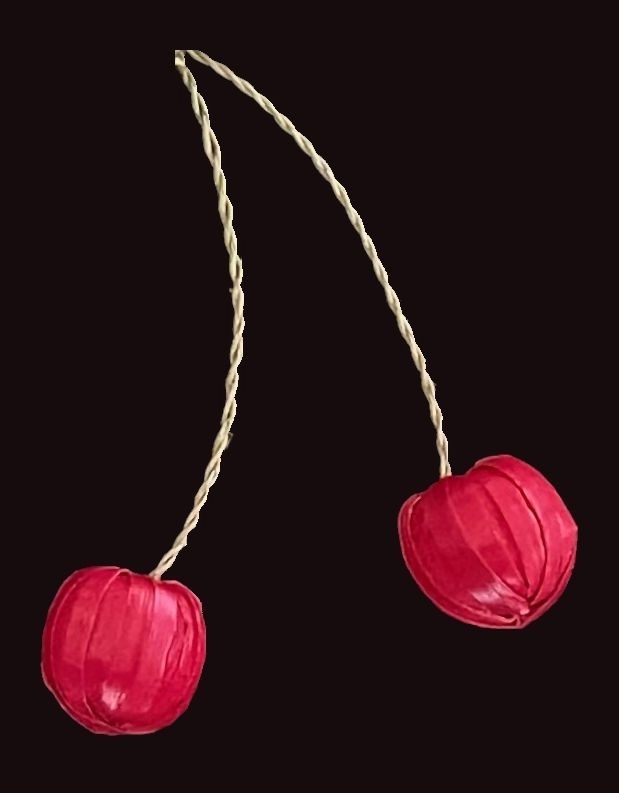
These are the two cherries I made.