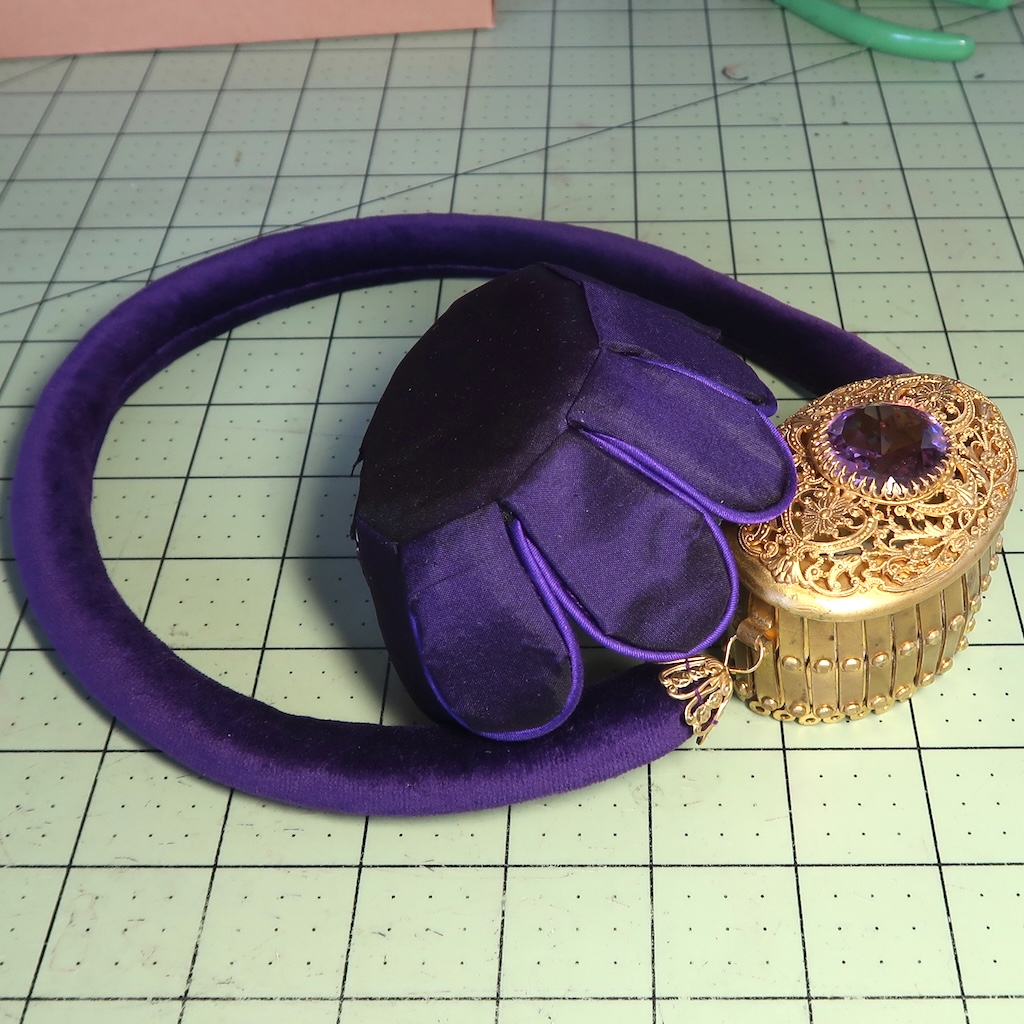
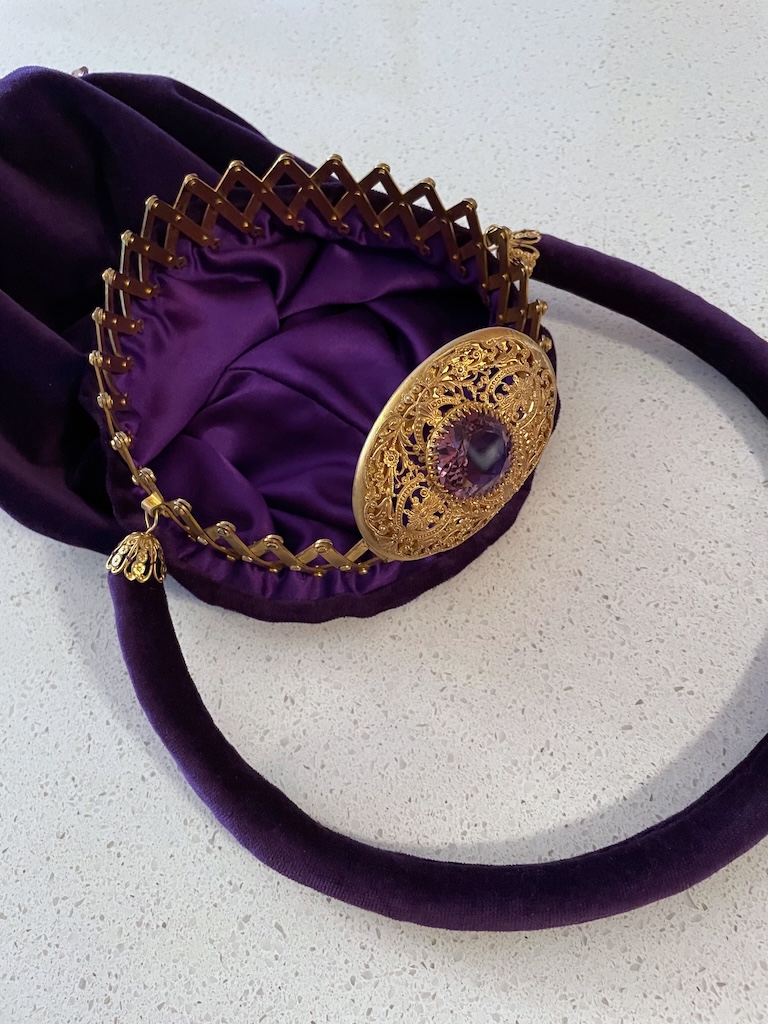
I found this hinge gate frame on EBAY I was drawn to it because it was the only oval (not round) frame I had ever seem. And with the purple stone and filigree cap, it was gorgeous for sure.
The frame
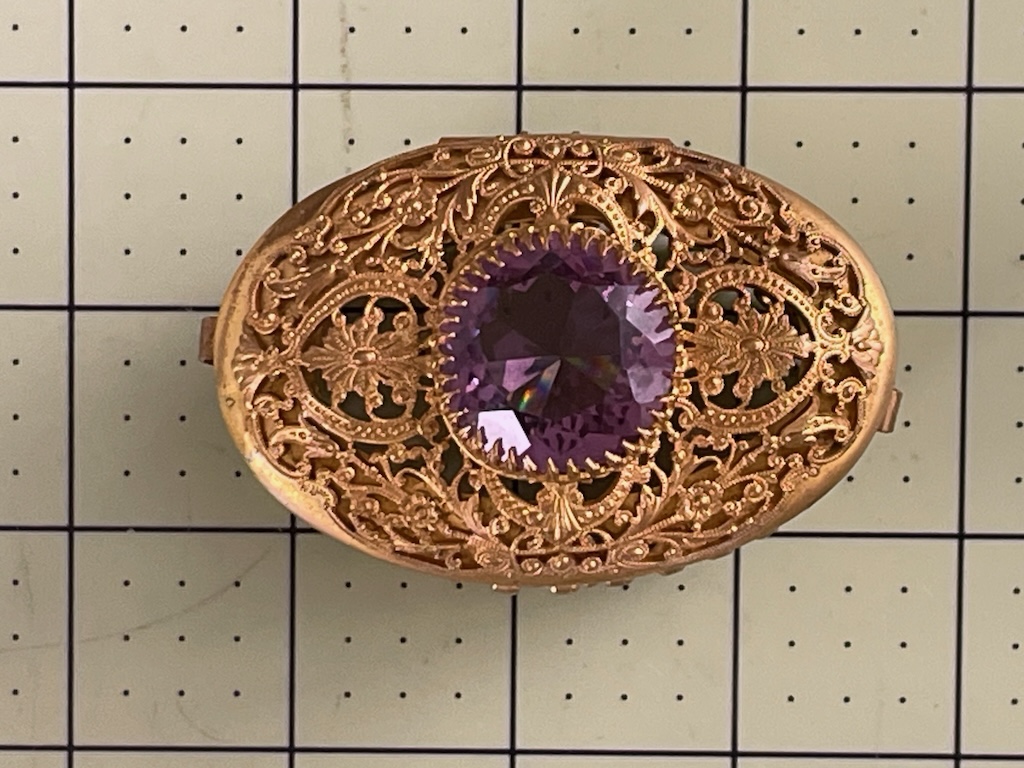
I did clean it a little but not too much as I did not want to damage it in any way. It was it good shape. There was a slight depression in the filigree which is not supported by the frame but it seemed minor so I did not try to reshape it because of the stone.
This is what it looked like from the side most of the metal in the gate hinge will show and was slightly tarnished.
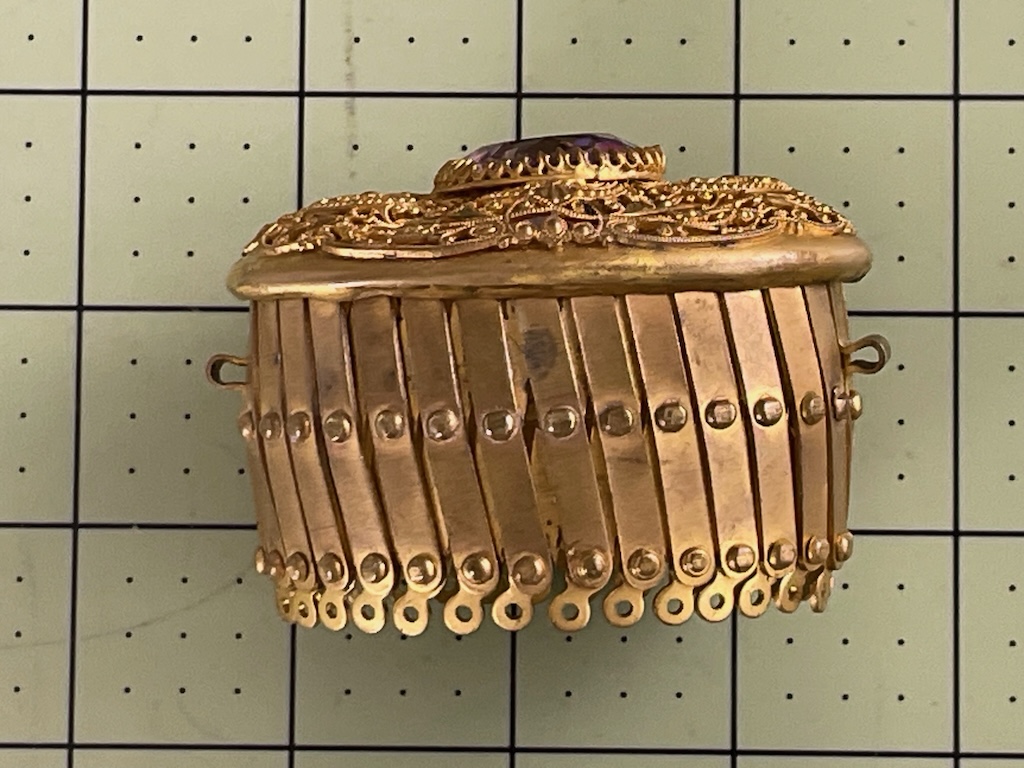
I just figured that even though it was oval it would work just the same as a round frame. The two most important things with a hinge frame are the numbers of metal circles and how large the gate frame gets when it is open. this frame has 30 and opens to about 6″ across. I could have stretch it open more that that buy 6″ is a good size for ones hand to slip into.
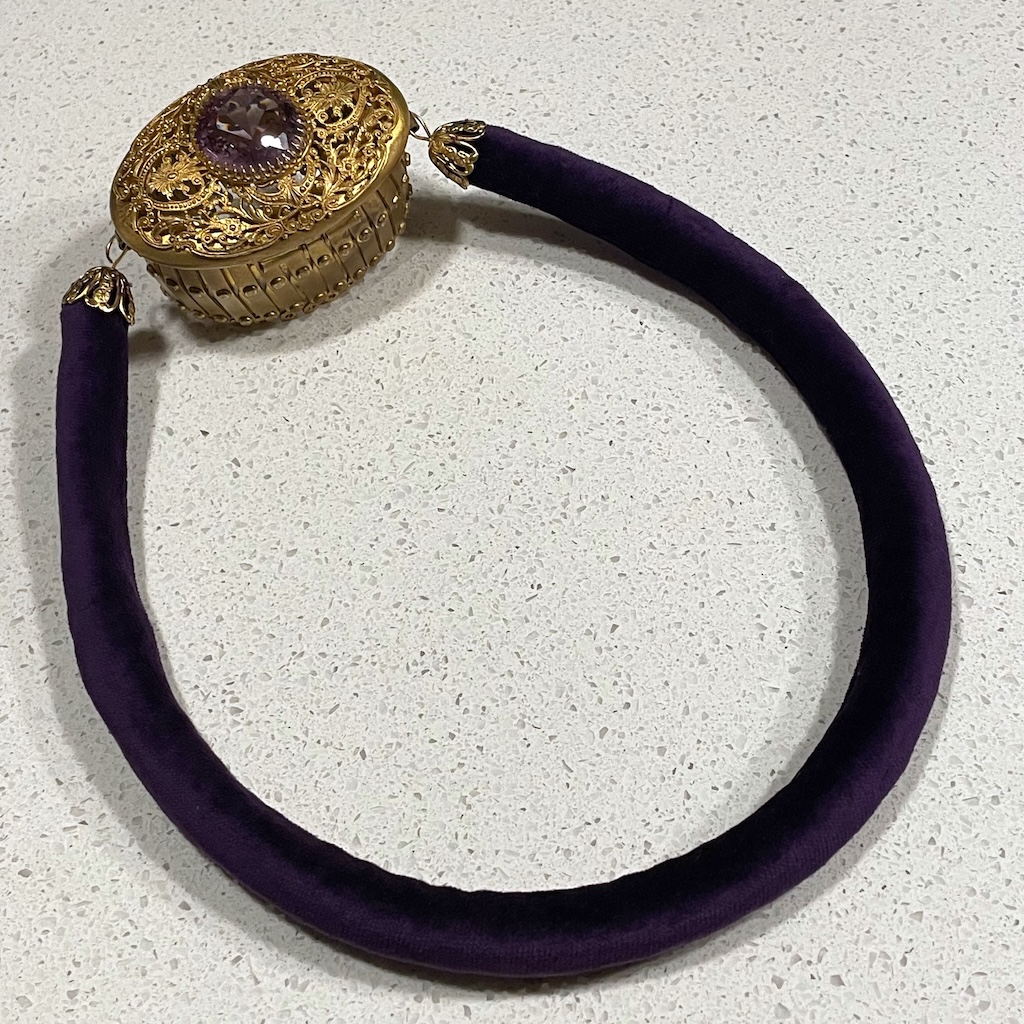
Handle
One of the first things I did was to look thru my chains to see if I had anything that would make a nice handle. I did not have anything so I decided to use the fashion fabric from the bag to make a handle. I cut a bias strip long enough to sew into a tube to cover a 20″ length of 3/4″ wide upholstery welting. The ends of the fabric are gathered and covered with a large cone bead. The cone beads have heavy head pins inside the end of which I shaped into rings so it could be attached to the frame. To make sure the cone beads held well I stitch through and back into the fabric in several places.
Pattern

The 6″ diameter gives a circumference of about 20″ so, I went with that. 8-8.5″ deep seemed good so I drafted up this pattern. Below are two pdf it you want to print it out. Unless you find a frame with 30 attachment points they will not be that helpful.
You could white out my dots and add the correct # for your frame. You need to add 1 extra dot. Because the two dots on each end of the pattern form one dot when you sew the center back seam you need to add that extra dot. To pick which pattern to print note the page sizes use either 8.5by11′ or A4 depending on your printer paper.
Footing
The footing for this bag was made in a very similar manner to the footing for another hinge purse I made.
The only differences are that the shape of the tips of the petals are more rounded and when dry I trimmed the buckram as in this photo. That way I could use the tabs to outline an oval shape. I traced the closed frame to a piece of flat double buckram. Because the tabs were glued to the edge of the oval the overall shape was an oval.
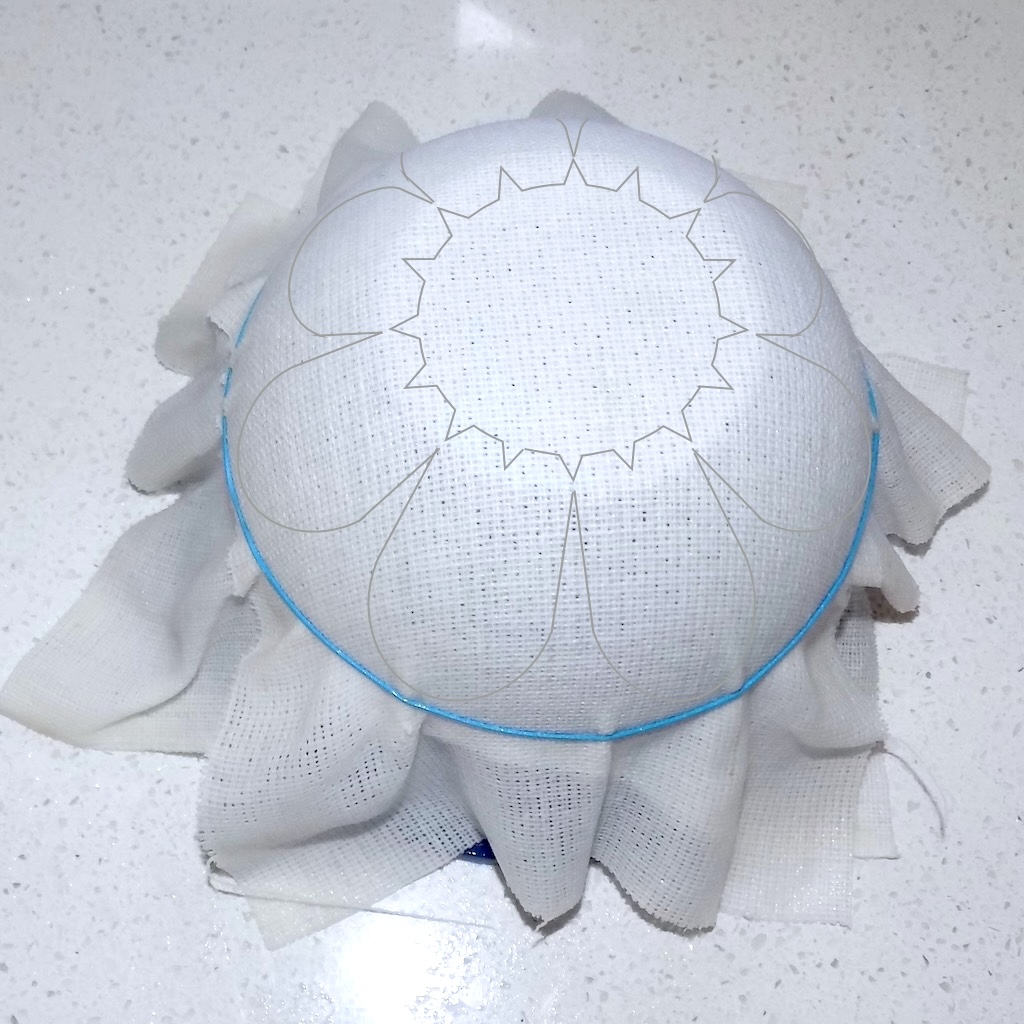
The use of a footing is not necessary as you can just gather the bottom of the fashion fabric and the lining separately to close off the base of the bag.
Sewing
- Transfer the dots from your pattern to the outer fabric or fashion fabric (FF) with a disappearing pen.
- WRST sew the lining and the fashion fabric FF together along the top edge.
- Press the seam allowance towards the lining side.
- Fold the fabric along the fold line on the fashion fabric pattern. The bottom edges of the FF and the lining should be even.
- Open the fabric and WRST fold it in half long ways so that the side seams of the FF and the lining meet. Sew it from bottom the top. Make sure that the seam between the FF and lining match and the 4 layers of the seam allowances are on the lining side.
- Turn it right sides out and tuck the lining to the inside even with the press line from step 3.
- By hand add a gathering stitch to both the FF and the lining along the bottom edge. You can gather them and tie the threads off with a bow so that later you can readjust the amount of gathering. Do not trim your threads unless they are really long.
- Open your frame to about the circumference of your fabric. With a doubled (strong matching colored) thread sew the first dot (the one at the seam) to the frame below the hinge. Use clips or pins to keep the fabric dots matched up with the holes on the frame. Sew each one in turn to the frame. Do this by going through the hole twice and then sewing to the next mark between the layers of FF and lining. Repeat until you get to the last hole.
- To finish off the bag. Un-tie the FF gathering stitches and loosen them. Tighten the lining stitches as much as possible making sure the seam allowances are outside the bag. Now tighten the gathering stitches on the FF as much as possible make sure the seam allowances are tucked in, Knot off and sew the threads inside the bag. If the fabric does not make a really tight gather and you are not adding a footing you can cover the hole with a covered button covered with your FF.
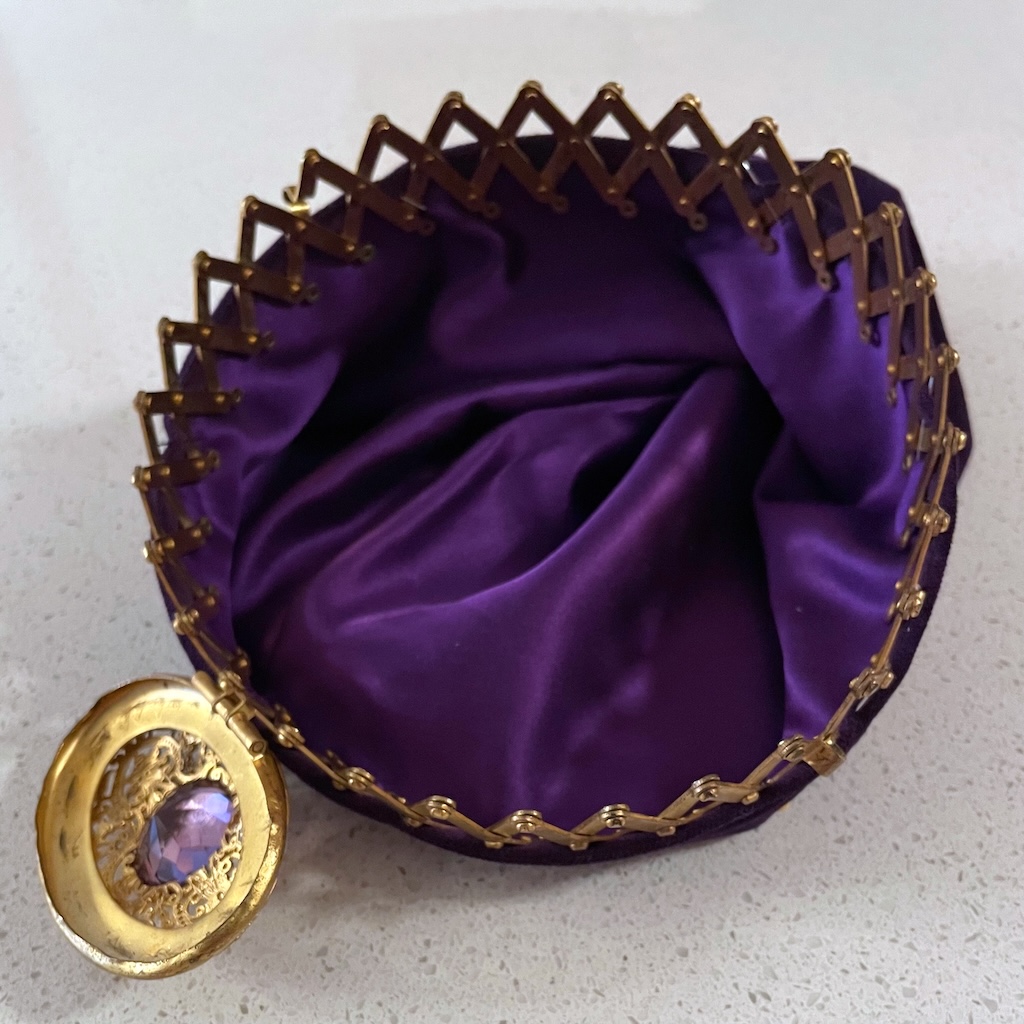
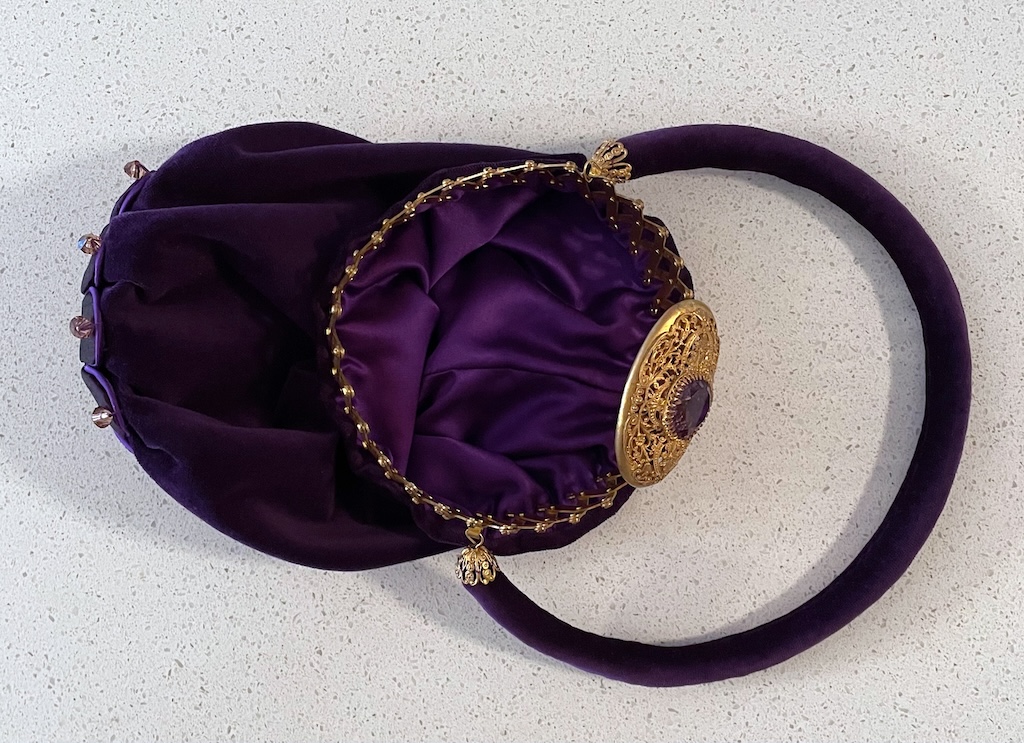
Fabric sewn onto the frame. You can see in this picture that the folded edge of the FF fabric is even with the middle of the hinge gate while the holes are just above the seam between the FF and the lining.
Most of the time you are sewing the frame to the fabric the cap has to be folded back like in the picture above and the hinges open as far as possible to stretch the fabric opening, this keeps the stitches even and makes sure that you stitch length between each hole is the right length..
9. To finish off the bag, un-tie the FF gathering stitches and loosen them. Tighten the lining ones as much as possible making sure the seam allowances are outside the bag. Now tighten the gathering stitches on the FF as much as possible make sure the seam allowances are tucked in knot off and sew the threads inside the bag. If the fabric not make a really tight gather and you are not adding a footing you can cover the hole with a covered button covered with the same fabric as the outside.
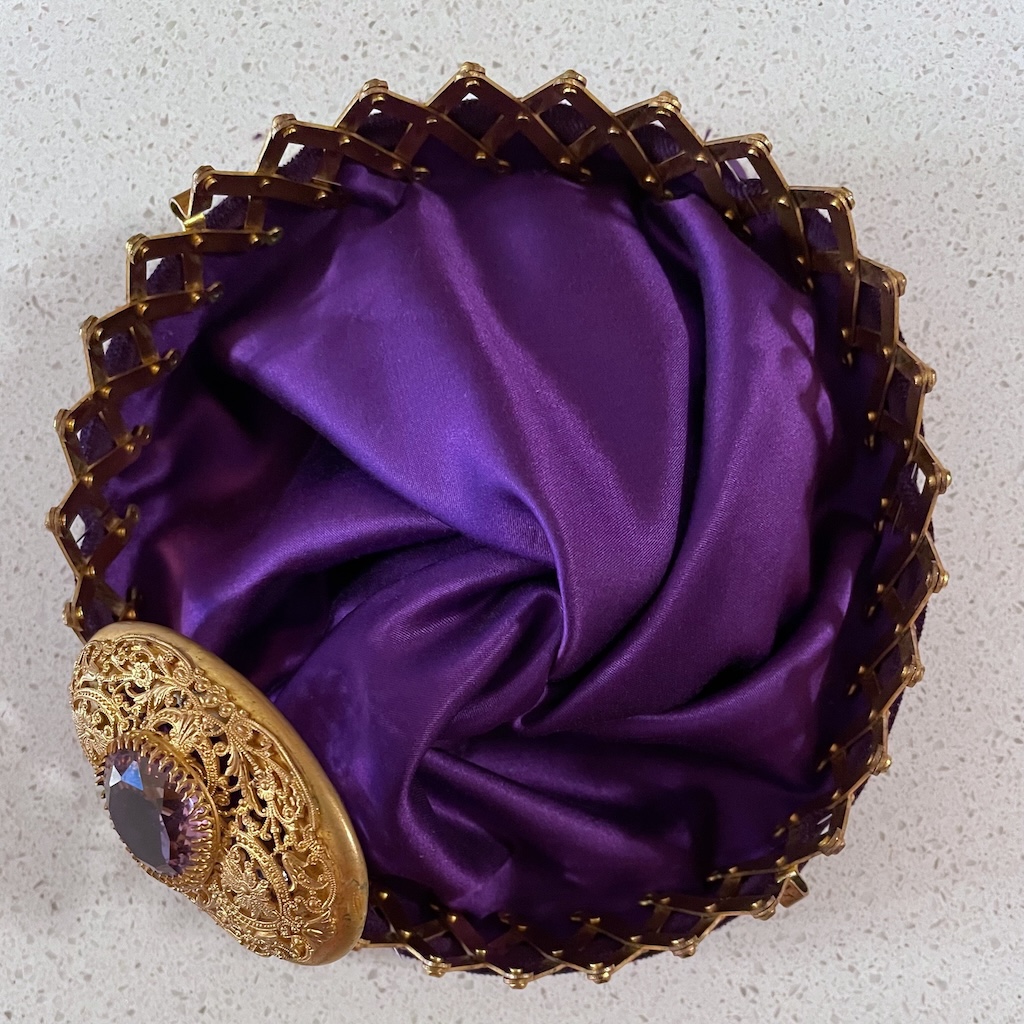
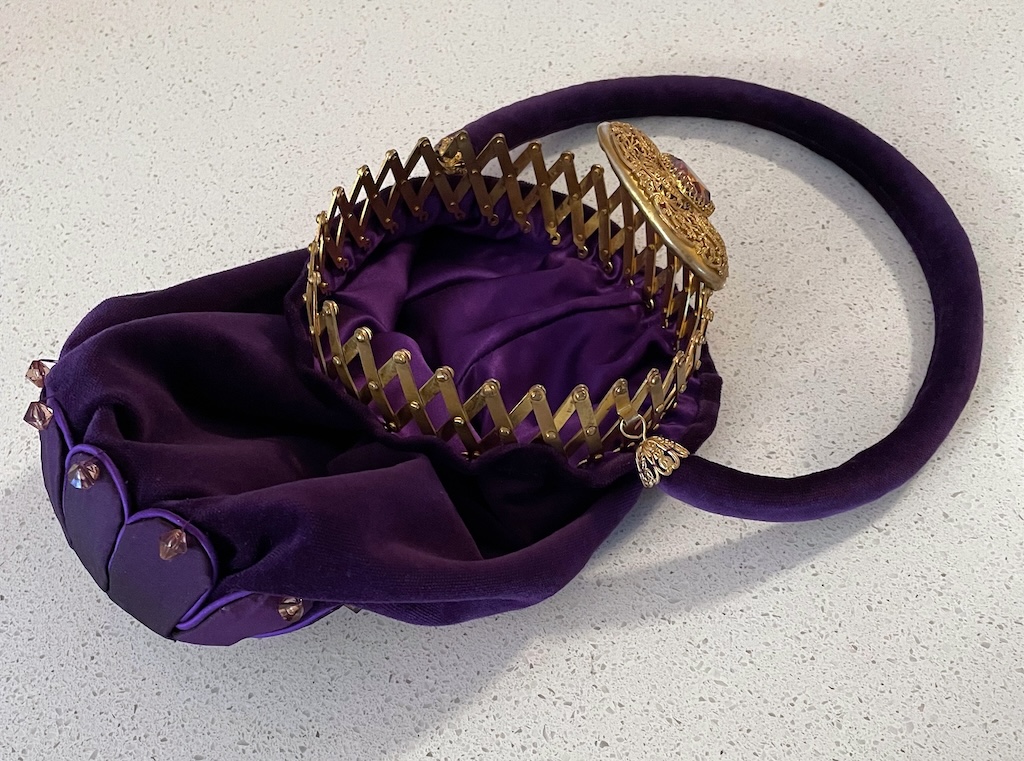
Finished bag laying down with the hinge gate open as far as possible.
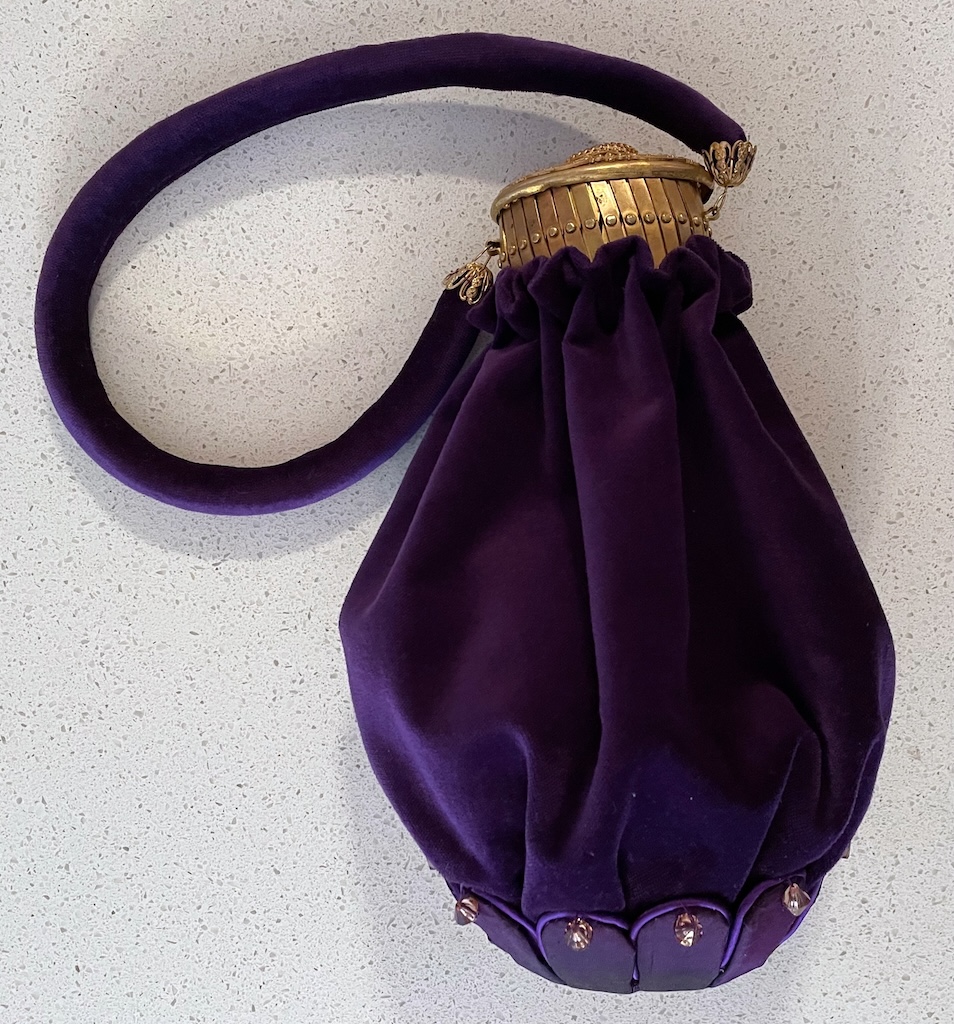
More pictures of the finished bag..
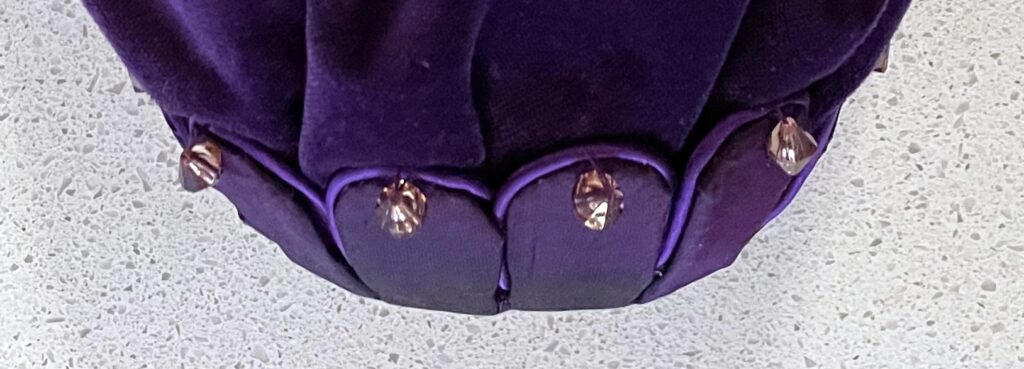
This is what the base looked like up close. The bag is glued into the center oval of the footing and each of the petal shapes is stitched to the inside of the bag through the beads. The oval of the footing needs to line up with the oval of the cap.