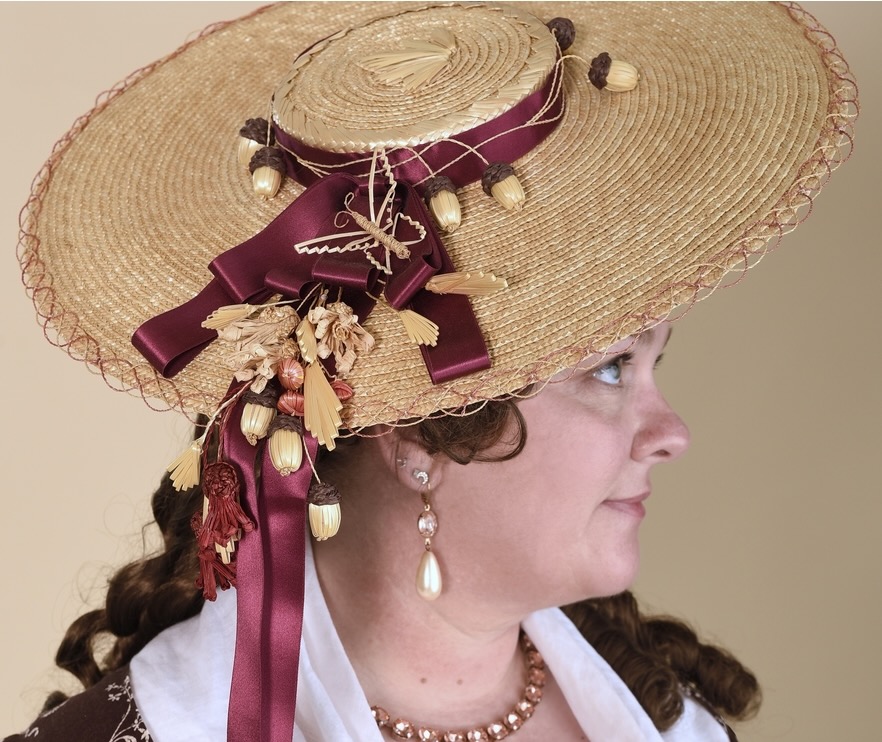
Brim Edge Twisted Straw Decoration
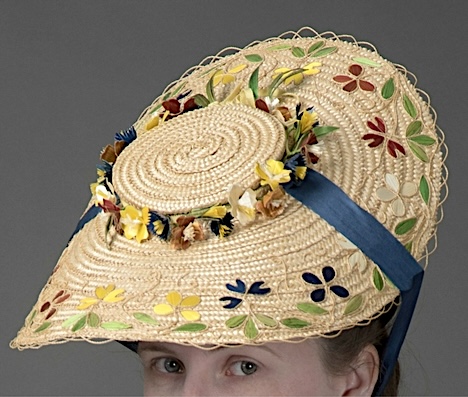
Laurie Tavan modeling the straw appliqué Bergere.
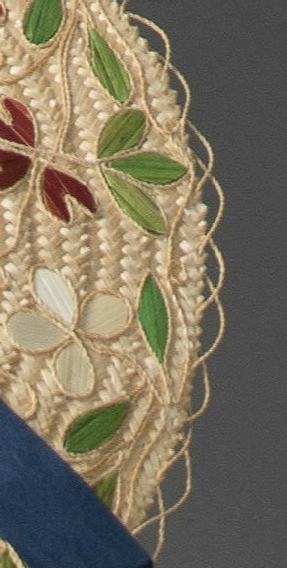
Adding a decorative edge with Rye straw threads is a very 18th C way to finish off your hat. Doing that on this hat with this straw plait was fairly easy because I could thread the straw thread thru an edge built into the straw plait. There are two threads that alternate just where they go thru the edge of the hat and then overlap the alternating thread. You can find out how to make straw threads in these videos and how to split Rye straws for threads in the middle of this article.
It is a slightly different story on this hat, Because the edge of this plait does not have spaces to thread thru the threads have to be tacked down with thread. I dyed half my Rye threads so I could have two “S” curve of each color along the edge. I marked out the places where the two threads would cross along the edge of the hat.
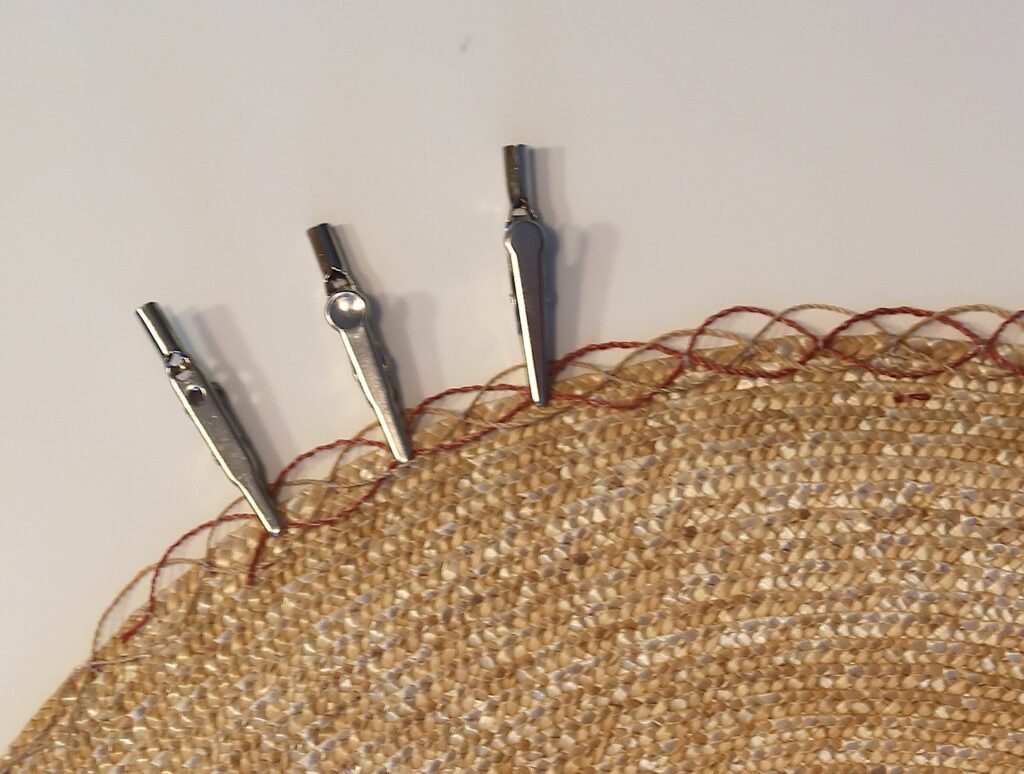
Then used clips to hold the cross overs down first on the natural and then on the red (shown here). I tacked down the cross overs down and the center of the curve on the brim side. Of course, I could not tack down the widest part on the other side because it hangs over the edge of the hat. Then I worked the red threads repeated the same steps but making sure to weave the threads under then over the natural straw threads. In this photo the red straws are being worked and the natural ones have been sewn down.

Edge shown when it has been tacked down.
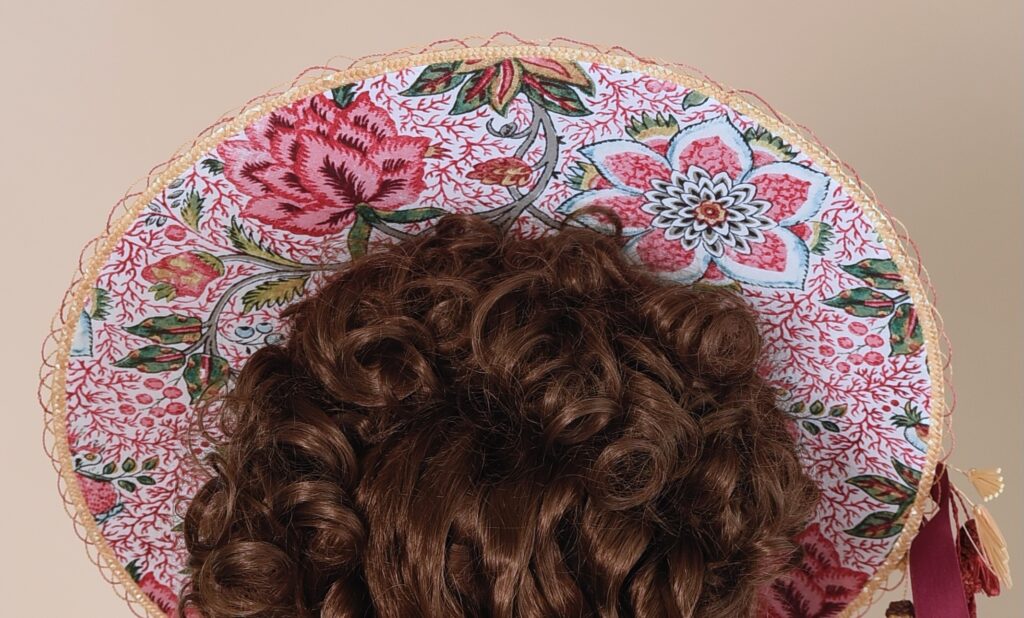
Edge seen from the underside.
Wide straw plait surface decoration
Edge seen from the top.

Wide straw plait can be added as a surface decoration. Here is how……
This straw plait is almost an inch wide. I cut enough to go around the hat about 1″ from the edge. I then dyed it with Rit dye. When it was almost dry I shaped it and clipped it down to the surface of the brim. Where it over lapped I cut both ends at a 45° angle to just meet up. When it was totally dry I tack glued it down the center of the wide straw to the surface of the hat and glued the ends together being very careful not to get any glue on the surface.
I then sew the wide straw through the brim with a matching color thread. If you angle your stitches to match the straw the stitches really do not show. One thing that is important when hand sewing on straw is not to pull you thread to tightly because it will cut through the straw. No worries that the color thread will show on the underbrim because that will be lined later.
Twisted narrow straw plait boarder
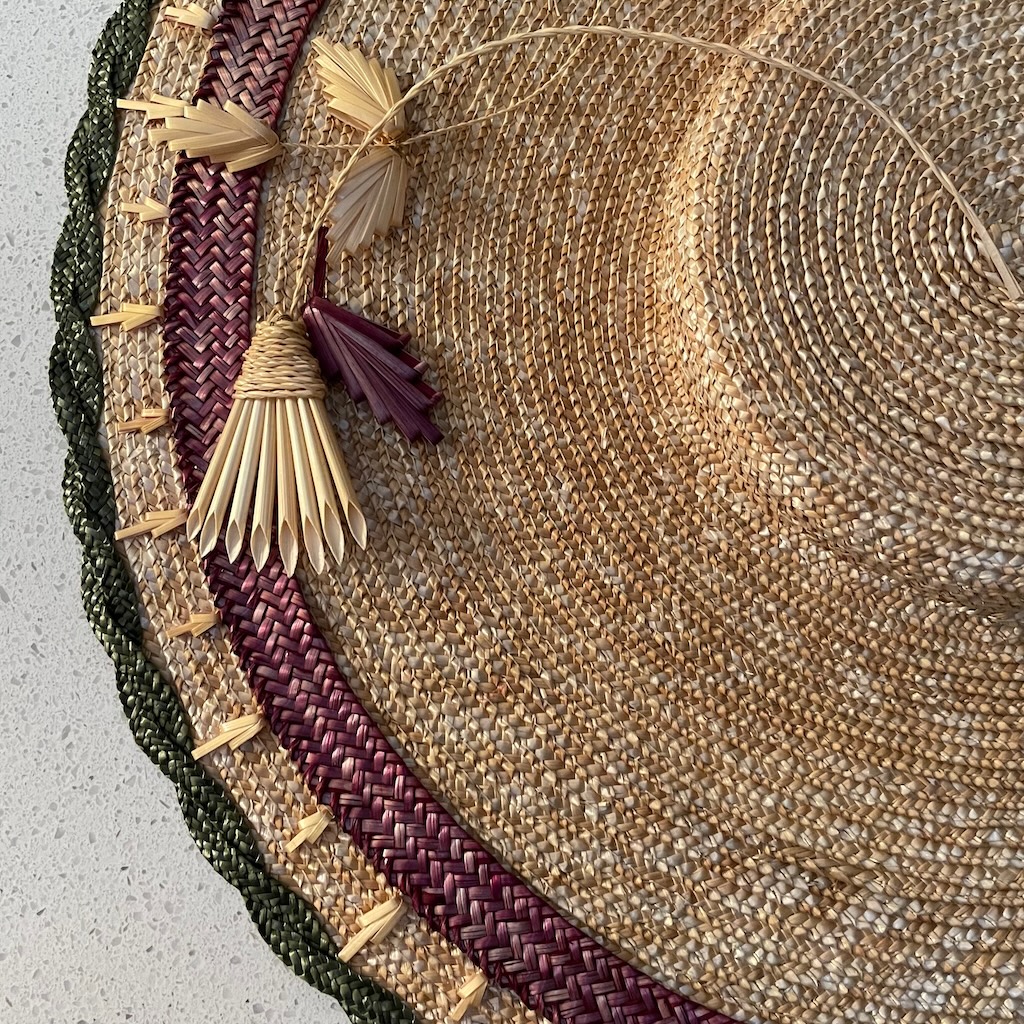
The edge decoration on this hat was made with two lengths of narrow straw plait. Here is how…..
I cut two lengths of 4mm straw plait that were long enough to go around the outside edge of the brim + maybe 5″. I alligator clipped the ends together side by side. Pinned that down to my board and started twisting the two together keeping them flat the board. Once I figured out just how long each of the segments should be I used a a ruler to measure just where I should make the cross over and add another clip.
When I started to run out of clips I steamed the length I had clipped. When that cooled I removed all the two clips on both ends. I finished the doing the twisting, clipping and steaming. I then clipped the twisted straw to the brim of the hat overlapping the last row of the brim starting from the center front. Then I sewed to twisted straw to the brim edge taking a stitch into each crossover and one between each crossover around the hat. I started sewing it down on one side of the center back then around to close to the center back again. I carefully cut the straw and re-twisted it so that the cuts would be under to of the neighboring crossovers and so out of site. I did use a little glue on the cut ends.
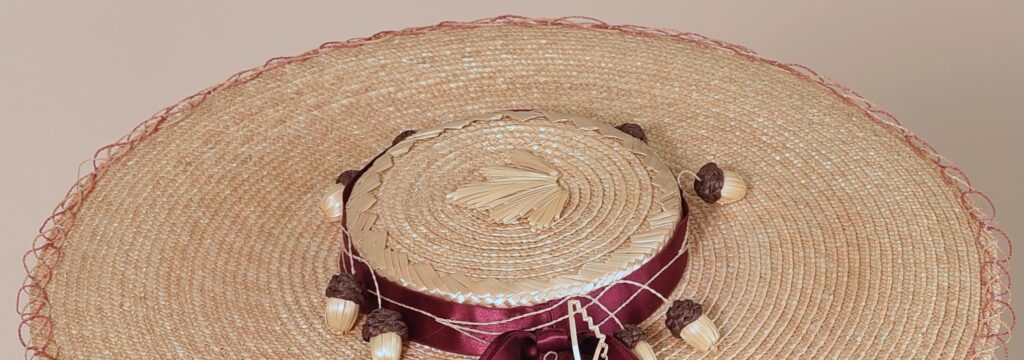
Crown edge with decorative straw.
The edge of this crown has a decorative split straw batwing plait which has been shaped over the crown mold so half covered the edge of the crown tip and half covered the crown sides, that part is covered by the ribbon. Here is how it’s shaped and added.
Note: the decorations on this hat are not historically accurate for 18thC but this hat would be perfect for any mid 19thC or later Fancy dress party.