After a while even a good quality permanently set synthetic wigs develop fly-a-ways and sausage (finger) curls that separate.

Here is an example. Noelle of Costuming Drama on YouTube has a two part 18th C wig. The upper half has medium length hair that forms soft curls and the back half has 8 to 10 long sausage curls. When this picture was taken you can see some long hairs have separated from the others just to the lower right of picture. Also some of the sausage curls had broken into two curls with half the hair. The long curls might seem to be a daunting task but, I will show that it not so bad.
You would only need 6 things:
- a wig (head) block, they are not all that expensive but I do have a free downloadable pattern on my site.
- Some long straight pins ~2.5″.
- Some shapeable long foam rollers these are 13/16″ around and ~12″ long.
- Some plastic wrap. Use this to cover the rollers so that the hair slips out much more easily.
- Wig comb/brush.
- Long hair clips.
- Hairnet for storage of wig.

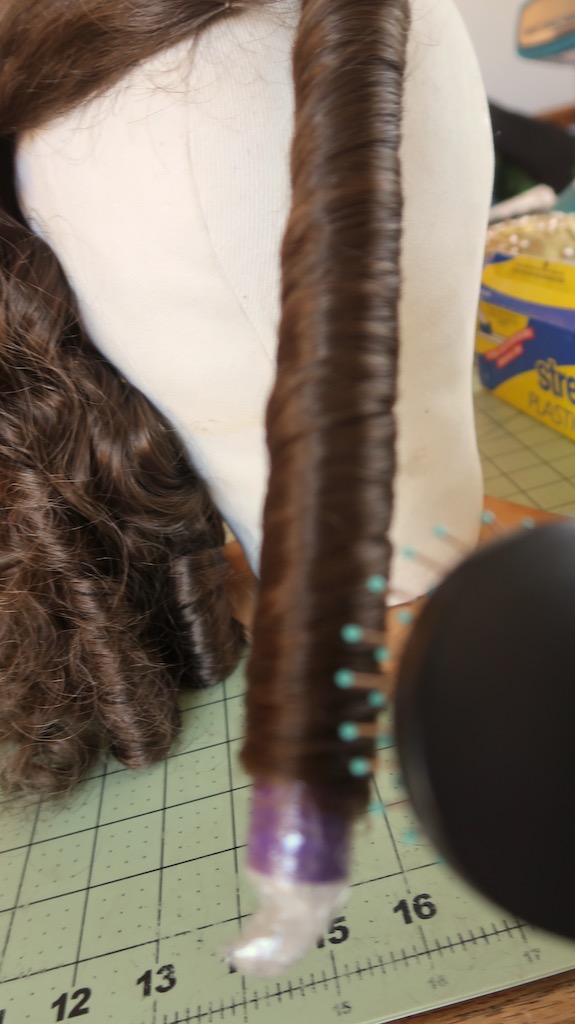
First pin the fall on the wig block and divide the hair into the number of sections you want. I chose 8. One at a time starting from the edge comb-brush the hair out so there are no rats. Pin one of the rollers just above the fall. Then wrap/brush the hair around the roller going down as you brush.
Bend the roller and shape it to the wig block and pin the bottom end of the roller to the base of the wig block.


One section at a time repeat the same thing.
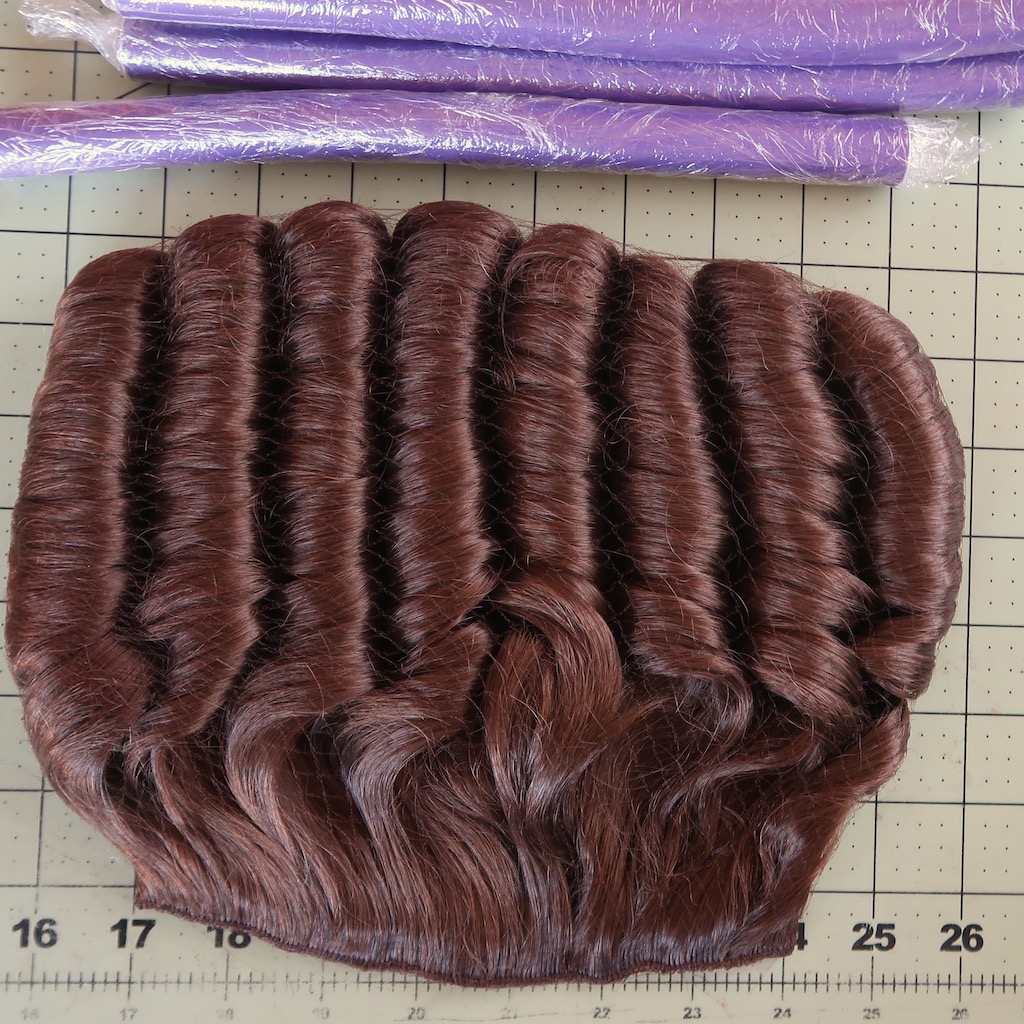
This is how it should look after 6 rollers.

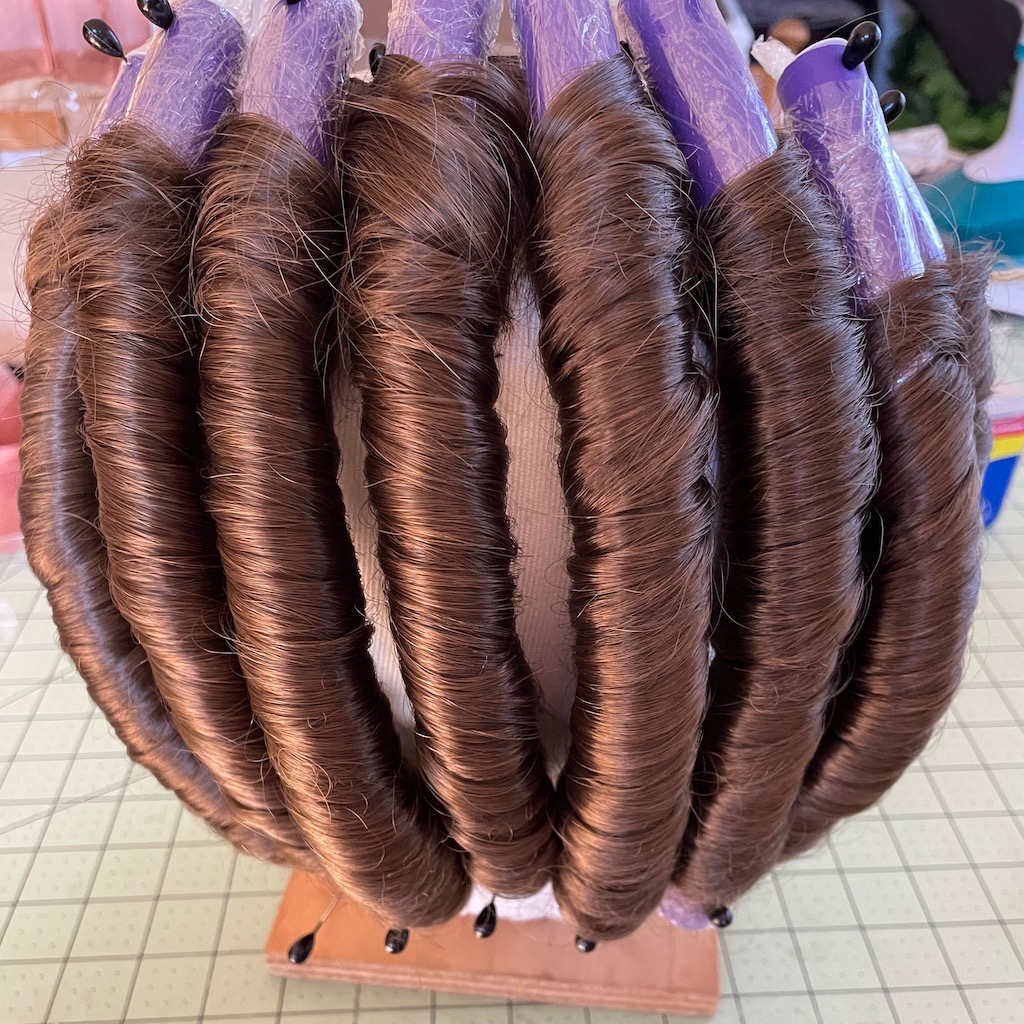
All 8 pinned in place. Because most all wigs/falls are made from weft which has the long hair sewn on to a tape then folded over there is always a section of short hair to the same amount. In this wig the short hairs at the top are about 2″ long so they need to be worked into the curls as well but as you see it’s a little messy for the first 2″. I should have used rolling papers which are cut from tissue paper that would keep it smoother there. But this section of the fall really does not show. So instead….
I stretched a hairnet over the first few inches of the rollers to help hold the short hairs in place.
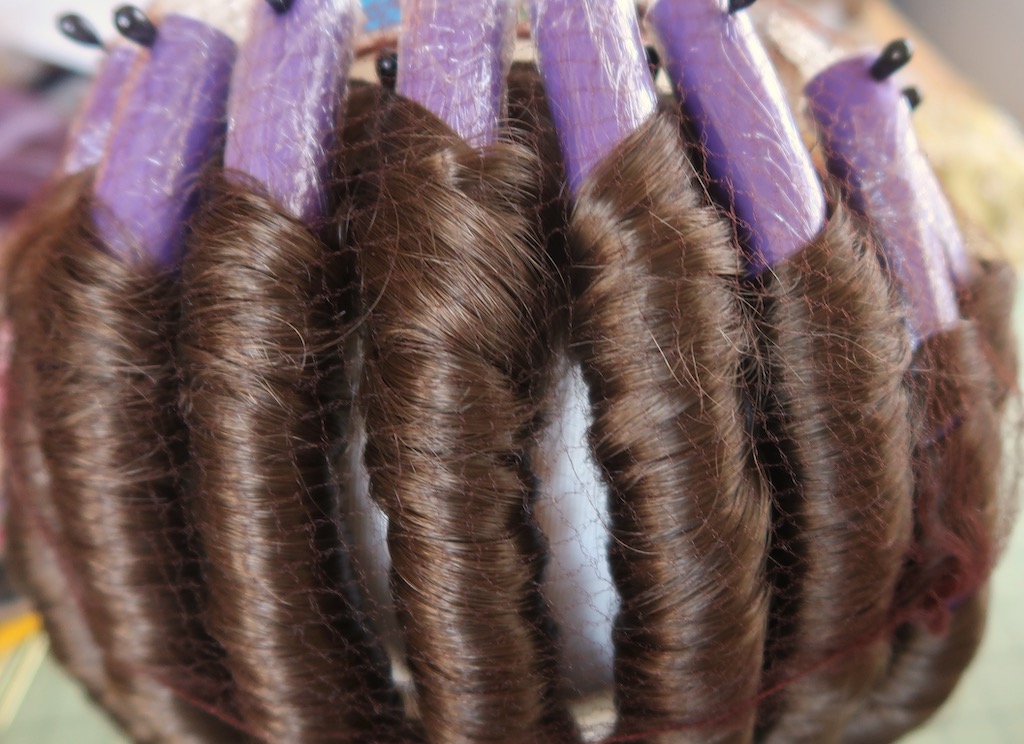
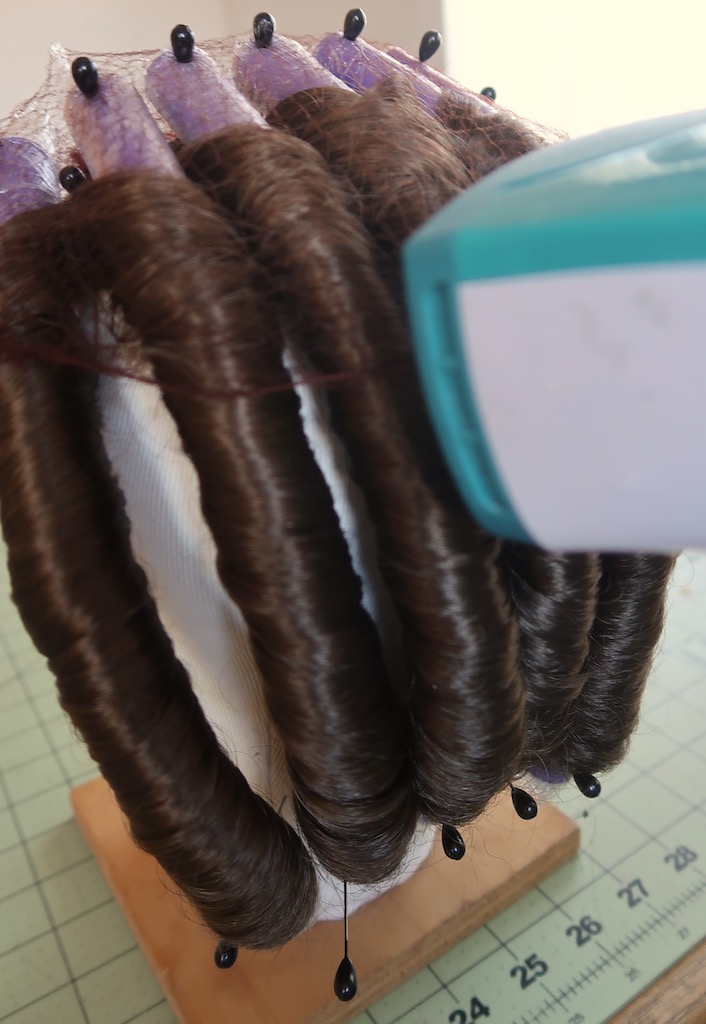
Then I shot some steam at the hair in the first few inches.
Then in order to steam both the front and the back of the curls you need to unpin the rollers along the bottom. Steam relaxes the curl in this type of synthetic hair then, cooling sets it. If I have room I like to toss the set hair and head into my freezer right after I steam it. But letting it air cool is fine. I have not done it but some people spray the hair with ice water and then let that dry to set the curl.
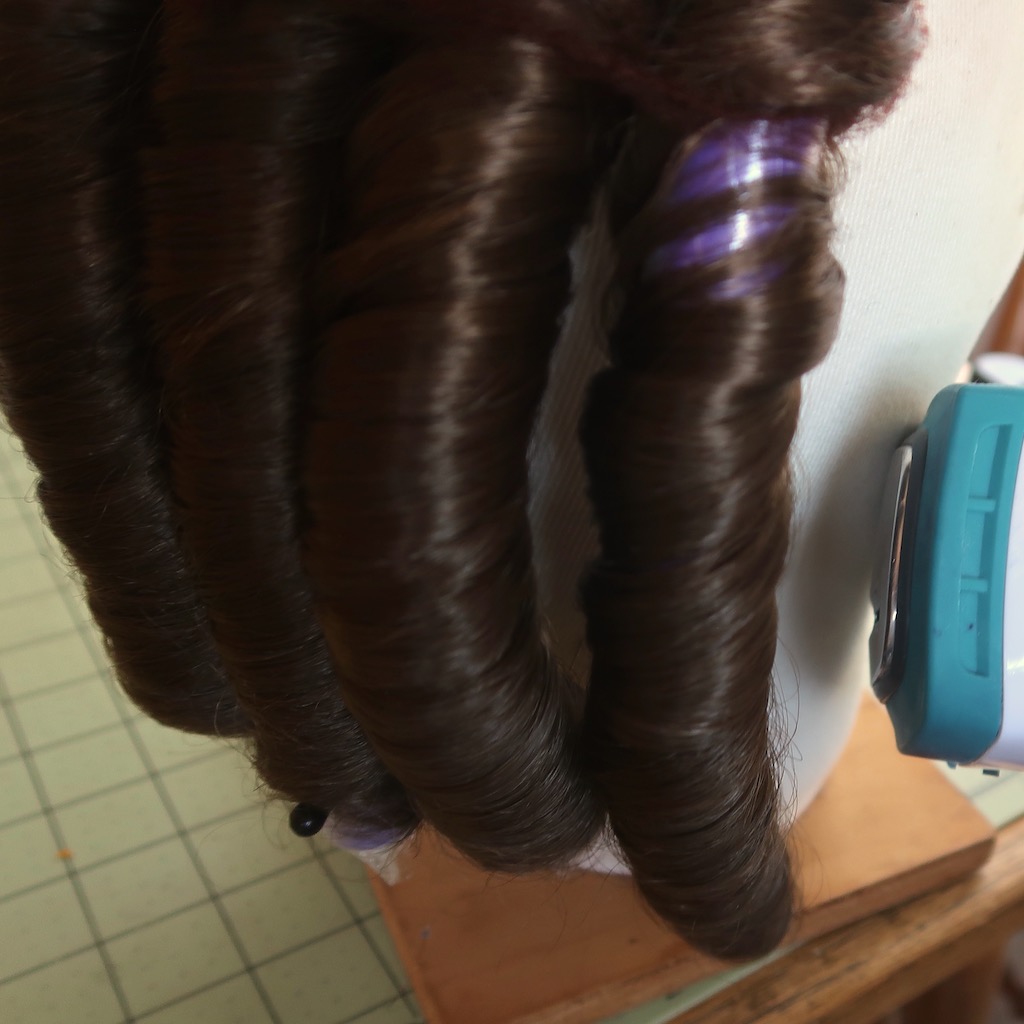
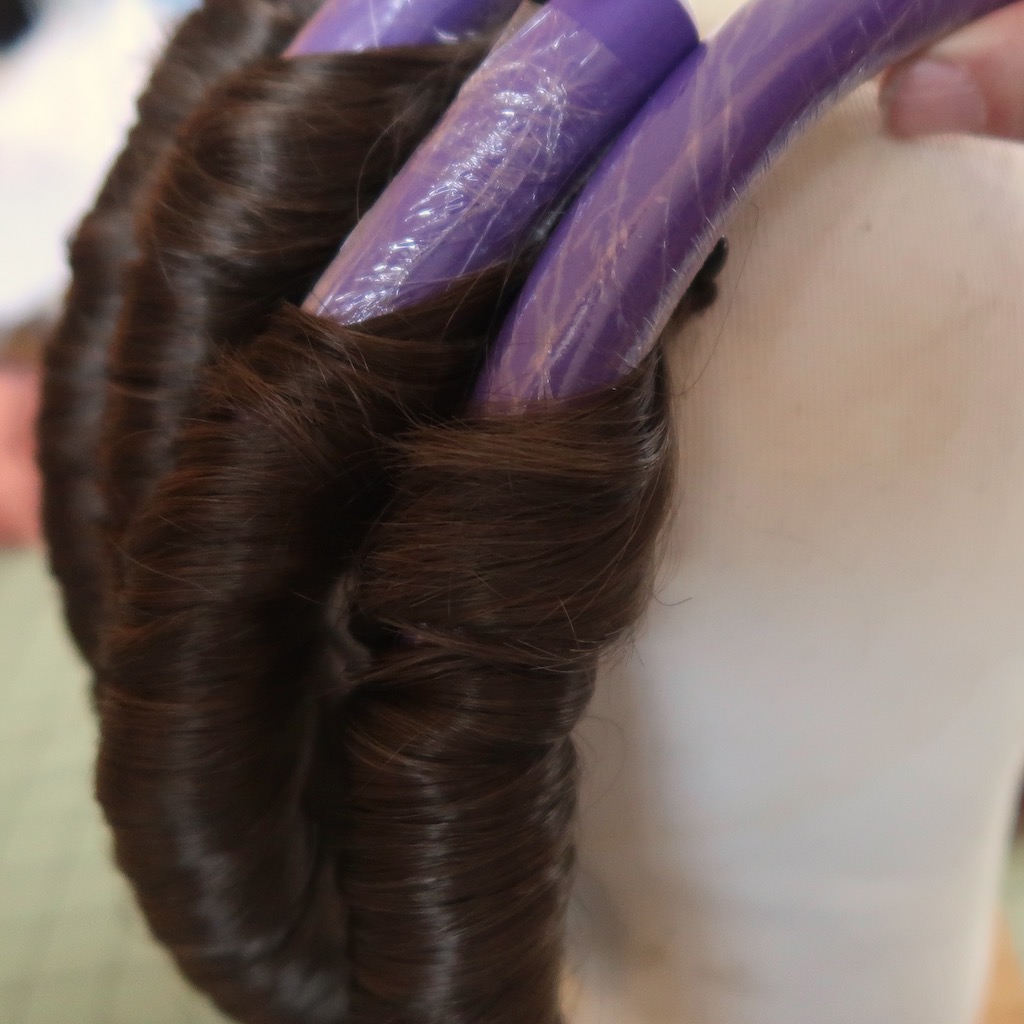
Because the rollers have been wrapped with plastic wrap they can be removed without un-rolling the curls they just slide out with a little jiggling.
This is what it looked like with the rollers removed.

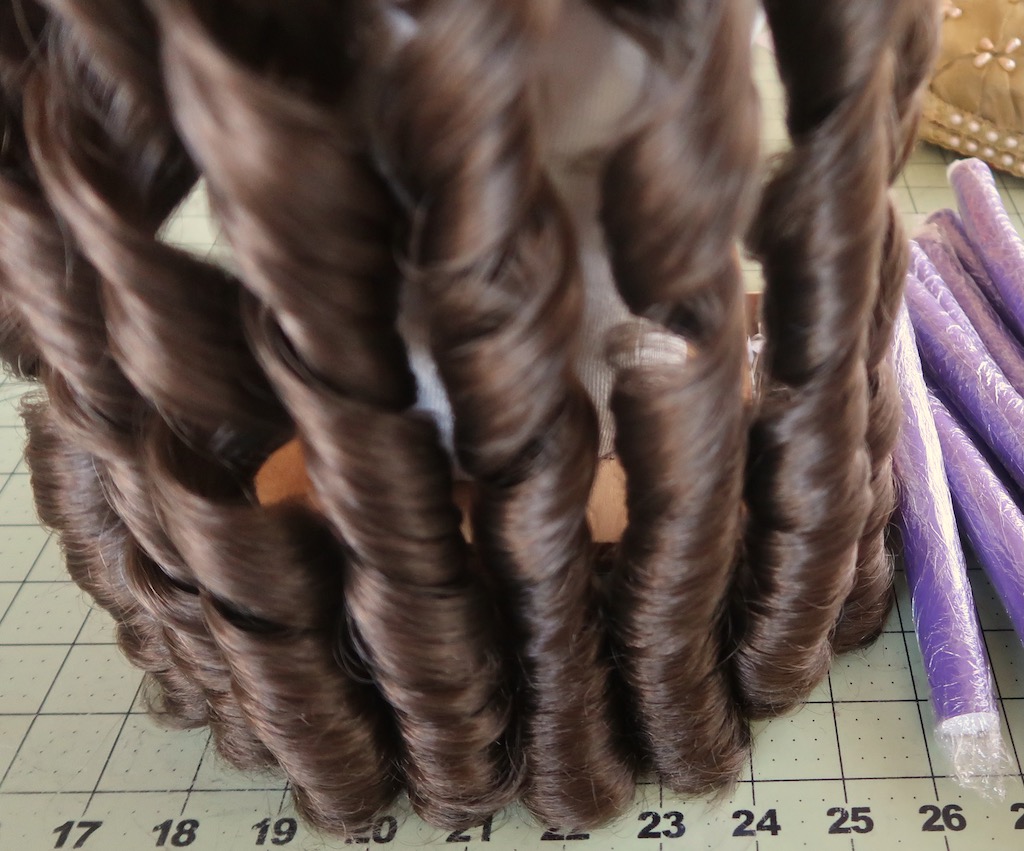
From another angle.
I then covered the entire fall with a hairnet. This is not a net for wearing it is to keep the hair from catching on the storage box or you could just roll down the top edge of the net so you could use the toupee clips to add the fall to your head then after everything is set or you reach your event you could take the rest of the net off.
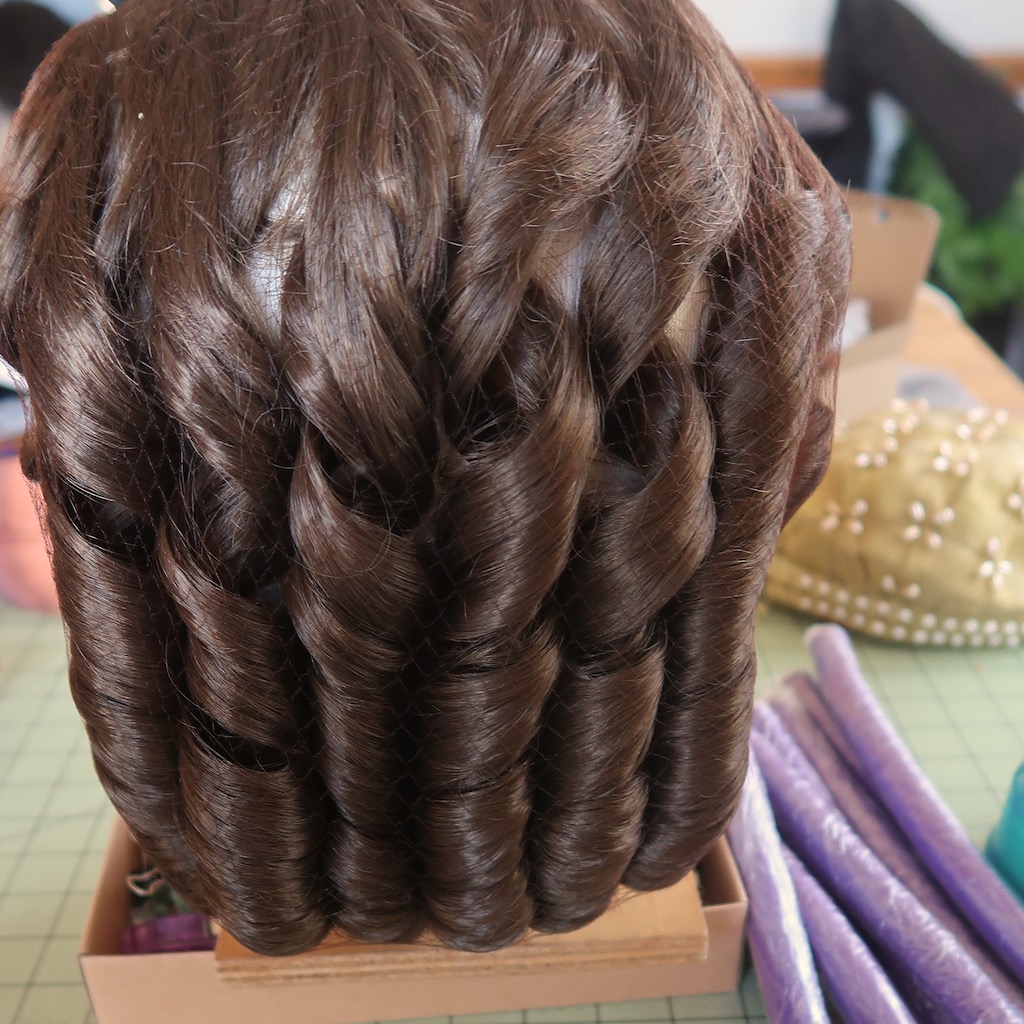

This is what the fall looks like from the back when inside the hair net. You can see the maker Jennylafleur of www.jennylafleur.com
This is what it looks like from the good side while inside the net.

This is the upper half of the wig. What needed to be done is just to comb out the rats and divide it into sections and finger curl it. Now that the rats have been combed out if wanted each curl could be divided into two by pulling on the curl dividing it into two sections and letting each half curl fall back into place, as it still has it’s original curl. It just got a little disorganized.
I could have reset, with steam the last row of curls in the back as the hair is longer in this part of the half wig and seems to be a little less organized. I do have another set of the long rollers about 1.5-2″ round, just so you know they come in lots of different sizes.
