How-to make this vintage style feather ornaments for hats.
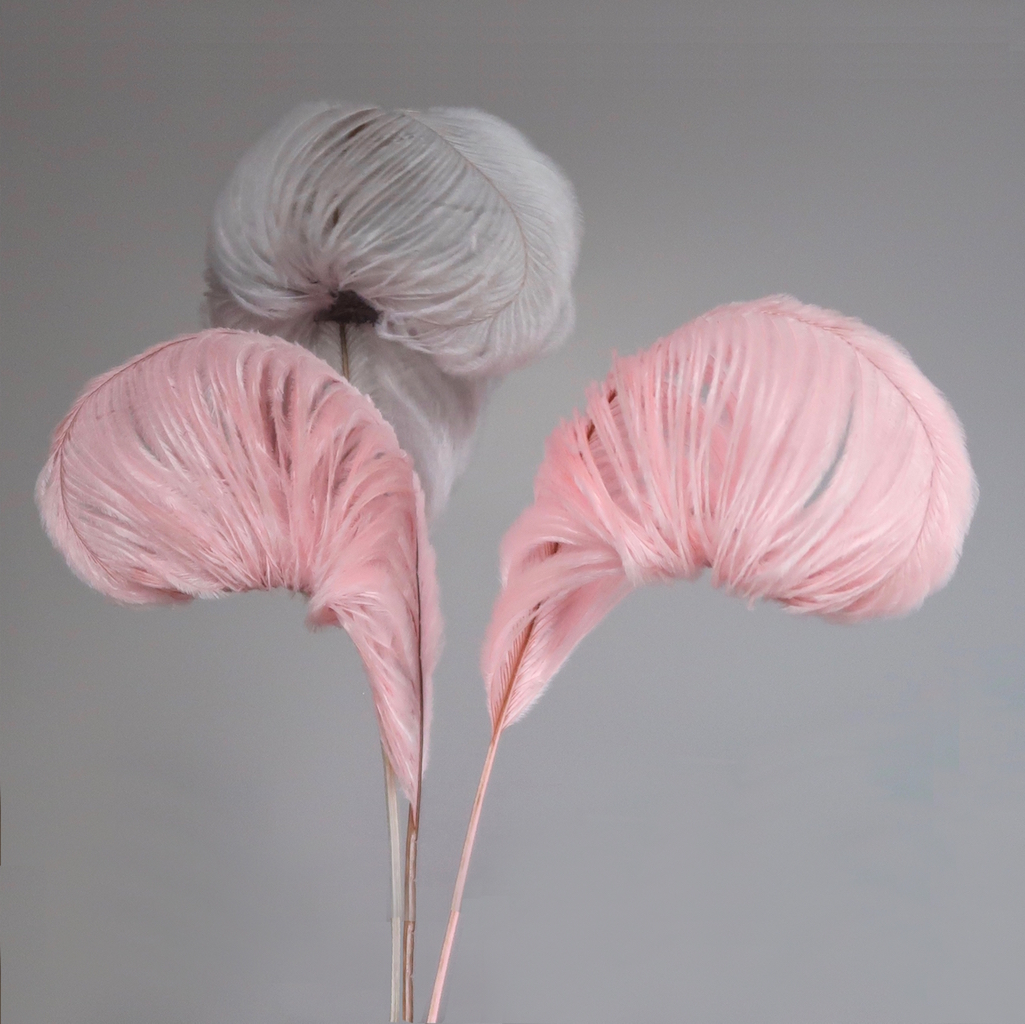
Three feathers turned into “fiddle-neck” shaped feather hat ornaments.
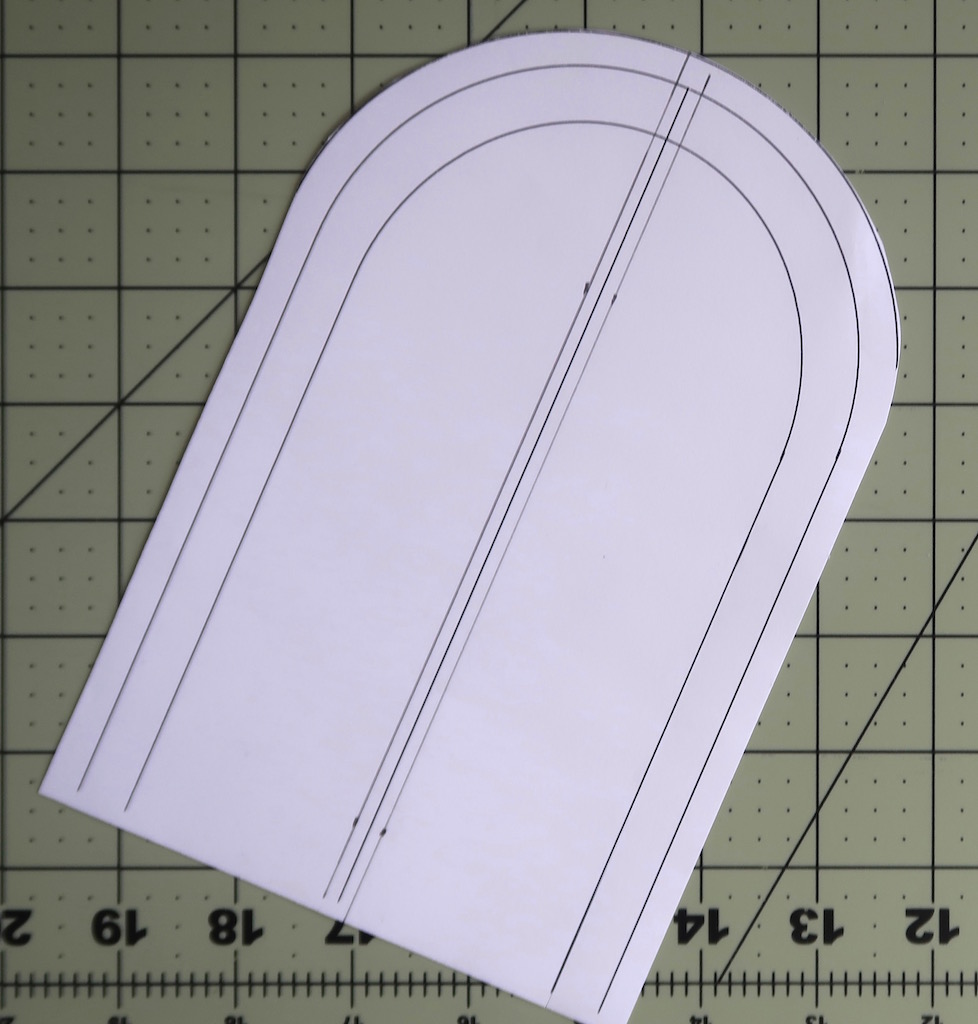
I start with a printed sticky label trimmed like this. The pdf file is at the end of the article. It is sized for a 16″ ostrich drab but you could size it up or down. Most printers take page size labels but you could transfer the lines by hand. Note: I altered the pattern just a little after I took the pictures to make it just a little wider at the bottom.
Print two of the pdf file one on a label and one on regular paper and cut out the outside U of the regular paper to use as a pattern for your iron on glue.
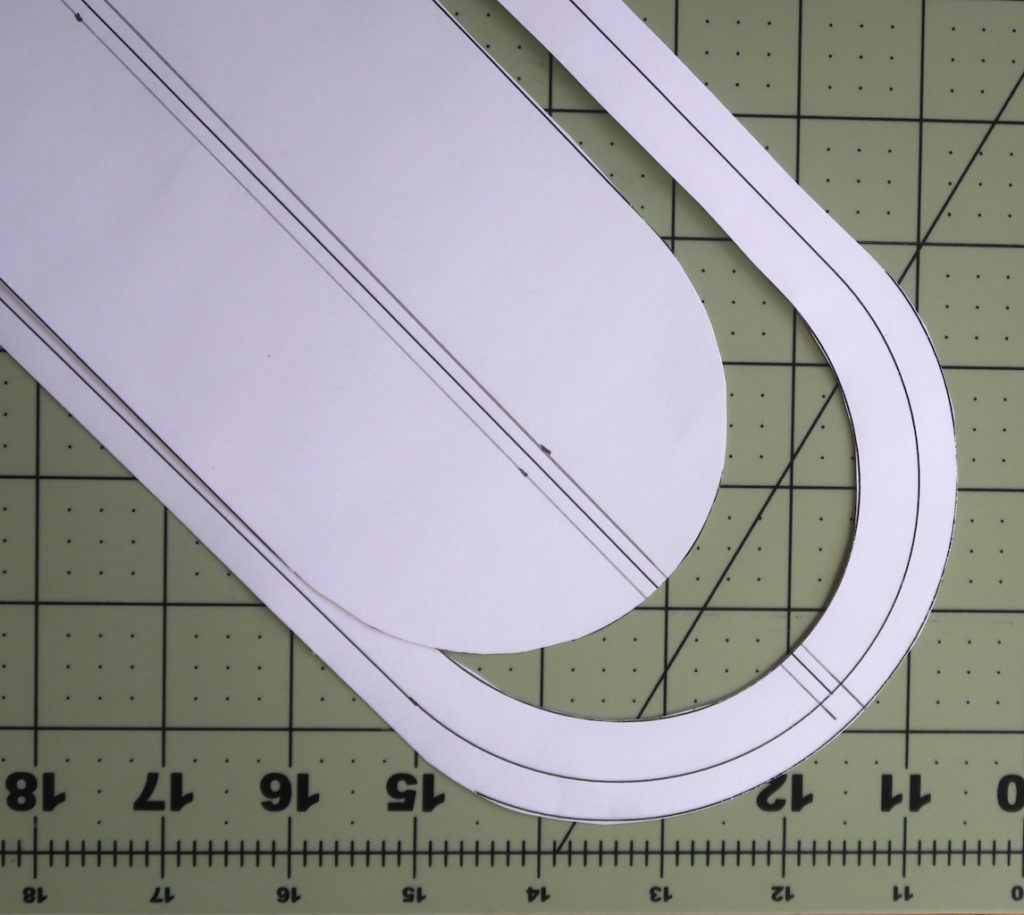
Cut the label at the smallest U shaped line.
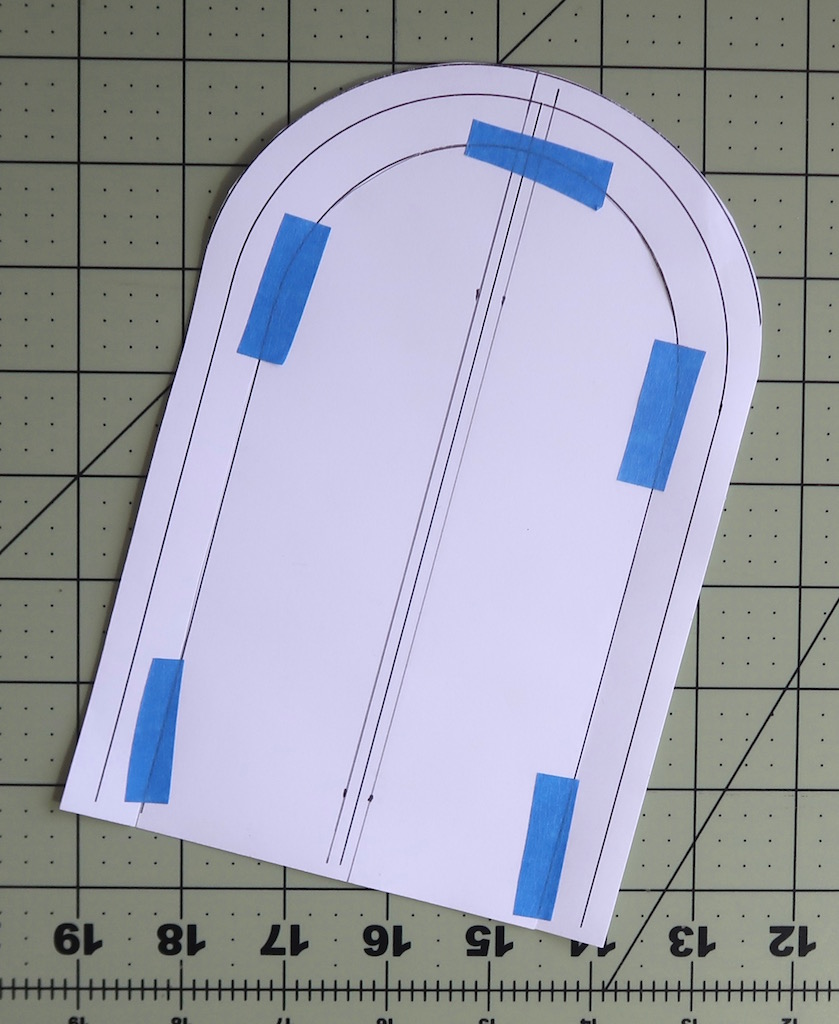
Using painters tape, tape it back together in several spots. Do not overlap the other U shape line.
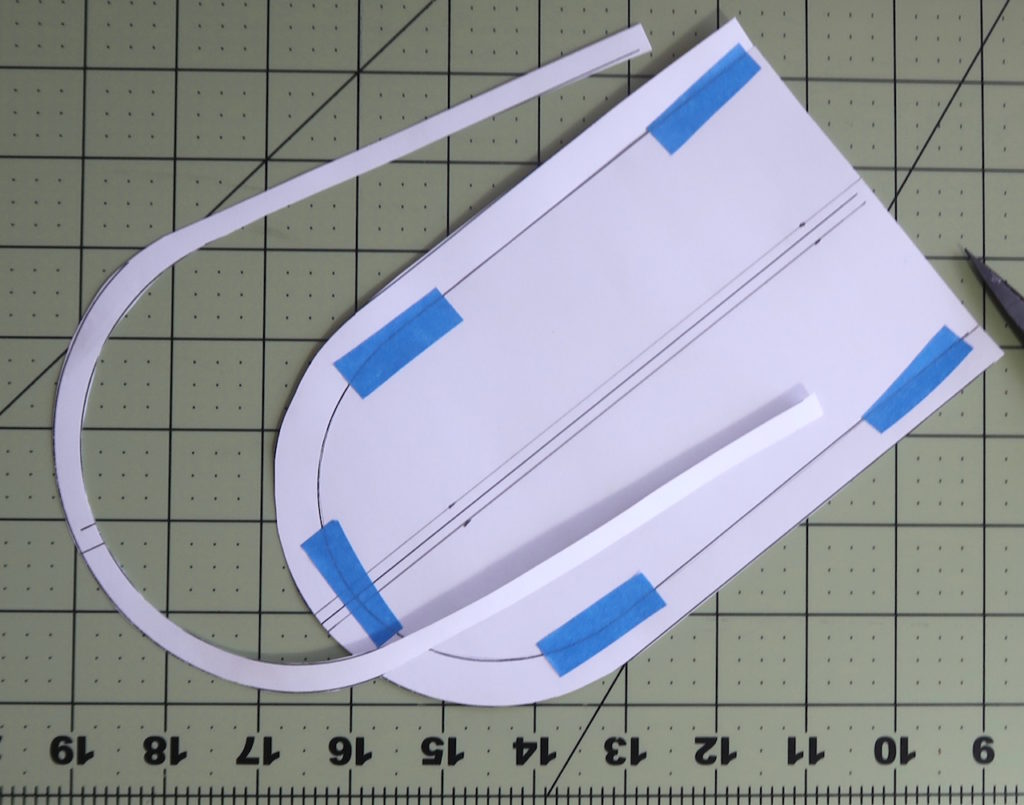
Cut that line.
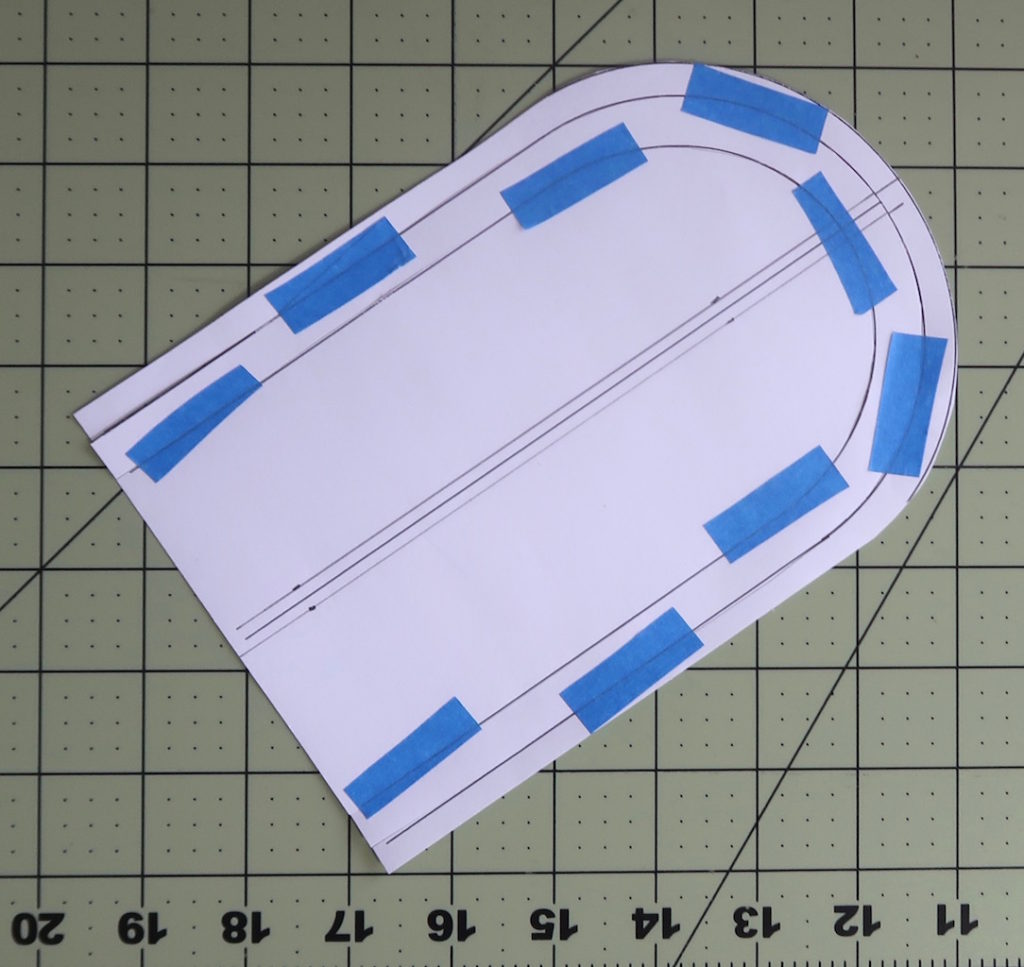
Tape it back together between the other taped areas. Do not overlap the other U shaped line.
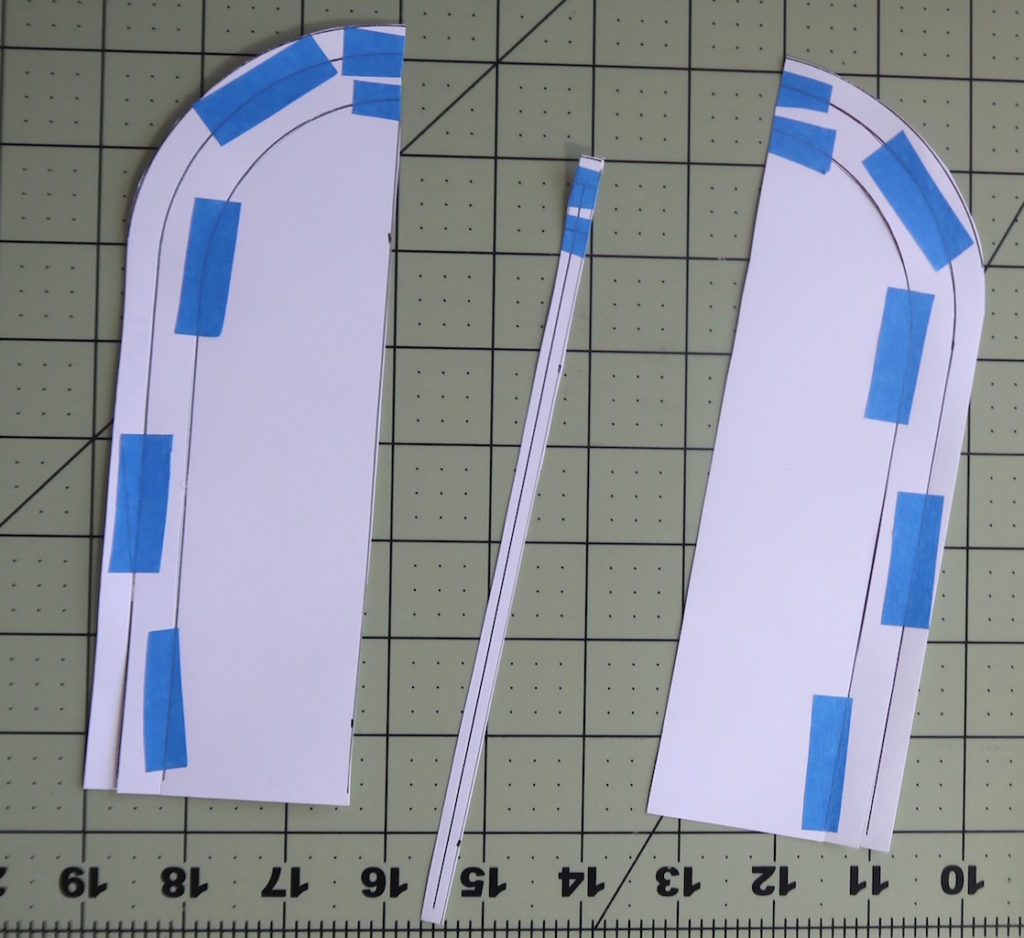
Cut the label down both center straight lines.
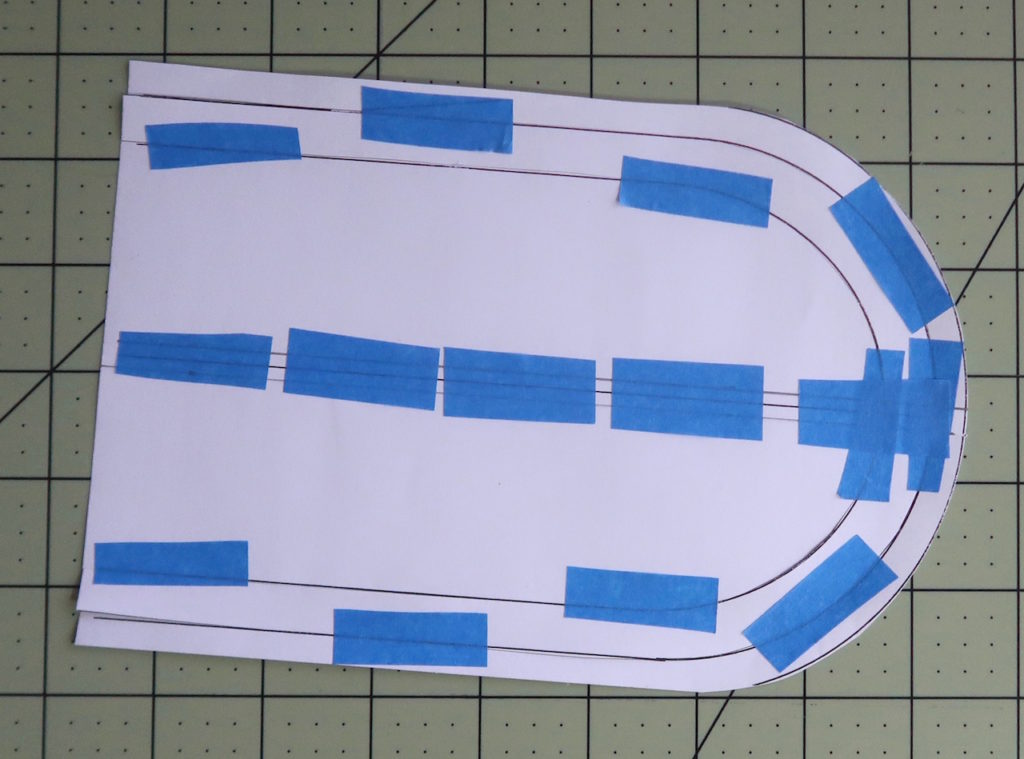
Tape that strip back in place.
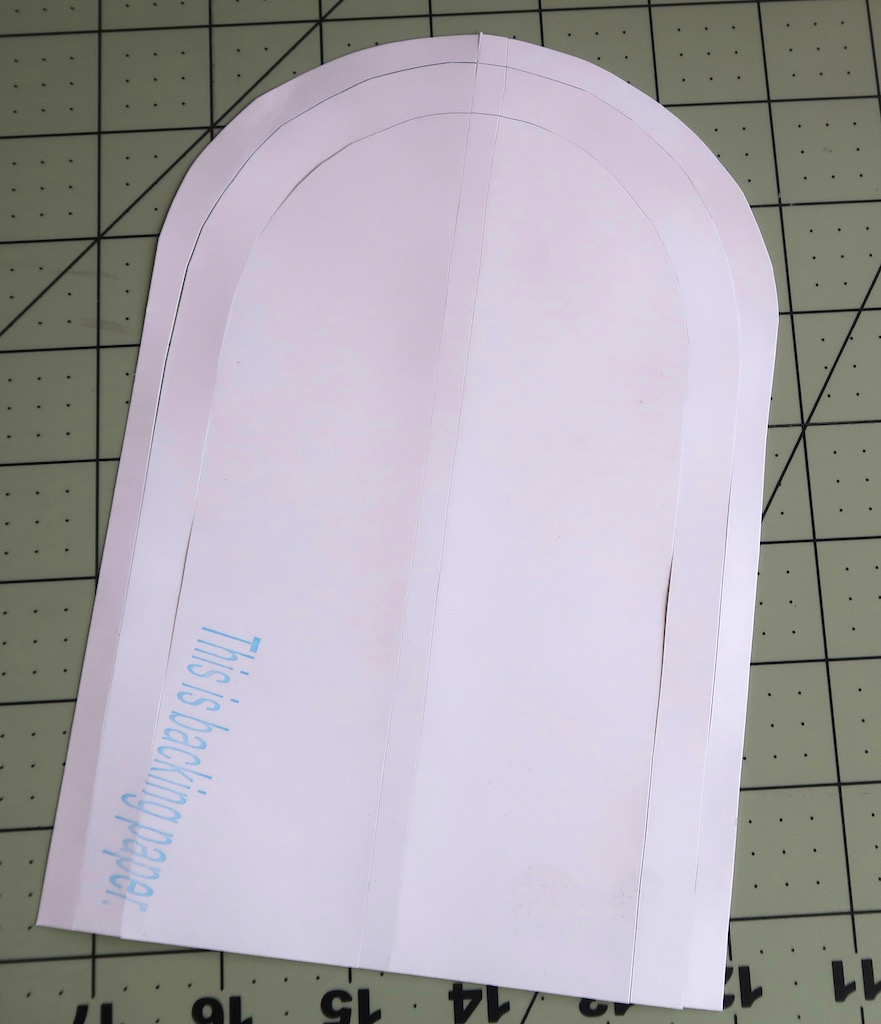
This is how it should look on the side we will be working from, the backing paper side.
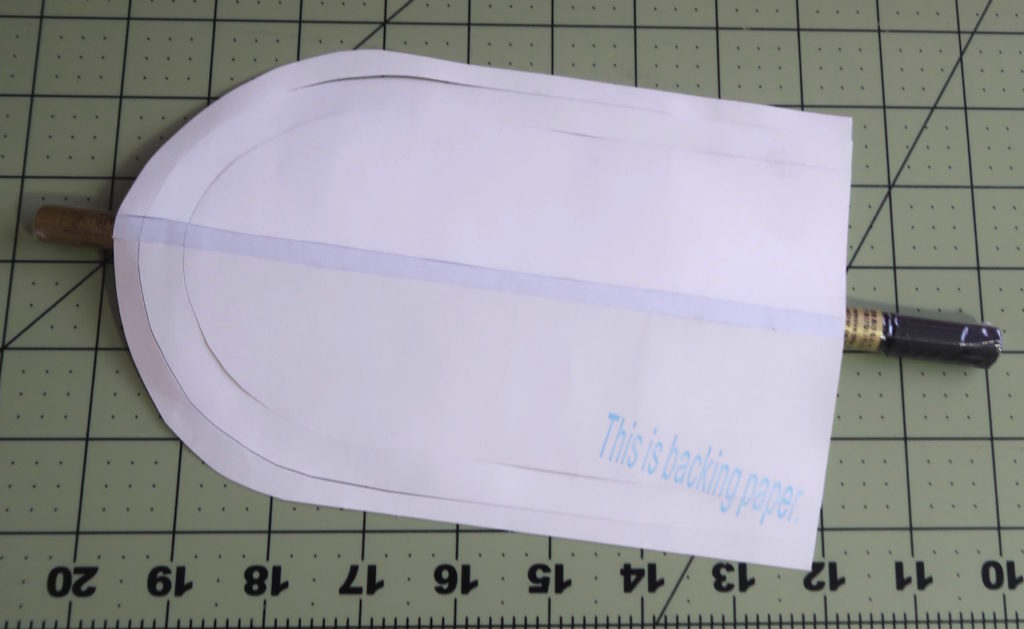
Remove the backing paper from the center strip.
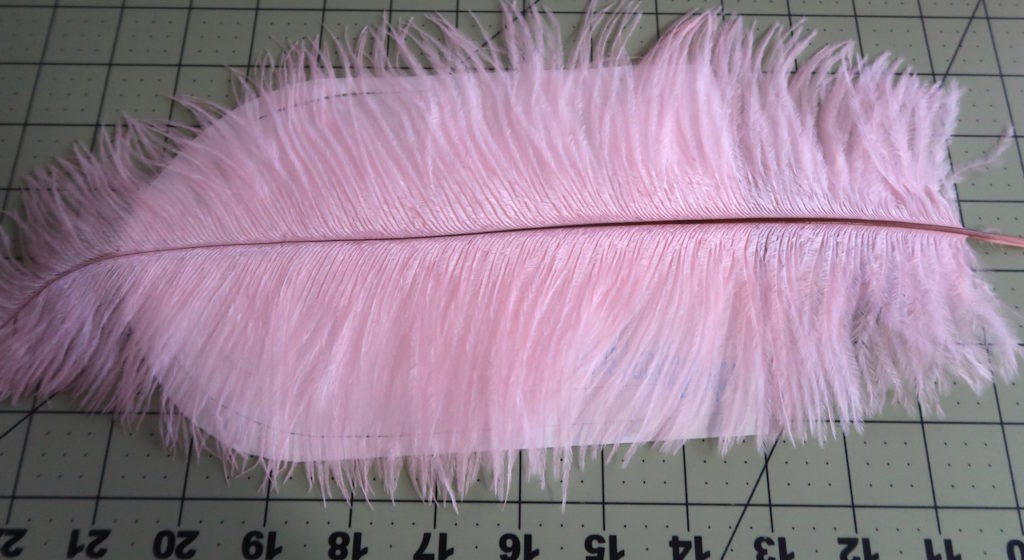
Lay the feather down the center of the label. The stem should be in the very center.
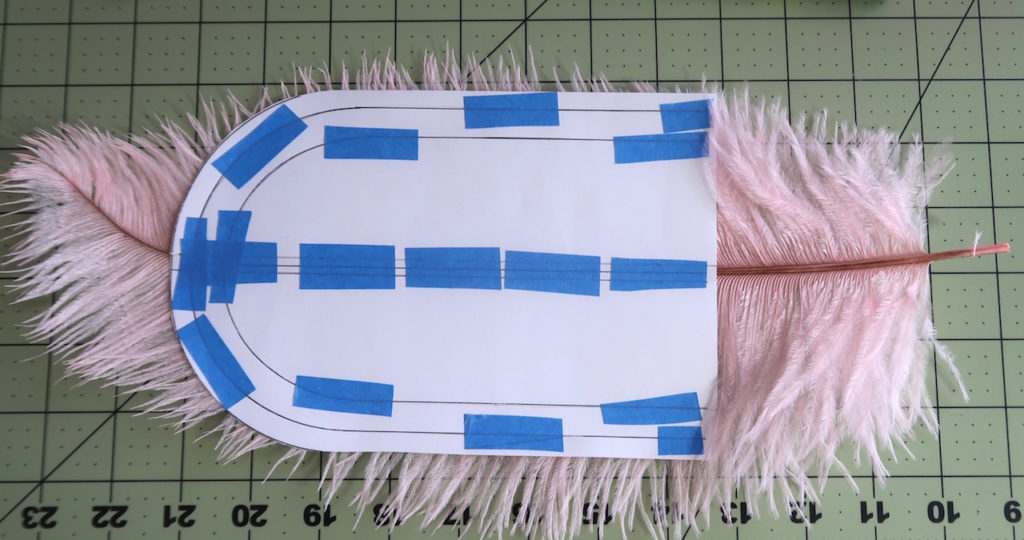
If you flip it over it will look like this. What hangs over will be removed.
Starting with the barbs that are below the label. Pull those off the stem.
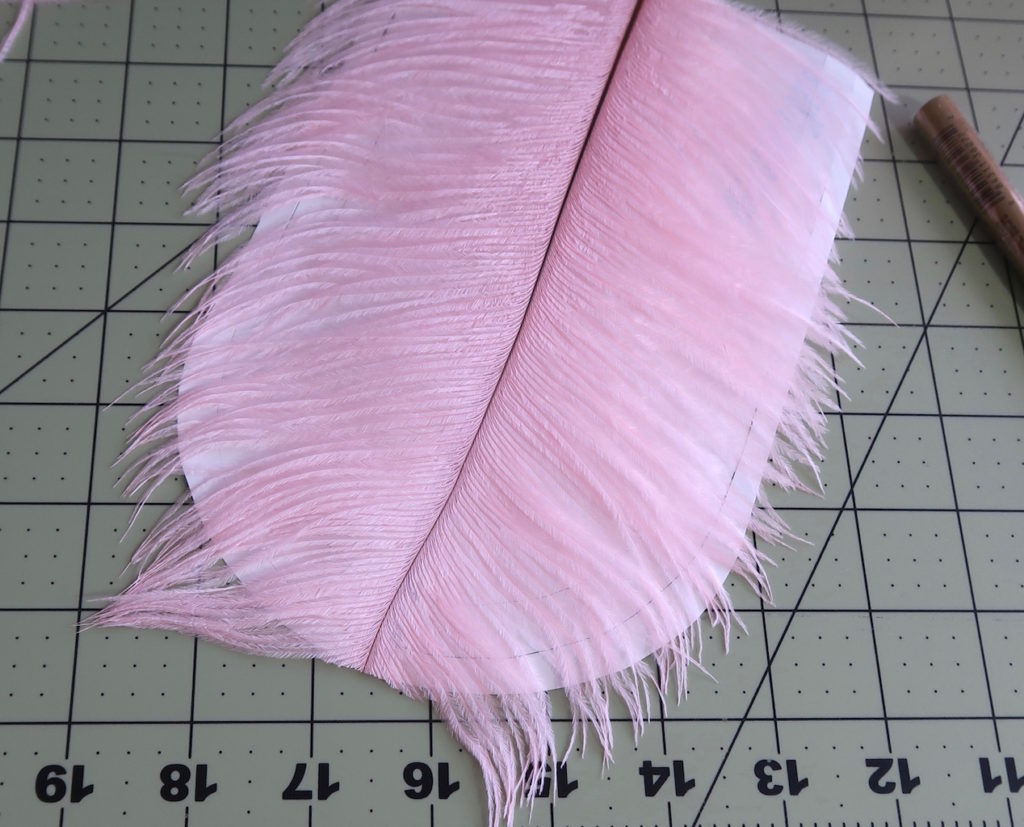
Next cut the tip at the edge of the label.
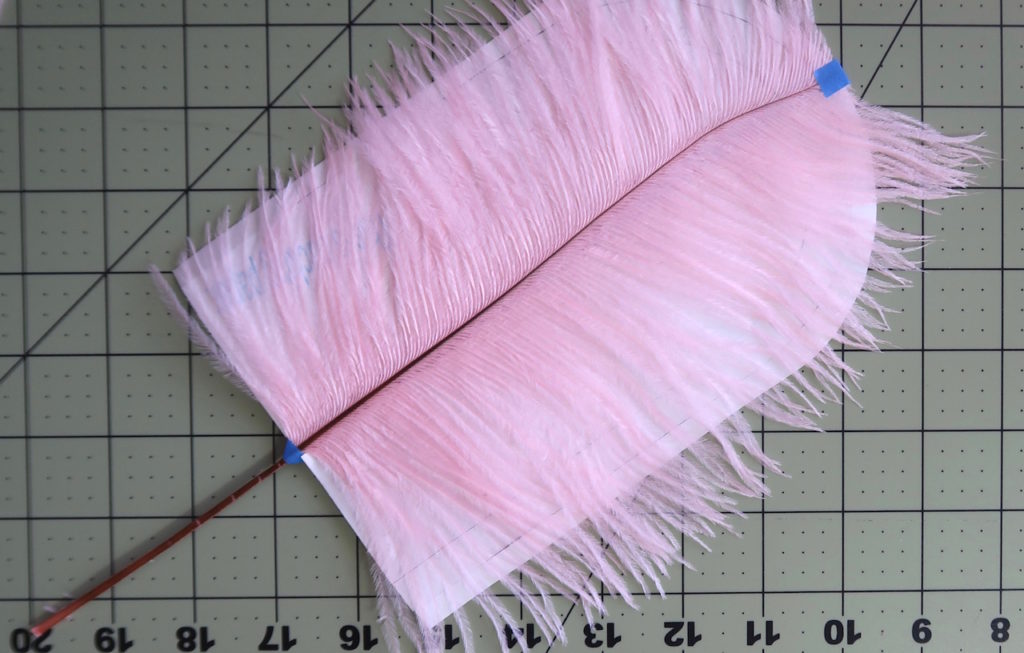
Add a narrow piece of tape at the tip and at the base end to hold the stem to the label, it is sticky but this helps.
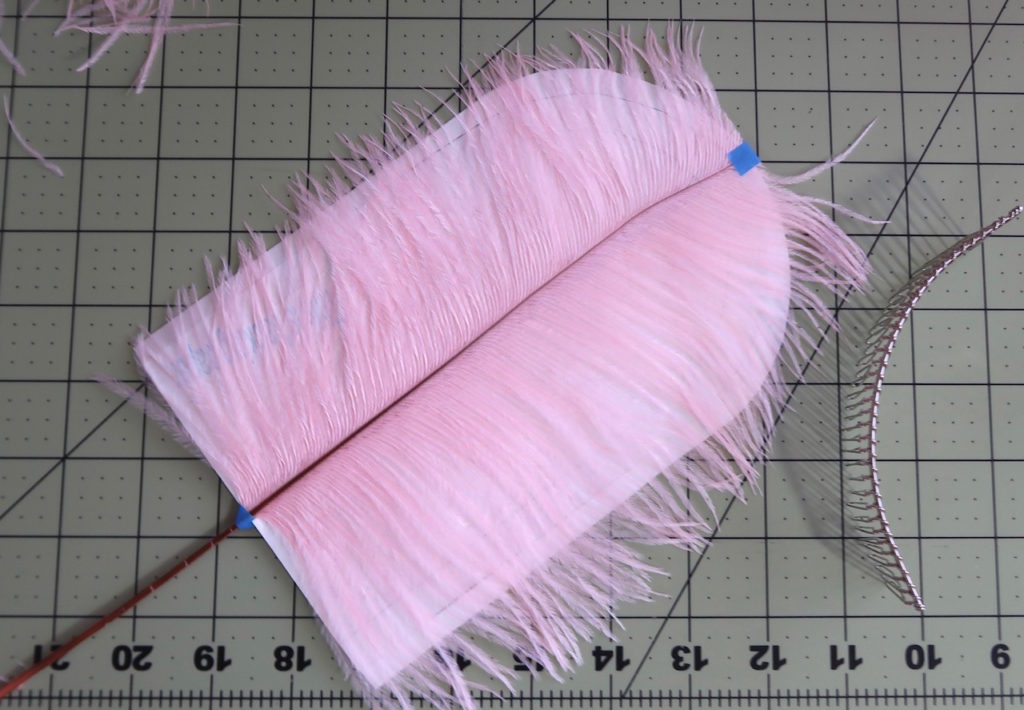
Get a comb, this will help you keep the barbs straight an not overlaping.
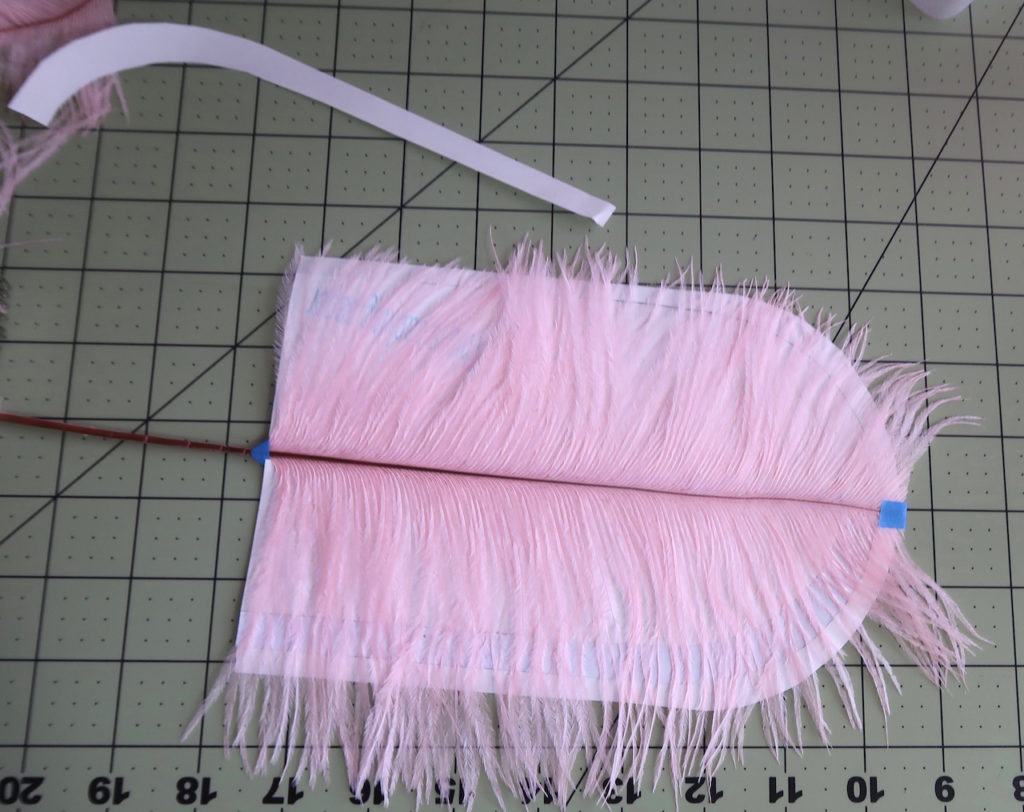
Remove the paper backing to the inside U strip on one side of the label and let the barbs stick to that. Use the comb and a needle to lift and straighten any barbs that are not straight out from the stem.
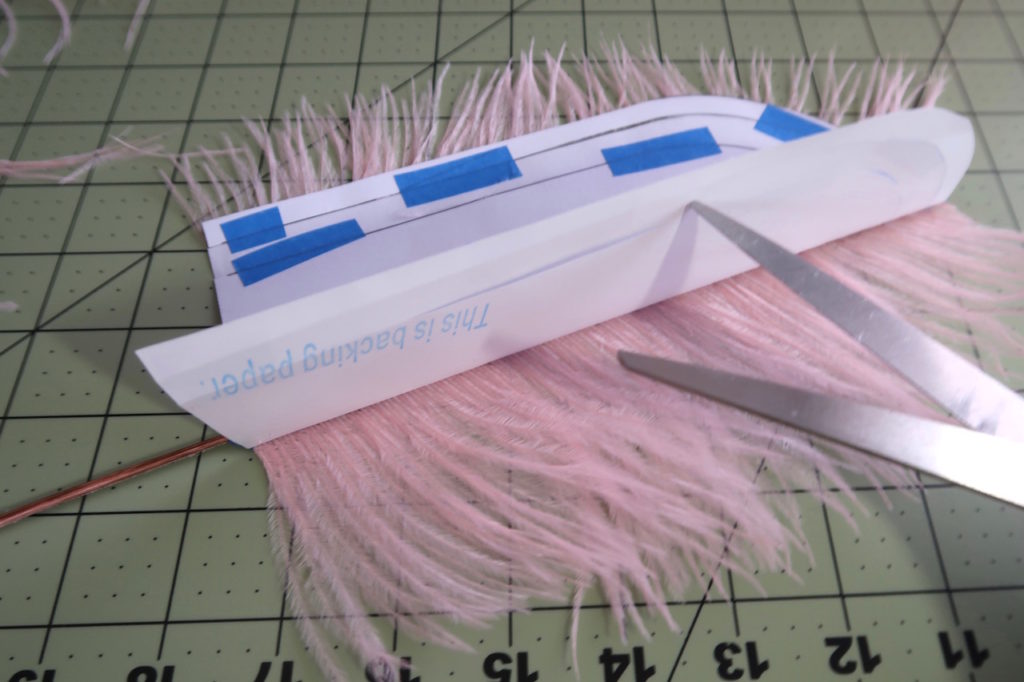
Flip the label over and angle up the un-stuck half. Remove the backing paper on the inside U shape, comb the barbs and carefully let that half of the label fall.
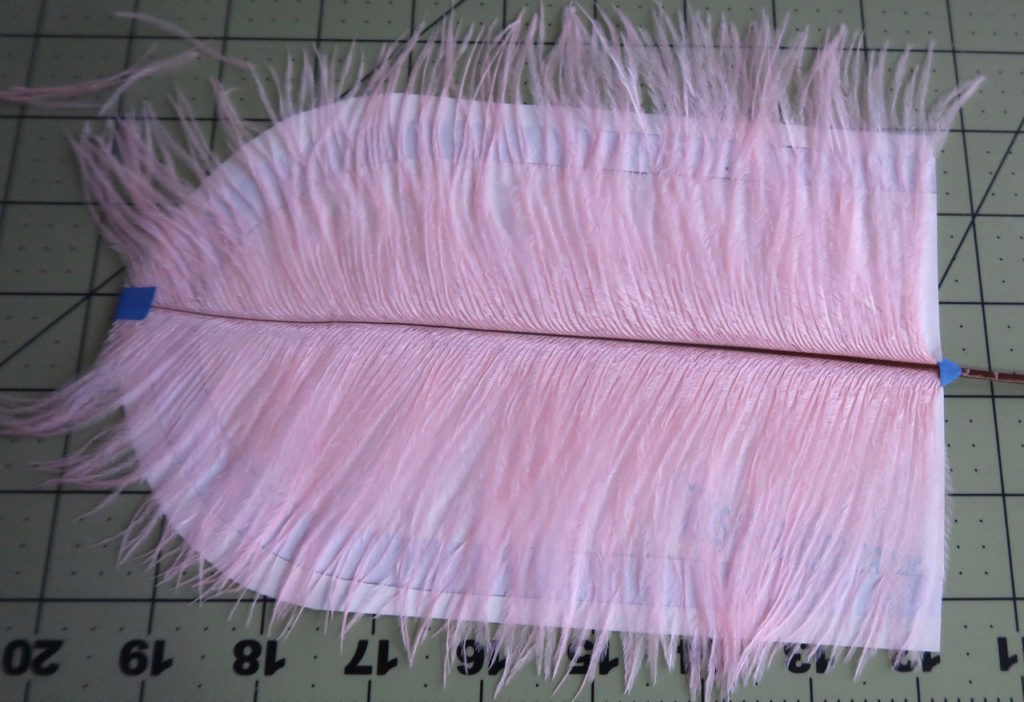
It now looks like this. it is stuck in the center and near the outside but not the outside.
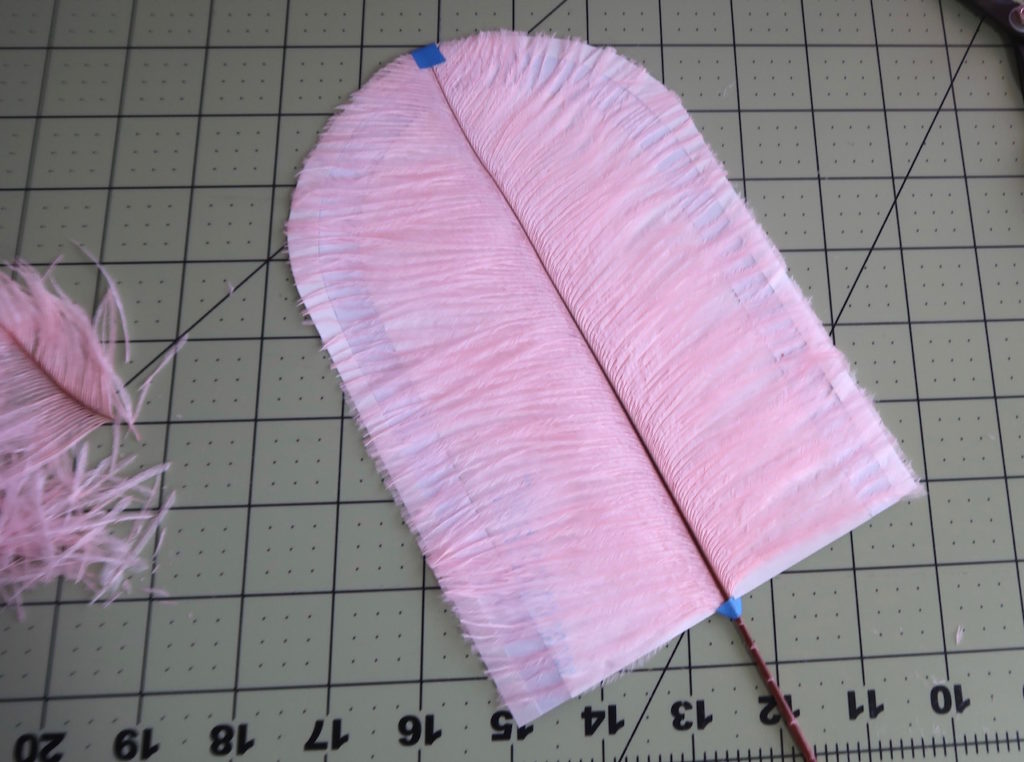
Trim away all the overhanging barbs.
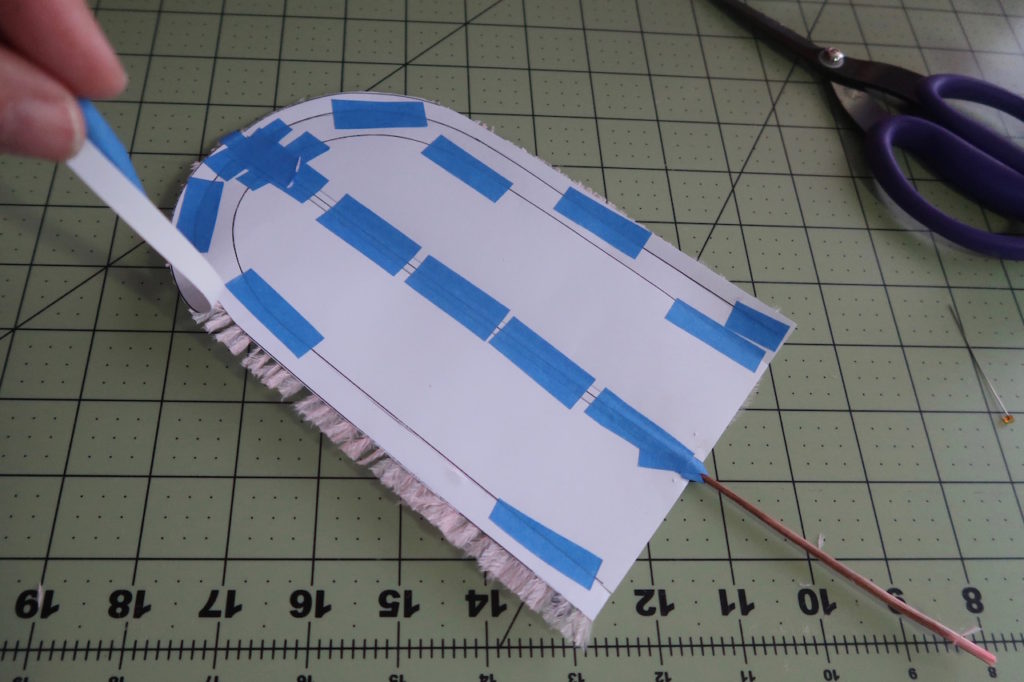
From the back carefully pull back the outside U shaped part of the sticker.
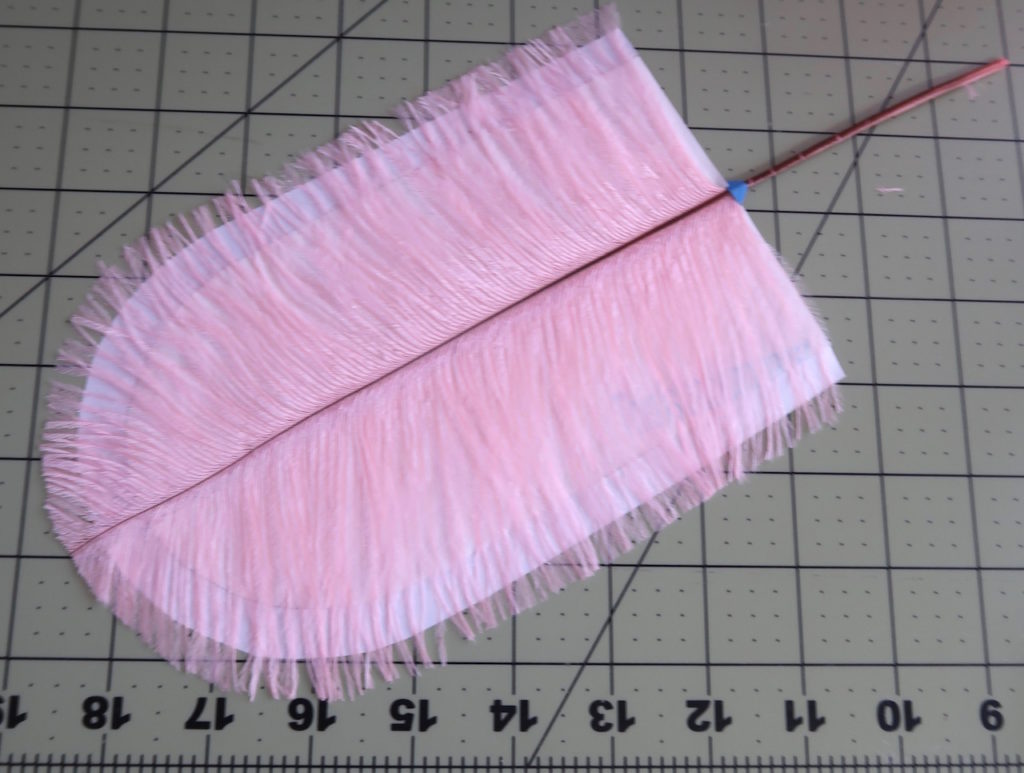
It should look like this.
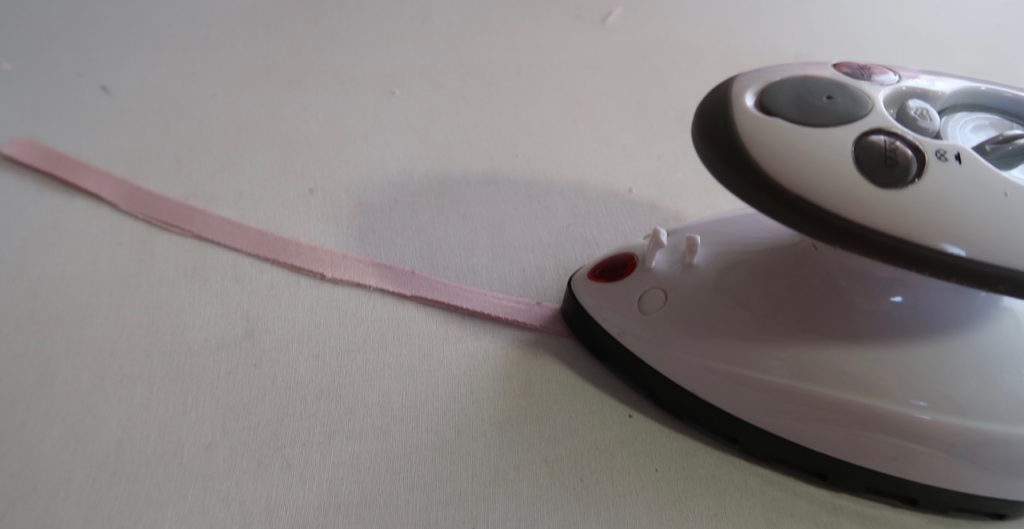
Cut about 20″ of 3/4″ wide bias. Press it in half to make 3/8″ wide single fold bias tape. The color should color match the feather,
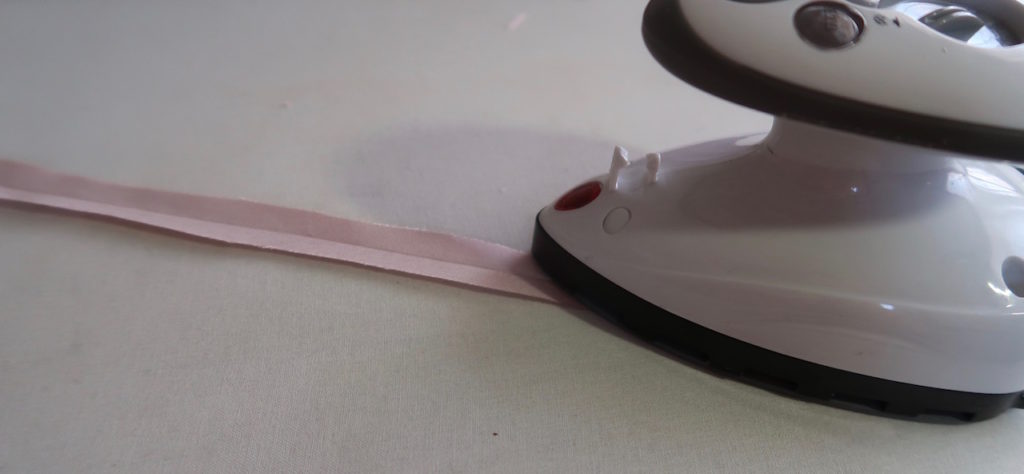
Press it open again.
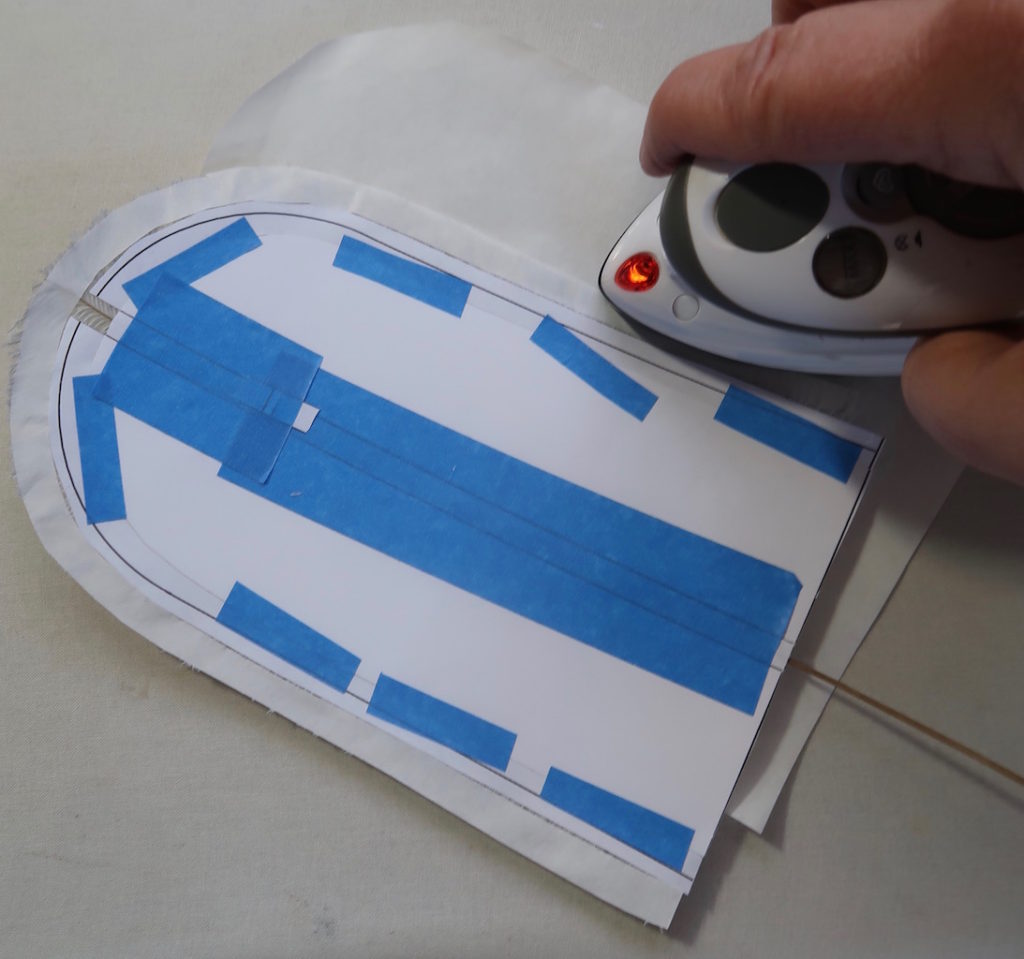
Use your paper pattern for the outside U shape to cut a piece of “Heat and Bond-light” . Place that over the barbs that stick out with the glue side down. Make sure you cover your ironing board with a piece of the glue backing paper (with the shiny side up) so no glue sticks to your ironing board and it will release when cool.
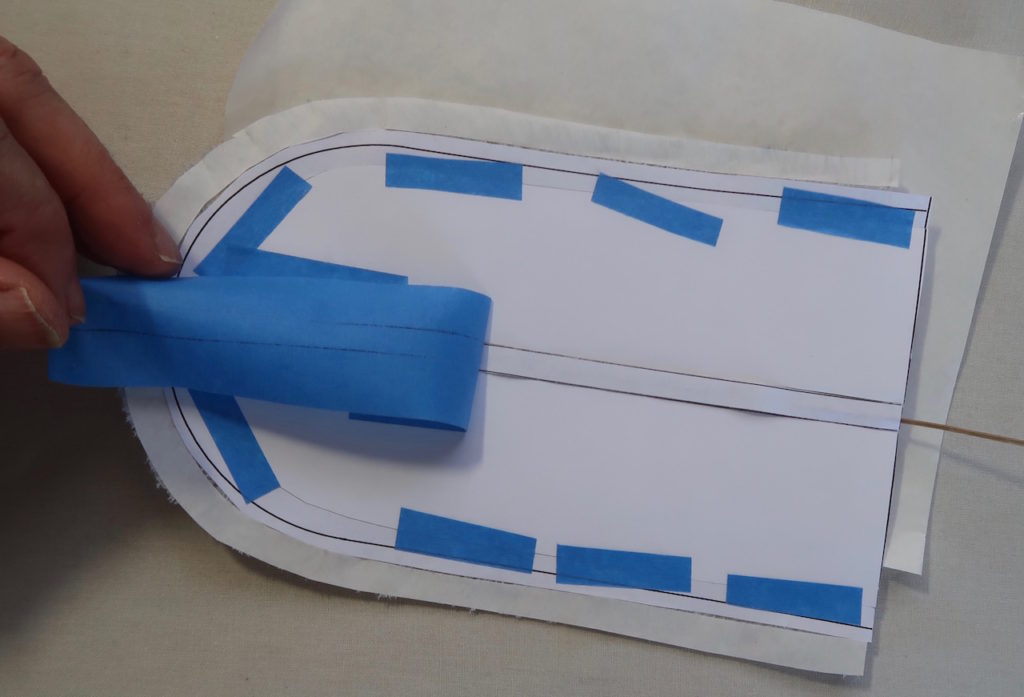
Pull the tape off the center.
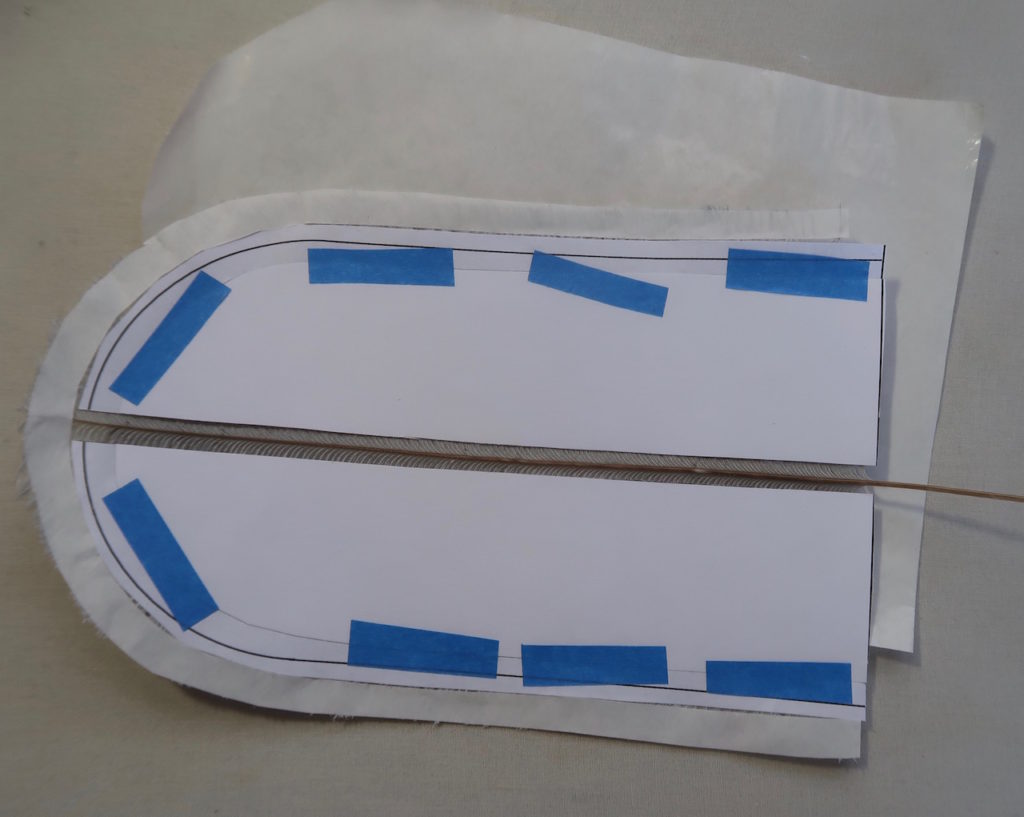
Pull up the sticky label piece from down the center.
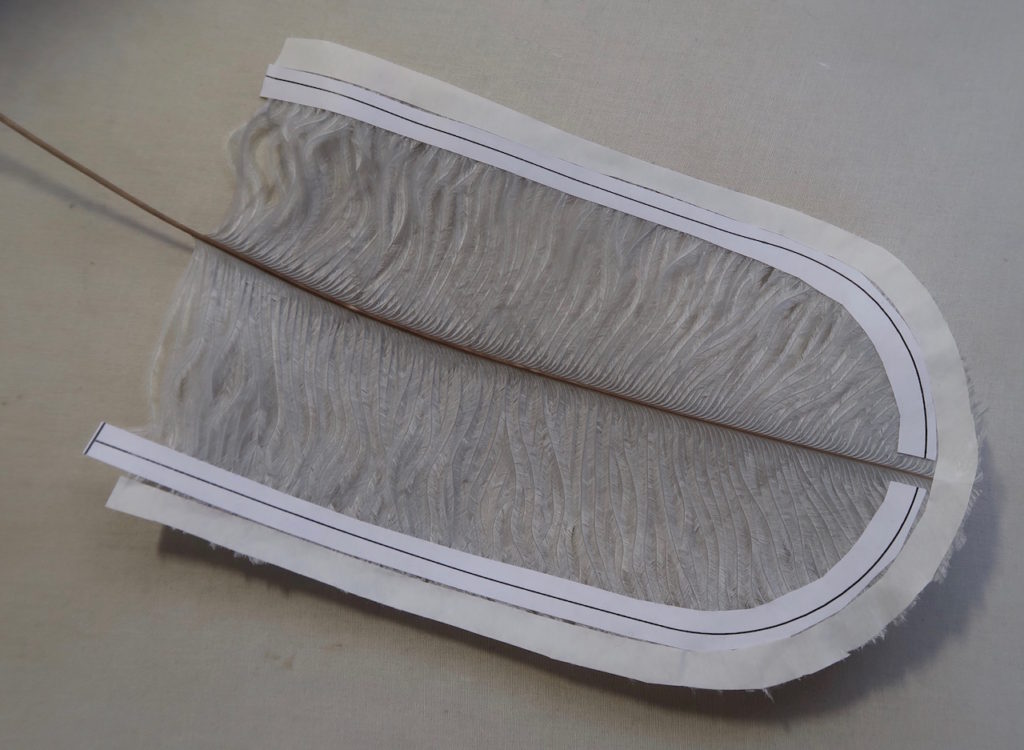
Lift off the center pieces.
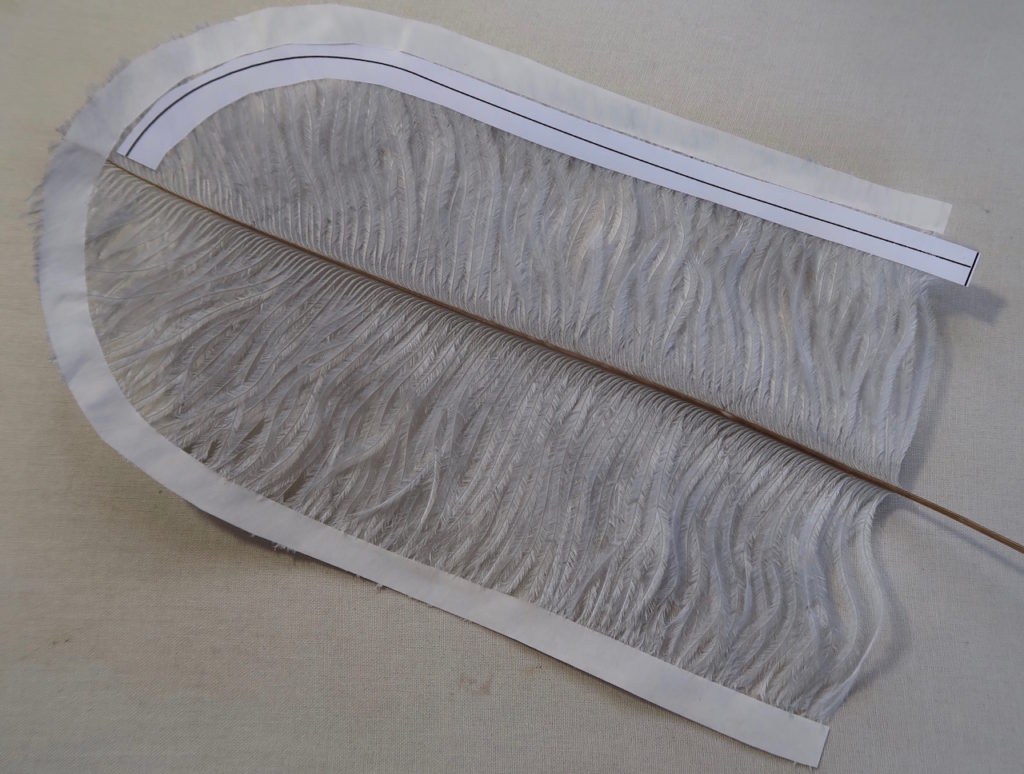
Pull away the remaining sticky label U pulling from the center stem outwards while holding down the barbs. If you pull towards the stem you are much more likely to damage the barbules.
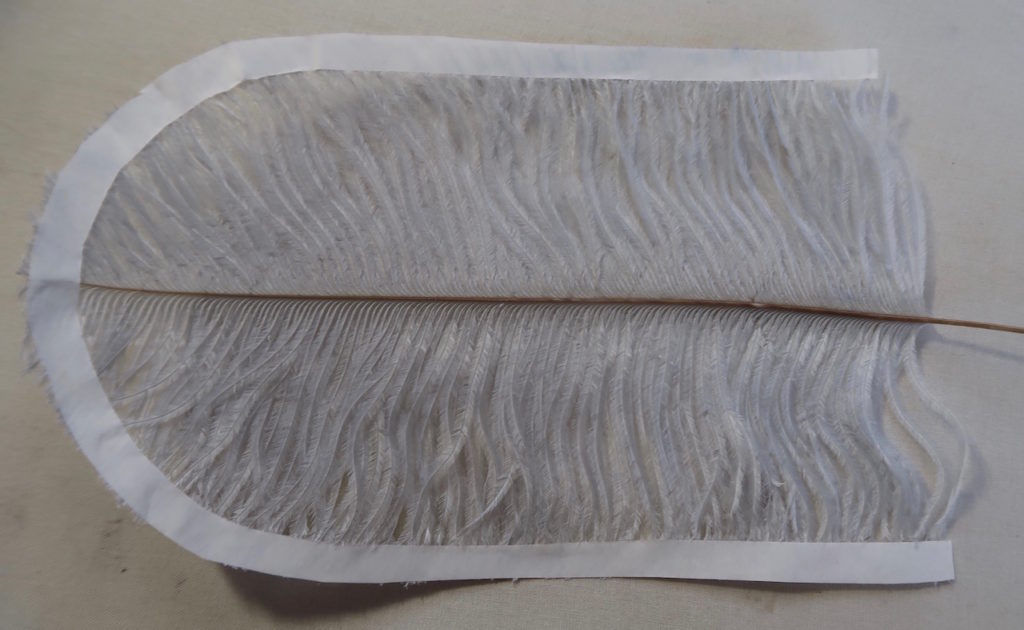
It should look like this.
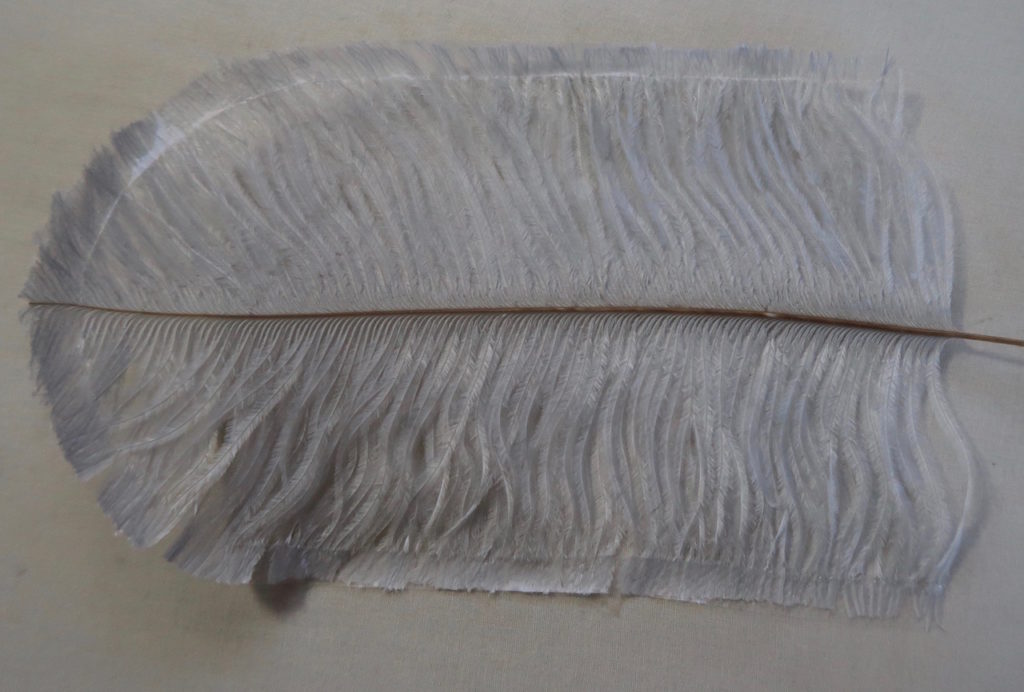
Pull the backing paper from the “Heat and bond” off.
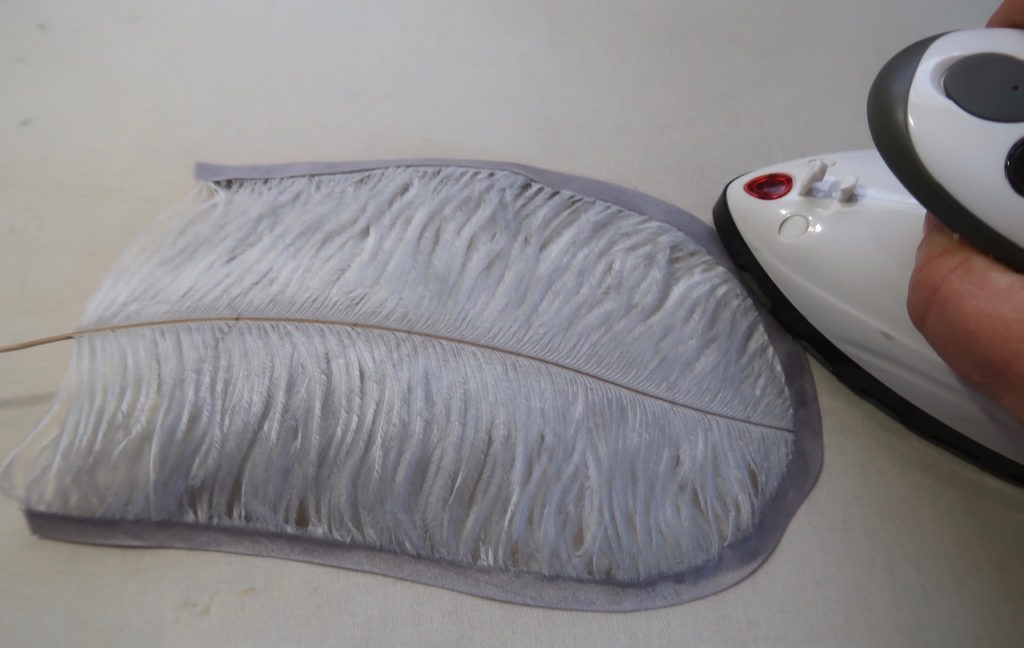
Working a inch or two at a time cover the edge with your bias tape and use the edge of your iron to fuse it.
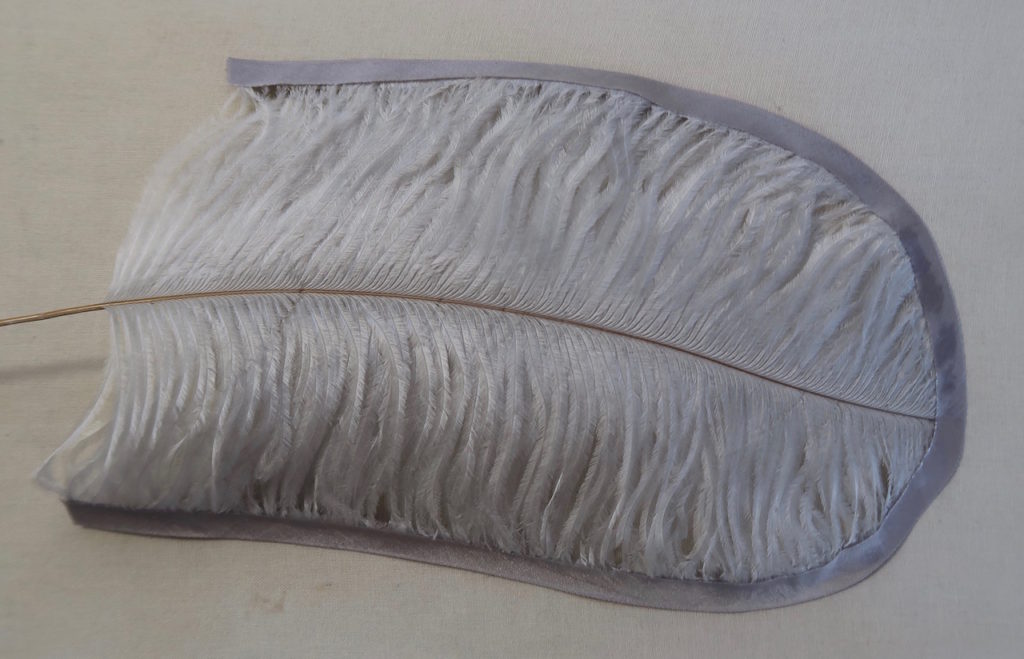
Make sure both sides of the bias are fused to the barbs. Turn it over and run the tip of you iron over this side of the bias to make sure.
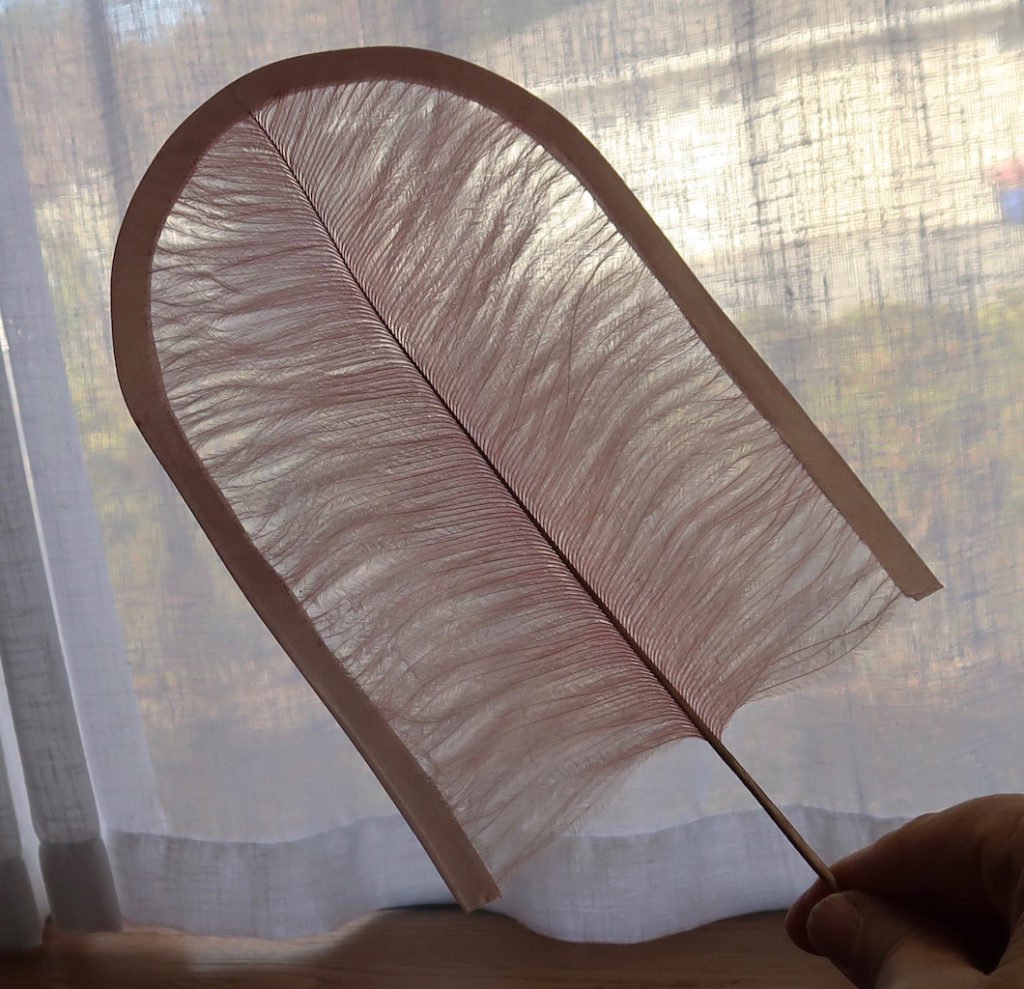
It should look like this.
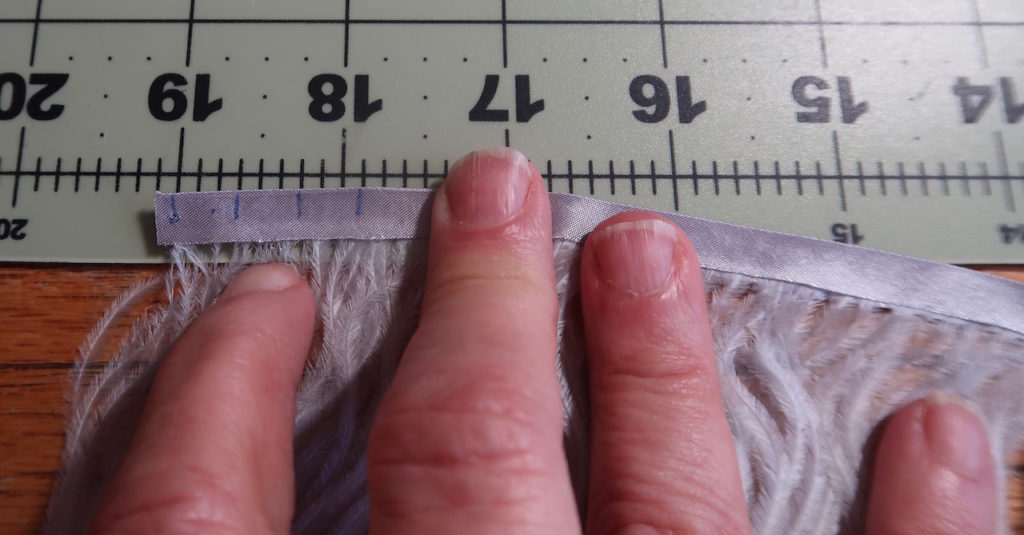
Use a heat away pen to mark every 3/8″ along the edge of the bias tape.
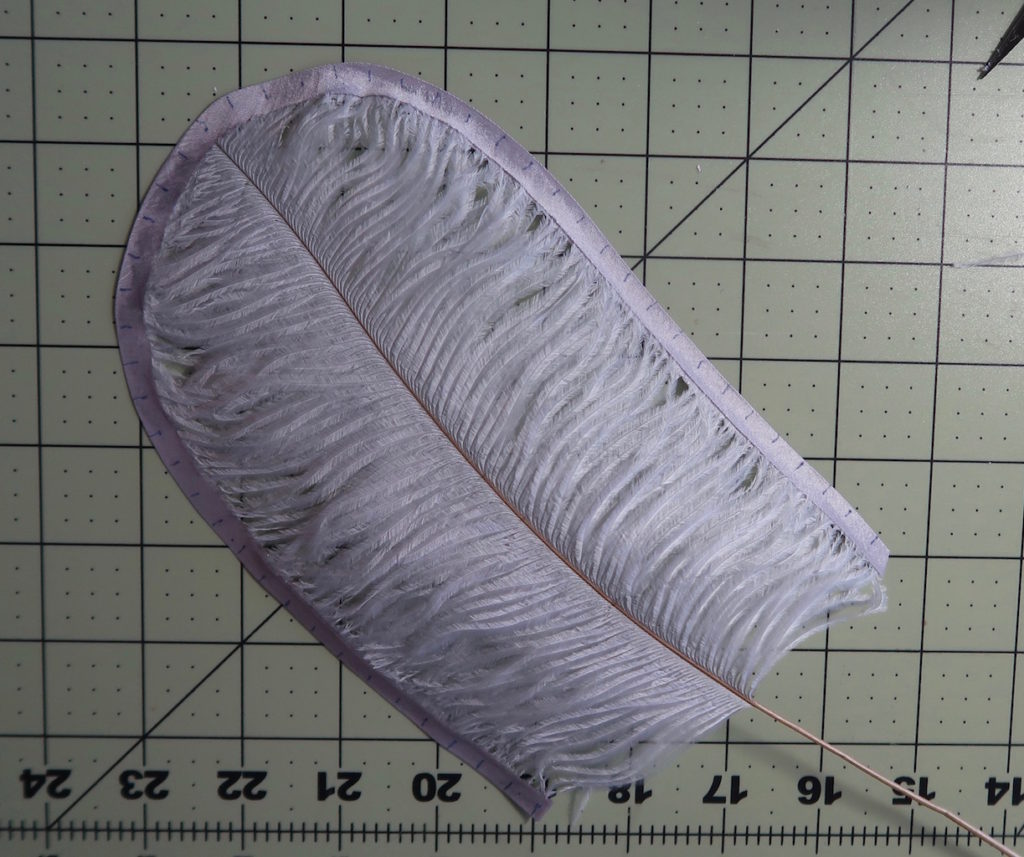
It should look like this, your marks should be on the front side of the feather.
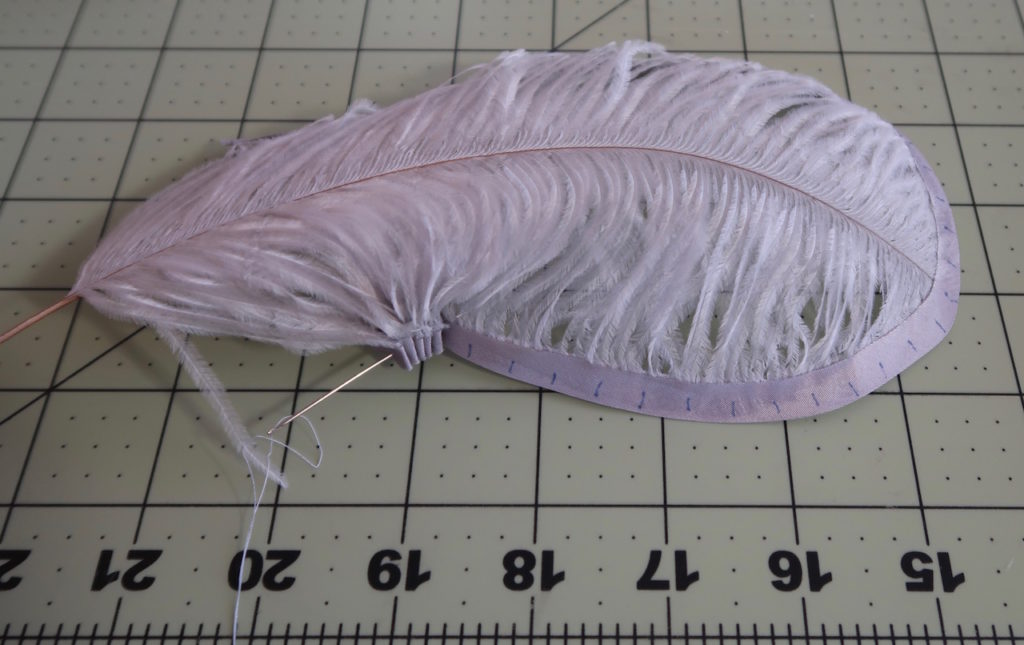
Thread up a strong sharp needle with a single strand of heavy thread (button and carpet) in a matching color, make a large knot on the end.
Sew a running stitch on the marks” so, when you pull on the thread it creates cartridge pleats. Make your stitches near the folded outside edge of the bias tape but not right on it.
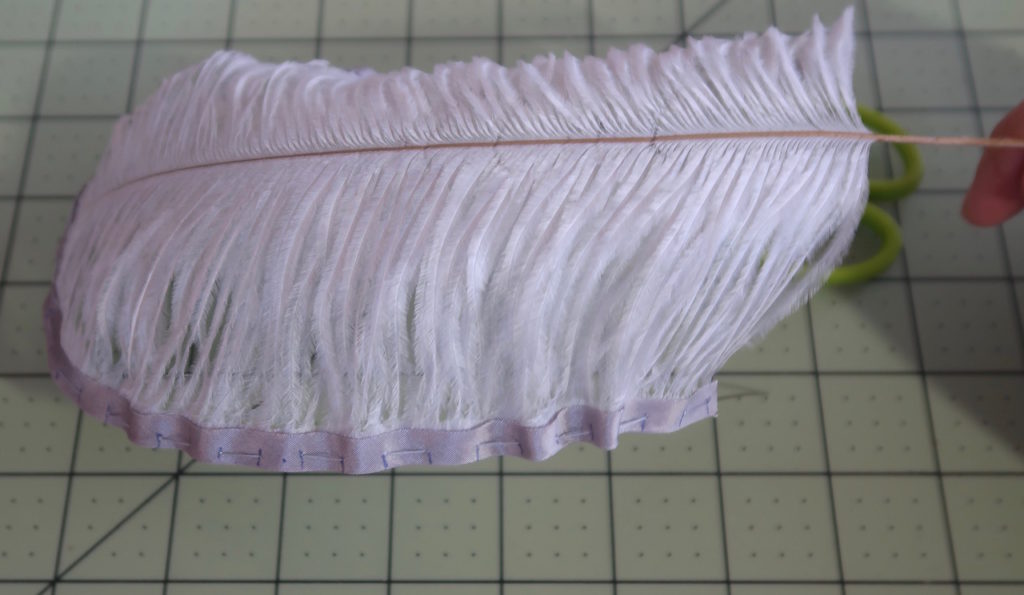
Don’t pull you thread tight right now just sew to the end.
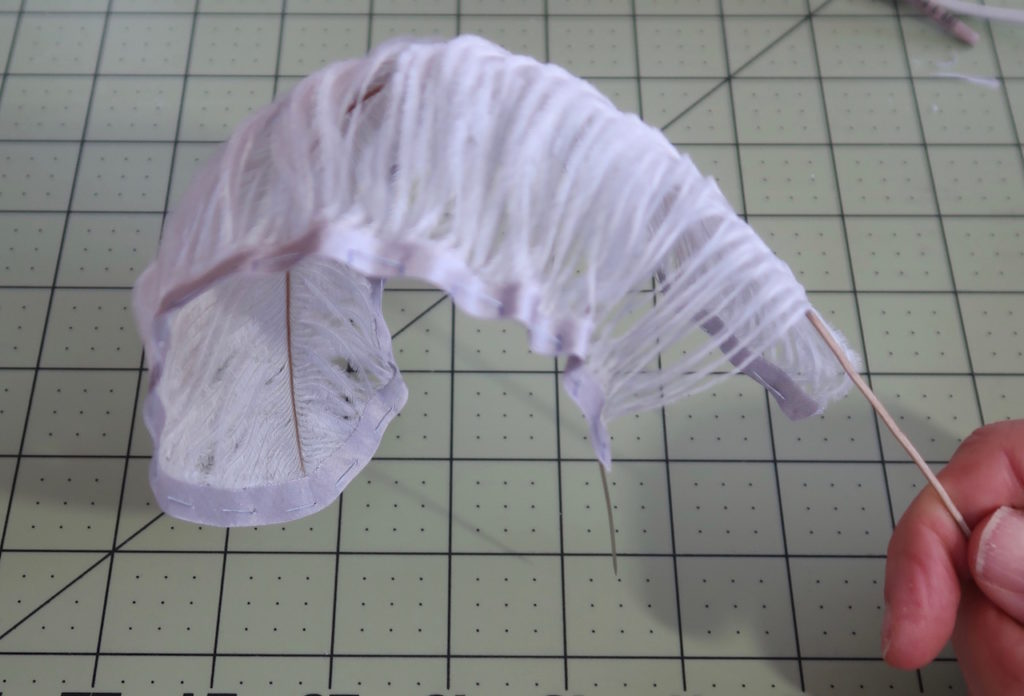
Before you gather the stitch, shape the upper half of the stem using your thumbnail to create small dents on the underside of the stem. This will cause it to curl.
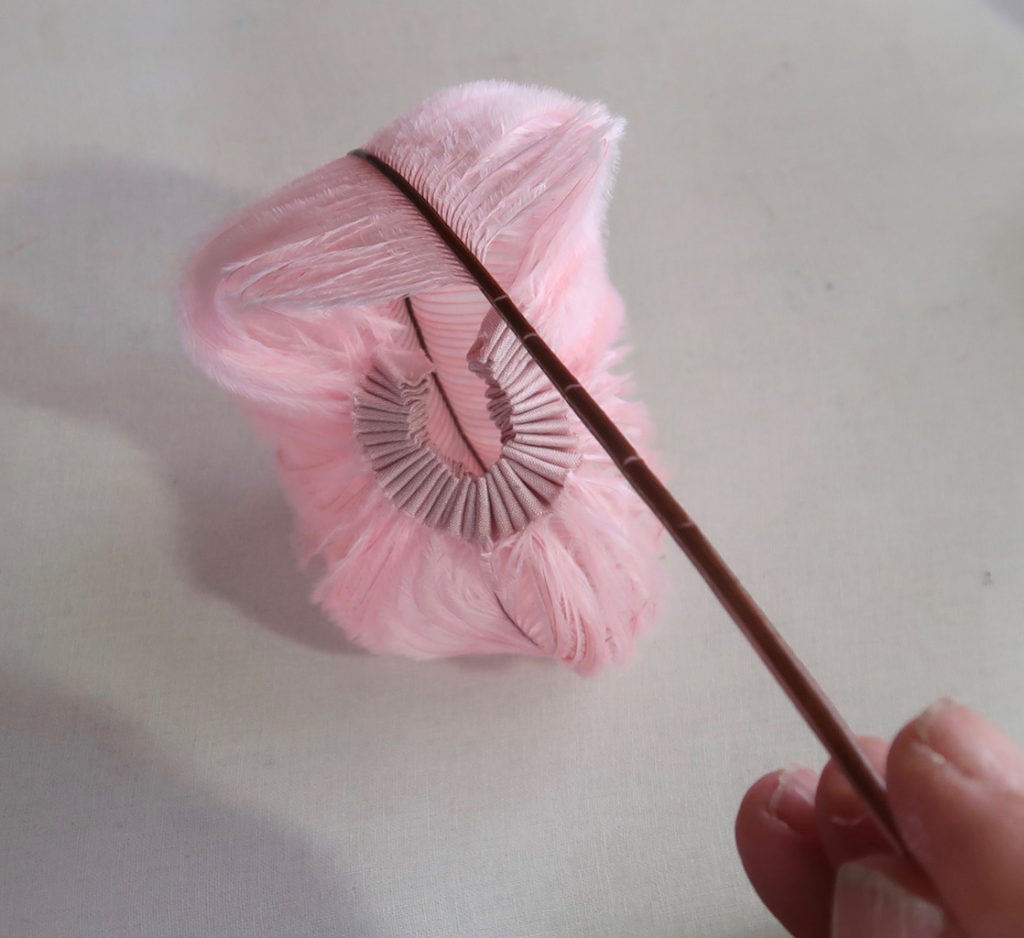
Pull the thread as tightly as you can and knot it off.
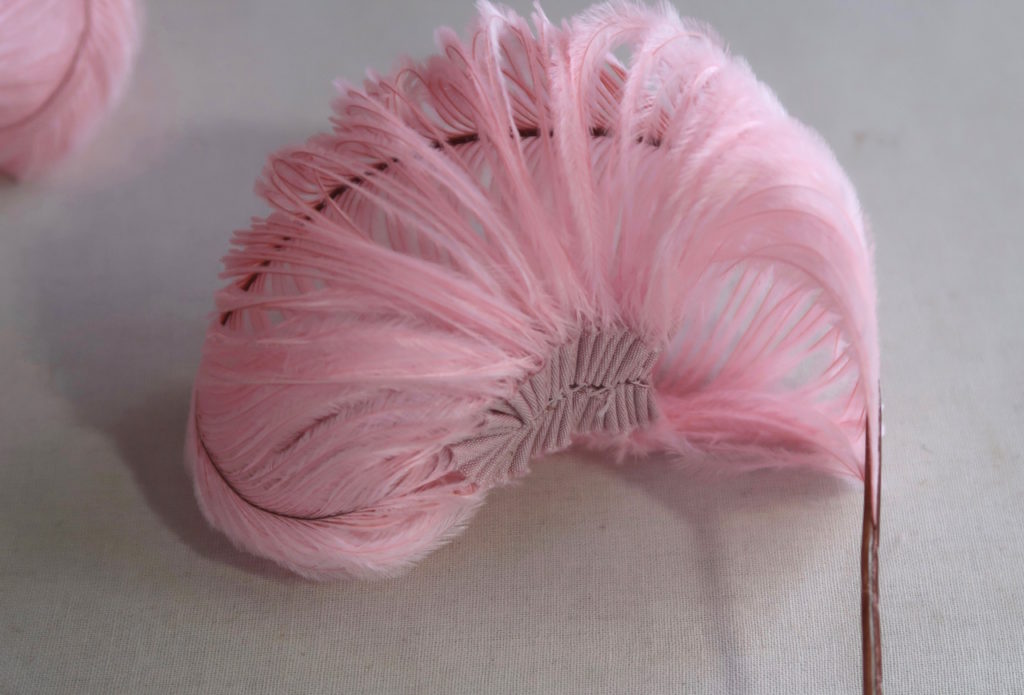
Close the opening in the bias by stitching the two sides together with a Zig-zag about every three pleats.
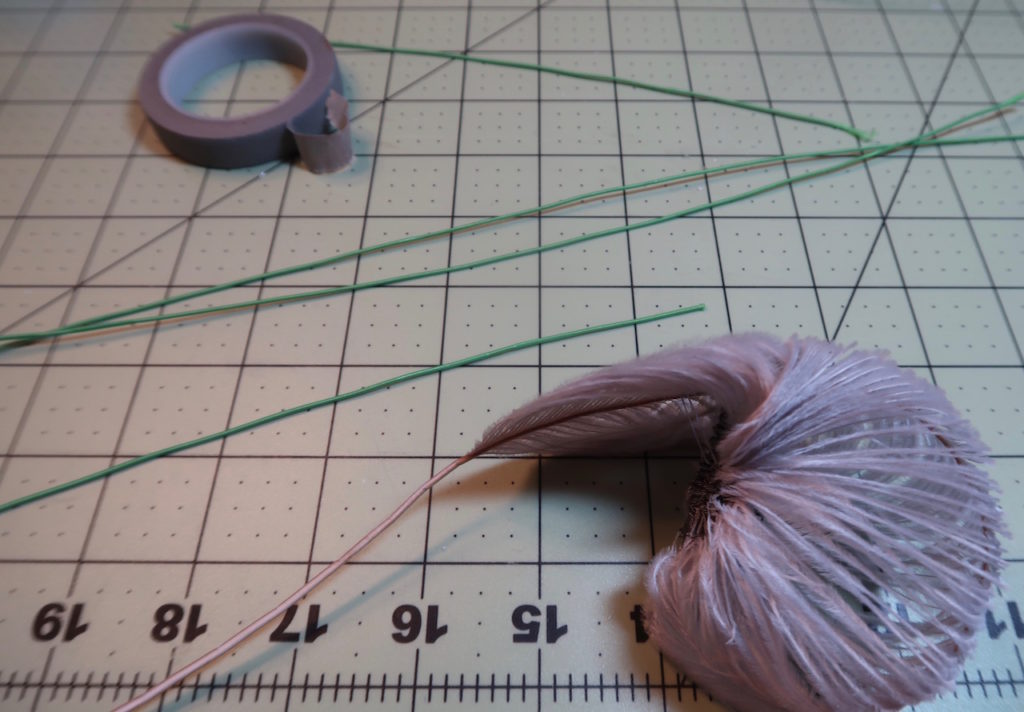
To turn you feather into something usable on a hat you are going to want to add it to some stem wire (22 gauge) with some florist tape of a matching color.
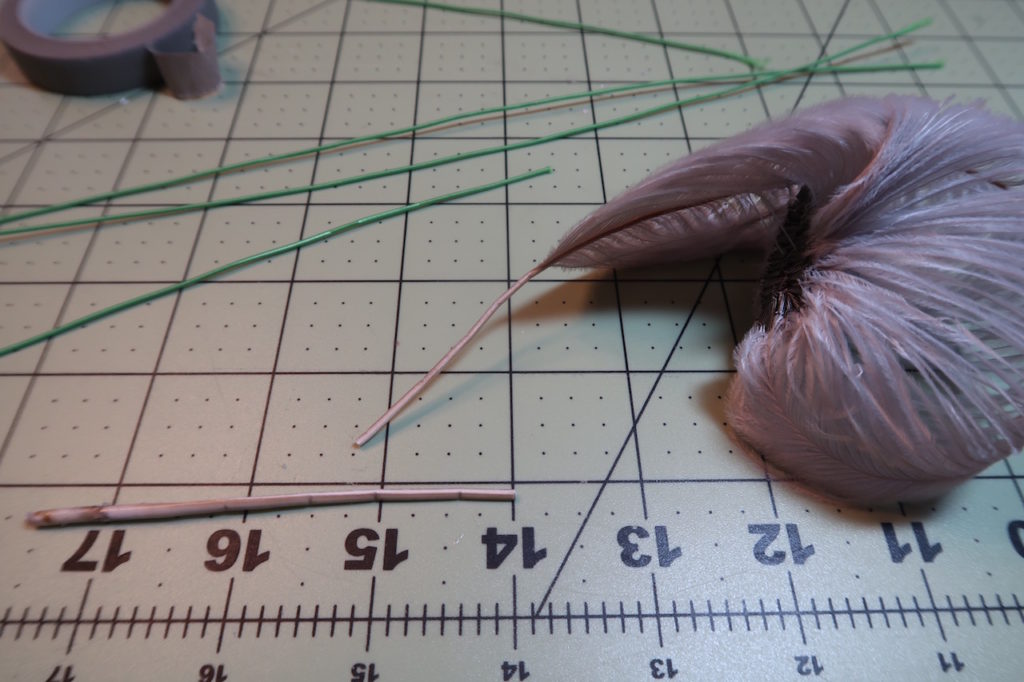
Cut the stem to 2″ long.
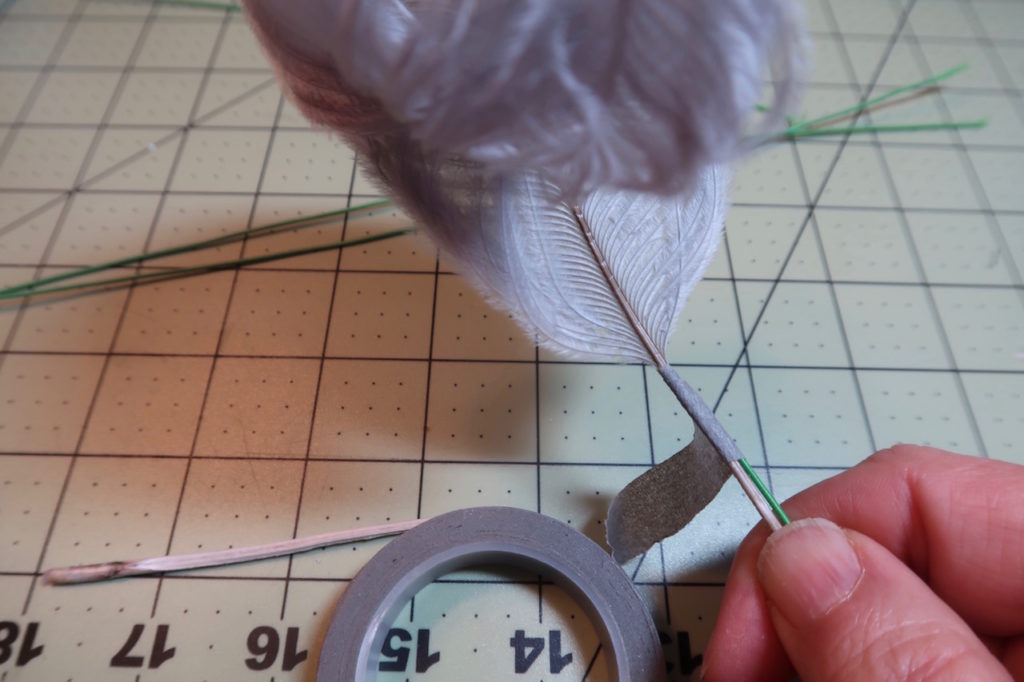
Wrap the florist tape around the stem and the stem wire for the length of the wire.
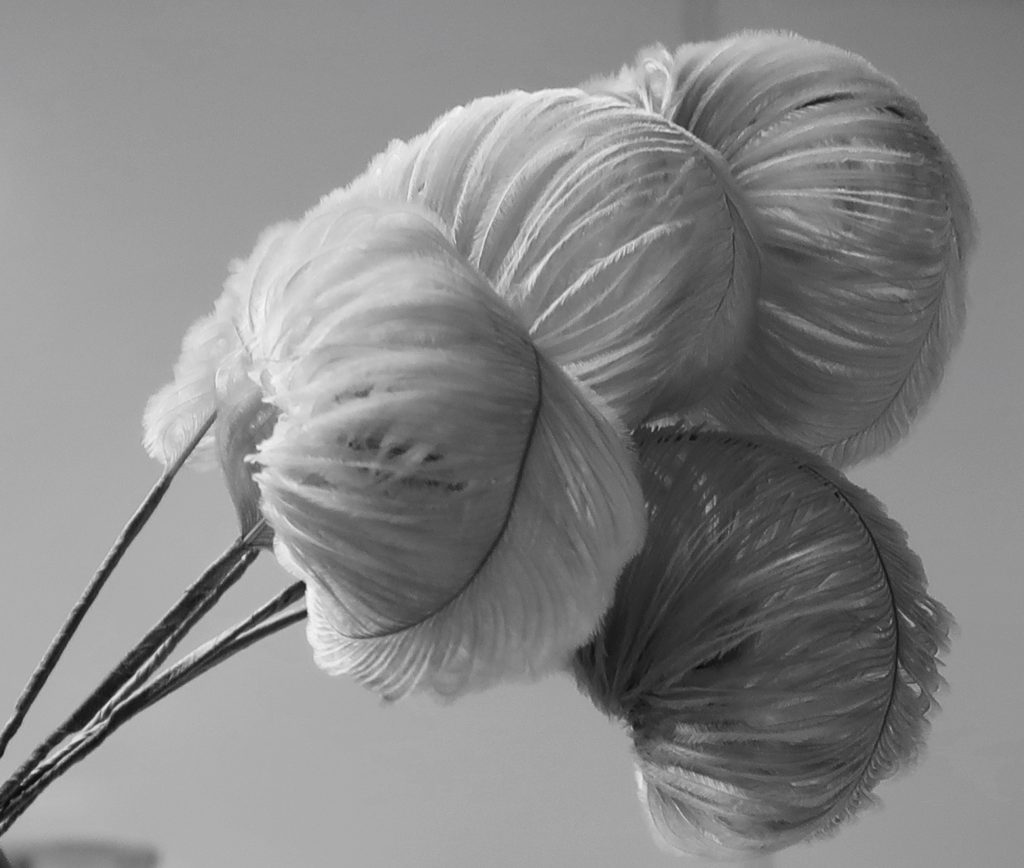
Several finished feathers.